To get all the information about w&w WCMD 2015 CLICK HERE.
Hello lovelies! It's Shay here with my World Card Making Day challenge.
When I was thinking of different possibilities I kept coming back to something I really love to do which is create backgrounds and also a cool thing called a "masterboard". In essence you create a sheet of patterned paper and use it in different ways. I wanted to show how a very simple stamped masterboard could then be cut up and then the panels altered to create different looks. Alternatively, you could do the same thing with all the panels to easily mass produce cards.
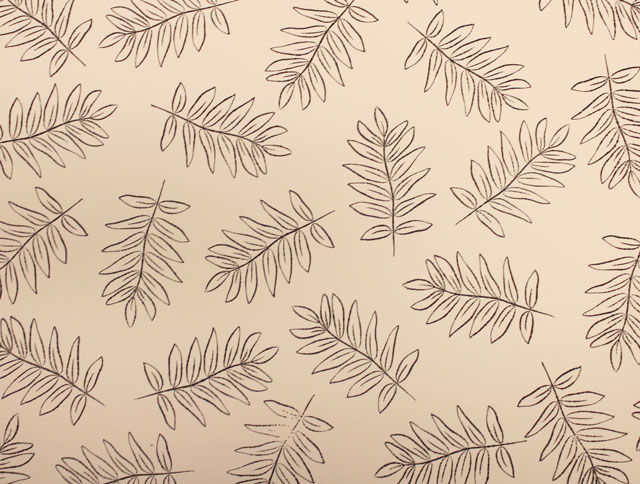
I began by stamping a 8.5 x 11 inch sheet of white cardstock with a leaf from a stamp set that is part of our October 2015 Release which will be available at the end of this month in black ink.
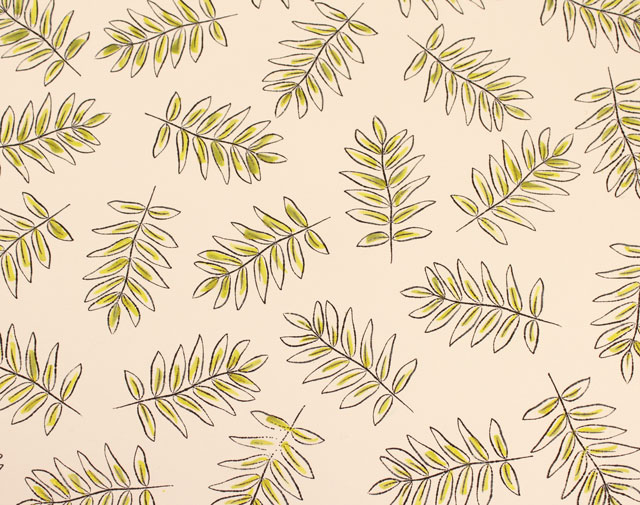
Then I used Smooch in kiwi, a product that was sitting on my desk that I've had for years and finally used by coloring in the leaves with it following the stroke in the center of each leaf. Around the green of the leaves I used a white crayon to then act as a resist.
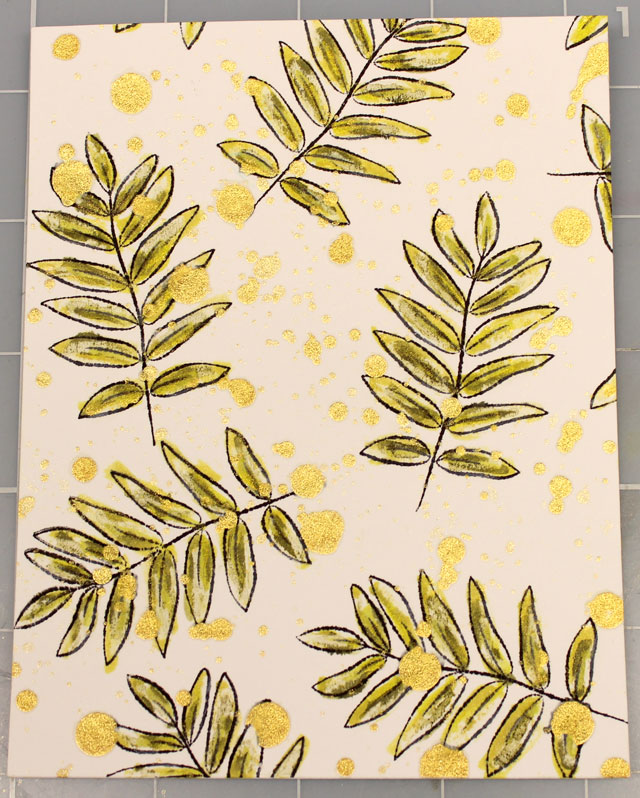
From there I cut the piece of cardstock into four (4) 4.25 x 5.5 inch panels. On one panel I watercolored in the leaves with crushed olive and forest moss Distress Inks with a waterbrush and then flicked gold spray all over the panel.
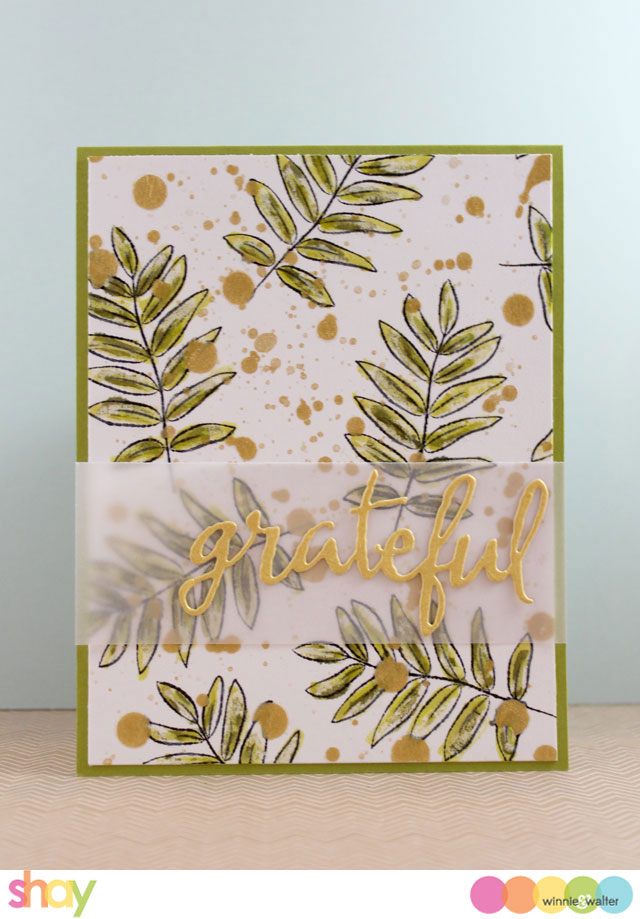
To make a simple card using this panel I cut the panel to 4 x 5.25 inches. I cut out "grateful" from The Big, the Bold and Blessings Cutaways from gold cardstock and adhered it to a strip of vellum which I attached to the stamped panel. Then I attached it all to a green card base.
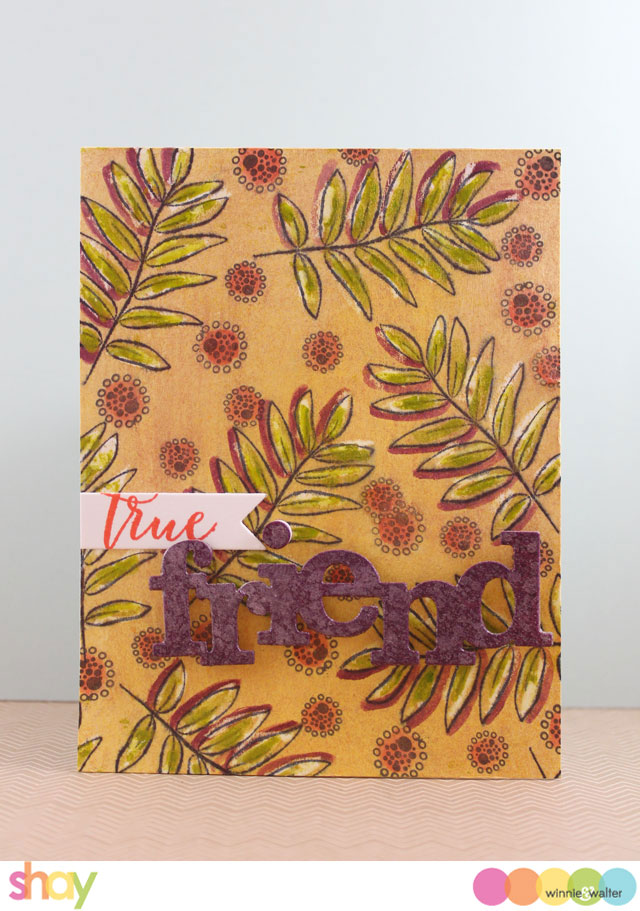
On another panel I sprayed the panel with peach, gold and mango colored sprays. I went in and added more of Smooch in kiwi to the leaves. I allowed it to dry. Then I stamped the circular patterns found in In Bloom: Lola's Bouquet with Joni Andaya in black ink and colored them in with ripe persimmon Distress Ink with a waterbrush. Around the leaves I shadowed the left leaves with seedless preserves Distress Ink.
To create a card from this panel I cut out In a Word: Friend Cutaway from purple cardstock and a piece of chipboard. I glued together the cardstock and chipboard together and then sprayed "friend" with shimmer and plum sprays. I attached "friend" to the panel with foam dimensional adhesive. On a banner cut from white cardstock using the Essentials: Katharine Cutaways I stamped "true" from True in ripe persimmon Distress Ink. I then adhered the whole panel to a white card base.
Now your challenge, should you choose to accept it, is to build your own masterboard background and create at least one (1) card using your masterboard by Sunday, October 11, 2015 at 11:55 p.m. CST. For the more ambitious do as many cards as you like from your masterboard and link them up!
I just know you will amaze us. :-)
Prize: One randomly chosen project that is linked up will win $50.00 gift credit to the w&w shop.
>>>LINK UP<<



YOU have amazed us with your masterboard background; absolutely fabulous! Ideas sparking...
ReplyDelete~c
Wow!! beautiful background!! Love it!!
ReplyDelete-Berina
Moxie Craftie
How fun! I had almost used a leaf stamp to create a background for one of the cards I made today, but I decided not to do so. Now I will have to go and create more cards lol.
ReplyDeleteLove your master board idea, and I must say that the leaf image is gorgeous!
ReplyDeleteGreat tutorial and I love the different cards you created. Hope to join the fun soon. Hugz
ReplyDeleteBeautiful background and card! Thanks for the great inspiration!
ReplyDeleteTake Care!
Michele
Love doing this - great inspiration Shay. Am going to have lots of fun with these great challenges! Cheers!
ReplyDeleteWOnderul idea to create a masterboard and use it differently ,loved both the cards !
ReplyDeleteBeautiful masterboard by itself and then to change it with various colorings is awesome. Each card is great. Thanks for showing us a new technique.
ReplyDeleteWow!! What a great idea!! This will be fun to try!!
ReplyDeleteThis is so inspirational! I'm itching to try it!
ReplyDeleteBEAUTIFUL backgrounds, GORGEOUS colouring and DELIGHTFUL cards Shay!!!
ReplyDeleteTHANK YOU for sharing your INKY INSPIRATION!!!
... I confess that I am a bit of a nervous stamper, so your challenge is going to really be a challenge for me, an EXCITING CHALLENGE that I look forward to accepting :)
What a great idea, and beautiful cards. Thank you for sharing.
ReplyDeleteI can't wait to try this out! Fabulous cards, Shay!
ReplyDeleteI really like this idea...will have to find some stamps and make multiple cards like this.
ReplyDeletewow..I totally love this idea Shay ..would surely give it a try...TFS :)
ReplyDeleteI had so much fun with your challenge, Shay! Must remember this idea for down the road!
ReplyDeleteSuch a lovely idea to make your own unique gorgeous pattern paper !
ReplyDeleteCheers
Dr Sonia
Shay, your cards are stunning! Great backgrounds :)
ReplyDeleteLove how you gave each one it's own character! My fav is the last one!
ReplyDeleteLove the touch of gold on the first card!
ReplyDeleteYou have shared some really great background building ideas, Shay. Thanks. And all your cards are just amazing. :)
ReplyDeleteWhat a great way to save time and be creative, love the suggestion! Gorgeous samples too!
ReplyDeleteLove the tutorial and the sneak peek, very pretty can't wait to see the whole new release .
ReplyDeletethanks for the tutorial, I'm so bad at this technique. I went digi so I arrange them the way I like but I may give the stamps another shot. Yours turned out great!
ReplyDelete