
Hello there loverlies! We are so delighted to be sharing the news that we have an exclusive and limited STAMPtember® stamp set, Big Bloom (which we unofficially call Heidi's Big Bloom) and coordinating die set to celebrate this joyous month-long stamp event at Simon Says Stamp! As you may well know we have a great deal of love and admiration for Simon Says Stamp and the people behind such an extraordinary brand like founder Heidi Klausing Crowl who makes it all possible. We feel incredibly blessed to have this opportunity to join in.
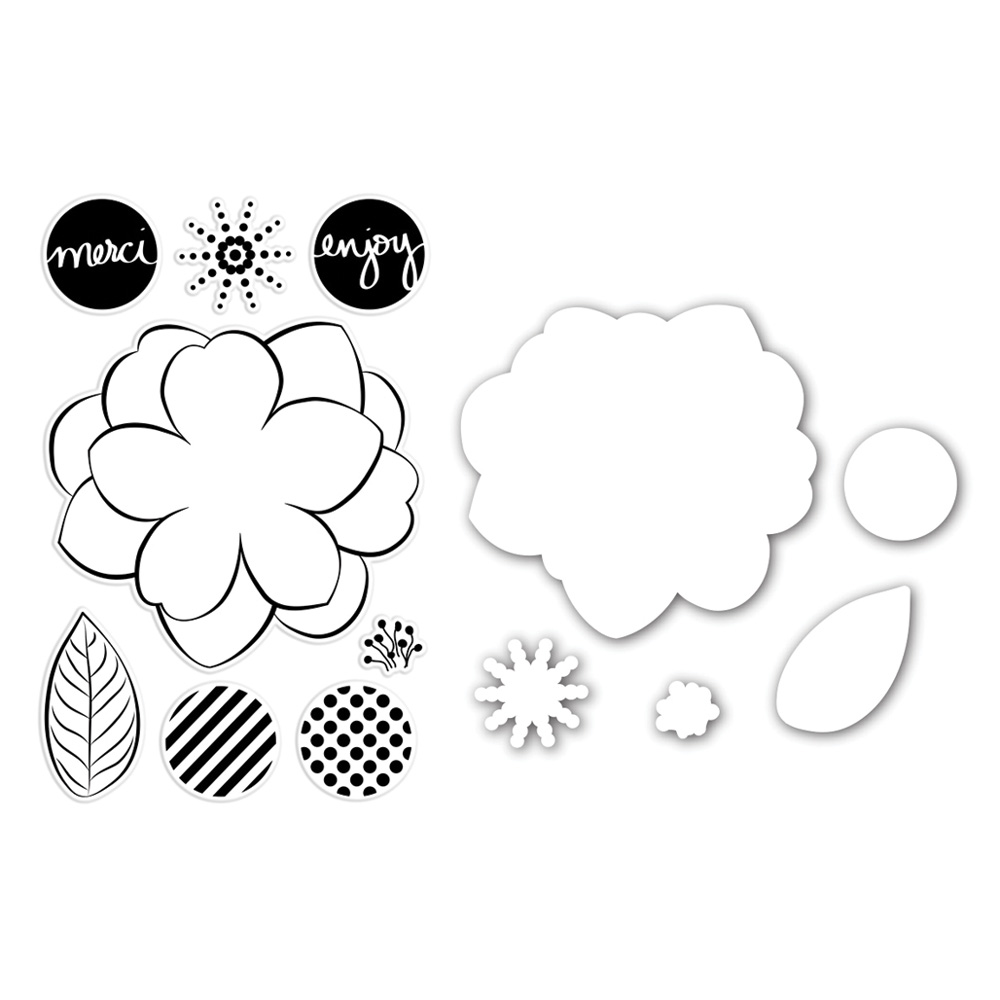
We designed a beautiful big flower in the style of In Bloom: Addie's Garden that is perfect for coloring, layering and/or paper piecing.
We hope you love it as much as we do. :-)
We wanted to share our joy for Big Bloom and we and our ever stellar Talent have lots of gorgeous inspiration for you!
Julie
Hello everyone! I’m so happy to be sharing my project using the brand new EXCLUSIVE stamp set Big Bloom that we designed for Simon Says Stamp’s HUGE STAMPtember® event. We are so honored to be part of the party this year and I just want to say a big Thank You to Heidi and the whole team from Simon Says Stamp for inviting us. This flower has endless possibilities with the variety of centers, but the centers themselves can be used with other cards or to create fun backgrounds.
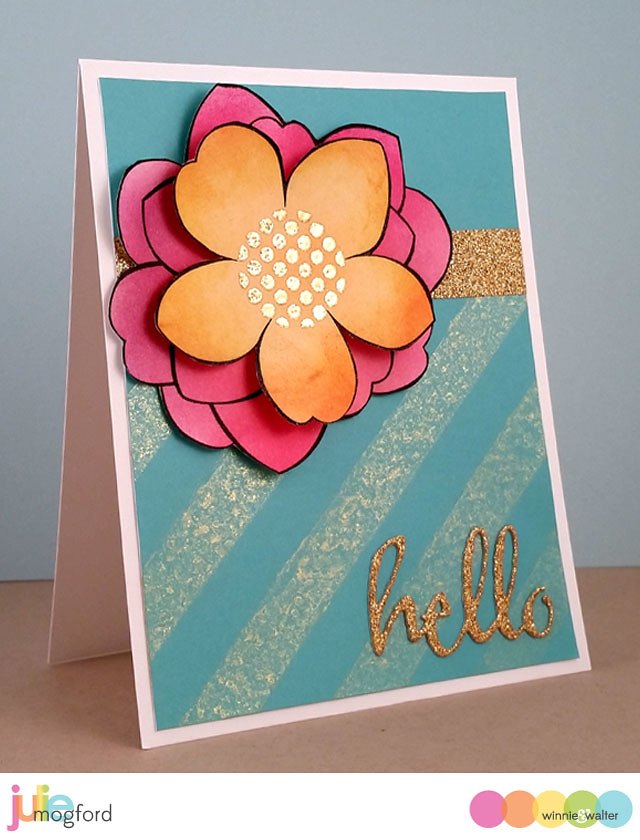
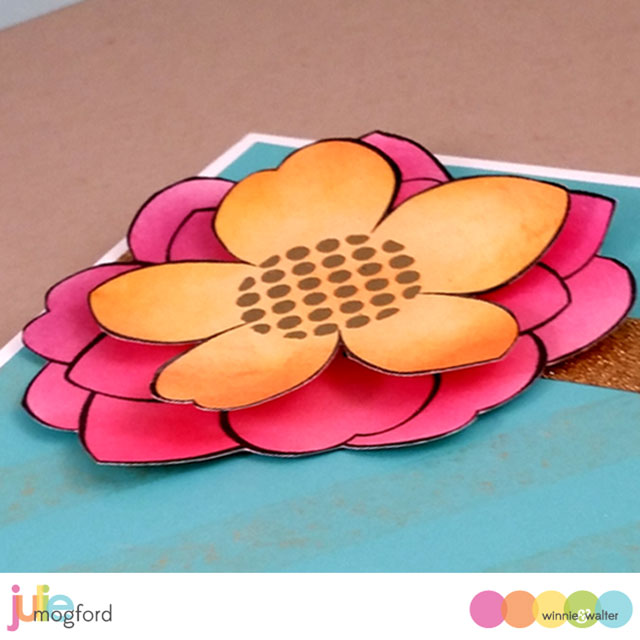
For my project, I stamped the Big Bloom flower twice on Neenah Solar White cardstock and inked one in shades of pink distress ink (spun sugar, worn lipstick, picked raspberry) and the other in shades of yellow and orange distress ink ( dried marigold, wild honey) and just a hint of pink (more spun sugar and worn lipstick). I cut these by hand and stamped the polka dot center on the yellow flower, embossed in gold, and popped this layer up with foam adhesive.
The background is an aqua / teal paper from Studio Calico and I sectioned it off so I could add a faint gold spritzed diagonal created using the Scenery: Classic Diagonal Creative Screening and Heidi Swapp Color Shine in Gold. I have added gold glitter tape to the top, dividing the background, and used the same gold tape for the cut out of the hello sentiment from The Big, the Bold and the Happy Cutaways. Love this color combo with the gold. And yes, as I am writing this post, I am realizing I'm just one color away from using all of the w&w logo colors on this project. Happy accident!!!
Winnie & Walter fans, we hope you love this set as much as we do!
Shay
I am a big admirer of large stamps that can be the star of a project and Big Bloom is just that! I love paper piecing as a way of coloring an outline image and then when you can cut up the image and create layers of patterned paper layers...oh my! This was one of my visions for this stamp set when Julie and I were working up the idea and design of it. I love how Julie brought it to life and used the same style as she has for In Bloom: Addie's Garden (and some future sets being released in October wink, wink).
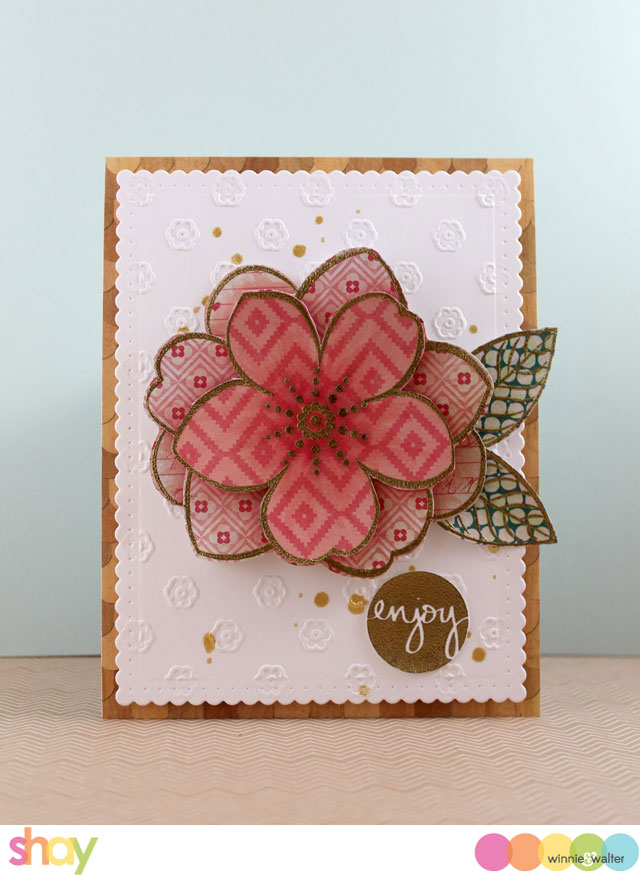
I picked out 3 pink patterned papers with different tones and one green patterned paper from the Crate Paper Poolside 6x6 paper pad and Crate Paper Oh Darling 6x6 paper pad. I stamped the flower in Versamark on each of the 3 pink patterned papers and heat embossed each with gold embossing powder. I stamped the leaves twice in Versamark on the green paper and embossed it with gold embossing powder as well. I then decided on the lighter paper being the base with each layer being slightly deeper in tone. I cut 3 leaves off the middle flower layer. For the top layer I cut out the center 5 petal flower which we designed to be able to be cut out easily. On the center 5 petal flower I stamped the ray center in Versamark and heat embossed gold embossing powder.
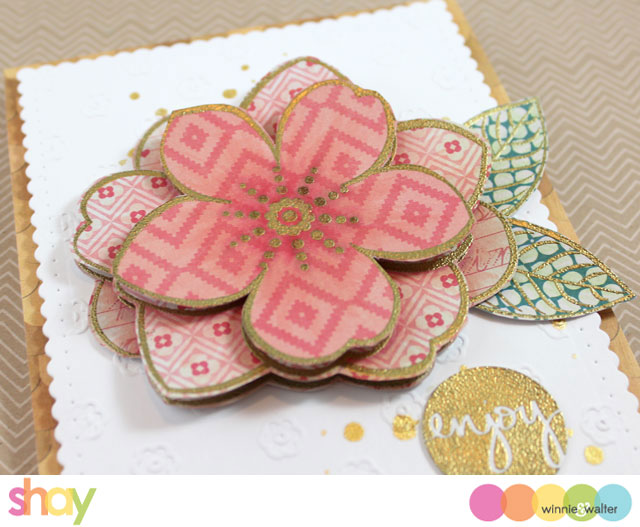
Before putting the flower together I used Copic markers to color in the petals under each level for depth along with the center of the flower and the leaves. I adhered the flower together with foam dimensional adhesive.
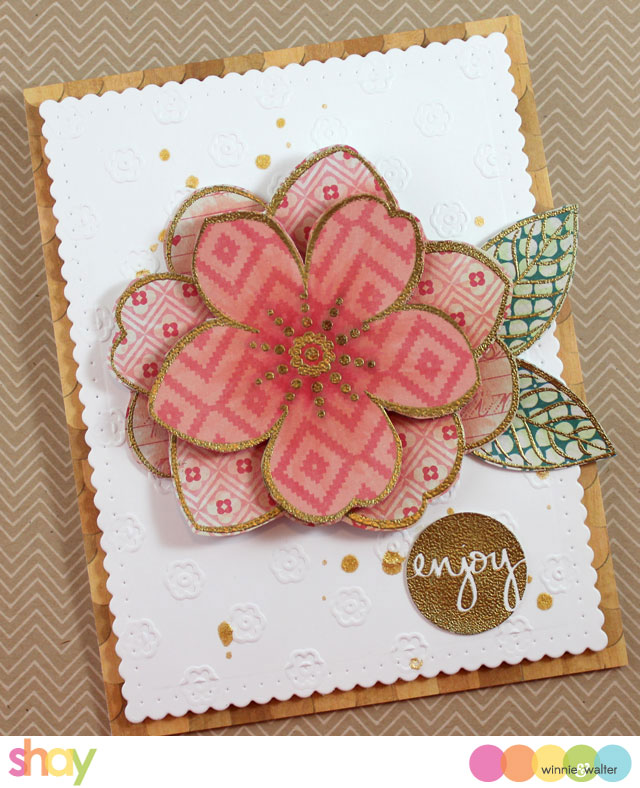
I embossed a white cardstock panel with a Cricut embossing folder and then cut the cardstock with the larger panel from Essentials: Audrey Cutaways. I then dropped some gold mist from Heidi Swapp and then adhered the flower and leaves onto the embossed panel.
I stamped and gold embossed the sentiment circle and punched it out (all the circles are 1" for easy punching or die cutting but of course the coordinating die set also has a circle die).
Last I adhered the white panel to a card base which has a patterned paper from the Crate Paper Oh Darling 6x6 paper pad.
You haven't seen anything yet! Wait until you see what The Talent has created. Wow!
The Talent
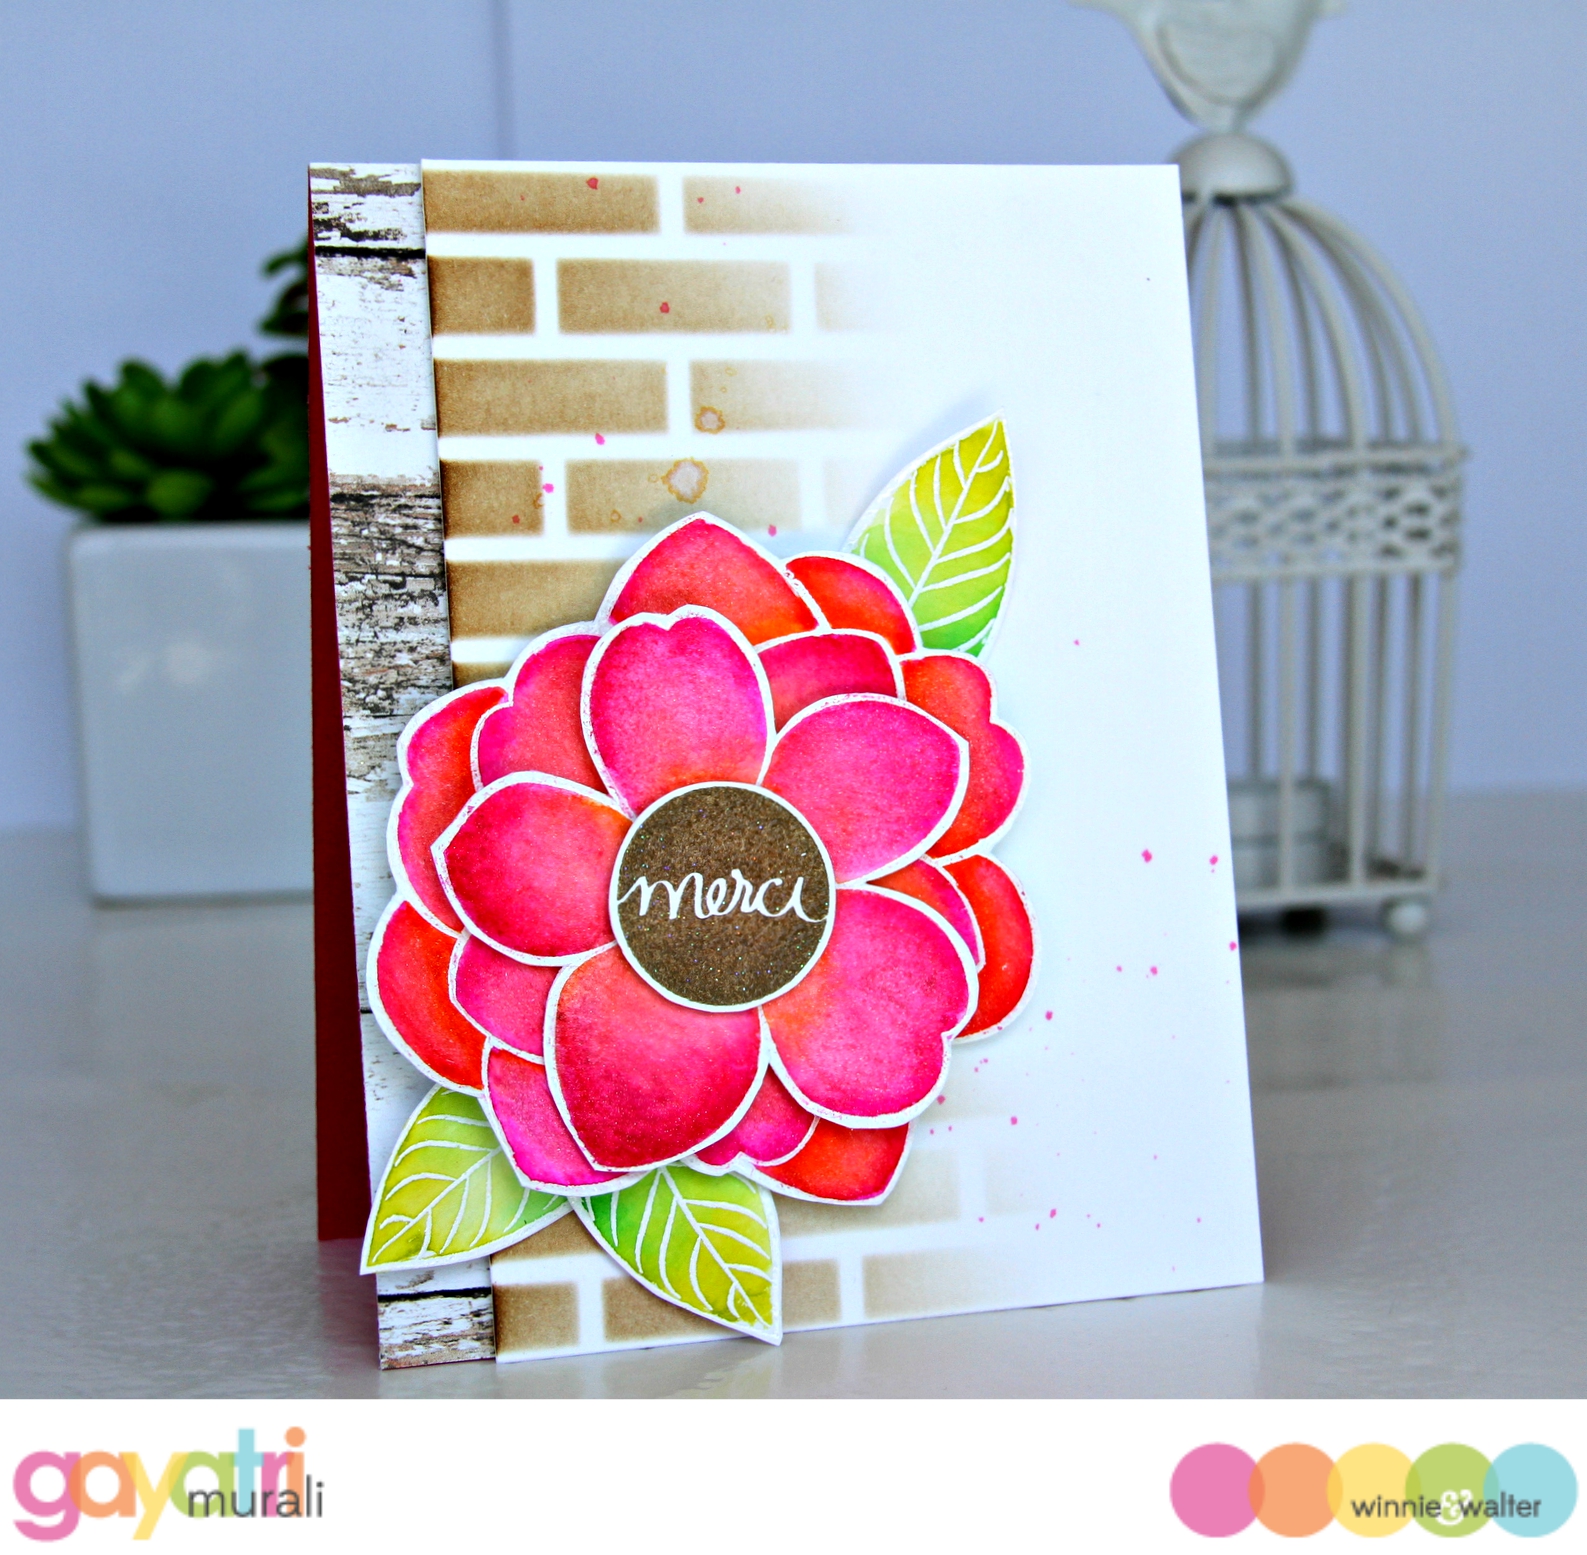 CLICK HERE to see more from Gayatri
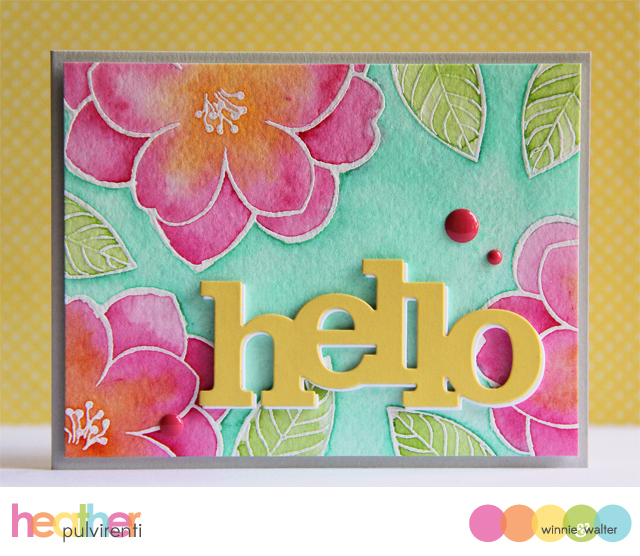 CLICK HERE to see more from Heather P.
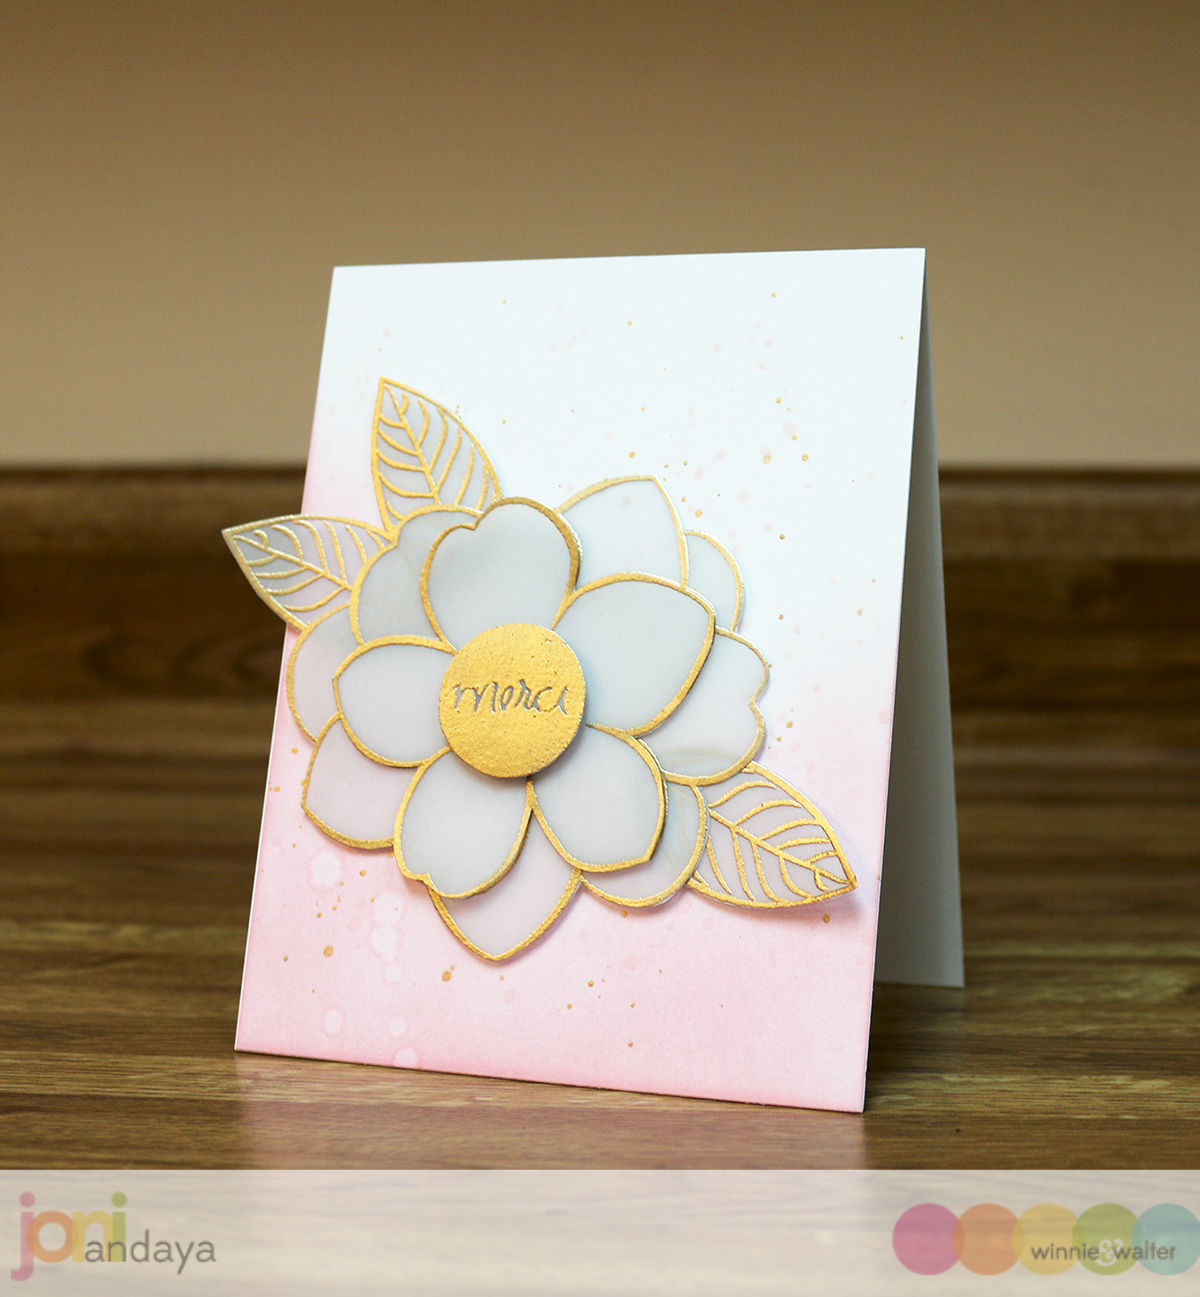 CLICK HERE to see more from Joni.
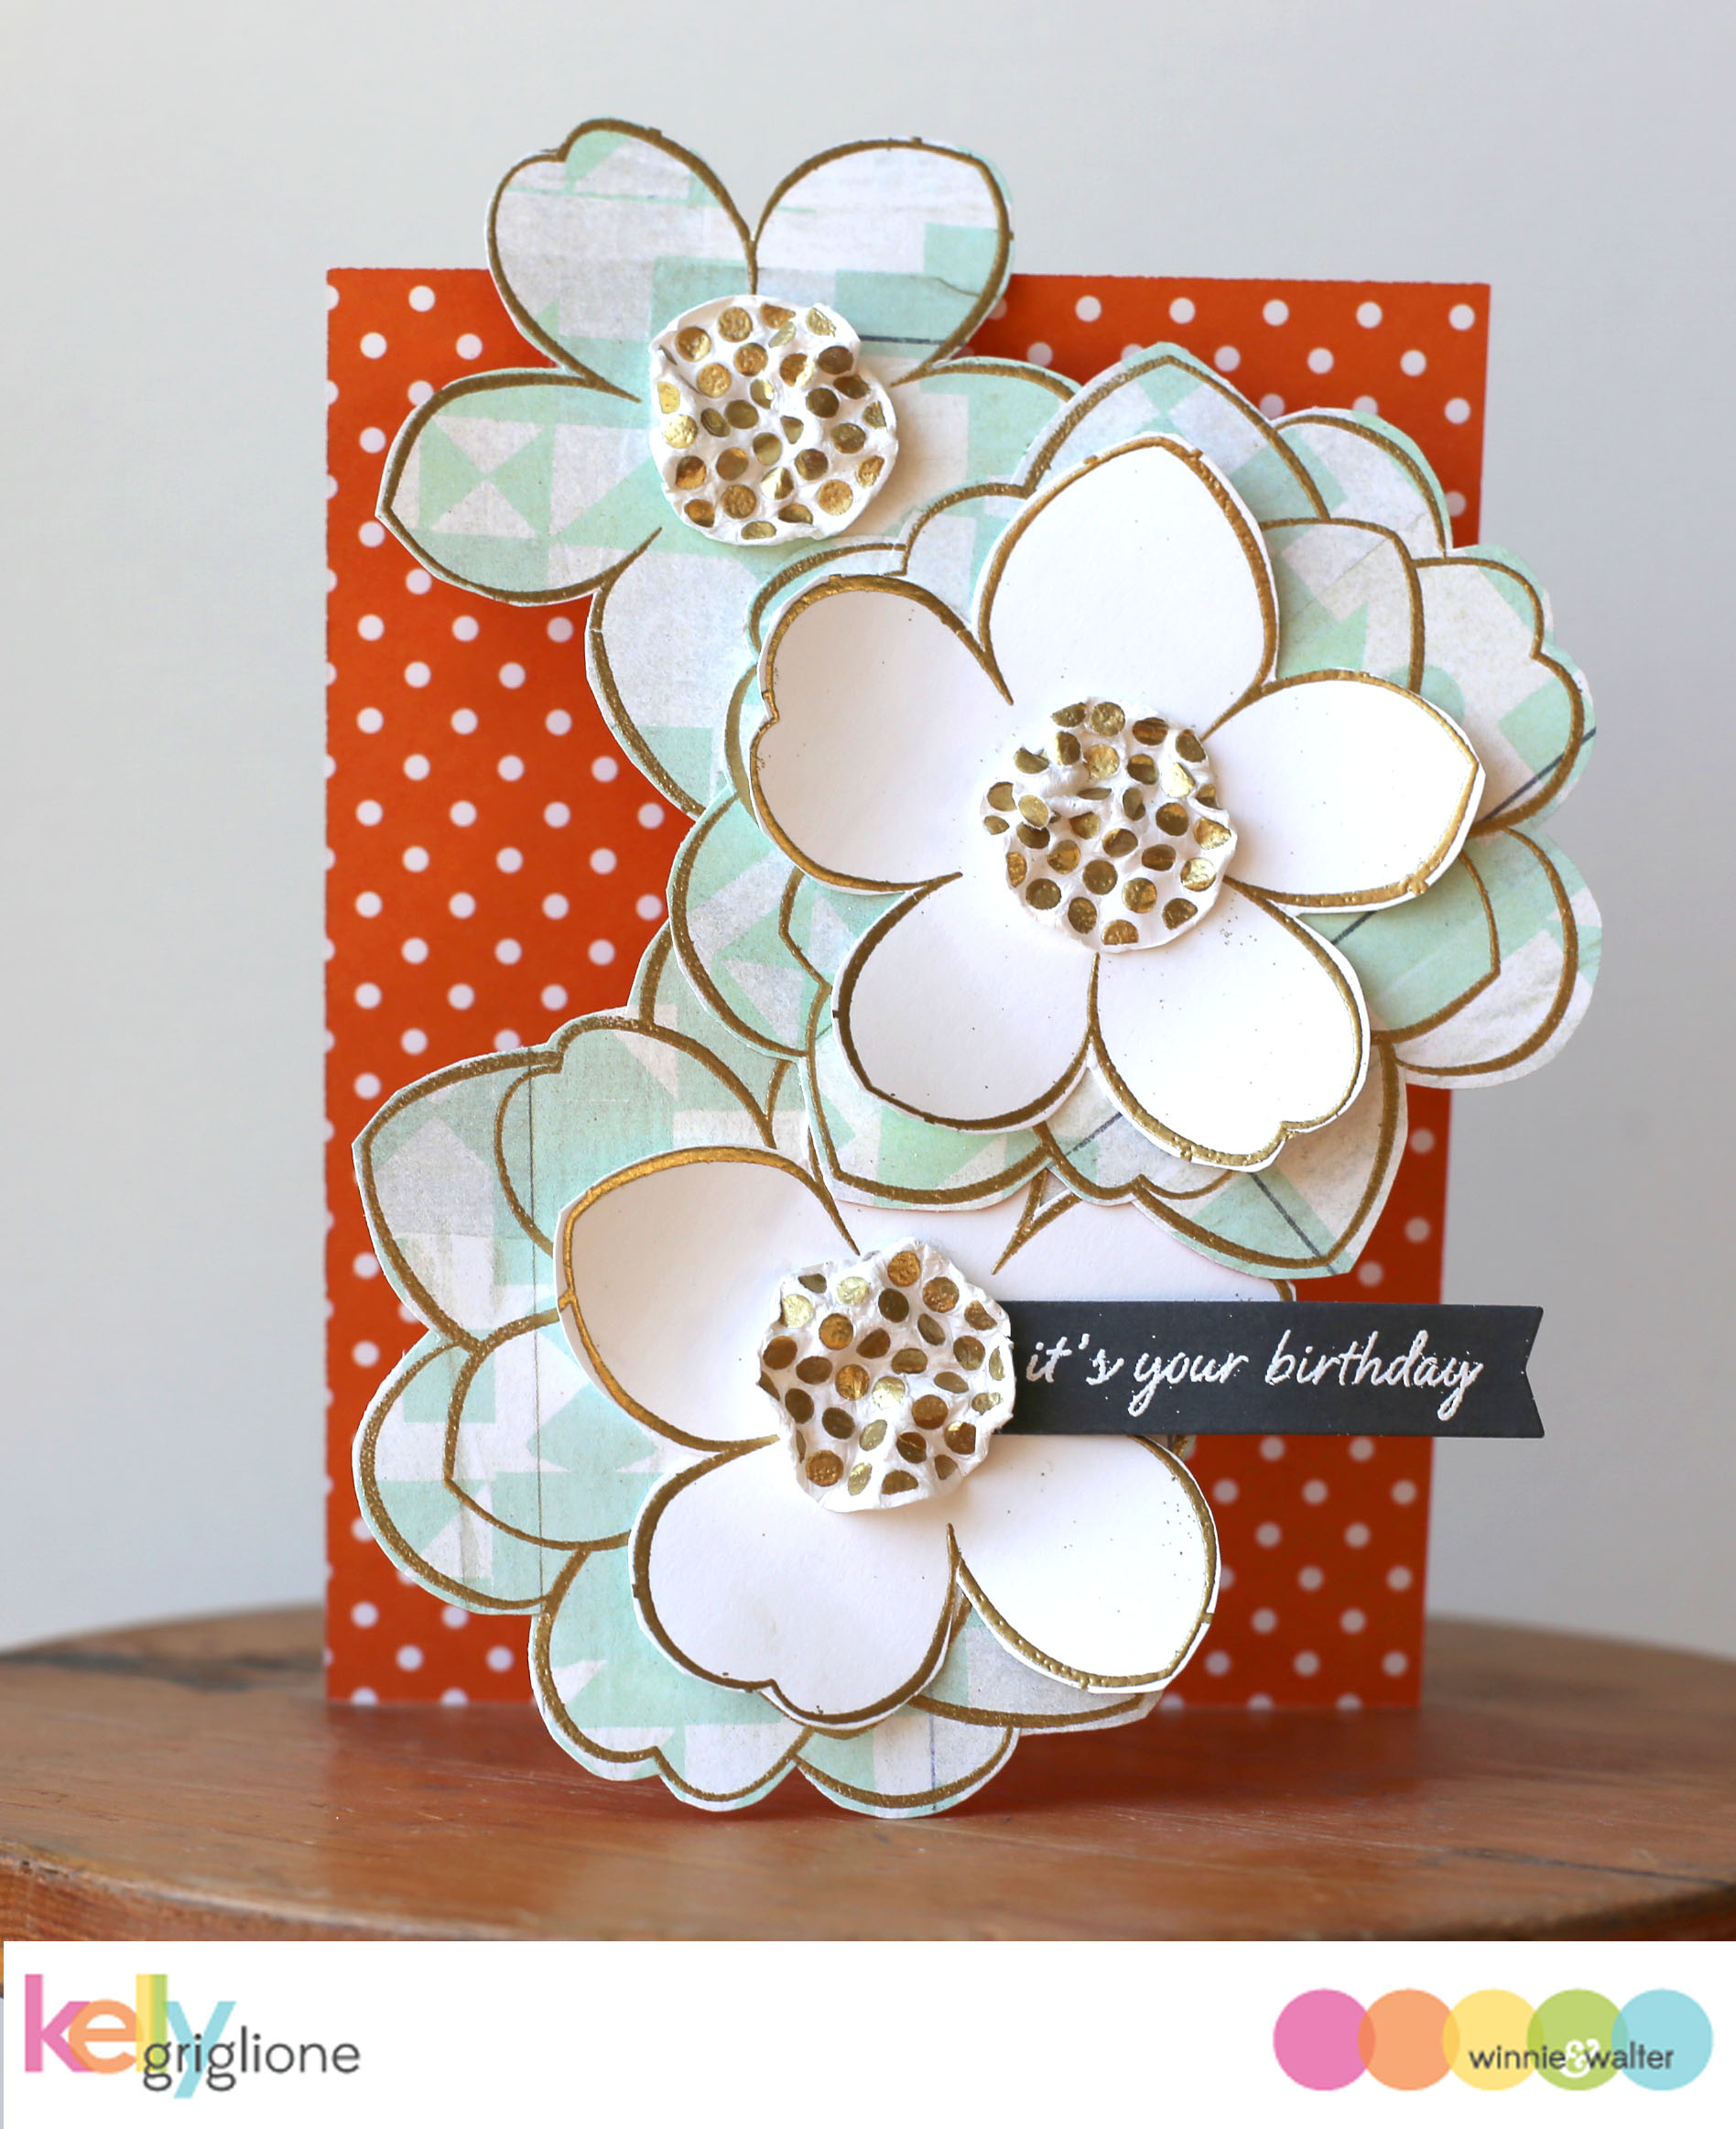
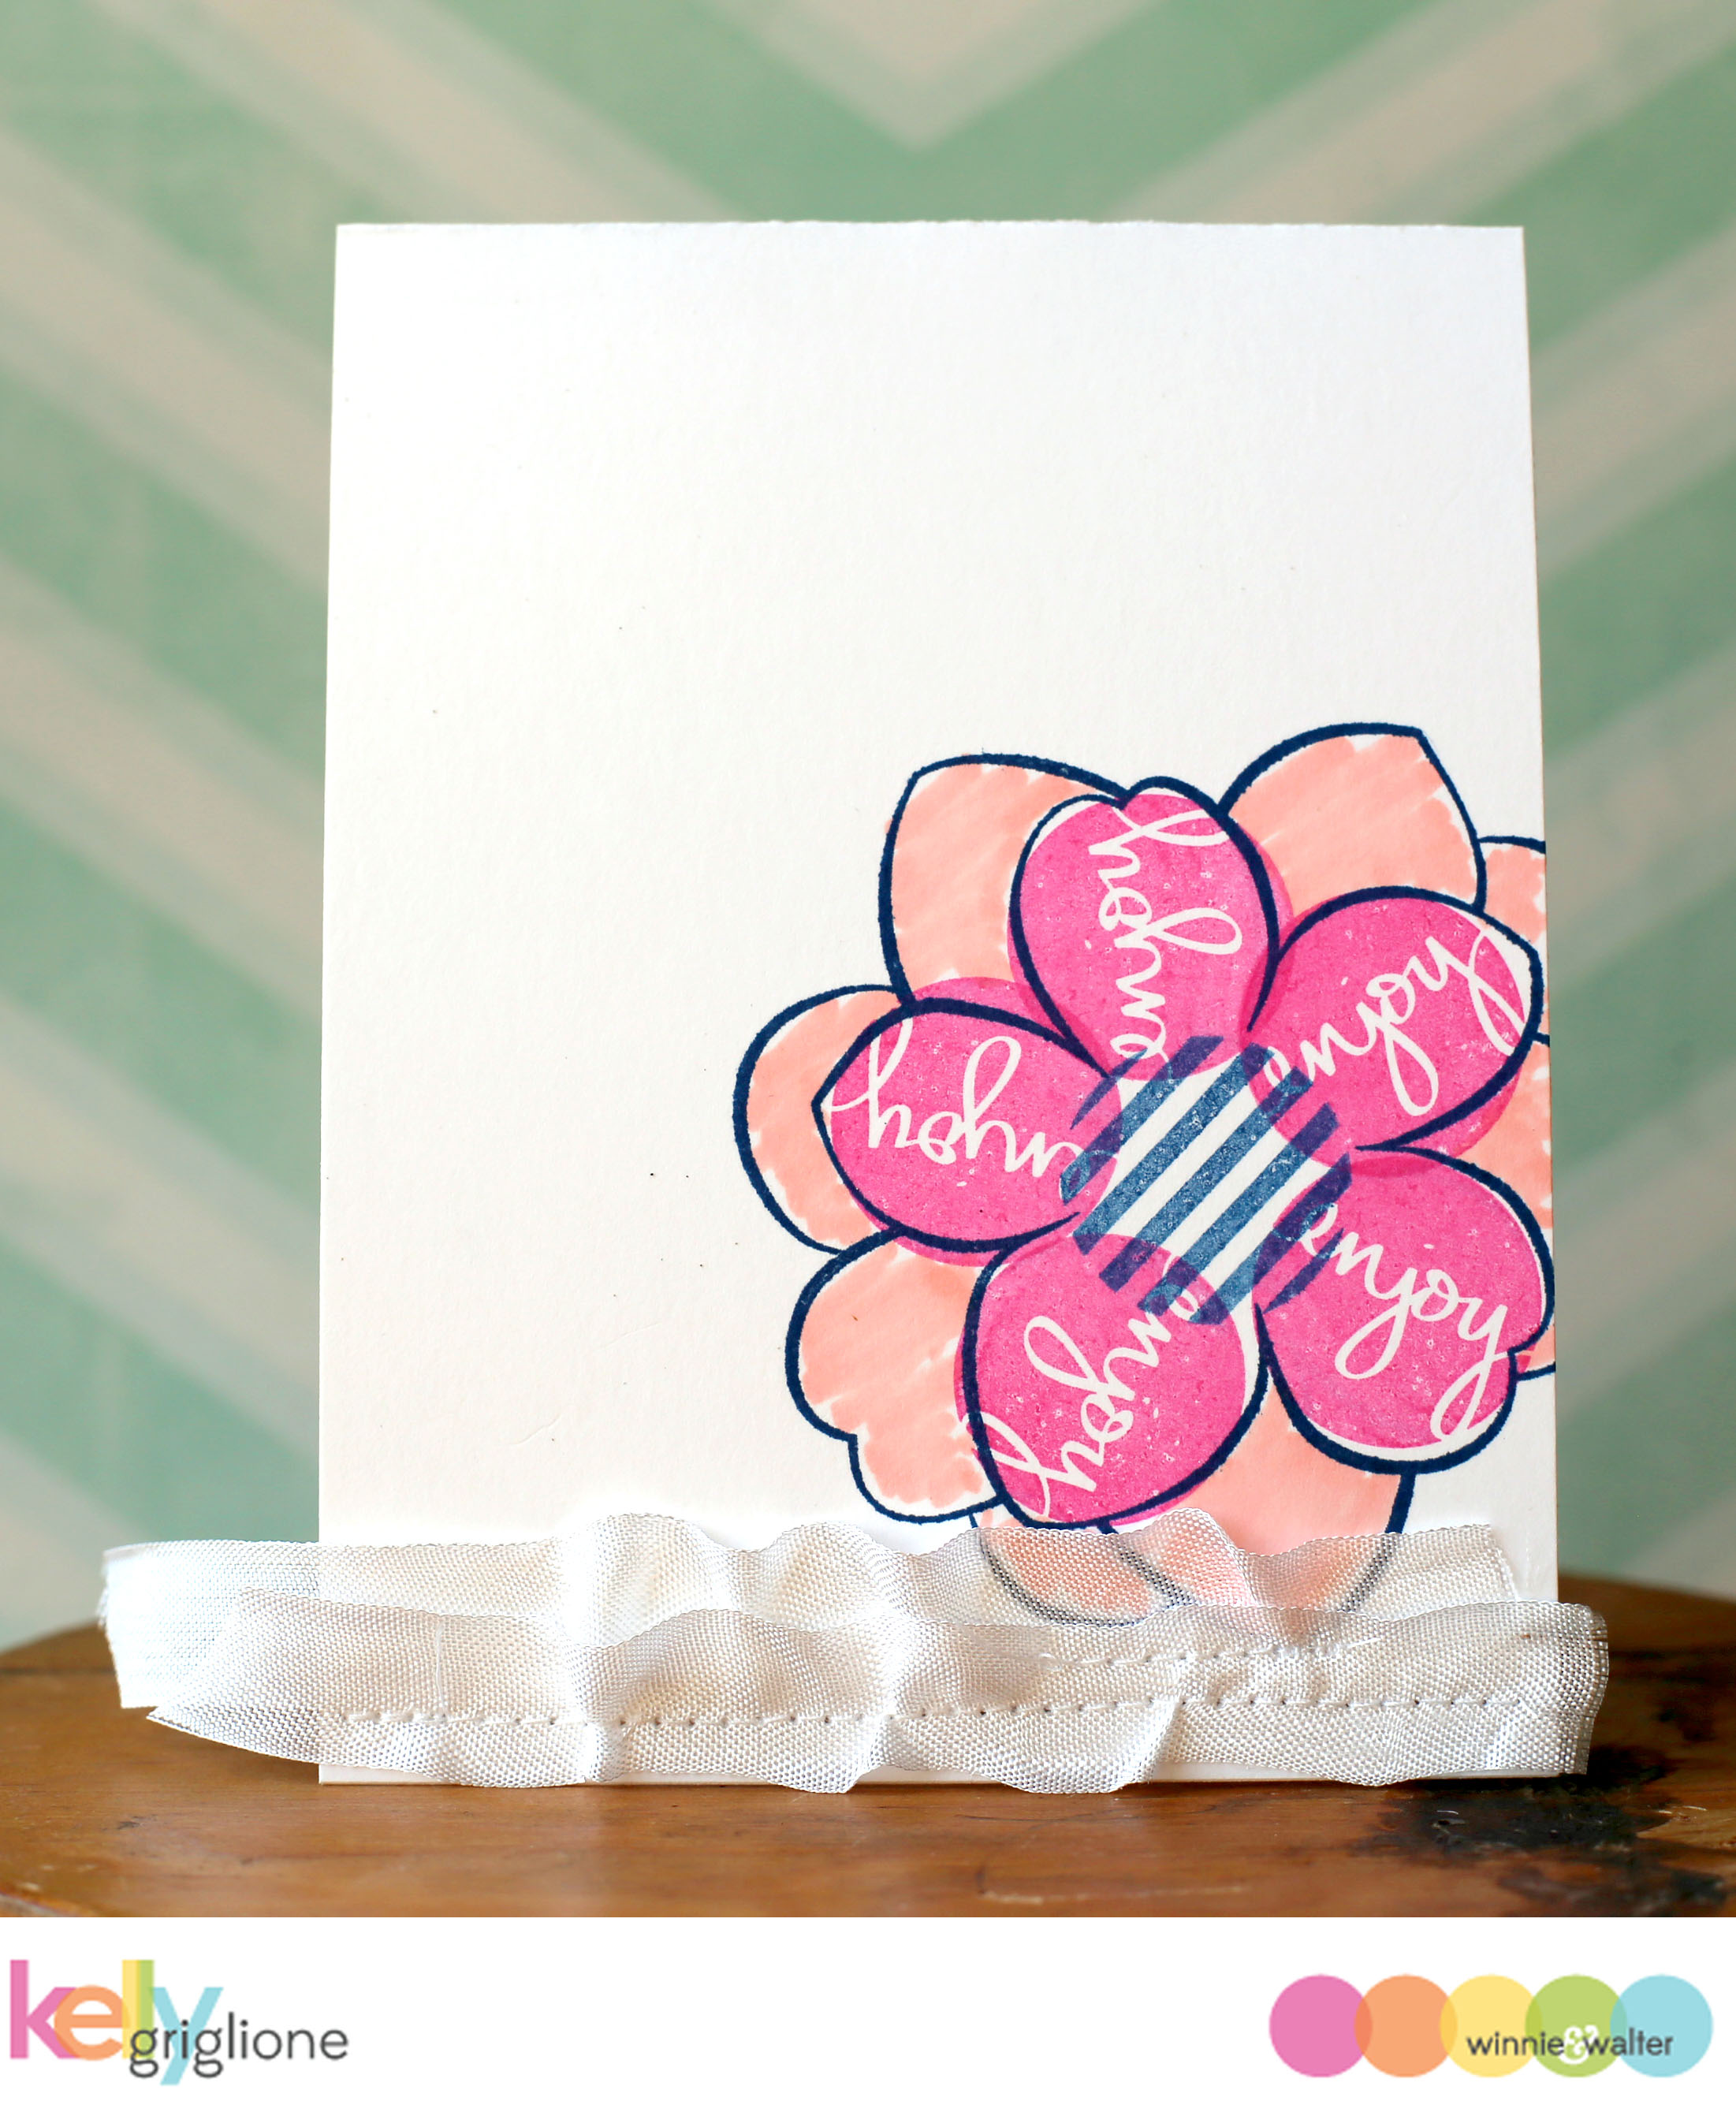 CLICK HERE to see more from Kelly.
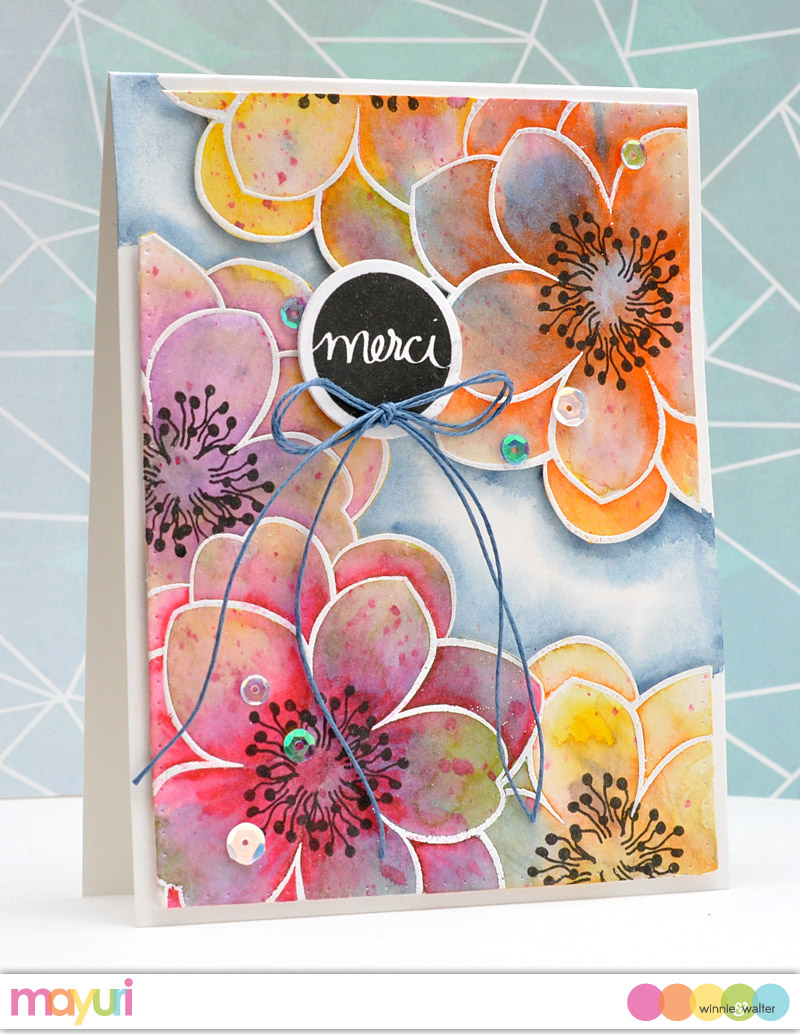 CLICK HERE to see more from Mayuri.
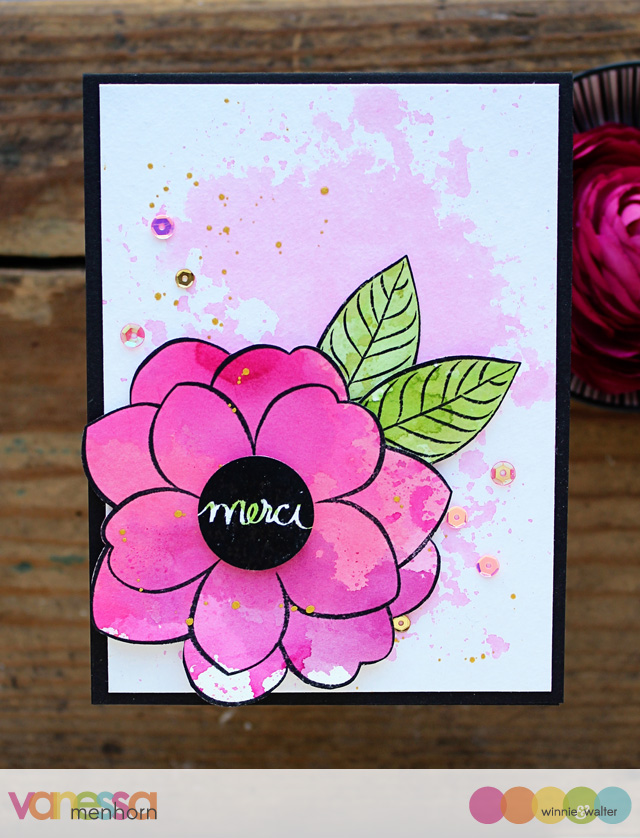
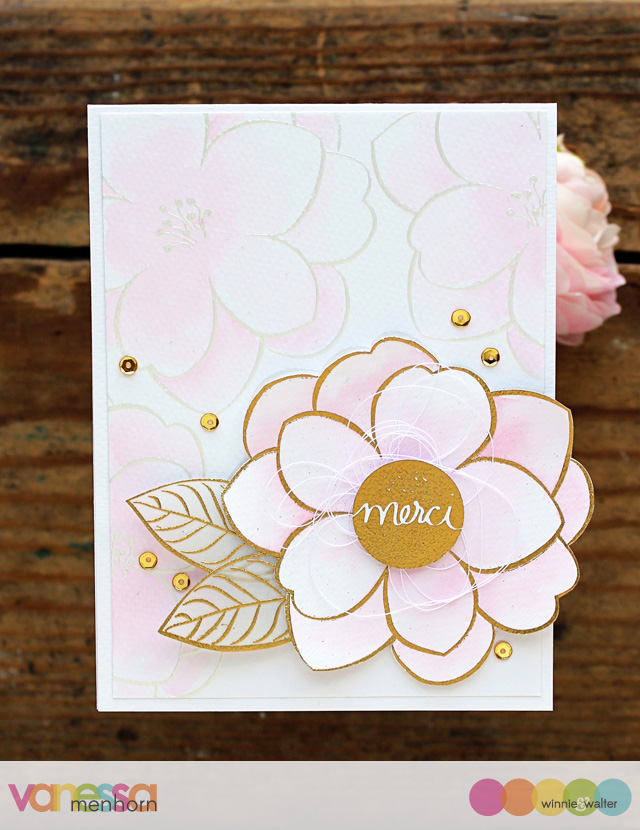
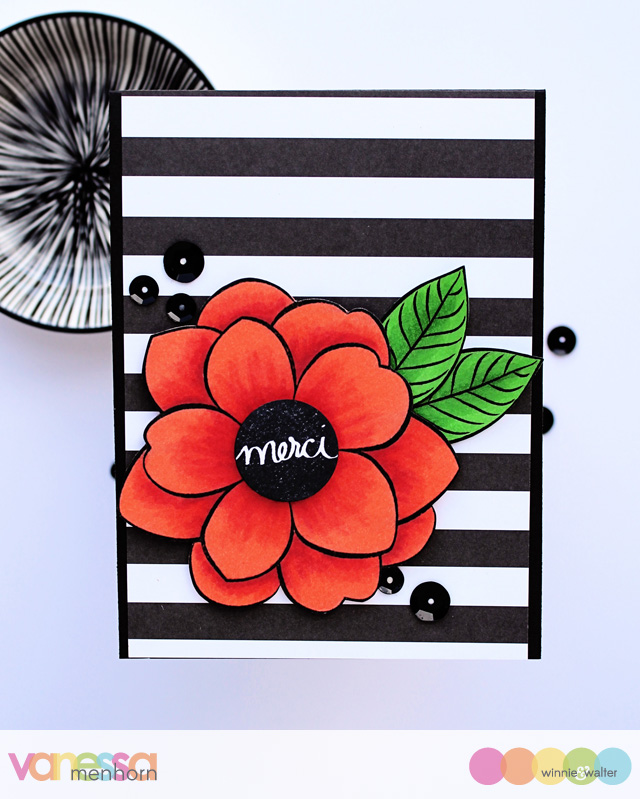 CLICK HERE to see more from Vanessa.
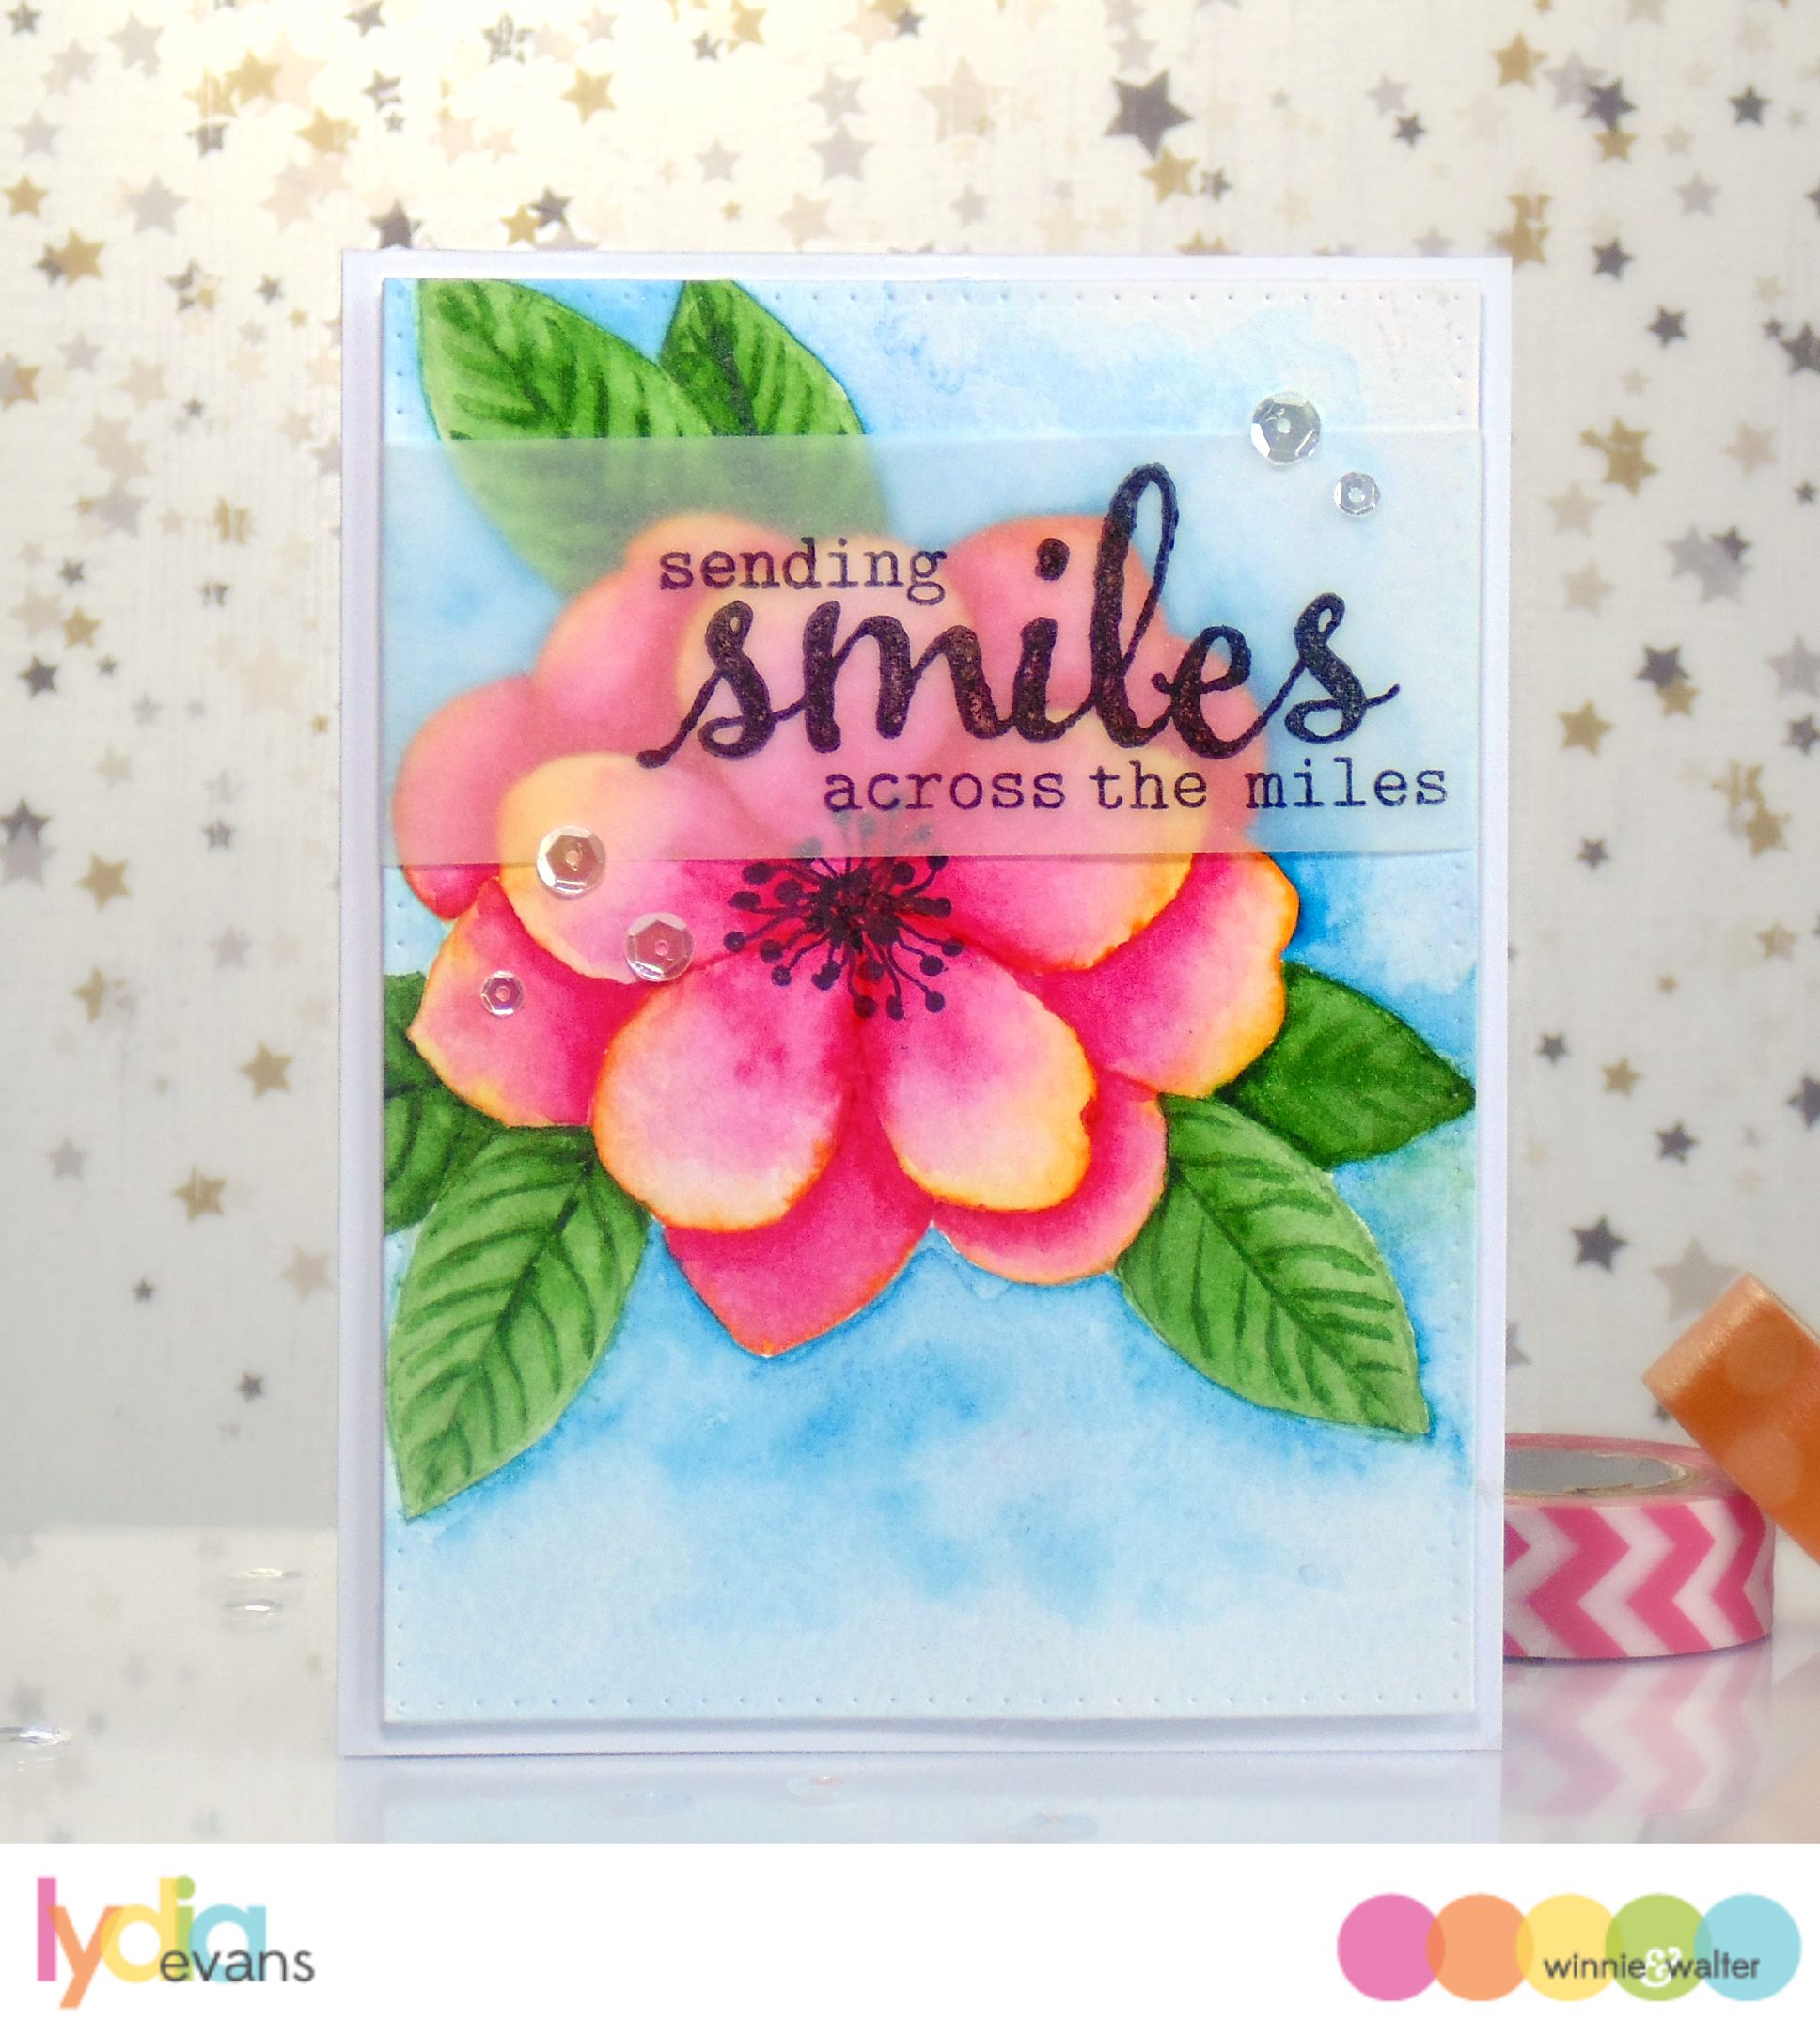 CLICK HERE to see more from Lydia.
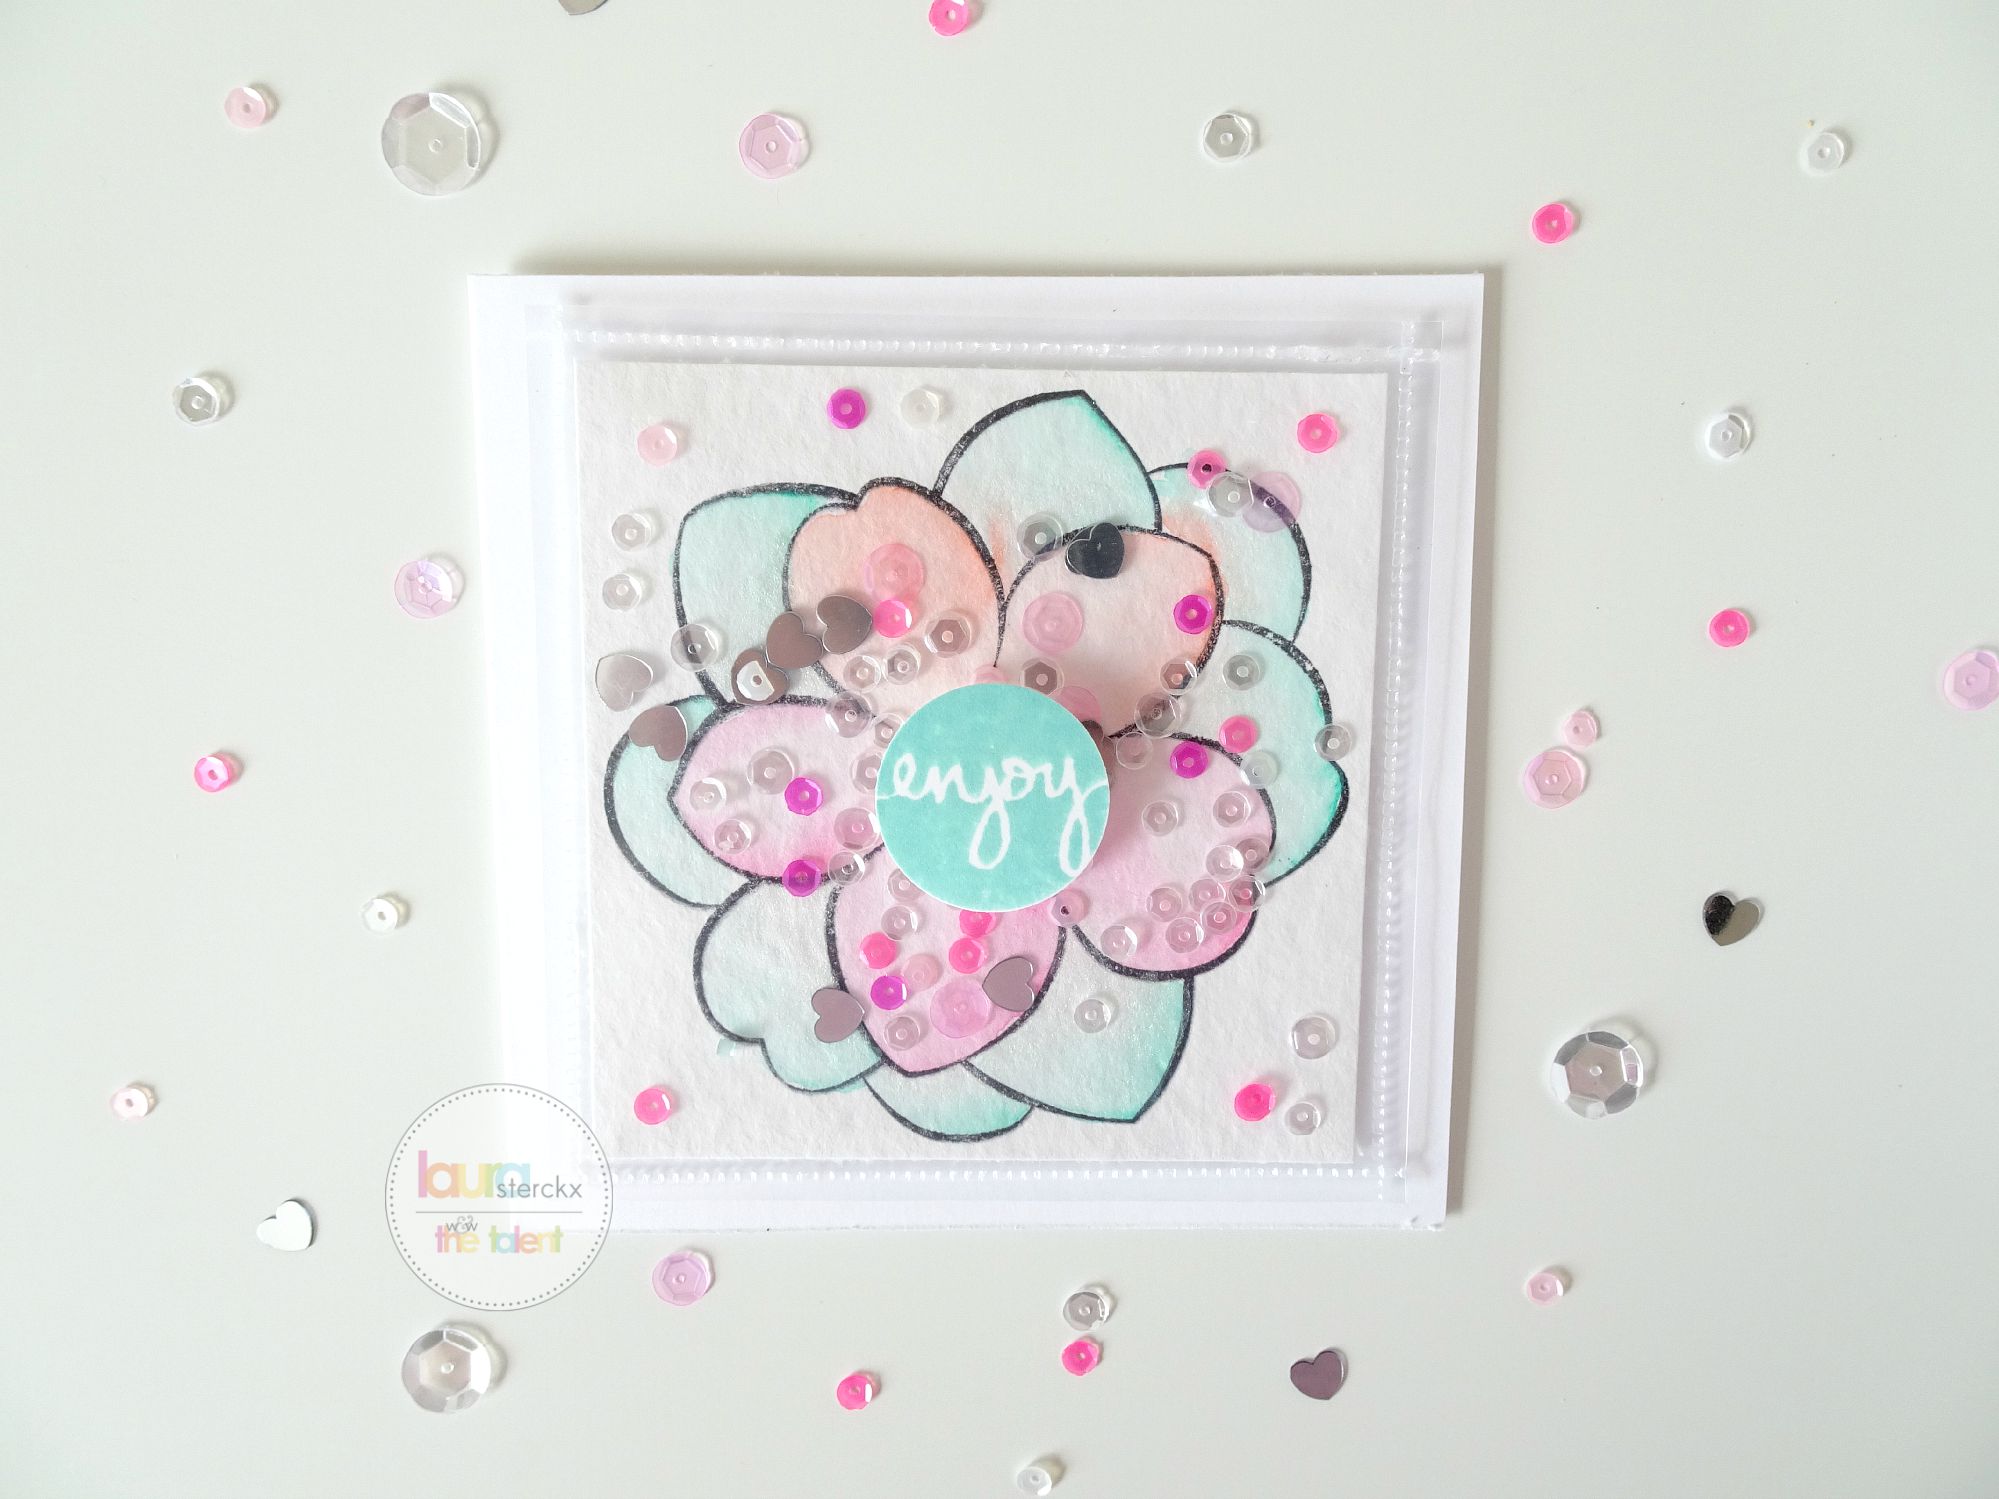 CLICK HERE to see more from Laura.
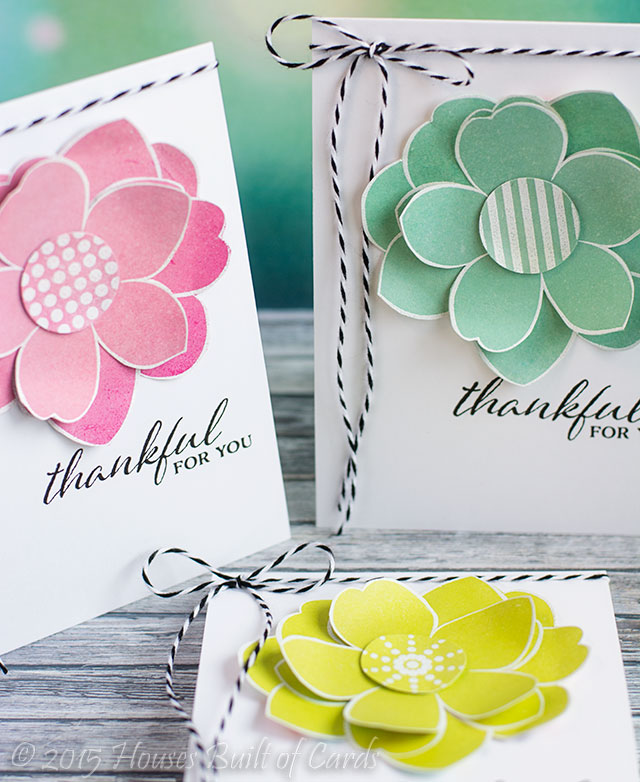
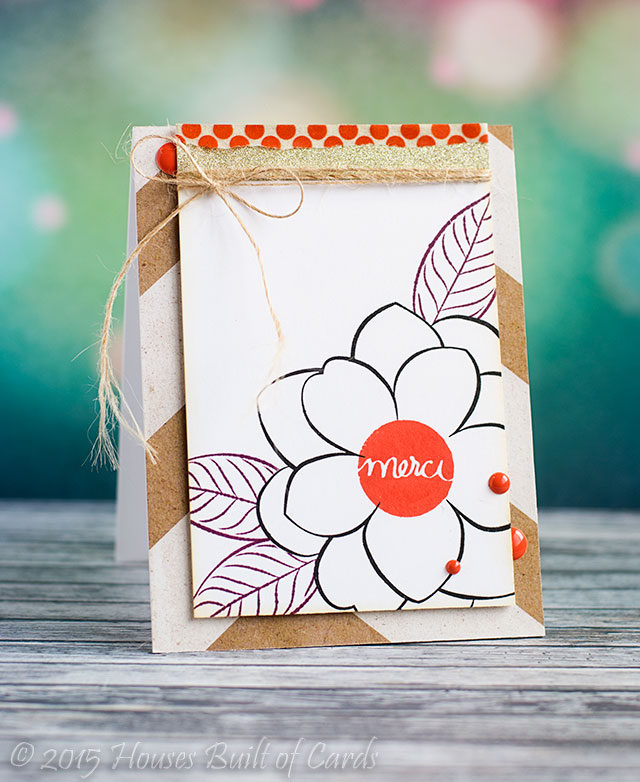 CLICK HERE to see more from Heather Hoffman.
Breathtaking, right?
Don't forget to check out Simon Says Stamp to purchase your very own Big Bloom before they are gone!
Winnie & Walter fans, we hope you love this set as much as we do!
Shay
I am a big admirer of large stamps that can be the star of a project and Big Bloom is just that! I love paper piecing as a way of coloring an outline image and then when you can cut up the image and create layers of patterned paper layers...oh my! This was one of my visions for this stamp set when Julie and I were working up the idea and design of it. I love how Julie brought it to life and used the same style as she has for In Bloom: Addie's Garden (and some future sets being released in October wink, wink).
I picked out 3 pink patterned papers with different tones and one green patterned paper from the Crate Paper Poolside 6x6 paper pad and Crate Paper Oh Darling 6x6 paper pad. I stamped the flower in Versamark on each of the 3 pink patterned papers and heat embossed each with gold embossing powder. I stamped the leaves twice in Versamark on the green paper and embossed it with gold embossing powder as well. I then decided on the lighter paper being the base with each layer being slightly deeper in tone. I cut 3 leaves off the middle flower layer. For the top layer I cut out the center 5 petal flower which we designed to be able to be cut out easily. On the center 5 petal flower I stamped the ray center in Versamark and heat embossed gold embossing powder.
Before putting the flower together I used Copic markers to color in the petals under each level for depth along with the center of the flower and the leaves. I adhered the flower together with foam dimensional adhesive.
I embossed a white cardstock panel with a Cricut embossing folder and then cut the cardstock with the larger panel from Essentials: Audrey Cutaways. I then dropped some gold mist from Heidi Swapp and then adhered the flower and leaves onto the embossed panel.
I stamped and gold embossed the sentiment circle and punched it out (all the circles are 1" for easy punching or die cutting but of course the coordinating die set also has a circle die).
Last I adhered the white panel to a card base which has a patterned paper from the Crate Paper Oh Darling 6x6 paper pad.
You haven't seen anything yet! Wait until you see what The Talent has created. Wow!
The Talent
Breathtaking, right?
Don't forget to check out Simon Says Stamp to purchase your very own Big Bloom before they are gone!

