BREAKING NEWS:
BLOGLAND, Jan 6 (w&w HQ) - Ringing in the New Year and with it the possibilities for many daring exposés, critically acclaimed trend-reporting feature, The Gossip Column, returns with a rock-solid exclusive of its latest, celebrated trend in the papercrafting industry.
---------------------------------------------
Hi there everyone, and welcome back to another issue of The Gossip Column!! I know many of you have been awaiting the next instalment with baited breath, so I'm delighted to bring you your latest gossip fix, hot off the press!
This month's issue is destined to dazzle, with a focus on one of the hottest trends, not only of the moment, but also of enduring appeal!!
If you're either new to The Gossip Column, or would like a refresher about it, please feel free to digest the
most recent article, or keep reading for a quick recap of what The Gossip Column is all about:
The Gossip Column is an exciting monthly feature, with trend reporting and challenge and giveaway all rolled into one! Heading up this feature is our columnist
Taheerah Atchia!
Each month, Taheerah will bring you an article, hot off the press, featuring a trend of some sort. Her write-up could feature trends reported from anywhere, not just papercrafting! As a part of the article Taheerah will also bring you some projects which interpret the chosen trend into papercrafting in some way - before throwing down the gauntlet for you to do the same! This exciting take on a challenge will still bring you the chance to create projects featuring your favourite w&w goodies, and the chance to win prizes too! But, more on that later!
Without further ado, let's dive straight into the sixth issue of The Gossip Column! We'll now hand you over to our Gossip Columnist, Taheerah!
Opulent. Lavish. Majestic. Throughout the ages, many of the most iconic pieces of art and architecture have featured one material in particular for its marriage of beauty and endurance.
Marble.
Marble is a red-hot trend emerging in papercrafting at the moment - but as with most trends it has already trod the boards in other forms, playing its own small part in a much larger Dance of The Trends (a coined Taheerahism). Our love affair with marble, one of the most beautiful of rocks, is one that spans centuries. Long before we were picking it out for our bathroom tiles, marble was gracing the floors of palaces, the façades of buildings, the hands of sculptors. From the purest white with delicate veining, to the most dramatic of colours with the most vibrant of patterns, marble instantly conveys a message of wealth and prestige. Differences in colour and veining in marble can be traced to particular locations around the globe - and so the use of exotic marble in Roman buildings, for example, was a dramatic statement of the power and reach of the Roman Empire.
[1],[2]
A Roman table top inlaid with large variety of ornamental marble excavated from tombs on Appian Way, a road constructed from Rome to Capua by Appius Claudius Caecus in 312 BC
Relief from the Ara Pacis Augustae (Altar of Augustan Peace), 9 B.C.E. Much of Roman art was heavily influenced by its Ancient Greek equivalents
The History of Art, Greek and in particular Roman, is of great interest to this editor (and one she indeed studied) - but although these impressive works are worthy of an article all their own, let us journey even further back, to the origins of marble itself.
Molten rock (magma) from a volcanic eruption
Casting your memory back to high school geology, you might recall that there are three types of rock: Igneous, Sedimentary and Metamorphic. The three types of rock are intimately locked in a continuous cycle of formation known as the Rock Cycle.
The Rock Cycle
Igneous rocks are formed by the melting and cooling of magma, and can form below the surface of the Earth, surrounded by other rock (intrusive) or above the surface (extrusive). The amount of grain in the rock depends on where it was formed - intrusive igneous rocks have a coarse grain as they cool slowly within the Earth's crust, whereas extrusive rocks have a fine grain as they cool quickly when they are brought to the Earth's surface following a volcanic eruption.
Diorite - an example of an Igneous rock
Sedimentary rocks are formed by the deposition and cementation of deposits at the Earth's surface, and within bodies of water. The particles, or sediment, which form sedimentary rock, are formed by the weathering of rock formations at the surface. There are several different classifications, depending on what the main sediment is that forms the rock.
Dolomite - an example of a Sedimentary rock
Metamorphic rocks are formed by transformation of other rock types, by subjecting them to heat, pressure, chemical processes, or a combination of these. These extreme conditions alter the mineralogy, texture and chemical composition of the rock. Metamorphic rocks may have a banded ('foliated') appearance
[3], which is produced by exposure to heat and directed pressure.
Marble
[4] is a Metamorphic rock (sometimes foliated, though normally non-foliated), typically formed from the parent rock of Calcite (limestone) or Dolomite.
Marble - an example of a Metamorphic rock
Pure marble is formed from the purest of Calcium Carbonate, and as such is pure white and has very little, pale, veining. The veining in marble is formed by the presence of impurities in the rock, such as clay, silt, iron oxides, sand or chert, and the various colours of marble occur as a result of being formed from different various types impurities the parent rock contains.
Although we typically attribute marble as being used in art and architecture, its properties lend it to many other uses too. Marble is actually a relatively soft rock (softer than granite), which allows it to be easily sliced into blocks and carved into sculptures - but its softness also means it is easy to crush. Crushed marble can be found in many other products, from calcium feed supplements to Alka-Seltzer
[5]. It even finds uses in the Cosmetic and Pharmaceutical industries.
You'll never look at Michelangelo's David the same way again.
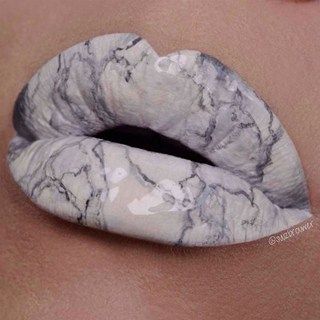
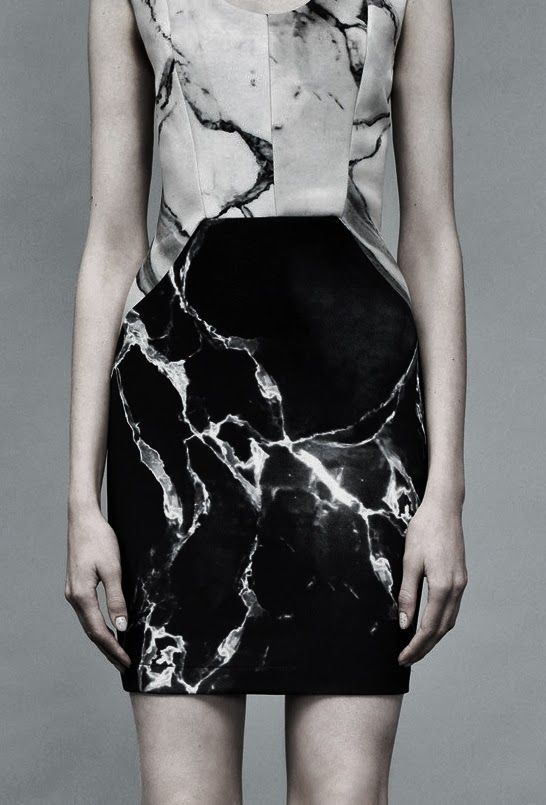
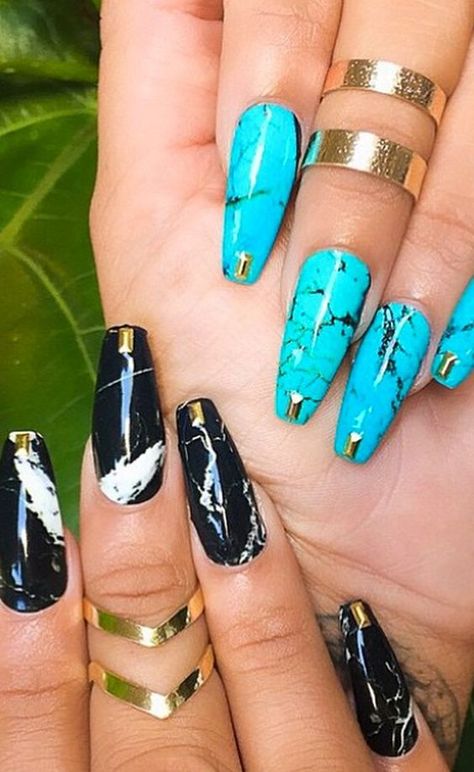
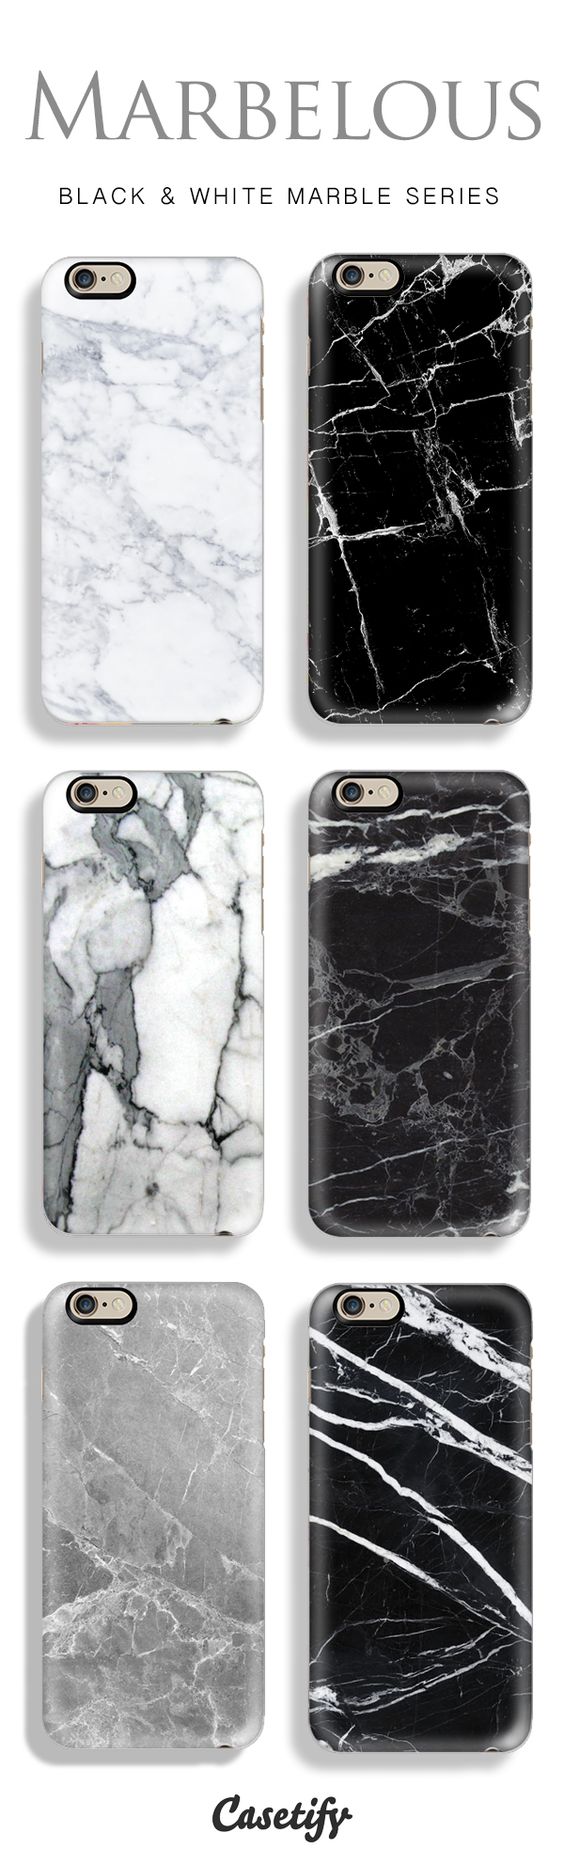
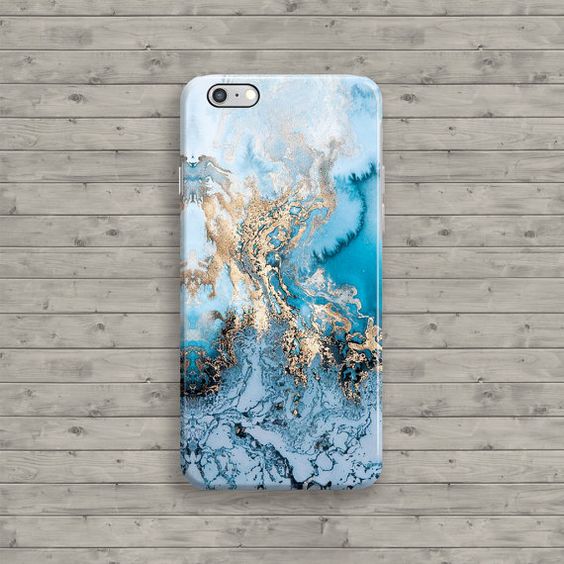
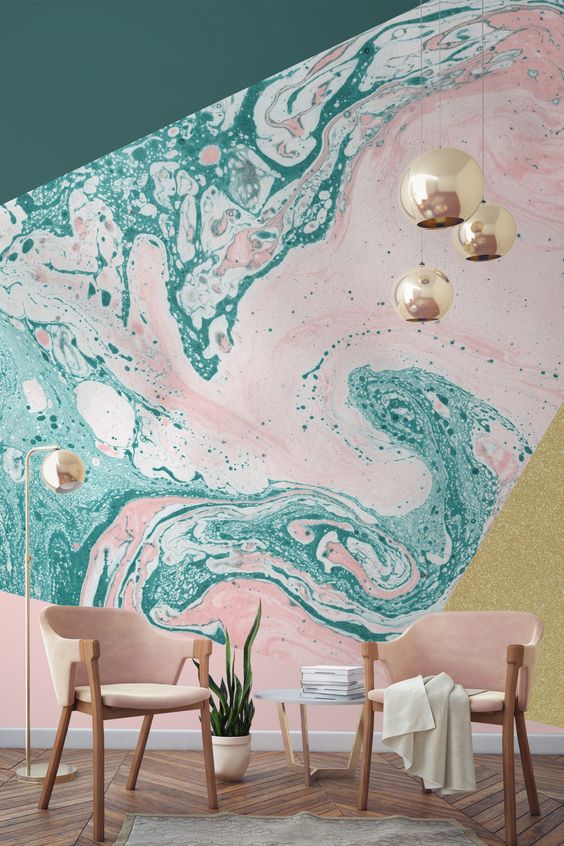
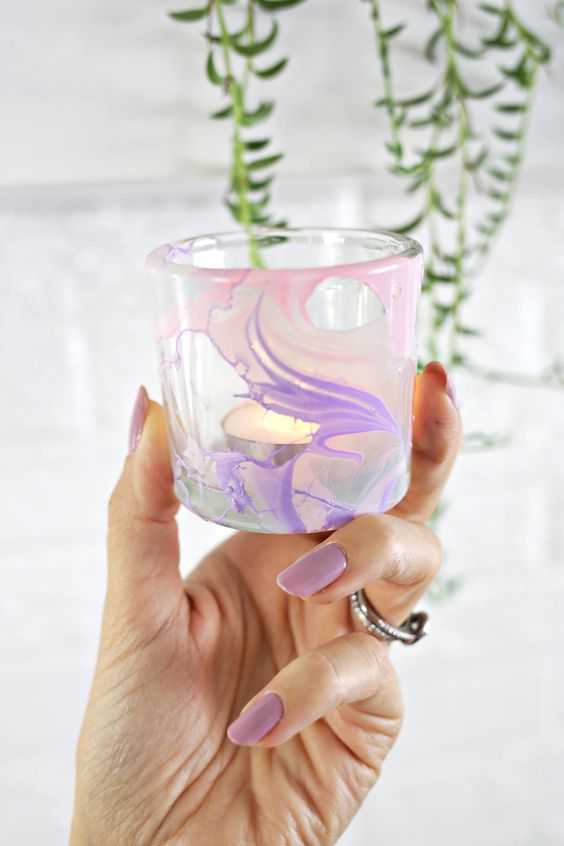
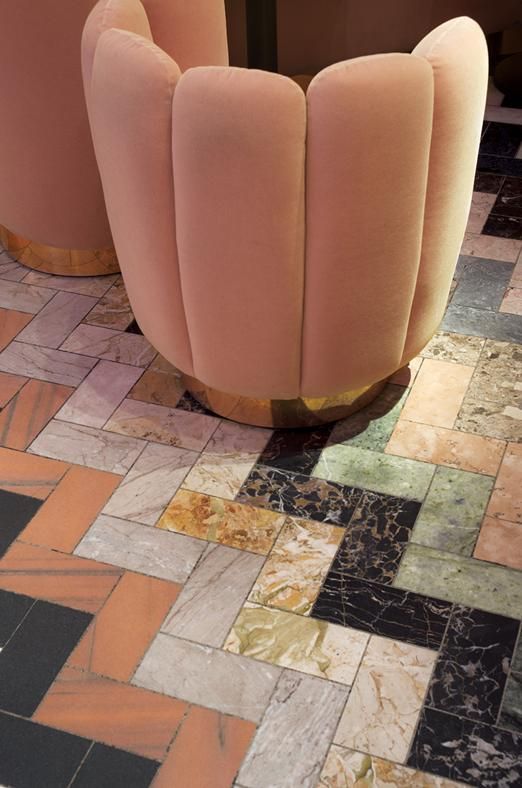
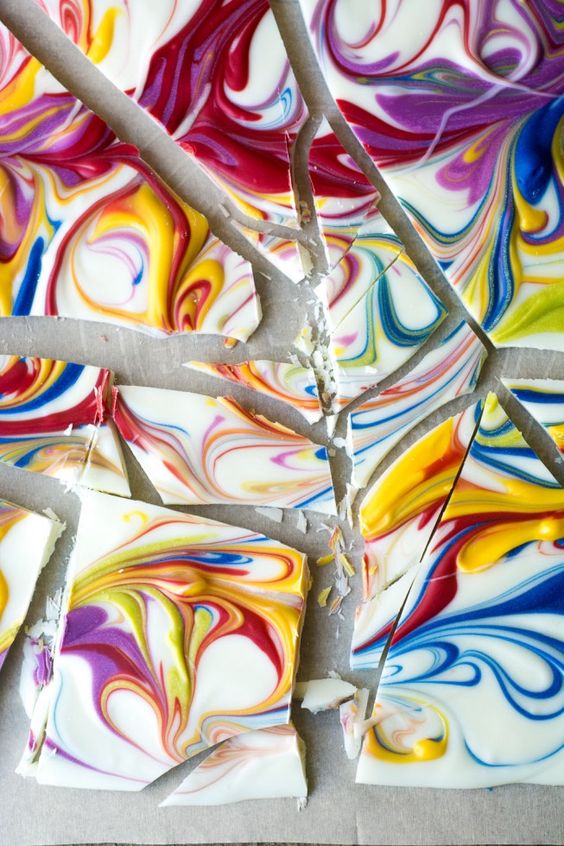
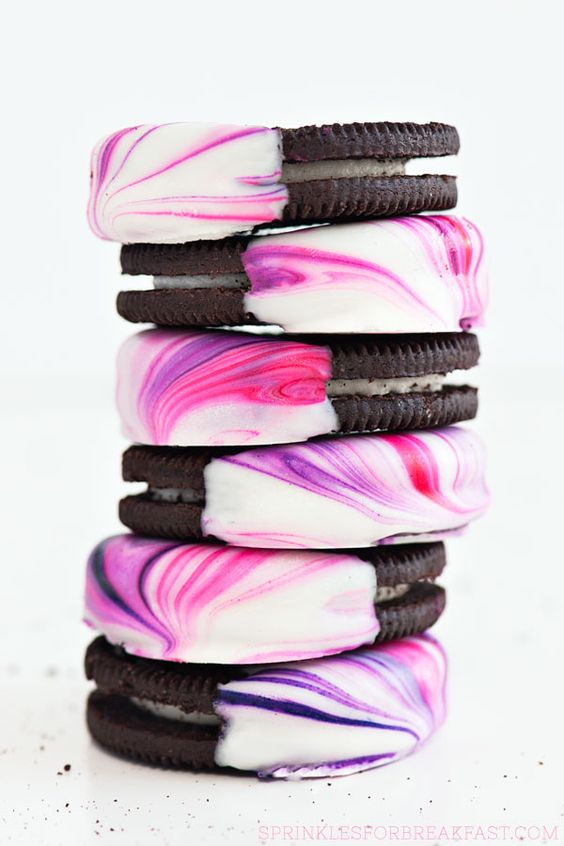
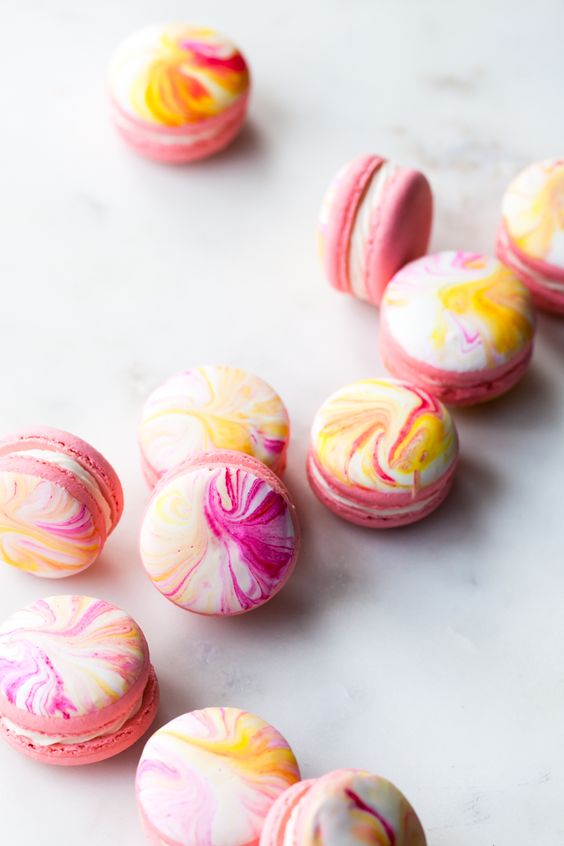
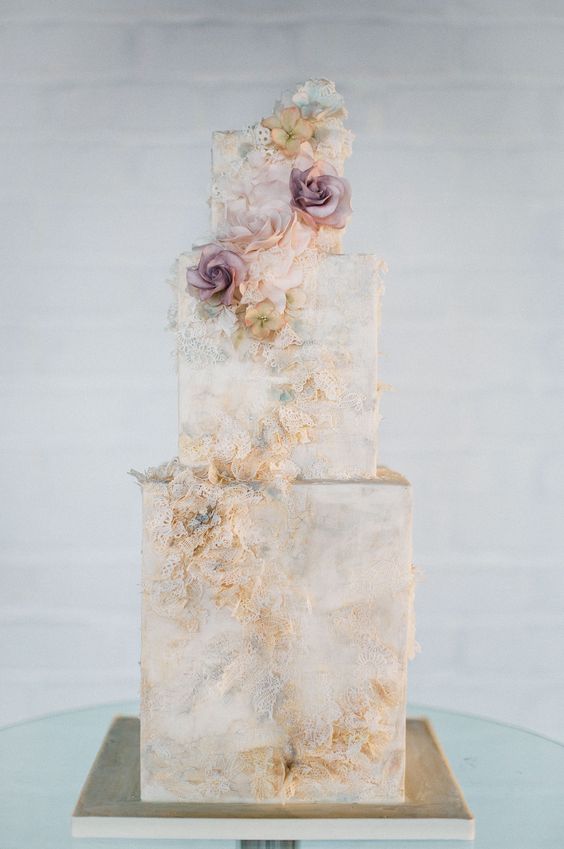
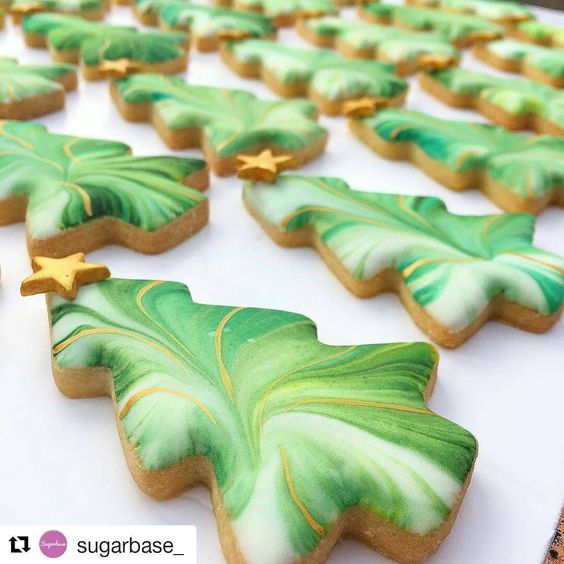
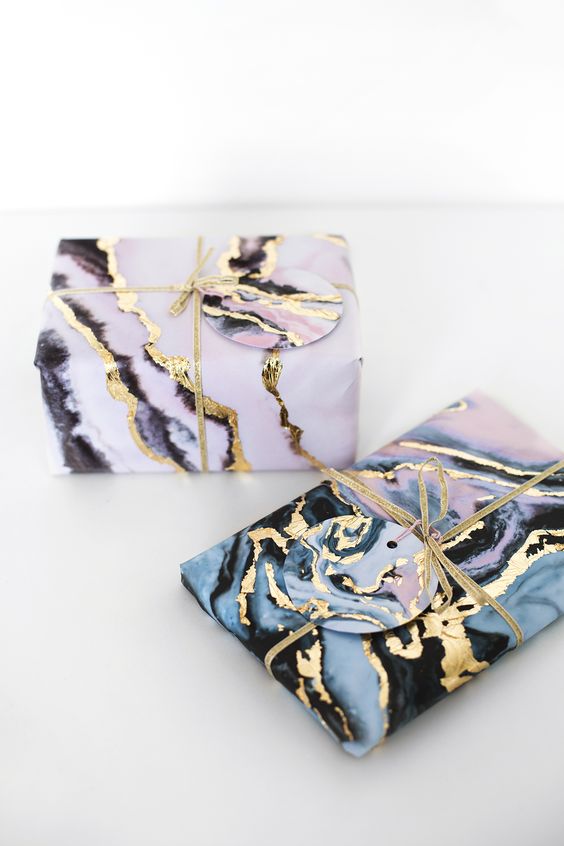
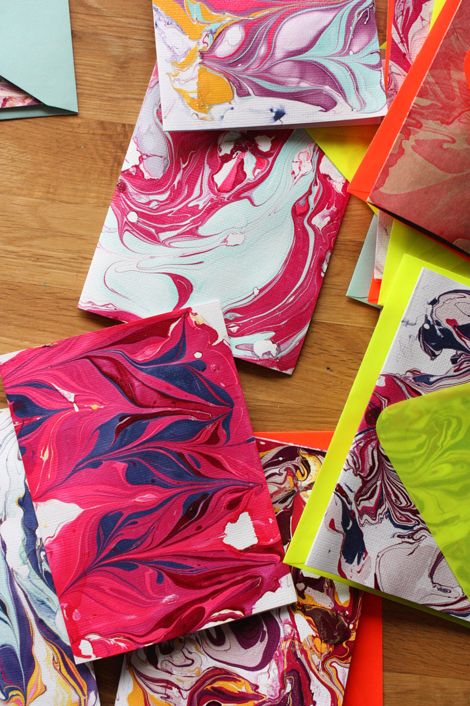
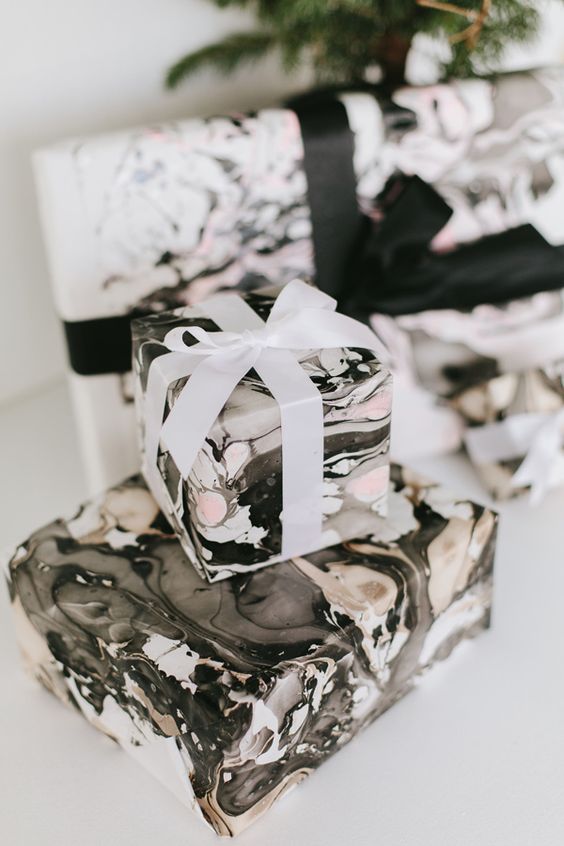
Returning to the present, and the Dance of The Trends, marble is back with a vengeance. It has actually been re-emerging as a trend for a few years now, gaining popularity in interior design, home décor and art and design, with fashion and other industries following suit. With digital media making it easier than ever to mimic a range of colours and appearances, graphic and web design are lapping up the lavish look. Marbling of surfaces (to give the appearance of a veined and/or marbled look) is also making a return, with papers, nails and other materials all receiving an array of treatments. From the quiet yet elusive beauty of a purer marble, to the dizzying, almost psychedelic medley of colours, marbling boasts a variety of looks that are as almost as versatile as the namesake they aim to evoke.
Here come the pretty pictures...
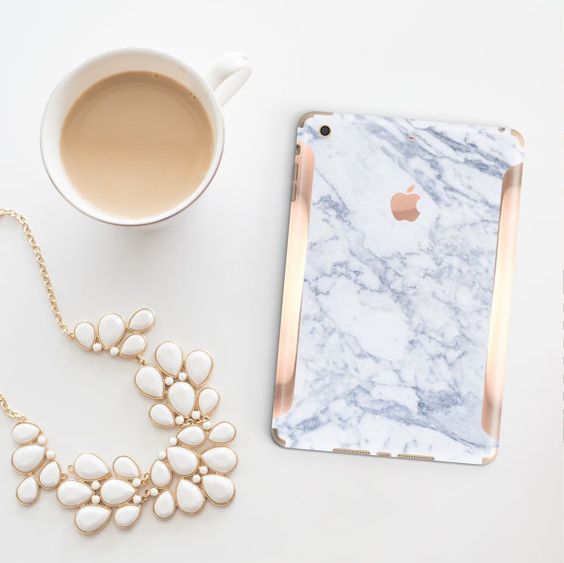
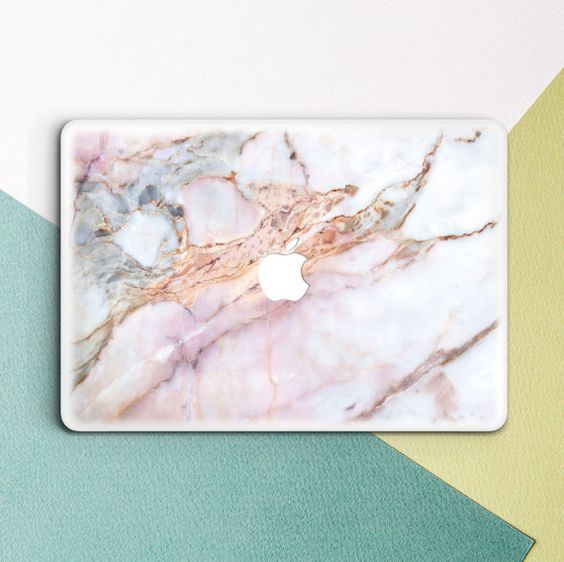
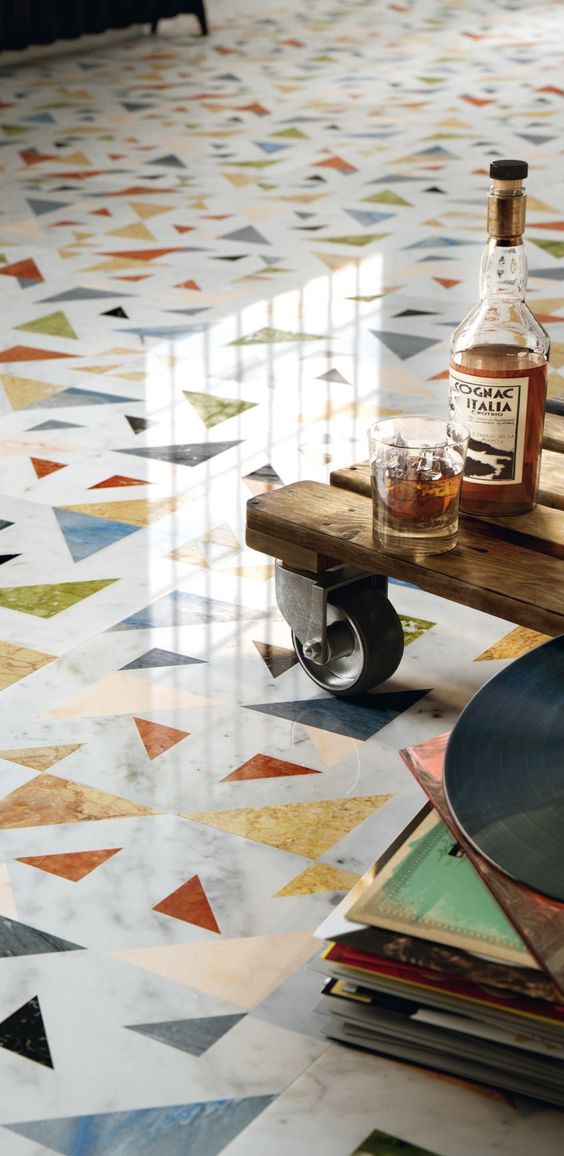
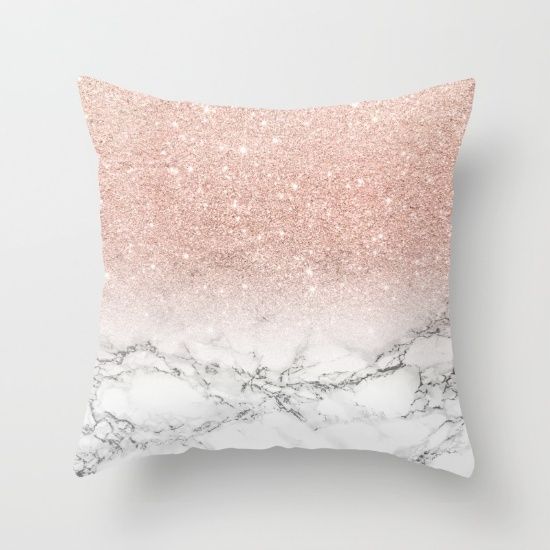
Homeware and décor...


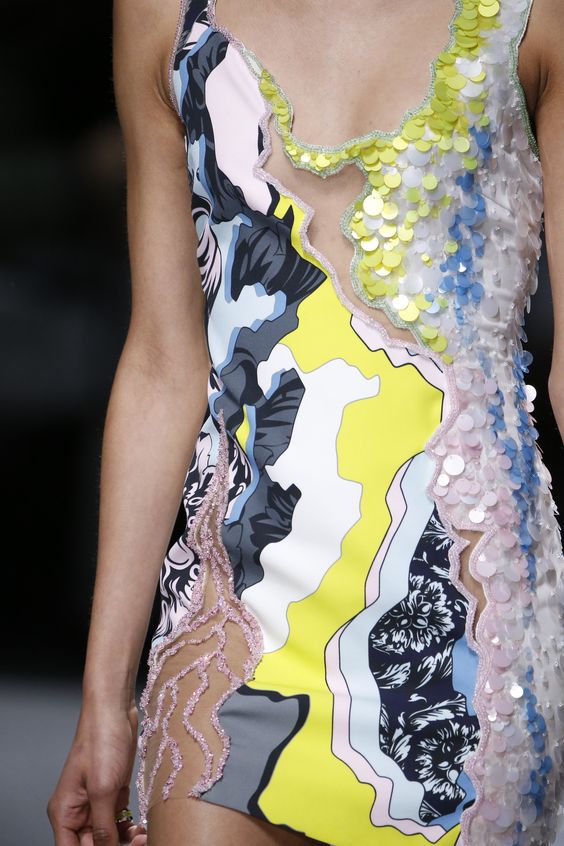
Art and Design ...
From edible, to extravagant, to elegant - the vibrance, variety and vivacity of marble invoke a sense of grandeur, wealth, style and taste. With a myriad of ways to incorporate a marbled look in everyday life, it is becoming easier and more enticing to bring back this ennobled rock and give it a new lease of life. In the grand circle of the Dance of The Trends, marble may still be able to send them all back to school.
So, with that near overload of the senses from all that inspiration, I couldn't wait to apply the look to my own creations!
My first card kept it simple and feminine:
I used some marble patterned paper and added a torn piece of my own handmade glitter paper! I wanted to show that marble can be ultra-feminine as well as masculine or chic, and the heart die from the
True Multifaceted Heart Cutaways, die cut from pale gold glitter paper, finishes the look perfectly!
Look at that sparkly glitterness!
I couldn't help but give you a close-up!
My second project turned to stamping some marble:
The
Mini Scenery: Marbleize stamp is perfect for creating the look of marbled paper! I inked it up a few times with different colours of Distress Ink, Distress Stain and gold mist, to create a more realistic finish!
For my next card I decided to try my hand at watercolouring some marble:
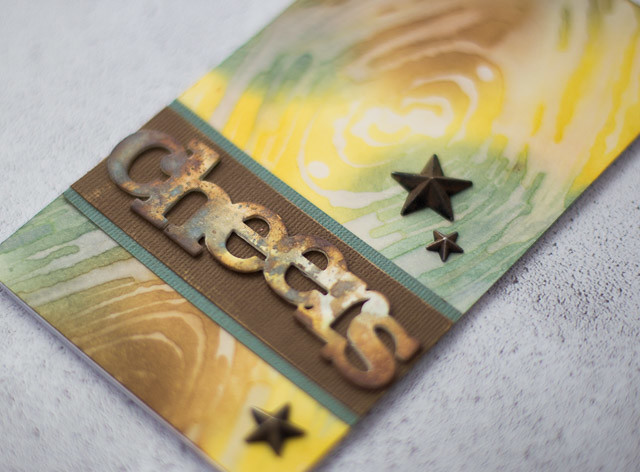
I watercoloured my panel using Distress Inks, adding some of the finer filaments/veins using the wavy line stamp from the
In Bloom: Anna's Flora stamp set!
I added pieces of woodgrain and plain white cardstock over the panel, then added the large stamped banner from the
Framed with Evelin T Designs set.
My sentiment comprises of the the die cut
In A Word: Shine Script Cutaway, heat embossing the word with some sparkly copper embossing powder, and some label maker sentiments. Love the bold graphic look of this one!
For my grand finale, I decided to embrace a new-to-me technique and created my own marbled papers using nail polish!
I created a whole array of different papers using the technique, and after they were dry decided to combine a few. I really wanted the marble to be the star of the show, so the
In a Word: Hi Cutaway allowed me to finish each card off without stealing the limelight!
I still mixed up the finishes though - inlaid die cuts on this card:
Stacked die cuts on this card:
And a plain, shimmery die cut, adhered with dimension, on my final card:
With a stunning close-up!
This technique is addictive and really, really fun! I can't wait to make more!
So, now that you've had a whirlwind tour of all things marble, a host of inspiration images*, and some of my own creations to further inspire you, I am delighted to bring you this month's Gossip Column challenge!
Your challenge is to create a project which uses the look of marble in a creative way! Use patterned paper, stamps, a clever technique, whatever - the choice is yours! As always I like to stretch your creativity, so I'm asking you to think outside the box with your designs and push your use of the theme outside your comfort zone! Pick a style that's new to you, or use your supplies in a different way, try a new technique, combine with one or more other trends - wherever your creativity takes you! I will be looking closely for originality as well as execution when it comes to picking winners, so dare to be different and show me what you can do!
*Need more inspiration? Check out our
Pinterest board for a plethora of pins to further spark your creativity!
The Rules
- Create a brand new project which uses the look of marble as a part of your design
- Post on your blog or to an online photo album. Ensure you link up to this challenge post in your blog post
- Extra credit will be considered for projects which use marble as the main focus of your design, embracing a new-to-you technique, and/or for a creative and original use of marble in your design
- You must use at least one Winnie & Walter product for your creation. This can include our free digital products too!
- Link up your creations to this post using the Inlinkz below. Please use the link to your actual post rather than the link to your blog
- You can enter as many times as you like!
- The deadline for linking submissions is Tuesday 28th February at 11:55pm CST.
- I will select one overall winner ('Gossip Queen/King'!) and two honourable mentions ('Hot Gossips'!). The Gossip Queen/King will win $30 credit to the w&w shop, and the Hot Gossips winning a $15 credit a piece!
- Winners will be announced on Wednesday 7th March.
Are you ready to put your gossiping skills to the test?! I can't wait to see your creations!!
Just one more thing before you go! We would love your feedback on The Gossip Column and the challenge, so please do leave us a comment on this post! Each and every issue of The Gossip Column will focus on something different and we can't wait to bring you the future issues if you love this feature!
'Til next time, Gossipers... !
Taheerah
---------------------------------------------