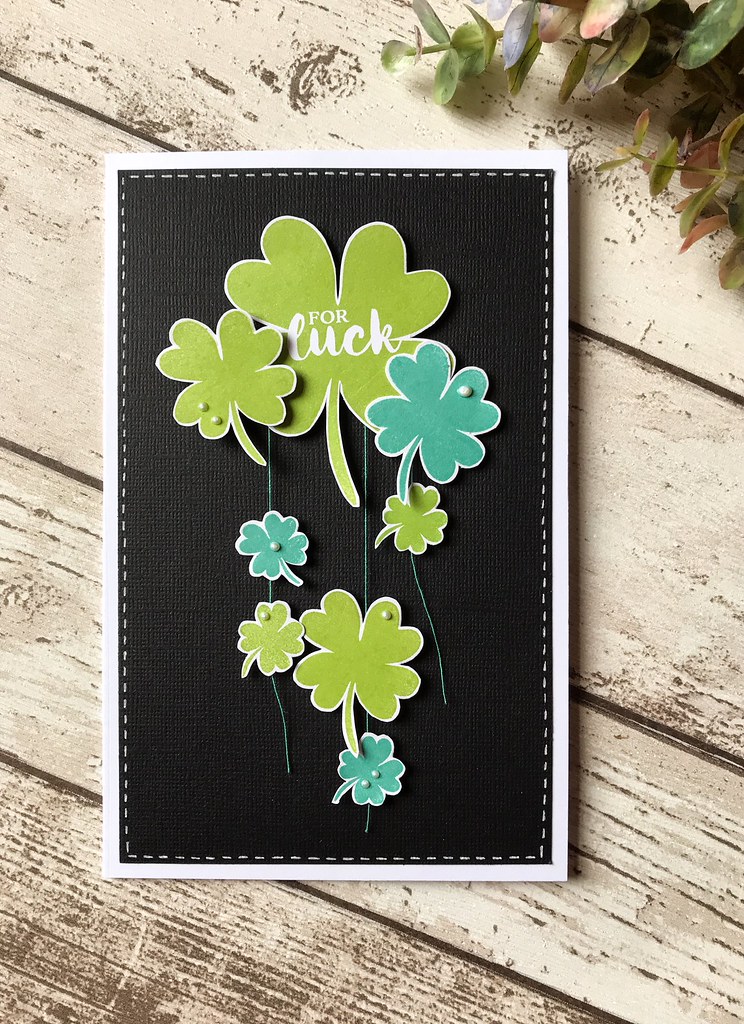
Showing posts with label warm wishes to you. Show all posts

Saturday, September 22, 2018

September Leading Lady Maryam Shalaby | Take Four (Video)

Our September Leading Lady, Maryam Shalaby is back for her triumphant third performance!  If you missed her smashing debut you must see it...CLICK HERE or ethereal and enchanting cards from her sensational second performance CLICK HERE or incredible inky masterpieces from her triumphant third performance CLICK HERE!  Today's projects are sure to warm your heart!

We now present Maryam...


Hello, everyone Today I am posting these simple mini gift tags idea as my 4th post as a September leading lady at winnie and walter blog. I wanted to share who easy and fast you can wrap your treat gift to give it a nice personal touch.

One of my favorite thing to make in the craft field is making gift tags. So couldn't resist sharing these ideas with you.

Usually I have one of a simple gift on my bag in case I need it to give to some kind person , usually we meet them in our daily activities and I feel that I would appreciate there kindness . Or give every now and then some to my kids teachers , our neighbors or close people who surrounding us , wishing them a good day or telling them that I appreciate them.


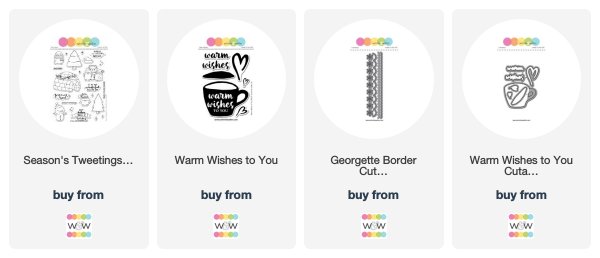
For me a small chocolate treat with a coffee or tea bag is my favorite combination, I found that this Warm Wishes to You stamp set stamp and there matching die cut Warm Wishes to You Cutaways from winnie and walter my favorite to add a little sentiment without sending a big card or tag to these mini gifts.

For my first idea ..

I made this cup tag . This one was the simple one to make , if you are short in time and you want a simple one.


* First I stamped the mug image from winnie and walter Warm Wishes to You stamp set with festive berries and seedless preserve distress ink , then I applied some of water over them to have this fauxy look .

**Then I stamped it over a heavy glossy card stock , then I dried it with heating tool .

***I die cut it with matching die cutting winnie and walter Warm Wishes to You Cutaways then I cut this coffee part too with gold foam over it .

****I added some gold at the end , then I attached to the little treat with white ribbon . For my second tag idea I did the same idea as the first one with some differences..


*I attached to cube that hold the treats inside (For this cube I used 1.5 inches dimensions ) .I liked the added touches of this steamed heart with the silver glitter foam .

** I made this extra mini circular tag using the smaller steams heart from the winnie and walter Warm Wishes to You stamp set.

You can follow with me by watching how I made them on this video:  https://youtu.be/FWJ00XXVtrw 


For the 3rd idea


I used the same faux technique over a glossy card stock but I made the liquid part as a vellum shaker .
* I used a white foam die cut from the same as a middle layer with glue from the both sides .


* * as an extra personalized touch I designed this ribbon . I used two of the borders die cut from winnie and walter Georgette Border Cutaways in this wrapping fabric to create this elegant ribbon .


For my 4th one . I made this fluid shaker tag , i like this fun idea.


* I die cut a tag for the base layer

 ** I used a kind of small ziplock to hold the liquid inside . I put some of transparent gel with some brown gel food colors and some gold glittery powder. Then I secured the bag well over the base tag layer.


*** I used a pattern paper as a outer layer for this tag . Die cut the part of the coffee matched the place that I am going to place the mug die cut over

 ****I added this gold steam heart on the top . After I made the tags and I photographed them . I found this piece of die cut edges I made few days ago using the same 2 die cut over a brown felt , So I attached to the base of the tag I found it give it more warmer look. Did you see the bubble on the photo ..

 
These are the simple easy tags that I liked to share them with you, nothing fancy but they are so perfect to make for my busy days to add a personal touch to the mini kindness gift .


Thanks For stopping by , please if you could leave a comment on my blog maryam's craft on any of winnie and walter leading lady post so you will be eligible for a 30 $ gift card from the sweet Shay the owner of to winnie and Walter store .

Wish you a Happy weekend,
Maryam


w&w-supplies

Saturday, April 7, 2018

April Leading Lady Deepti Aggarwal | Take One

Today is a very exciting day as it is the debut of our April Leading Lady, Deepti Aggarwal!

Deepti really made a very favorable impression on me with her collection of vibrantly and dramatically well-designed cards she submitted to our challenges last year like this one HERE and HERE and just recently HERE.

I am really excited to see what Deepti will be creating this month as she takes us on an adventure of her own design on Saturdays in April on the w&w blog.

Please give Deepti a big round of applause to welcome her as she steps onto the stage for her first performance as our April Leading Lady! 

Deept_Aggarwal_april2018

Hello Everyone.. This is Deepti and I am super duper excited to be on Winnie & Walter Blog as a Leading Lady for the month of April.I couldn't believe my eyes when I first got the mail from Shay regarding this.Thank you so much Shay for this honour... I am not good at expressing my feelings but it's a dream come true for me...Before I get too sentimental😉..let's see what I have created. For my first take, I have decided to focus on die-cutting ... yes I fell in love with w&w cutaways when I first saw them..I bought few of them and still so many of them are in my wish list.😀....Here are my cards in the order I have created them.. Inlaid die cutting for making background


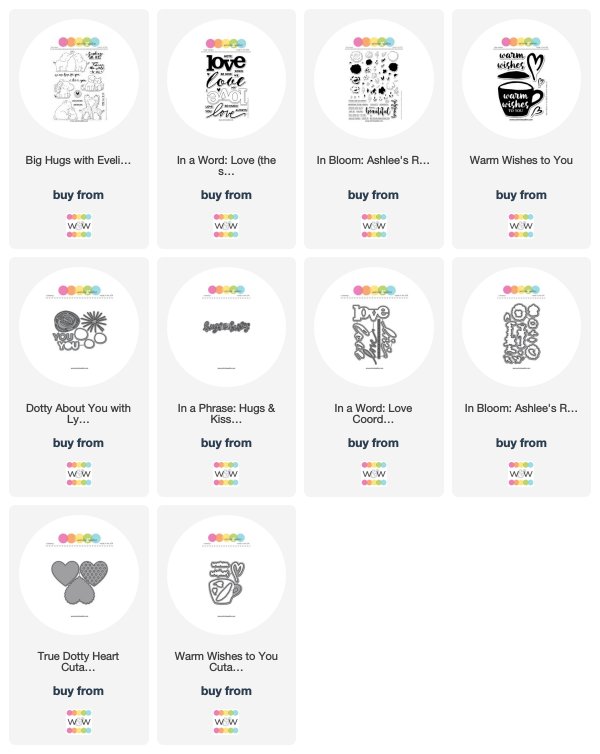
To make this card, I first took A2 size white card stock panel and die cut the love words from In a Word: Love Coordinating Cutaways randomly. I adhered this panel on white note card and glued back all the love die cutouts at the same place to make the inlaid background. Then, I die cut out the dotty heart on vellum from True Dotty Heart Cutaways and distress inked it using worn lipstick, festive berries and ripe persimmon distress inks.


After that,I die cut out the scalloped heart on black card stock and inlay the dotty inked vellum heart inside it. Further I die cut the hugs & kisses from In a Phrase: Hugs & Kisses with Angelica Suarez Cutaway on black and gold glitter form sheet. I kept the base of the sentiment black to highlight the gold one. Finally completed it by adding some stamped and die cut heart from  In a Word: Love (the stamp set). Die cutting for creating beautiful layered spring background


For this card, I took white card stock panel and die cut out the small flowers and leaves from In Bloom: Ashlee's Rosie Posies with Lydia Evans Cutaways by arranging 5 or 6 dies together at a time. Once I was satisfied with the background, I adhered it to the white note card. Then, I loosely water coloured some of the cut out flowers and leaves and inlay them on the card background. I layered some of the flowers for dimension and further added some details on the flowers and leaves with white gel pen.


After that I added stamped and die cut sentiment from In Bloom: Ashlee's Rosie Posies with Lydia Evans stamp set. I gave some dimension to the beautiful sentiment by covering it with glossy accent. Added some clear sequins for the final touch up.. I really enjoyed making this card..This is my favourite card from this post 😊...I would love to know which one is yours.. Partial Die cutting


I have made this CAS card & tag combo using partial die cutting technique. For the card, I partially die cut out the "love" sentiment using bold love die from In a Word: Love Coordinating Cutaways  on white card stock panel and also die cut the tiny hearts from same cutaways. Then glued it on distress inked white note card. Stamped the sentiment  from In a Word: Love (the stamp set to complete it.  And for the tag I die cut the tag using  Essentials: Lana Cutaways and then partially die cut the xoxo ( as shown) using xoxo  dies from In a Word: Love Coordinating Cutaways. Then I took another rectangle panel (same size of tag) and distress inked it and added tiny hearts which was left over from the card and joined both of these panel with ribbon. Then added layered you die cut from Dotty About You with Lydia Evans Cutaways with foam tape. Added Just for sentiment from Big Hugs with Evelin T Designs stamp set to complete it. White Die cuts on Ink blended background


Here is my final card for the day....It came out much much better than my imagination. To make this card I took white card stock and distress inked the background and splattered it with water. Then I die cut the hearts from Warm Wishes to You Cutaways. and arranged & glued these to my inked background, cut the extras out, glued some left over X & O from the tag also. 


After that I stamped and gold heat embossed the warm wishes cup on vellum from Warm Wishes to You stamp set and die cut it using Warm Wishes to You Cutaways. Adhered it to the inked background with foam tape for some dimension. Added some gold sequins to complete it.

I hope you liked my cards and I've inspired you to get crafty with your cutaways.
Before you go... I want to let you know that Shay has generously donated a $30 gift card for me to giveaway on my blog.  For a chance to win, just leave some love on this post and also on the leading lady post on my blog Vishesh Collections- Handmade by Deepti. I will announce the winner on my blog on 4th May. That's all for today from my side. See you all next Saturday with some more inspiration. Thank you so much for stopping by!! Have a wonderful weekend!!

Hugs xx
Deepti Aggarwal


w&w-supplies

Saturday, March 10, 2018

March Leading Lady Lisa Lahiff | Take Two

Our March Leading Lady Lisa Lahiff is back for her sensational second performance!  If you missed her smashing debut you must see it...CLICK HERE.   Today's bevy of amazing cards go beyond paper and are sure to make you want to try something new!

Ladies and gentlemen, Lisa...
Lisa_Lahiff_march2018

Hello!  I am so happy to be back with all of you again!  If you were able to catch my first Winnie & Walter Spotlight post here, then you might remember that I am planning on having a theme for each of my posts through the month of March.  Today's post I am titling "Off the Page",  and I am going to focus on various mediums you can stamp on besides paper.  Don't get me wrong I love paper, and my collection can totally attest to that (as can my husband! lol), but there are lots of mediums out there that give beautiful and unique results that you may not have considered using.

For my first off the page project I'm going to share stamping on cork.  This tends to be a more common medium when stamping, and with good reason as it is easy to come by, gives great results, and adds fun texture...

 For this card I stamped this coffee cup and steam from the Warm Wishes to You Stamp Set right onto a piece of adhesive backed cork.  I then die cut both with the coordinating Cutaways.  I then added this onto a few sheets of patterned paper.  As a final touch I added glossy accents to represent the liquid in the cup, and I love the touch of shine too!


For the next medium I chose to work with adhesive Wood Veneer.  I love the look of wood and woodgrains on projects, and so I decided to see what else this medium had to offer in two very unique ways.  First, I wanted to stamp so sweet little critters and color them in. Here is what I came up with...


Isn't she too much fun?!  This image comes from the Purrfect with Evelin T Designs, and I've used the matching Cutaways too.  My cat is always trying to fit in the smallest boxes, or game boxes when we have them out, it's just too funny!  Now I knew I wanted to color my images in, but I also knew that wood soaks and spreads with the touch of inks so markers were out.  The same went for watercolors, obviously they would spread as well and I wanted a nice clean image.  That's when I looked over and saw my Spectrum Noir Blendable Pencils, and I have to say I'm hooked!  I was surprised at how easy it was to blend my colors as well.  After creating this card I already have all kinds of plans on coloring in some of those larger floral images onto this Wood Veneer, doesn't that just sound lovely?


As I stated before I knew that inks would spread easily on the Wood Veneer so I wanted to give it a little test.  Alcohol inks are all the rage right now, so I thought why not start there?  And friends I LOVE it!  They blend and spread like butter...


 For this card I started by blending purple and pink alcohol ink colors over an entire piece of Wood Veneer.  Since the ink dries quickly I was able to die cut my hearts from the True Dotty Heart Cutaways right away.  And of course I had to fill all of those little dots with a fun mix of flat back gems.  While these were drying, I created my background panel by stamping various sentiments from the Sentimental: Love Stamp Set.  And viola!


I have one final card for today that mixes the Wood Veneer with a new medium: Craft Metal.  I have used Craft Metal before to emboss and die cut with, but I had never tried stamping on it so I gave it a go... and it worked!


I wanted to color my stamped flowers in with Alcohol Markers so I used a Alcohol friendly ink and set it to dry for a bit before working with it.  If I were to stamp onto this Craft Metal and try to color on it right away it would do nothing but smear the images.  I also heat set the images just to make sure they were fully dry (make sure you use tweezers or something besides your hand to hold it when you are heating it up, or the metal may burn your hands).    While you may not be able to layer your coloring on Craft Metal or blend colors, it will give you a watercolor look as the coloring dried, and I love it!  For this card I used the In Bloom: Ashlee's Rosie Posies with Lydia Evans, and it's coordinating cutaways, as well as left over Wood Veneer heart from the True Dotty Heart Cutaways.  I then finished it off with the Hugs and Kisses Cutaway layered in black and silver.


Whew!  And there you have it!  Lots of ways for you to go off the page with your crafting.  Do you have a favorite medium other than paper to work with?  Make sure to share it with me over on my blog!  Thanks so much for stopping by today!

Happy Crafting!
Lisa


w&w-supplies

Tuesday, February 27, 2018

w&w 4th Birthday Bash | Special Guest Star Amy Tsuruta


amytsuruta

Today's special guest star, Amy Tsuruta, is a long-time friend of Winnie & Walter as she was our March 2015 Leading Lady and someone we always invite to guest for events as she and her work is always a delight!  Amy is just one of those people you love because they are so friendly and supportive not mention she is an amazing artist. Please give her a warm w&w welcome!


Hello!  Amy here from Tsuruta Designs and I'm so thrilled to be helping celebrate Winnie & Walter's Fourth Birthday!  Today I'm playing along with Lea's Shaker Challenge!  My spin is my love for COFFEE!


I used the Warm Wishes to You stamps + coordinating Cutaways.  Do you spy the other set that I used for my design?  Perhaps you saw this photo I posted on Friday:


I used the For Luck set that was free with qualifying purchase (through February 23, 2018).  I stamped the medium and small shamrocks in Catherine Pooler Designs Grass Skirt ink on Shrinky Dink film.


The shamrocks make a nice addition to the sequin mix, perfect to send around St Patrick's  Day.  If you've been following me for any amount of time you know that I love coffee + the color green.


I actually placed foam tape behind the coffee mug so that the sequins wouldn't get lost behind it.

That's it for me, a big shout out to Shay for the invite and big birthday wishes!!!


w&w-supplies

Wednesday, February 7, 2018

February 2018 Release | Premiere Day No. 2

To enter our February 2018 Release's The Big Giveaway CLICK HERE.
To enter to win Premiere Day No. 1 CLICK HERE
To enter to win Premiere Day No. 2 Featured Products...continue reading!
To enter to win Premiere Day No. 3 Featured Products CLICK HERE  (goes live at 7:00 a.m. CST on February 8, 2018)
To enter to win Premiere Day No. 4 Featured Products CLICK HERE (goes live at 7:00 a.m. CST on February 9, 2018)
==========================================================

Warm Wishes to You was our free with qualifying orders for our November 2017 Release.

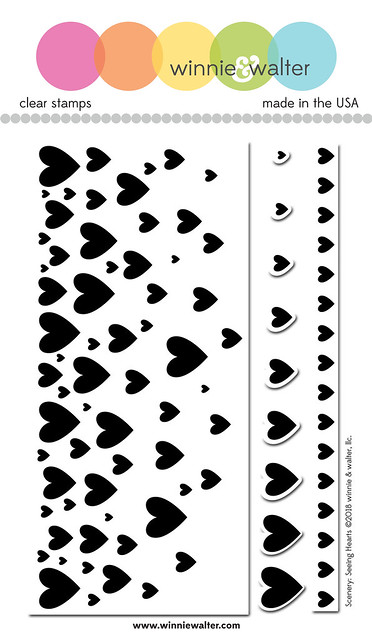
Scenery: Seeing Hearts takes the solid heart and gives you tons of options...use the large background for quick stamping or the border of hearts or add an individual heart in several sizes on their own, together or to add to the background or border.

In the style of Happy Birthday to You and Warm Wishes to You is our new For Luck stamp set. For Luck will be our special free with purchase stamp set as a thank you gift.  See below for more details.

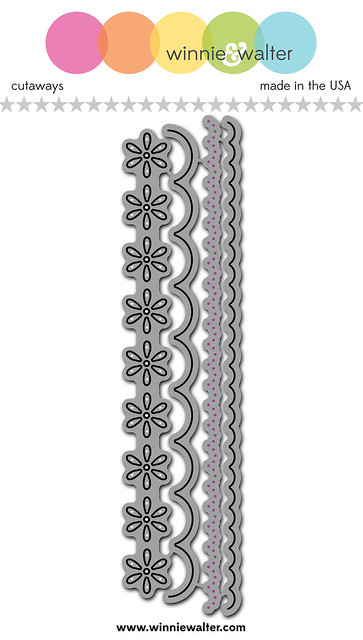
We have a new stand-alone die set with pretty scallops and an eyelet design that hearkens back to a romantic past of afternoon tea and lace called the Georgette Border Cutaways.

Another very exciting addition to the w&w shop for our February 2018 Release are Catherine Pooler Designs inks.  With beautiful coverage, gorgeous colors and the ability to watercolor with them, we know you will love them as much as we do!  We highlighted the first 6 of the 12 ink colors we are introducing yesterday and the second 6 today!

>>>THE DETAILS<<<
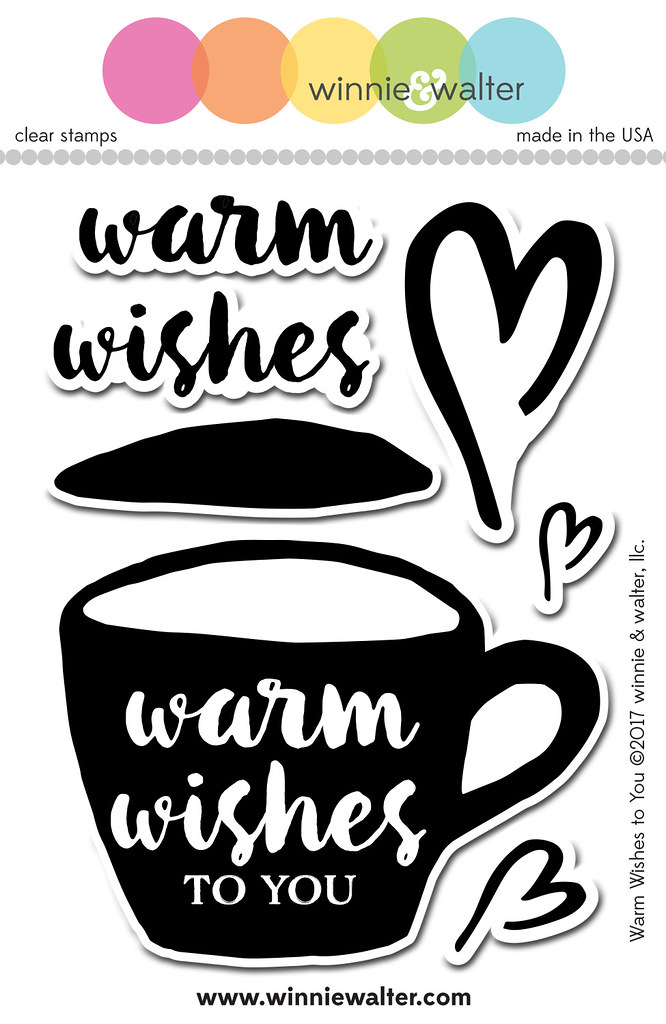
w&w_WarmWishestoYou_3x4_web
Warm Wishes to You
Available for purchase the evening of February 9, 2018
3x4 stamp set
Retails for $8.00
Includes seven (7) stamps--five (5) images + two (2) words

w&w_SSeeingHearts_4x6_web

Scenery: Seeing Hearts
Available for purchase the evening of February 9, 2018
4x6 stamp set
Retails for $15.00
Includes Eleven (11) stamps
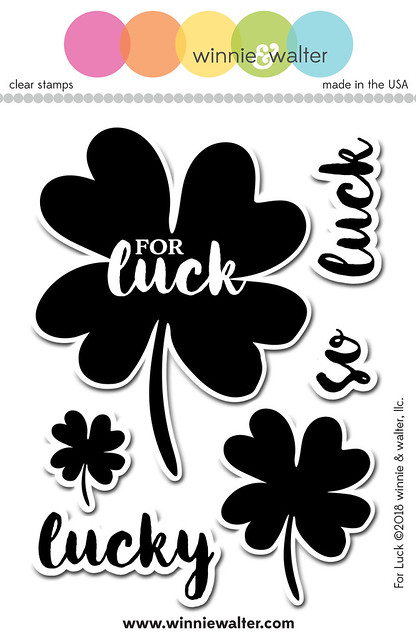
w&w_ForLuck_3x4_web
For Luck
Free With Purchase for a limited time for qualifying orders***
3x4 stamp set
Retails for $8.00
Includes six (6) stamps--three (3) images + three (3) words

***About the limited time Free With Purchase For You:
  • Order must be placed from February 9, 2018 at 10:00 p.m. CST through February 23, 2018 11:59 p.m. CST  (or while supplies last)
  • Your single order must total $25.00 or more before shipping and handling and taxes are applied.  Your single order must total $25.00 or more after any discounts are applied.
  • One Free With Purchase item per person.
  • We will be manually adding For Luck to your order and it will not be reflected on your invoice. 
  • This offer is while supplies last.  
  • For Luck is not a limited edition stamp set and will be released for sale later.
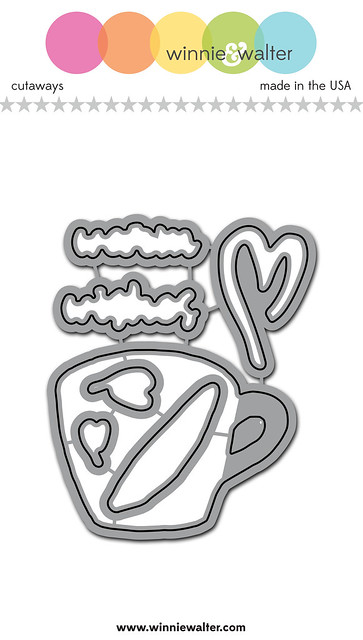
w&w_WarmWishestoYou_Cutaways_web
Warm Wishes to You Cutaways
Wafer Thin Steel Dies
Available for purchase the evening of February 9, 2018
Retails for $12.00
Includes seven (7) dies


w&w_GeorgetterBorder_Cutaways_web 
Georgette Border Cutaways
Wafer Thin Steel Dies
Available for purchase the evening of February 9, 2018
Retails for $12.00
Includes four (4) dies


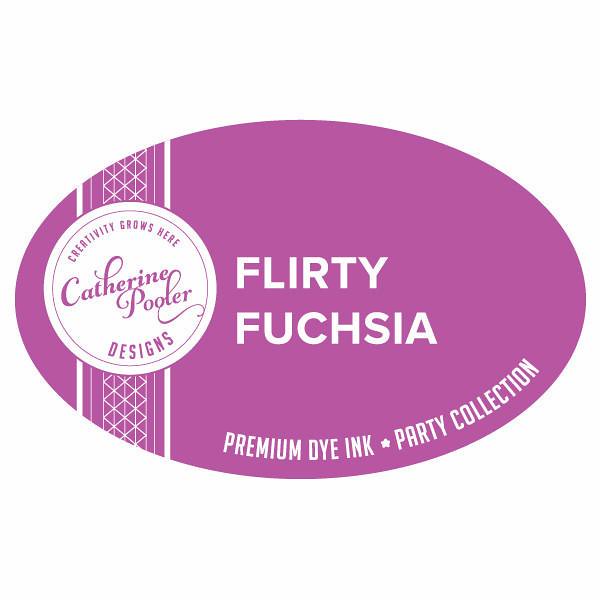
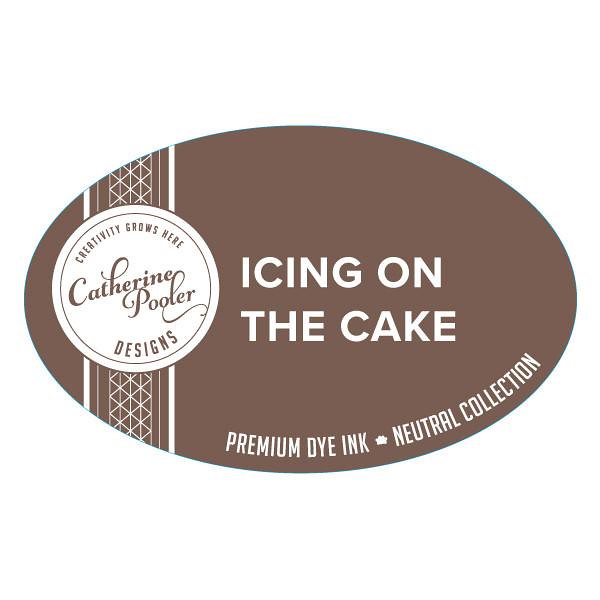
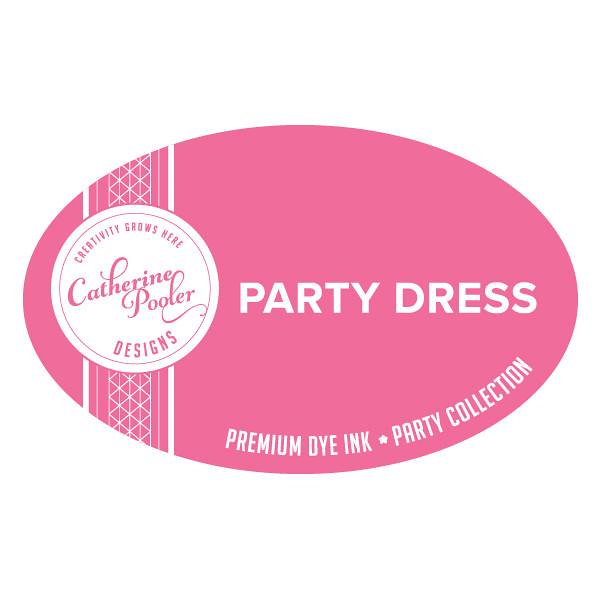
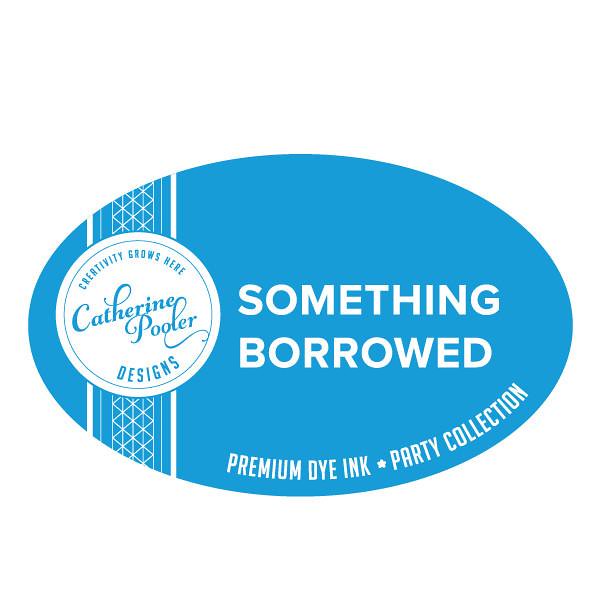
Aquatini_Pantone FlirtyFuchsia_PantoneIcingOnTheCake_Pantone LimeRickey_Pantone PartyDress_Pantonesomethingborrowed_Pantone
Aquatini, Flirty Fuchsia, Icing on the Cake, Lime Rickey, Party Dress and Something Blue Ink by Catherine Pooler Designs
Ink Pad
Available for purchase the evening of February 9, 2018
Retails for $6.00
One (1) ink pad


>>>THE GOOD STUFF<<<

Let's get to the fun part and see these products in action.

Shay

Happy Wednesday!  Not only are you joining us for our February 2018 Release Week, but we are also celebrating our w&w 4th Birthday Bash all month long!  For more details, please CLICK HERE.

You will notice this release is a bit different as I, along with the help from a member or two of the Talent, will be showcasing some projects each day with the featured items. We will be sharing more from the Talent this month.

I am really excited to share what we've created for you this week. :-)

Let's see what I came up for you today:

shay_IMG_4287

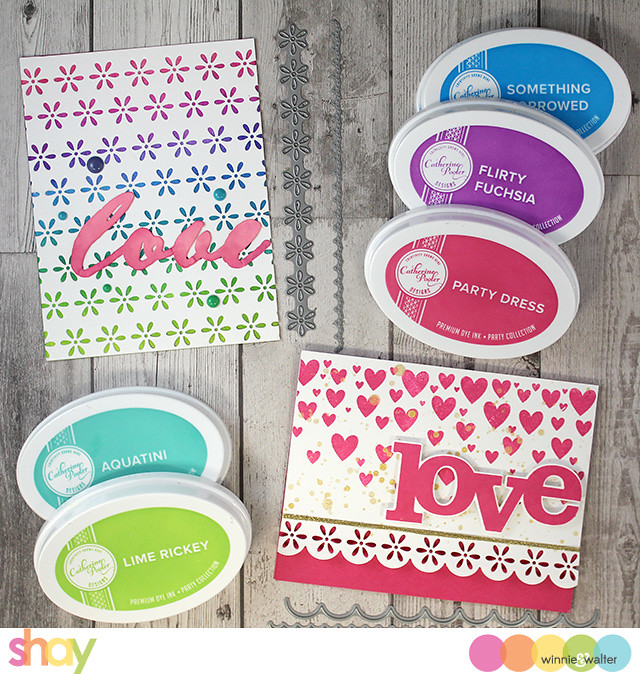
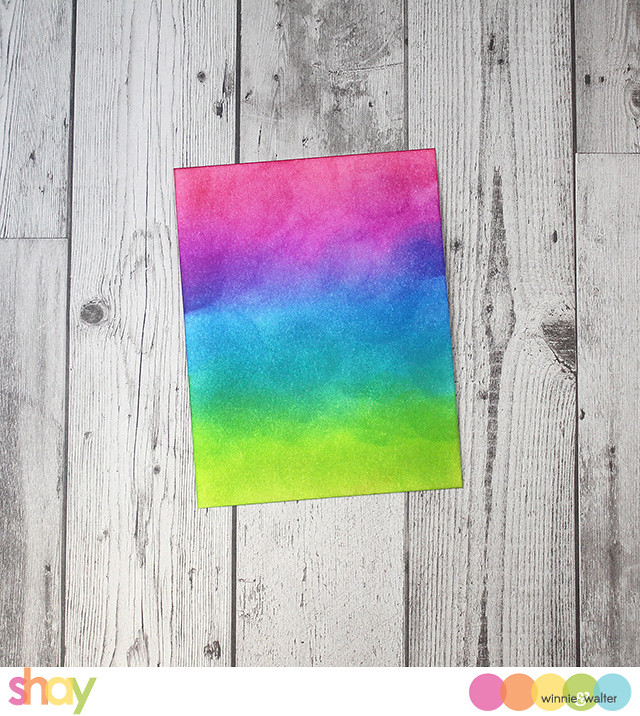
Today I wanted to see how Party Dress, Flirty Fuchsia, Something Borrowed, Aquatini and Lime Rickey worked together and I thought it would meld well with with my idea to use the eyelet border from Georgette Border Cutaways to create my own cover model.

shay_IMG_4289

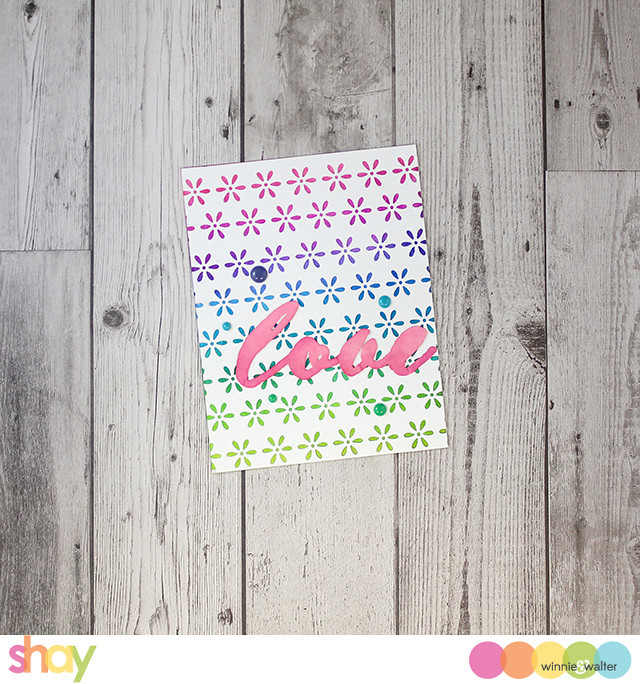
For the rainbow eyelet card I used an ink applicator tool to add the color to a panel of white card stock.  I captured an image of the colors when blended together:
shay_IMG_4286

To create the eyelet design I used a sheet of lined paper as a guide so my cuts would line up properly and washi to keep the die in place.  I offset the design every other row as well.  This takes a little time, but the lined paper really helped to make the process painless (no measuring!) and pretty fast.  I adhered the eyelet panel over the color panel.

For the sentiment I used the fancy outline die from In a Word: Love Coordinating Cutaways (featured yesterday) which works well on it's own or as a coordinating die to it's companion stamp.  I soaked up some watered down Party Dress and some shimmer spray with the die-cut. I added some more color with a brush to the bottom of the word.  I adhered the word die-cut to the panel and added some enamel dots before adhering it to a white card base.
shay_IMG_4290

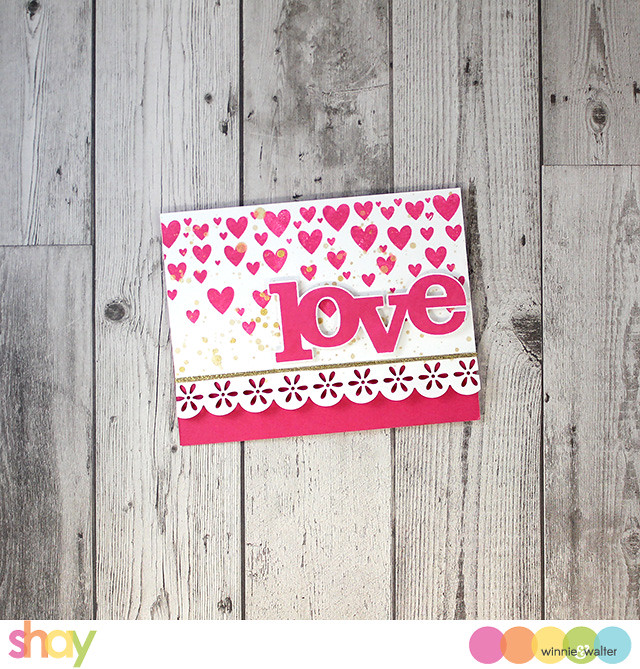
The pink love card uses the large background stamp from Scenery: Seeing Hearts which I inked up with Party Dress (I would stamp this again to create a couple of cards shown after this card). Next, I cut the larger scallop border and then fit the eyelet design into the scallops (yep, they work together or separately!), flicked it with gold spray and I wrapped the white panel with gold thread.  I adhered the white panel to a dark pink card base using dimensional foam adhesive.  Last, I cut out the "love" die-cut from In a Word: Love Coordinating Cutaways and then stamped the solid "love" from In a Word: Love (the stamp set).  I added it the card with dimensional foam adhesive.  Pretty in pink, right?
shay_IMG_4294

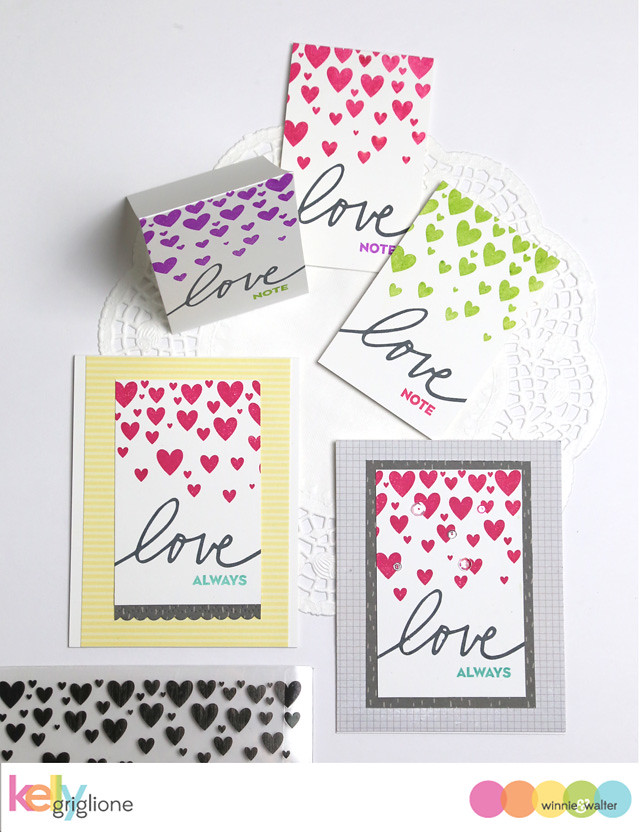
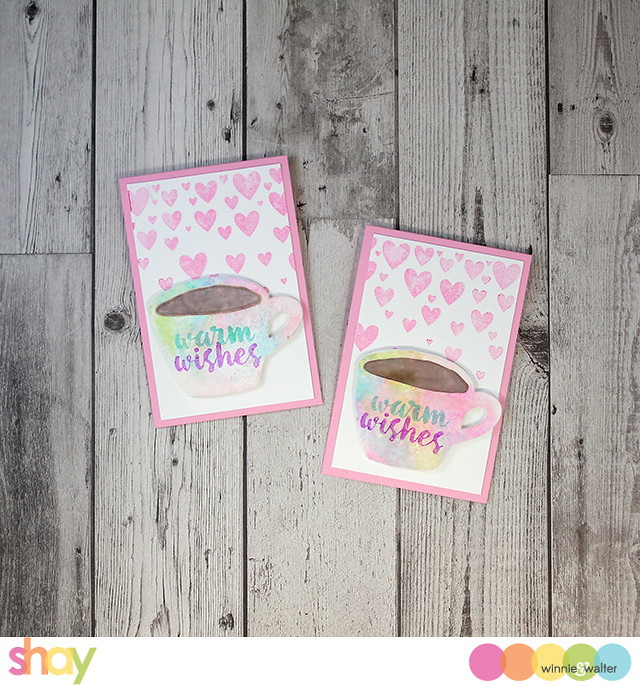
My next two cards were made when I thought why not use the inks left on my craft mat from creating the rainbow eyelet card above.  I sprayed water onto the inks and smooshed a piece of white cardstock into the inks and then die-cut two of the mugs from Warm Wishes to You Cutaways.  I then die cut the long oval from the mugs.  I used Icing on the Cake and a water brush to color in the ovals.  I die cut 2 more mugs from white cardstock I then adhered the die cut mug and oval over the solid mugs.  Let me say right now how much I love that you can use just the dies alone or you can use it with the stamp set...lots of options!  I stamped "warm" with a second generation stamping of Aquatini and "wishes" with a second generation stamping of Flirty Fuchsia (both words from the Warm Wishes to You stamp set).  The heart background is a second generation stamping of Party Dress (the first generation is on the pink love card above) of Scenery: Seeing Hearts.  How cool is it that you can get different shades of the same color by simply stamping with the same ink color more than once?  I am finding that to be one really cool bonus of Catherine Pooler Designs inks.  I placed the panels onto cut little pink card bases.  Last I adhered the mugs with dimensional foam adhesive.   I think these would be darling little valentines.  

shay_IMG_4295

My last card features our free with qualified purchase stamp set for the February 2018 Release, For Luck.  I inked it up using Lime Rickey and Aquatini and then accidentally inked up the stamp with a little Flirty Fuchsia and I decided to go with it to see how it turned out and then inked up the image once again with Lime Rickey and Aquatini.  I am happy I kept that little Flirty Fuchsia.  I cut the large scallop border and then ran it through again using the small pierced scallop for some pretty detail both from Georgette Border Cutaways.  I wrapped the white panel with teal embroidery floss and adhering it with dimensional foam adhesive onto a green card base.  

Hope you enjoyed seeing just a few of the possibilities of today's featured products!

Kelly and Keren are joining me today with their stellar projects:

Kelly Griglione of The Talent
kelly_Winnie and Walter Hearts Valentines  Day Card web
CLICK HERE to see more from Kelly.

Keren Baker of The Talent
keren_IMG_3333
CLICK HERE to see more from Keren.

>>>THE GIVEAWAY<<<

Comment here on this post for a chance to win Warm Wishes to You stamp set + Scenery: Seeing Hearts stamp set + For Luck stamp set + Warm Wishes to You Cutaways + Georgette Border Cutaways + Catherine Pooler Designs Ink in Aquatini, Flirty Fuchsia, Icing on the Cake, Lime Rickey, Party Dress and Something Borrowed of your own by 11:59 p.m. (central standard time) February 9, 2018.  One comment will be chosen at random. 

All winners during our February 2018 Release will be announced by February 19, 2018.

To enter our February 2018 Release's The Big Giveaway CLICK HERE.
To enter our w&w 4th Birthday Bash's The GIGANTIC Giveaway CLICK HERE.