Showing posts with label november 2016 release. Show all posts

Saturday, December 17, 2016

December Leading Lady Shona Chambers | Take Three

Our December Leading Lady, Shona Chambers, is back for her triumphant third performance!  If you missed her smashing debut you must see it CLICK HERE or her sensational second performance focusing upon beautiful backgrounds CLICK HERE.  Today Shona has added some shimmer and shine to her stunning holiday cards!

Without further ado, Shona....

I'm back!! Yes its me again with my 3rd post as the Winnie and Walter - December Leading Lady!!

Shona_Chambers_december2016


I'm still in 'Christmas card' mode and have actually only just posted my cards. Hopefully they will make around the world before next year but its the thought that counts....I hope.....

For this post I wanted to concentrate on 'Metallic' designs. I LOVE using gold, rose gold and silver on my cards at any time of the year but it just seems to go with Christmas so perfectly. 
shona_week3_image002

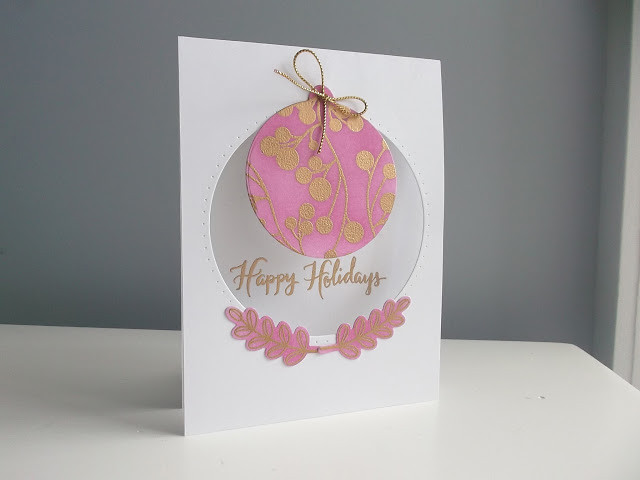
For this first card, I actually came up with the design while decorating the Christmas tree with baubles. I thought it would be great to have one hanging in a card and it could be used on their tree. I started off by die-cutting the hole in the card front using Essentials: Carly Cutaways. On a piece of white card stock I heat embossed the Mini Scenery: Merry Berry and the leaves from Framed with Evelin T. Designs with Ranger 'Queens Gold' embossing powder. I like this because its more of a rose gold than yellow gold.

Over the embossed images I used a blending tool and Distress Ink 'Picked Raspberry'. I die-cut the leaves with their matching 'Cutaways' and the gold berries with the tag die from Essentials: Carly Cutaways. I used a hole punch above the large circle and tied on the tag with gold twine. The leaves were glued on and I heat embossed the sentiment from Merry and Bright with Evelin T. Designs on the inside of the card.
shona_week3_image003

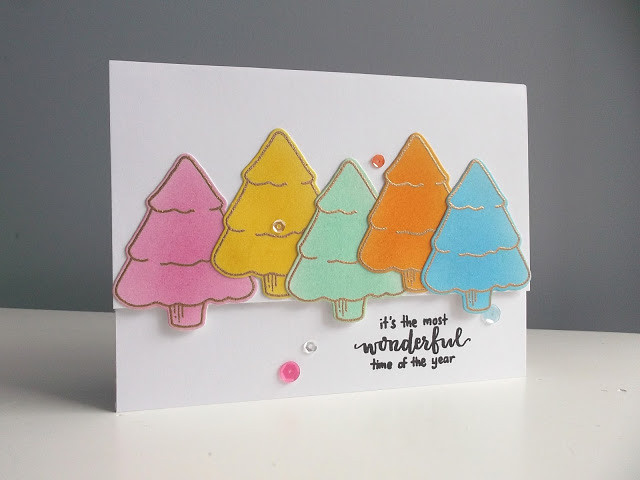
For my second card I wanted rainbow colours with gold. I heat embossed the tree from Season's Tweetings with Evelin T. Designs 5x on white card stock. I then blended Distress Inks 'Picked Raspberry', 'Mustard Seed', 'Cracked Pistachio', 'Spiced Marmalade' and 'Salty Ocean' over each one. I used the matching Cutaway to cut them out. I then cut a strip of white card stock and put it on foam tape on the card front. The tree's were adhered in place so some of them hung over the edge. The sentiment from the same stamp set was simply stamped in black ink and I added some co-ordinating sequins from Pretty Pink Posh. Nothing like a rainbow Christmas!!
shona_week3_image004

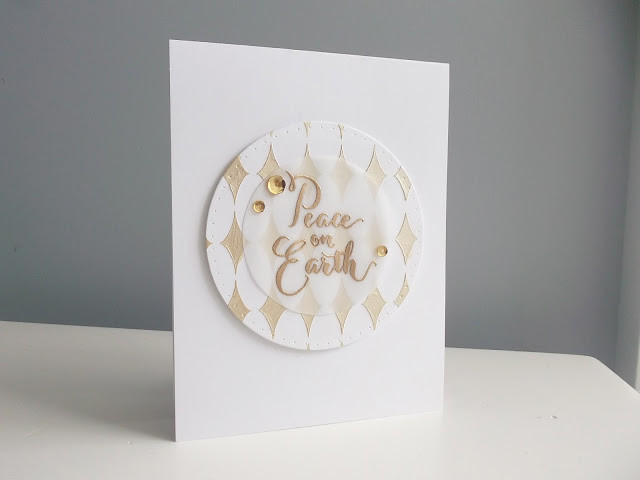
For this design I decided to use my Nuvo Mousse 'Mother of Pearl' with the Scenery: Harleen Creative Screening on some white card stock. Once it had dried I used one of the circle dies from Essentials: Carly Cutaways. This was popped up using foam tape on the card front. The sentiment from Merry and Bright with Evelin T. Designs was heat embossed with Ranger 'Queens Gold' on a piece of vellum. I used the small tag die from Essentials: Carly Cutaways to cut it out and simply cut off the tag hole part to make it a circle. This was glued over the mousse along with some gold sequins from Pretty Pink Posh.
shona_week3_image005

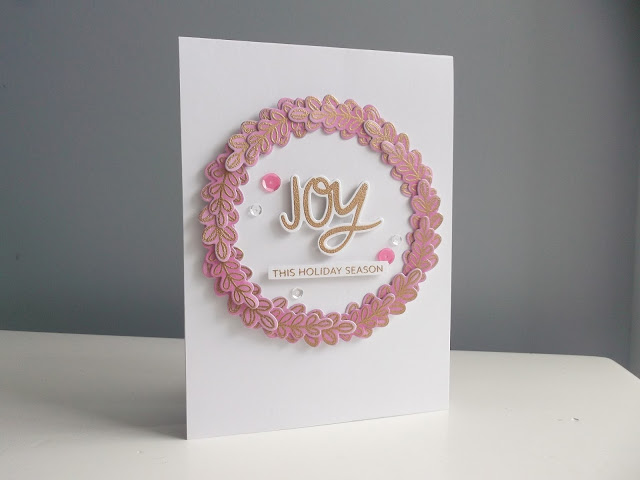
This card is one of my favourites!! I stamped and heat embossed lots of small and large leaves (from Framed with Evelin T. Designs) in Ranger 'Queens Gold'. I gently blended Distress Ink 'Picked Raspberry' over them all and then used the matching Cutaways to cut them all out. I also cut a circle from white card stock using a die from Essentials: Carly Cutaways to serve as a base to the wreath. 

I glued down all the large leaves first and then tucked in the smaller ones. Once finished the circle was put on foam tape over the card front. I stamped and heat embossed the 'Joy' and the rest of the sentiment from In Bloom: Frenchy's Festive Florals with Angelica Suarez. The matching Cutaway was used to cut it out and it was put on foam tape with the rest of the sentiment strip. And of course I had to add some pink and clear sequins from Pretty Pink Posh.

I'm sorry this is such a long post but I had so many ideas and wanted to make sure you knew how to put the cards together if you wanted to make them for yourself. Hopefully I've inspired you to try something new!

Don't forget to leave a comment on the Leading Lady posts on my blog Twine Around for a chance to win yourself a $30 Gift Card to Winnie and Walter. You might be able to get your hands on some of the new products I used!

w&w_30giftcard


Thanks so much for the visit and I hope you can pop in next Saturday to see what ideas I have for you!

Take care
Shona


w&w-supplies

Wednesday, December 14, 2016

November 2016 Release with Vanessa

Hi everybody! Vanessa here with four cards to share with you today. I am so happy to be able to share some cards made with the new, amazing release! So let's get started.


Who could resist the cute images from Season's Tweetings with Evelin T Designs? Not me :) Here I placed the little bird onto a snow hill, framed it with patterned paper and embellished the card with wood veneer stars. 


Here comes another fun image from the same set. I die-cut two of the largest tags using Essentials: Carly Cutaways to assemble them with ribbon. The front is inked with an ink blending tool, then I added a snow hill cut with the inner circle die and placed the snowman onto it with foam tape. The star he holds is from Happy Owlidays with Evelin T Designs. Finally, I stamped and heat-embossed the sentiment from Sentimental: Winter onto a strip of red cardstock and adhered it.


The third card is more festive with all the sparkle. I stamped and heat-embossed the Mini Scenery: Merry Berry using gold glitter embossing powder. Then I trimmed the image, matted it with Kraft cardstock and adhered it to the card. I stamped and heat-embossed the sentiment onto a strip of Kraft cardstock and adhered it above the image. Finally, I added gold and white sequins.

The last of today's cards was made with another favorite new set of mine. In Bloom: Frenchy's Festive Florals with Angelica Suarez is so versatile! Here I stamped all the solid elements, die-cut them with the matching dies and added little dots to the images. I arranged them onto my card, stamped the sentiment and added more little dots around the clusters.

I hope you liked my samples today! Can't wait to play some more with all the beautiful new products!! Thank you so much for stopping by :)


 w&wDT_vanessamenhorn_blog-sig

w&w-supplies

Friday, December 9, 2016

Noel with Gayatri

Hello everyone,

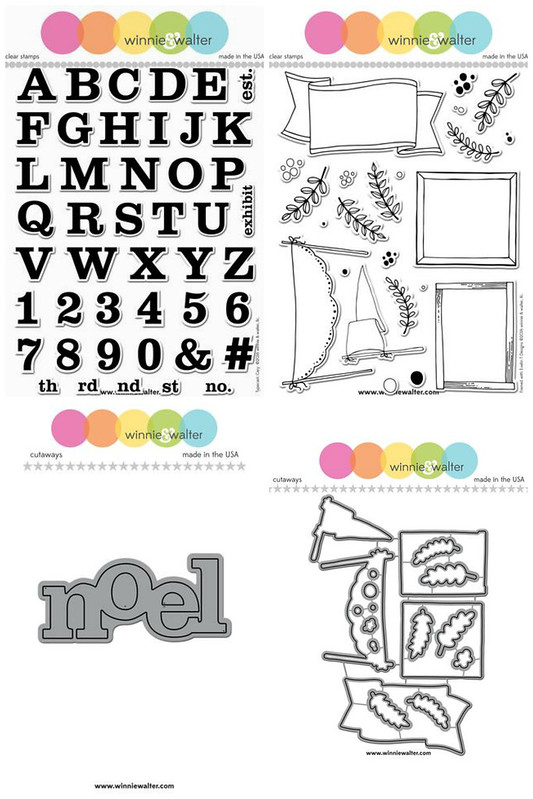
Its Gayatri again! Today I have a set of two Christmas cards to share with your using Winnie & Walter's new release stamp set and cutaways. I have used Framed with Evelin T Designs stamp set, Typecast: Cary stamp set, Framed with Evelin T Design Cutaways and In a Word: Noel Cutaway.


W&Wcollage


Both of my cards are similar yet different. They are similar in layout, the elements used but different in colours and the placement of the elements. Here is my first card.

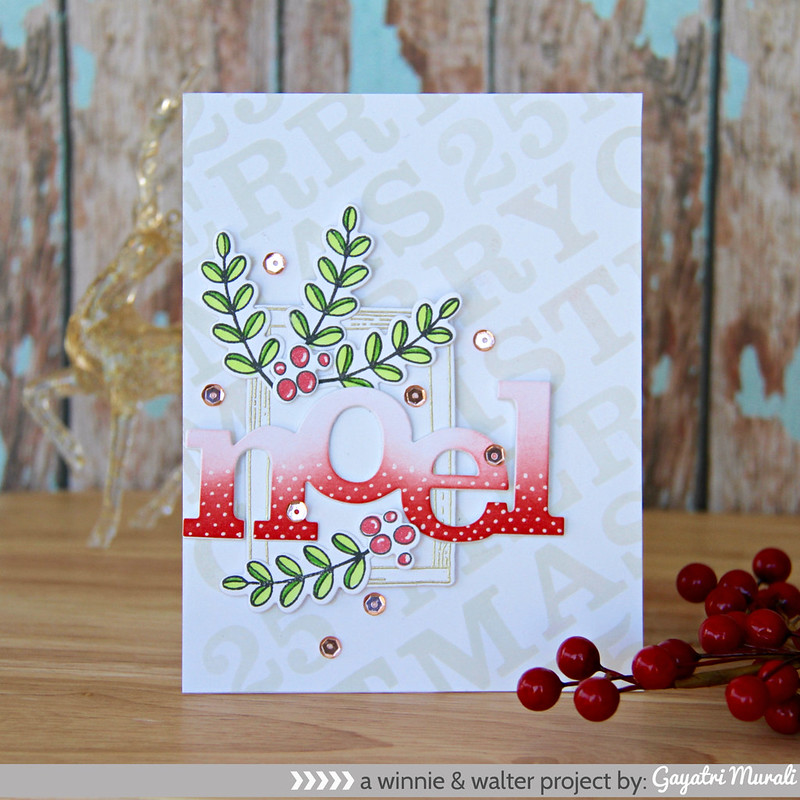
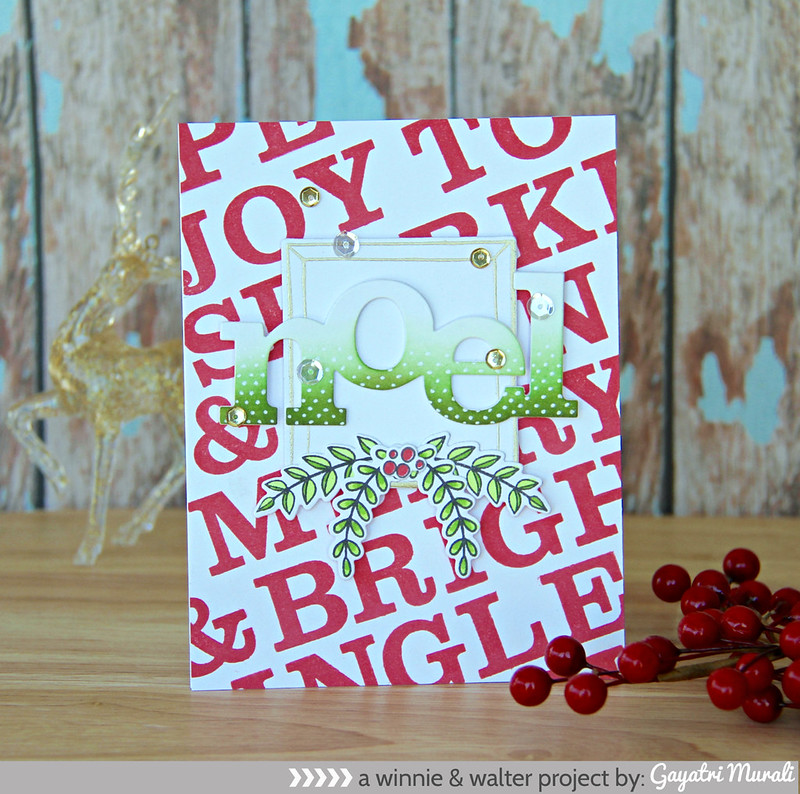
Red NOEL card

I used the alphabets and numbers from Typecast: Cary stamp set and stamped the sentiment saying 25th Merry Christmas using light grey ink on the card front at an angle. I did draw lines to keep the spacing even. I erased the pencil lines after stamping the images. Since the background is neutral, I wanted my focal elements to pop out of the neutral background.

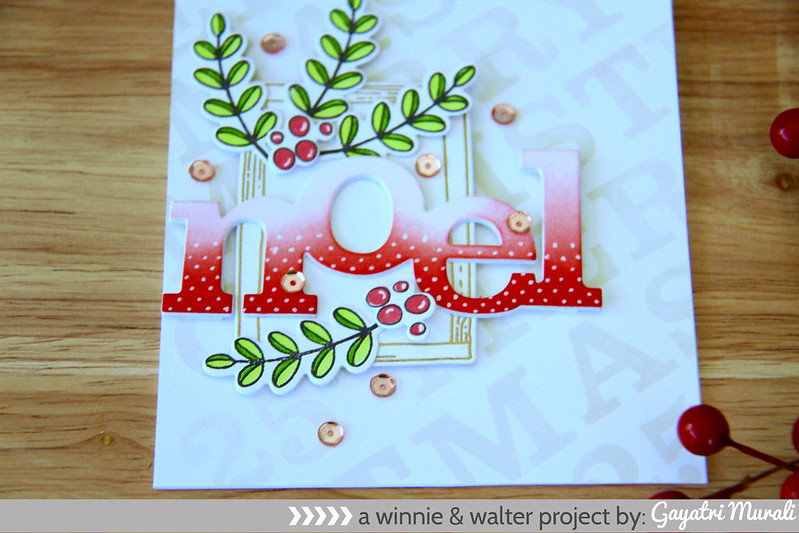
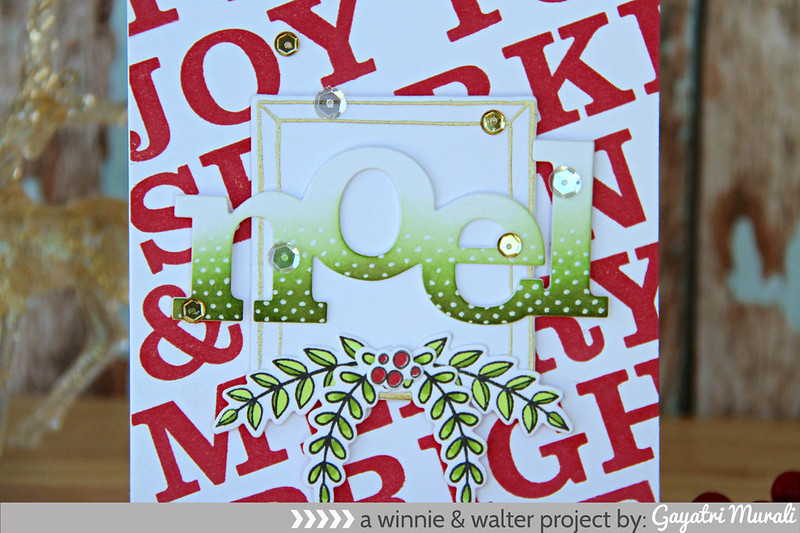
Red Noel card closeup

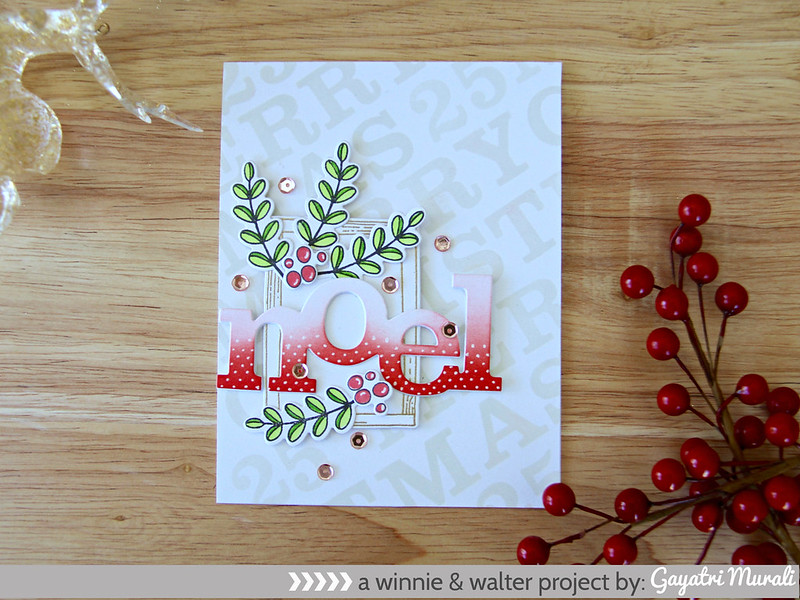
For the focal point I gold heat embossed the frame from Framed with Evelin T Design stamp set and die cut the frame out using the coordinating cutaway. I also stamped the leaves and berries from the stamp set, copic coloured and die cut using the coordinating cutaway. Then I also die cut In a Word: Noel cutaway using white cardstock, sponged Candied Apple distress ink in ombre and added details using white gelly roll pen. I adhered the frame offset on the lower right of the card front using foam adhesives, the NOEL flush on the frame and foam on the edges to the cardstock. Then adhered the leaves and berries to frame the sentiment. Finally embellished with rose gold sequins.

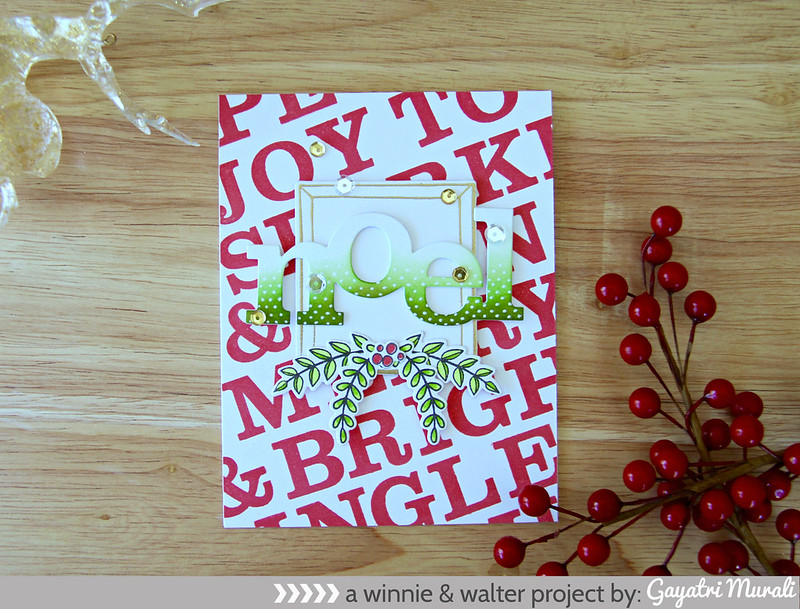
Red NOEL card flat

Now for the second card, I did the background similar to the first one using Typecast: Cary stamp set. But I used red ink and a variety of christmas sentiment to create the background.

Green NOEL card

I again drew pencil lines diagonally to get the spacing right and once stamped the background, I erased the pencil lines.  For the focal point, I used another frame from the Framed with Evelin T Design which I gold heat embossed. Similar to the first card, I also stamped, copic coloured and die cut the leaves and berries from the stamp set using coordinating cutaway. The sentiment Noel is die cut using white cardstock, sponged Mowed Lawn distress inks in ombre and added details using white gelly roll pen.

Green Noel closeup

On this card, I clustered the elements on the top centre of the card front. The frame using the foam adhesives, the sentiment NOEL flush glued on the frame and foam on the hanging edges and the leaves falling from the frame with the berries in the centre. I used sparkly clear and gold sequins to embellished the card.

Green Noel card flat

You can change colours while the alphabets are arranged on MISTI to stamp a few card fronts. And also emboss a few more frames and elements to mass produce the design. Just vary the placement of the focal cluster and you get a variety of Christmas card.

I absolutely love the Typecast: Cary stamp set. Bold alphabets and numbers. It is a must have stamp set in my collection. The Framed stamp set is gorgeous to add layers and love the hand drawn images. Of course, the In a Word cutaways are fabulous. Big, bold and great focal point word dies. This release by Winnie & Walter is fabulous.

Hope you are inspired by my cards. Thanks for stopping by. 
My blog signature


w&w-supplies

Friday, December 2, 2016

Season's Greetings with Gayatri

Hey everyone,

Gayatri here again. Sharing my second project using the November new release. Today I am showcasing Season's Tweeting with Evelin T Designs and coordinating Cutaway.


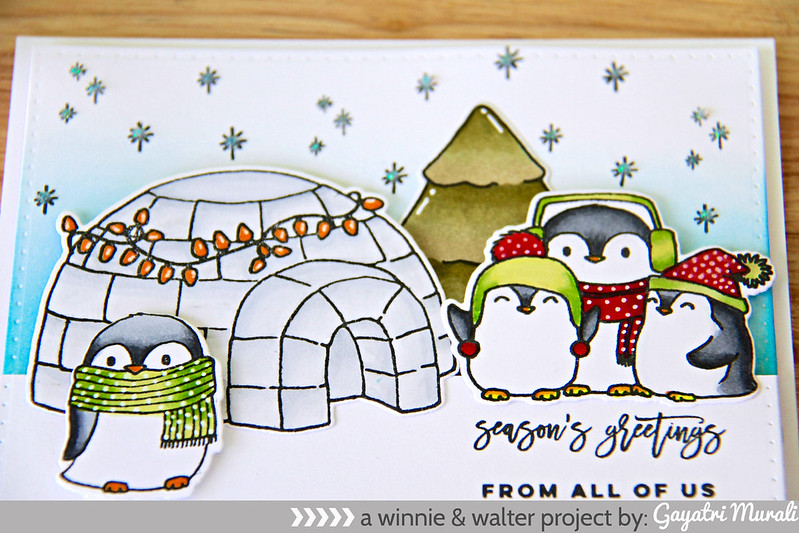
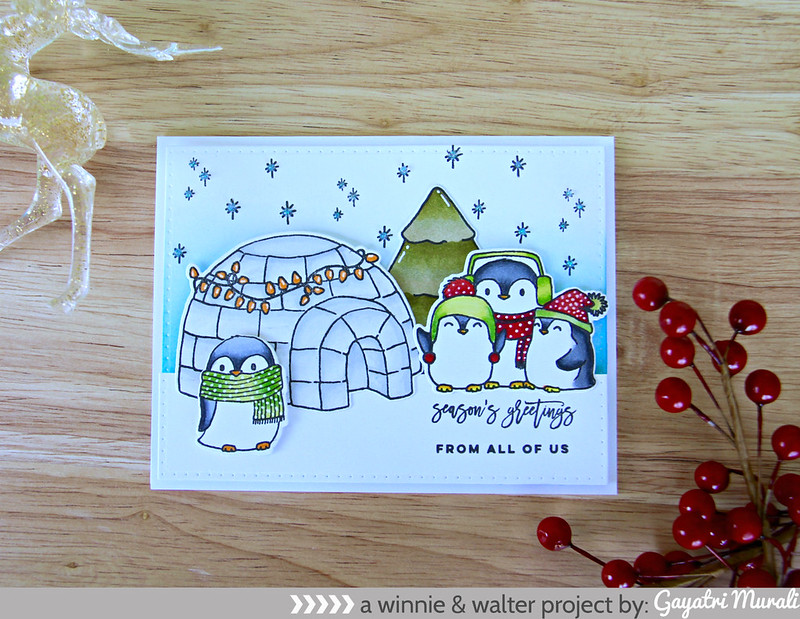
Absolutely adorable images on this set and I love the handwritten sentiments. Great to create scenes. That is what I did with on my card.

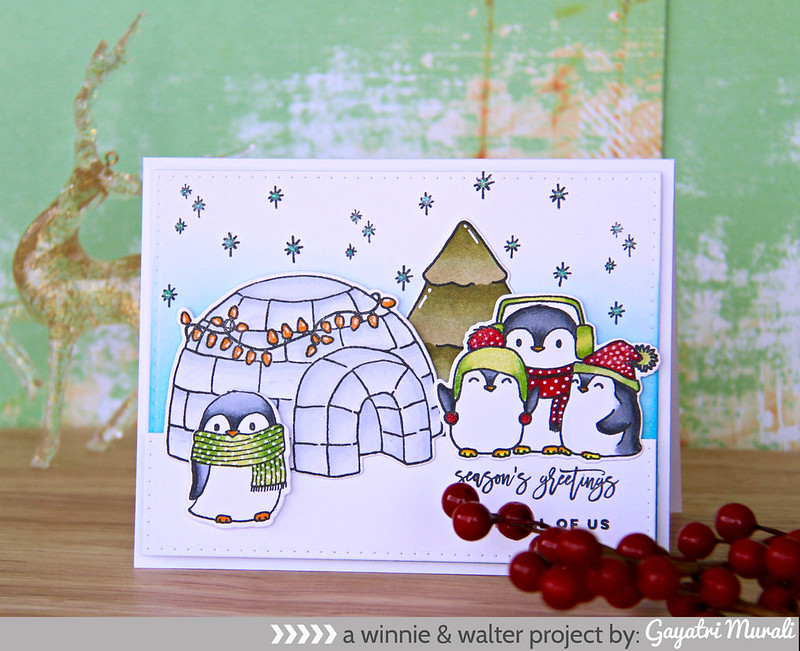
Season'e greetings1

I started with stamping the images and colouring them with copic markers. Then I die cut the images using the coordinating cutaways.  For the background, I die cut two white rectangle panels using the largest of the rectangle die from Essentials: Katherine Cutaway. On one panel I sponged Salty Ocean and Peacock Feathers distress inks leaving the top of the panel white. I die cut the other panel to an inch. I stamped the green from Sentimental: Winter stamp set. Adhered this panel on top of the sponged side of the other panel using foam adhesives for dimension.

Season's Greeting closuep1

I adhered the image die cuts as shown on the picture. I flush glued the tree and foam mounted the rest of the images grounding them to the sentiment panel. One of the penguin image is adhered on the front of the igloo using foam adhesives. I stamped the stars from the stamp set on sky and added White Blizzard Nuvo Crystal Drops to its centre. Then I used white gel pen to add details on the images.

Seaon's greetings flat

Cute huh! I love this set. Probably my favourite in the release. Both the stamp set and coordinating cutaway and the Sentimental: Winter stamp set are available for purchase from Winnie & Walter store.

See you soon with more. Thanks for stopping by.

My blog signature


w&w-supplies