Showing posts with label you've got love mail. Show all posts

Wednesday, January 16, 2019

Love Mail with Kelly


Hi Folks! As fun as the holidays were this year, now that everything is packed away it's time to start turning attention to all things pink and red for Valentine's Day! In this post I'm sharing a fun and inexpensive Valentine's Day craft. These are the mini valentine mailboxes we made for friends/neighbors/teachers/office-staff last year. They are inspired by the craft project I led for Jackson's fourth grade class at the school Valentine's Day party. (also inspired by the pile of left over mailboxes I was going to need to return to Target!!)


 The mini tin mailboxes come from the Target dollar spot; aren't they the cutest?! The glass candlesticks you can pick-up anywhere for pretty cheap (especially at garage sales!) These are just from the dollar store. I spray painted them with whatever paint I had left over in the garage, making sure to check the label that it was fine to spray on glass. After hot gluing the mailbox onto the spray-painted stand I was ready for the fun part ... decorating them!


 For mass-produced projects like this I like to stick with the same basic template. Each mailbox has the sentiment on the left side, a collage of a heart and other elements on the front lid, and a cluster of tiny hearts on the right side. This particular mailbox uses the happy die from In a Word: Happy Cutaway, and the embossed sentiment from Sentimental: Love. The heart is from the Flawless Heart Cutaways, and then the postmark, envelope and 14 are from an oldie but goodie, You've Got Love Mail.


A similar mailbox here, except we have a "hello" instead of a "happy" greeting (from In a Word: Hello). And a birdie decided to land on this one, direct from the dollar store ... a package of 3 for $1.


Knowing the general layout is the same makes assembling the one-of-a-kind mailboxes that much easier. You just need to plan ahead a little. For example, I die cut several different large words at a time (one red piece of cardstock is enough to cut Love, Hugs, and Hello in the same pass through the die cutter, along with several small hearts) and I stamp several key phrases with versamark on a piece of black cardstock, emboss them all at once, and then cut them into strips with my trimmer. Starting off with a nice pile of words and phrases to choose from makes it really fun to try new combinations along the way.


 You've really got to love those In a Word dies ... this mailbox is "sending hugs" with the help of, you guessed it, In a Word: Hugs.

Now it's confession time as someone with a stamping blog: I did not stamp super cute Valentine's Day greetings to go inside of each mailbox.  


But, while I was in the dollar spot at Target I found these ADORABLE Valentine's Day band-aids that came 20 to a pack for only $1. Score!!!


Just add a "stuck on you" pun, and you've got yourself a sweet little valentine that's easy to mass-produce. Bonus: you don't even have to add adhesive to the band aid!!! : ) Just peel off the strips. Extra bonus: they work just as well for boys as they do for girls, which is sometimes hard to find.


 I used an envelope punch board to make custom-sized envelopes out of patterned paper for each valentine, addressed them and stamped a heart on each one. Don't they look cute after cupid has made his little deliveries?!


Here the all are, waiting to be left on doorstops across town.

Being as detail-oriented as I am, I matched up each mailbox with how I thought the colors would go in their homes ; )


Packed up for delivery. I was a little sad to see them all go.


Since I made these a little ahead of time I was able to hand-deliver some to my out-of-town friends  when I met them for lunch dates and such.


Finally, here are the mailboxes the kids designed during their fourth grade school Valentine's Day party (stop by to see these adorable kids in action). I mostly gave them glitter-foam stickers and adhesive gems to work with since they only had a few minutes in their station to assemble the mailboxes. But, I started them off with several of the patterned paper hearts on the front. It was pretty incredible, and very fulfilling, to see them so proud of their masterpieces which they can display for years.

Thanks so much for stopping by!
-Kelly


w&w-supplies

Wednesday, January 11, 2017

Love You So Very Much with Vanessa

Happy Wednesday everybody! Vanessa here to share a cute love themed card with you all.

I love the new adorable owls from Happy Owlidays with Evelin T Designs and wanted to use them again although it is a Christmas set. So I created my card with the little couple of the set:


First, I trimmed a panel of white cardstock slightly smaller than my pink card base. Then I die-cut the solid heart from Flawless Heart Cutaways from a scrap of paper and used the negative space as a mask for my panel. I applied pink and coral ink with an ink blending tool and removed the mask. Now I stamped the tiny heart from You've Got Love Mail with matching inks around the inked heart. I stamped the sentiment, combining You've Got Love Mail and LS Exclusives: So Tweet With Evelin T Designs and adhered the panel to the card base.

After I had stamped the owls onto cardstock, I colored them with Copics and die-cut them with the matching dies. Finally, I adhered the owls with foam tape and added matching sequins from Winnie's Sparkly Shaker Selection to the card.


I hope you like today's idea! Thank you so much for stopping by!!


w&wDT_vanessamenhorn_blog-sig

w&w-supplies

Thursday, February 4, 2016

w&w Belated 2nd Birthday Bash | Special Guest Star Yana Smakula

200specialgueststaryana 

To help make our Belated 2nd Birthday Bash even more special and fun we've got several special guest stars sharing their talents with us this month.

Our first such special guest star is Yana Smakula.  

I had the privilege of meeting this lovely and talented lady at CHA in 2015 and again this past January.  She's truly beautiful inside and out!  

Wait until you see what delights she has for you today!   I really love her cards and I am sure you will too....

yana-smakula-2016-W&W-XOXO-1 

Hello Winnie & Walter fans!

Yana is here today joining the awesome Create Your Own Background Challenge with Gayatri to help celebrate Winnie & Walter's 2nd Birthday! I love to make you own backgrounds so when Shay asked me to pick a challenge I wanted to participate in - I immediately knew I wanted to join this one.

yana-smakula-2016-W&W-XOXO-2

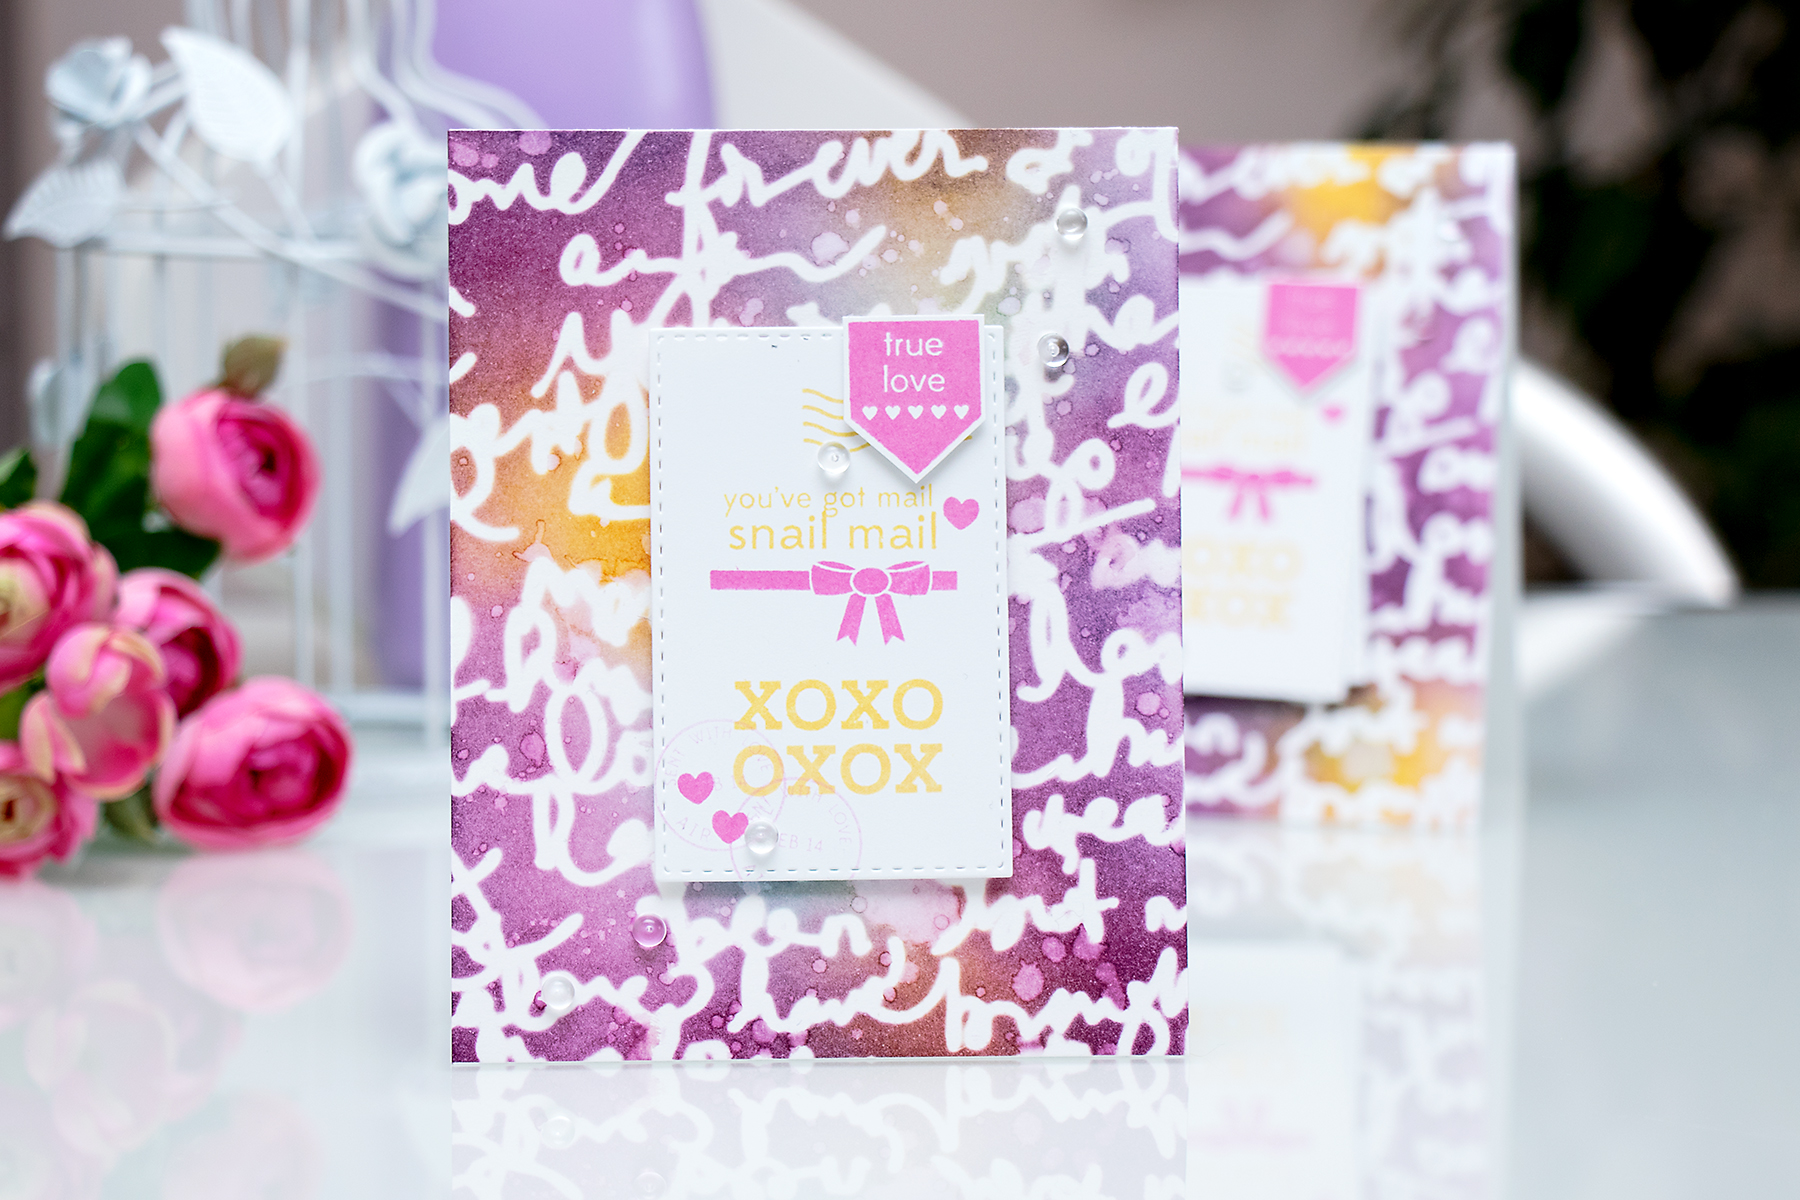
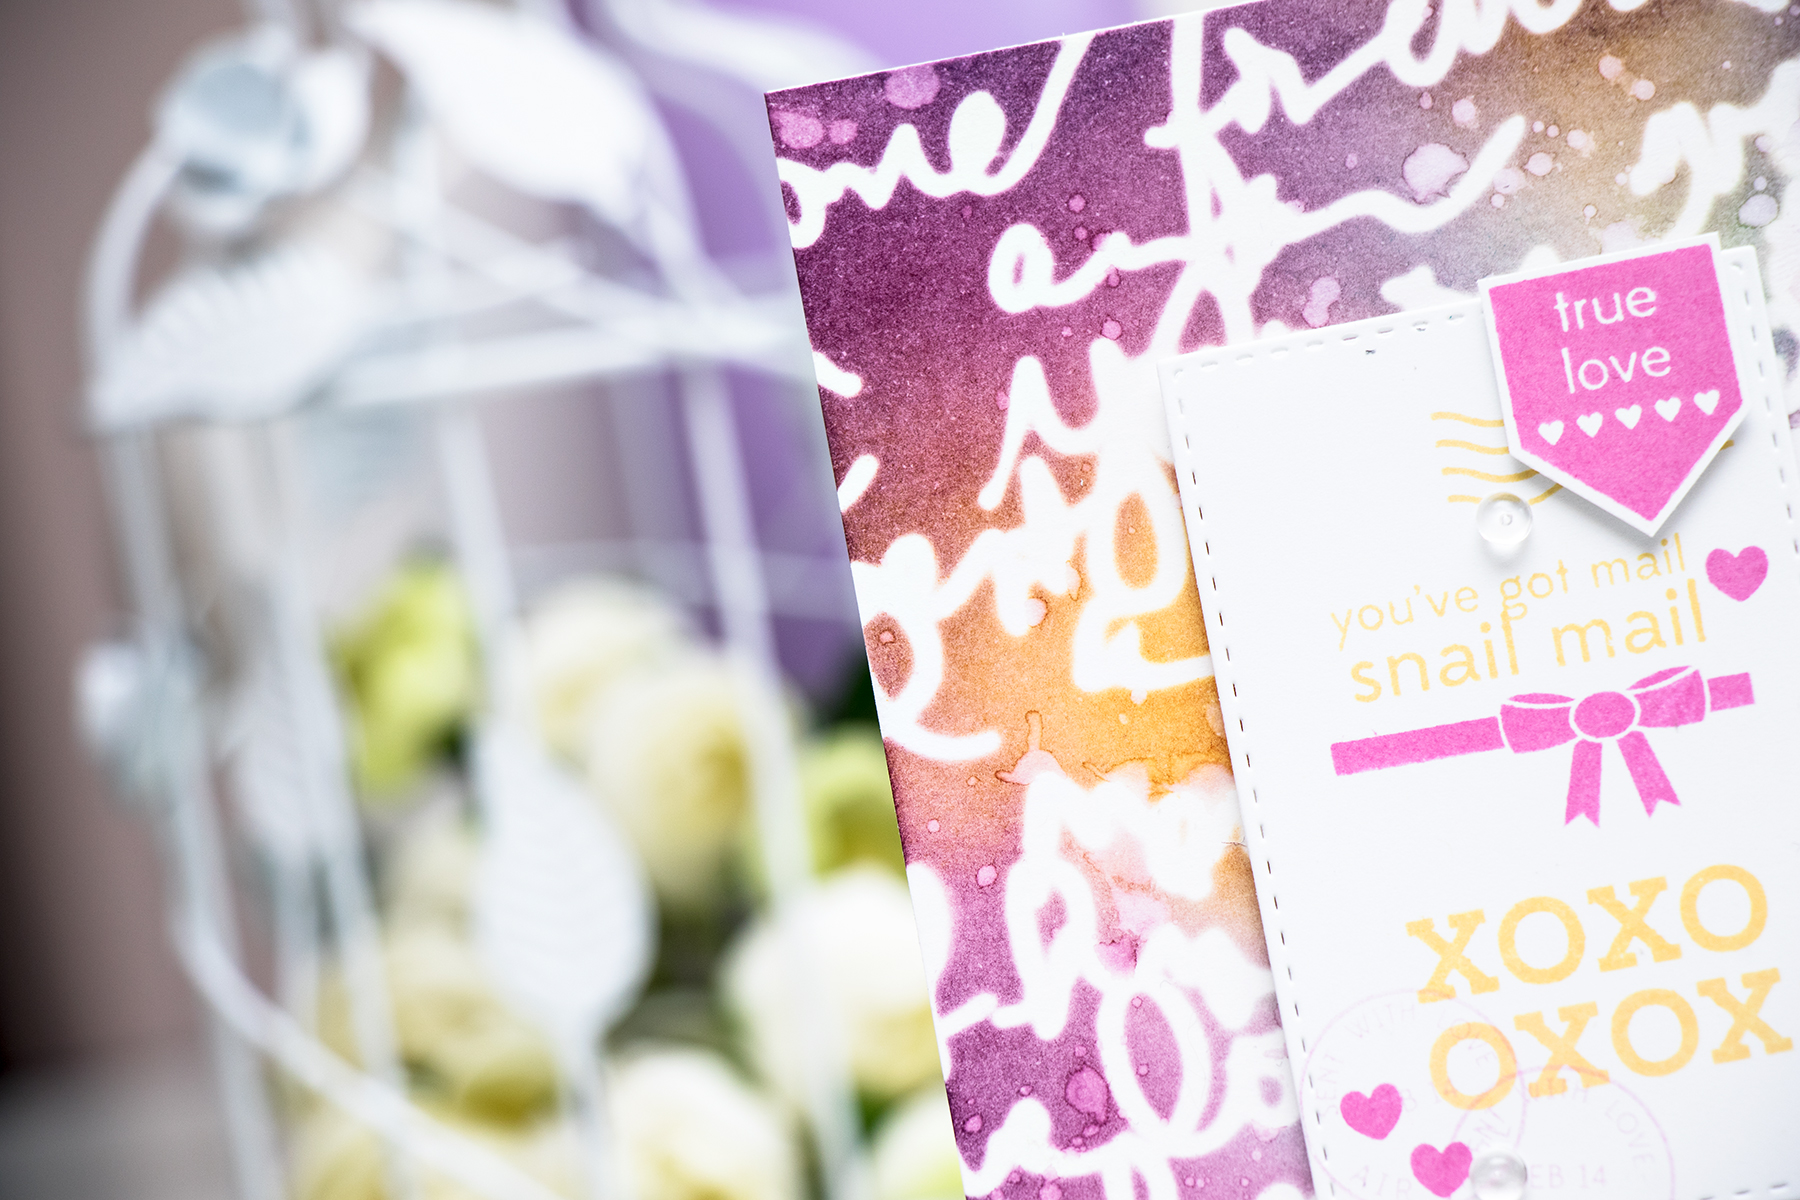
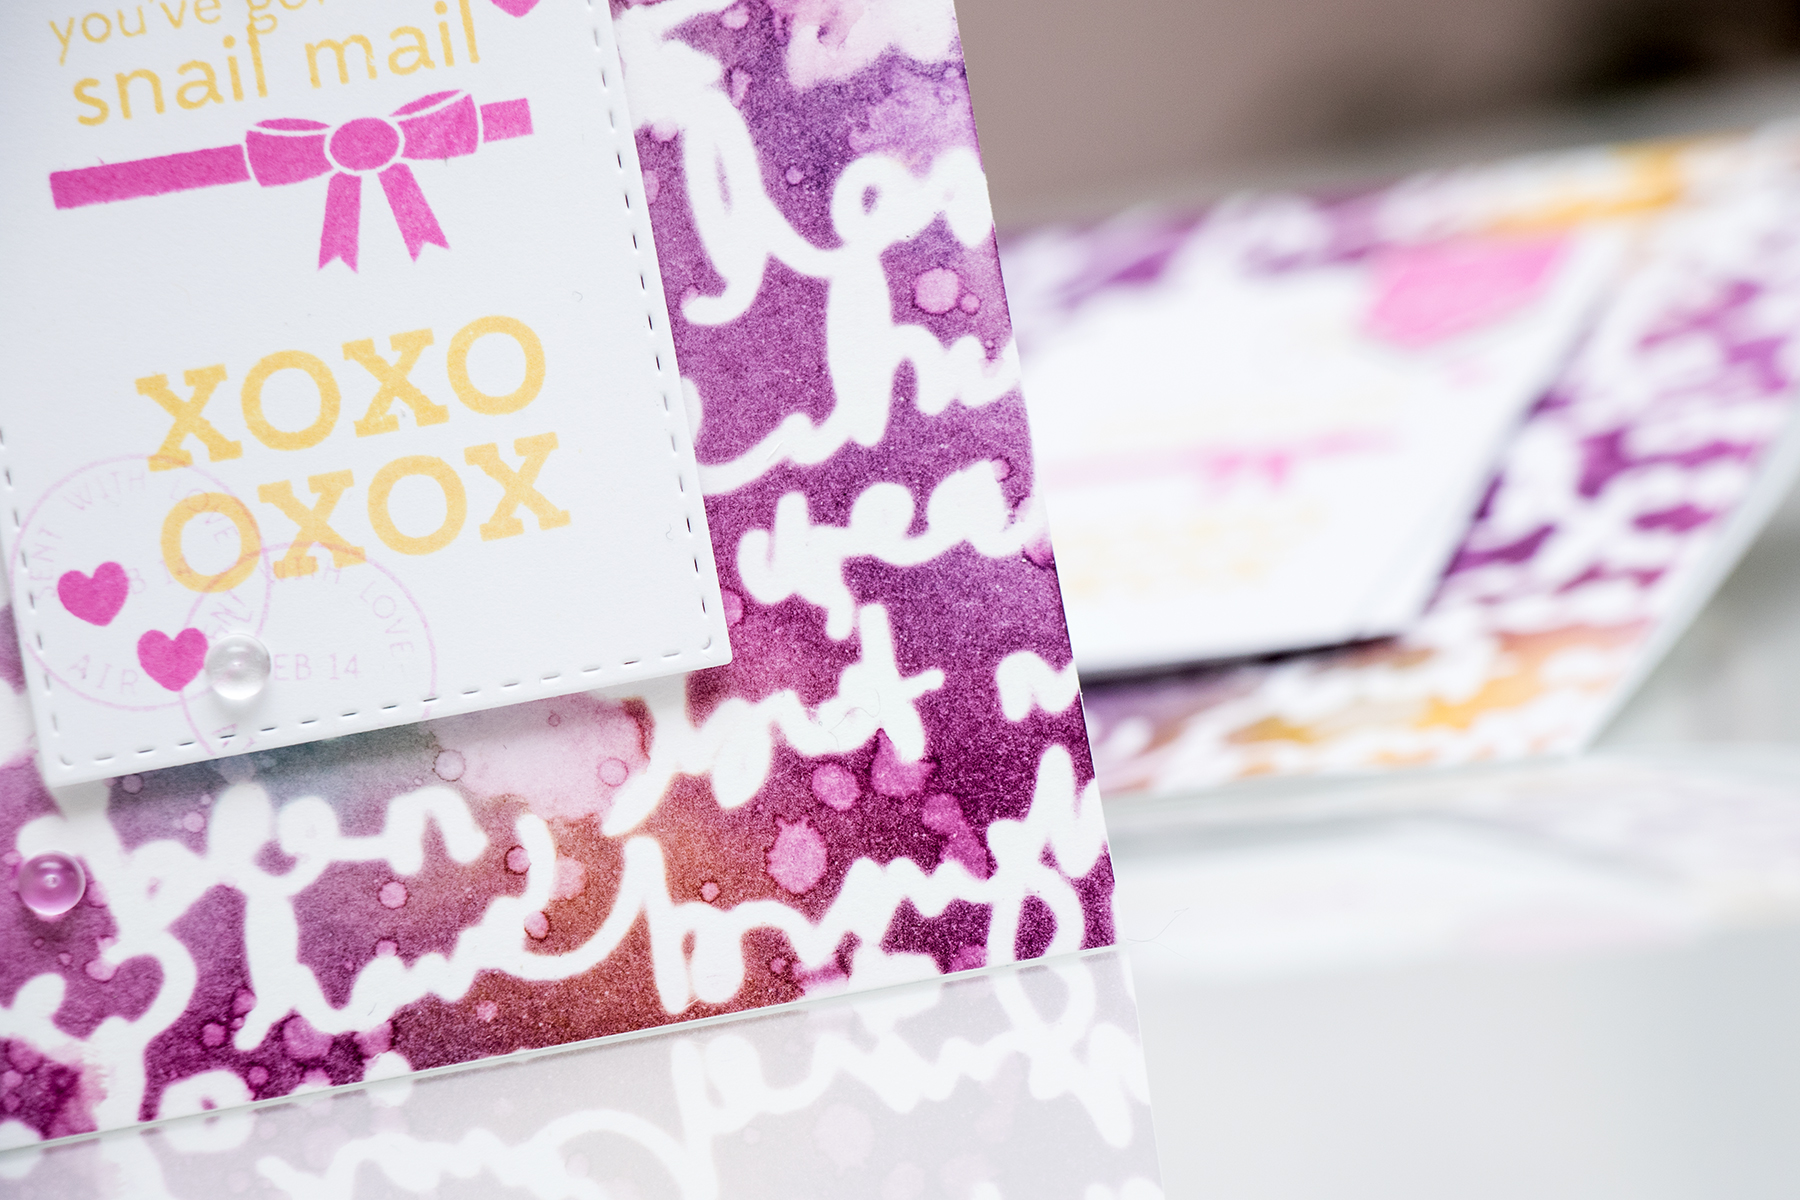
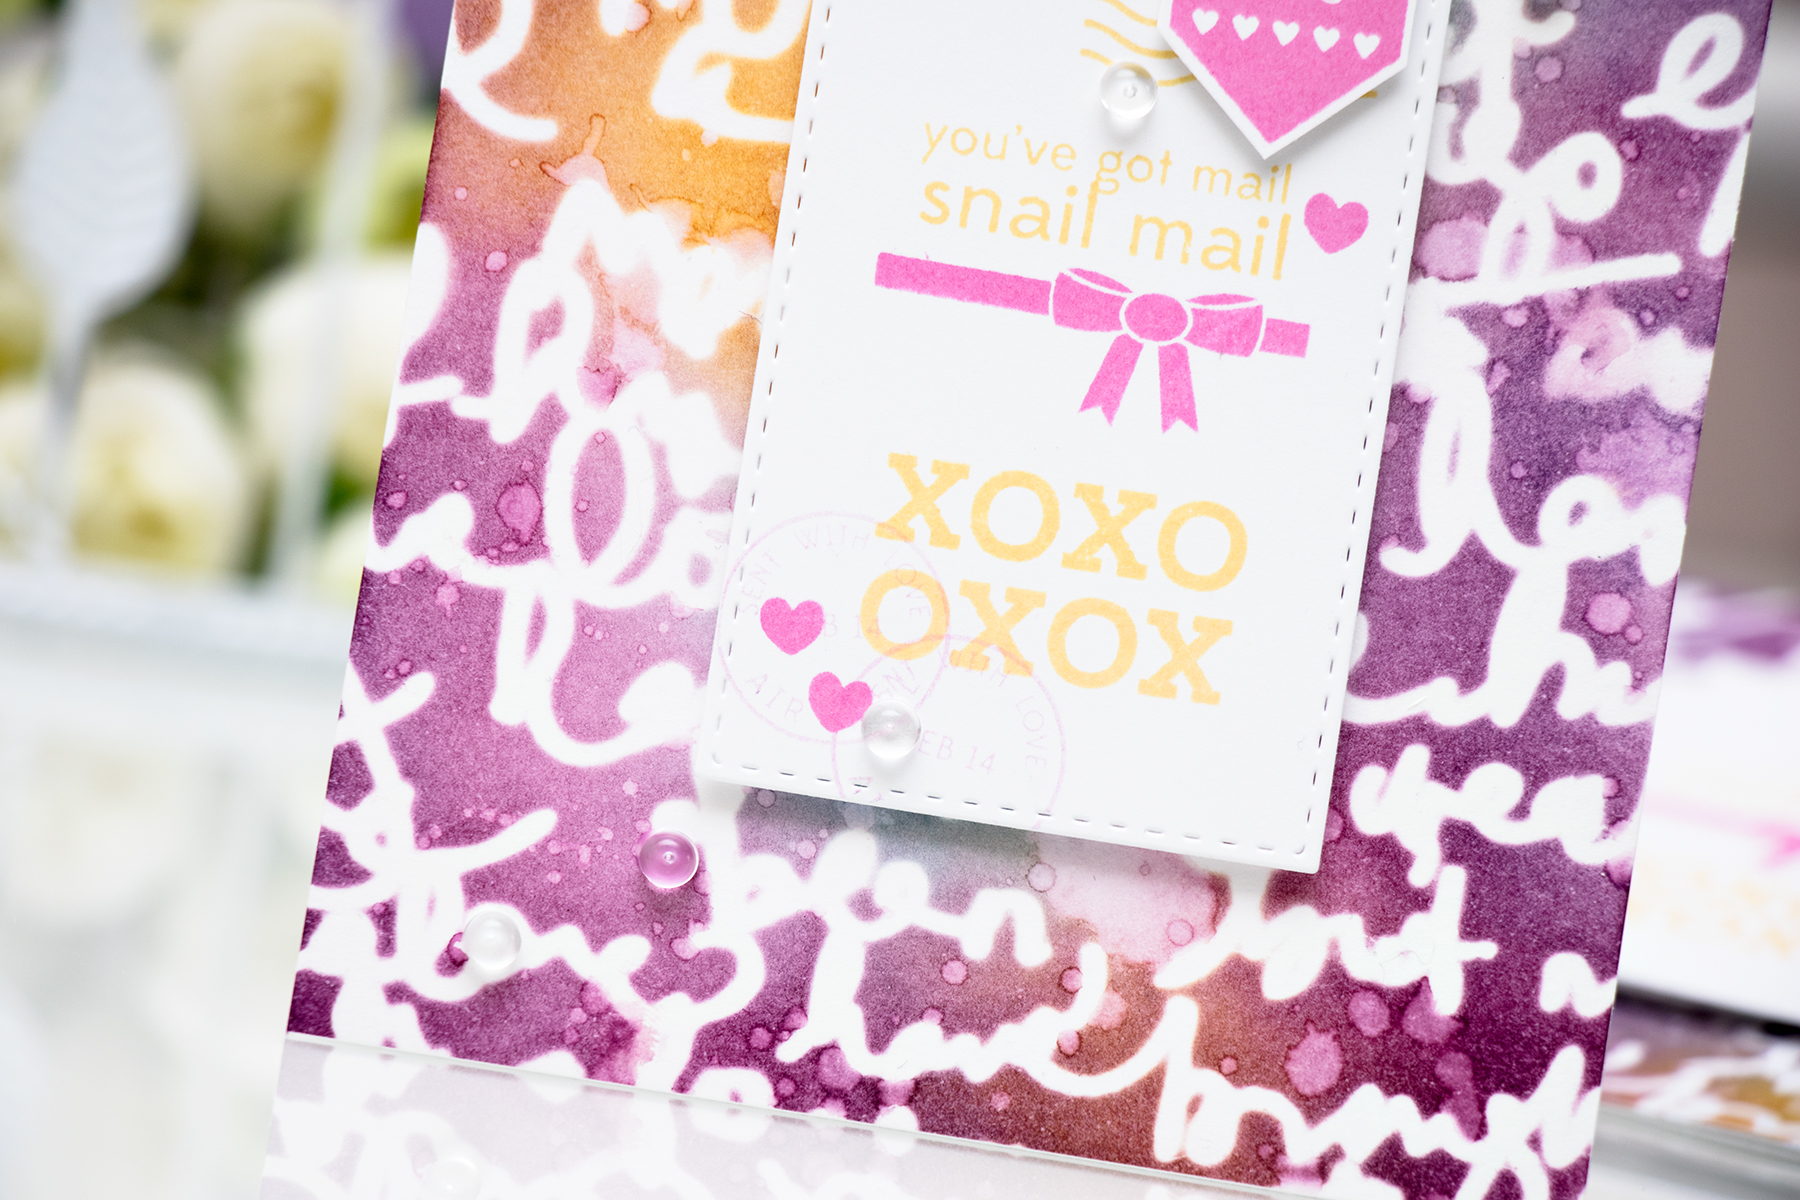
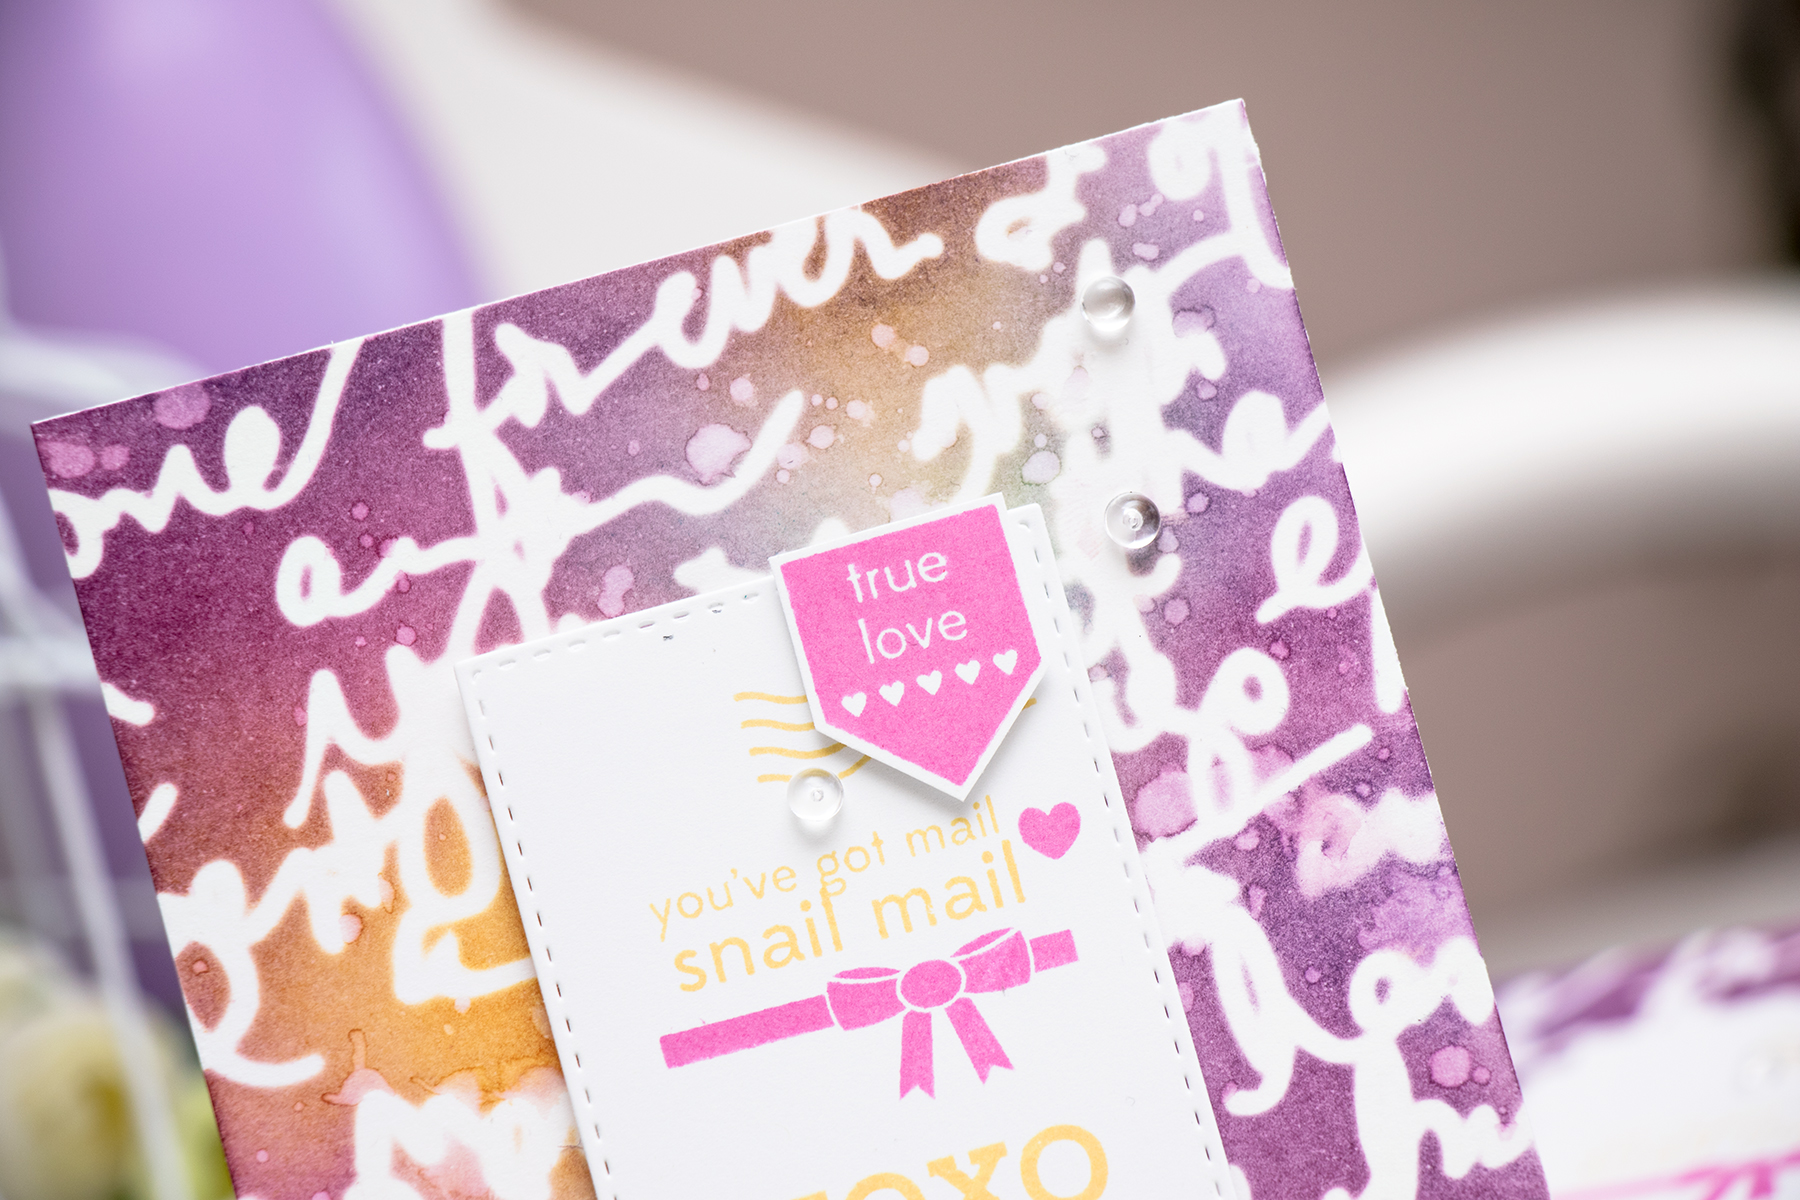
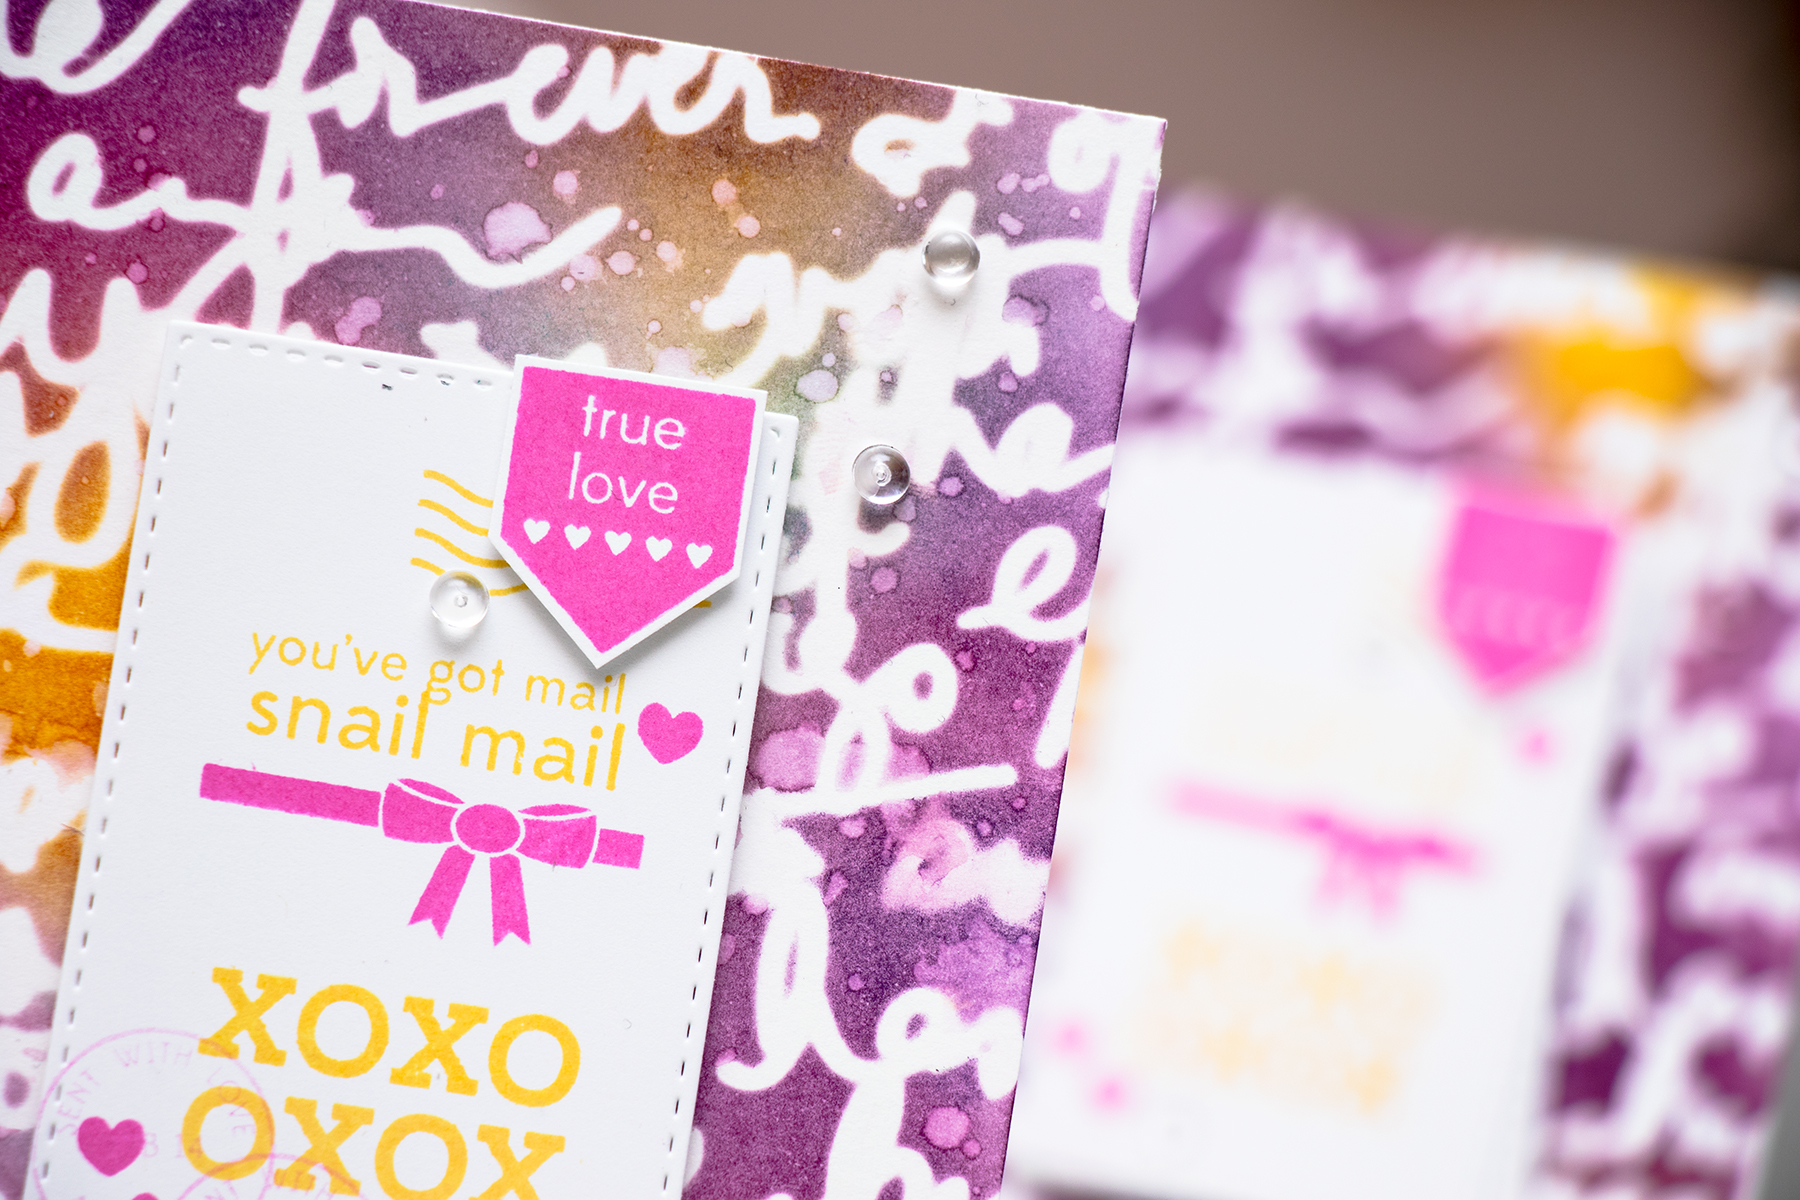
Creating a custom background is always fun! Today I used Winnie & Walter's beautiful Scenery: Persuasion Script Creative Screenings and several colors of distress inks. I went with yellows, blues and purples and ended up having this fun and vibrant background for my card. I also used the You've Got Love Mail stamp set to create my sentiment - I just love the little bow in this set and all the other small images.

yana-smakula-2016-W&W-XOXO-3 yana-smakula-2016-W&W-XOXO-4 yana-smakula-2016-W&W-XOXO-5 
yana-smakula-2016-W&W-XOXO-6

I filmed a video tutorial showing you in detail how easy it is to make a card like this -


Or go directly to the video here: https://www.youtube.com/watch?v=s-mjUN0XvWw

Be sure to join this and other challenges by Winnie & Walter, lets celebrate together!


w&w-supplies

Saturday, May 30, 2015

May Leading Lady Anita in France | Take Five


With the end of May comes a sad time for us as this is the last Saturday with our remarkable May Leading Lady, Anita in France.  Our five fabulous weeks with Anita have been too short and we want to express our heartfelt gratitude to you Anita for bringing an incredible energy and level of excellence to each of your performances.  It has been a joy to have you as our leading lady.  

If you missed Anita's smashing debut you must see it...CLICK HERE or second performance showing her softer, floral side CLICK HERE or third performance showing her range and versatility with one product CLICK HERE or her fourth performance in which she multiplied her talent times 3 CLICK HERE.

Lucky for us all we have her final shimmering performance today.  
Winnie & Walter Leading Lady


My excitement at appearing on the Winnie & Walter stage today is tinged with just a touch of sadness that this is my last performance as Leading Lady.  It’s been a wonderful experience working with Shay and Julie, who are just the loveliest people … thanks so much, ladies, for the opportunity to showcase your awesome product range … it’s been an honour and a privilege!  Thanks also to all of you … readers, visitors, commenters and friends … your support and encouragement has been truly fantastic … you’ve touched my heart!  So … on with the finale … a little feature I’ve called ‘Accentuating The Negative … With Shimmer’!

Scene 1 … Starry Starry Night (such a good song to be going round your head for the day!) …


W&W Leading Lady Week 5 Starry Night


Here I used emboss resist to create this shimmery look.  I sponged Versamark through the Scenery: Big Bang Classic Star Creative Screenings (stencil) onto a white card panel and embossed the panel in silver.  It was sponged over with Distress Inks (Tumbled Glass, Peacock Feathers, Chipped Sapphire), blended to create a starry ombré night sky and Perfect Pearl mixture was used to create some gentle splattering.  The panel was split (to create the negative space) and trimmed to size, I embossed the sentiment (from My Precious) onto the base card and popped the two portions of the panel up on foam tape over it.     

Here’s a closer look of all that sparkle and shine …
W&W Leading Lady Week 5 Starry Night Close Up


The emboss resist technique isn’t limited to using stencils … it works beautifully with so many of the Winnie & Walter stamps … I’m thinking backgrounds made up with Scenery: Big Bang Bling,  Confetti, Flurries … and a whole bunch of the graphic stamps!

Scene 2 … ‘Stella’ sparkly Hugs and Kisses …


W&W Leading Lady Week 5 Hugs and Kisses


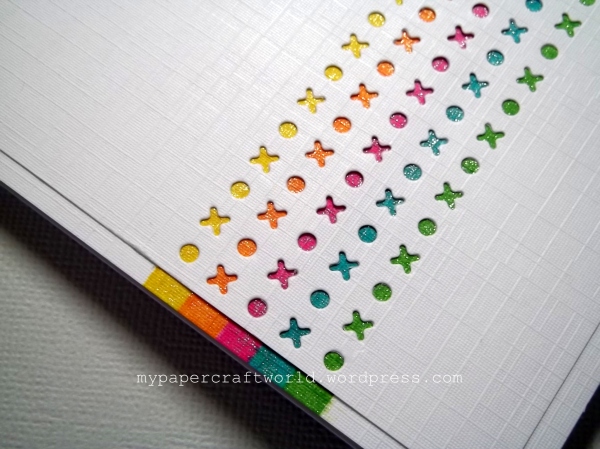
Don’t you just love all those little hugs and kisses?  They were cut repeatedly into a white panel with a single line border from Essentials: Audrey Cutaways (dies) … and the sentiment (from You’ve Got Love Mail) was stamped in Versafine Black.  I used the panel as a guide for marking stripes on the base card, masked and sponged Distress Inks (Mustard Seed, Spiced Marmalade, Picked Raspberry, Peacock Feathers, Mowed Lawn) on each line and covered all the colours in a hefty coat of Wink of Stella.  I adhered the panel flat onto the card base … a test run using foam tape didn’t show the colours as clearly, so I went flat!  Would you like to see the shimmer under those negative space hugs and kisses … yummy huh?
W&W Leading Lady Week 5 Hugs and Kisses Close Up


It’s very sparkly IRL!  This was a really quick, CAS card … another of those ‘that’d be good in a set’ ones as it’s so easy to replicate … it’d be even quicker if washi tape was used instead of Distress Ink!

Scene 3 … Brilliant Birthday Balloons …
W&W Leading Lady Week 5 Birthday Balloons


There are two sets of shimmery negative space here … the ‘happy’ … and two of the four sides.  I cut the In A Word: Happy into a white card panel and used the ombré stamping technique and masking for the balloons (from The Party).  Each colour was stamped three times … first in full, next with about half the ink wiped off the stamp and the third with about three quarters wiped off … the ombré colour creates a real sense of dimension, even though the balloons are flat.    If I had a MISTI, I’d have used it to get easy precision placement … I haven’t (yet!), so used my trusty stamp positioner to make sure each impression landed in just the right spot.  I stamped over all three balloons with Versamark, embossed them with clear holographic EP and trimmed the panel to size, cutting round the balloons off the edge of the panel.  To get the matching shimmer on the grey base, I tapped Versamark over it and embossed it in the same clear holographic EP as I used for the balloons.  The white panel was popped up on foam tape over the grey, I added the letter pieces inside the word and scattered a star sequin or three and some gems across it.  Here’s a much better view of all that shiny shimmer … 


W&W Leading Lady Week 5 Birthday Balloons Close Up

Using the same embossing powder (in any finish or colour) is a great way to get matching elements in a card!

Scene 4 … Shake That Shimmer …
W&W Leading Lady Week 5 Shake That Shimmer


What a brilliant Cutaway this In A Word:Hi is … it takes up a full card … and is just perfect for a shimmery shaker!  The front panel was easy … I just cut the ‘hi’ into it, added a panel of acetate to the back, adhered just a smidge (!) of foam tape and poured in a ton of sequins for shakeablility!  The card base was sponged and blended with Distress Inks (Squeezed Lemonade, Mowed Lawn, Tumbled Glass) so they would show through the word … and I spritzed it all with a light dusting of shimmer spray.   Then it was just a matter of taking the backing paper off the foam tape and adhering the base onto the back of the front panel.  A cascade of sequins and gems later (to match the Distress Inks) and I was done!  Here it is in all it’s negative spaced, shimmery, shakery glory …


W&W Leading Lady Week 5 Shake That Shimmer Close Up


There are so many ways to play with this Cutaway … stacked, camoflaged, partially die cut, popped up, with or without DP and/or layers … you’ll have your own favourite!

This last scene brings me to the end of my Leading Lady performances … and I’ve loved it!  Again, thanks so much to Shay and Julie … and to all of you for cheering me on through each one!  It’s now time for me to bow out and to bring the curtain down for the final time.   I do hope you’ve enjoyed these Saturday matinées … I’ve certainly had a ball playing with fantastic goodies, stretching my creative muscles and reading your always welcome reviews!

Don’t forget that Julie and Shay have generously given me a $30 gift card to Winnie & Walter to give away this month … if you’d like to be in with a chance of winning it (you could make that wish list into a happy package!), leave a comment on each of my Leading Lady posts over on my blog (My Papercraft World) every week … five posts during May, five chances to win!  I’ll do a random draw from all the comments and will announce the winner on Sunday 7 June!


For the final time, thanks so much for coming by, your visits and comments are always a joy!  Anita :)


w&w-supplies