Before we announce the winners we want to thank everyone for commenting and sharing in the love! We had so much fun coming up with challenges, making projects, reading your comments and having you join in the fun! This won't be the last time we incorporate challenges in our Share the Love Weeks!
And a huge round of applause to Ranger for so generously donating prizes! Woohoo! We can't recommend Tim Holtz Distress Ink products enough.
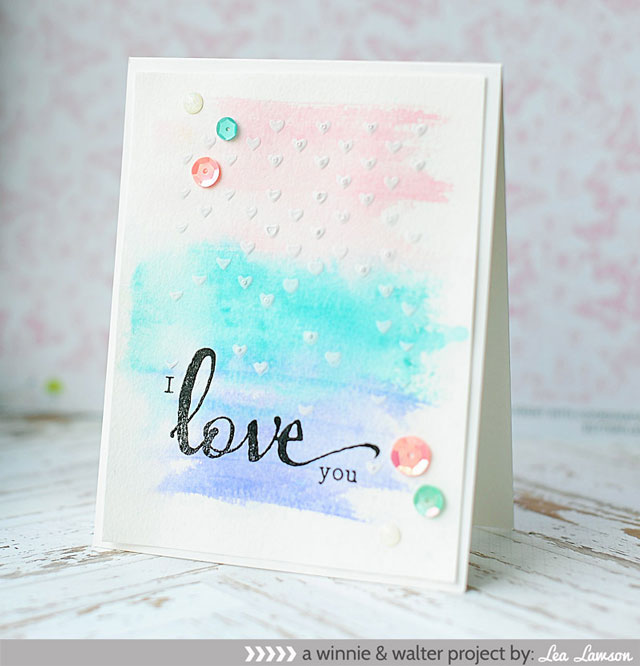
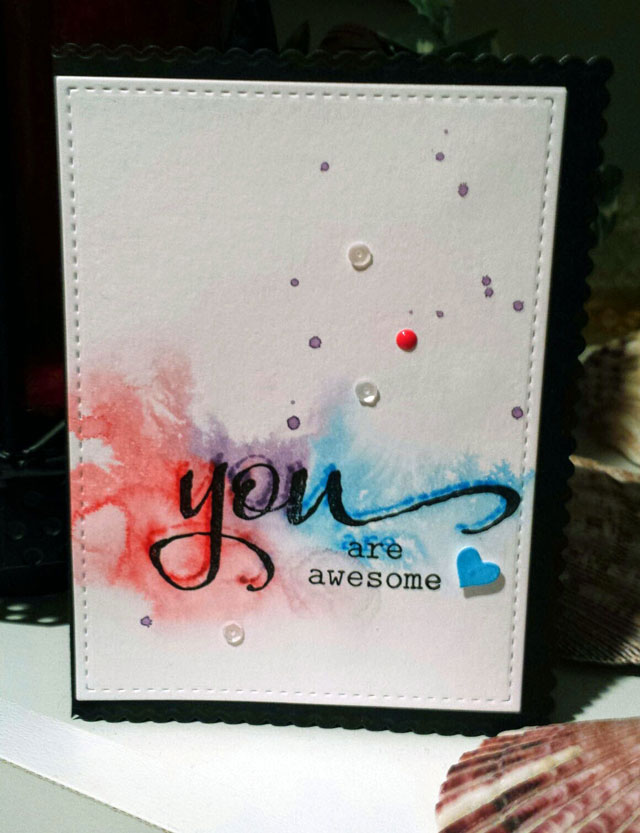
>>>Day 1 | Watercolor/Watercolour<<<
Winner of a mini Distress Ink prize pack courtesy of Ranger.
A step forward by Carol Doggett
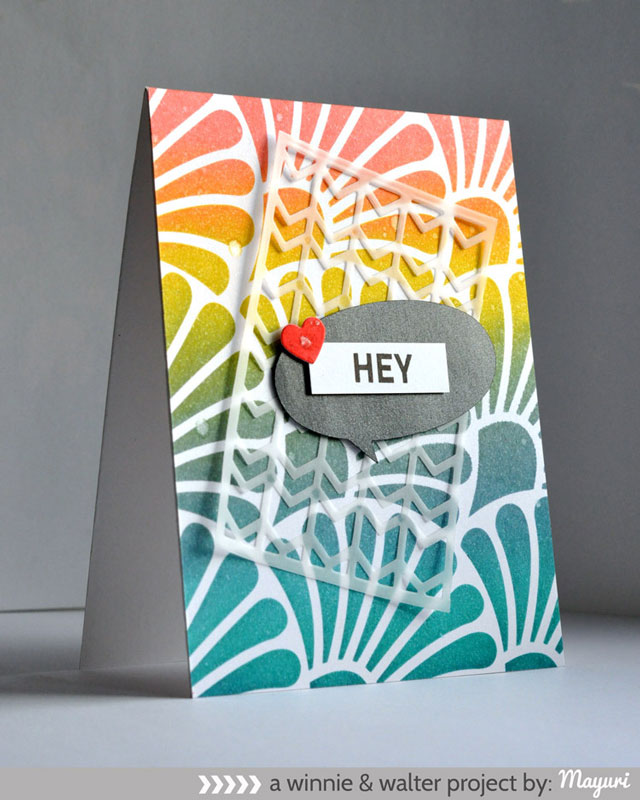
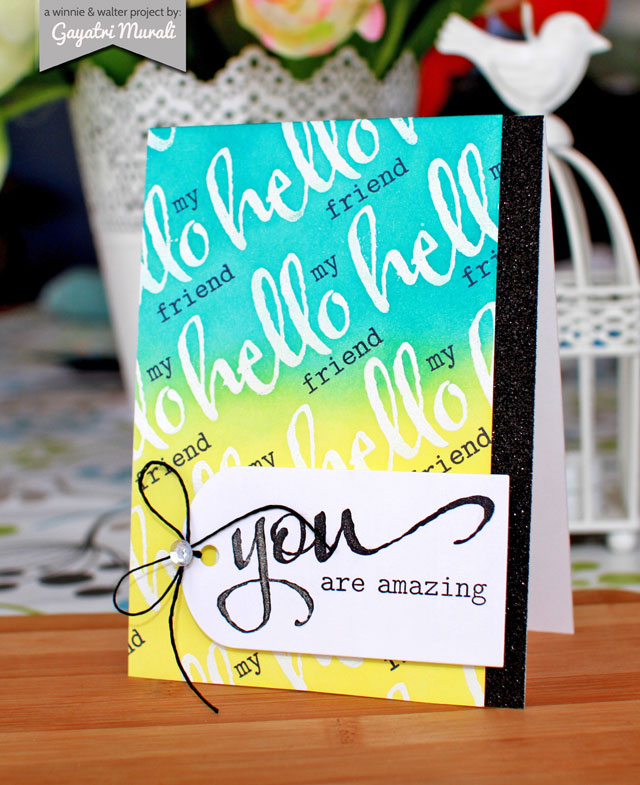
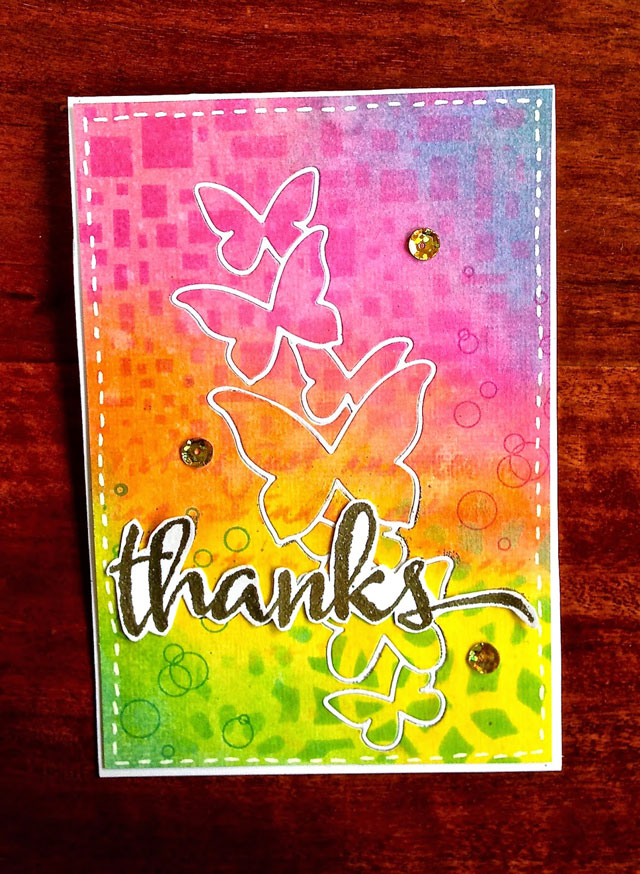
>>>Day 2 | Ombre<<<
Winner of a Winnie & Walter $30.00 "gift card".
maria f. (comment no. 56)
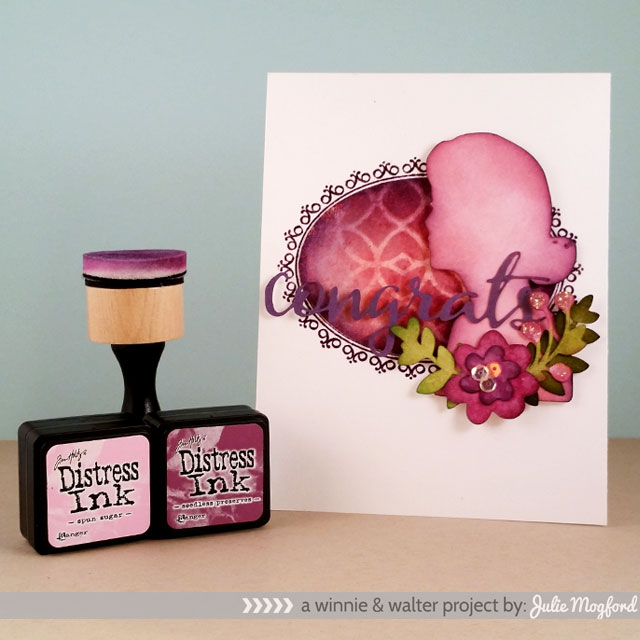
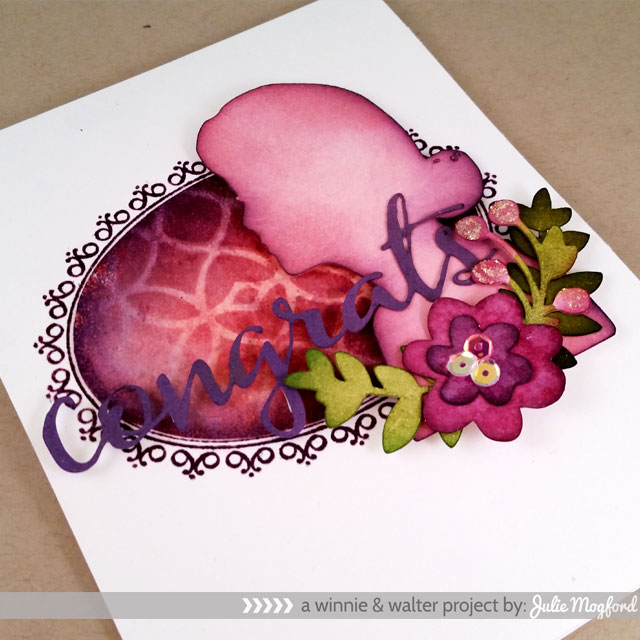
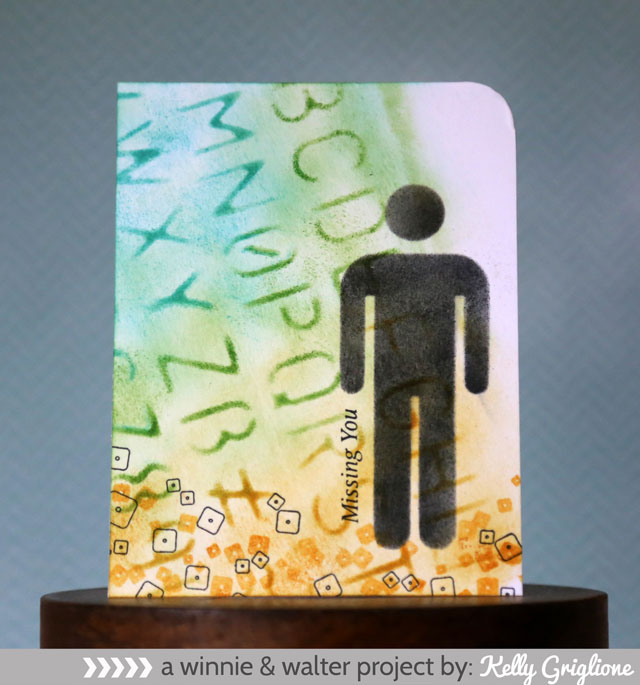
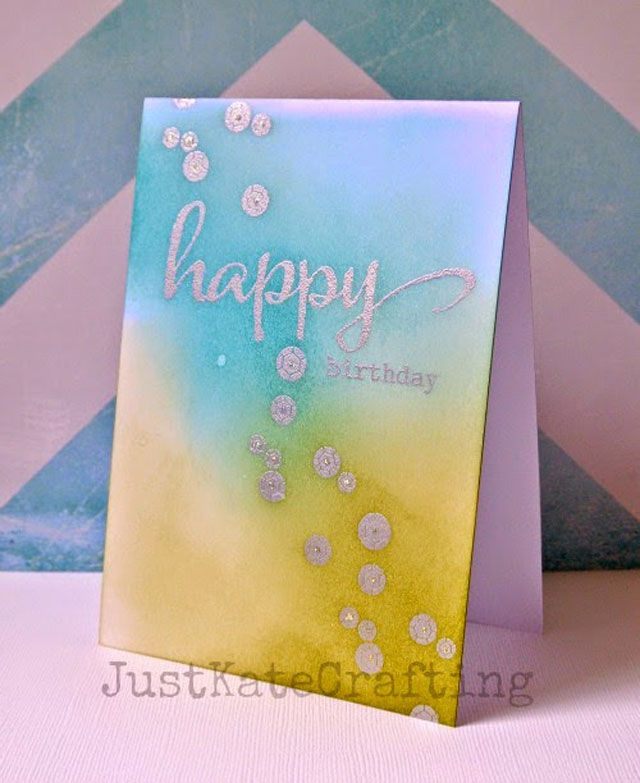
>>>Day 3 | Resist<<<
Winner of a mini Distress Ink prize pack courtesy of Ranger.
Just Kate Crafting
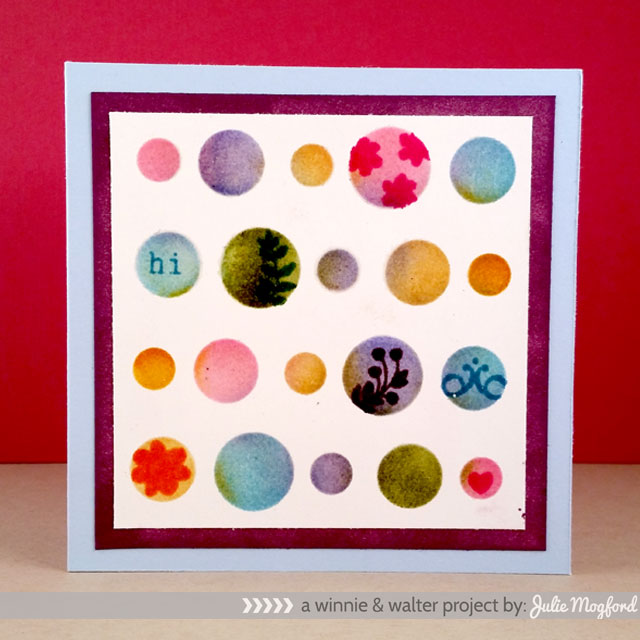
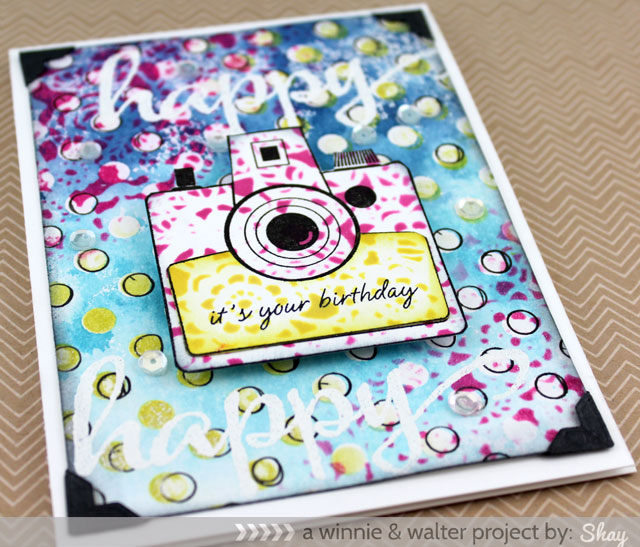
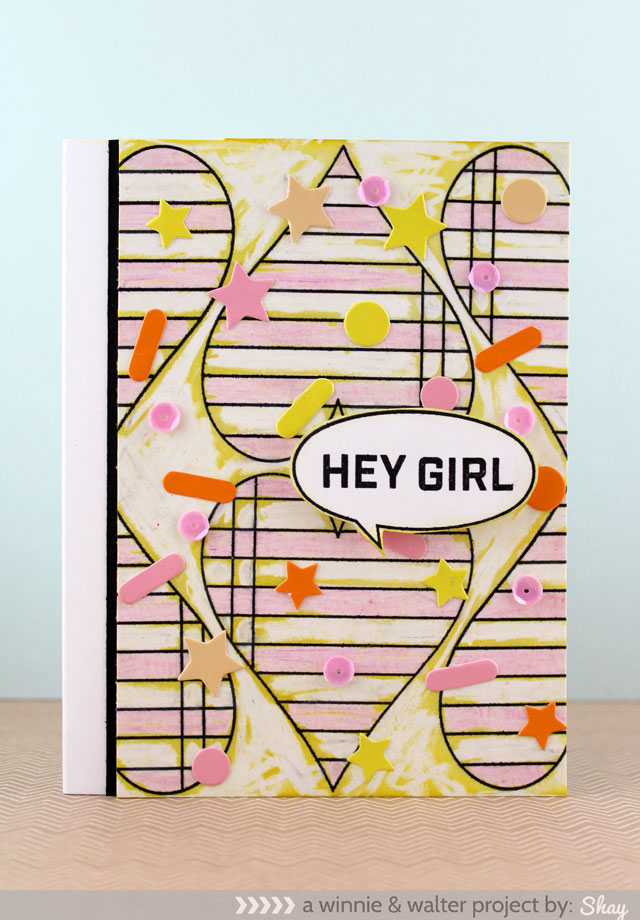
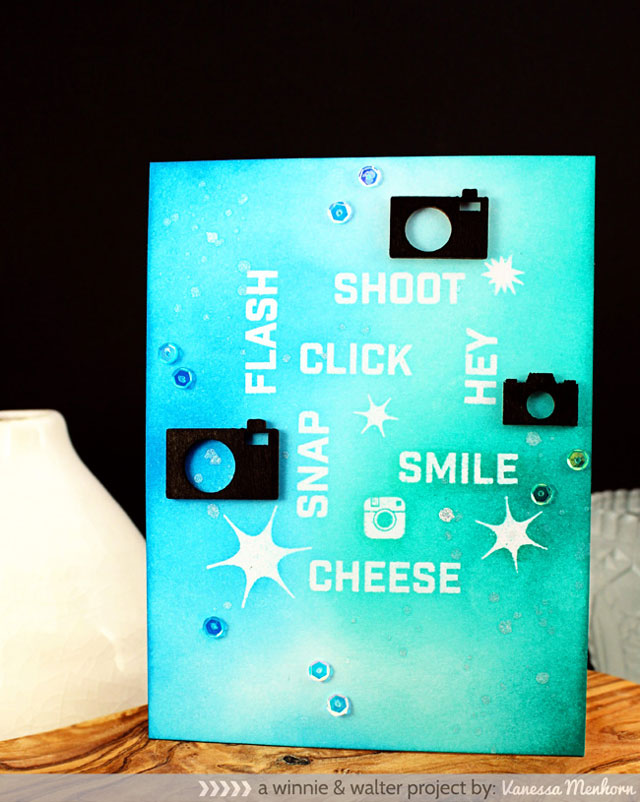
>>>Day 4 | Stencils/Masks<<<
Winner of a $30.00 Winnie & Walter "gift card".
Jenny Martin
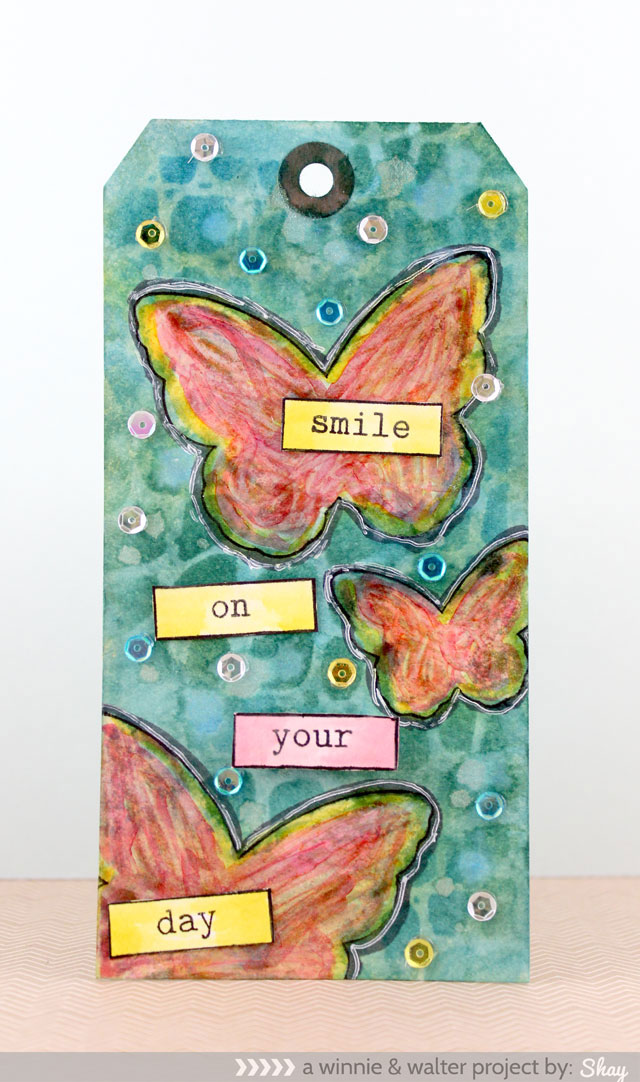
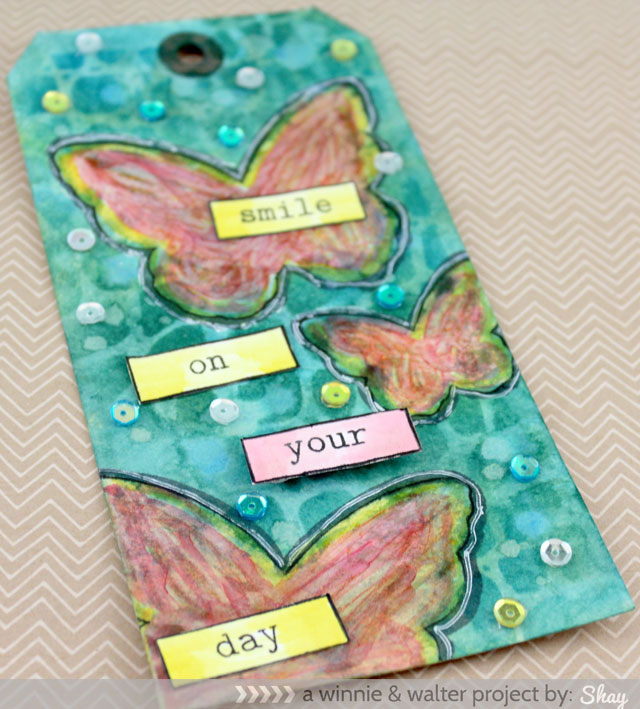
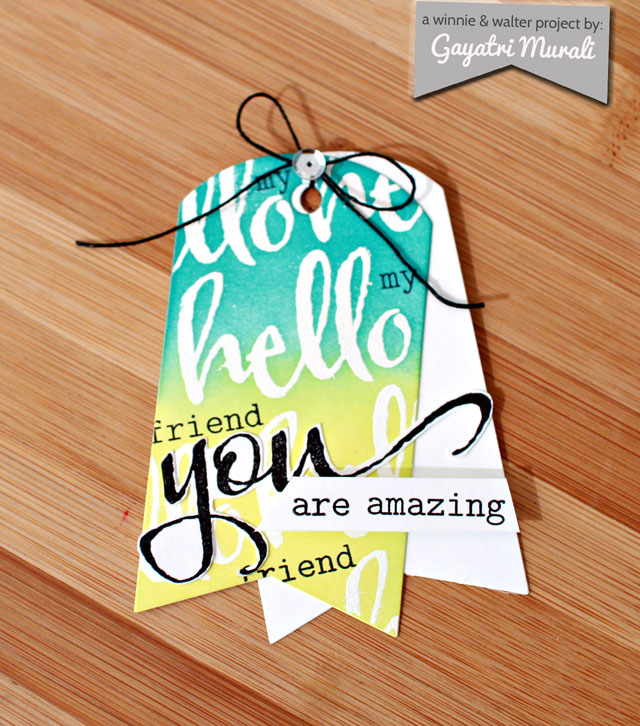
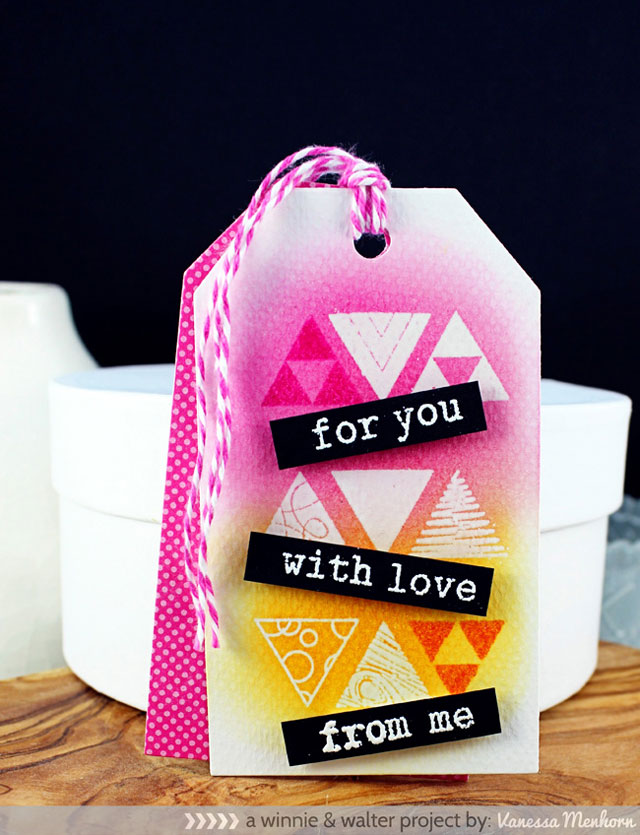
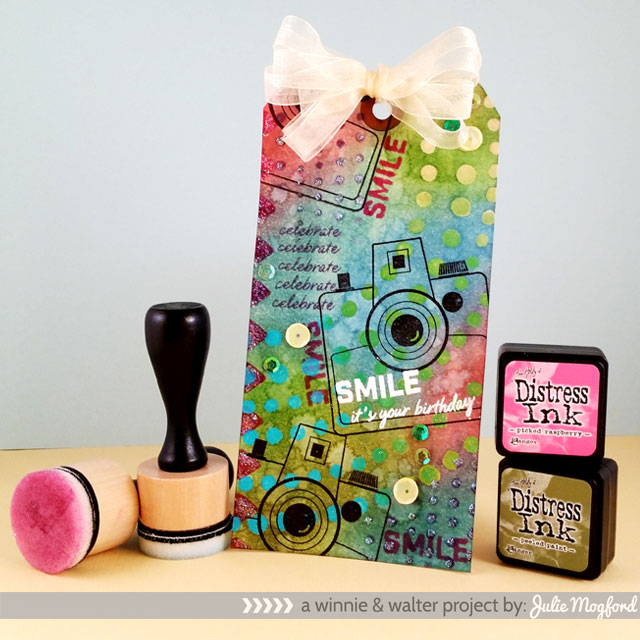
>>>Day 5 Tag it!<<<
Winner of Distress Marker Spritzer and six (6) Distress Markers courtesy of Ranger.
Tanja-Little Art Cottage

Winners please email us at info {at} winniewalter {dot} com with the Winner of Share the Love Week Day _______ (please enter the day and theme) with your mailing address (for Ranger prizes) by Wednesday, July 23, 2014 noon CST.
Again, thank you to everyone who commented and especially those who took the time to take on the challenges and link up your inky masterpieces! We adored all of your inspiring projects.