Showing posts with label in a word: thanks cutaway. Show all posts

Wednesday, February 28, 2018

w&w 4th Birthday Bash | Special Guest Star Cheiron Brandon

cheironbrandon

We end our month-long with a bang!  Today's special guest star is Cheiron Brandon who has a magical way with ink and color to create cards full of joy!  Cheiron is also such a wonderful and enthusiastic person. Please give her a warm w&w welcome!

Hello crafty friends. I am beyond thrilled to join the Winnie & Walter party this month. Congrats to you Shay and the entire Winnie & Walter team on your fourth year, and here’s to many, many more years of celebrating! To me it’s not a party without fun, festive colors.

Winnie&walter5 
So today, I have 4 cards to share with you in honor of each year of Winnie & Walter in my favorite festive color scheme…rainbow. I’ve used all my favorite bright colors of Distress Oxides to create each of these cards (Picked Raspberry, Squeezed Lemonade, Carved Pumpkin, Twisted Citron, Peacock Feathers and Wilted Violet).
 Winnie&walter1

My first card features the Wish Big with Evelin T Designs stamp set. I created an ink blended background with all of my favorite Distress Oxide colors with a very subtle plaid…to do this I placed the stencil over the inked background, and spritzed it with some Tuskineko Shimmer Spray in Sparkle. Then I rotated the stencil in the opposite direction and and sprayed again to create the plaid pattern. I topped it off with a cupcake full of rainbow frosting and a little heart topper.
 Winnie&walter3

The second card features one of my all-time favorite patterns, buffalo plaid. Why not change up the traditional color palette of this pattern and make it into a rainbow? I created a rainbow panel by blending my Distress Oxides and then spritzed it with water. I added Black Soot Distress Paint thorough the Scenery: Buffalo Check Creative Screenings with a foam blending tool. To finish the card, I added a rainbow inked thanks over a vellum circle with a few sparkly gems.
 Winnie&walter4

For the third card, it’s all about LOVE. This one was super easy to create with my Stamp Platform and the In a Word: Love (the stamp set), by stamping the first love, moving the paper an inch and stamping the love in the next color. I added the sentiment strip in black, popped up my panel on the card with foam tape and added a coordinating heart sticker to the center of each ‘love’.
 Winnie&walter2

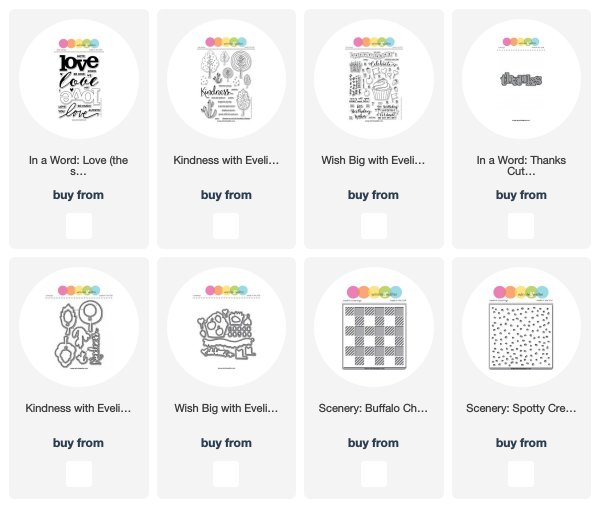
My final card uses one of my first and favorite sets that I purchased from Winnie & Walter, Kindness with Evelin T Designs. Why not combine it with a stenciled polka dot background and rainbow colored tree water colored in with Distress Oxides? I cut the word kindness three times, then layered them together and topped it with Nuvo Crystal Glaze to give it some shine and added a tiny heart.

I hope you enjoyed these rainbow creations. Thank you again to Shay for letting me join the party, I sure had fun creating with your stamps!

w&w-supplies

Monday, February 26, 2018

w&w 4th Birthday Bash | Special Guest Star Rubeena Ianigro

rubeenaianigro 

Today's special guest star, Rubeena Ianigro, is no stranger to Winnie & Walter as she was our April 2016 Leading Lady and her work is always a treat!  Rubeena is also an incredibly generous, welcoming and giving person with a huge amount of talent and skill. Please give her a warm w&w welcome!

Hello, friends! I am happy to be joining the winnie & walter 4th Birthday Bash this month as a Special Guest Star. Shay is one of the sweetest, most generous people in the craft industry and I had the honor of meeting her at Creativation last month! I have two projects to share with you today that represent my style the best.
  ACS_0159 

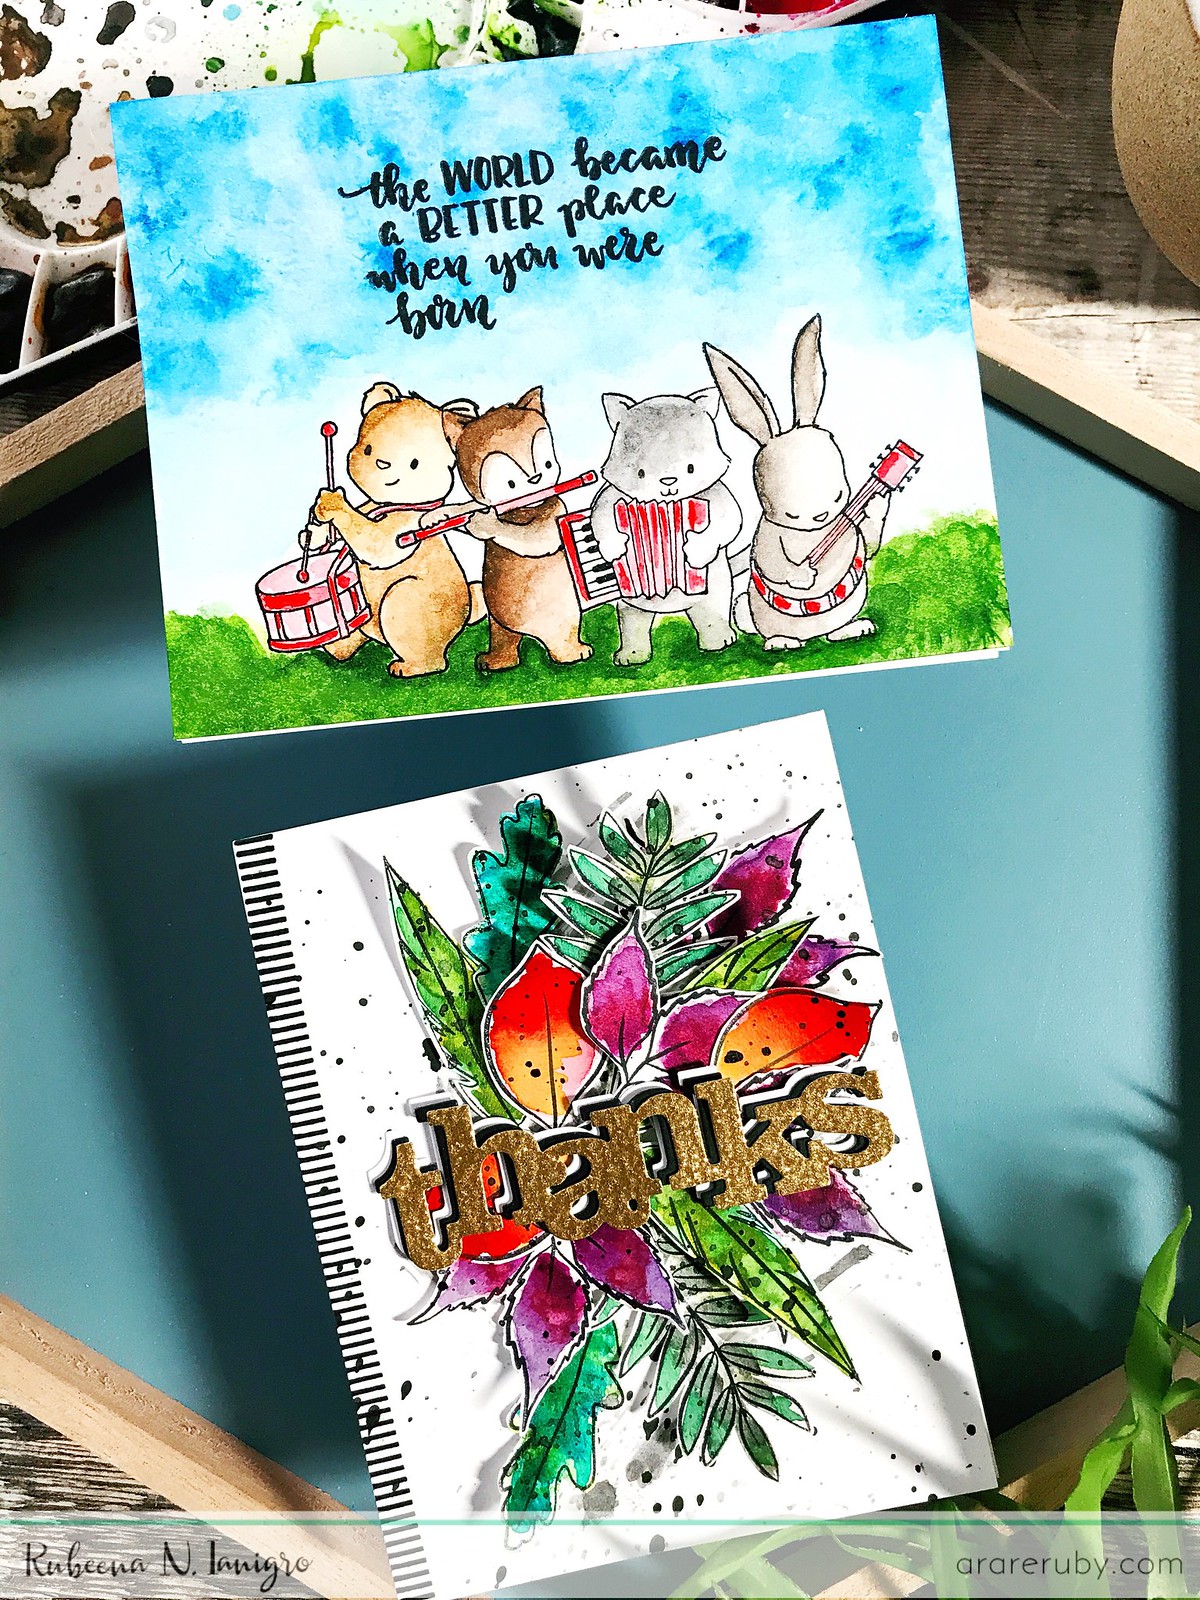
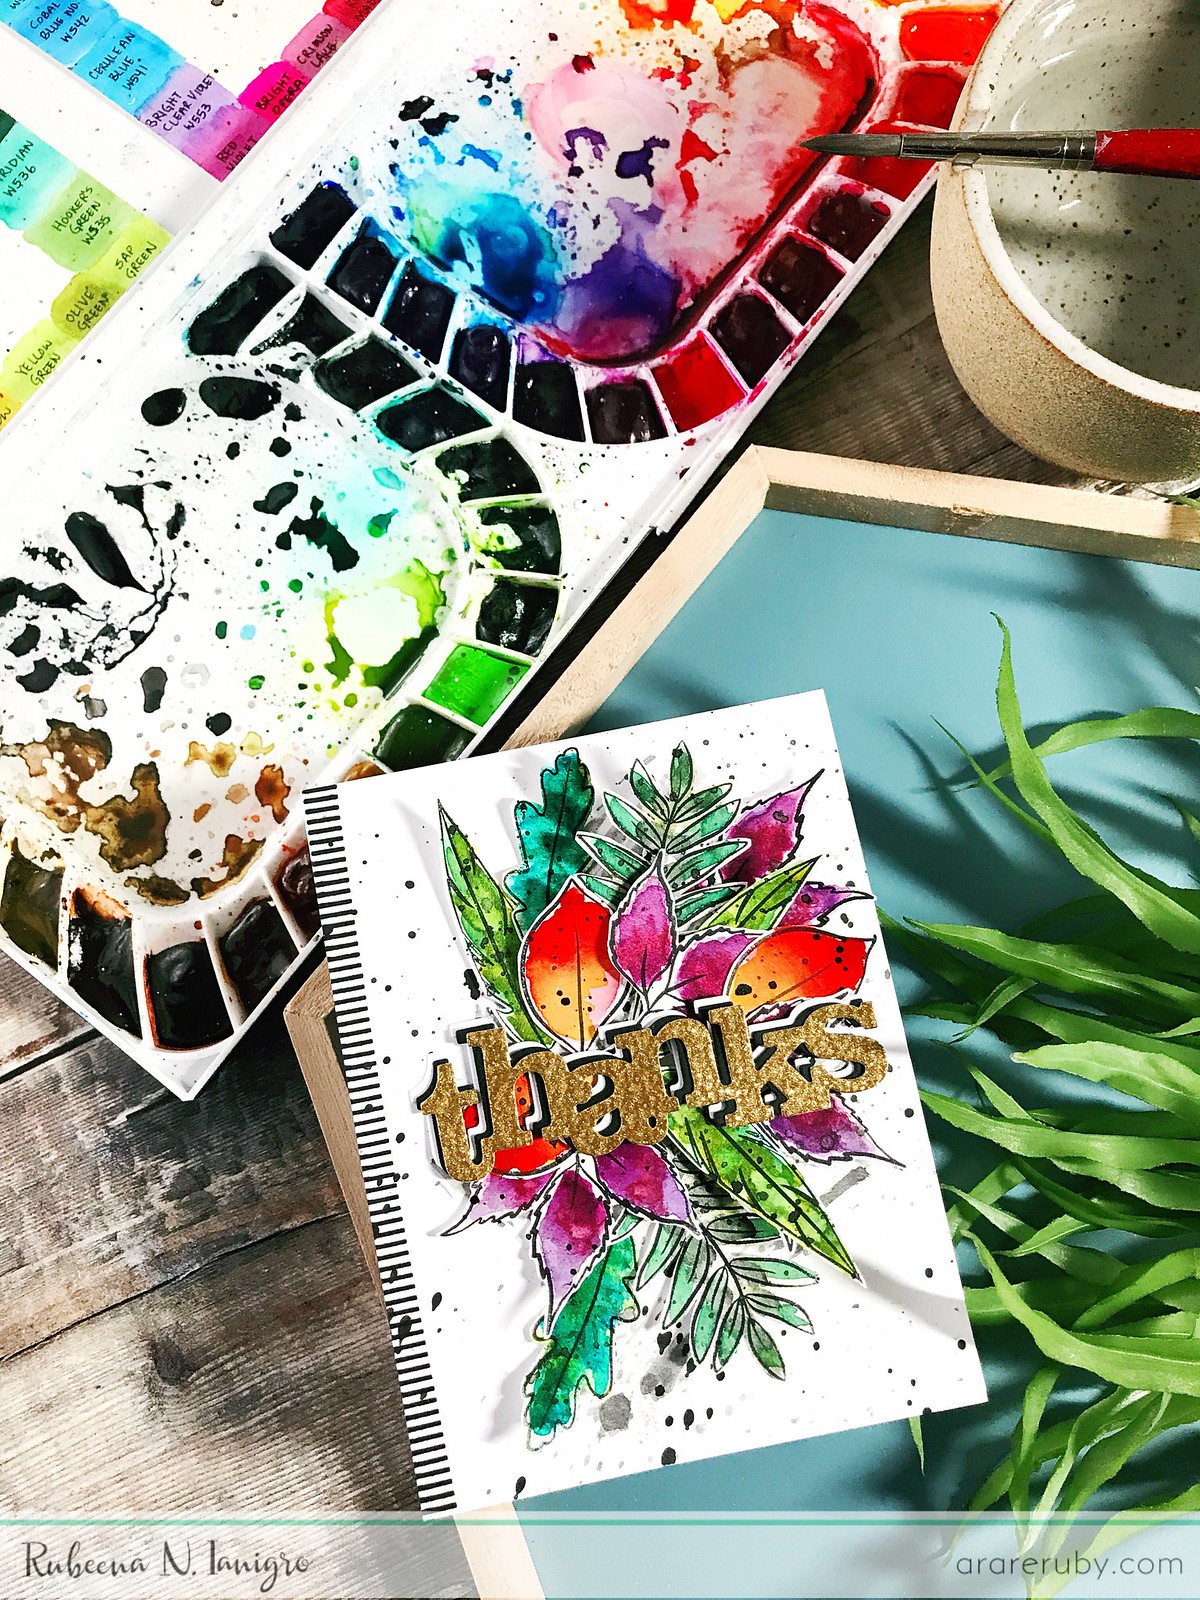
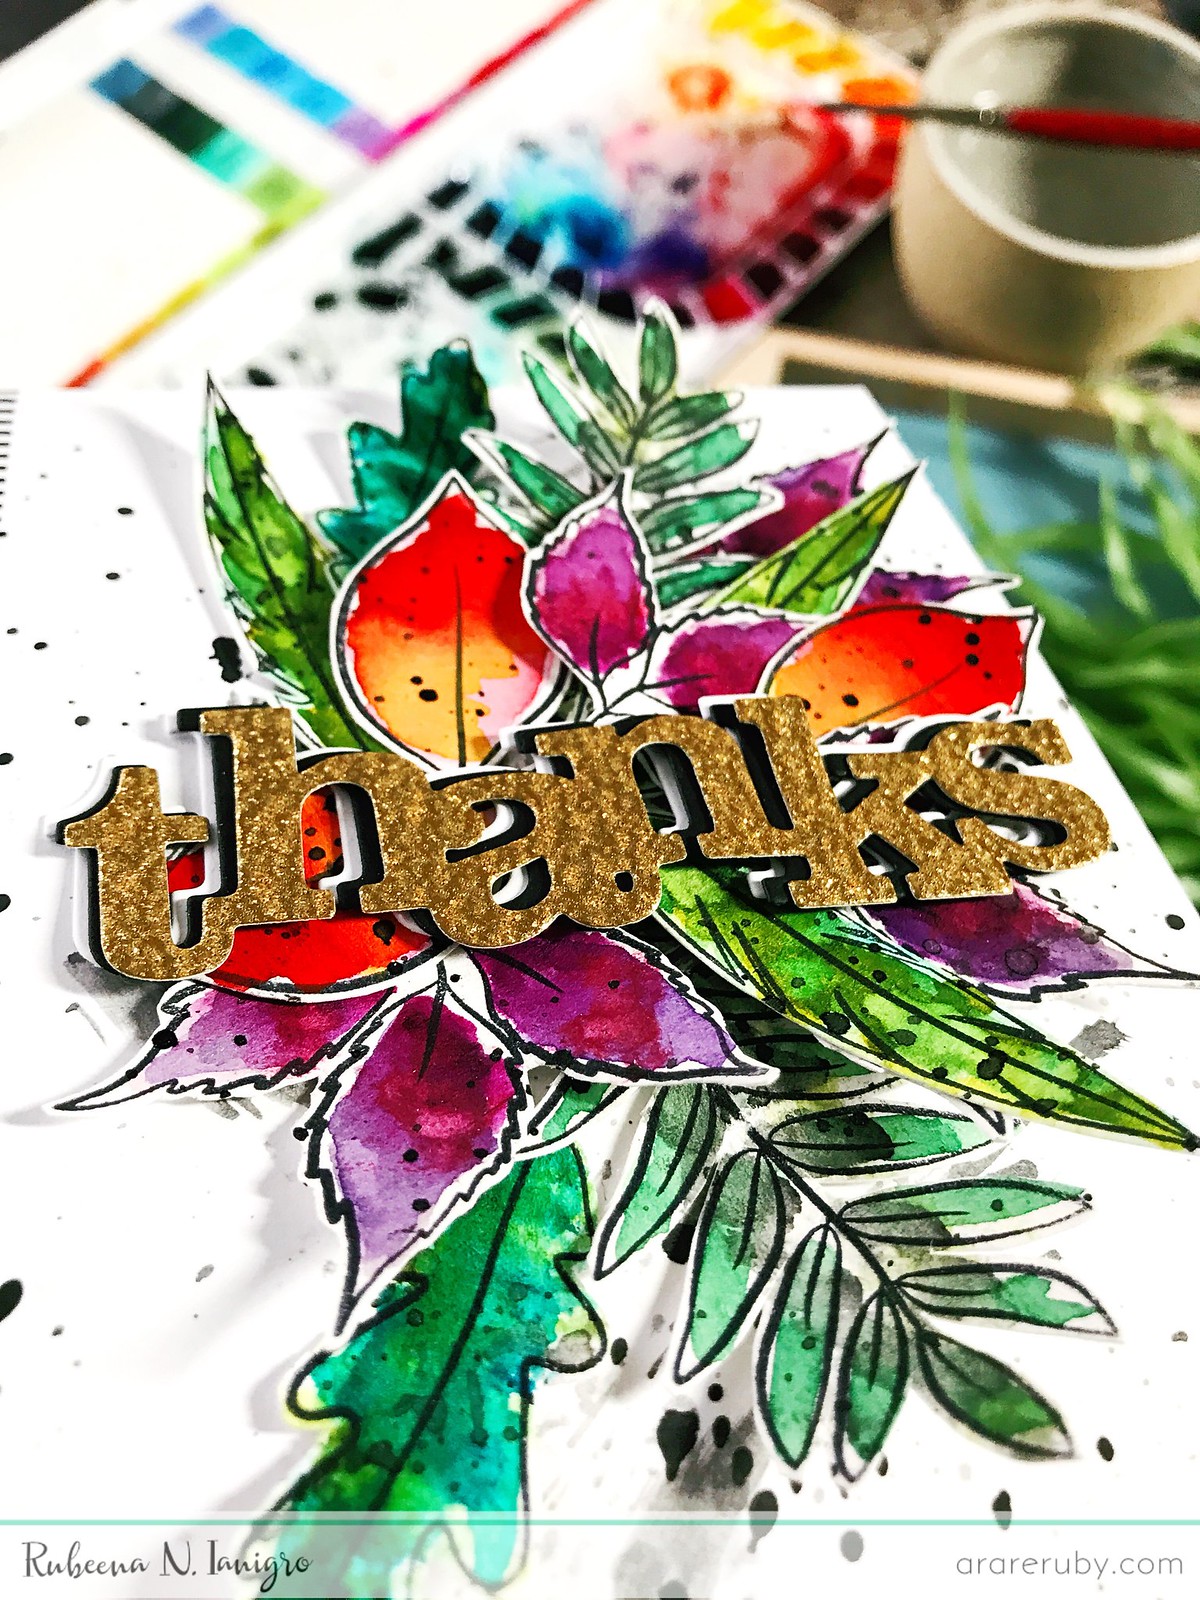
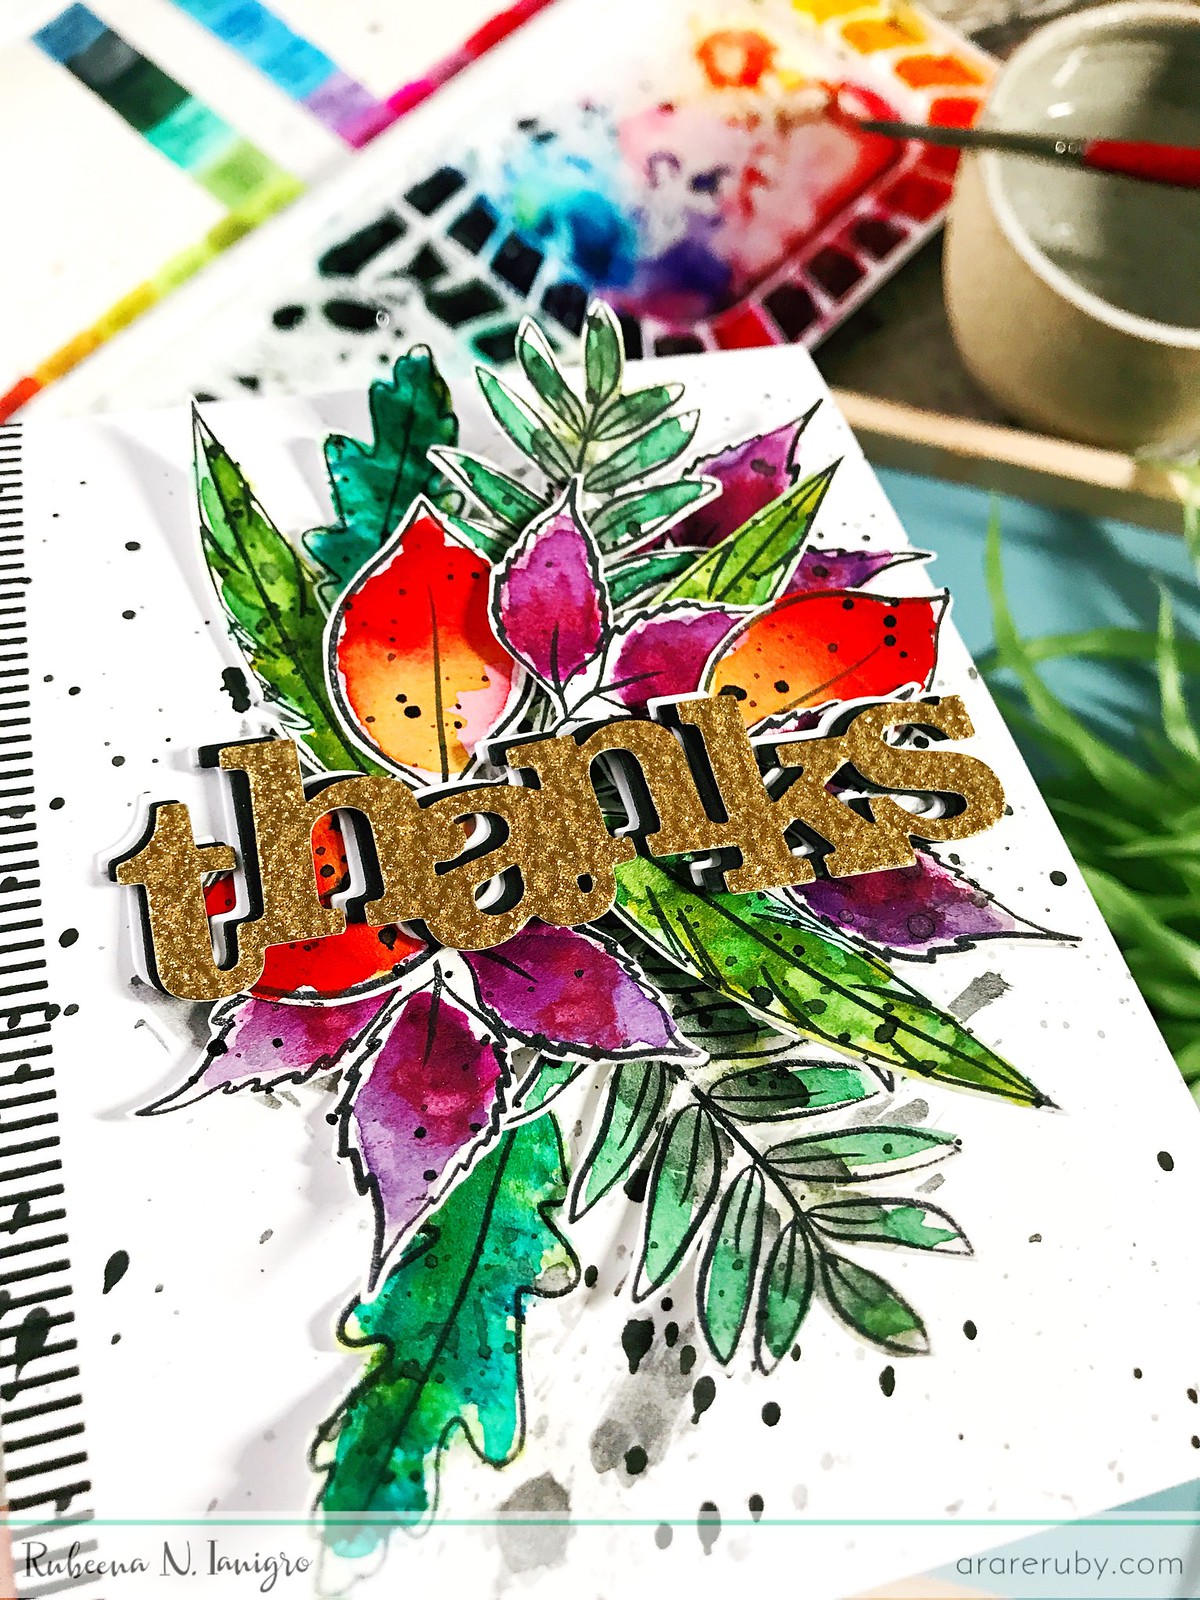
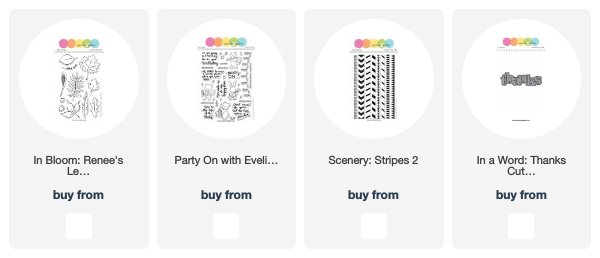
 Loose watercoloring is very relaxing. I have so much fun working with greenery so I decided to play with In Bloom: Renee's Leaves for my first card. I stamped an assortment of the stamps on watercolor paper using a waterproof black ink pad. Then, I used my Mijello Mission Gold watercolors to color. I added black splatters and fussy cut the images. For the card base, I stamped one of the line borders from Scenery: Stripes 2 on the far left edge and then added black splatters to the base. I arranged all the leaves first using glue dots. I finished the card off by adding the die-cut sentiment (which was cut in gold glitter, black, and white cardstock layers) from In a Word: Thanks Cutaway. This card shows all the things I love when it comes to creating: layers, black and white stripes, splatters, bold colors, die-cut words, and gold glitter! For this card, I incorporated the Die Challenge with Lydia.

ACS_0150ACS_0149 ACS_0148  

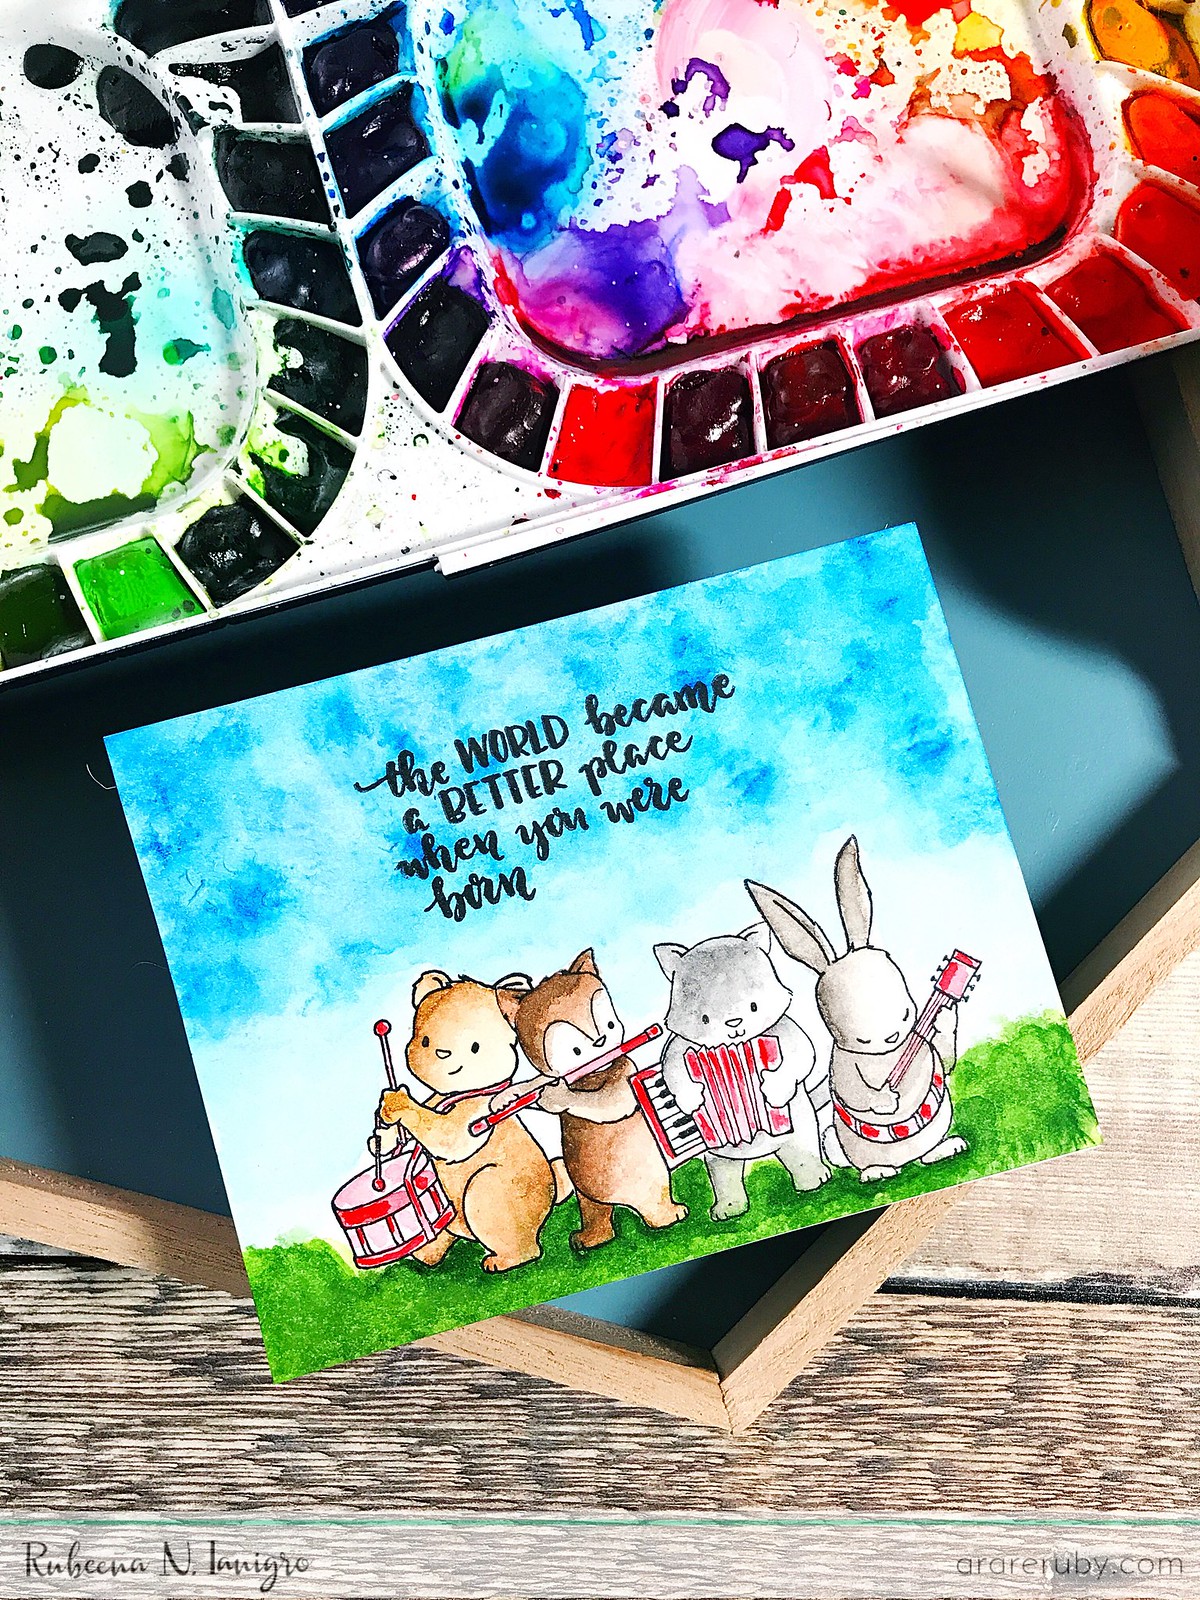
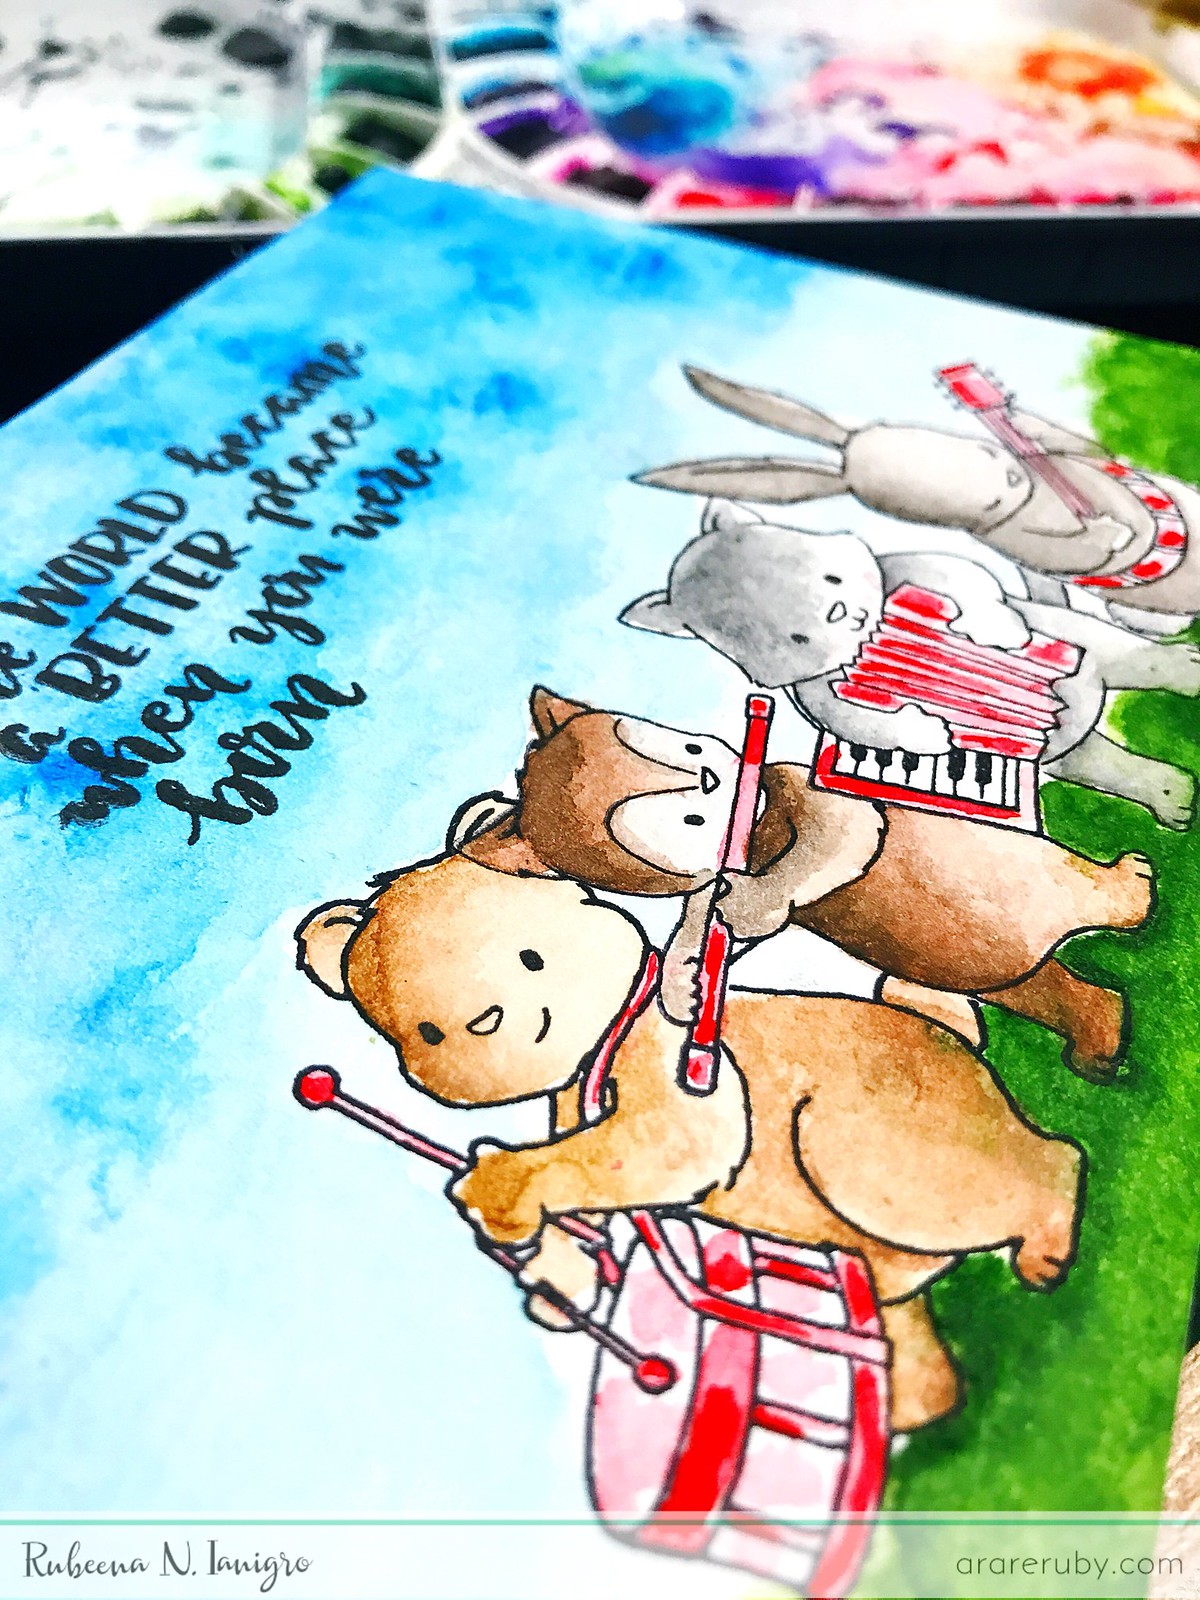
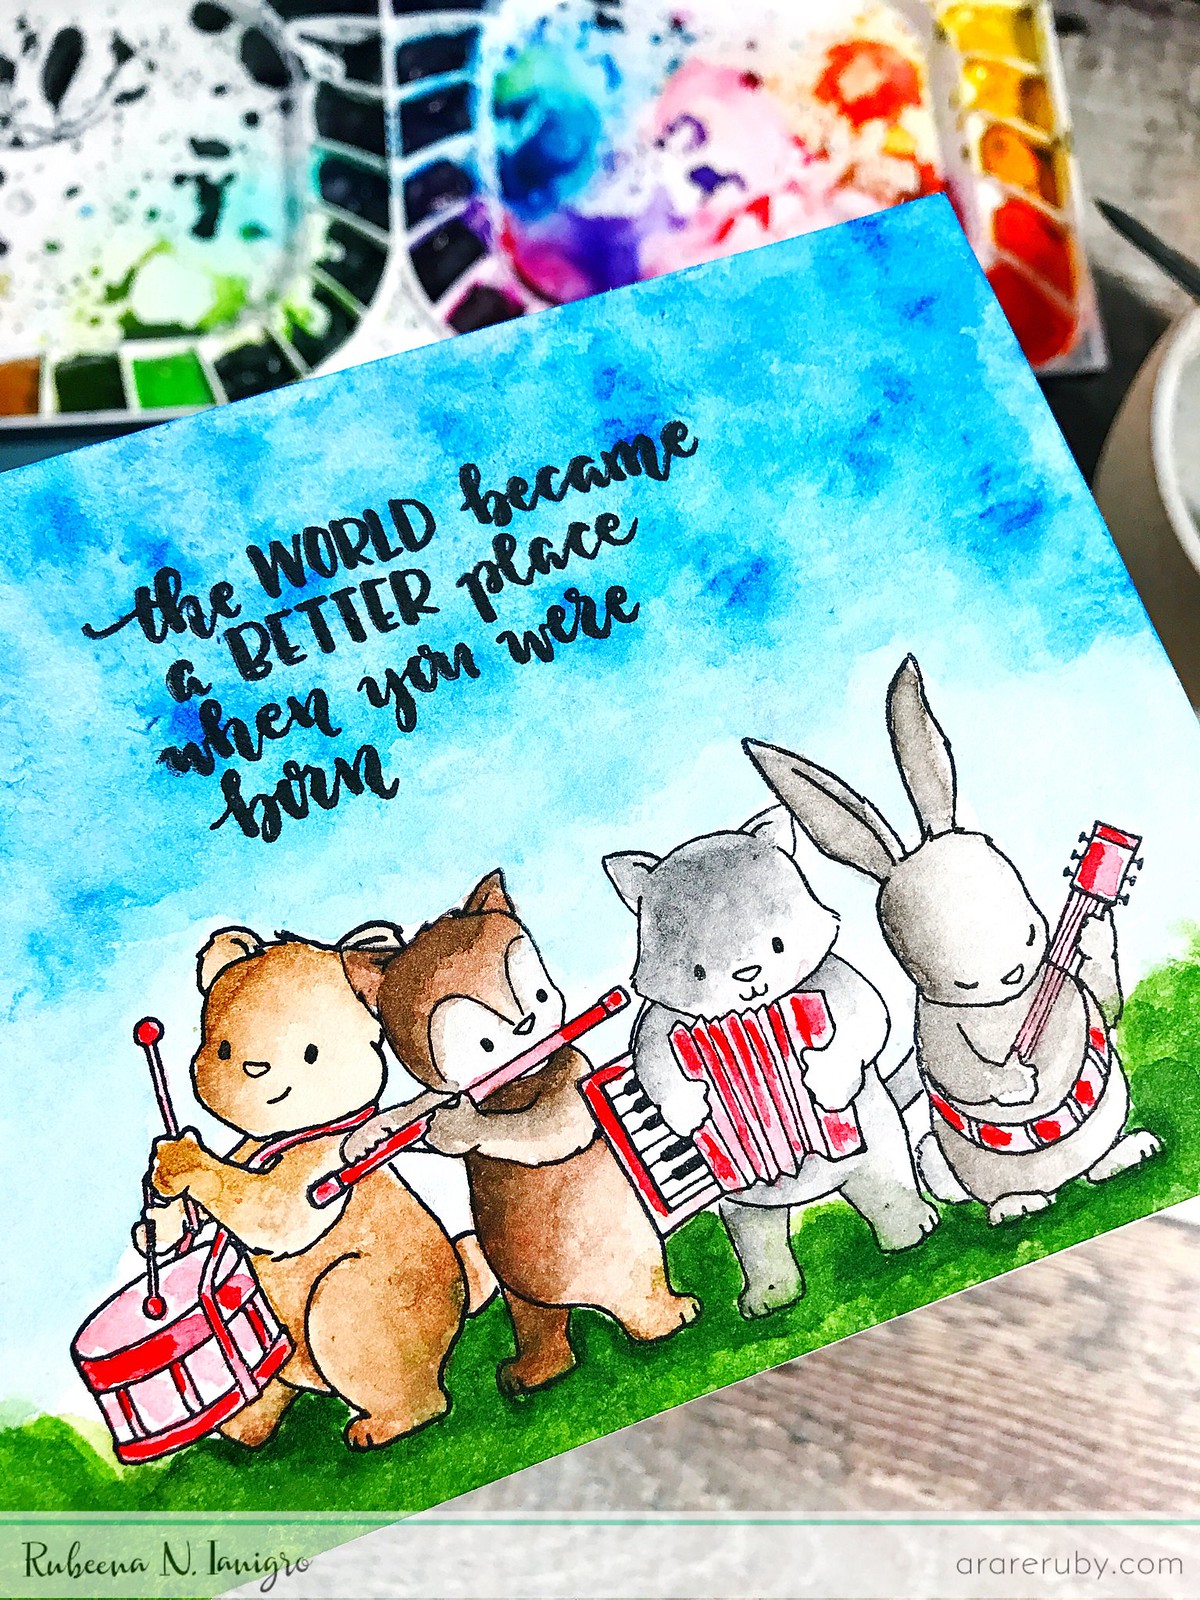
For my next card, I continued watercoloring but focused on using Party On with Evelin T Designs. I also enjoy one-layer cards. I stamped the four critters on watercolor paper using the same waterproof black ink pad and masked off each one before stamping the next. Then I colored loosely with my watercolor palette. Once everything dried, I stamped the beautiful sentiment from the same set and then taped the finished piece to my white cardbase. So fun and simple! For this card, I incorporated the Four Challenge with Shay since I used all four critters.

 ACS_0156ACS_0153 ACS_0157 

You still have time to enter any of the challenges list on the winnie & walter Blog for the 4th Birthday Bash - Shay is offering some AMAZING prizes!

Thank you so much for having me here and for everyone who stops by and leaves us love. We really appreciate the support. I hope you were inspired by my work, and I can't wait to see what everyone does with winnie & walter's products. Have a great week!


w&w-supplies

Saturday, July 15, 2017

July Leading Lady Jessica Lin | Take Two

Our July Leading Lady, Jessica Lin is back for her sensational second performance!  If you missed her smashing debut you must see it...CLICK HERE.   Today she brings you another duet with an awesome custom background!

Ladies and gentlemen, Jessica....


Good morning crafty friends! I'm back with some more Leading Lady projects. This week I decided to focus on a favorite product of mine: the Typecast: Cary stamp set. 


I needed to make some cards for my cousins, Sarah and Sophia, to thank them for planning our New York trip last month. And I wanted to customize them to make these thank you cards extra special... Did you see what I did? Yes! I spelled out their names with the Typecast: Cary alphabets and stamped them with VersaMark ink to create a personalized background. It's fairly subtle but I hope it'll put a smile on their faces when they notice it. :) 


For the focal point of the card, I used the In a Word: Thanks Cutaway (I think the font matches so nicely with the Typecast: Cary set!) and die cut it from lime green glitter cardstock and white cardstock. Next I layered them together and mounted them with foam. Then I stamped the small "MANY" (from Sentimental: Birthday set) on a tiny banner and adhered it to the card with foam tape. I embellished the card with silver thread and some enamel dots and that finishes off the card!


For Sophia's card, I used the From the Bottom of My Heart stamp set. I tried embossing it with Ranger's Enchanted Gold embossing powder but for some reason I didn't get good coverage even with two layers of embossing. (left photo) So I tried stamping with Hero Arts Soft Vanilla shadow ink first before embossing, and got a much better result. (right photo)


I also embellished this card with silver thread and enamel dots to complete the design. I really love how versatile these alphabet stamps are; you can also stamp "THANK YOU" for the background and I think it'll be fun to stamp "XMAS" or "XOXO" for other occasions cards. Really, the sky is the limit! I really enjoyed creating these cards, and I hope you liked them, too. 


Giveaway
Thank you so much for leaving your sweet and kind comments on last week's posts. They make my heart sing <3
**
Shay has generously provided me with a $30 gift certificate that I can giveaway. If you enjoyed these cards, please comment on both W&W and my blog for a chance to win! I will be posting for the remaining Saturdays of this month, so if you comment on each post you will have 4 chances to win this wonderful prize. That is all from me today. I hope you will join me next Saturday but until then, have a wonderful week!


  w&w-supplies

Saturday, October 1, 2016

WCMD 2016 | CAS with Kate

To get all the information about w&w WCMD 2016 CLICK HERE.


Hello, it's Kate here and it's my turn to share a challenge with you for World Card Making Day!

My challenge for you is create a "Clean and Simple"  (CAS) project. I love clean and simple designs. 

Although you want a certain look and clean spaces you still have so many options.

My tips for CAS cards are..... 
  •  Minimal! The less you put on you card means it has to be perfect as it will be easy to see even the slightest mistake.
  • Colour! White space doesn't have to be just white. Using coloured card or paper in large blocks can still be CAS. 
  • Time! Take your time. Even a CAS card can take an hour if you want to make it perfect, and get the look you want.
  • Embellishment! Even CAS cards can have lots of added extras. Ink or paint flicks, sequins, Glossy Accents or Enamel Accents and heat embossing even die cuts can all add lots of important detail and texture to a CAS project.

For my card I have done lots of stamping with the In Bloom: Lola's Bouquet with Joni Andaya. I selected lots of Distress Inks in autumnal colours and stamped the images randomly. Once the stamping was finished I added some flicks of gold Perfect Pearls mixed with water. I was really pleased with how the stamping and colours looked it was almost a shame to cover it up.


After all that stamping I cut a piece of white card smaller than my card base and then die cut the In A Word: Thanks Cutaway. I removed the die cut word and the adhered the panel over the stamped card base.

So although it looks very simple most of the work was covered up.

I hope you can join in the challenges and i cant wait to see what you make. Thanks for looking!


Prize: One randomly chosen project that is linked up will win $50.00 gift credit to the w&w shop.

>>>LINK UP<<


Monday, August 15, 2016

Stencils & SVGs with Keren


Hello! So glad to be with you today for a post combining stencils and SVGs!
IMG_6708
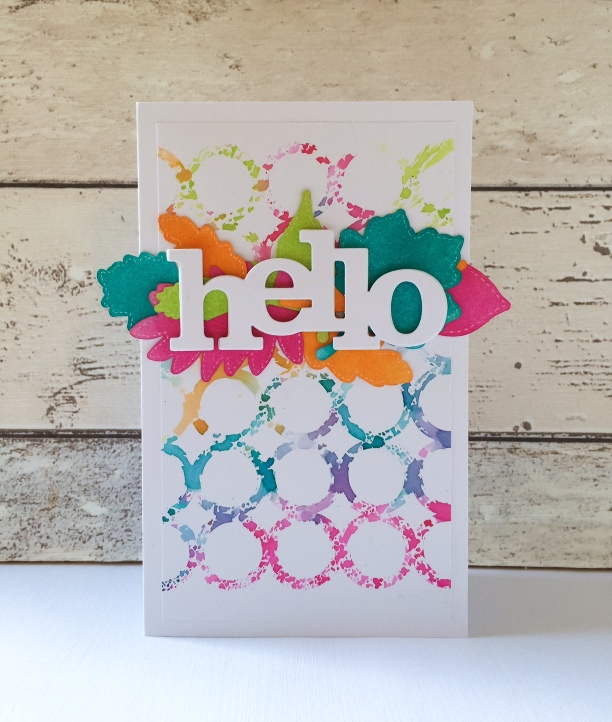
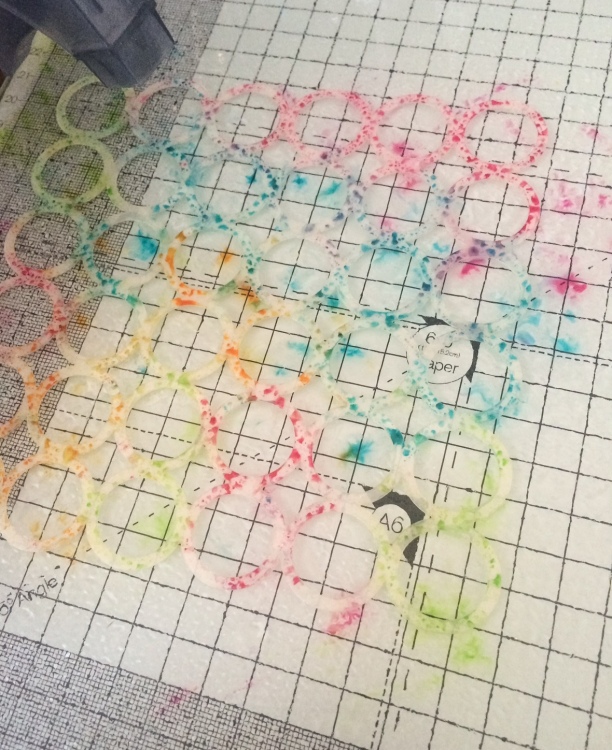
First off- the stencilled background. This is a popular technique and really simple to do. Grab a stencil; I used Pattern of The Ringsw_w_patternoftherings_cs_web_large
Choose some water soluble inks. Distress Inks work so well with this technique. I've used a really punchy combination, but you could go subtle if you'd rather.
Pat the ink pads over the stencil. You might want something like a craft mat underneath as it gets a little messy!
IMG_6711
Don't worry about overlapping ink colours. It's worth starting with the lighter colours and moving to the darker colours after to avoid staining your ink pads. Once you've placed ink where you want it, give it a good spray with water.
IMG_6712
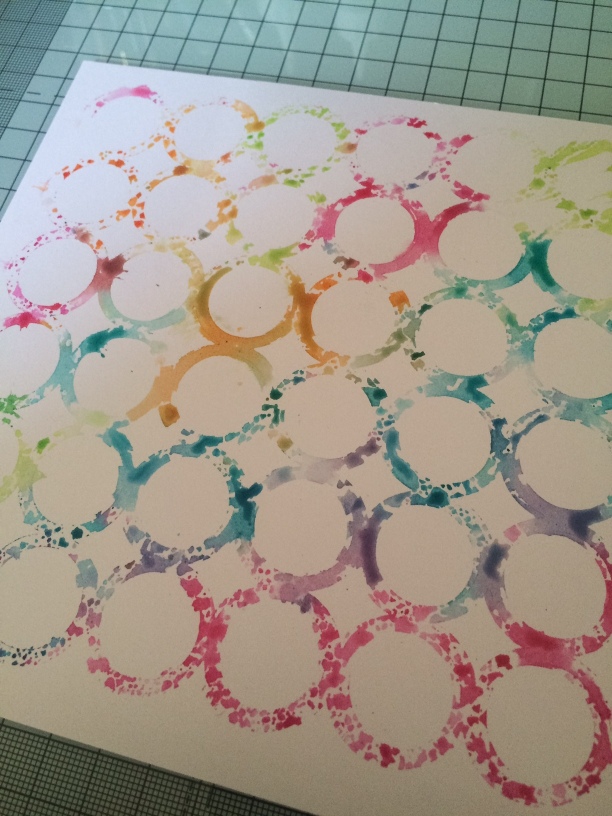
The more water you use, the more the colour will run. Once it's as wet as you want, lift the stencil up carefully and place ink down onto the card. You can simply add the cardstock on top of the stencil, but you can't then dab over it with a tissue to remove any excess ink, like I did here to keep the pattern as 'clean' as possible.
IMG_6713
You're left with a lovely pattern. If you work quickly, you can remove more ink before it dries or even spray more water to allow colours to develop. Then, just use as a background for your project.
IMG_6710
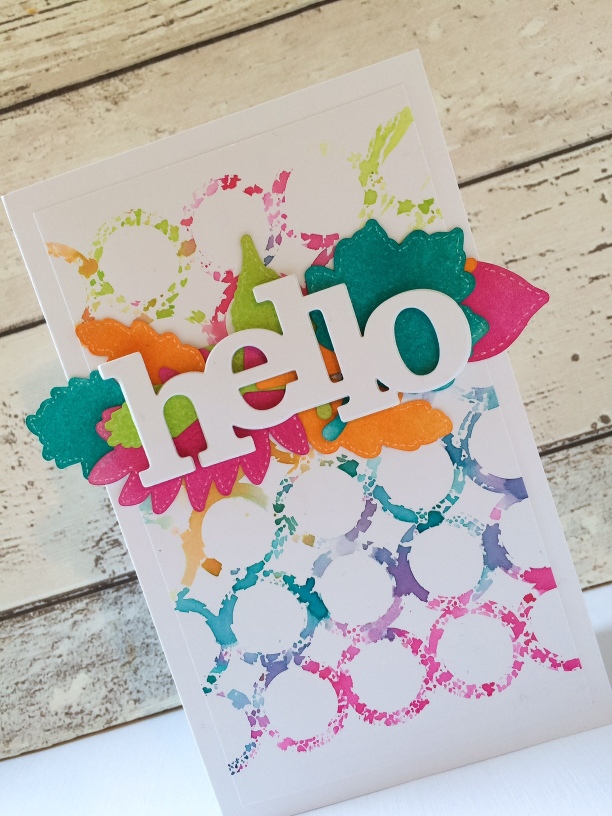
You can see from the picture, that there's actually no stamping!
I've used the cut files from Winnie & Walter to create the leaves.
Download the files and arrange them to be cut out from your computer.
IMG_6714
I created some fun patterns after this arrangement that I'll use for a future project. The files are easy to use and really cost effective. Check them out here
IMG_6709
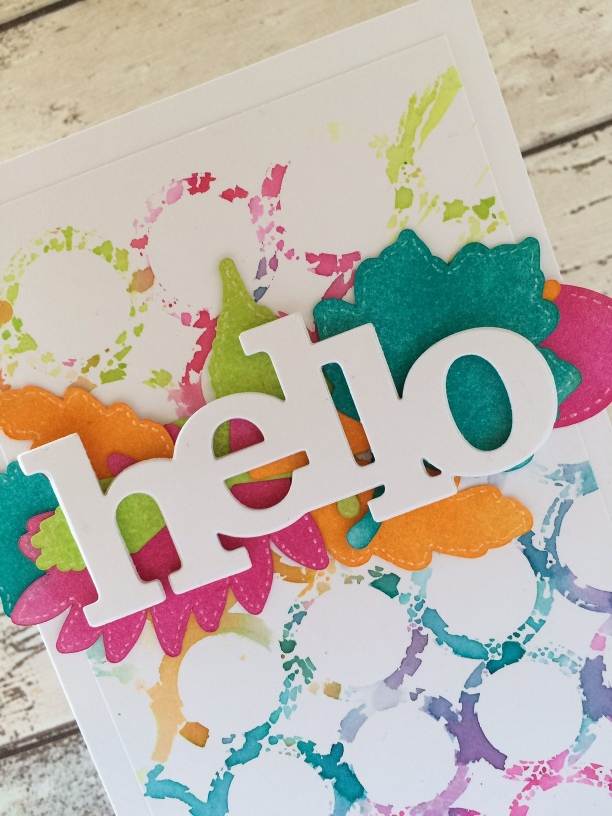
Once they were all cut out with my Silhouette Cameo, I added more distress ink matching the colours I'd used for the stencilled part and finished off my card with a In A Word: Hello Cutaway
It doesn't need to be so 'in your face'. This is a perfect technique for using subtler gentler colours. See this card that I created using the same stencil but just 3 colours.
IMG_6687
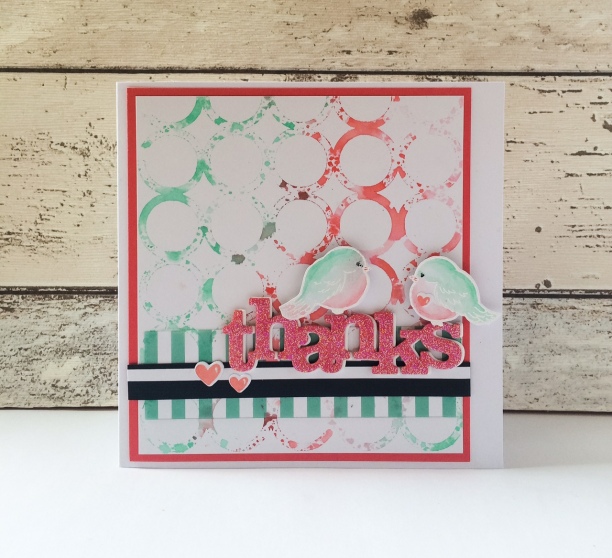
I've used the In A word: Thanks Cutaway along with the LS Exclusives: So Tweet with Evelin T Designs stamp set. 
Truth be told, I didn't like the colour combo so much which is why I tried the brighter set which I ended up loving far more!
IMG_6686
Thanks for bearing with my lengthy post and I do hope you'll have a nosey at the Creative Screeenings (Stencils) & the Cut File collections.
See you soon
xx
w&wDT_kerenbaker_blog-sig2


w&w-supplies