Showing posts with label essentials: tilda cutaways. Show all posts

Saturday, February 16, 2019

February Leading Lady Rosali | Take Three

Our February Leading Lady Rosali is back for her triumphant third performance!  If you missed her smashing debut you must see it...CLICK HERE or to be wowed by the tremendous trio of cards from her sensational second performance CLICK HERE.   Rosali has outdone herself today with her ability to create a gorgeous scene!

In honor of our birthday month we're doing something a bit different this year and including a challenge to you on each of Rosali's posts this month.  See the end of this post for more details and to link up!

Without further ado, Rosali...

Hello everyone!
First, I would like to thank you all for your comments on my first two posts here on the blog! They made my day!! :-)
And now I am thrilled to bring you my third post as Winnie & Walter's Leading Lady!

I will show you another masking technique, and this one is really easy! But you can also make the most of it and take it to another level - which then needs a little more planning. I made two cards to show you an easier and a more elaborate way to:

BUILD A SCENE USING MASKING


So let’s get started with a clean and simple (CAS) card design using this technique. I picked a cute bird image from the So Tweet with Evelin T Designs stamp set as my focal point and the Mini Scenery: Into the Woods stamp set to create a background for the birdie.

Building a stamped scene with Masking - Winnie and Walter 1

Here is how the masking works:

  1. Stamp the bird onto your cardstock panel where you want him to be.
  2. Stamp the bird image a second time, this time on masking paper / a piece of removable label and use scissors to cut the image out right on the outer stamping line. You don't need to mask the feet so you can just cut them off.
  3. Place the mask directly over the stamped image on your panel.
  4. It's best to use a stamp positioner or stamping tool of some kind for the next step. Align the bottom of the tree scenery stamp with the bird's feet and stamp it down really well so the ink reaches right to the edges of the mask.
  5. Stamp several times with the ink colors that you like until you are happy with the ink coverage and colors.
I used a light blue ink for the largest part (sky) and fir green ink for the bottom (forest floor). It didn't stamp completely solid (I later discovered I had some air bubbles under my stamp) but I actually liked the texture the ink gave my 'sky' so I left it as is and embraced the look by adding even more texture with tiny black splatters. :-)

Building a stamped scene with Masking - Winnie and Walter 2


COLORING TIPS

TIP 1: I added a little bit of shading to the white birch trees using colored pencils to give them a more three-dimensional look.
TIP 2: For the birdie, I used first Copics (Y08, R27, R29, R39) and then colored pencils on top! I call this method 'two step coloring' and it's one of my favorite ways to color because it takes less patience than using just colored pencils!
TIP 3: I like to use a black Glaze pen from Sakura for the critter's eyes to make them pop. You can also use a basic black gel pen or even Ebony Black Nuvo Drops in a fine tip bottle!

SENTIMENT

The sentiment is a combination of stamps from So Tweet with Evelin T Designs ("my tweet") and Yetitide Greetings with Evelin T Designs (white heat embossed "LOVE"). Lastly, I added a strip of white cardstock that I had die cut with the biggest rectangle dies from the Tilda Cutaways.

For my second card, I masked several images to build a scene:
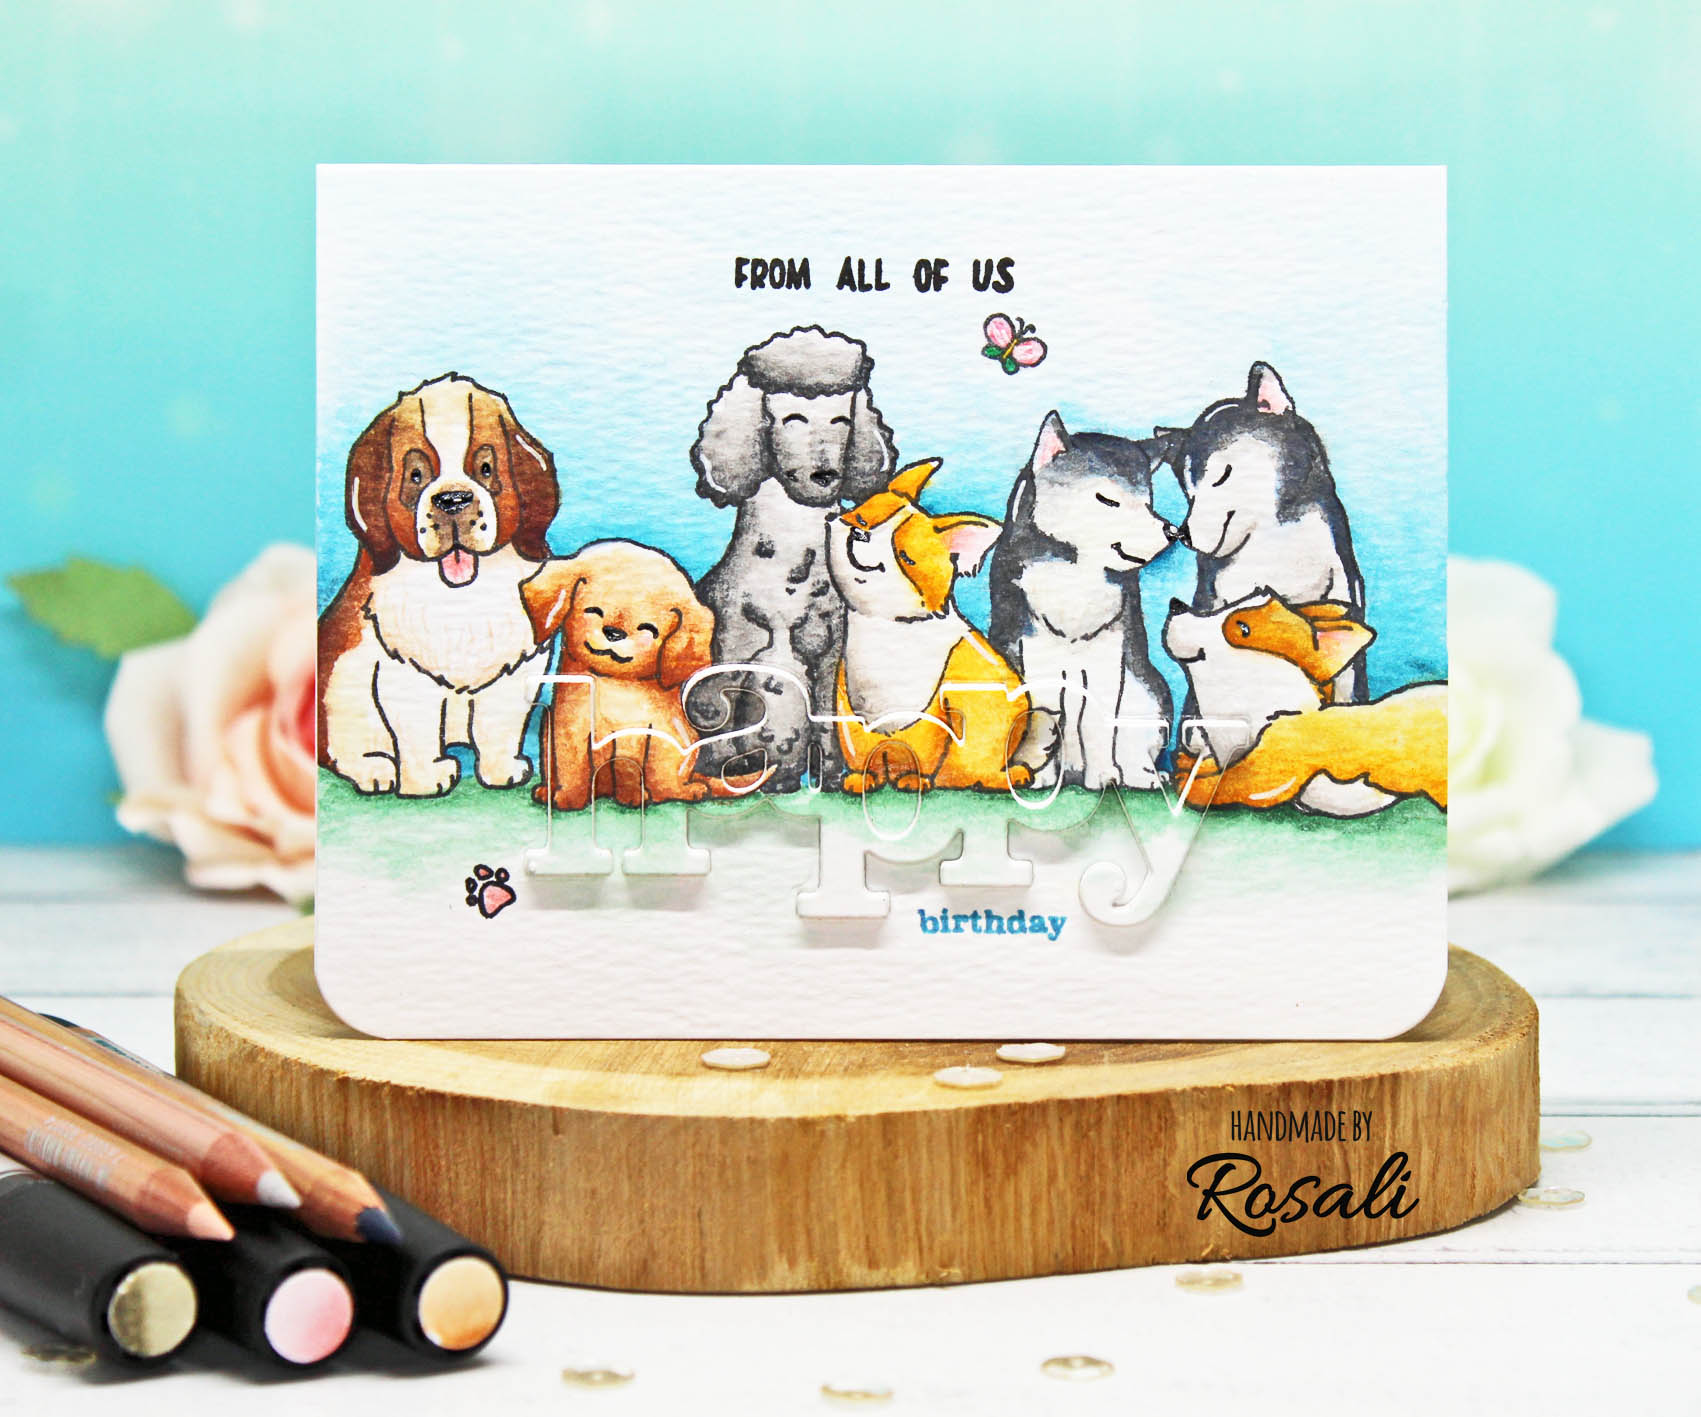

Building a stamped scene with Masking - Winnie and Walter 3

Isn't this such a cute group of dogs?! I had a blast coloring them. :-)
The masking technique is generally the same as above! You just have to:
  • plan ahead where you want to place all the dogs and
  • which images you have to stamp first and mask.
I like to lay all the stamps onto my piece of cardstock and decide where they should go and which images I want to be up front and which I want to be behind others. The images that you want to be up front have to be stamped first! In my case, it's the smallest two dogs (the second one to the left and the far right one).
I stamped those two dog images using my stamping tool, masked them and then placed the next stamps onto the panel. This time the poodle and his friend were to be stamped and masked. After that, the remaining three dogs (which I interpreted as two huskys and a Saint Bernard dog) could be stamped. That made my dogs complete! I colored them all in using watercolor markers and a water brush.

COLORING CLOSE-UP:

Building a stamped scene with Masking - Winnie and Walter 4

WATERCOLOR TIPS

TIP 4: When you took too much pigment to your paper dab it off with a paper towel to preserve the lightest spot on your coloring.
TIP 5: To get a smooth blend on the background put down a wash of clean water on your paper FIRST where the color should go, THEN apply the marker/pigment to your paper and drag it out with your brush. It's easier to avoid harsh lines this way.

SENTIMENT

On this card, the sentiment is a combination of stamps and a die: "From all of us" is from Big Hugs with Evelin T Designs and "birthday" from Wishing You with Evelin T Designs. The Happy Cutaway was die cut right into the colored panel and popped up with fun foam.
Don't forget to hop over to my blog post and leave me a comment over there for your chance to win a 30 $ gift certificate sponsored by Winnie & Walter.

CHALLENGE WITH A PRIZE!

I would love to see your take on this technique!! Winnie & Walter is offering a challenge under each of my blog posts in celebration of their birthday month! So awesome! All skill levels are welcome so don't be shy. :-)
Have an amazing day! ♥
Rosali


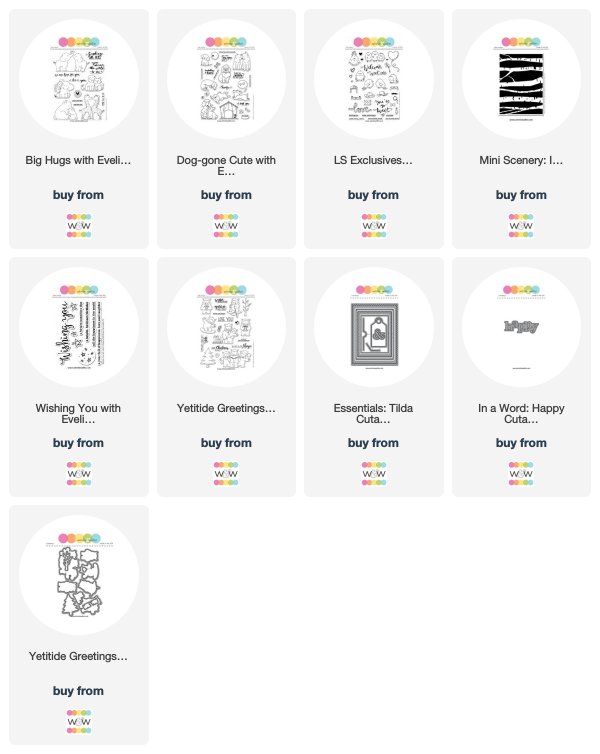
USED SUPPLIES:

Winnie & Walter stamps, dies and stencils:
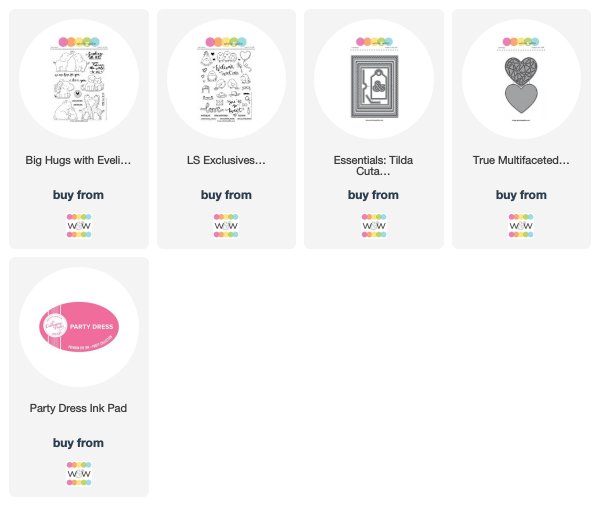
LS Exclusives: So Tweet with Evelin T Designs Stamp Set
Mini Scenery: Into the Woods Stamp Set
Yetitide Greetings with Evelin T Designs Stamp Set + Cutaways
Essentials: Tilda Cutaways
Dog-gone Cute with Evelin T Designs Stamp Set
In a Word: Happy Cutaway
Big Hugs with Evelin T Designs Stamp Set
Wishing You with Evelin T Designs Stamp Set
CHALLENGE:

Now that you've seen Rosali do it, "Build a Scene Using Masking" to create your own project and link up here by Friday, March 15, 2019, 11:59 p.m. CST to be entered to win $50.00 credit to the w&w shop!  One (1) lucky randomly chosen winner will be picked from each of Rosali's Leading Lady posts this month.

Inlinkz Link Party

Saturday, February 9, 2019

February Leading Lady Rosali | Take Two

Our February Leading Lady Rosali is back for her sensational second performance!  If you missed her smashing debut you must see it...CLICK HERE.   Today you will be wowed by Rosali's tremendous trio of cards!

In honor of our birthday month we're doing something a bit different this year and including a challenge to you on each of Rosali's posts this month.  See the end of this post for more details and to link up!

Ladies and gentlemen, Rosali...

Hi there!
I am very happy to be back on the blog with my second post as Winnie & Walter’s Leading Lady!!
winnie_walter_leading_lady_rosali_february2019
Last week I shared two card designs where I used masking with stencils to create backgrounds. This week I am instead:

MASKING BACKGROUNDS WITH DIES!

Using dies to die cut a mask for your background is an additional way to use stand-alone dies. I really like the seamless look you can get by doing this. And, another advantage is that it minimalizes layers on your cards and keeps them flat for easy and inexpensive mailing.
For today’s cards I chose one of Winnie & Walter’s True Multifaceted Heart Cutaways. With Valentine’s Day being only a few days away I thought I would share an idea for rather simple friendship cards – in case some of you want to make last-minute Valentine’s Day cards. :-)

I MADE THREE VARIATIONS OF MY DESIGN:

winnie and walter masking backgrounds with dies

Here’s how I created my masked backgrounds:
  1. I took a piece of masking paper and die cut it using the triangled True Multifaceted Heart Cutaway. By the way, I always use repositionable labels as masking paper as it comes in a large pack and works perfectly fine for me.
  2. I took the largest die from the Tilda Cutaways set (with the cool jagged edges) and die cut three backgrounds panels from Neenah Solar White cardstock. Then I adhered the die cut heart onto one of the panels and picked a yellow, peachy and pink ink pad from my stash.
  3. For the first card (yellow birdies), I inkblended the three inks all over the background panel going. For the second card (dog & cat), I inkblended each color from left to right as well but just covered the heart and left the rest of the card white. For the third variation (pink birdie), I started inkblending pink ink in the center of the heart, and then added peach and yellow around it.
  4. After removing the mask from the last panel I added different splatters to all three backgrounds: tiny black watercolor splatters, pink ink splatters and Perfect Pearls splatters for some shimmer.
I picked three cute images from the So Tweet and Big Hugs stamp sets. Both sets are illustrated by Evelin T Designs and I just love all her critters! :-D I colored the images with Copic Markers, cut them out and adhered them over the hearts using foam tape.

winnie and walter masking backgrounds with dies 2
winnie and walter masking backgrounds with dies 3

COPIC GUIDE & COLORING TIPS:

Pink birdie: RV02, RV04, RV06, RV09 / YR 68 / Y13, Y08, Y35
Dog: W0, W1, E21, E33, E35, E57, R20
Cat: W1, W3, W5, W9, R20
Yellow birdies: Y11, Y13, Y08, Y35 / RV13, RV04
TIP 1: Use flicks from a white gel pen to get a feathery look - like I did on the pink bird. It's the same easy coloring technique that I used last week for the yeti's fur!
TIP 2: Add a little bit of grey shading to the dog where his fur is supposed to be white.
TIP 3: For the dog's light brown spots, first draw them in with the lightest E-marker. Then add shading from outer parts of the spots or where the shadows would be.

ADDING SENTIMENTS TO MY CARDS

For the sentiments I used “You’re so tweet” from So Tweet with Evelin T Designs stamp set and “Sending Big Hugs” and “just for you” from Big Hugs with Evelin T Designs stamp set.
On the pink birdie card, I heat embossed the sentiment in white on a wider strip of kraft cardstock. I die cut that strip with the Tilda rectangle die to give it the same jagged edges as the card front. For the cat & dog card, I used a banner sticker from my stash for the sentiment. And for the yellow birdies card, I heat embossed the sentiment with shiny platinum embossing powder that matches the color of the Perfect Pearls splatters.

TAKE A LOOK AT THE BEAUTIFUL SHIMMER:

winnie and walter masking backgrounds with dies 1

I hope you like today's cards! For your chance to win a 30 $ gift certificate sponsored by Winnie & Walter, hop over to my blog post and leave me a comment over there, too.
Thank you for stopping by today! ♥
Rosali


USED SUPPLIES:

Winnie & Walter stamps, dies and stencils:
True Multifaceted Heart Cutaways
LS Exclusives: So Tweet with Evelin T Designs Stamp Set
Big Hugs with Evelin T Designs Stamp Set
Essentials: Tilda Cutaways
Ink Pads:
Catherine Pooler Designs - Party Dress Ink


CHALLENGE:

Now that you've seen Rosali do it, "Masking Backgrounds with Dies" to create your own project and link up here by Friday, March 15, 2019, 11:55 p.m. CST to be entered to win $50.00 credit to the w&w shop!  One (1) lucky randomly chosen winner will be picked from each of Rosali's Leading Lady posts this month.

Inlinkz Link Party

Saturday, January 12, 2019

January Leading Lady Greta Hess | Take Two

Our January Leading Lady Greta Hess is back for her sensational second performance!  If you missed her smashing debut you must see it...CLICK HERE.   Greta is-oh-so clever with her coloring on her awesome cards today!

Ladies and gentlemen, Greta...

Thanks for all the positive comments on my initial Leading Lady post.  I'm so appreciative of your support.  Now it's time for Take 2.
This week I wanted to show you some ways to add color without the traditional art of coloring, since that's not one of my talents.  I often use solid images, but I'm not restricted to them.  Here are some cards with open images & techniques anyone can do.

First up is a card using the adorable snowman from Snowy Holiday with Evelin T Designs. 


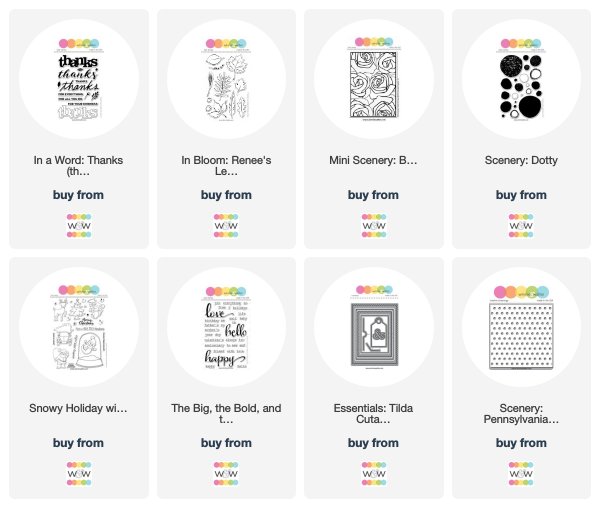
Using a couple solid circles from Scenery: Dotty, I stamped 3 times, overlapping the circles, with Distress Inks weathered wood & faded jeans on a watercolor panel.  Then I spritzed to make the ink run.  I used my heat tool before repeating the process & adding splatters.  When it was completely dry, I stamped the snowman in Delicata Sapphire Blue several times using a stamp positioner.  Then I stamped in Versafine Clair Morning Mist.  The gray ink didn't really change the blue, but just made the image a bit crisper.


I added Shimmer Pico Embellisher to parts of  the snowman for clear sparkly dimension.  The sentiment is from The Big, the Bold & the Happy & I added a few clear sequins. Next is a fun Valentine's Day card using a die from Essentials: Tilda Cutaways that makes an opening for a gift card.


I began by white embossing Mini Scenery: Bed of Roses on Bristol paper so I could color with my Zig Clean Color Real Brush Markers.  They are great for a messy watercolor technique that doesn't require staying in the lines or adding shadows--perfect for me!  I used 3 purple markers & a blue gray, mixing with a little water.  After it dried I cut out the gc holder & then spritzed with shimmer spray.


The white embossed sentiment strip made with words from The Big, the Bold & the Happy was mounted with foam tape.  The background is done with white dye ink & Scenery: Pennsylvania Polka Creative Screenings.  I didn't want the actual gift card to detract, so I covered the back of it with a scrap of Bristol paper colored with the blue gray Zig & dry embossed with little dots. My last card is another example of messy watercoloring.  This time I stamped a beautiful leaf image from In Bloom: Renee's Leaves across the top of a white panel in Distress Inks pine needles & evergreen bough. 


Then I "stamped" the ink pads on a flat palette, added water & picked up the color with a small brush to paint the leaves--again not staying in the lines.  When it was dry, I stamped in a darker blue green dye ink for more definition & then in Delicata Silvery Shimmer purposely not lining up the stamp.  The sentiment from In a Word: Thanks was stamped in dark gray ink to match the mat.  I left off embellishments, but did add some silver splatters. Hope I've given you some inspiration, even if you do traditional coloring.  Remember to leave a comment on my first post to be in the running for a $30 Winnie & Walter gift card.


Check the Take 2 post on my blog to see how you can get another entry into the drawing.  I'll be back next Saturday for more fun with wonderful Winnie & Walter products!


w&w-supplies

Saturday, January 5, 2019

January Leading Lady Greta Hess | Take One

Happy New Year!  It's an exciting day as I get to introduce you to our January Leading Lady Greta Hess!  Greta has been catching my month after month with her fabulous and cleverly designed cards she's submitted to our challenges and I can't wait to see what she will do this month.
I am really excited to see what Greta will be creating this month as she takes us on an adventure of her own design on Saturdays in January on the w&w blog.

Please give Greta a big round of applause to welcome her as she steps onto the stage for her first performance as our January Leading Lady! 


I'm so excited to be Winnie & Walter's Leading Lady for January 2019!  This is a huge honor I truly never expected.  Thank you so much, Shay! Each Saturday this month I get to take over the Winnie and Walter Blog.  Hope you'll check it out & leave a comment.  Hopefully you'll find some inspiration in my projects AND you have a chance to win a $30 gift certificate to the Winnie and Walter store!


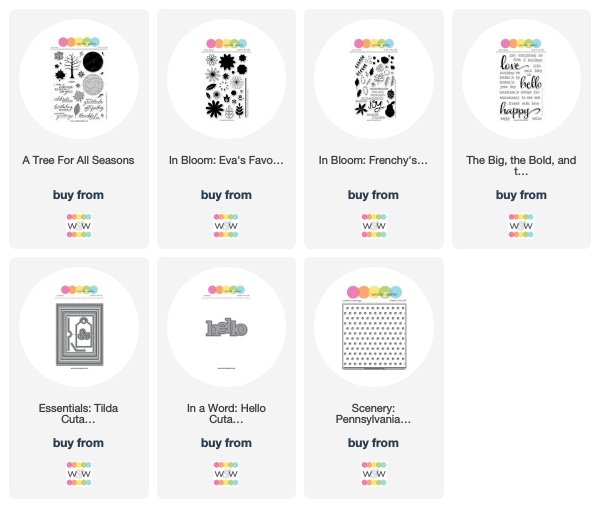
I'll do a random drawing of all the comments left on my blog's Winnie & Walter Leading Lady posts. My love of Winnie & Walter products began a couple years ago when a friend sent me In a Word: Hello Cutaway.  I thought it only fitting to begin with a post focusing on this wonderfully versatile die. For my first card I randomly stamped a solid leaf image from A Tree for All Seasons in 2 green inks.  Then I stamped the matching lined image in brown ink purposely not lining it up exactly.


The panel was die cut with a rectangle from Essentials: Tilda Cutaways.  I love the fun edge plus the pierced border.  The word was die cut from the panel being careful to save the little bits which were glued in place after the panel was attached to a brown card front.


I stamped the little word from The Big, the Bold & the Happy in brown ink, trimmed it into a strip, matted it with brown cardstock & attached it with foam tape.  I didn't add any embellishments so this card could go to a guy or a gal. Next up is a birthday card that lets the hello die be the star of the show, thanks to the new Scenery: Pennsylvania Polka Creative Screenings.  I used 6 Distress Oxide inks, moving the stencil before going to each new color.  Doesn't it give a fun confetti look?


I stacked the die 3 high before attaching it to a white textured panel.  The little sentiment words from The Big, the Bold & the Happy were white embossed on black cardstock & trimmed into strips.  I love the look of adding them right on top of the large die cut word.  Black & white twine was tied into a bow before adding the panel to a black card front. I have one more card for you and this one is floral and feminine--a favorite for me & hopefully you like it, too.  I stamped a wreath using flowers from In Bloom: Eva's Favorite Flowers along with leaves and dots from In Bloom: Frenchy's Festive Florals with Angelica Suarez in pastel inks.


The hello die was cut from the center of the panel, stacked 3 high, brushed with shimmer & glued in place.  The larger, blocky font of this die is perfect for the hidden die cut technique as it doesn't totally disappear.


I darkened the photo so you can get an idea of the shimmer on the hello die cut.  Some little white dots are added for embellishment and the panel is attached to a dark gray card front. Now you can see why I love the In a Word: Hello Cutaway and hopefully you've gotten some inspiration for your own crafting.  I'll be back with another Winnie & Walter post next Saturday.


w&w-supplies

Thursday, November 29, 2018

November 2018 Release | Premiere Day No. 3

To enter our November 2018 Release's The Big Giveaway CLICK HERE.
To enter to win Premiere Day No. 1 featured products...CLICK HERE
To enter to win Premiere Day No. 2 Featured Products  CLICK HERE 
To enter to win Premiere Day No. 3 Featured Products...continue reading!
To enter to win Premiere Day No. 4 Featured Products CLICK HERE (goes live at 7:00 a.m. CST on November 30, 2018)
==========================================================

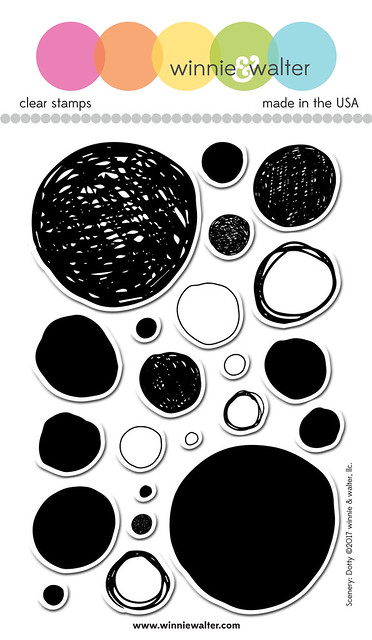
Scenery: Dotty is full of hand-drawn sketchy, solid and outline circles for a touch of fun to add to your projects.  Use the dots as snow, to spotlight an image, to create backgrounds and more!

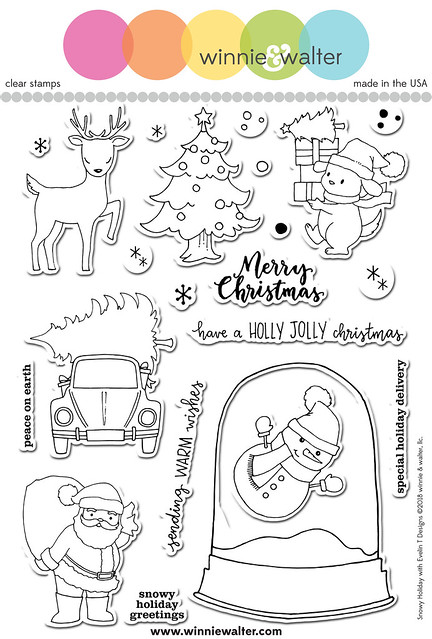
Snowy Holiday with Evelin T Designs is another precious set from Evelin that is wonderful on its own or with other Evelin T Designs sets (think of all the scenes you can add to the snow globe!).  We are also introducing its companion cutaways.

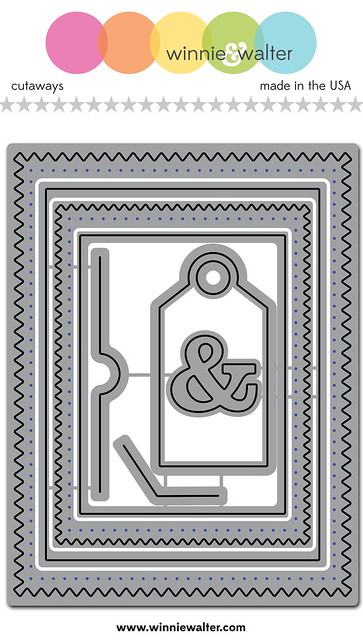
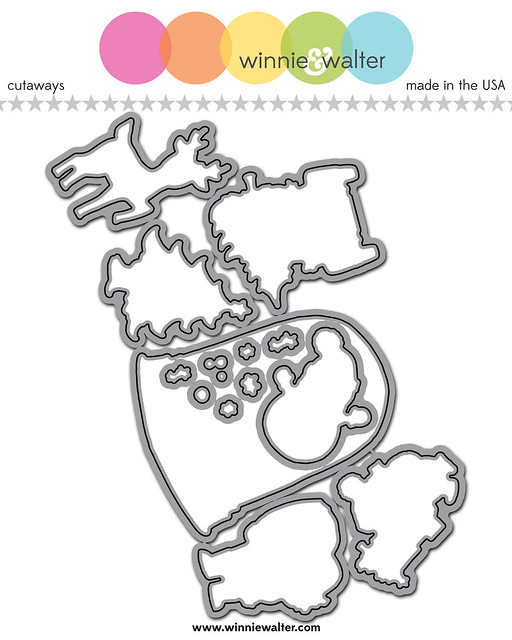
Essentials: Tilda Cutaways is our next addition to the Essentials cutaway collection and you will love all the possibilities in this set of cutaways which is perfect for sending cards and other projects!

>>>THE DETAILS<<<

w&w_SceneryDotty_4x6_web
Scenery: Dotty
Available for purchase the evening of November 30, 2018
4x6 stamp set
Retails for $15.00
Includes Twenty-two (22) stamps-twenty-two (22) images

w&w_SnowyHolidayETD_6x8_web
Snowy Holiday with Evelin T Designs
Available for purchase the evening of November 30, 2018
6x8 stamp set
Retails for $22.00
Includes Twenty-two (22) stamps--sixteen (16) images + six (6) sentiments

w&w_SnowyHolidayETD_Cutaways_web

Snowy Holiday with Evelin T Designs Cutaways
Wafer Thin Steel Dies
Available for purchase the evening of November 30, 2018
Retails for $38.00
Includes fourteen (14) dies


w&w_ETilda_Cutaways_web
Essentials: Tilda Cutaways
Wafer Thin Steel Dies
Available for purchase the evening of November 30, 2018
Each retail for $28.00
Includes eight (8) dies
  

>>>THE GOOD STUFF<<<

Let's get to the fun part and see these products in action.

Shay

Happy Thursday!   How are you liking the release so far?

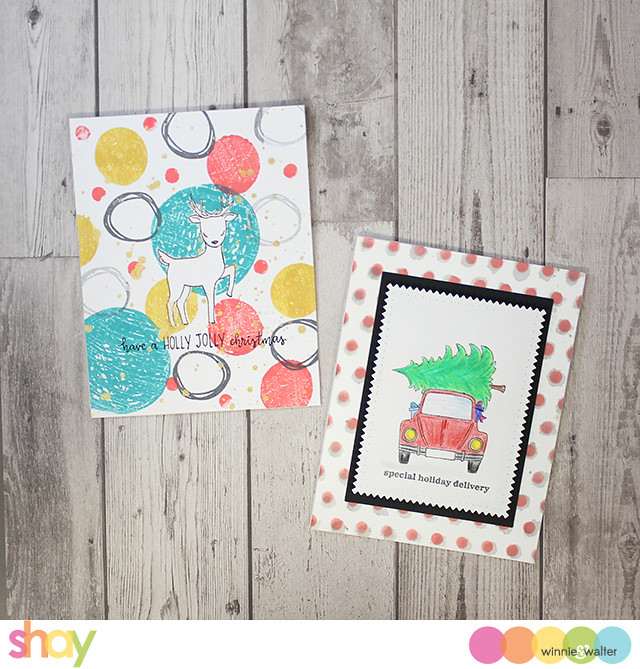
Let's see what I came up for you today:

shay_IMG_4398

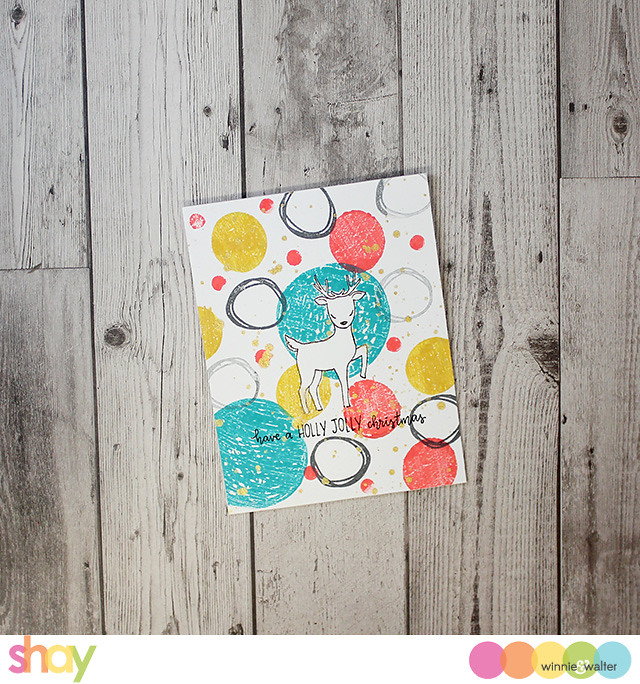
For the first card I wanted something modern and fun.  So I stamped the deer from Snowy Holiday with Evelin T Designs and covered it with a mask.  I then inked up dots from Scenery: Dotty in peacock feather, abandoned carol and fossilized amber Oxide Distress Inks along with black jack ink.  Okay, I have a serious problem with gold spray because I used it once again and I know I will again because I love what it brings to the card.  Last I stamped the sentiment in Versafine.

shay_IMG_4400

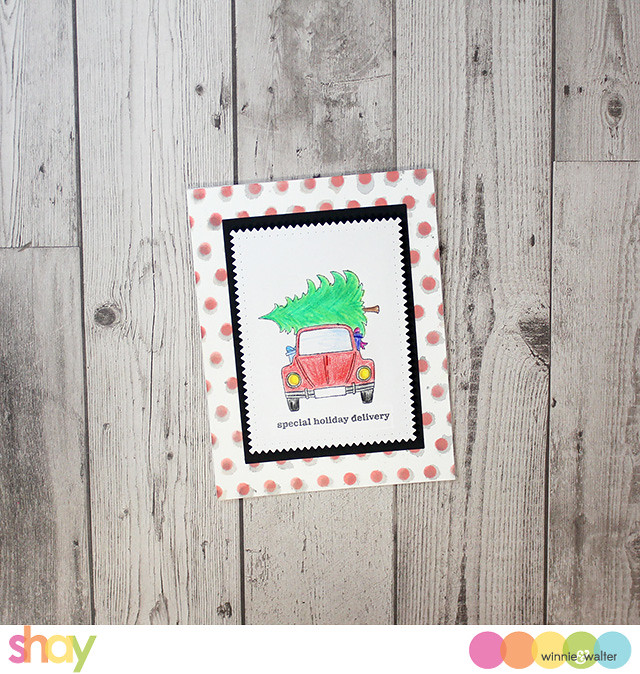
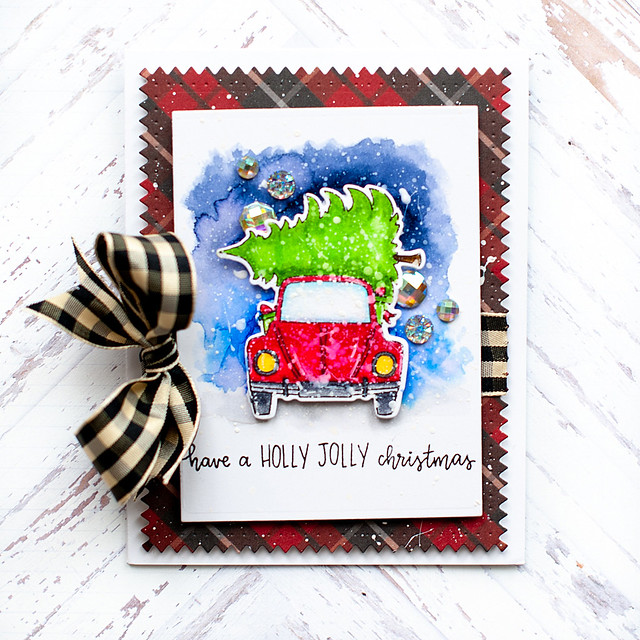
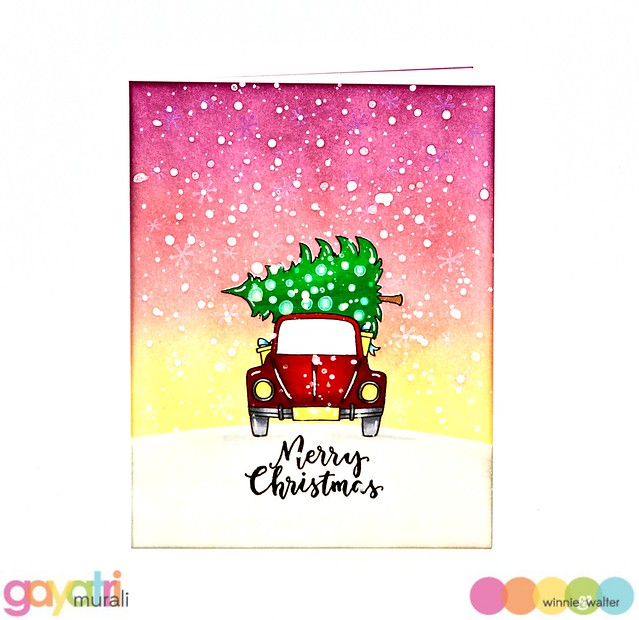
The second card I stamped the adorable car with tree and colored it in with colored pencils...the image is so sweet that my mediocre coloring still looks good enough.  I stamped the sentiment (okay in all honestly I stamped the sentiment on a piece of cardstock and adhered it on later as I forgot to stamp the sentiment prior to adhering the panel with foam adhesive).  I cut out the card using the smaller patterned rectangle from the new Essentials: Tilda Cutaways.  Tip: when cutting these dies apart be patient and use as small of wire cutters as possible as they are packed close together.  I cut a black cardstock panel with the larger plain rectangle and adhered the stamped panel to the black one with foam dimensional adhesive. I placed it all on a panel I created using Scenery: Pennsylvania Polka Creative Screenings using a silver spray and then abandoned coral ink over that.
shay_IMG_4401

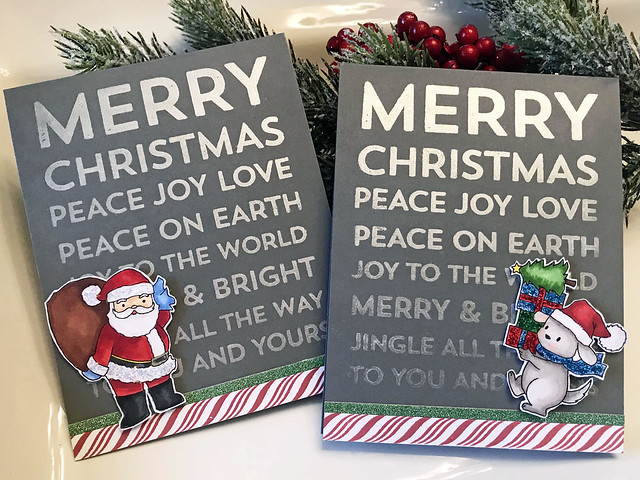
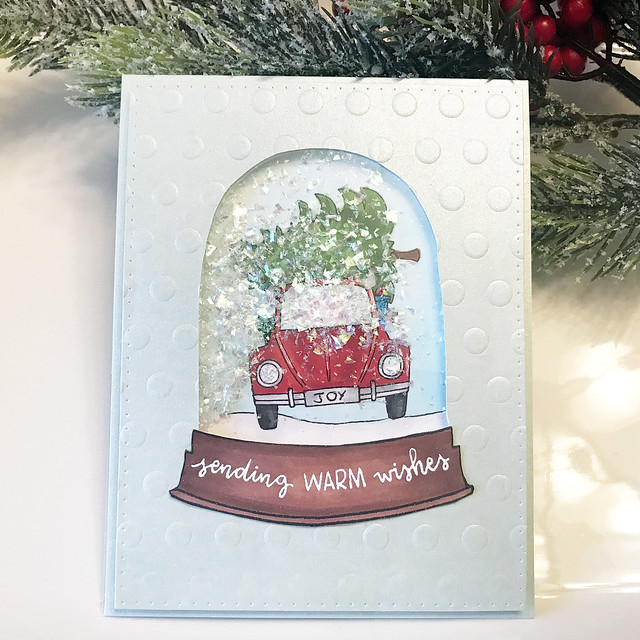
You've not seen anything yet!  Serious you will be as blown away as I am...Jill Vickers our November Leading Lady and Trina Pham our October Leading Lady, Crystal, Gayatri, Heather, Kate, Kelly and Lea are joining me today with these amazing cards:

November Leading Lady, Jill Vickers

jill_2018nov28-1 jill_2018nov28-2
CLICK HERE to see more from Jill.

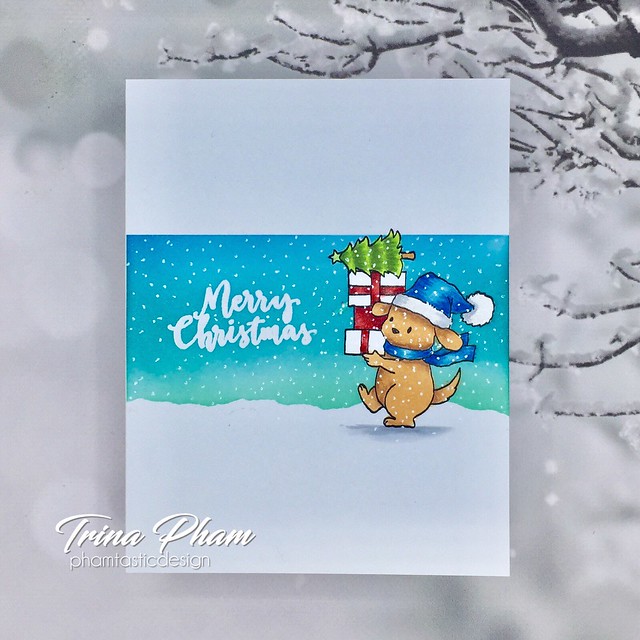
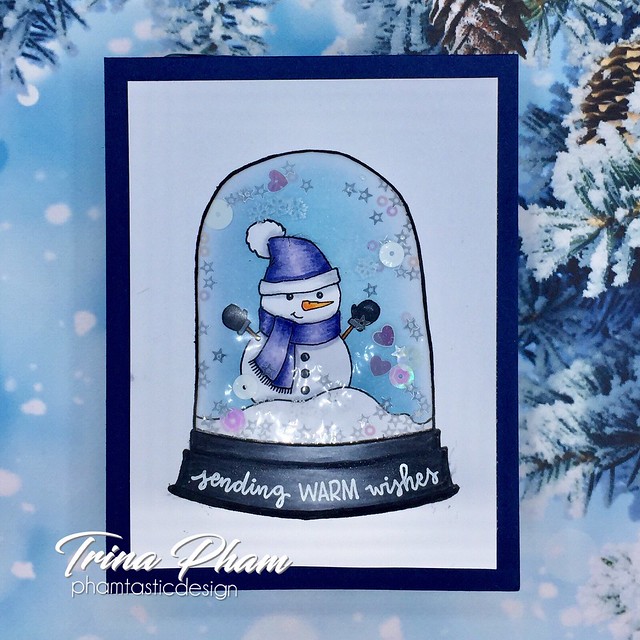
October Leading Lady, Trina Pham

trina_image1 trina_image2
CLICK HERE to see more from Trina.

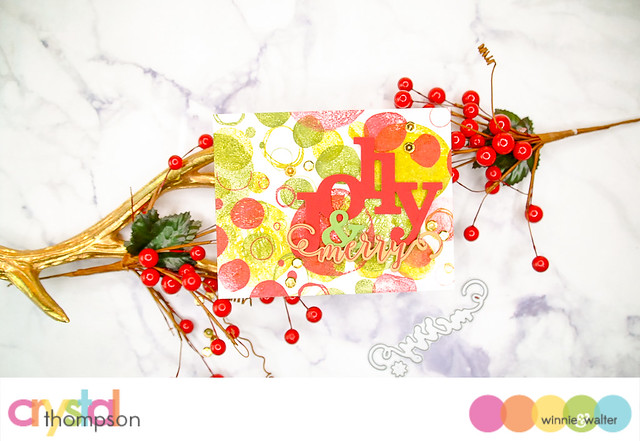
Crystal Thompson of The Talent

crystal_nov - watermark (6 of 44)
CLICK HERE for more from Crystal.  

Gayatri Murali of The Talent
gayatri_W&W Nov release day #3
CLICK HERE to see more from Gayatri.

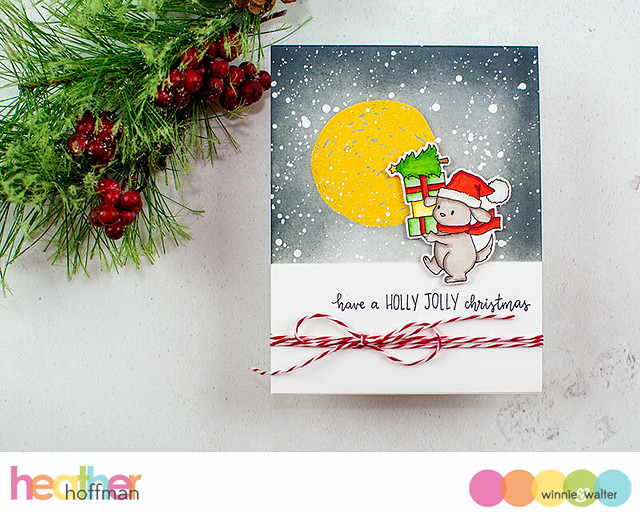
Heather Hoffman of The Talent

heather_Cards-11-26-18-062
CLICK HERE to see more from Heather.

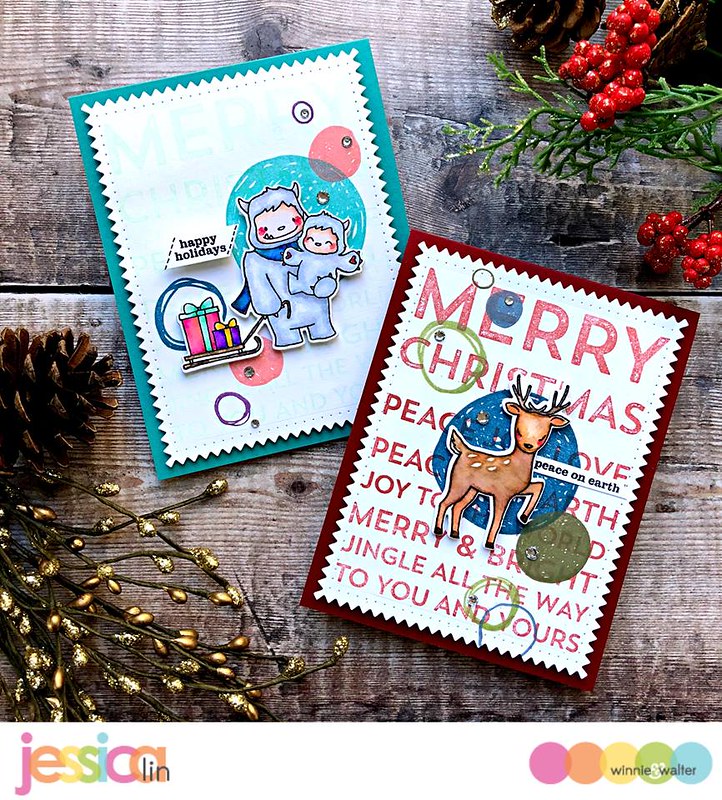
Jessica Lin of The Talent

jessica_day3
CLICK HERE to see more from Jessica.

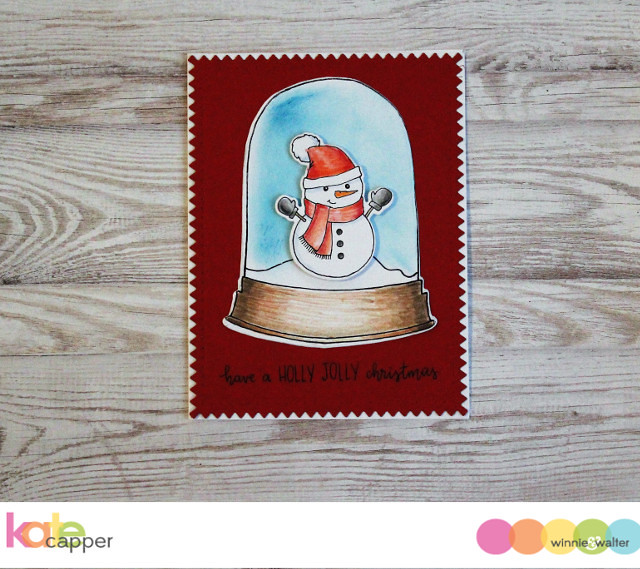
Kate Capper of The Talent

kate_wwday3
CLICK HERE to see more from Kate.

Kelly Griglione of The Talent

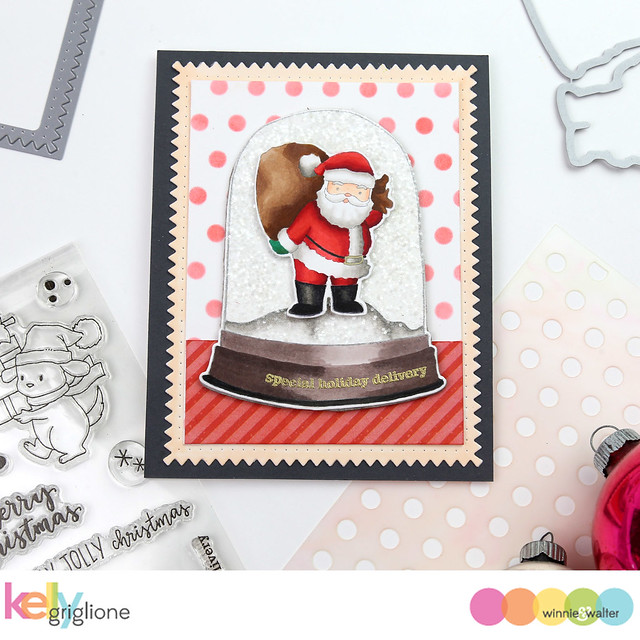
kelly_Winnie and Walter Snowy Holiday   Evelin T Designs
CLICK HERE to see more from Kelly.

Lea Lawson of The Talent

lea_WW-NovRelease-08
CLICK HERE to see more from Lea.

>>>THE GIVEAWAY<<<

Comment here on this post for a chance to win Scenery: Dotty stamp set + Snowy Holiday with Evelin T Designs stamp set + Essentials: Tilda Cutaways + Snowy Holiday with Evelin T Designs Cutaways of your own by 11:59 p.m. (central standard time) November 30, 2018.  One comment will be chosen at random. 

All winners during our November 2018 Release will be announced by December 17, 2018.

To enter our November 2018 Release's The Big Giveaway CLICK HERE