Showing posts with label in bloom: anna's flora. Show all posts

Saturday, September 1, 2018

September Leading Lady Maryam Shalaby | Take One (Video)

It's the first Saturday (and also first day) of the month so that means a new Leading Lady!  This month I am delighted to introduce our September Leading Lady, Maryam Shalaby.  Maryam has been a long-time and dedicated participant in our challenges and over the years I have been blessed to see her skills flourish, develop and blossom into something truly incredible.  Maryam is also full of grace and kindness and I am so pleased to finally have her as a leading lady.


I am really excited to see what Maryam will be creating this month as she takes us on an adventure of her own design on Saturdays in September on the w&w blog.


Please give Maryam a big round of applause to welcome her as she steps onto the stage for her first performance as our September Leading Lady! 


Hello all, I was super excited when Shay invited me to be a leading lady for this September at Winnie and Walter blog. First of all, thanks Shay for all you act of kindness. Your tender heart and kindness were always showers Winnie and Walter blog . A little story about me and Winnie's store, About 3 years ago I used to pin Winnie and Walter amazing cards , and I had that dream to use there products to create like these amazing projects . I was lucky and I won randomly from one of there challenges, that encouraged me to have my first crafty order from USA, after I introduced to USA market, I learned passionately more in card making art.

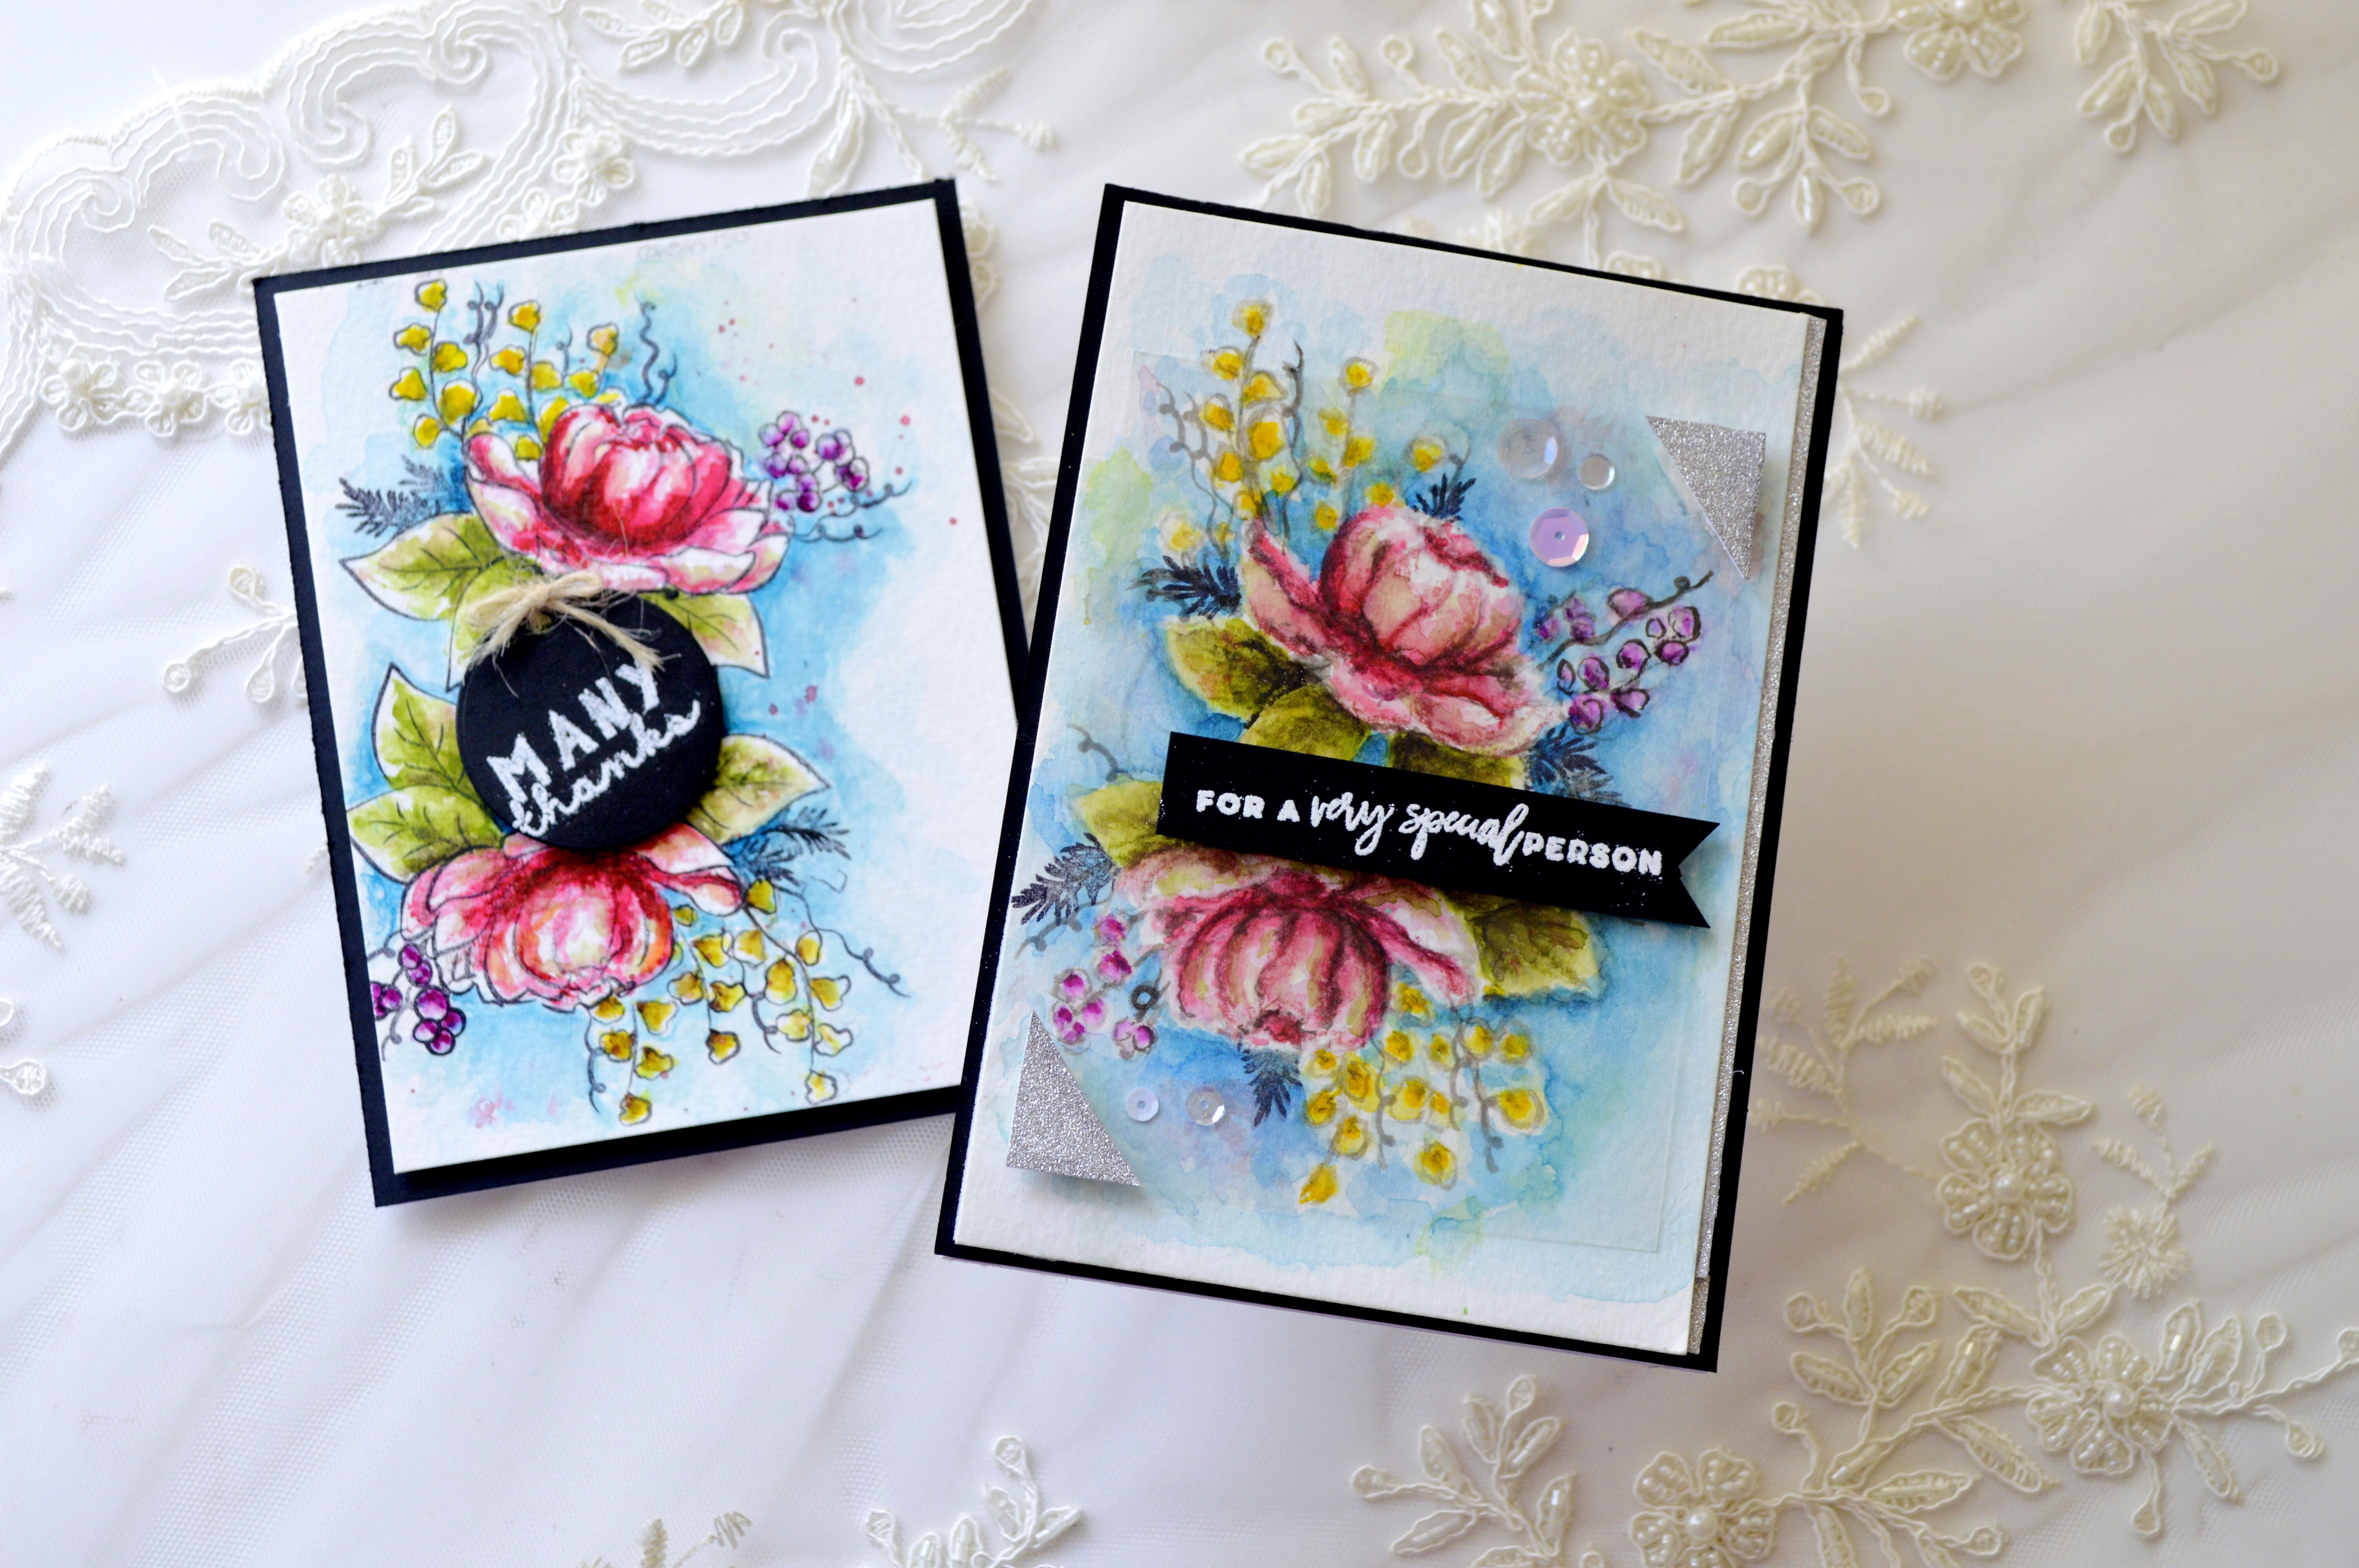
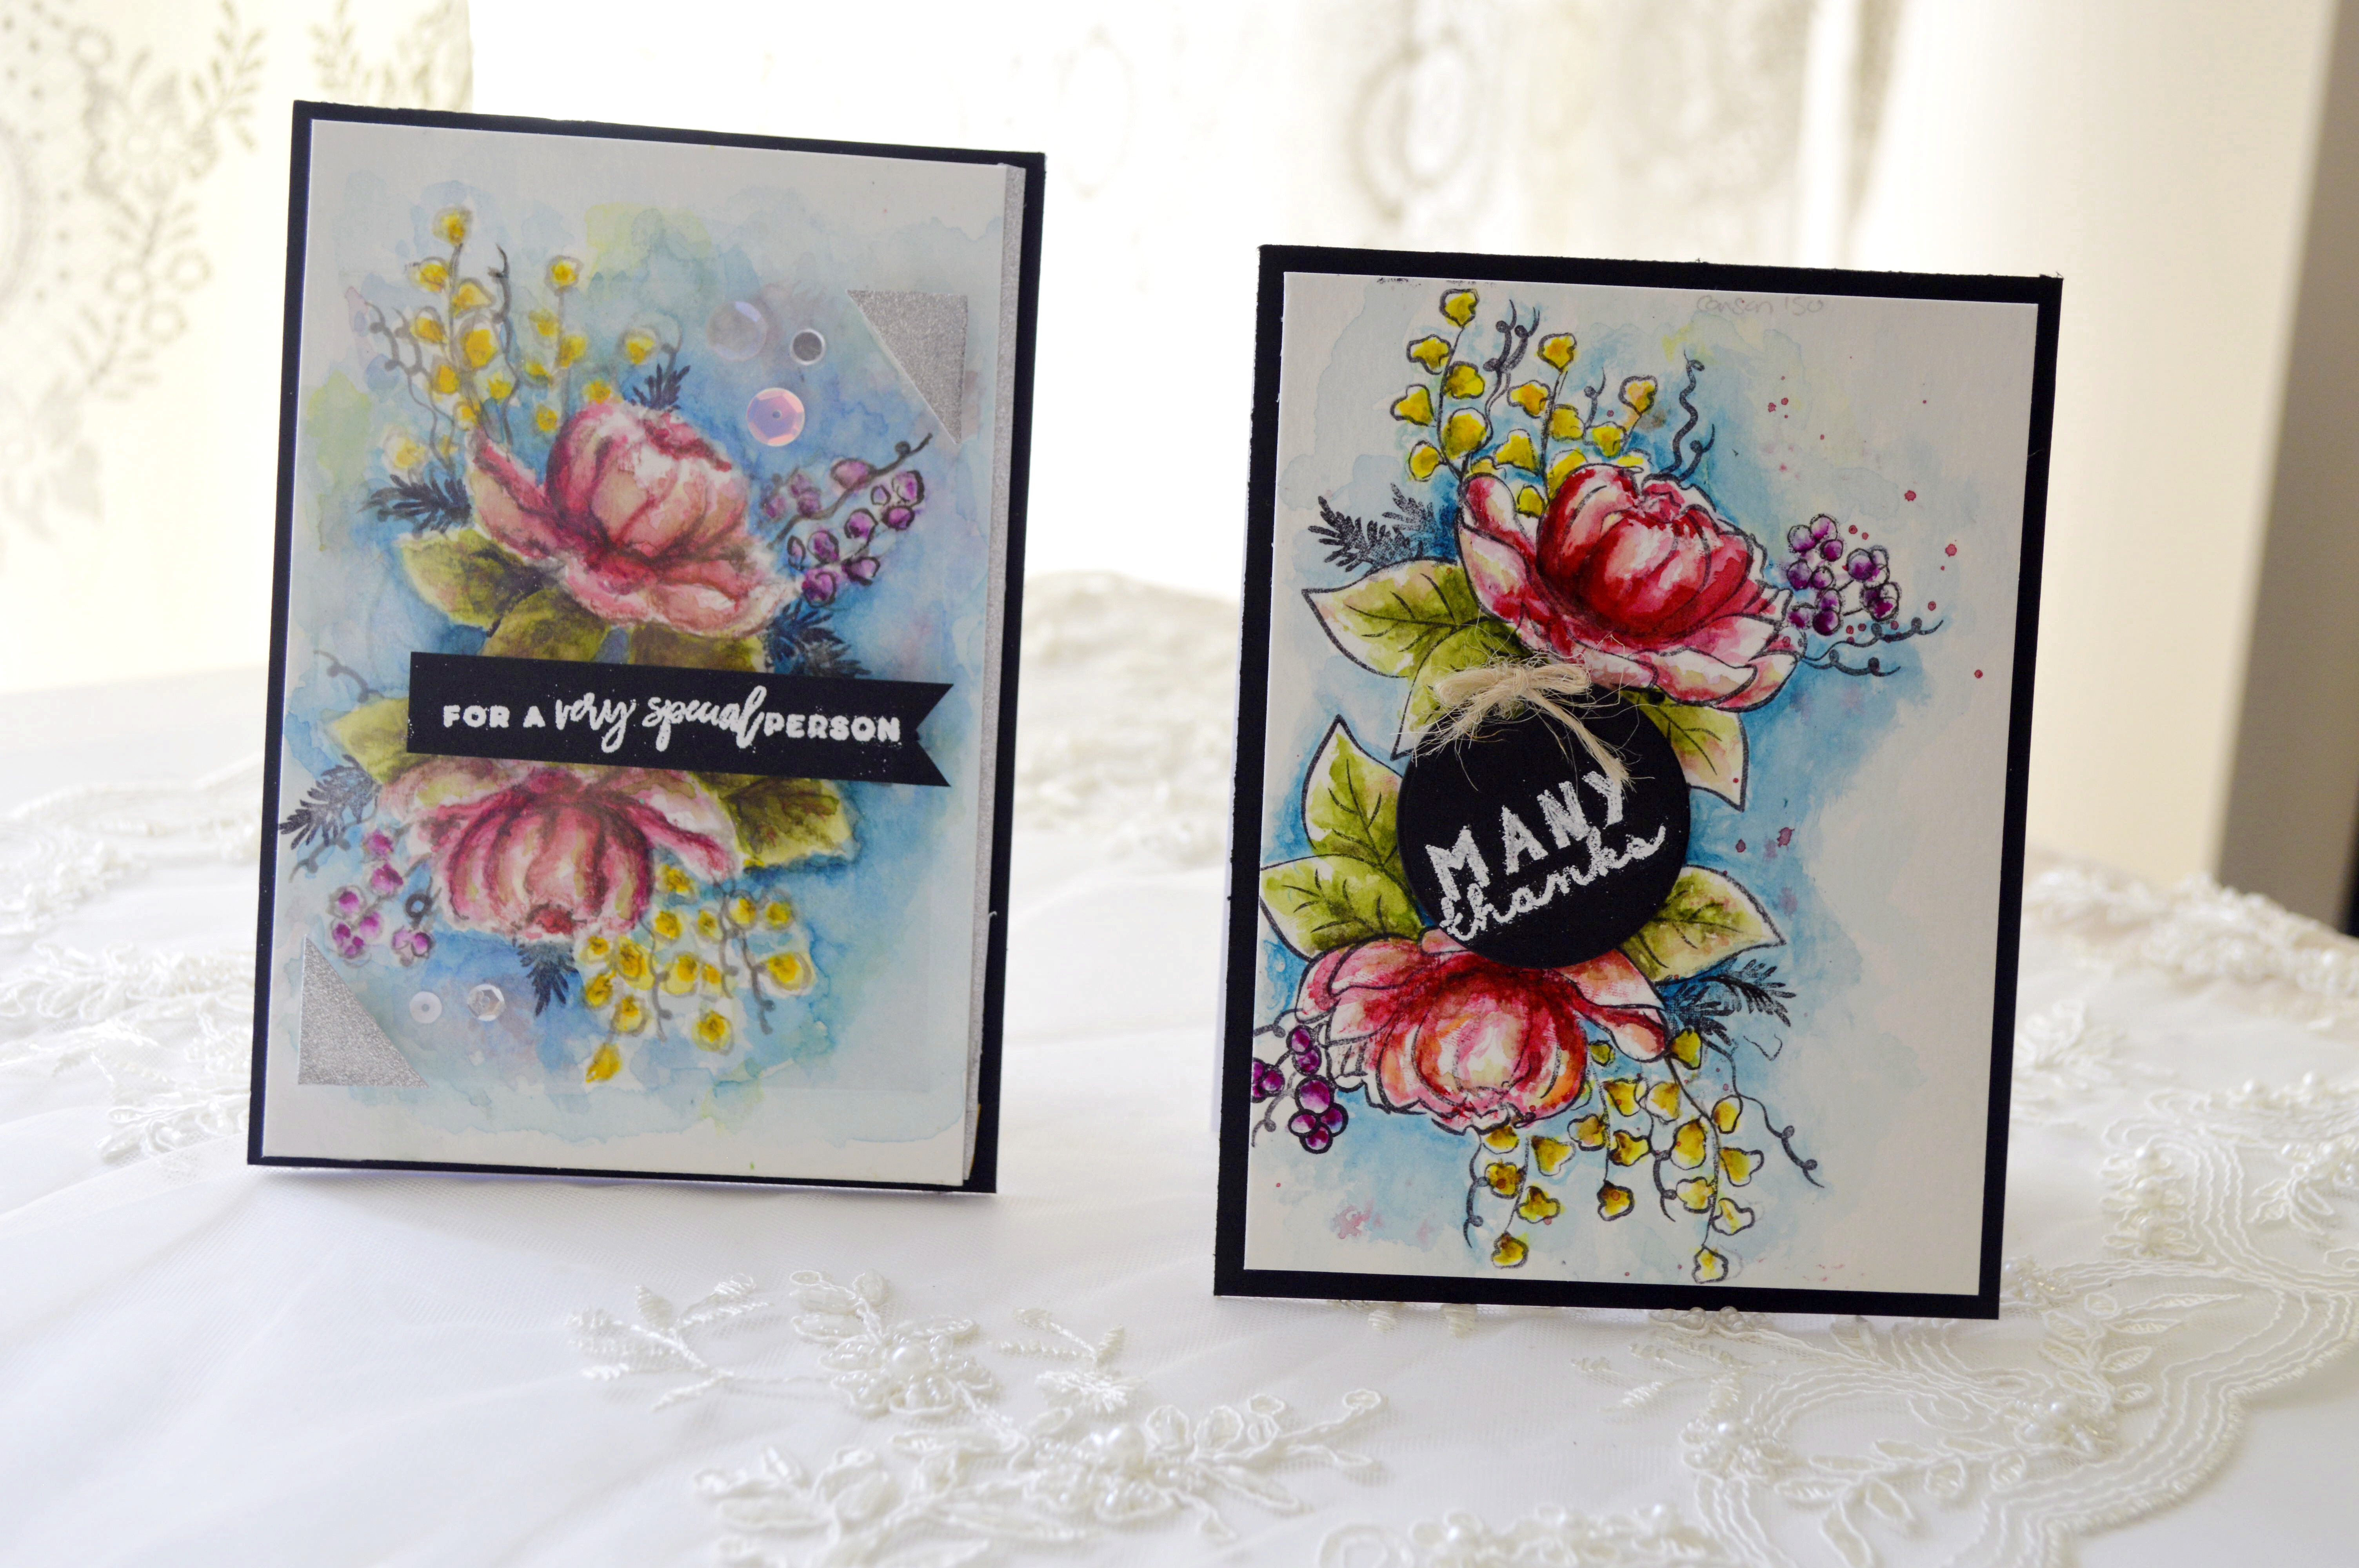
I believe in this words - Be careful what you wish for you just might get it - back then I was dreaming to have some of W&W product, today I was honored to be a leading lady. I will posting on Winnie and Walter blog as a guest designer every Saturday on this September 2018 . It was a little tricky to choose what I am going to share with you in my first post, I wrote down the thing that I would like to share with you and couldn't resist to share with you one of my favorite techniques, which is watercolor . If you have some time it will be my pleasure to continue reading this post and watching my long video. I made two card they are almost the same , one was colored with no-line watercolor techniques and the other one with watercolor with black outline.
IMG-3206.JPGIMG-3204.JPG

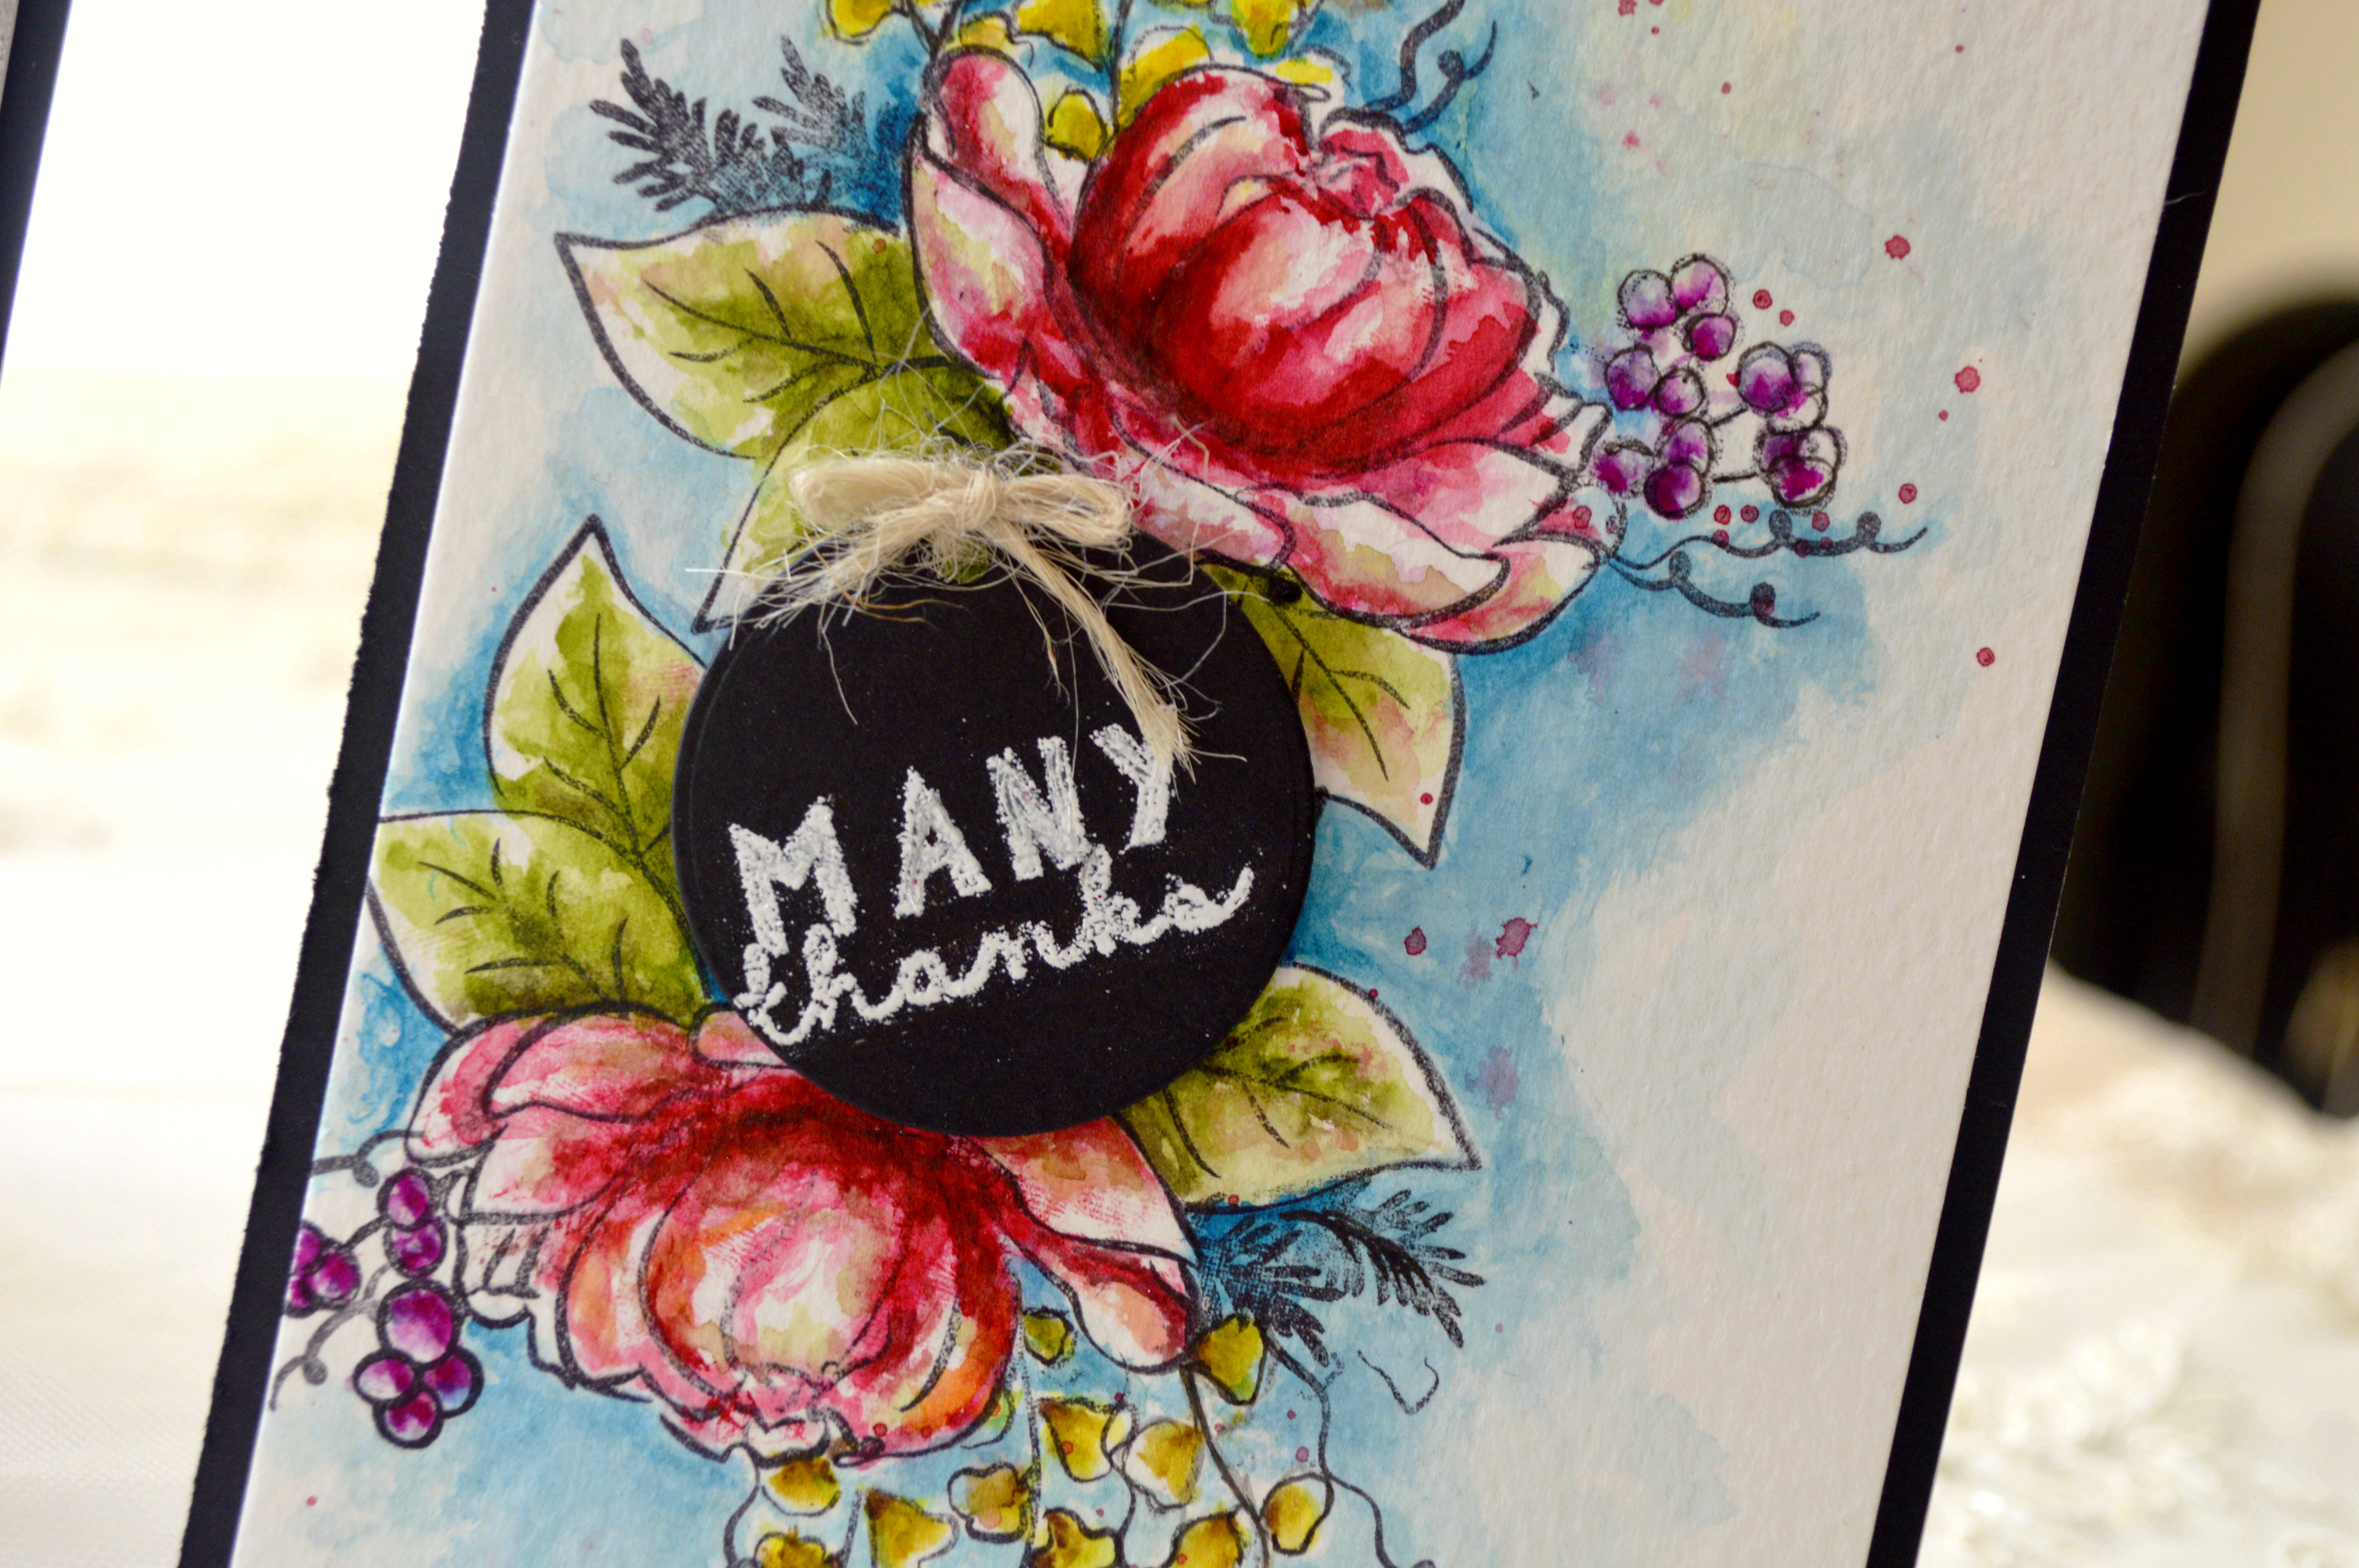
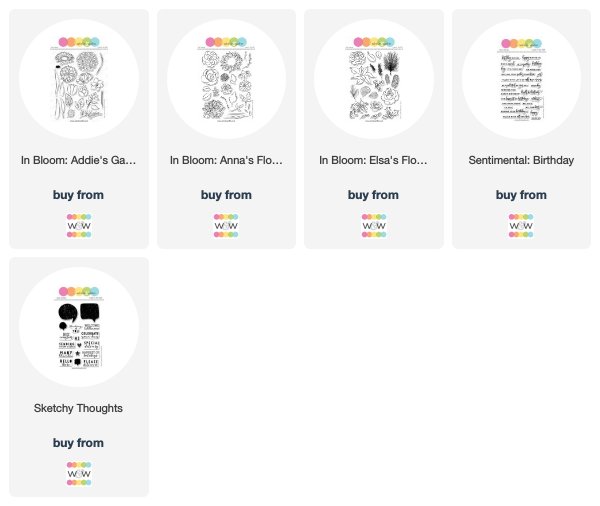
For my first card, I used no line watercoloring to create this card . I used W&W In Bloom: Addie's Garden stamp set for the main flower and some accessory flowers and leaves from W&W In Bloom: Elsa's Flora stamp and W&W In Bloom: Anna's Flora stamp . I stamped these images with sss barely beige ink pad , this ink is so friendly with no line watercoloring . For coloring I used mainly mission gold mijllio watercolor.

IMG-3193.JPG

Here is some tips that I used in this cards. ** I started by applying light color first as base layer of the flowers then I went with full strength color over them . ** I paid attention to leave some white space for the lighting effect and it will give me more space for blending the colors. ***I added darker red color detail with 00 brush with dark brown color to highlight the shadows in the image. ****The key for good watercoloring is leaving your coloring to set and dry then applied your layer or blend them so will, *****don’t hesitate to use darker colors like black or dark brown to make your image shine in the middle of these many colors .... After I colored all my images I colored the background too with watercolor . I mounted them over a black card stock they i add a dimensional acetate over the images to give this frame look and add more dimensions with the sentiment that I embossed over black card stock with white embossing powder . I used W&W Sentimental: Birthday for this sentiment.

IMG-3200.JPG IMG-3192.JPG IMG-3191.JPG 

My video:


For my second card I stamped the images after I did some masking using the same stamping set from Winnie and Walter products with watercolor resistant black ink (staz on). Then I started coloring as I did in the no line watercolor card .

  IMG-3202.JPG 

*Coloring with black ink are much easier and its gives a better result . **I colored inside the image easily and I defined the shadow and light area easily too . ***After that I colored the background I was not worried so much of blending as the black ink in between will act as a barrier I can easily recognize the blending and I am not going to lose my outer lines .

IMG-3201.JPGIMG-3199.JPG 

I added a little red splatter at the end . And I stamped this sentiment from W&W Sketchy Thoughts stamp set. I mounted the card over a heavy black card stock. I didn't want yo add any more embellishment to this card so I left it like this . I love these both cards and i enjoyed coloring them so much . Evert one of them has its own magic’s .But Let me be honest with you, I love the outcome of 2nd card more it much bright although I enjoyed coloring the no line watercolor card more.
IMG-3204.JPG

Thank you for joining me today on my first take as a Winnie & Walter Leading Lady , I hope I've inspired you to grab your watercolor and do some watercoloring .

  w&w_30giftcard

Shay was so generously gifting a 30$ gift card to use it in Winnie and Walter store to give it to one of randomly selected winner from the comments on any of the 5 leading lady posts on my blog maryam's craft . Kindly leave your comment, and let me know what is your favorite coloring media and I will choose the winner on the 2nd of October.

w&w-supplies

Wednesday, August 15, 2018

Family Recipes with Kelly


Hi Folks! Kelly here with a few more pages from our final Family Recipe Scrapbook. For those who haven't seen my prior posts throughout the years, for each of my husband's 8 cousins, our family has gathered their favorite recipes to present the bride-to-be at her wedding shower. I've made the recipes, along with photos, into a scrapbook. Our intention is to show the new couple that they're surrounded by loving family who are always around if they need help (especially on what to cook for dinner!)


This page uses the gorgeous sunflower from In Bloom: Anna's Flora to make a little collection of flowers in the lower right corner. The "family" from The Big, the Bold and Blessings Cutaways is cut from gold foil, again to compliment all the yellows and golds. The secondary sentiments "smiles," "lots of love," and "giant hugs" are all from Sending You with Evelin T Designs.

I have to admit, it had been awhile since I'd done much scrapbooking and I was surprised at how much I missed it. I was also surprised at how much I had to think about how to us a canvas that wasn't 4 1/4" x 5 1/2"! Layering the words and flowers over the photos helped. I chose the sunflowers because they pull in the gorgeous yellow sweater, golden light, and yellow grasses from the photos. 


The sunflowers were really fun to watercolor. A few different yellows and browns for the petals, and then a shaded center. I inked the dots in an orange/brown and then before stamping them in the center I inked the edges of the dots in a darker brown. 


 This page is a simple one and relies just on and angled "hugs" from The Big, the Bold and Friends Cutaways being cut from the heart in Flawless Heart Cutaway. 


Even though it's simple, there's still a little something to it with the gold sparkle cardstock. Again, the hearts are layered over the photos.


I have to admit, even though these take a ridiculous amount of time, I will miss not working on a recipe scrapbook anymore. I guess that just means that I need to get back to scrapbooking my own family! : ) Hopefully before they all graduate!!

Thanks for looking!
Kelly


w&wDT_kellygriglione_blog-sig


w&w-supplies

Monday, August 13, 2018

August Color Combo with Heather H. (Challenge)

Good morning! Heather here stopping by this morning to share a new Color Combo Challenge with you! We are going to do things a little differently this time - ANYTHING GOES! So you are welcome to choose your own color combo (just make sure and post it or a link to it in your post so that we can see your inspiration) - or you can go back and choose a color combo from past challenges (you can find them all HERE)! Or if you like, you can use the color combo I posted below! :)

 And this time I made a SUPER clean and simple card for an inspiration piece - a little different than my usual!


Here is my color inspiration for this month - I admit to feeling a bit sheepish when I realized how close my color choice was this month around to last month! I actually hadn't looked back to remember what last month's was until I picked this out of my Pinterest board for inspiration - I think it must be a summer thing to be attracted to yellow (sunshine and all of that maybe?) Anyway - apparently I'm loving this color combo lately!


I built my sweet little flower using In Bloom: Anna's Flora. I first stamped the bloom, masked off just the bottom of the flower to stamp the stem, then masked off the stem to add the leaves - super easy peasy! I then colored the image in with Copic markers.


I finished off by building a sentiment using Sentimental: Gift - using 3 different sentiments together.


Now - I have a few favorites from the last Color Challenge to feature! You guys all ROCKED this past color combo, so it was super hard to choose my favorites! (Which gives me hope that you'll forgive me for making this next one so very similar?) Anyway...I did my best to narrow it down - just know that I wanted to pick you ALL as favorites!

First up - this absolutely gorgeous card by Ashwini! This card is plain and simple a work of art! Absolutely gorgeous - and great job using the color combo!!!


Next up, I love this fun graphic take from Marlena! She absolutely nailed the colors from the combo - and I love the fun and playful layout! Perfection!


And then we have this clever little card by Shona Chambers! I love her fun layout with Mini Scenery: Madison - fussy cutting it the way she did, and of course, her use of the challenge colors are spot on!


And finally, Megan Beth created this lovely floral card - love the way she stamped those florals in colored ink, then colored them in for a no line effect! Great work!


>>>RANDOMLY CHOSEN WINNER<<<

No. 11 | Ashwini Rao
Ashwini created an incredibly beautiful card with dimension and an amazing use of the color combo!

Greta, please email us at info {at} winniewalter {dot} com with the subject "July Color Combo Challenge Winner" to claim your prize.

>>>CHALLENGE<<<

New challenge will post on the second Monday of each Month, and will end on the Friday before the next challenge begins to allow time to pick a winner and some favorite entries to feature.

Now it's your turn to play along!
  1. Create a new project using the August Color Combo. 
  2. Use at least one (1) winnie & walter product.  This can include Cutaways (dies), Creative Screenings (stencils/masks), printable/digital items, cut files and/or stamp sets.  Remember we offer freebies in our shop.  Our freebies can be used to create your project(s) for this challenge.
  3. Link up your project below using the InLinkz Link-up by 11:55 p.m. CST on Friday, September 7, 2018.  
  4. Enter as many times as you want before the deadline.
  5. This July Color Combo Challenge may be combined with other challenges found here on the w&w blog or elsewhere. 
One randomly selected entry will receive a $25 gift certificate to Winnie and Walter. YAY!!! I can't wait to see your entries! 


Thanks for stopping by - have a wonderful day!


w&wDT_heatherhoffman_blog-sig 2


w&w-supplies

Wednesday, June 20, 2018

Blessings with Kelly

Hello! For every cousin who gets married in our family we make a family recipe scrapbook. Each family member submits their favorite recipe and a picture of themselves, and then I put them all together into an album for the bride-to-be. This tradition is coming to an end this year, as the last cousin is getting married in October. Although it's a lot of work, I'm kind of sad this will be the final scrapbook.

One of my favorite pages so far is this page with a bouquet of flowers from two different Winnie & Walter sets, In Bloom: Anna's Flora and In Bloom: Addie's Garden. 


To color the flowers I misted the cardstock with water to get it slightly damp. Then I smooshed ink onto my acrylic block, misted that with water, and smooshed the block onto the cardstock. If there were any areas that didn't get a lot of coverage I just repeated these steps. A few water droplets add some more spots to the paper. Then I stamped each flower onto a section of the cardstock and cut them out by hand.  

 
Arranging them is probably just like arranging real flowers ... the big, bold flowers in the lower center, working your way to the smaller, lighter flowers in the outer edges of the bouquet. I would probably have a hard time stamping the flowers directly to paper arranged in a bouquet like this. It's much easier for me to cut them out and physically move them around the paper until I'm happy with everything. 


Here's the entire page. I was really happy Aunt Kay's shirt and the wall she's standing in front of are yellow to blend in with my background! As a card-maker, I'm not used to taking into account the fixed design elements in the photo as well. I'm also kind of dying to make the Pay Day Bars recipe she shared!

 
Not wanting to waste any good, smooshed-ink cardstock, I cut a few butterflies from my favorite Essentials set, Essentials: Audrey Cutaways and added them to the bouquet to fill in the spaces. To add some details to the butterflies I tied a strand of gold thread around the middle, knotted it where the butterfly's head would be, and left some length on the ends for the antenna.


To finish it all off, I added the "blessings" sentiment from The Big, the Bold and Blessings Cutaways. I made it a curved sentiment by slightly bending the paper in between each letter. It's amazing how much better the arrangement looks by having the sentiment curved and mirroring the general shape of the bouquet. 

I have many more family recipe scrapbook pages to share with you over the next several months. Hope you enjoyed seeing this one!
-Kelly


w&wDT_kellygriglione_blog-sig


w&w-supplies

Thursday, May 24, 2018

Sending You Lots of Love with Gayatri

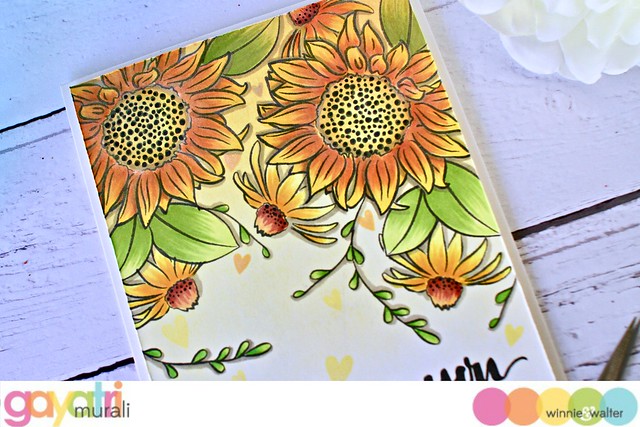
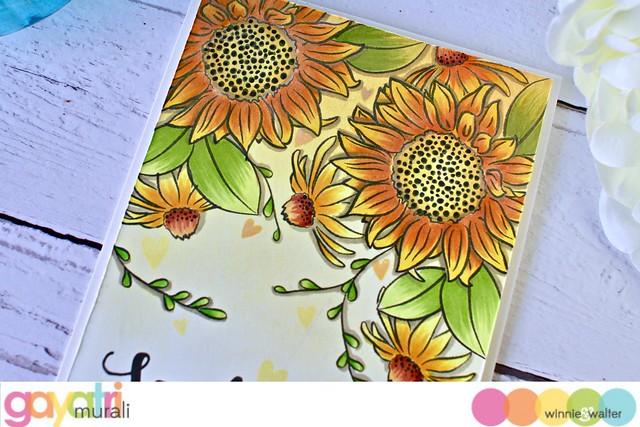
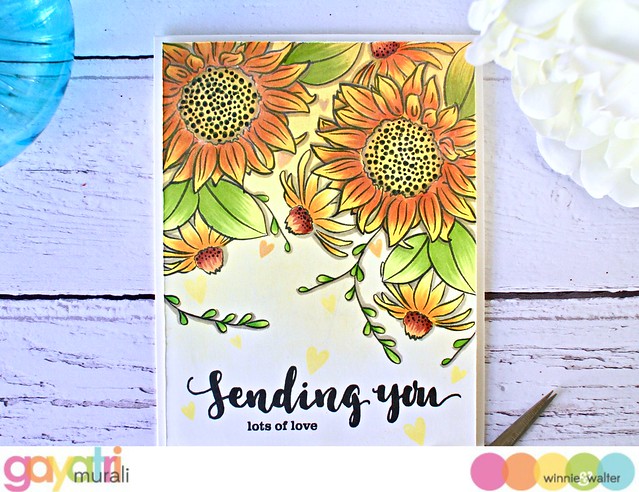
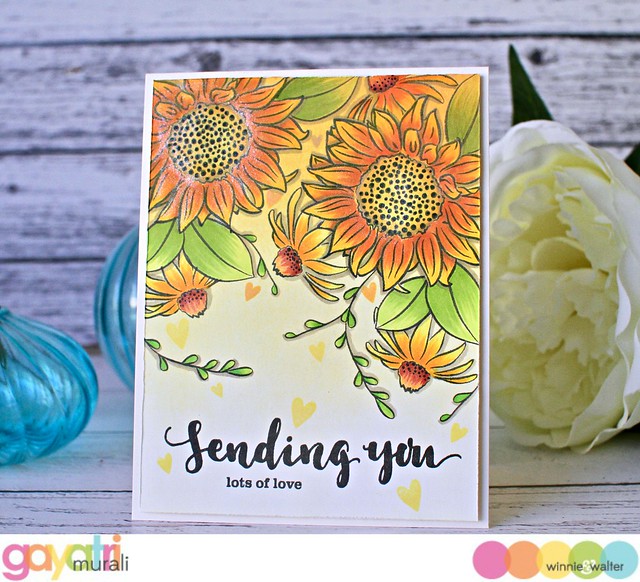
Hello every one, it is Gayatri again with you. I have a very summery card share with you today. There is link blending and copic colouring techniques used on this card. Hope you like it.

gayatri_Sending You card

I haven't used these floral images from In Bloom: Anna's Flora stamp set from Winnie & Walter. So I decided to stamp and colour them. I started with a white cardstock panel. I used Inkylicious ink duster to dust Squeezed Lemonade, Wild Honey, Fossilised Amber and Carved Pumpkin distress oxide inks in a gradient on the panel. I love the soft look because that is what I wanted for the background.

Then I stamped, masked and stamped the floral images from Anna's Flora stamp set using Simon's Intense Black ink and MISTI. Using copic markers, I added shading to the images and make them pop from the background. I also added drop shadow to the images.

The sentiment is from Sending You with Evelin T Design stamp set. I simply stamped the sentiment on black on the bottom of the panel. I stamped the heart shapes from the stamp set randomly in the same colours of distress oxide inks to add interest to the card.

I trimmed the panel to 4" x 5.25" in size, roughed the edges with scissors and adhered on a cream card base using foam adhesives. Finally brushed the flowers with clear shimmer pen.

Here are some closeups of the card.


gayatri_Sending You card closeup2 gayatri_Sending You card closeup3

All w&w supplies used to make this card are listed below for you. Hope you give these techniques a try and enjoy. 

gayatri_Sending You card flat1

Thanks so much for stopping by.
image.png

w&w-supplies