

Hello lovelies!
We thought we would write up a post that you could go to when you need all the details regarding our month-long Belated 2nd Birthday Bash.
>>>THE GIGANTIC GIVEAWAY<<<
live on February 1, 2016 at 12:00 a.m. CST
We really wanted to do something BIG to celebrate our second birthday so we have a giveaway for all the stamps we will be releasing in 2016! Now that is what we call a GIGANTIC giveaway.
To enter to win, please CLICK HERE.

RULES
OF PLAY
- Post an original and new project (card, layout, journaling card, tag, gift, art journal page, etc.) following the w&w Belated 2nd Birthday Bash Challenge (there are 10 in all) on your blog and/or online gallery and link up here using the InLinkz Link-up tool below. {Feel free to combine the w&w Belated 2nd Birthday Bash Challenge with any other current challenges.} You can also combine w&w Belated 2nd Birthday Bash Challenges and enter 1 project in all the w&w Belated 2nd Birthday Bash Challenges it qualifies for.**Please note that if you are entering the Guest Star Giveaway you will need to make at least four (4) unique projects for at least four (4) different challenges.
- Use at least one (1) winnie & walter product. This can include Cutaways (dies), Creative Screenings (stencils/masks), printable/digital items, cut files and/or stamp sets. Remember we offer freebies in our shop and for those who have liked us on Facebook. Our freebies can be used to create your project(s) for any of the w&w Belated 2nd Birthday Bash Challenges.
- You have until February 29, 2016 at 11:55 p.m. (central standard time) to link up.
- Play as many times and in as many challenges as you wish. We love playful people!
>>>EACH CHALLENGE GIVEAWAY<<<
We will be randomly choosing one (1) participant per challenge to receive a $75.00 gift card (gift code) to the w&w shop!
>>>NEXT RELEASE GUEST STAR GIVEAWAY<<<
We are giving away a guest star spot for our next Release (summer 2016). This means one (1) winner chosen by Winnie will receive the next Release + will participate in the next Release by having their projects featured here on the w&w blog along with The Talent.
We are giving away a guest star spot for our next Release (summer 2016). This means one (1) winner chosen by Winnie will receive the next Release + will participate in the next Release by having their projects featured here on the w&w blog along with The Talent.
To qualify for the next Release Guest Star Giveaway:
- Enter at least four (4) different new and original projects (card, layout, journaling card, tag, gift, art journal page, etc.) into at least four (4) different w&w Belated 2nd Birthday Bash Challenges.
- All of your entries must include GS in the link title (for instance Elizabeth Bennet GS).
- Your projects must make w&w products the star. This can include Cutaways (dies), Creative Screenings (stencils/masks), printable/digital items, cut files and/or stamp sets. Remember we offer freebies in our shop and for those who have liked us on Facebook. Our freebies can be used to create your project(s) for any of the w&w Belated 2nd Birthday Bash Challenges.
- You have until February 29, 2016 at 11:55 p.m. (central standard time) to link up.
- Enter as many challenges as you wish.
Fine
print: Please don't enter to win unless you are willing to:
- make at least one (1) project per stamp set for the next Release;
- post your projects online (on your personal blog or an online gallery); and
- also participate in all the release festivities!
links will be live at 7:00 a.m. CST on February 1, 2016
- Two Challenge with Shay
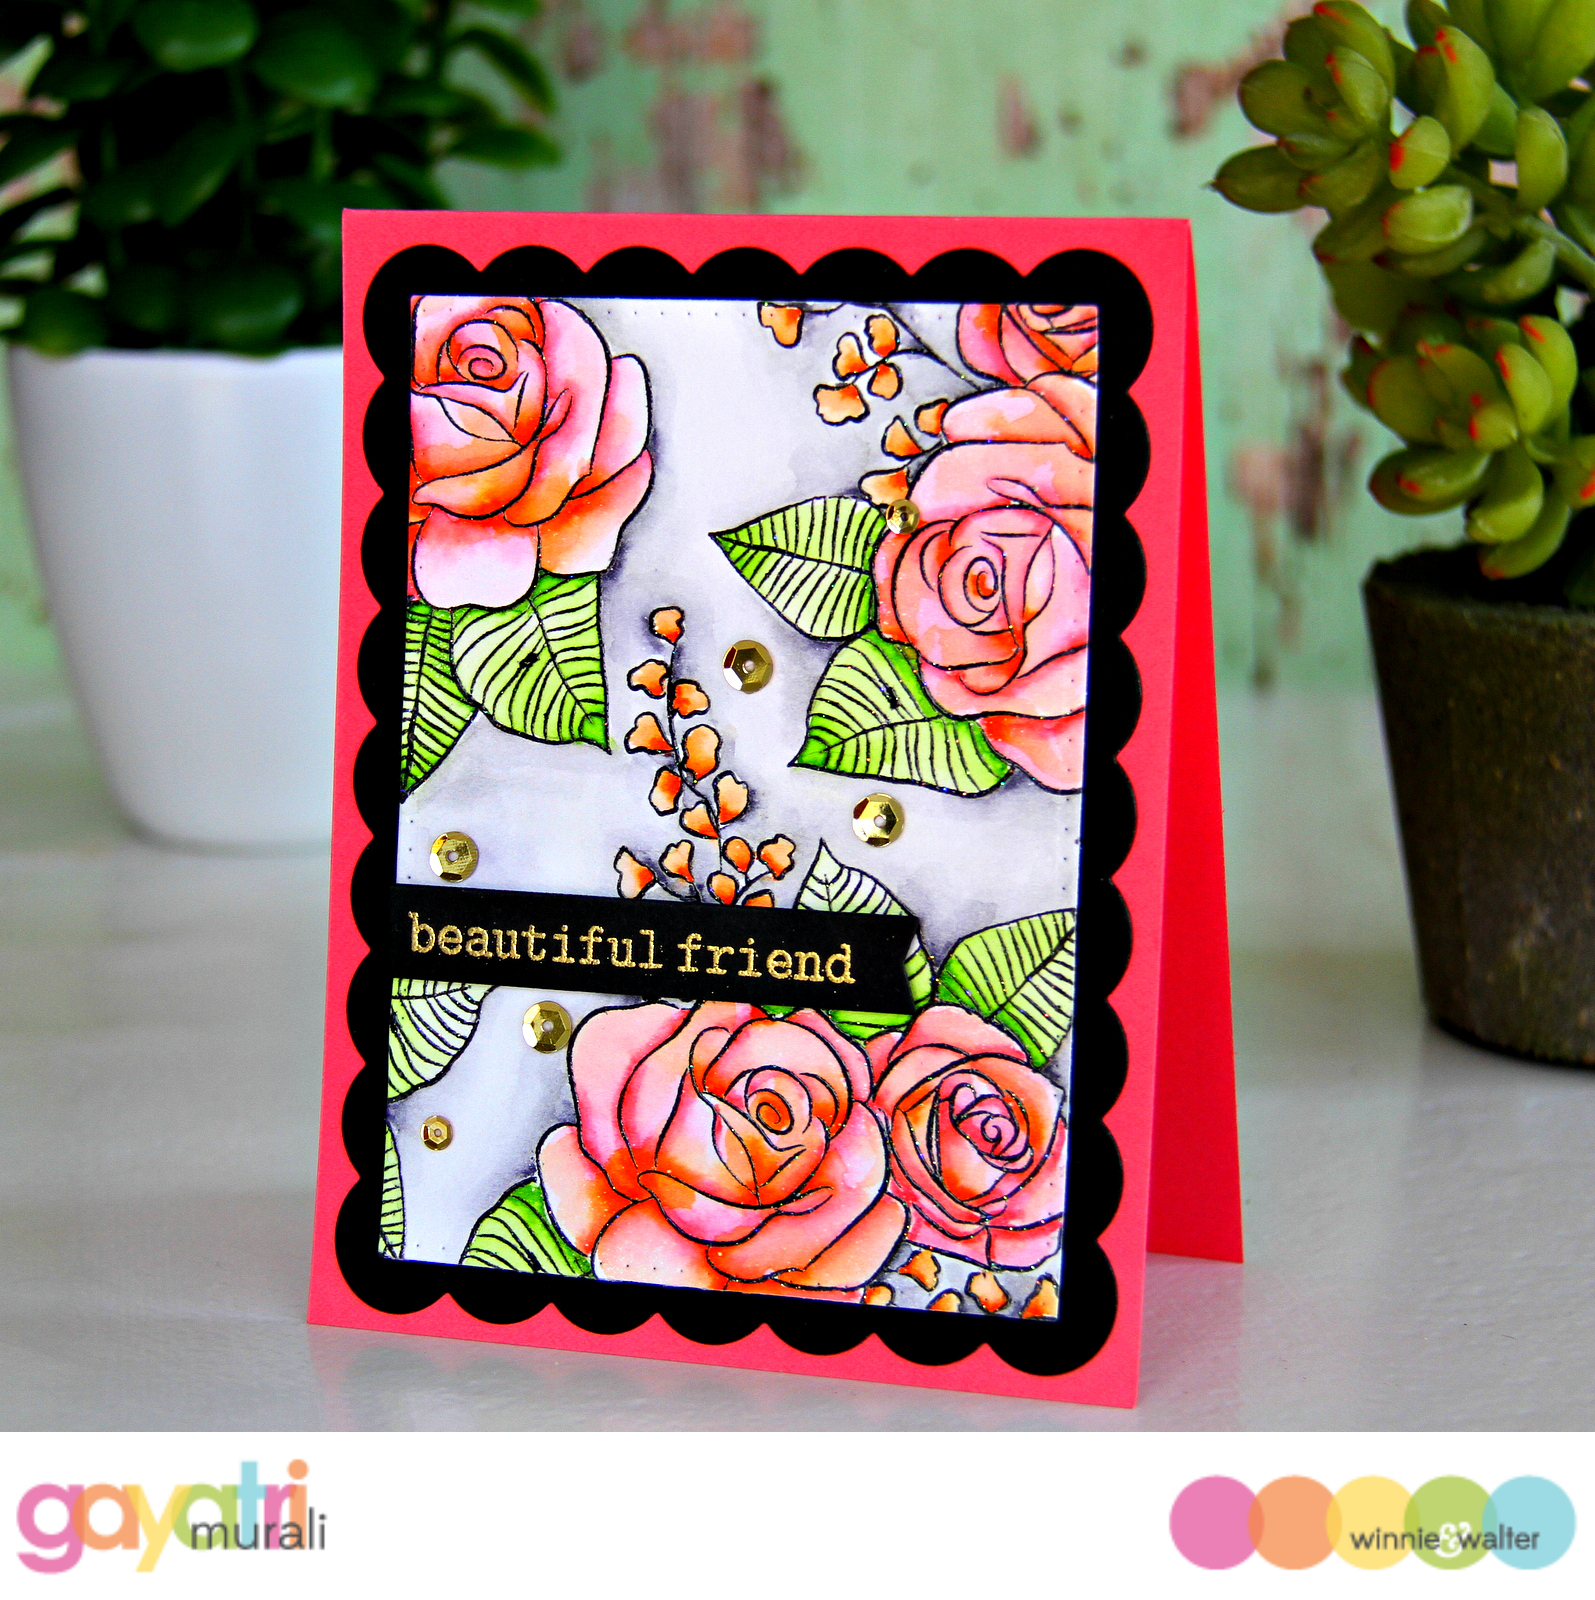
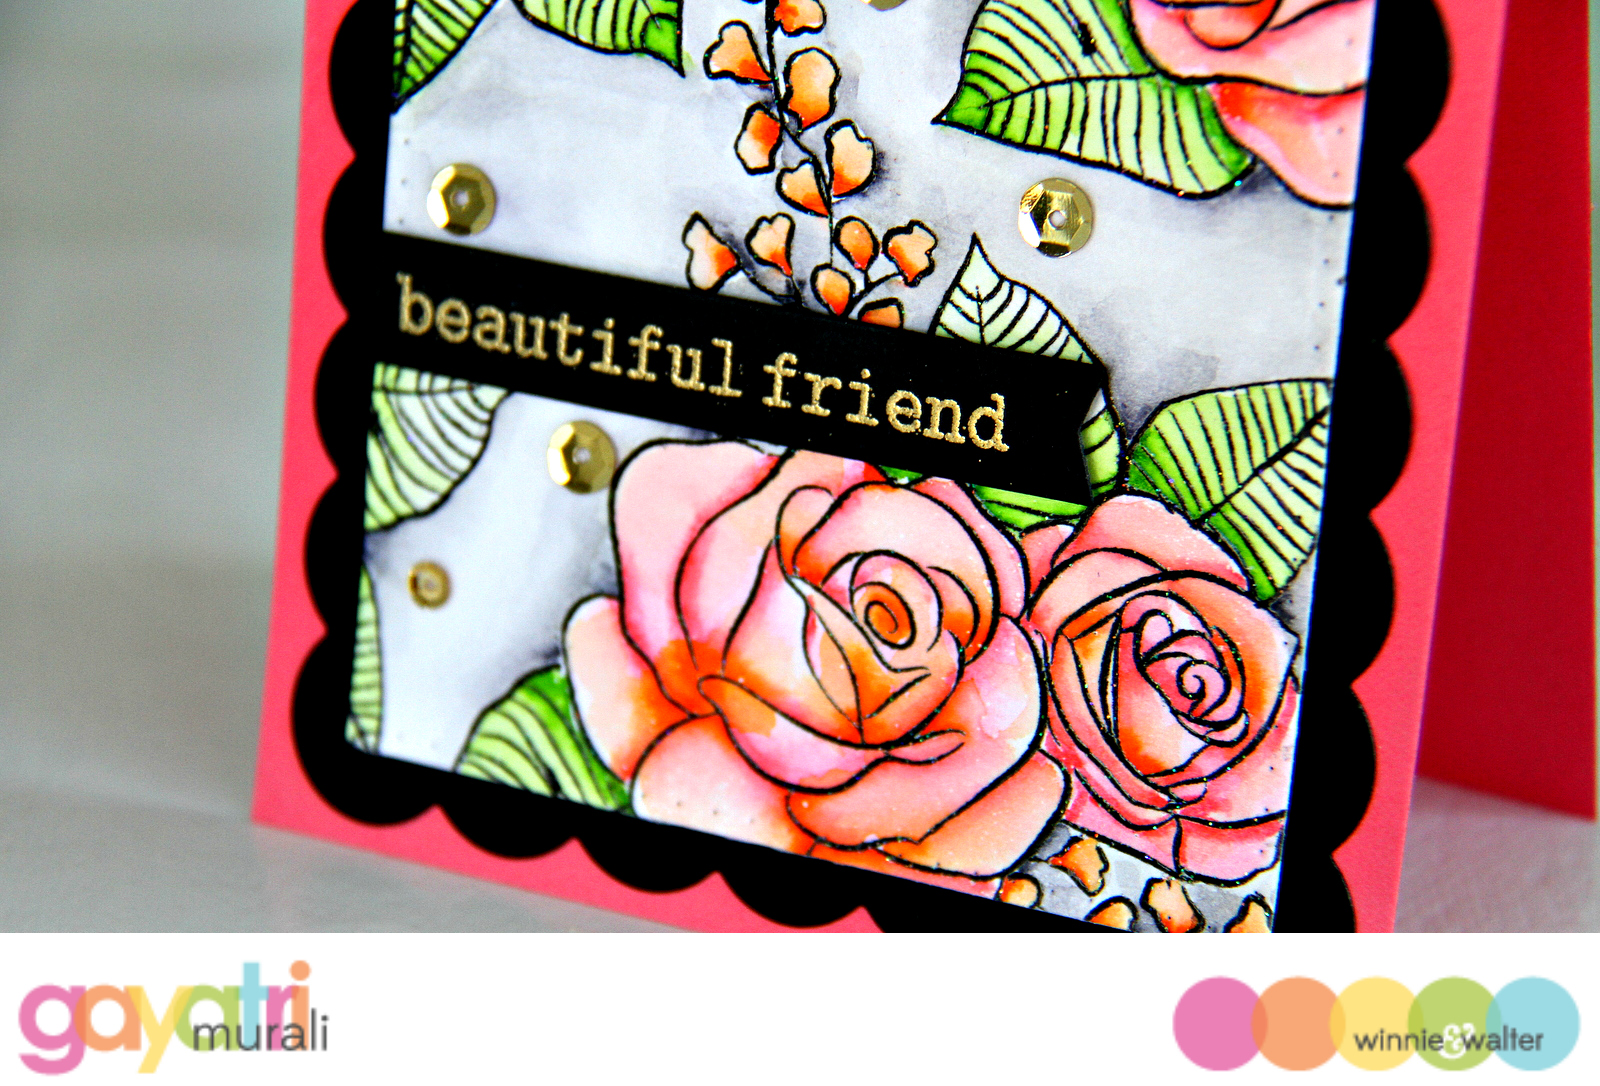
- Create Your Own Background Challenge with Gayatri
- Color Challenge with Heather P
- Gold + Watercolor Challenge with Heather H
- Over the Edge Challenge with Kelly
- Floral Challenge with Lydia
- Inlaid Die-Cutting Challenge with Mayuri
- Rainbow Challenge with Vanessa
- Anything But a Card Challenge with Kate
- Image Inspiration with Taheerah
We are so happy to have some extremely talented special guest stars joining us throughout the month to celebrate our Belated 2nd Birthday Bash! Be sure to check out the w&w blog often to be inspired.
>>>FEBRUARY RELEASE<<<
Coming Attractions + The Big Giveaway will begin Monday, February 22, 2016.


![Happy Valentine's Day[2]](https://farm2.staticflickr.com/1563/24432955532_81f86d6fa9_o.jpg)
![DSC_0792 (3)[2]](https://farm2.staticflickr.com/1509/24173482559_3ed341b619_z.jpg)
![from ours to yours[2]](https://farm2.staticflickr.com/1581/23913079344_ecfda9d9f3_o.jpg)
![DSC_0500[2]](https://farm2.staticflickr.com/1594/23914444713_e314b4d4ef_o.jpg)
![2015-121[2]](https://farm2.staticflickr.com/1640/24515067986_d41e8be8aa_o.jpg)
![so very thankful for friendship[2]](https://farm2.staticflickr.com/1618/23913078794_7e55d81e82_o.jpg)
![love life[2]](https://farm2.staticflickr.com/1556/24432955362_d34d7ebe52_o.jpg)
![you are my joy[2]](https://farm2.staticflickr.com/1493/24515065826_dbf4f300f9_o.jpg)


