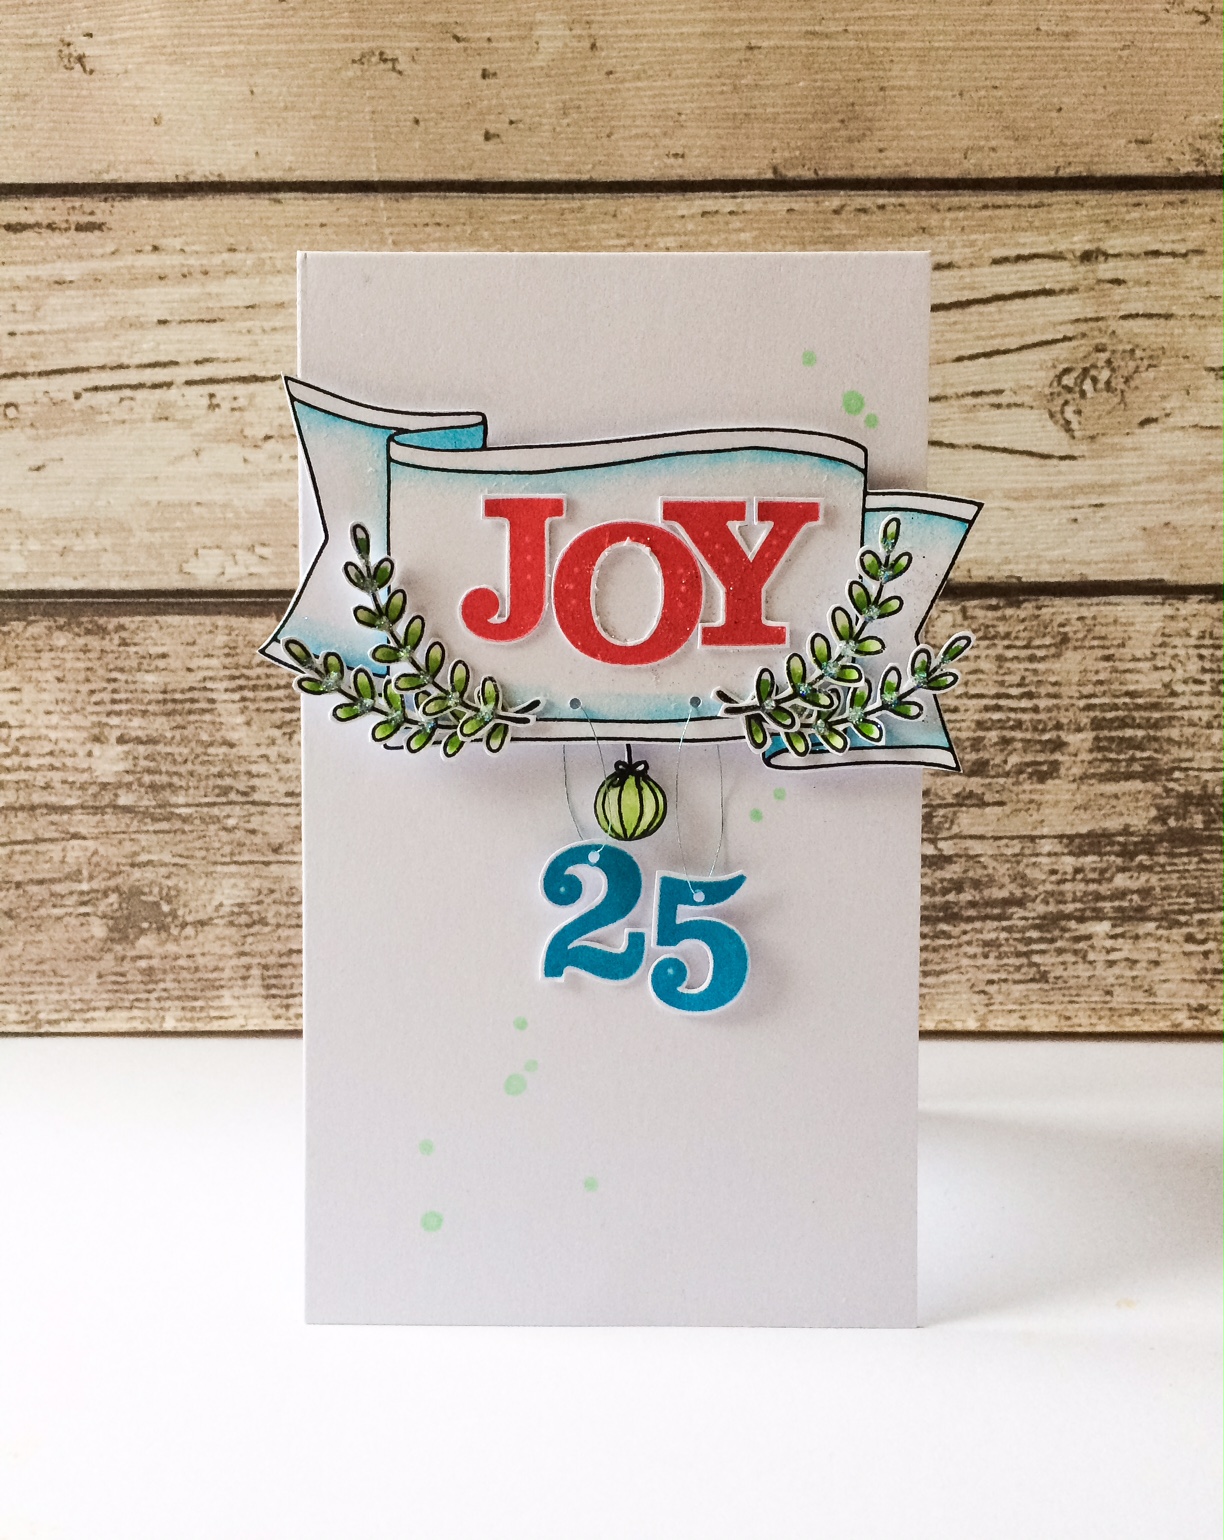
Showing posts with label framed with evelin t designs cutaways. Show all posts

Saturday, October 7, 2017

WCMD 2017 | Lovely Layers Challenge with Keren

To get all the information about w&w WCMD 2017 CLICK HERE.

I'm really happy to be hosting a challenge on this World Card Making Day. I decided to challenge myself as well as everyone else with this one!
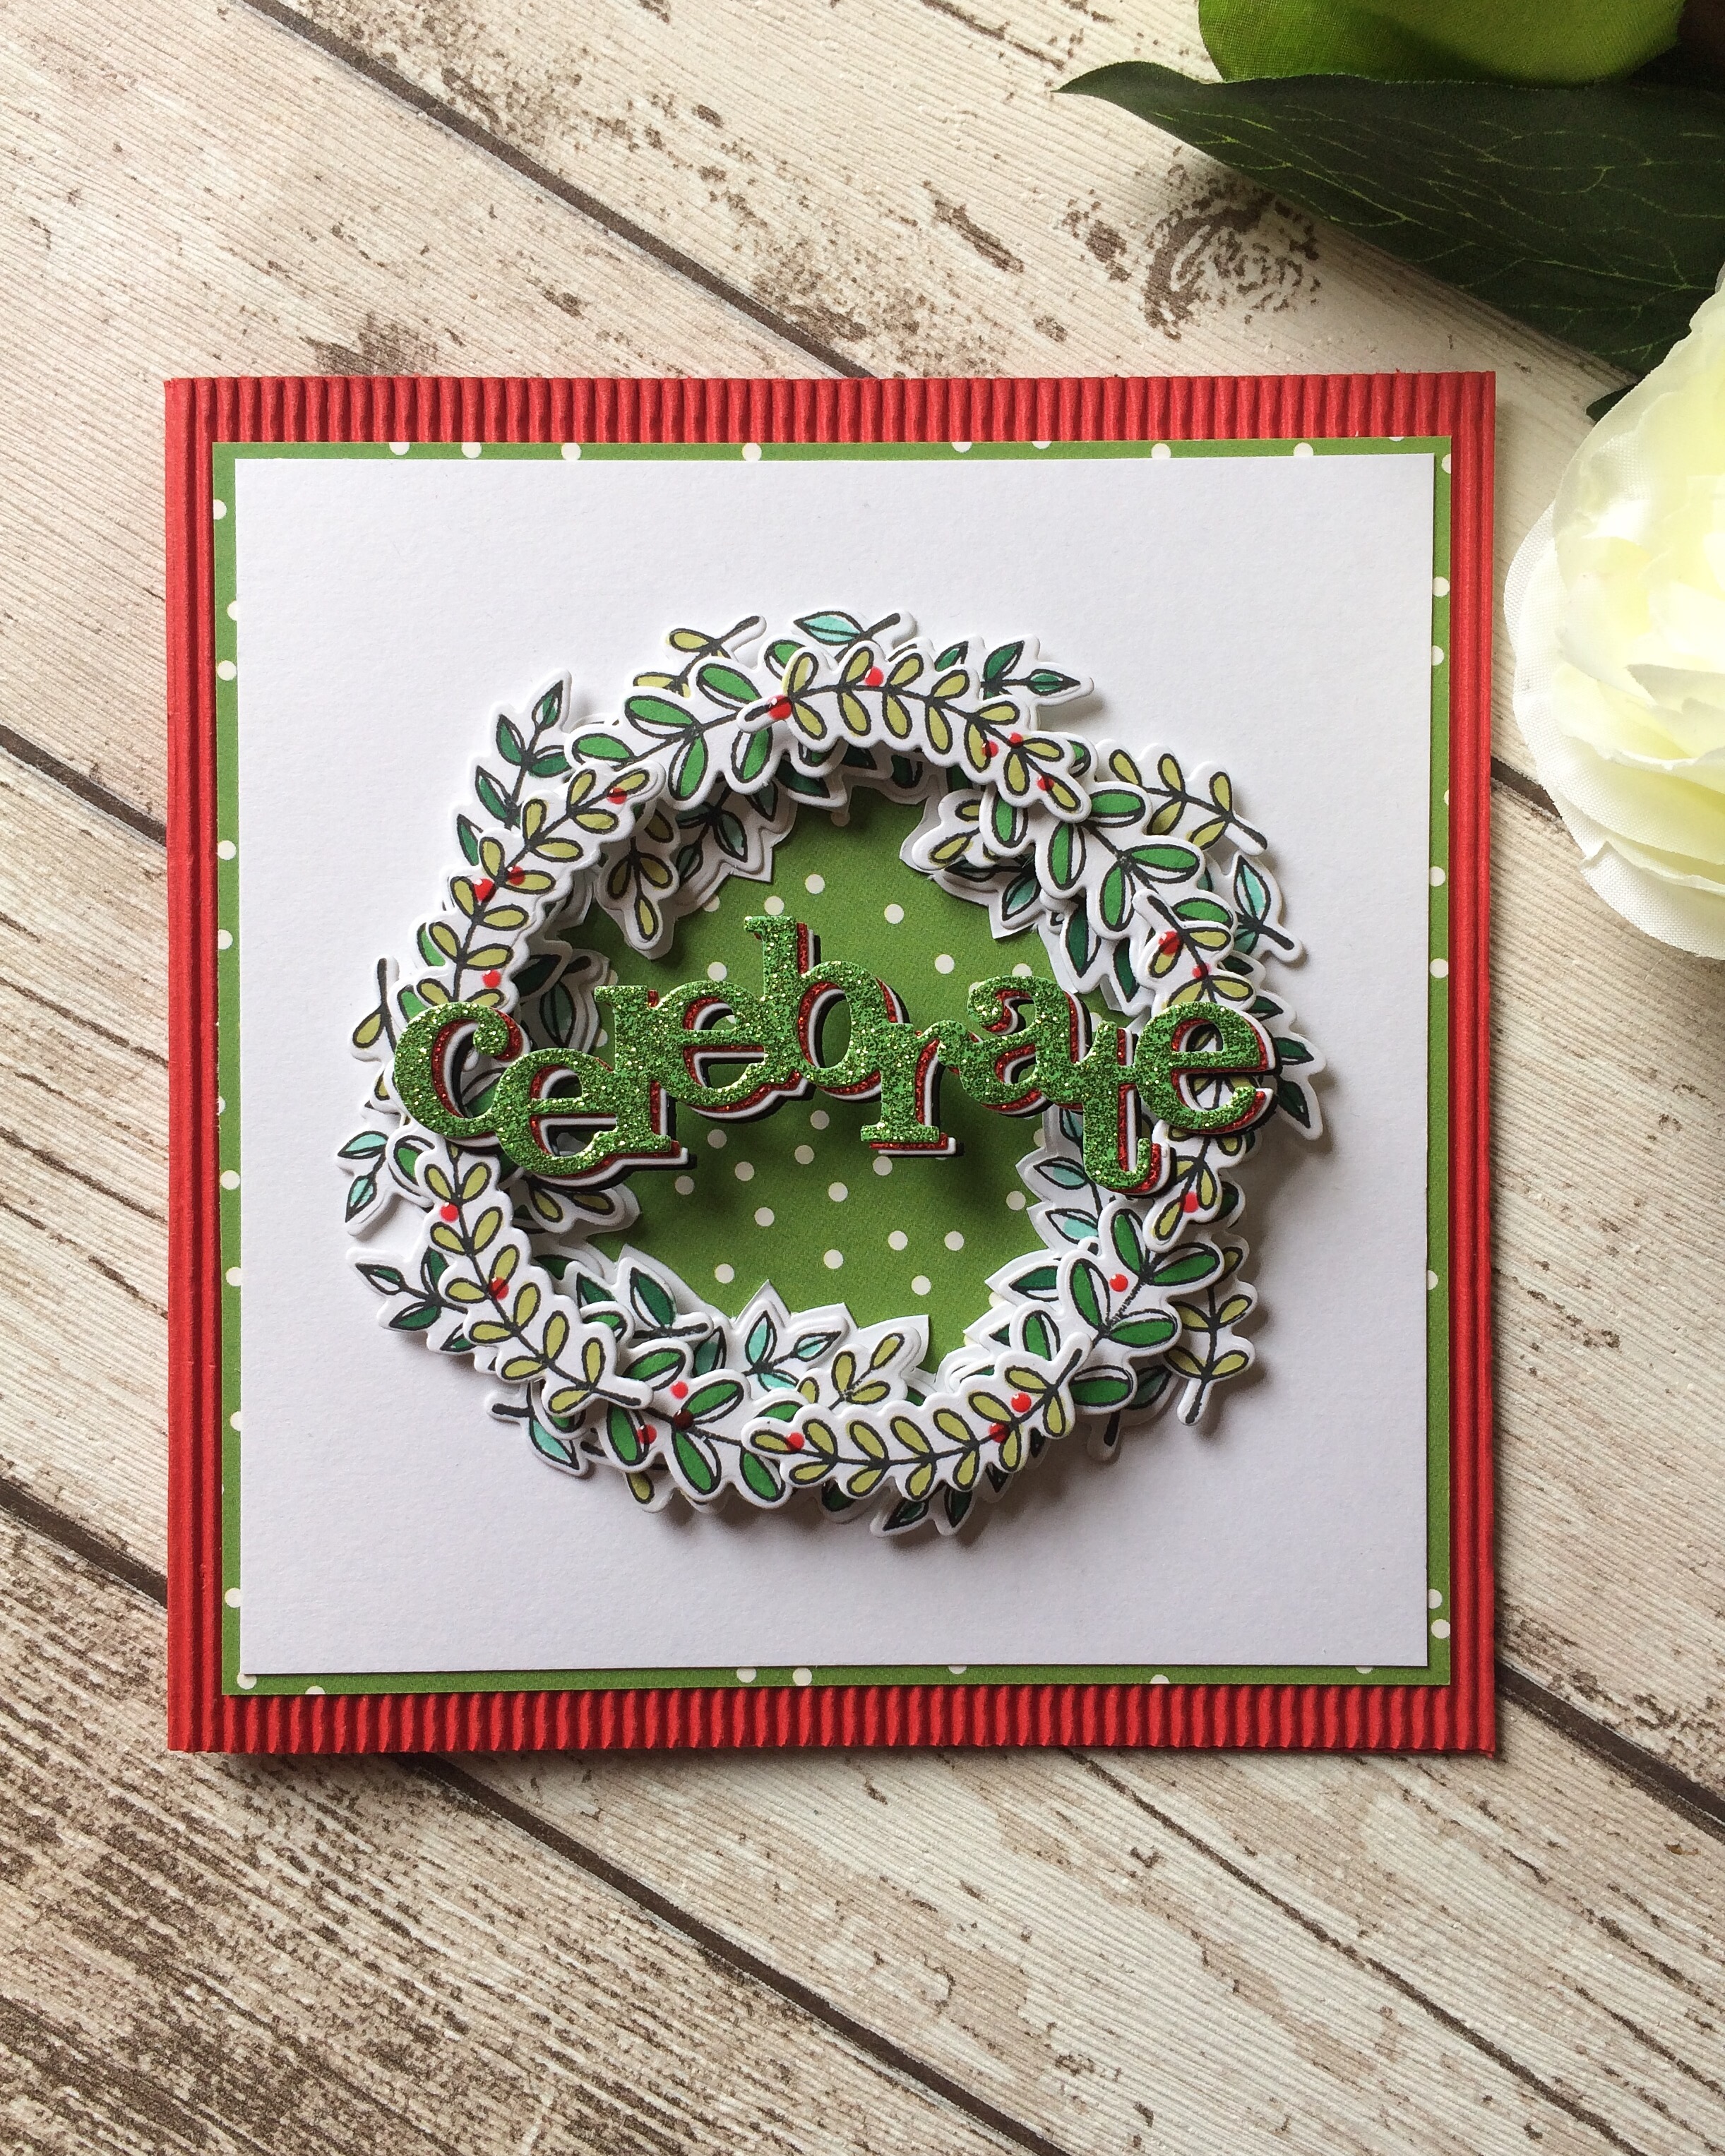
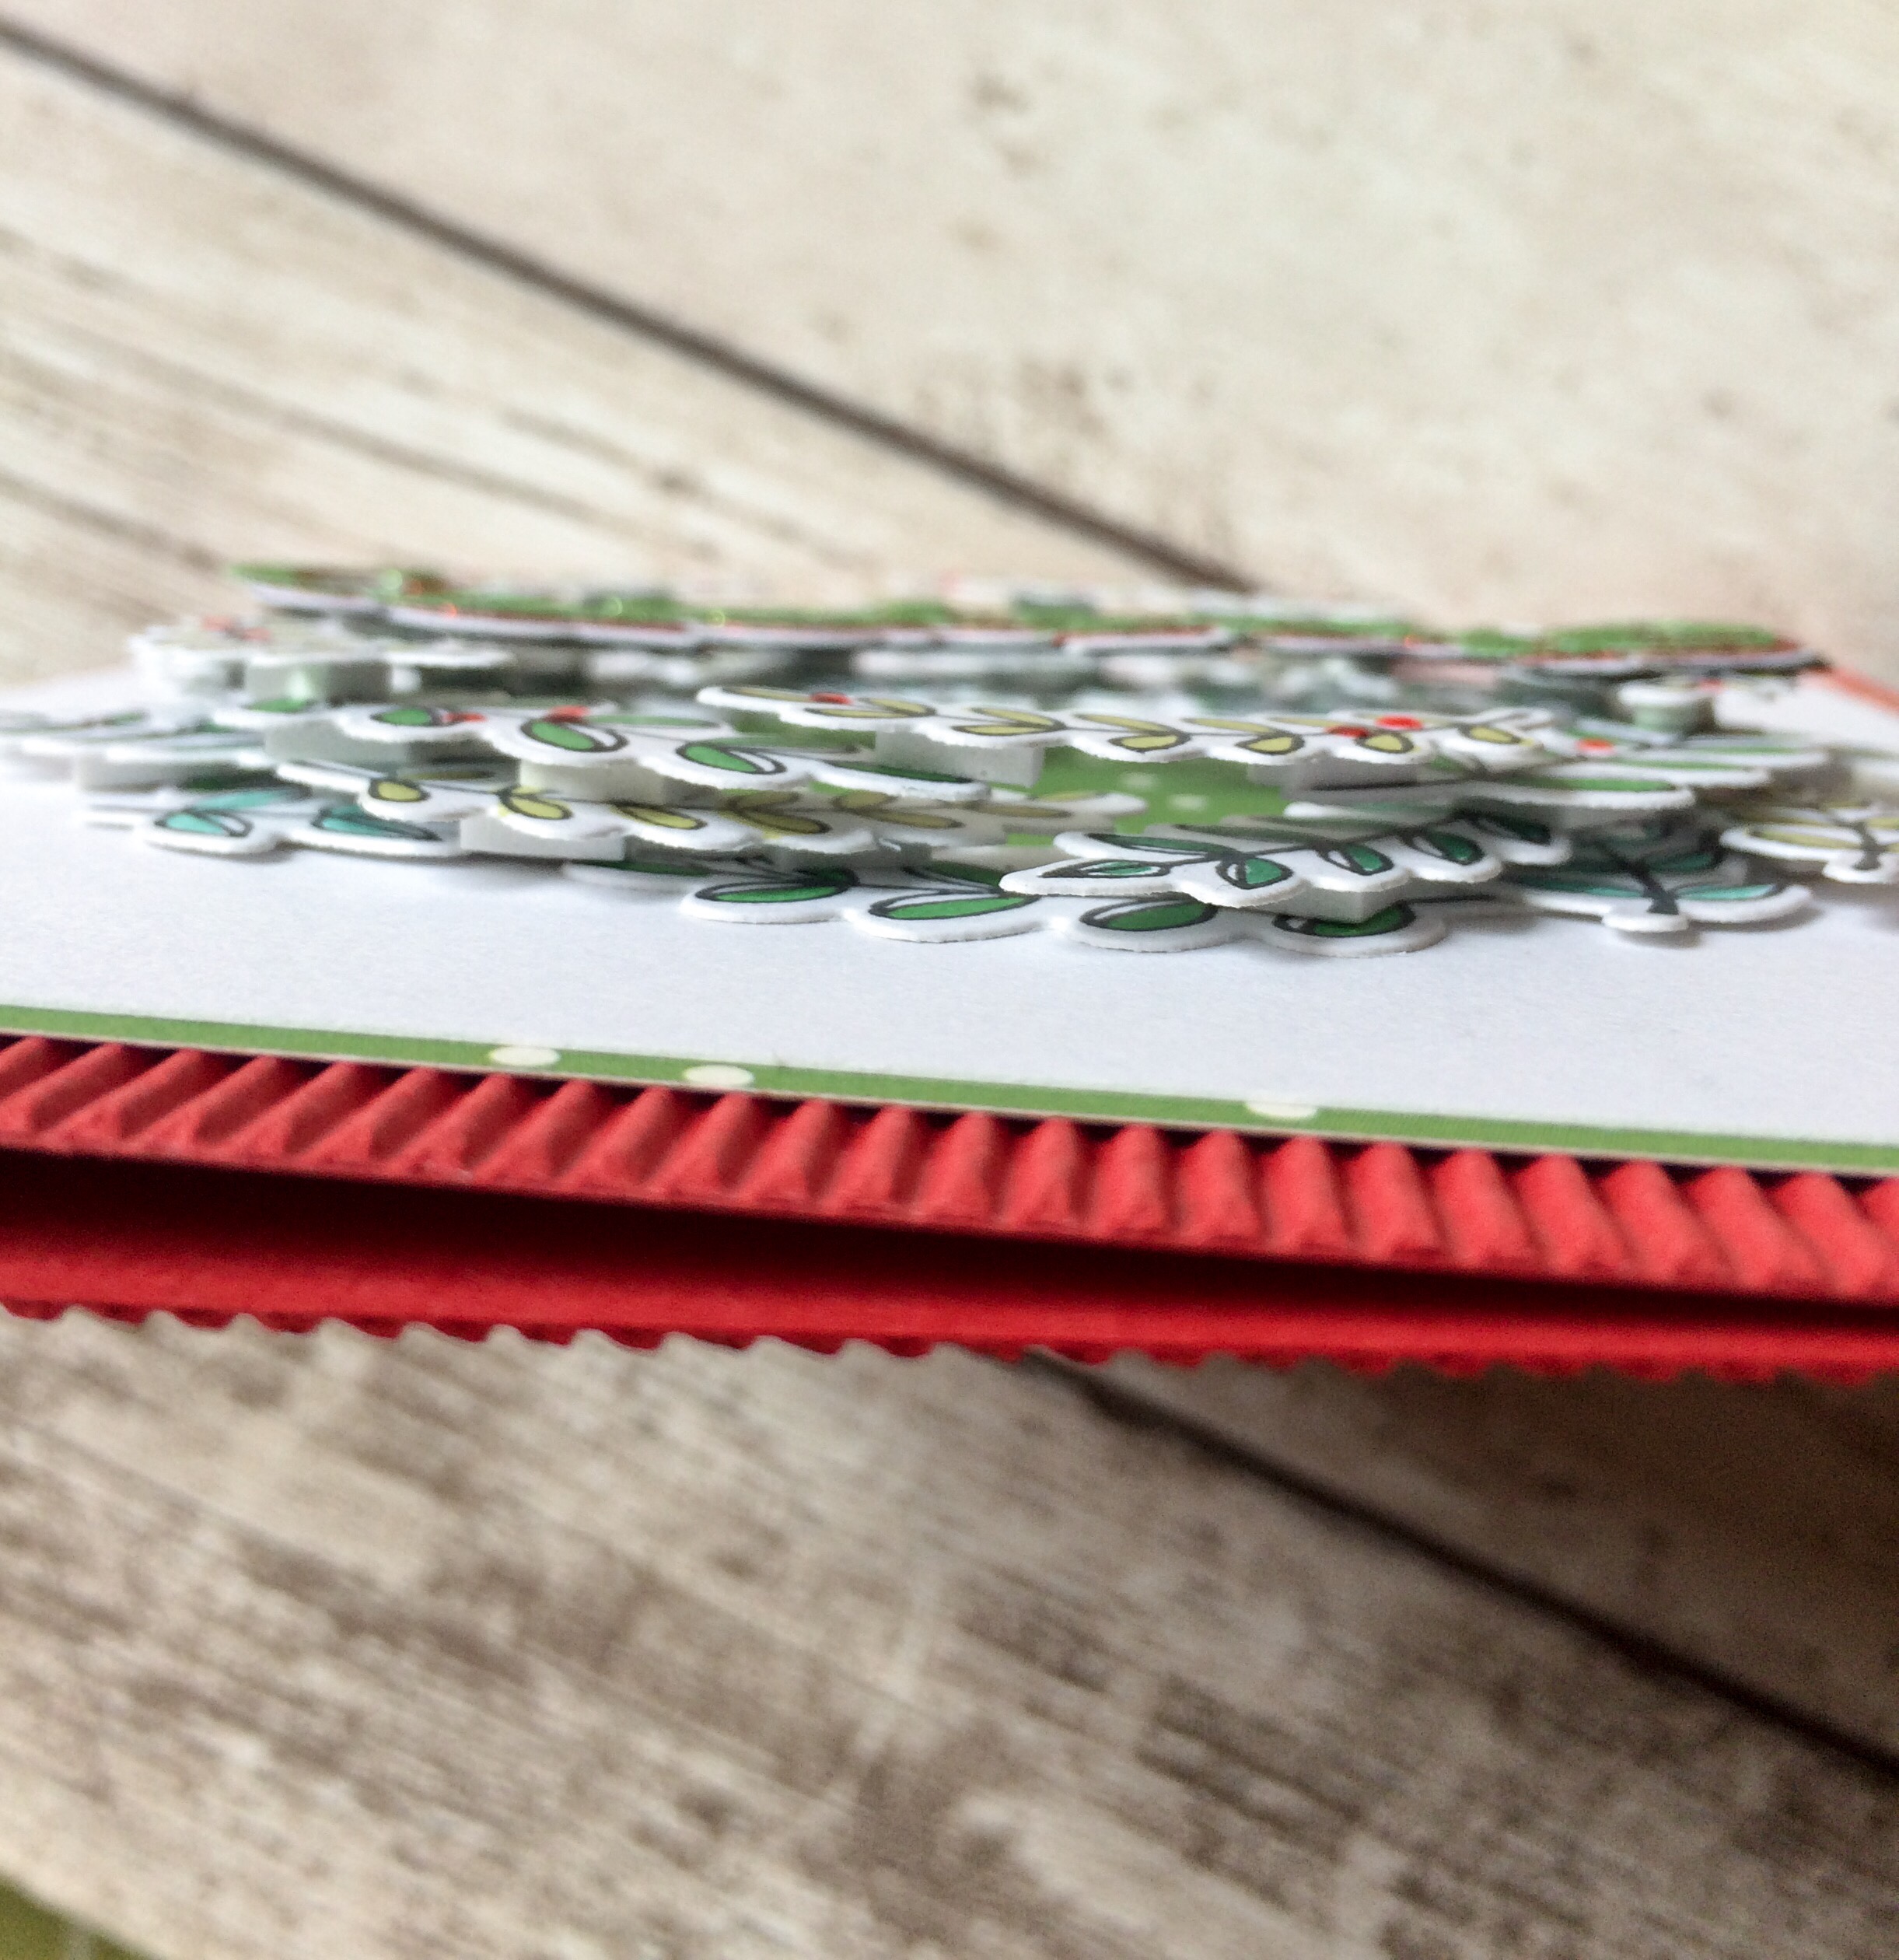
I love clean and simple and I find using layers quite a challenge so thought it was time to embrace a more full look to my projects. Granted, some of you are already amazing- and if so, this is the challenge for you to shine! I still wanted a clean look so decided to use layering in two main places.
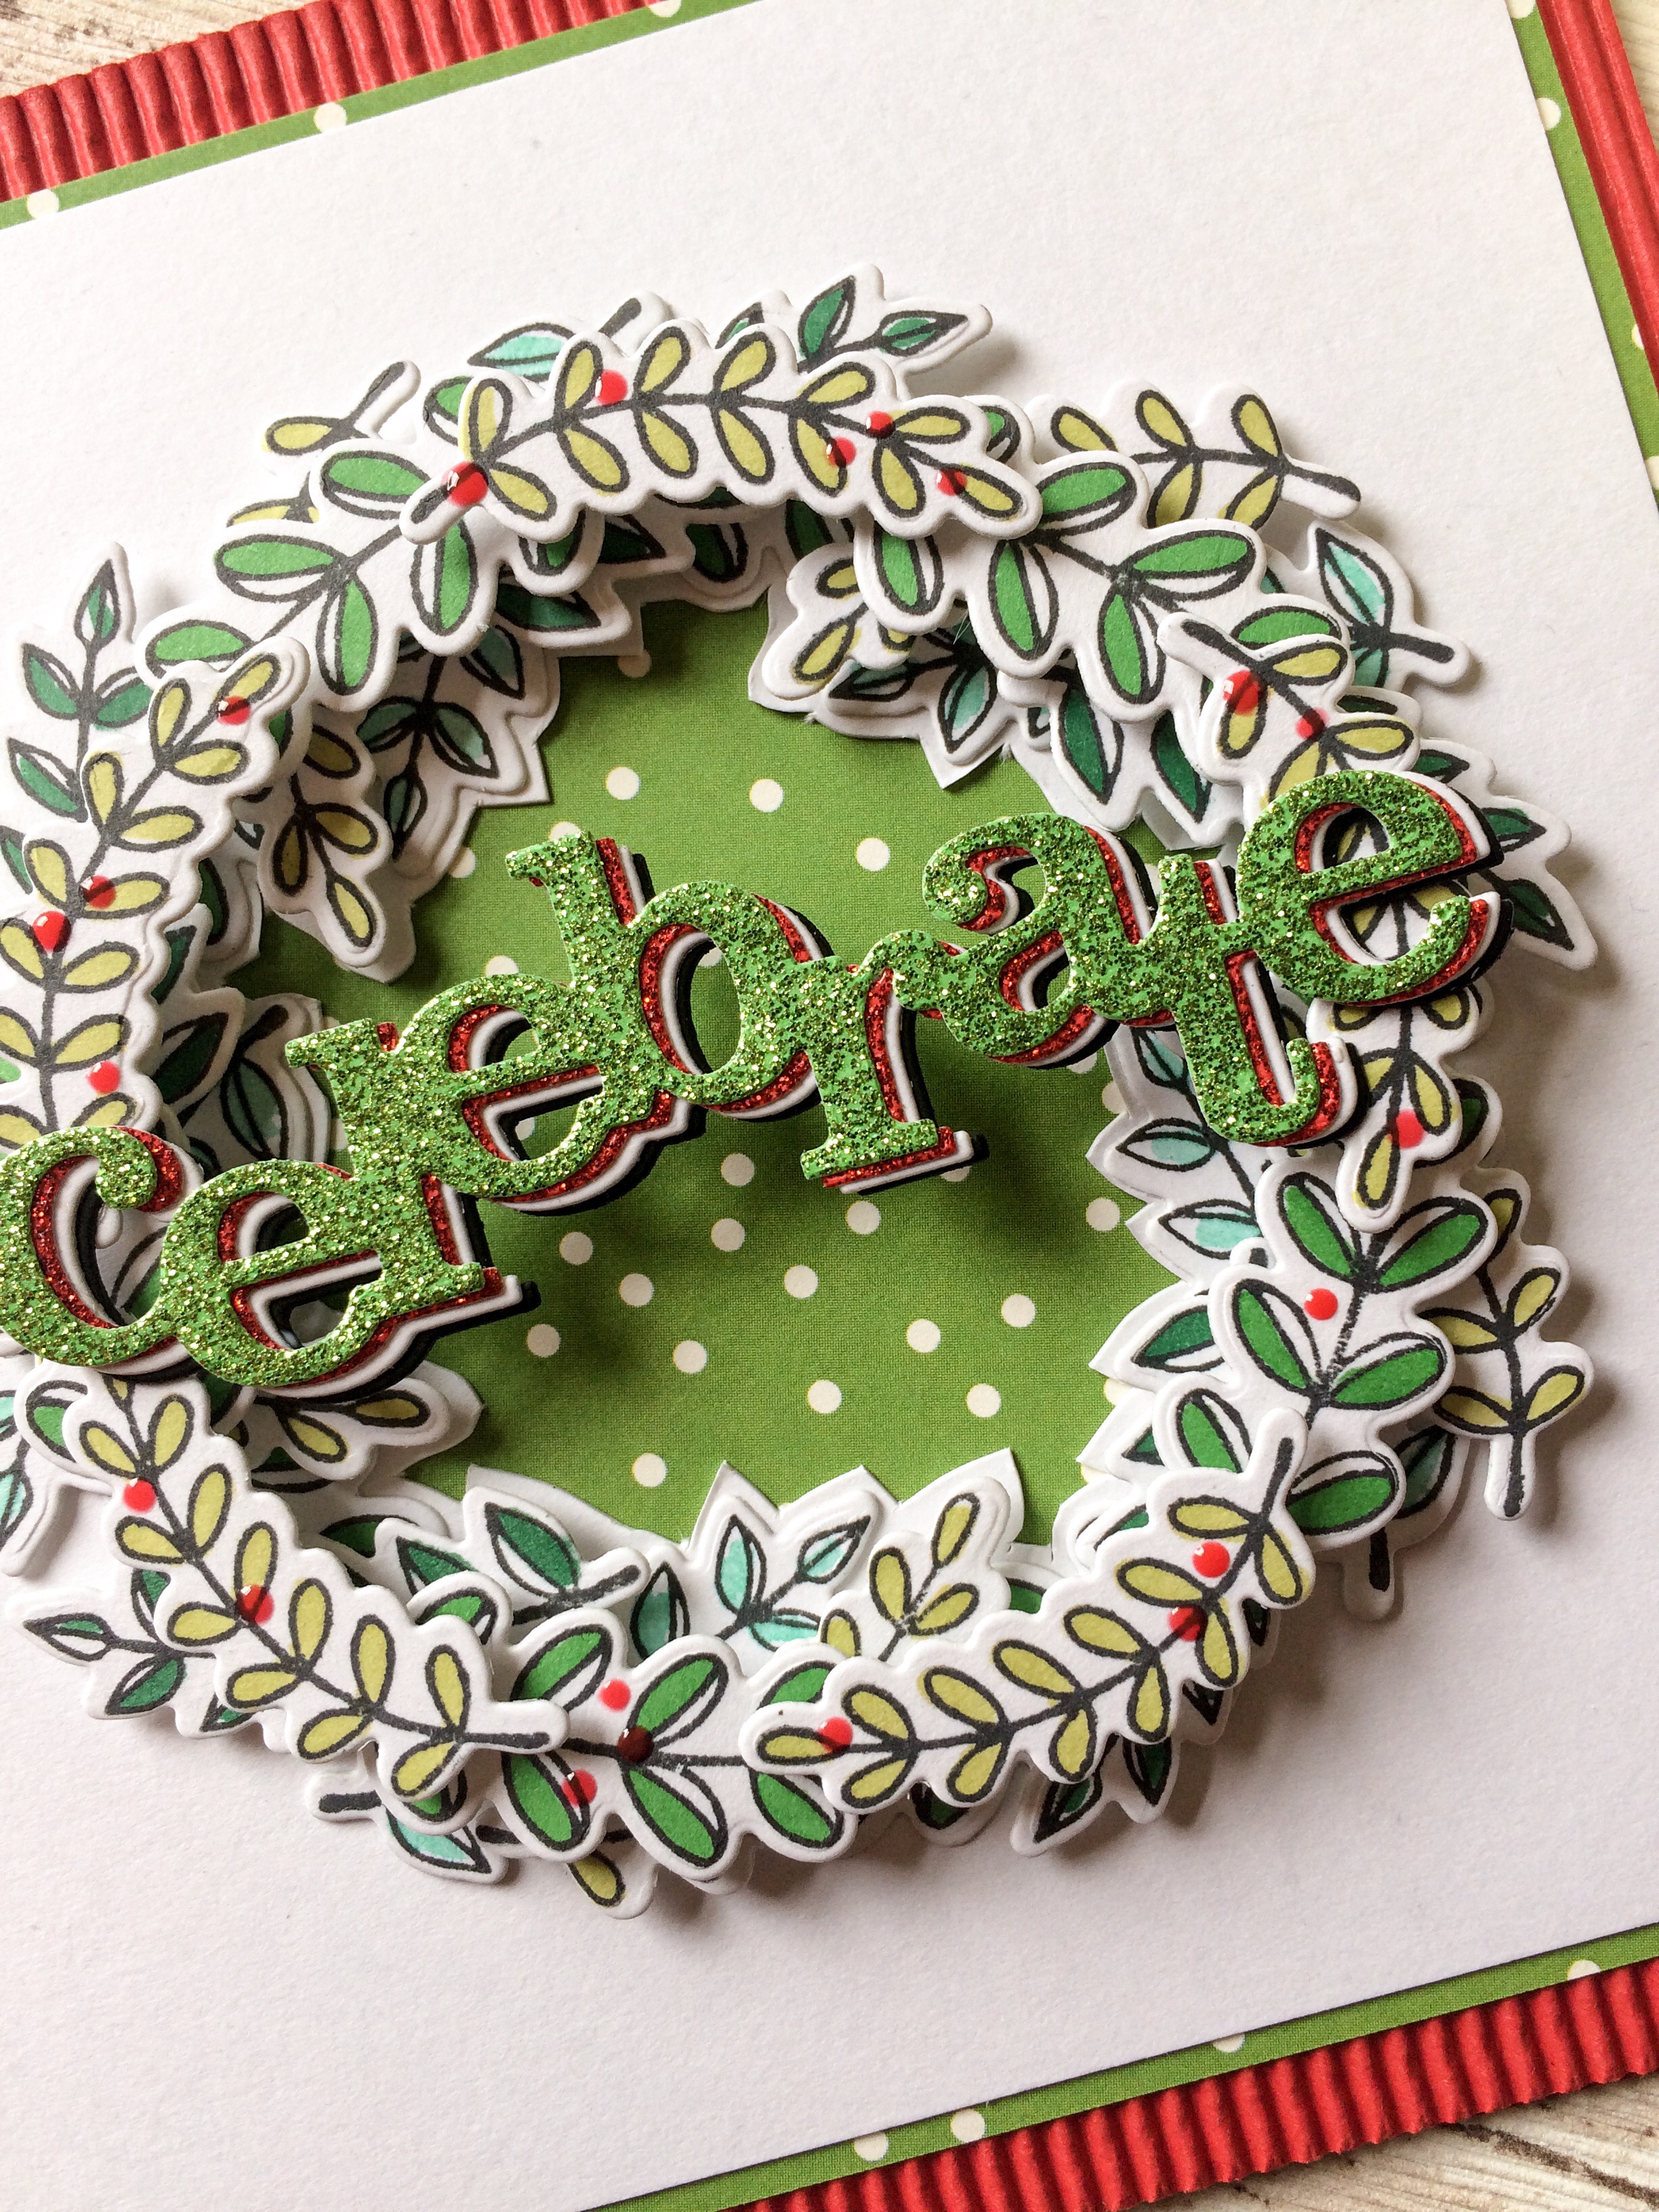
I've used Framed With Evelyn T Designs set and the accompanying Dies which made the layering a whole lot quicker. There are over 30 separate layers of leaves so it really did save me time! 
So my challenge to you is to create a project using lots of layers or, if you need a challenge the other way- to create a one layer card. Do the opposite of what you usually do! I also created layers with my stacked In A Word: Celebrate Cutaway diecuts. 
Go crazy with the layers; cluster them a little like I've done, or spread them around liberally. Pop layers underneath your image and even add in an extra layer with Nuvo drops or similar. 
What's most important is that you have fun. Link up below so we can laud your layering!! 😉


Prize: One randomly chosen project that is linked up will win $50.00 gift credit to the w&w shop.


>>>LINK UP<<


Wednesday, May 10, 2017

Mama with Vanessa

Hello everybody, Vanessa here to share a Mother's Day card with you today! I have to admit, I didn't have much time for cardmaking lately due to a lot of various festivities with my family. With Mother's Day right around the corner, I needed a card quickly. Now it became handy that I had some pretty watercolor backgrounds I had prepared a while ago lying around!

Preparing backgrounds is a great way of saving time when you need to make a quick card. I like to use watercolors with the ink smooshing technique, to create colorful backgrounds with an ink blending tool or to use the wonderful Winnie &amp; Walter creative screenings.

For today's card, I chose an ink smooshed watercolor panel:


Here I had masked off the edges of the watercolor paper panel with tape and applied Distress Inks mixed with water. I like to dry every color before applying the next one. After the colors were all dried, I stamped the leaves from Framed with Evelyn T Designs and the flowers from In Bloom: Anna's Flora with matching inks and adhered the panel to the card.


Now I stamped the banner from Framed with Evelyn T Designs onto white cardstock and die-cut it with the matching die. I stamped the "Mama" from Parentville Extras (you could win this stamp set by commenting HERE), colored the edge with Copics and adhered it to the card with foam tape. Finally, I added matching sequins.

I hope you like it and that my mother will, too :) Thank you for stopping by today! 


w&wDT_vanessamenhorn_blog-sig


w&w-supplies


Thursday, March 2, 2017

The Daily Marker 30 Day Coloring Challenge Blog Hop {GIVEAWAY}

This is the second post today, please don't miss out on our special guest star, Jessica Frost-Ballas's post HERE.

challenge_graphic-Mar16_plain-650 copy.png

Hello lovelies! It's Shay here to welcome you to "The Daily Marker 30 Day Coloring Challenge" Blog Hop.

Kathy Racoosin from The Daily Marker wants to share her love of coloring with you. Today Kathy has assembled a blog hop to give your creativity a jump start with some of her favorite stamp companies & Online Card Class partners.

The premise of “The Daily Marker 30 Day Coloring Challenge” is to color something everyday even if it’s for five minutes. (However feel free to  jump in or out as time permits). Any coloring medium is welcomed. Click here to find out where to share what you are coloring and join the encouraging community of happy colorists PLUS answers to other questions you may have.

(When sharing use #TheDailyMarker30Day so Kathy can find your work).


QUESTIONS? Read more on Kathy’s blog post here to see how to share you work and if you have questions, how to share, giveaways etc. Prepare to be inspired with daily posts and many videos for 30 days.

GIVEAWAYS: During the hop you will find lots of giveaways along the way.  The full list of ALL winners from the individual blogs will be announced on The Daily Marker Sunday, March 12th. ***continue to read to see how you can enter to win $25.00 credit to the w&w shop***

To start at the beginning of the hop go to The Daily Marker.  If you are coming from the blog of Paper Smooches you are in the right place. Kathy has the full blog hop list if you encounter a broken link.

For today's project I pulled out my Prismacolor colored pencils and sort of went to town.


shay_IMG_4106

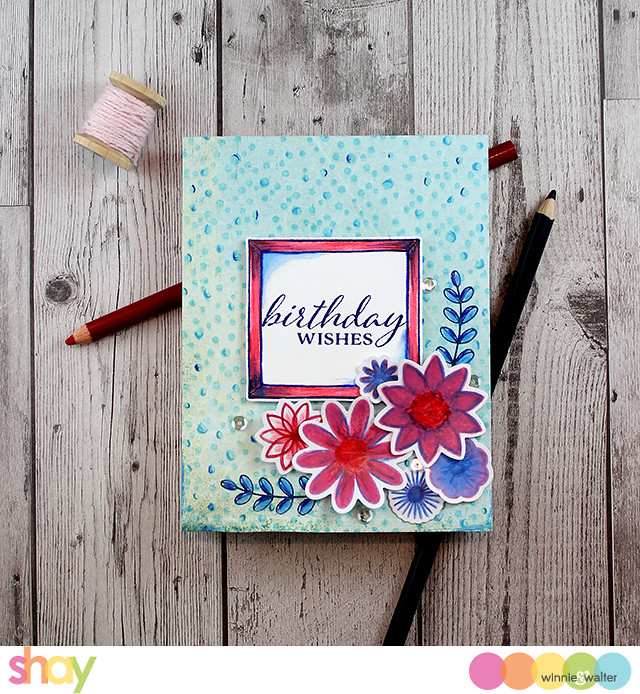
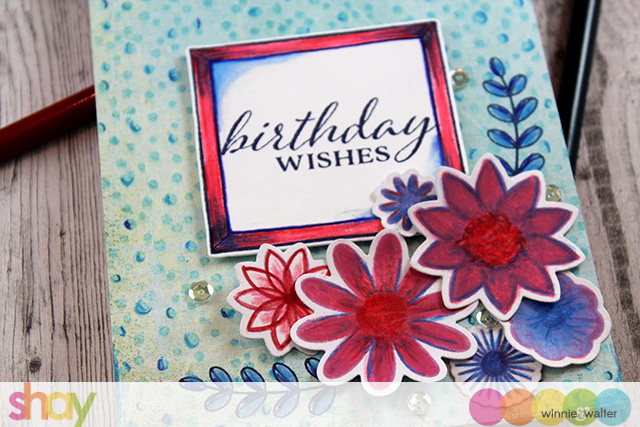
I had a baggie of preciously stamped flowers using In Bloom: Eva's Favorite Flowers already cut out using In Bloom: Eva's Favorite Flowers Cutaways. The funny thing was they were all stamped in a lavender color as they were stamped some time ago to test the coordinating dies. Anyway the moral of the story is that keeping die cut images can come in handy regardless of the color they are originally stamped in. I used the colored pencils and added color using pinks, blues and reds for a palette I know my mom will enjoy (shh, this card is for my mom's upcoming birthday).

For the background I stamped a piece of pale aqua patterned paper by Basic Grey (so sad they are gone, but I certainly have a big enough stash of their paper to comfort me) using Hero Arts's Confetti Bold Prints cling stamp in an aqua ink...oh it was so lovely to incorporate another stamp company's stamps with w&w stamps and I do have a love of Hero Arts background stamps among other things. I added a little detail to some of the circles using blue colored pencils. This is very simple way to add some interest and to customize a background.

In the right corner I stamped the leaves in navy from Framed with Evelin T Designs and then colored them in. I also stamped the frame from the same stamp set in navy again (I adore navy and it is the perfect neutral for this card) on white cardstock, die cut it out using the coordinating cutaways and colored that in as well along with stamping the sentiment from A Tree for All Seasons.

I then arranged the flowers around the leaves and added the frame using foam dimensional adhesive. Last I added some sparkly sequins because well it needed a little shimmer and shine.


shay_IMG_4110

I hope you have enjoyed my card a little and are inspired to color away this month with Kathy!

***w&w GIVEAWAY***
On this post, please comment and let us know what your favorite coloring medium is (like colored pencils, markers, Distress Inks, etc.). Please include your name and email address in your comment! We will be picking two (2) comments randomly and each winner will receive $25.00 credit to the w&w shop.

You have until NOON CST on Saturday, March 11, 2017 to enter to win. The winners will be announced on The Daily Marker Sunday March 12th.


Oh and if you are interested in winning every stamp w&w releases in 2017 you have thru next Monday, March 6th to enter HERE.

Your next stop on the hop is Power Poppy!

Have a truly awesome and colorful day,
Shay.

w&w-supplies

Friday, December 9, 2016

Noel with Gayatri

Hello everyone,

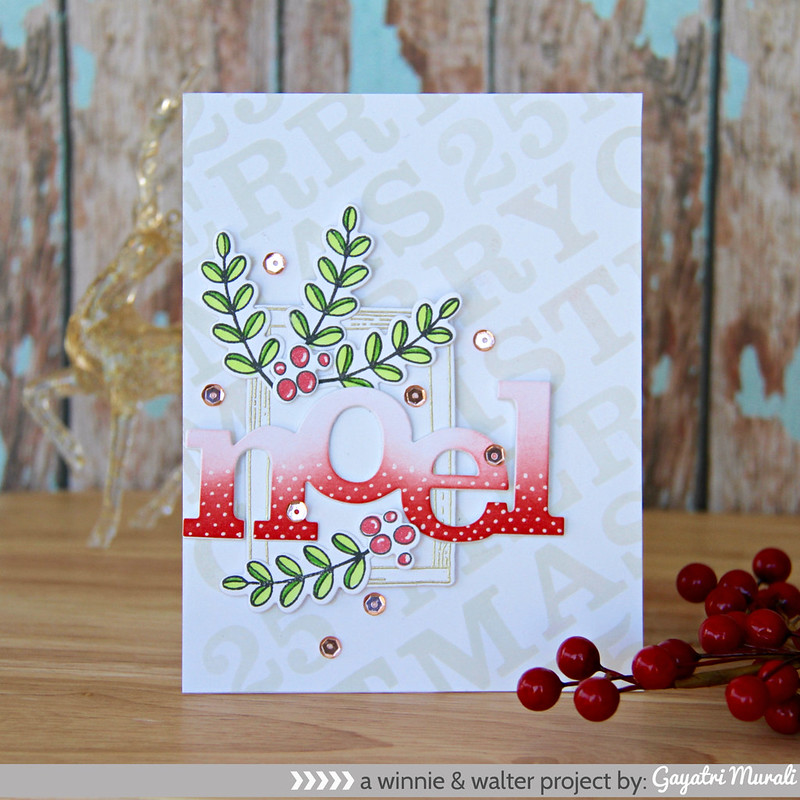
Its Gayatri again! Today I have a set of two Christmas cards to share with your using Winnie & Walter's new release stamp set and cutaways. I have used Framed with Evelin T Designs stamp set, Typecast: Cary stamp set, Framed with Evelin T Design Cutaways and In a Word: Noel Cutaway.


W&Wcollage


Both of my cards are similar yet different. They are similar in layout, the elements used but different in colours and the placement of the elements. Here is my first card.

Red NOEL card

I used the alphabets and numbers from Typecast: Cary stamp set and stamped the sentiment saying 25th Merry Christmas using light grey ink on the card front at an angle. I did draw lines to keep the spacing even. I erased the pencil lines after stamping the images. Since the background is neutral, I wanted my focal elements to pop out of the neutral background.

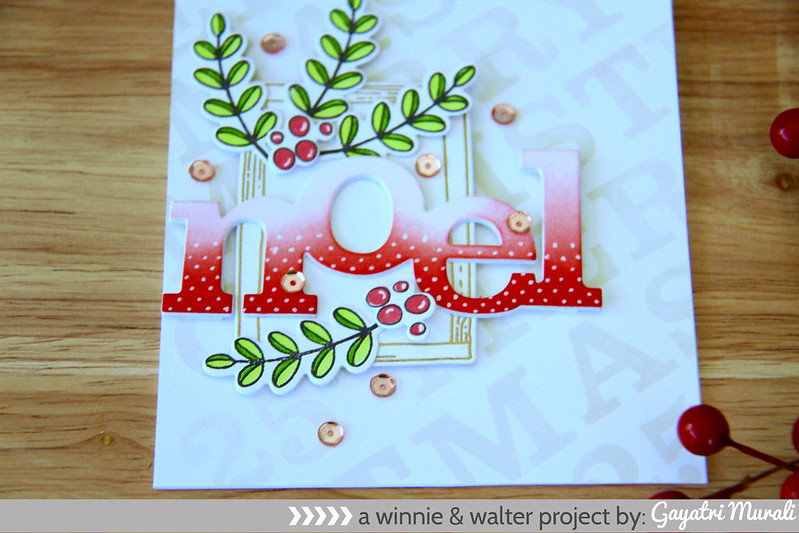
Red Noel card closeup

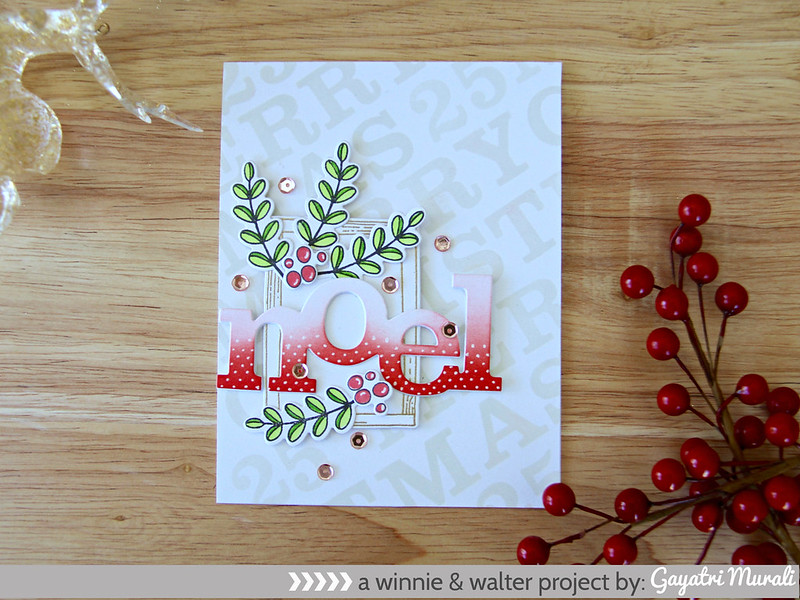
For the focal point I gold heat embossed the frame from Framed with Evelin T Design stamp set and die cut the frame out using the coordinating cutaway. I also stamped the leaves and berries from the stamp set, copic coloured and die cut using the coordinating cutaway. Then I also die cut In a Word: Noel cutaway using white cardstock, sponged Candied Apple distress ink in ombre and added details using white gelly roll pen. I adhered the frame offset on the lower right of the card front using foam adhesives, the NOEL flush on the frame and foam on the edges to the cardstock. Then adhered the leaves and berries to frame the sentiment. Finally embellished with rose gold sequins.

Red NOEL card flat

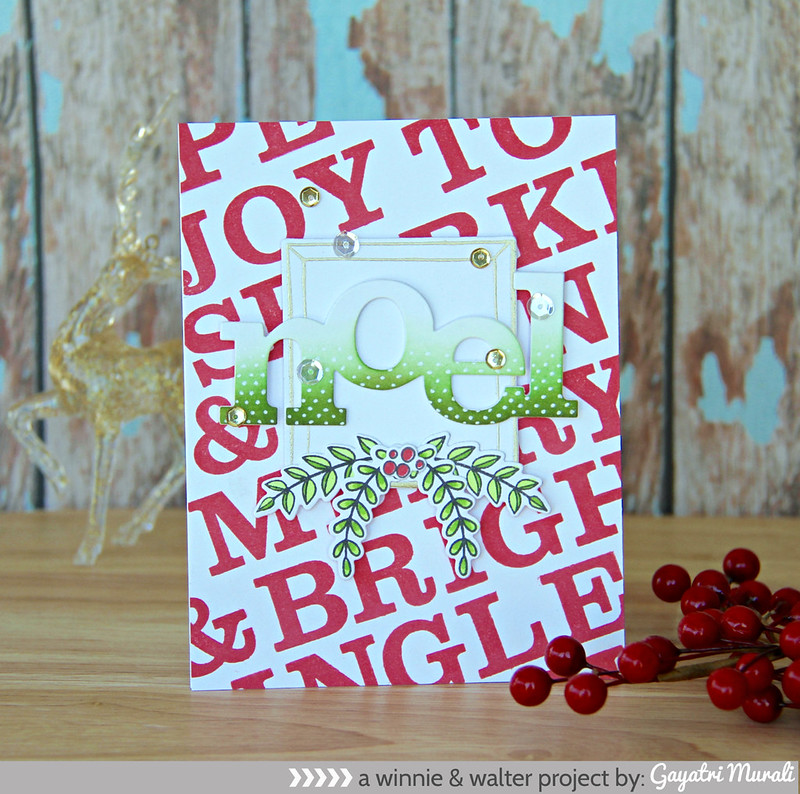
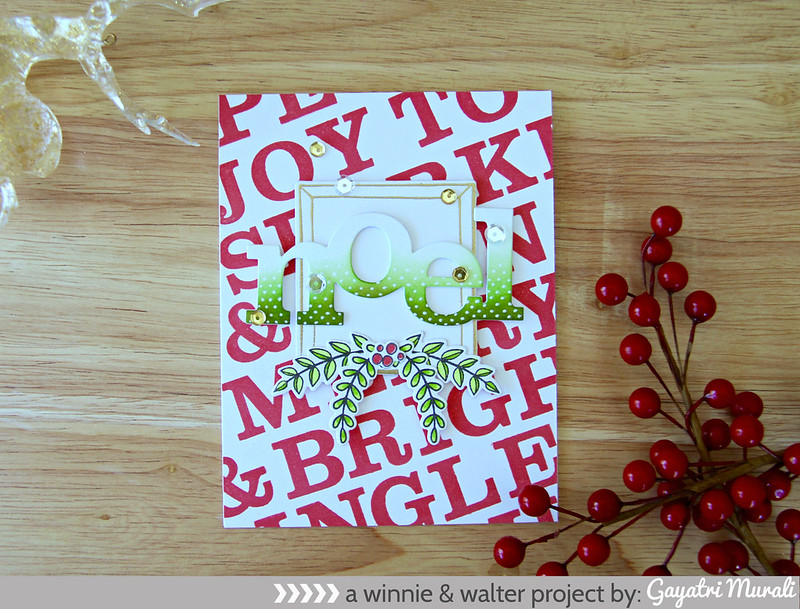
Now for the second card, I did the background similar to the first one using Typecast: Cary stamp set. But I used red ink and a variety of christmas sentiment to create the background.

Green NOEL card

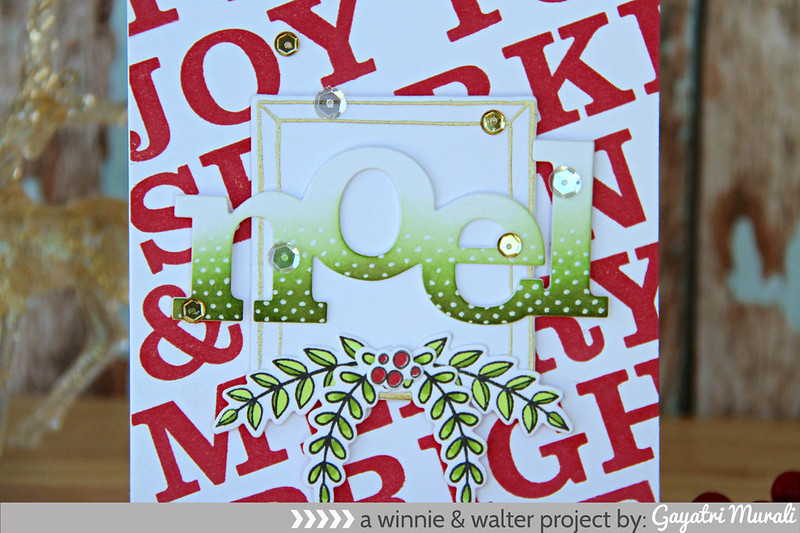
I again drew pencil lines diagonally to get the spacing right and once stamped the background, I erased the pencil lines.  For the focal point, I used another frame from the Framed with Evelin T Design which I gold heat embossed. Similar to the first card, I also stamped, copic coloured and die cut the leaves and berries from the stamp set using coordinating cutaway. The sentiment Noel is die cut using white cardstock, sponged Mowed Lawn distress inks in ombre and added details using white gelly roll pen.

Green Noel closeup

On this card, I clustered the elements on the top centre of the card front. The frame using the foam adhesives, the sentiment NOEL flush glued on the frame and foam on the hanging edges and the leaves falling from the frame with the berries in the centre. I used sparkly clear and gold sequins to embellished the card.

Green Noel card flat

You can change colours while the alphabets are arranged on MISTI to stamp a few card fronts. And also emboss a few more frames and elements to mass produce the design. Just vary the placement of the focal cluster and you get a variety of Christmas card.

I absolutely love the Typecast: Cary stamp set. Bold alphabets and numbers. It is a must have stamp set in my collection. The Framed stamp set is gorgeous to add layers and love the hand drawn images. Of course, the In a Word cutaways are fabulous. Big, bold and great focal point word dies. This release by Winnie & Walter is fabulous.

Hope you are inspired by my cards. Thanks for stopping by. 
My blog signature


w&w-supplies

Thursday, November 17, 2016

November 2016 Release | Premiere Day No. 3

To enter our November 2016 Release's The Big Giveaway CLICK HERE.
To enter to win Premiere Day 1 featured products...CLICK HERE 
To enter to win Premiere Day 2 featured products...CLICK HERE!
To enter to win Premiere Day 3 featured products...continue reading!
To enter to win Premiere Day 4 featured products CLICK HERE (goes live at 7:00 a.m. CST on November 18, 2016 )
==========================================================

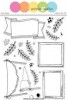
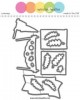
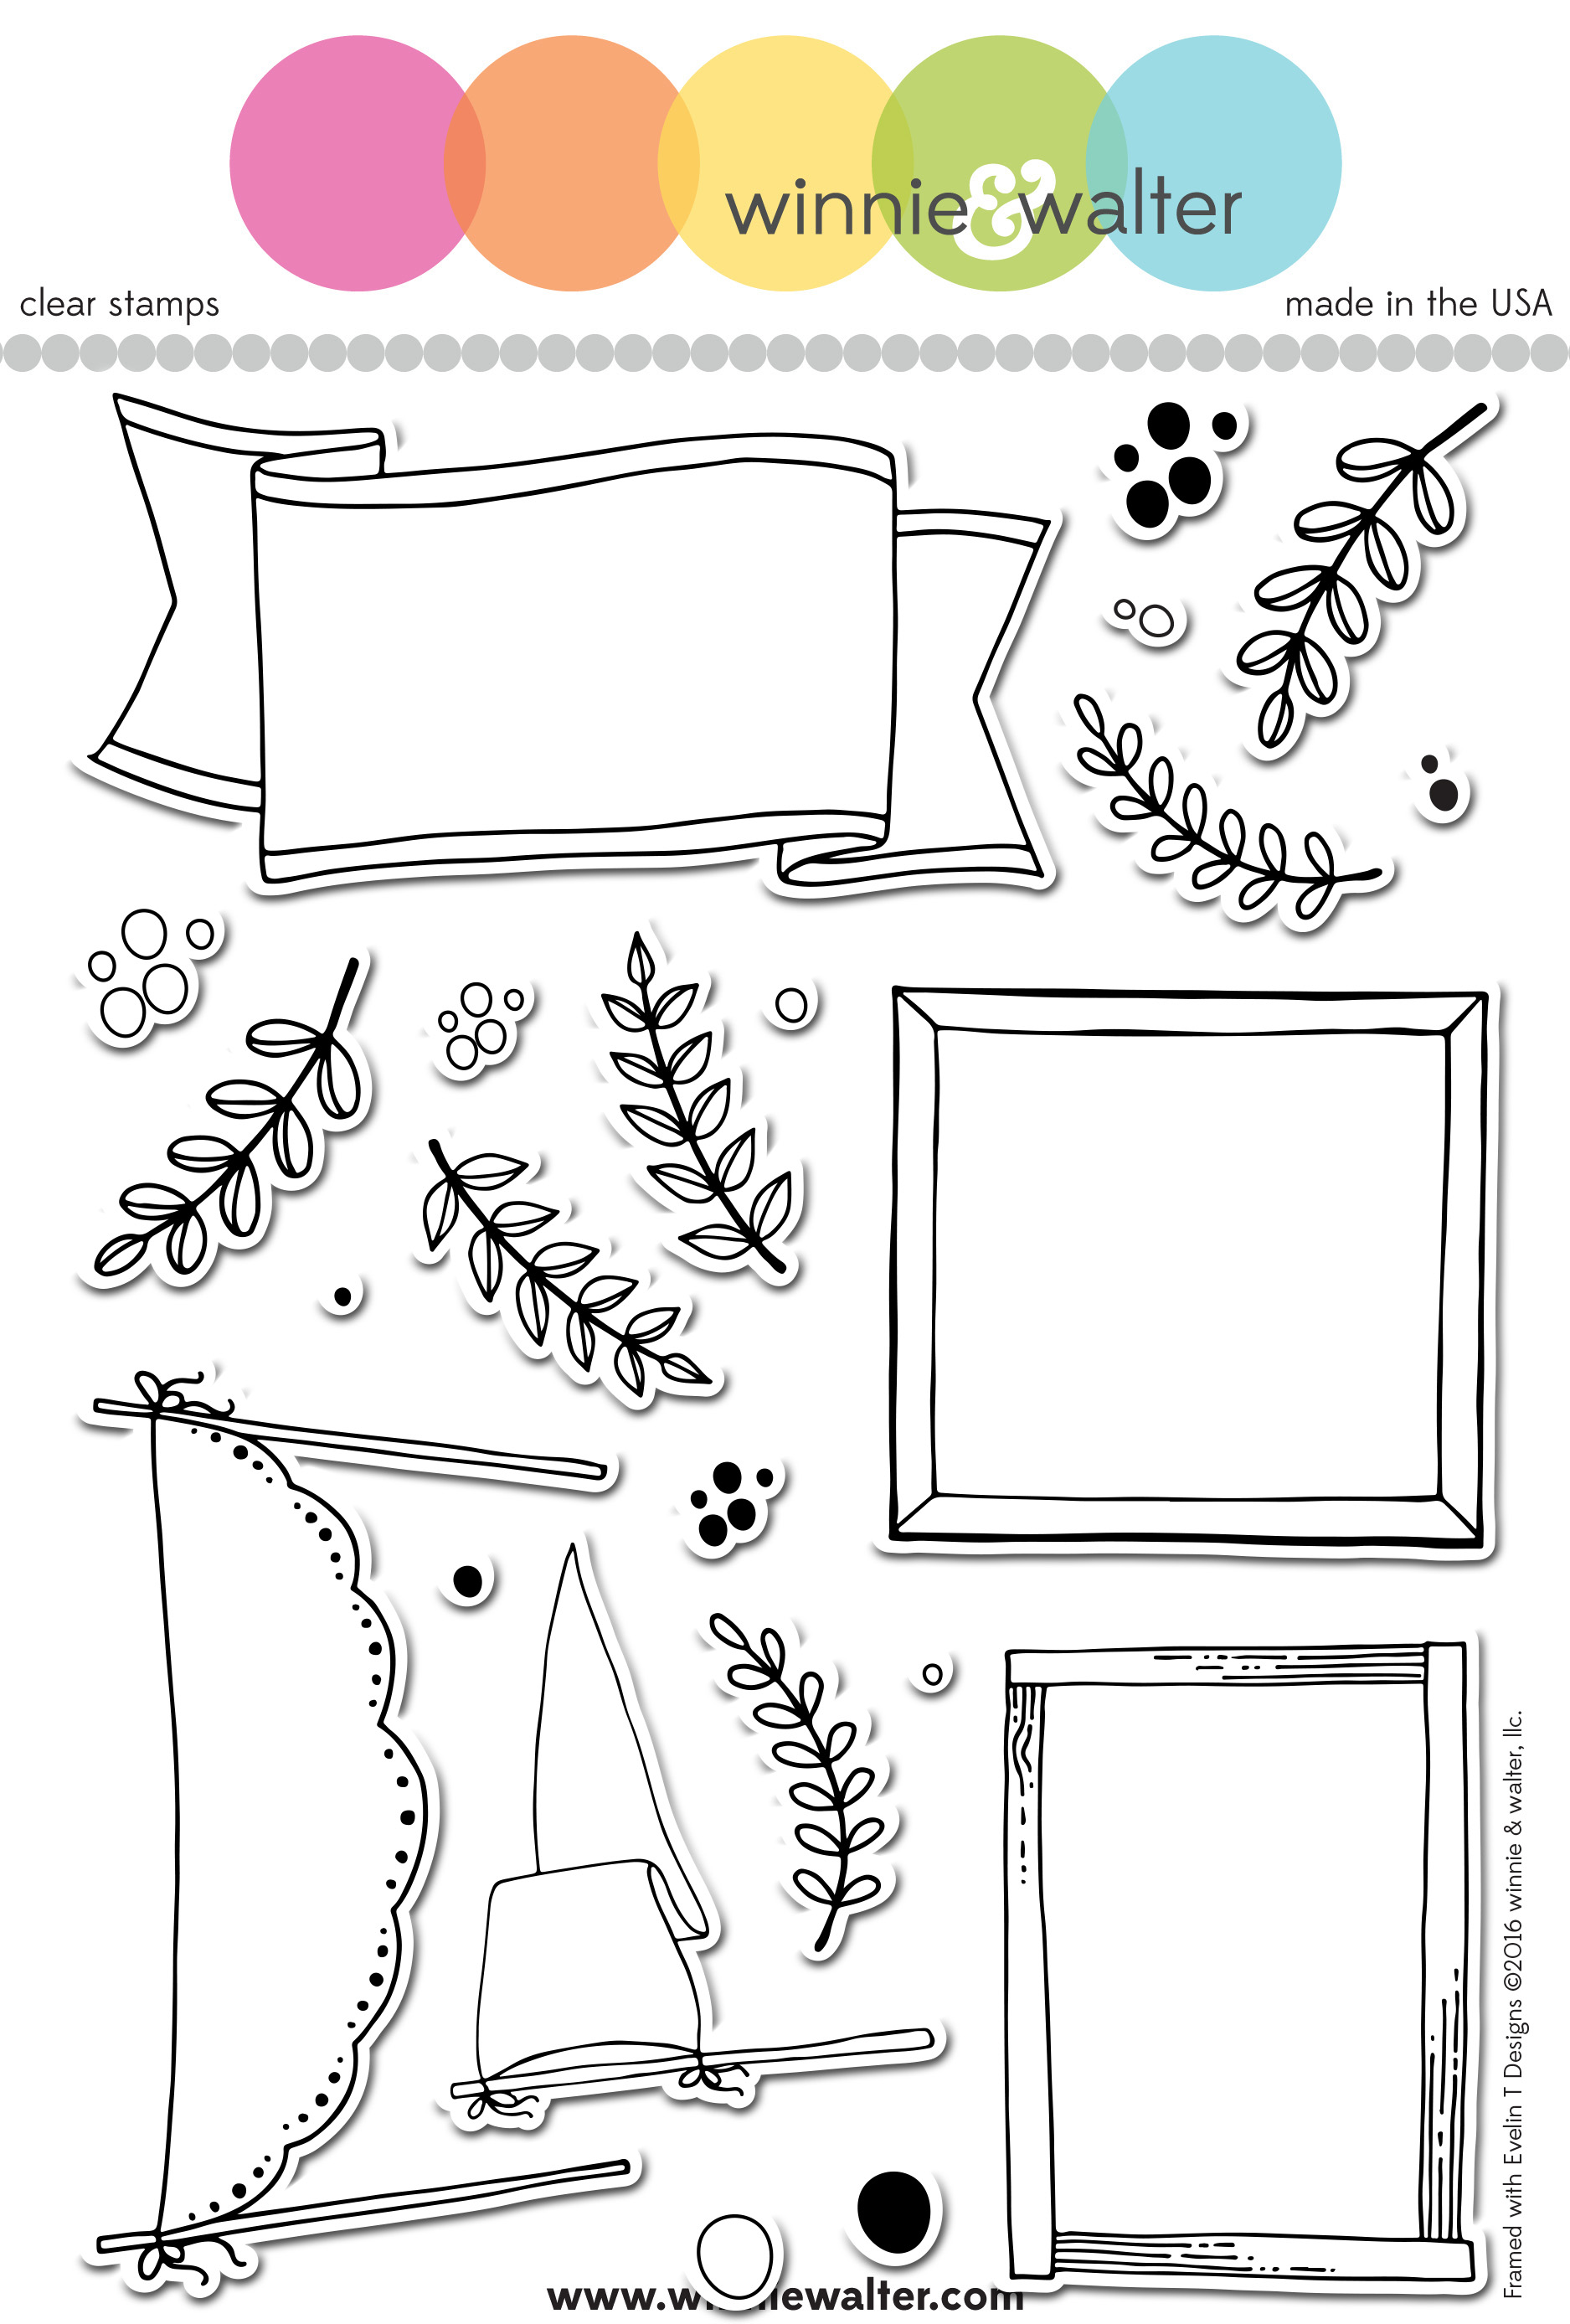
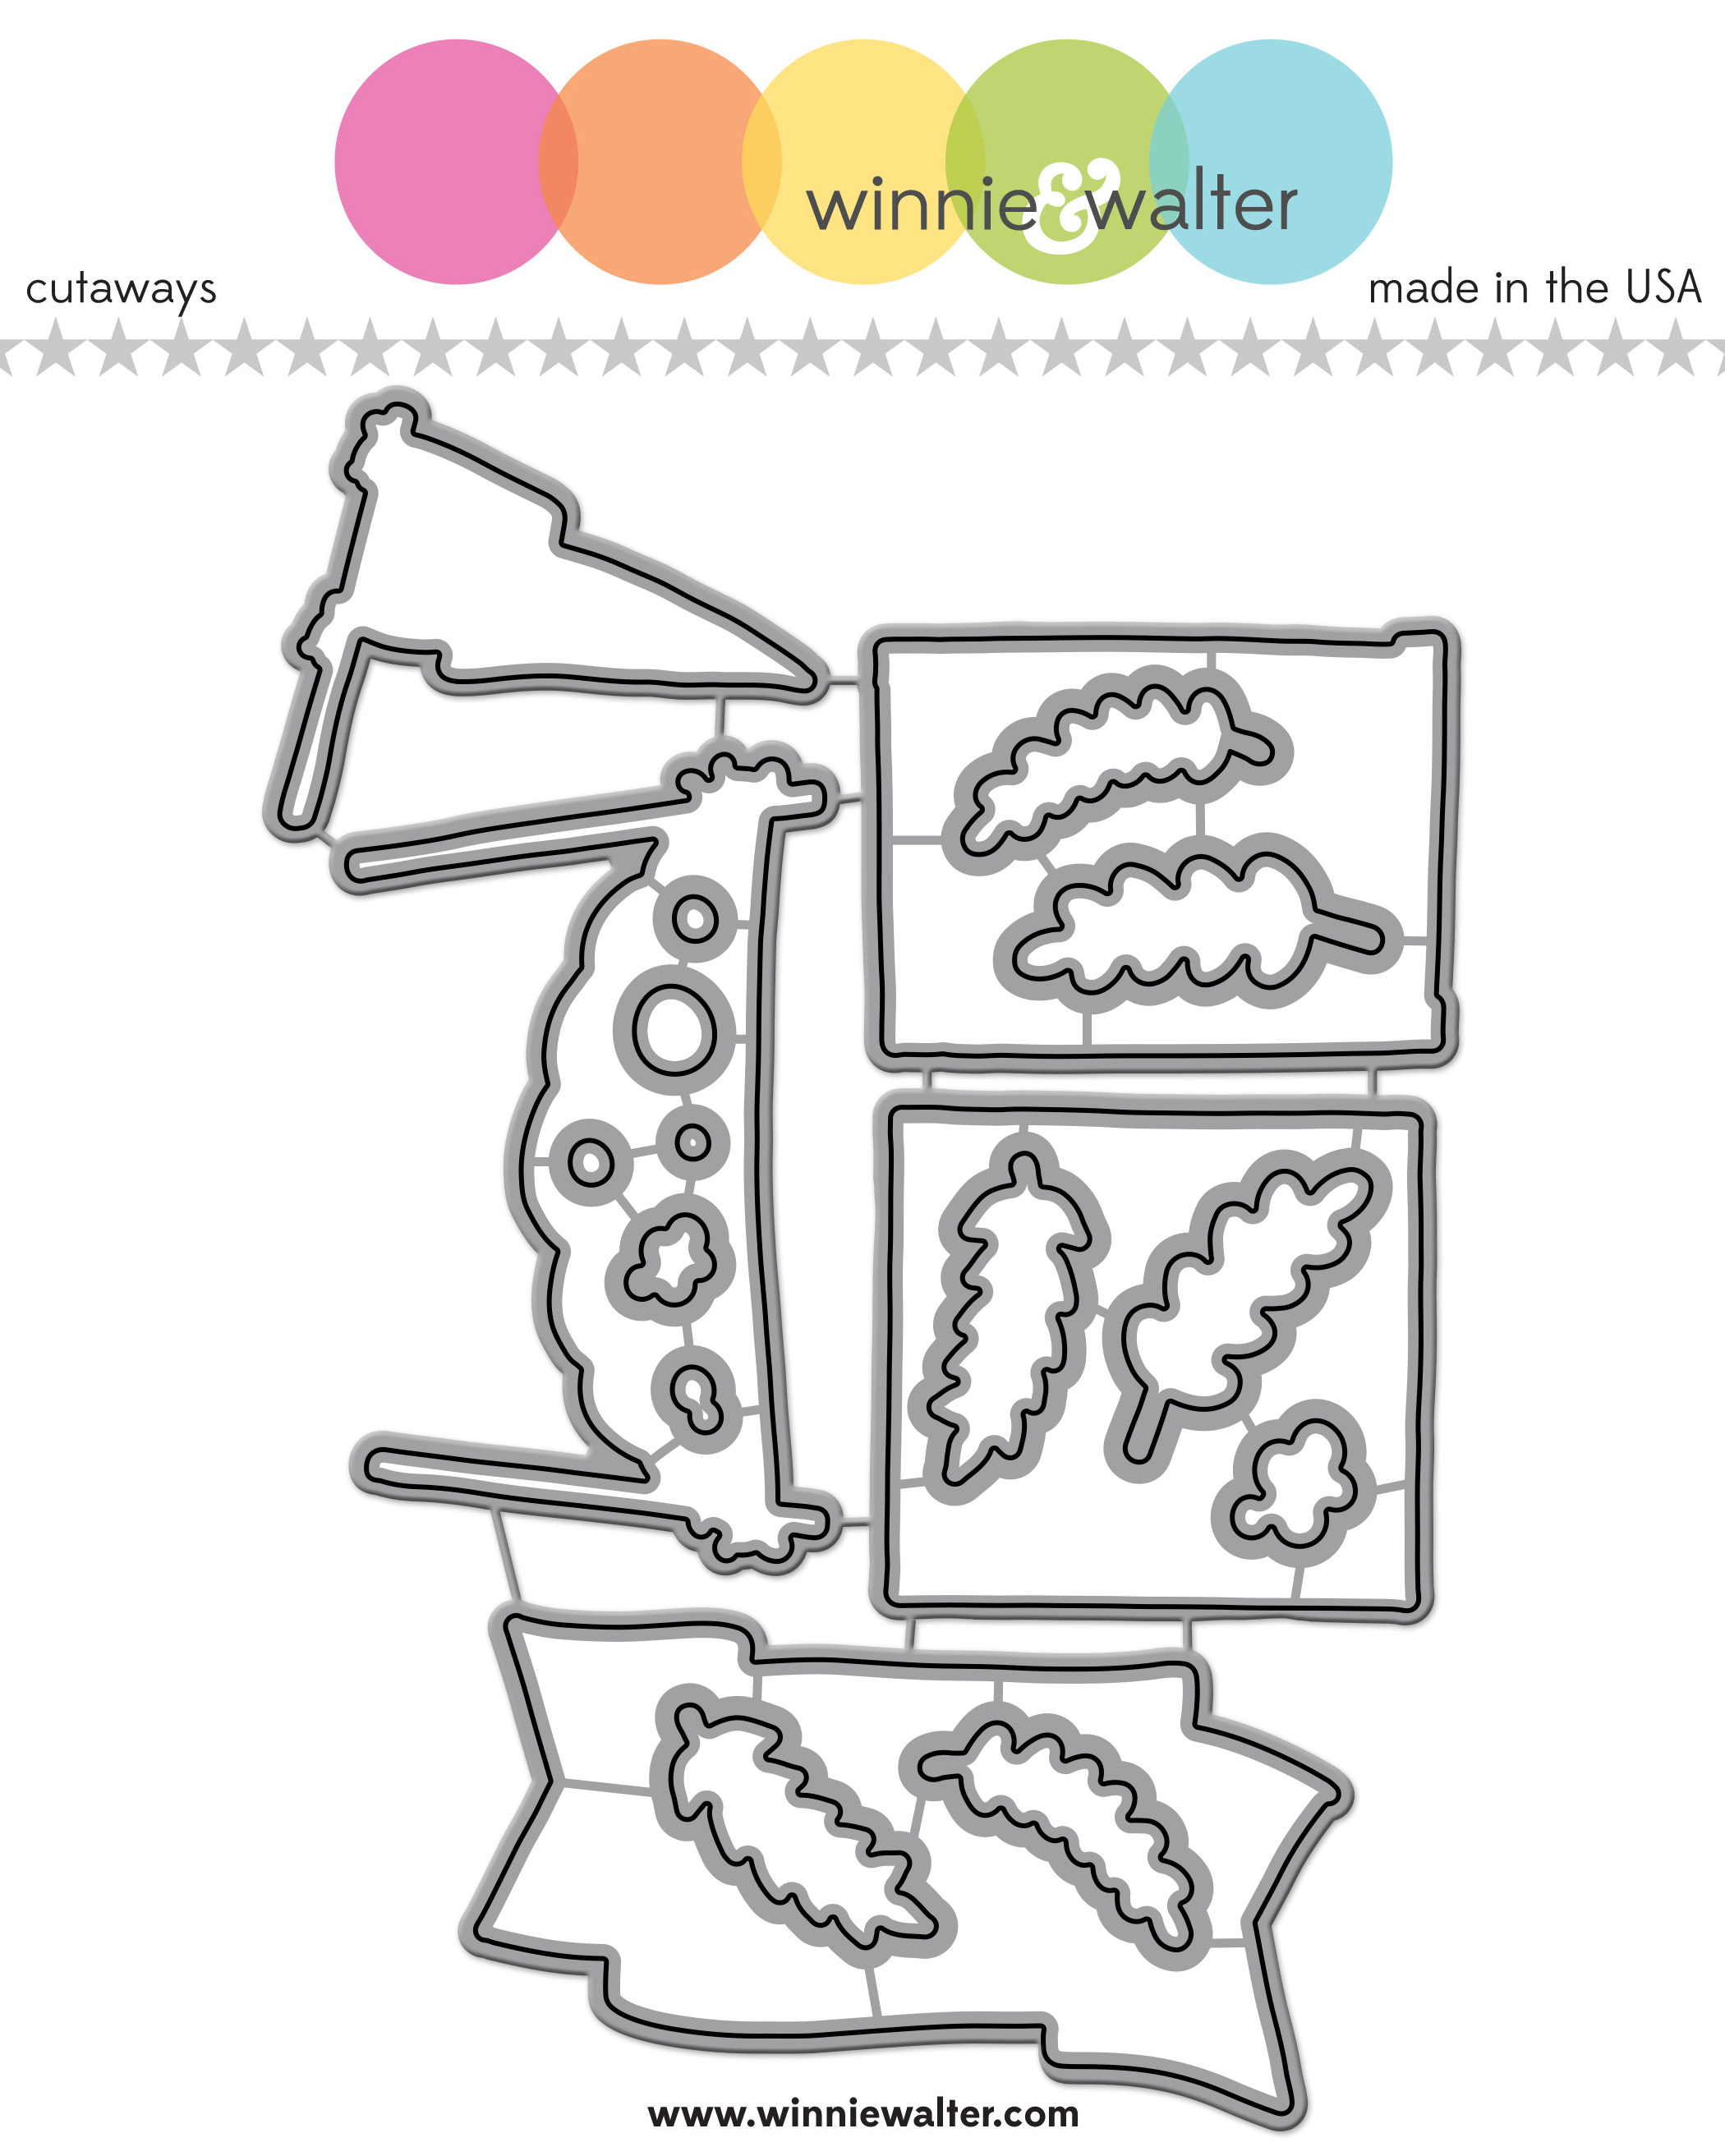
We have a beautiful stamp set from Evelin T Designs called Framed with Evelin T Designs which includes banners, frames, flag, greenery and lots of dots that are perfect for holiday crafting and everyday occasions.  This set is so very versatile and will add a lovely bit of elegance to any project.  We also have the coordinating cutaways being released to make this set even more useful and dynamic.

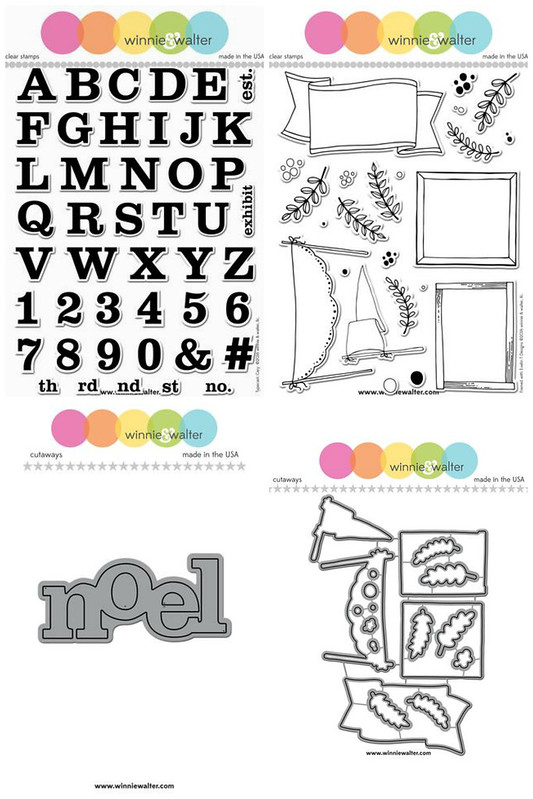
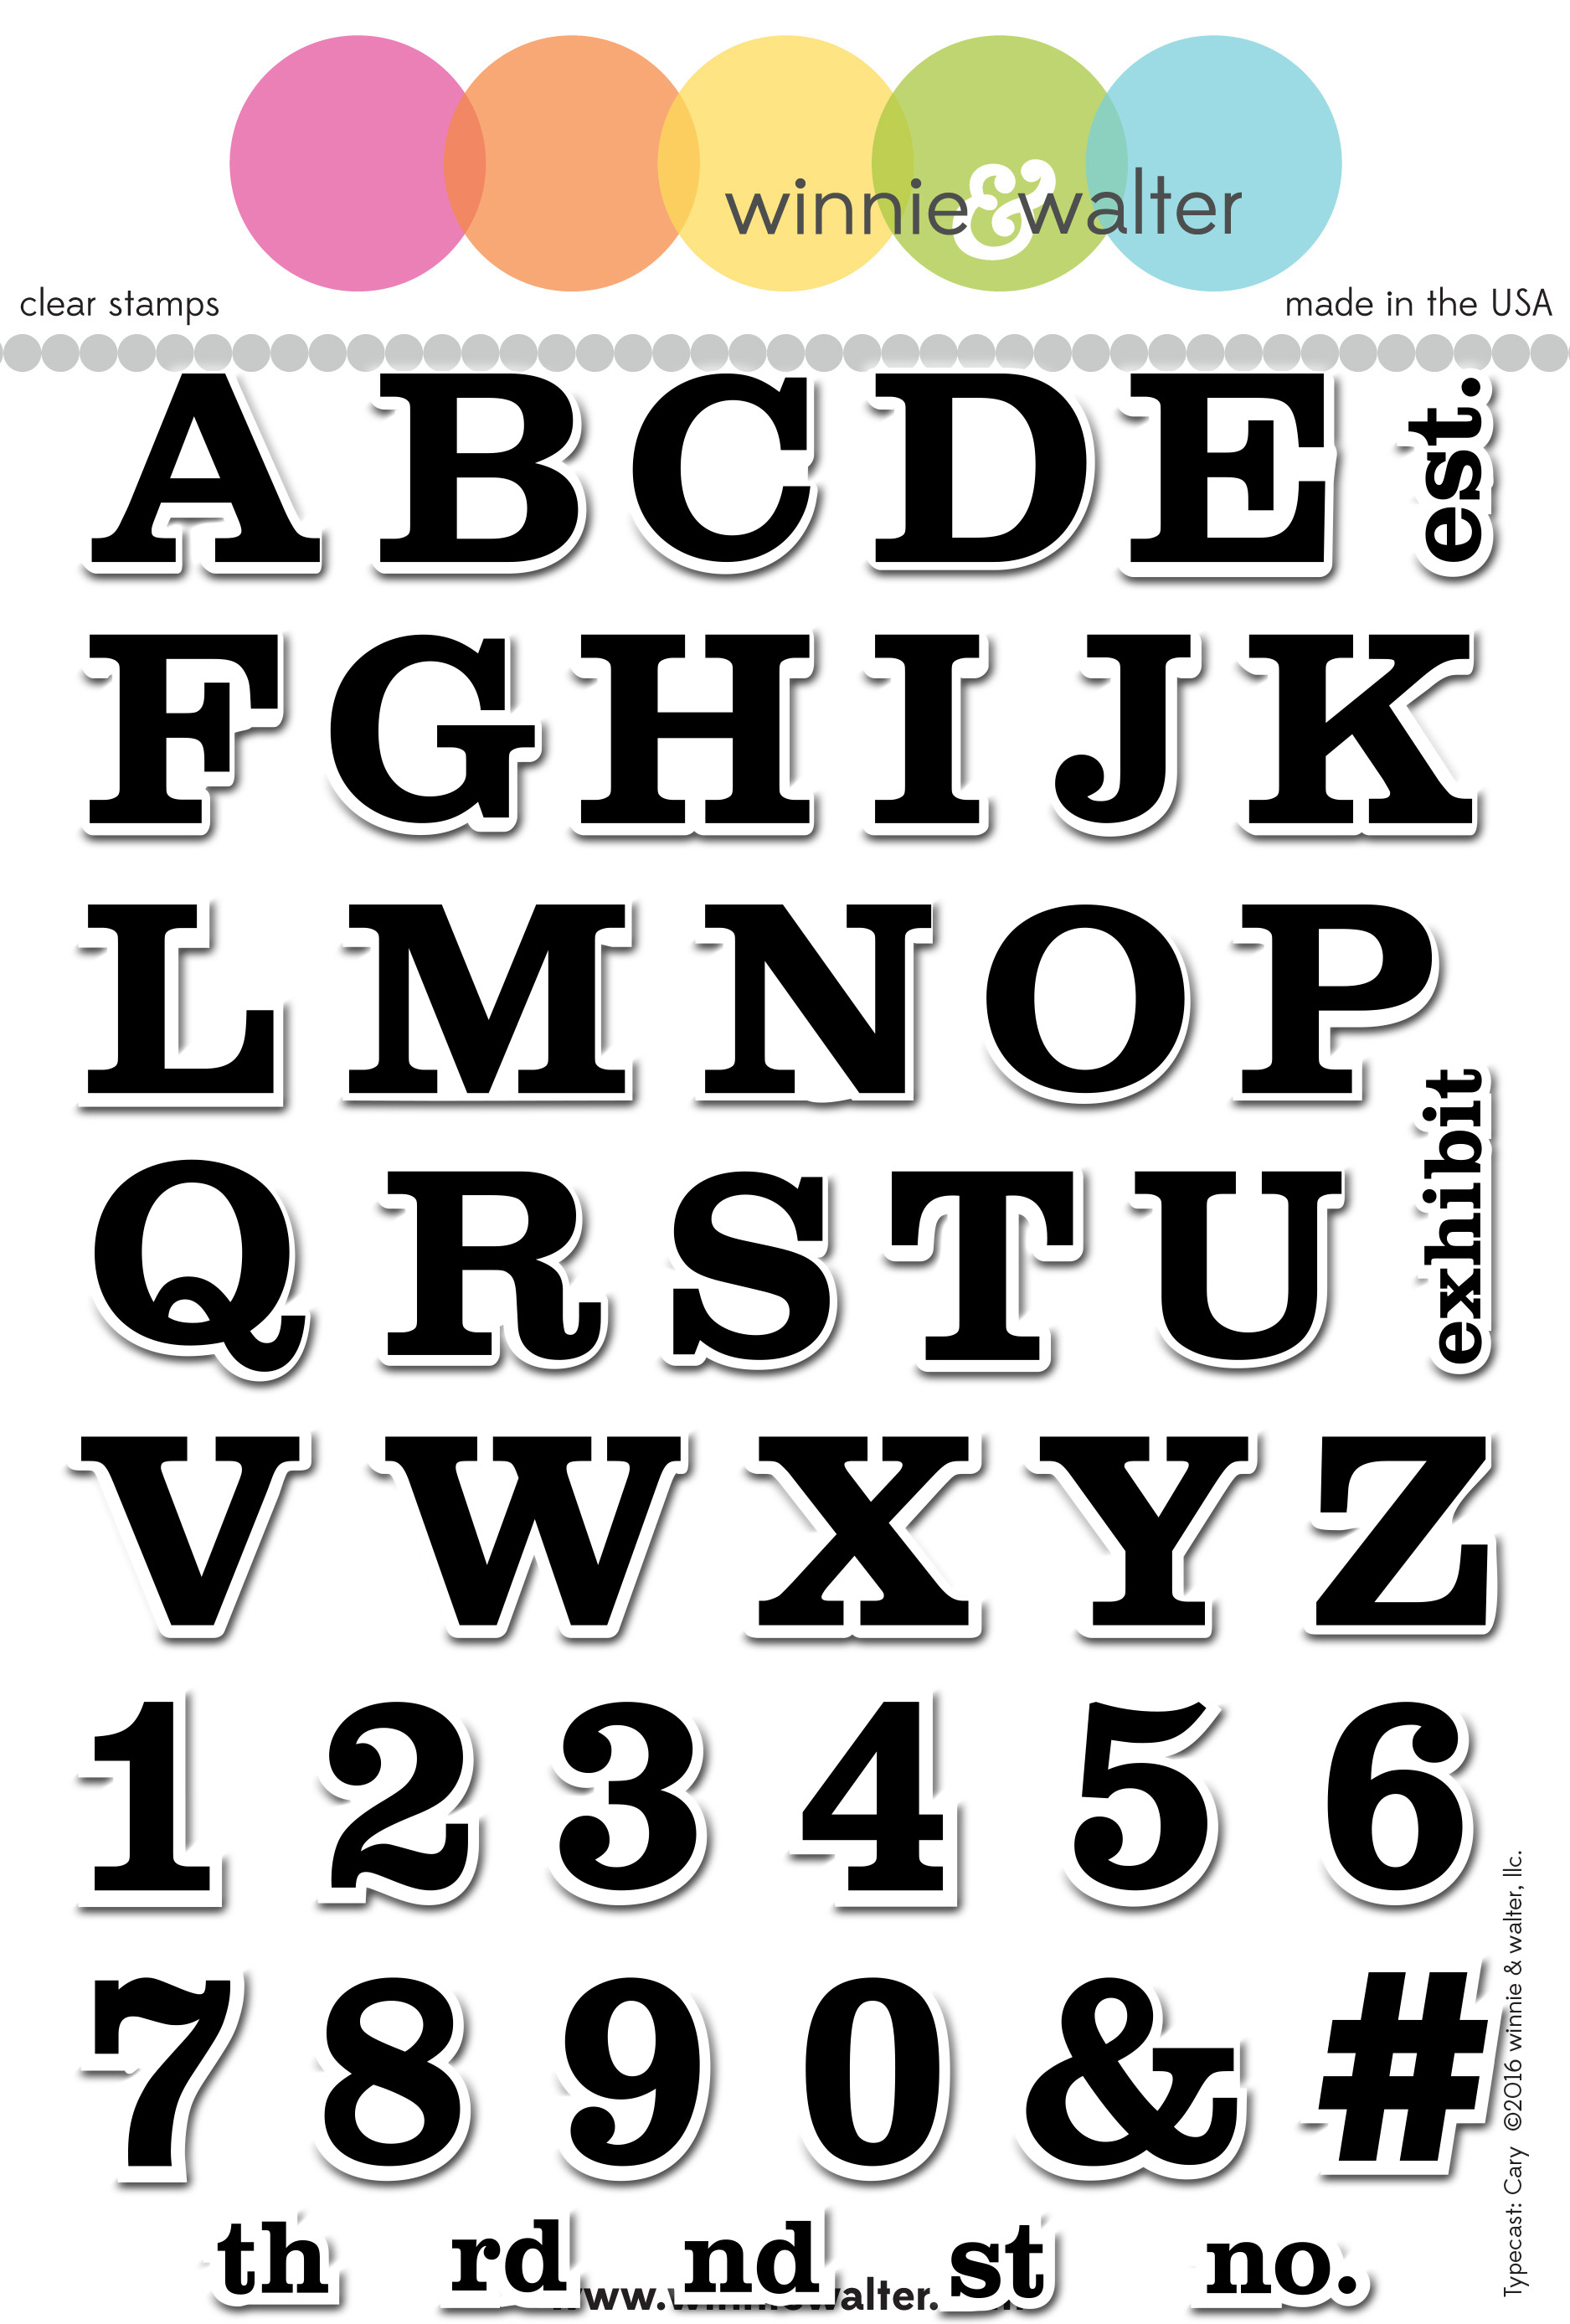
We are introducing another new collection called Typecast (admittedly one of my favorite names for a collection ever).  Letters and numbers are endlessly useful and we are beginning with Typecast: Cary.  Named for the beloved iconic movie star Cary Grant, this solid, uppercase alphabet is a classic serif.  Each letter and number measures 3/4 inch for a substantial size and weight.  To this black suit of a alphabet I added some little words like "exhibit", "no." and "est." along with an ampersand (you have to have one of those!) and a # to make it a little more special and useful (once I added these I finally was thrilled with this set).

>>>THE DETAILS<<<

w&w_FramedETD_6x8_web
Framed with Evelin T Designs
Available for purchase the evening of November 18, 2016
6x8 stamp set
Retails for $22.00
Includes twenty-three (23) stamps

w&w_TypecastCary_6x8_web
Typecast: Cary 
Available for purchase the evening of November 18, 2016
6x8 stamp set
Retails for $22.00
Includes forty-five (45) stamps


w&w_FramedETD_Cutaways_web
Framed with Evelin T Designs Cutaways
Wafer Thin Steel Dies
Available for purchase the evening of November 18, 2016
Each retail for $40.00
Includes eighteen (18) dies (there is an extra circle die)

>>>THE GOOD STUFF<<<

Let's get to the fun part and see these products in action.

Shay

Thank you so much for joining us for our third day of premieres for our November 2016 Release!  Today I bring you a couple of cards using Framed with Evelin T Designs and its coordinating cutaways and Typecast: Cary.

I went with very similar techniques and colors for both cards with pretty different results: one more arty and funky and the other more traditional.
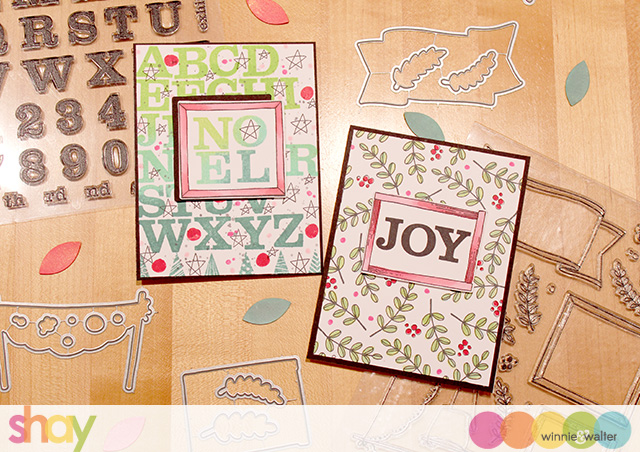
shay_IMG_4059 

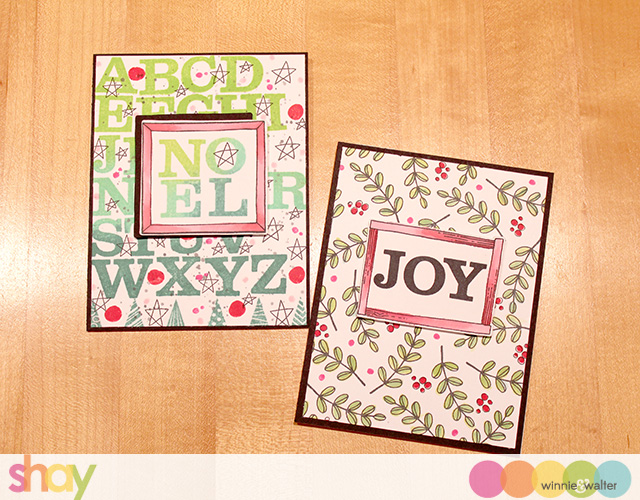
For my first card I stamped the entire alphabet in an ombre look in green Tim Holtz Distress Inks on a piece of white cardstock.  Then I filled in spaces with the stars from Wishing You with Evelin T Designs (told you this stamp set comes in handy) and various dots from Framed with Evelin T Designs and at the bottom the tree border from Scenery: Holiday Trimmings.  Then I ended up flicking watered down black ink over the whole panel.  I stamped the frame in black ink and cut it out using the coordinating die then colored it in with red Distress Ink and a water brush.  I stamped "noel" using the Typecast: Cary in ombre green inks and then added a star.  I layered it with a piece of black cardstock cut with the same frame die.  These are adhered to the patterned cardstock with dimensional foam adhesive.  This is all layered upon a piece of A2 black cardstock and an A2 white card base.
For the second card I stamped one of the leaves from Framed with Evelin T Designs with black ink randomly on a piece of white cardstock. I then painted in the leaves with green Distress Inks and  water brush.  I then stamped some of the solid dots in red and pink. On the multiple dots I also stamped the outline version in black too.  I stamped the woodgrain frame from Framed with Evelin T Designs and cut it out with the corresponding die then colored it in with red Distress Ink and a water brush.  I stamped "joy" using the Typecast: Cary in black ink.  These are adhered to the patterned cardstock with dimensional foam adhesive. I placed the whole panel over a piece of A2 black cardstock and adhered it all to a white A2 card base.

shay_IMG_4061

Which do you prefer?  I have to admit I am pretty taken with the playful, fun one.

Today I am joined by our guest star and our Belated 2nd Birthday Bash Challenge grand prize winner, Virginia Lu,  Heather Hoffman, Kate Capper, Kelly Griglione and Keren Baker.  Please be sure to click the links to their blogs and leave them some love.  For more inspiration, please join us for our Tour of the Stars (blog hop) on Saturday.

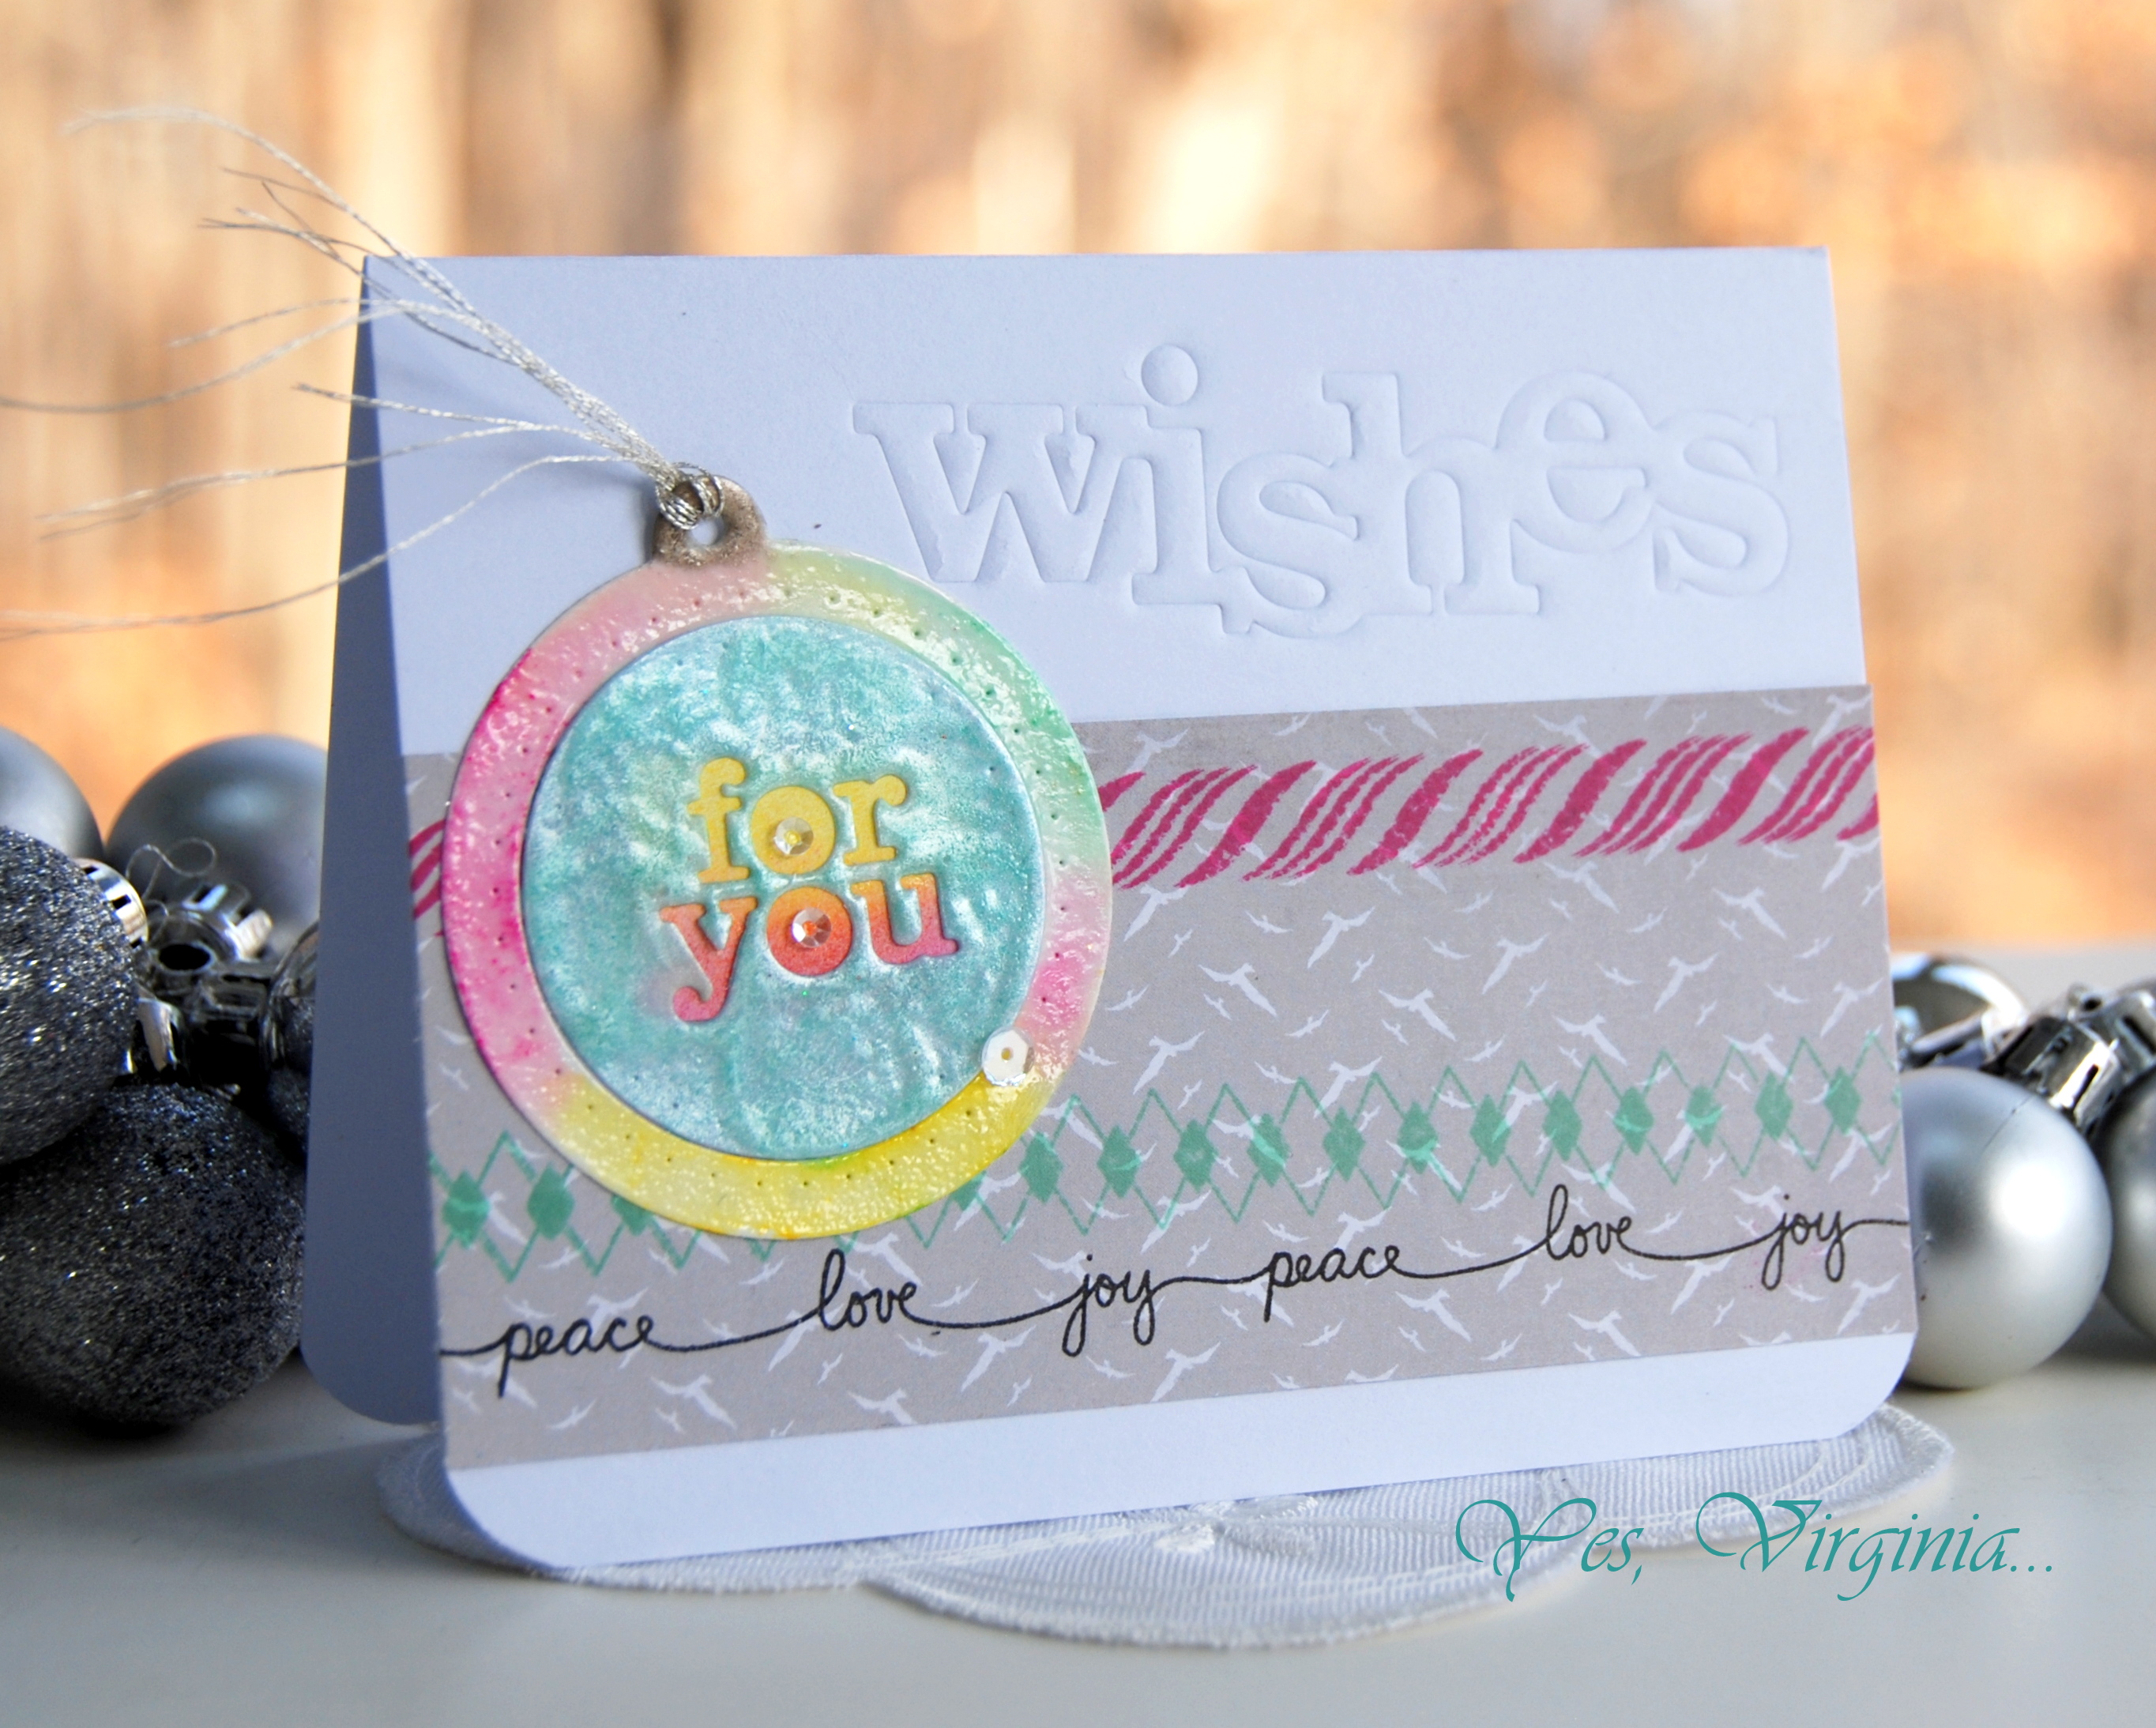
Guest Star, Virginia Lu
   
virginia_wishes for you
CLICK HERE to see more from Virginia.

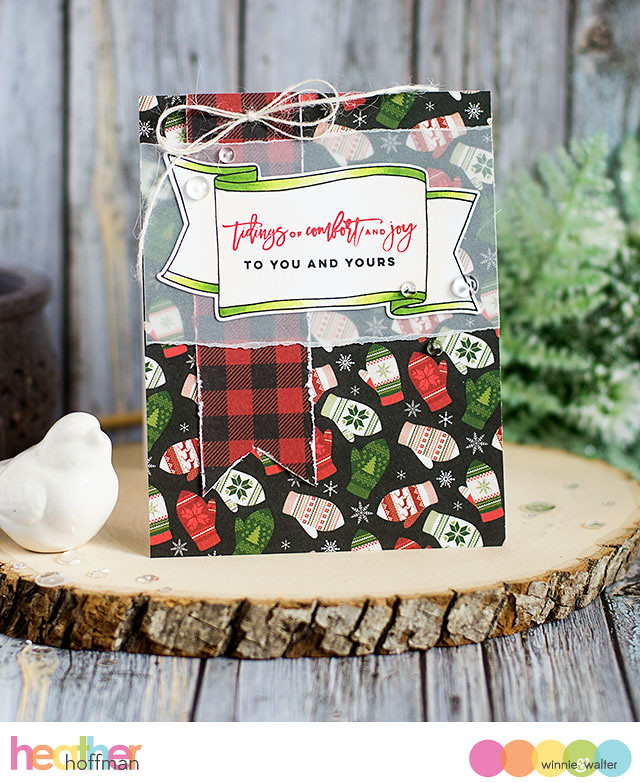
Heather Hoffman of The Talent

Heather_Cards-11-11-16-192
CLICK HERE to see more from Heather H.

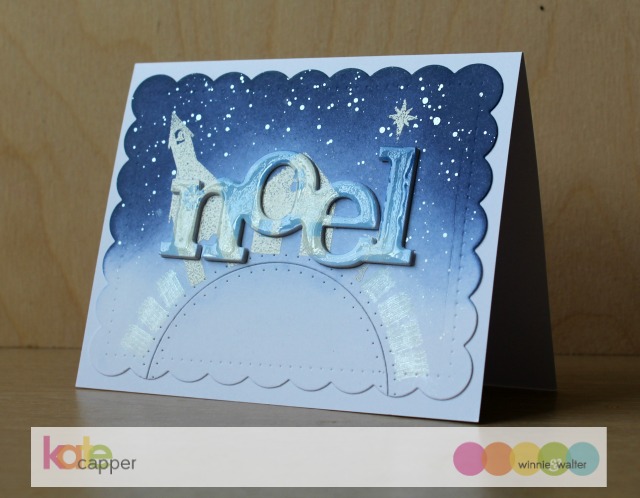
Kate Capper of The Talent

kate_IMG_0762
CLICK HERE to see more from Kate.

Kelly Griglione of The Talent

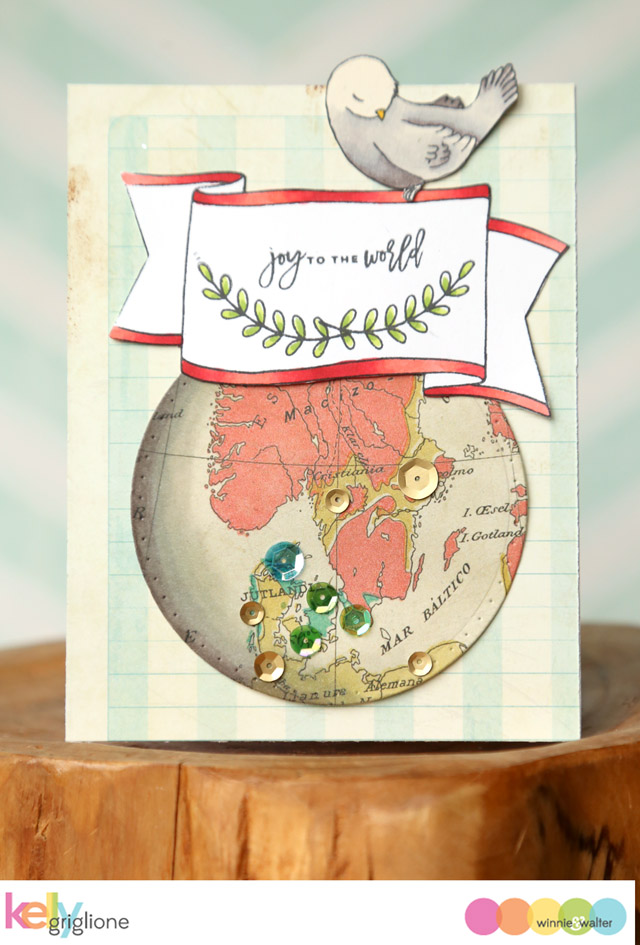
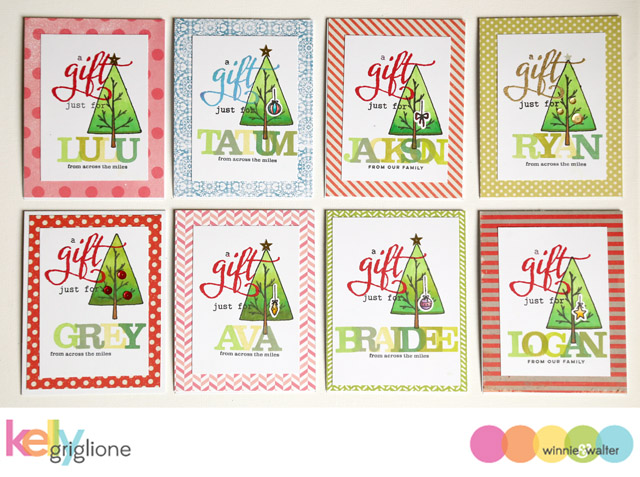
kelly_ATT00249 kelly_Christmas Gift Cards web
CLICK HERE to see more from Kelly.

Keren Baker of The Talent

keren_IMG_9186
CLICK HERE to see more from Keren.

>>>THE GIVEAWAY<<<

Comment here on this post for a chance to win Framed with Evelin T Designs stamp set + Typecast: Cary stamp set +  Framed with Evelin T Designs Cutaways of your own by 11:59 p.m. (central standard time) November 18, 2016.  One comment will be chosen at random.

All winners during our November 2016 Release will be announced by November 22, 2016.

To enter our November 2016 Release's The Big Giveaway CLICK HERE.