Showing posts with label essentials: katharine cutaways. Show all posts

Tuesday, October 16, 2018

Feliz Navidad with Gayatri

Hello everyone,

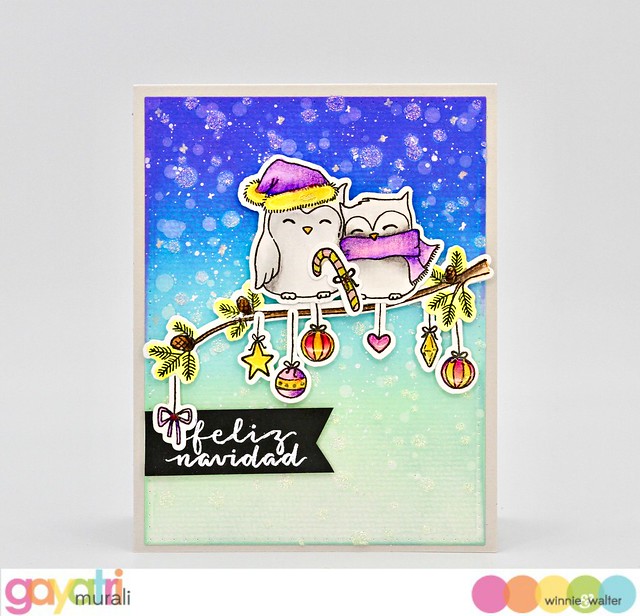
Gayatri with you sharing my first card with you for the month of October. This is a Christmas card using Happy Owlidays with Evelin T Designs stamp set and coordinating cutaways.

gayatri_W&W OCT card #1

I started with stamping all the images from the stamp set on watercolour paper and colouring them all with Zig Clean Colour Zig pens. Then I used Prisma colour pencils to add shading to the watercolour areas.

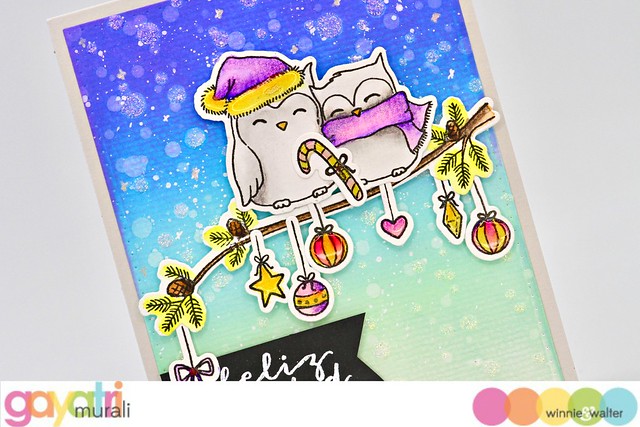
gayatri_W&W OCT card #1 closeup

For the background, I die cut a watercolour panel using the largest rectangle die from Essentials: Katharine Cutaways. Then sponged Wilted Violet, Blueprint Sketch, Mermaid Lagoon, Tumbled Glass and Cracked Pistachio distress oxide inks. To this background, I used the Scenery: The Big Bang Circles creative screening, to add snow. I used this stencil twice with white pigment ink for subtle snow on the background and with Nuvo Moonstone  as the third layer for some sparkle and texture to the snow. Then I also spattered some Copic opaque white all over the panel. I left this panel to dry while I worked on the sentiment.

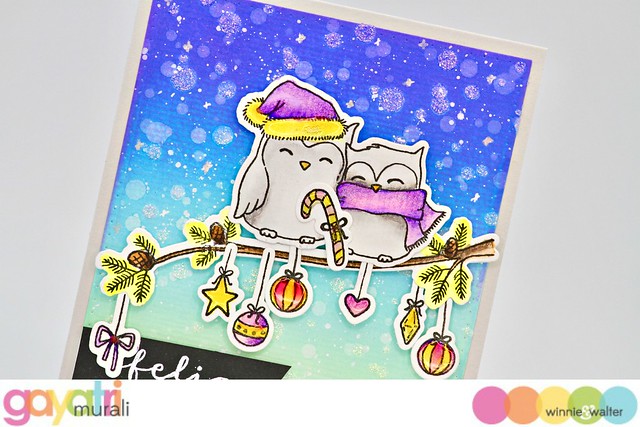
gayatri_W&W OCT card #1 closeup1

The sentiment from the stamp set is white heat embossed on a strip of black cardstock, trimmed and adhered to the bottom left of the panel. The using foam adhesive and glue, I adhered the branch, owls and decorative ornaments as shown in the photos. This panel is now adhered to the light grey card base. Then I brushed the ornaments, scarf and hat with clear shimmer and Nuvo crystal glaze. That is all! The card is finished. 

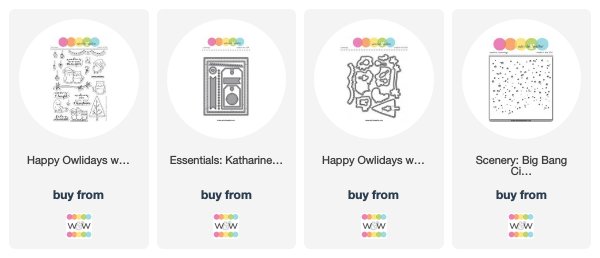
All the w&w supplies used to make this card are listed below. Hope you are inspired by my Christmas card today. If you make a card inspired by my card, please share and tag on social media. Have a wonderful day!

My blog signature

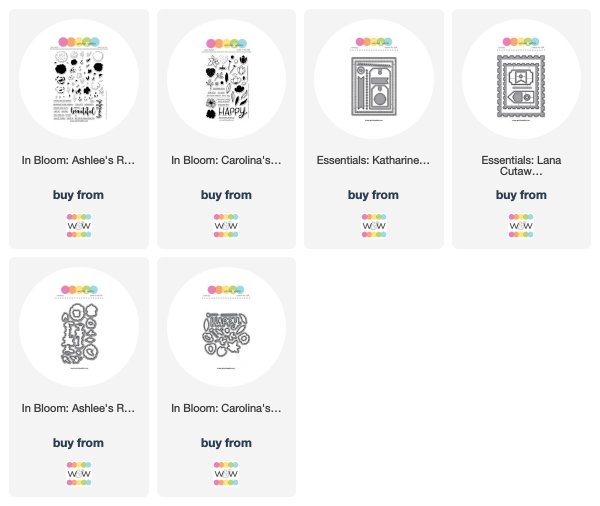
w&w-supplies

Monday, July 9, 2018

July Color Combo with Heather H. (Challenge)

Good morning! Heather here stopping by this morning to share a new Color Combo Challenge with you! This month's color combo is bright and happy and colorful - a perfect cheery color combo for the middle of summer!


Here is my color inspiration for this month - I love these bright happy shades of green and yellow!


I used some adorable images from Happy Dance with Evelin T Designs for the elephant and bundle of balloons on my card, coloring them up with Copic markers to match my color scheme, and adding some details with a white gel pen. I die cut them with their Coordinating Dies as well.


Next, I created a shaker element by die cutting a panel of white cardstock with Essentials: Carly Cutaways (for the circle window) and Essentials: Katharine Cutaways (for the dotted rectangle). I stamped my sentiment from Party on with Evelin T Designs, and backed my shaker with yellow cardstock, and filled the inside with tiny 3mm clear sparkling sequins from Pretty Pink Posh. Finished off by mounting on a green top folding cardbase!


Now - I have a few favorites from the last Color Challenge to feature! I know it was a bit of a challenging color combo, but I loved seeing all the creative takes on it!

First up - this lovely creation from Rosali! I love how she incorporated the challenge colors - and that heart looks like stained glass! Beautiful!!!


Next up, isn't this a fun card from Vinita Jane? I love the fun angle, layers, and how she used the colors in such an unexpected way! Awesome work!


And then there is this fun little card by Jane! What a fun take on the challenge colors! I love all the white space, and the cluster in the corner with all the elements! So very cute! 


 And last but not least - Maryam nailed it with this soft and pretty beauty! So lovely and dreamy - beautiful work!


>>>RANDOMLY CHOSEN WINNER<<<

greta_W&W Color June
No. 9 | Greta
Greta's fabulous card is bold and has not only a wonderful handstamped background, but a lovely central cluster of flowers!

Greta, please email us at info {at} winniewalter {dot} com with the subject "June Color Combo Challenge Winner" to claim your prize.

>>>CHALLENGE<<<

New challenge will post on the second Monday of each Month, and will end on the Friday before the next challenge begins to allow time to pick a winner and some favorite entries to feature.

Now it's your turn to play along!
  1. Create a new project using the July Color Combo. 
  2. Use at least one (1) winnie & walter product.  This can include Cutaways (dies), Creative Screenings (stencils/masks), printable/digital items, cut files and/or stamp sets.  Remember we offer freebies in our shop.  Our freebies can be used to create your project(s) for this challenge.
  3. Link up your project below using the InLinkz Link-up by 11:55 p.m. CST on Friday, August 10, 2018.  
  4. Enter as many times as you want before the deadline.
  5. This July Color Combo Challenge may be combined with other challenges found here on the w&w blog or elsewhere. 
One randomly selected entry will receive a $25 gift certificate to Winnie and Walter. YAY!!! I can't wait to see your entries! 


Thanks for stopping by - have a wonderful day!


w&wDT_heatherhoffman_blog-sig 2


w&w-supplies

Wednesday, June 27, 2018

Celebrate with Gayatri

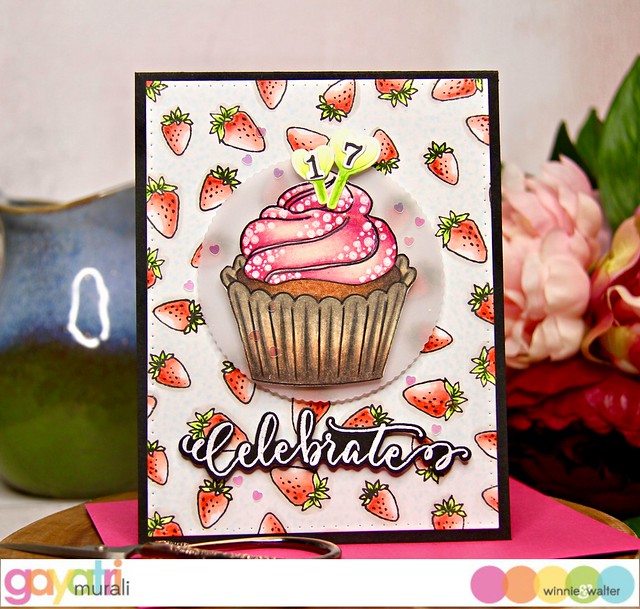
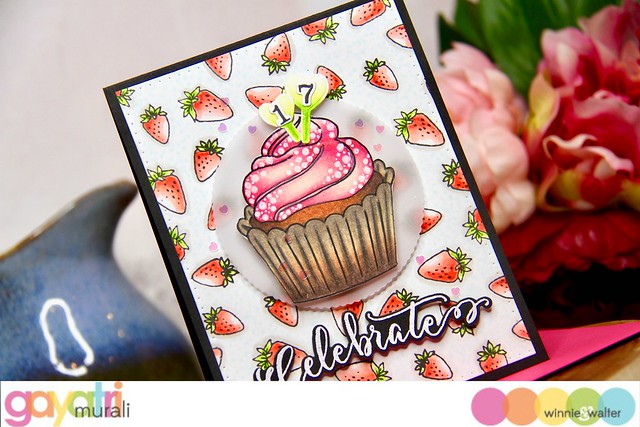
Hello everyone, Welcome! Gayatri here with you today. I have a birthday card to share with you. I have used Winnie & Walter’s Wish Big with Evelin T Designs stamp set. I have been meaning to use the strawberry images from the stamp set for a long time. So for today’s card, I used them to create my own background panel. Here is the card.

gayatri_Celebrate card 1

To create the background, I stamped the three strawberry images randomly to fill in the entire panel in black copic safe ink. Then I coloured them with copic markers. I used R20, R21, R22 and R24, YG21 and YG25 copic markers. I die cut this panel using the largest rectangle die from Essentials: Katherine Cutaway.

gayatri_celebrate card closeup1

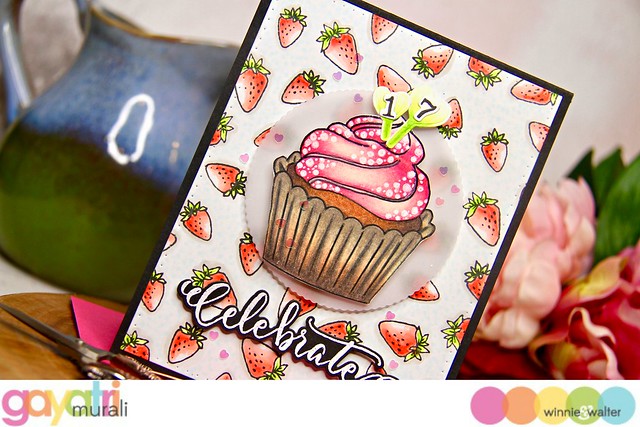
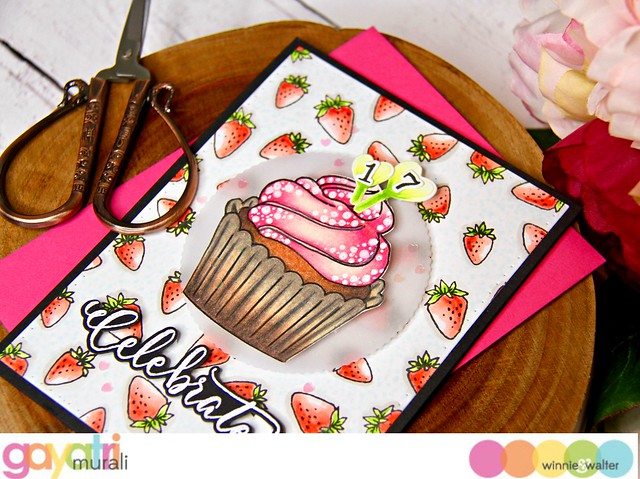
For the focal point, I stamped the coloured the large cupcake from the stamp set using colour pencils.I added some details on the cupcake using white belly roll pen. Using the coordinating cutaway I die cut the cupcake. I also stamped the die cut the numeral 17 and the heart shaped cupcake toppers. I coloured the cupcake toppers in the same green copic markers are the strawberry leaves. I adhered the numerals on the cupcake toppers and adhered the toppers on the cupcake. 

gayatri_Celebrate card closeup2

To make the focal image pop from the busy background, I die cut a vellum paper using one of the Cutaways from Ring in the Celebration Cutaway. I adhered the cupcake on the vellum die cut using foam adhesive and again on the background panel.

gayatri_Celebrate card closeup4

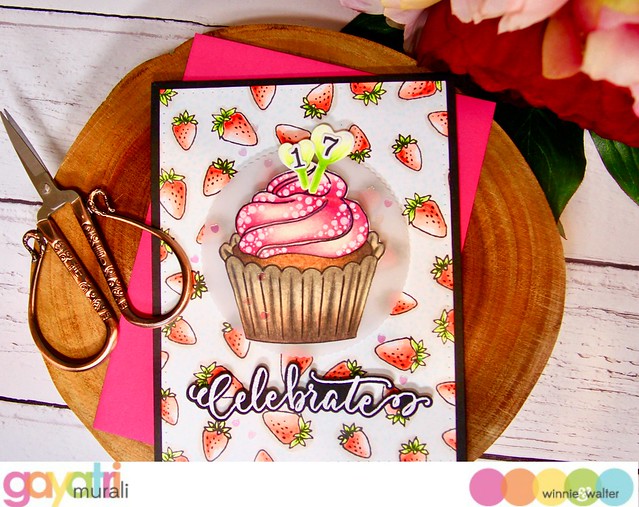
The sentiment is also from the stamp set is white heat embossed on black cardstock and die cut using the coordinating cutaway. This sentiment is adhered below the focal image using foam adhesives.

This entire panel is adhered on black card base for contrast as well as to tie in the black from the outline of the cupcake, black numerals and the black die cut sentiment. Finally I added some heart confetti for some subtle bling.

gayatri_Celebrate card flat

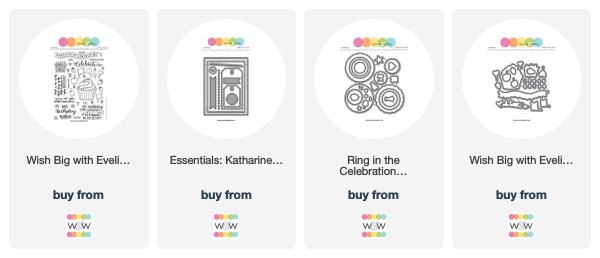
All the w&w supplies used to make this card are listed below.

Hope you like my card today. Thanks so much for visiting. Have a lovely day.


My blog signature


w&w-supplies

Wednesday, June 13, 2018

June Color Combo with Heather H. (Challenge)

Good morning! Heather here stopping by this morning to share a new Color Combo Challenge with you! Sorry it is a couple days late - I had an unexpected emergency with a friend the end of last week, and it took me a couple extra days to get caught back up and get this ready! Today I have a bright, fresh, and happy card to share with you using lots of Winnie and Walter Die sets - and a little stamped sentiment snuggled on there as well!


Here is my color inspiration for this month - doesn't that look delightfully refreshing?!?!?!


I started off by using one of the lovely new Pinkfresh Studio watercolors in Sunshine to create a messy watercolor background - similar to ink smooshing, but I just did this in layers with a paintbrush, water, and paint. I used the largest die in Essentials: Audrey Cutaways to die cut that panel, and mounted on a soft gray cardbase to pull in the gray color from the inspiration photo.


Next, I die cut In a Word: Celebrate Cutaway 2 times from white cardstock, did some distress oxide ink blending with Candied Apple on a panel of white cardstock, and cut the word again - then layered them together - this gave a nice thick embellishment. I die cut one of the hearts from True Multifaceted Heart Cutaways from white cardstock, and a red banner from Essentials: Katharine Cutaways to heat emboss my sentiment from Sentimental: Birthday. It doesn't show well in the photos, but I also added some Fired Brick distress oxide ink to the banner to deepen the color a bit and pull out the burgundy in the color combo. Finally, a few white jewels from Pretty Pink Posh finish it off!


Now - I have a few favorites from the last Color Challenge to feature! Had a total of 13 entries - and I loved seeing all your takes on this happy springy color combo!

First up - this stunner from Ashwini! Can you believe those flowers are stamped?!?!?!? Goodness - I am in awe of that beautiful floral cluster - definitely want to give her technique a try - isn't it lovely?!?!? And the colors are spot on for the challenge as well - BRAVO!


Next up, another floral beauty from Maryam! Eek - the background, the flowers, the heat embossed sentiment - PERFECTION all the way! Beautiful work!!!


And finally, I couldn't help but fall in love with this playful little card by Trina P! That cheeky little bear running by to say happy birthday - just so clever and CUTE!!! LOVE it!


>>>RANDOMLY CHOSEN WINNER<<<

No. 6 | Ashwini
Our random winner happens to also be one of the cards Heather mentioned too.  Oh my goodness this card is just gorgeous in every way and so amazingly done!  The rich colors layering of flowers and greenery are perfection.

Ashwini, please email us at info {at} winniewalter {dot} com with the subject "May Color Combo Challenge Winner" to claim your prize.

>>>CHALLENGE<<<

New challenge will post on the second Monday of each Month, and will end on the Friday before the next challenge begins to allow time to pick a winner and some favorite entries to feature.

Now it's your turn to play along!
  1. Create a new project using the June Color Combo. 
  2. Use at least one (1) winnie & walter product.  This can include Cutaways (dies), Creative Screenings (stencils/masks), printable/digital items, cut files and/or stamp sets.  Remember we offer freebies in our shop.  Our freebies can be used to create your project(s) for this challenge.
  3. Link up your project below using the InLinkz Link-up by 11:55 p.m. CST on Friday, July 6, 2018.  
  4. Enter as many times as you want before the deadline.
  5. This June Color Combo Challenge may be combined with other challenges found here on the w&w blog or elsewhere. 
One randomly selected entry will receive a $25 gift certificate to Winnie and Walter. YAY!!! I can't wait to see your entries! 


Thanks for stopping by - have a wonderful day!


w&wDT_heatherhoffman_blog-sig 2


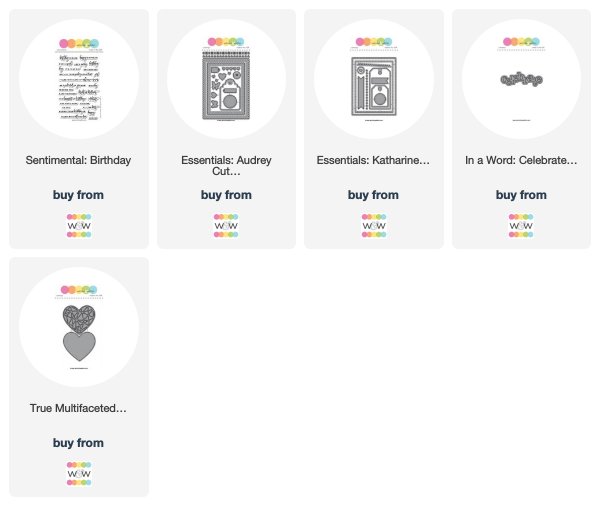
w&w-supplies

Tuesday, May 1, 2018

Two Many Cards with Kalyn Kepner & Emily Leiphart (Videos + Giveaway)


Hi, everyone! It's Kalyn Kepner and Emily Leiphart here with our new video series, Two Many Cards! We're so excited to be creating with Winnie & Walter for the second installment of our new series. We'll be featuring the stunning In Bloom: Ashlee's Rosie Posies with Lydia Evans, and Winnie & Walter is sponsoring TWO $25 gift certificates, one from each of our videos, so be sure to stop by and leave a comment for your chance to win!
Emily's video is up first:


And now Kalyn's video:


Be sure to stop by our blogs for more photos and a full supply list:


We’re giving away TWO $25 gift certificates to the Winnie & Walter store. One lucky winner chosen randomly from Emily's video and one lucky winner will be chosen from Kalyn's video. You must be a subscriber to both our channels! Be sure to leave some love for both of us to increase your chances of winning! Comments will close at 11:59pm EST on May 6th. The winner will be announced on both our blogs and YouTube channels on May 8th. Be sure to check back then.


While comments left on our blogs are greatly appreciated, only the comments left on our YouTube videos will be included for the random drawing.

Thanks so much for watching!

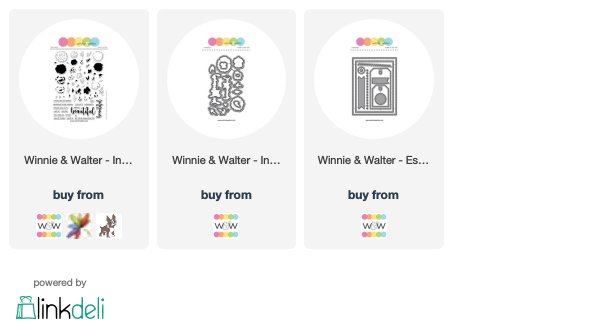
Supplies:

Friday, April 27, 2018

April Documentarian Jen Gallacher | Take Two

It is time for the second and final project post by our April Documentarian, Jen Gallacher.  

Don't miss out on her introduction HERE or her first gorgeously layered layout HERE.  

It has been such a privilege to have Jen as our Documentarian this month.  Her keen use of color, patterns, layering and exceptional skill at balancing her layouts are so inspiring!.  I hope you will try some of her techniques on your memory keeping projects or even on other crafting projects.   

Today's layout is not only beautiful, but so very artfully executed!  

Once again, Jen....


Stamping on a layout is a great way to add dimension and customized designs to a scrapbooking page. In this layout, I'll share some tips and tricks for using a stamp set to create a beautiful layout that features a wreath and diagonal design. Keep reading for some tips and to shop the beautiful stamps and dies from Winnie and Walter. Want to get your hands on some of these amazing products? Be sure to leave a comment on this blog post HERE for your chance to win a $30 Gift Certificate. All entries are due by April 30th, 2018 to qualify for the drawing. 

How to Stamp on a Layout:

* Use stamping inks in the same color but in different tones. For the strawberries, I stamped a lighter red for the middle of the berry and then used a cherry red to stamp the seeds in the berries.THIS layered stamp set makes quick work of the details for this page.

* Use the corresponding die set to quickly cut out all of your stamped images.


* Layout out the shape of your wreath first. Then I go back and adhere each piece with glue dots or strong adhesive.


* Stamp your title and journaling in bright colors. I used green and yellow for the title and then stamped the journaling with bright, red ink.


* Create your own patterned paper. Repeatedly stamp an image onto cardstock to create a polka dot, stripe or random pattern. This way you can ensure you get the exact pattern you want to coordinate with the rest of your embellishments like the berries on this page.

Here's another look at this layout. Be sure to pin your favorite images for inspiration later!


w&w-supplies