Showing posts with label card. Show all posts

Sunday, February 19, 2017

Creative Journey: an art retreat on Cape Cod with Jenn Shurkus!

For the past 3 years Jenn Shurkus has been hosting Loft Art Retreats in Providence Rhode Island. She recently had the opportunity to move back to Cape Cod which made her heart happy! First order of business once she moved, and enjoyed her first summer back, was to find a creative space to be able to continue hosting art retreats. She was so happy to find Cape Space in Hyannis. It is bright, spacious and it doesn’t hurt that the decor follows her love for teal!

creativejourney-final


Creative Journey: an art retreat on Cape Cod April 8 & 9th 2017

Now we have Creative Journey Art Retreats!! Envision walking into a spacious, bright, inspiring creative space – this is where you will start your creative journey. During these retreats you will create unique projects. It may be a stack of cards or a mixed media creation. No matter if you are a card maker, a papercrafter, a scrapbooker or all of the above this retreat is for you!

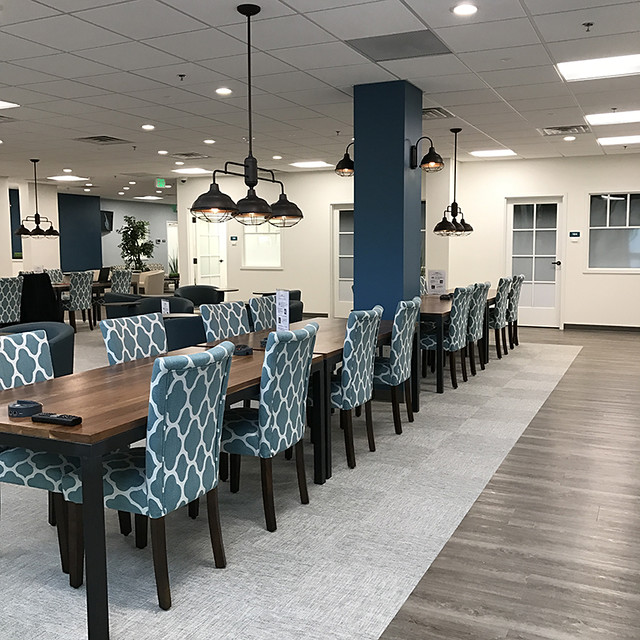
cape-space-creative-journey

As always there will be on-site shopping from a variety of companies such as Lawn Fawn, Ranger, Newton’s Nook, Neat & Tangled, Concord & 9th and more!Anyone who likes to play with paper, wants to be inspired, enjoys learning new techniques or just wants some “me” time this event is for YOU! You can come for the full weekend or just one day, that is up to you. The fee per day is $125, this includes supplies and your project, lunch, snacks and beverages as well as other goodies!
The event is being held in Hyannis Massachusetts. Art Retreat participants can take advantage of a discount at a nearby hotel.


Saturday, April 8 • 10a-5p: Creative Journey: Cardmaking

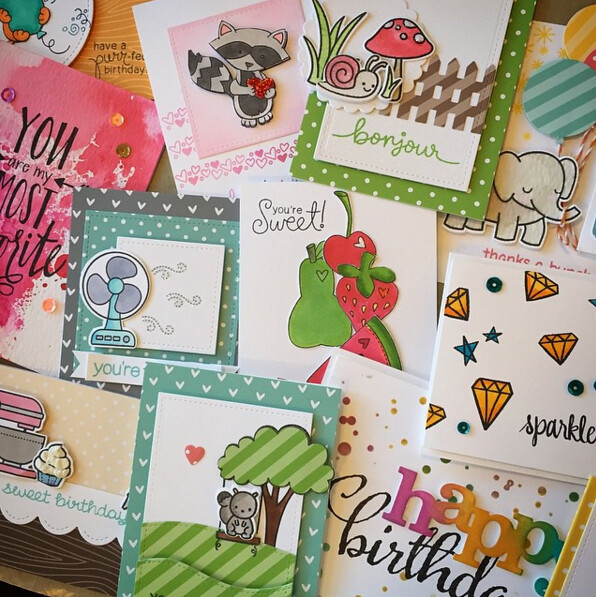
Screen-Shot-2016-01-29-at-2.41.00-PM

Please Note: The cards you will be making will vary from the ones pictured

Sunday, April 9 • 9a-4p:  Creative Journey: Mixed Media Project

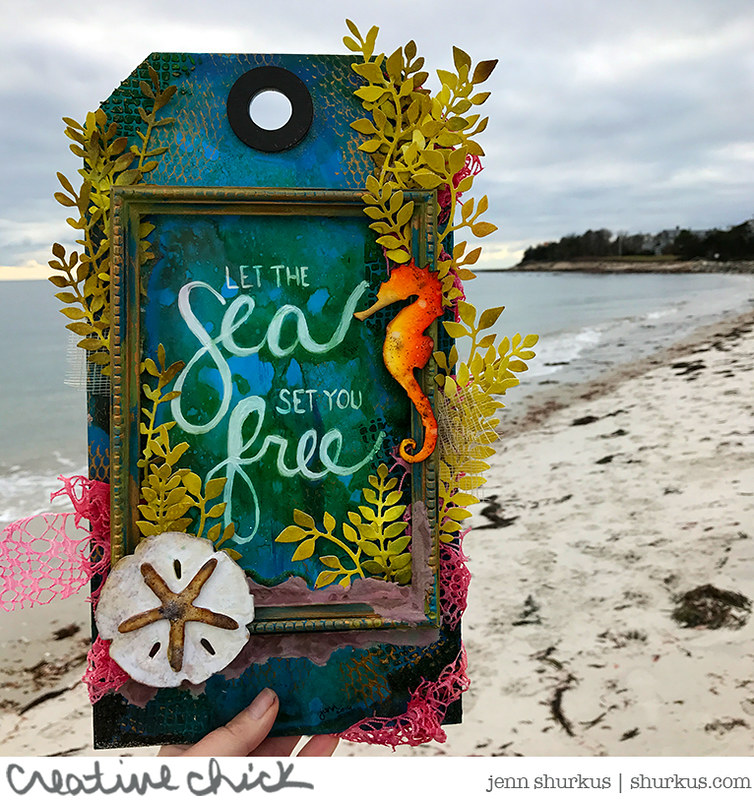
2017-ranger-designer-challenge-shurkus

Please Note: The project you will make will vary slightly from the one pictured

To find out more please CLICK HERE!

Wednesday, December 21, 2016

Merry Christmas with Kelly


Hi Folks! We have a restaurant in town that offers a bowl full of peppermint candies on your way out, and while I'm not a fan of the candy, I always enjoy looking at all the happy red and white swirly patterns layered on top of each other. One day I thought surely that could be translated into a card, right? So I tried! These "candies" are made from the Mini Scenery: The Peppermint Zone stamp, stamped through the hole made from a circle cut out of copy paper.
 

After I stamped the first candy, I covered it completely with a circle mask on top, and then put the circle hole mask to the side to stamp the second candy. So I was using both the circle and circle hole at the same time. Kinda like eating a donut and donut hole at the same time. OK, not really, but it's a good analogy in case you're having trouble picturing it! And goes along with the sweet theme : )

The "merry" is from In a Word: Merry Cutaway, and "christmas" was on a strip I had on hand. I wanted to tie the two words together so I threaded the black strip of paper with "christmas" on it through the "y" on "merry". The mat is one of my favorites from Essentials: Audrey Cutaways. I like that the scallops on the map echo all the circles of the candies.

Sure hope you all have a wonderful holiday season! Thanks for looking!
-Kelly

w&wDT_kellygriglione_blog-sig


w&w-supplies

Monday, December 19, 2016

Merry & Bright with Laura

Happy Monday everyone! It's Laura here from makingcardsisfun.com and I'm so glad to be here again with a new card featuring some adorable stamp sets. 

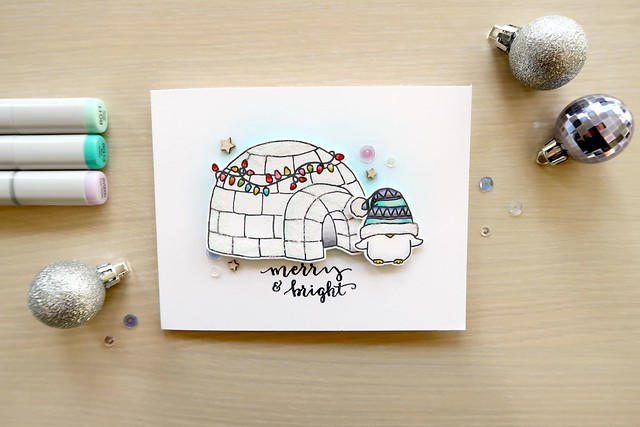
laura_merry and bright full

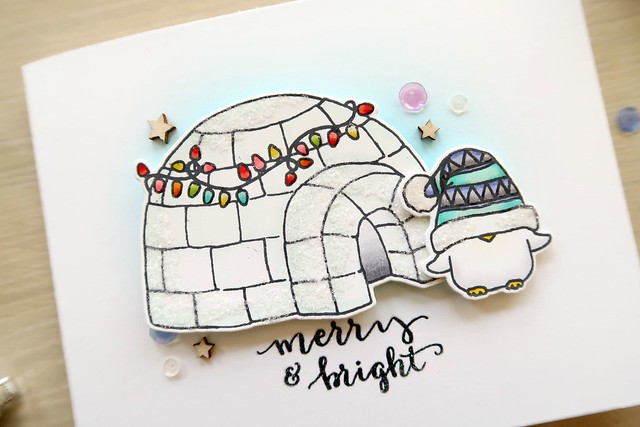
I started out by stamping and coloring the igloo and the penguin with Copic markers. I did some basic ink blending but added an extra oomph with Tim Holtz Distress Rock Candy Glitter and Glossy Accents. I dapped some Multi Medium Matte on the edges of the igloo and on the penguin's cap with my finger. Next, I sprinkled on the glitter and tapped of the access. For some dimension on the bulbs, I used Glossy Accents. I love how festive and sparkly these images ended up looking!

laura_closeup

Since I wanted the images to be the focal point of this card, I did some really soft ink blending with Tumbled Glass Distress ink. Before putting everything together, I figured I still needed a greeting on this card. I used the MISTI tool to stamp the sentiment from the Happy Owlidays with Evelin T Designs set with black ink. After cleaning my stamp, I re-inked it with the Ultra Sticky pad from WOW. Finally, I sprinkled on some Neutral Ultra Shimmer embossing powder and heat set it. To finish off the card, I adhered the colored images and added some wood veneer stars and sequins.

That's it for now! Thanks for reading today's post! Happy holiday season! Xo


w&wDT_laura_blog-sig

w&w-supplies

Thursday, December 8, 2016

Advent Calendar Extravaganza with Taheerah Atchia

Hello there lovelies!  It's Shay here joining in on a very special event.

Advent Calendar Extravaganza
Advent-Calendar-Extravaganza-2016

Advent Calendar Extravaganza is -the- festive event of the season! This ‘hop with a twist’ was dreamed up by Taheerah Atchia and features surprise destinations each day! Joining in the fun with Taheerah are ONE HUNDRED special guests - each serving up some fantastic Christmas inspiration! Just like an Advent Calendar, you’ll never know where you’re going to be visiting next until you ‘open the door’!

And that’s not all! With 25 *amazing* sponsors taking part as guests as well, your crafty wish list is bound to get a boost with a chance to win a prize EVERY SINGLE DAY!!

Now on to my card....

shay_IMG_4081

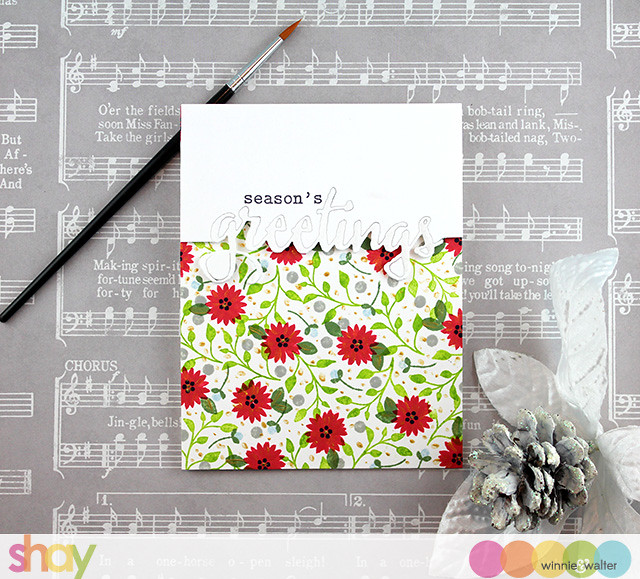
I just can't stop stamping backgrounds!  I pulled out this month's featured Rerun stamp set, In Bloom: Hollie's Festive Florals, and got to stamping (all while watching a documentary about gingerbread...which was fascinating, made me crave gingerbread and put me in the holiday mood).  I stamped flowers, leaves and dots until I felt good about the colors and design.

As the background was pretty busy I decided to add white space with the sentiment.  I die cut "greetings" from The Big, the Bold and Greetings Cutaways on an A2 panel of white cardstock...I placed the die about a third of the way into the panel and tried to center the sentiment.  I decided how much I wanted the word to hang down from the panel and then cut to the die cut from the left and right side and pulled the bottom portion of the panel away making sure not to pull the top of the die cut from the rest of the white panel.  To ensure it stays together you can tape the back of the panel together.  I placed quite a bit of foam dimensional adhesive on the back of the panel which helped keep pieces together.  I stamped the "season's" from The Big the Bold and Greetings in black ink.  I attached the white panel to the background.

I felt the background needed something so I added some dots of gold acrylic paint to the background panel as well as adding some details to the flowers and some leaves.  I also used Wink of Stella over the "greetings" which you can see in person, but is not apparent in the photo.  All of this is all attached to a white A2 card base.

That's it from me, but there is so much more to see from Taheerah this month.

Join in the fun every day at taheerah-atchia.com to see what special surprises await behind the door!

It’s not a party without a prize - and with prizes every day there are several chances to win! Today’s prize is supplied by w&w so you’ll definitely want to win! Simply leave a comment on this post - then head back to taheerah-atchia.com and leave a comment there too! You must leave a comment on Taheerah’s blog as well as here in order to be eligible to win! Don’t forget to grab the other surprise destinations from Taheerah’s blog and head over to them to leave comments there as well to improve your odds even more! You have until 23:59 EST on 31st December 2016 to enter.

Don’t forget Advent Calendar Extravaganza runs from 1st-25th December inclusive so make sure you visit taheerah-atchia.com every day for fabulous inspiration and amazing prizes every single time! Merry Christmas!

Happy crafting,
Shay.

Wednesday, November 9, 2016

Rerun No. 16 | Happiest of Holidays with Vanessa

Hi sweet Winnie & Walter friends! Vanessa here with a Christmas card. I like to keep my Christmas cards flat to make it easier to mail them. This is one design that would be easy to mass produce.

I started with a panel of watercolor paper that I had trimmed slightly smaller than my gold card base. I masked off the edges with washi tape and applied various green Distress Inks with an ink blending tool. Then I stamped the leaves from Merry & Bright with Evelin T Designs and the small circles from Happiest of Holidays with Evelin T Designs onto the inked area. I applied gold ink droplets and let everything dry. After I had removed the tape, I stamped the sentiment from Happiest of Holidays and heat-embossed it with gold embossing powder. Now I adhered the panel to the card and finished it off with gold sequins.


I need to hurry up with my Christmas card production! How about you, are you ready? 

Thanks for stopping by today!

Vanessa


w&wDT_vanessamenhorn_blog-sig

w&w-supplies

Saturday, August 20, 2016

August Leading Lady Nina-Marie Trapani | Take Three

Our August Leading Lady, Nina-Marie Trapani, is back for is back for her triumphant third performance!  If you missed her smashing debut you must see it...CLICK HERE or her sensational second performance adding a personal touch and artistic flair CLICK HERE. Nina-Marie
 shows her mastery of design principles today with a showstopper of a card!

Without further ado, Nina-Marie....

Hello friends! Welcome back to my third guest post for Winnie and Walter's Leading Lady feature... I hope you are having as much fun as I have so far! :)
  Nina-Marie_Trapani_august2016 
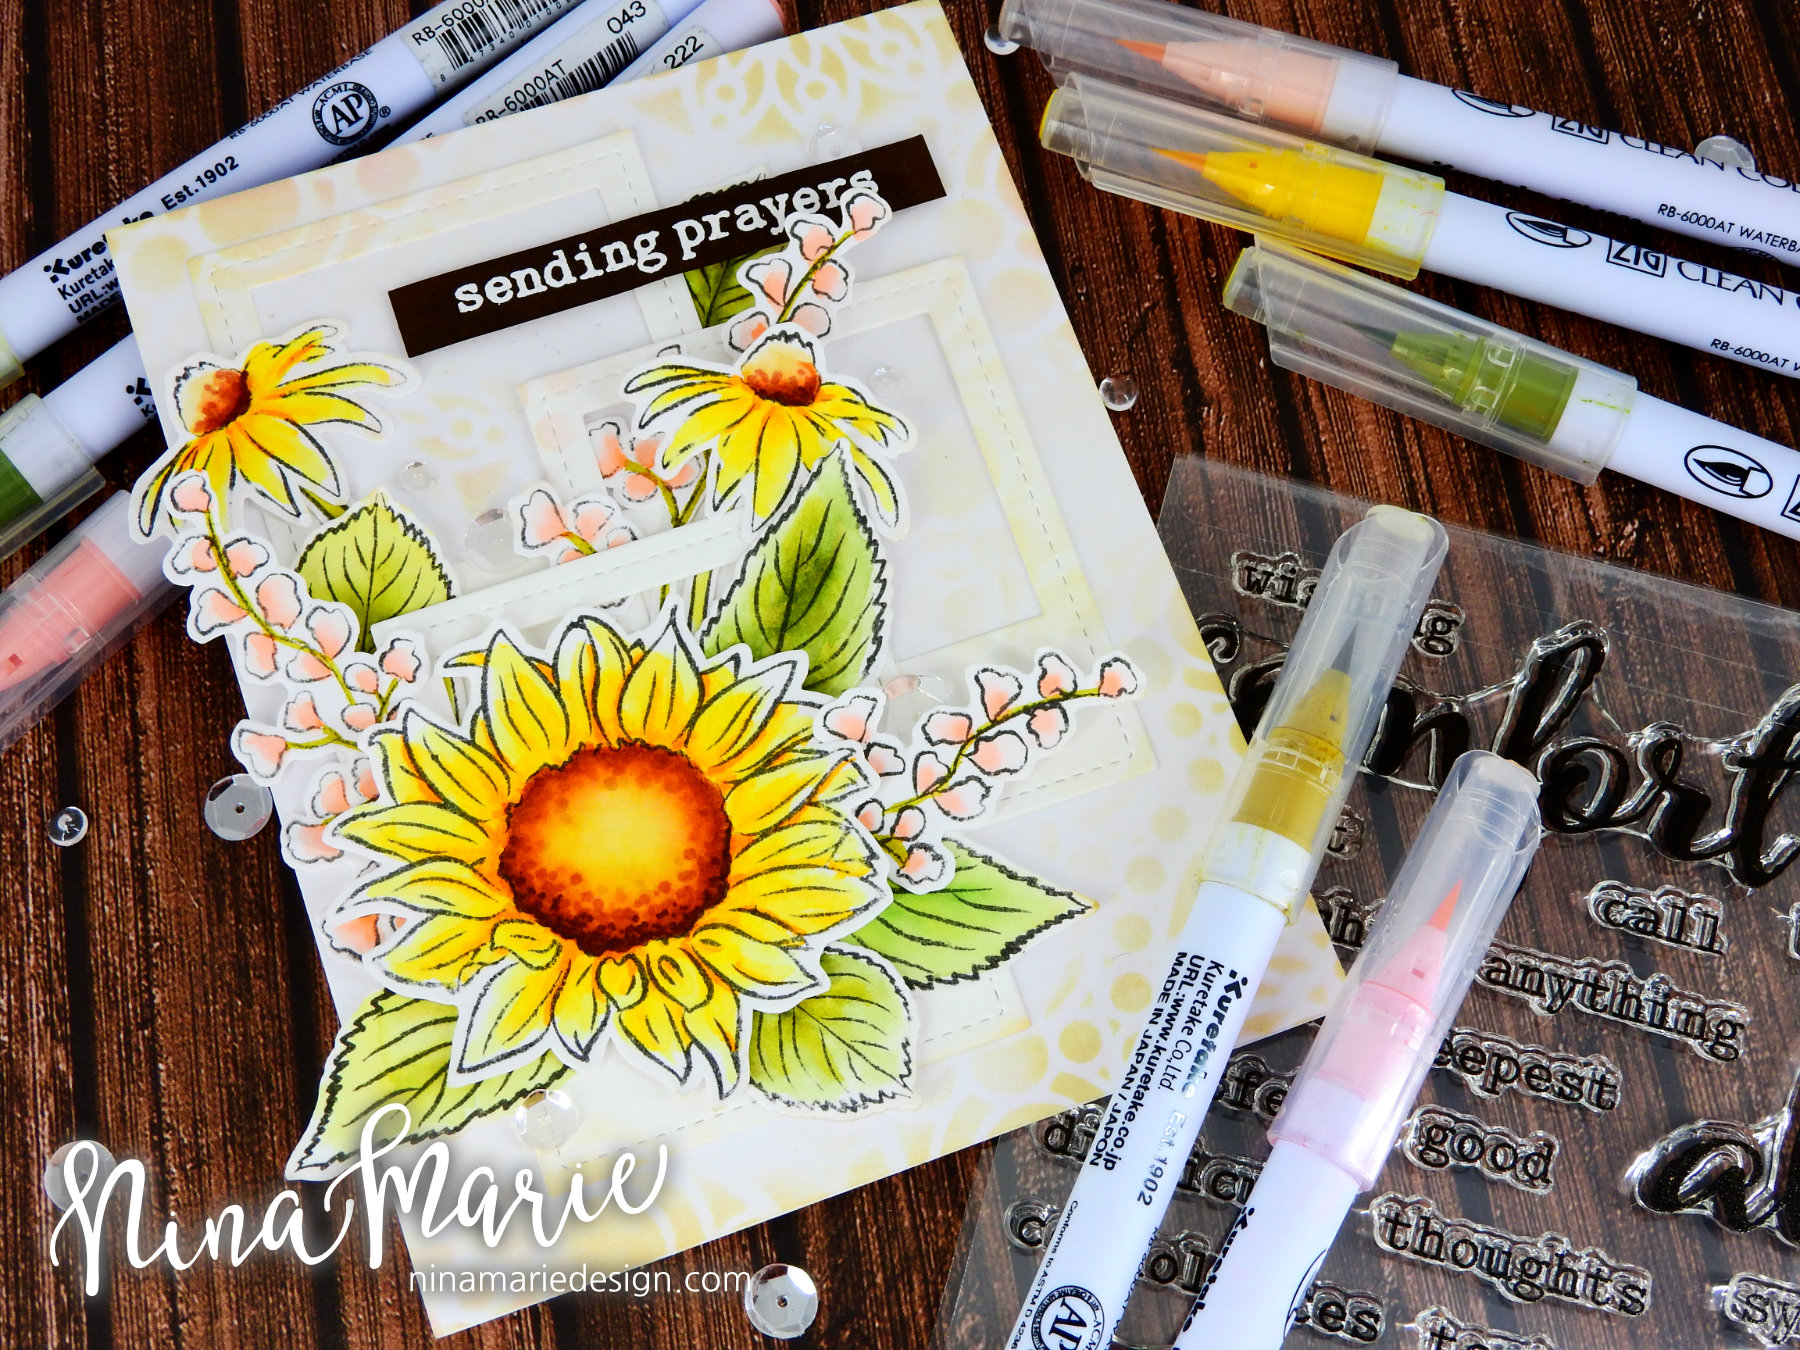
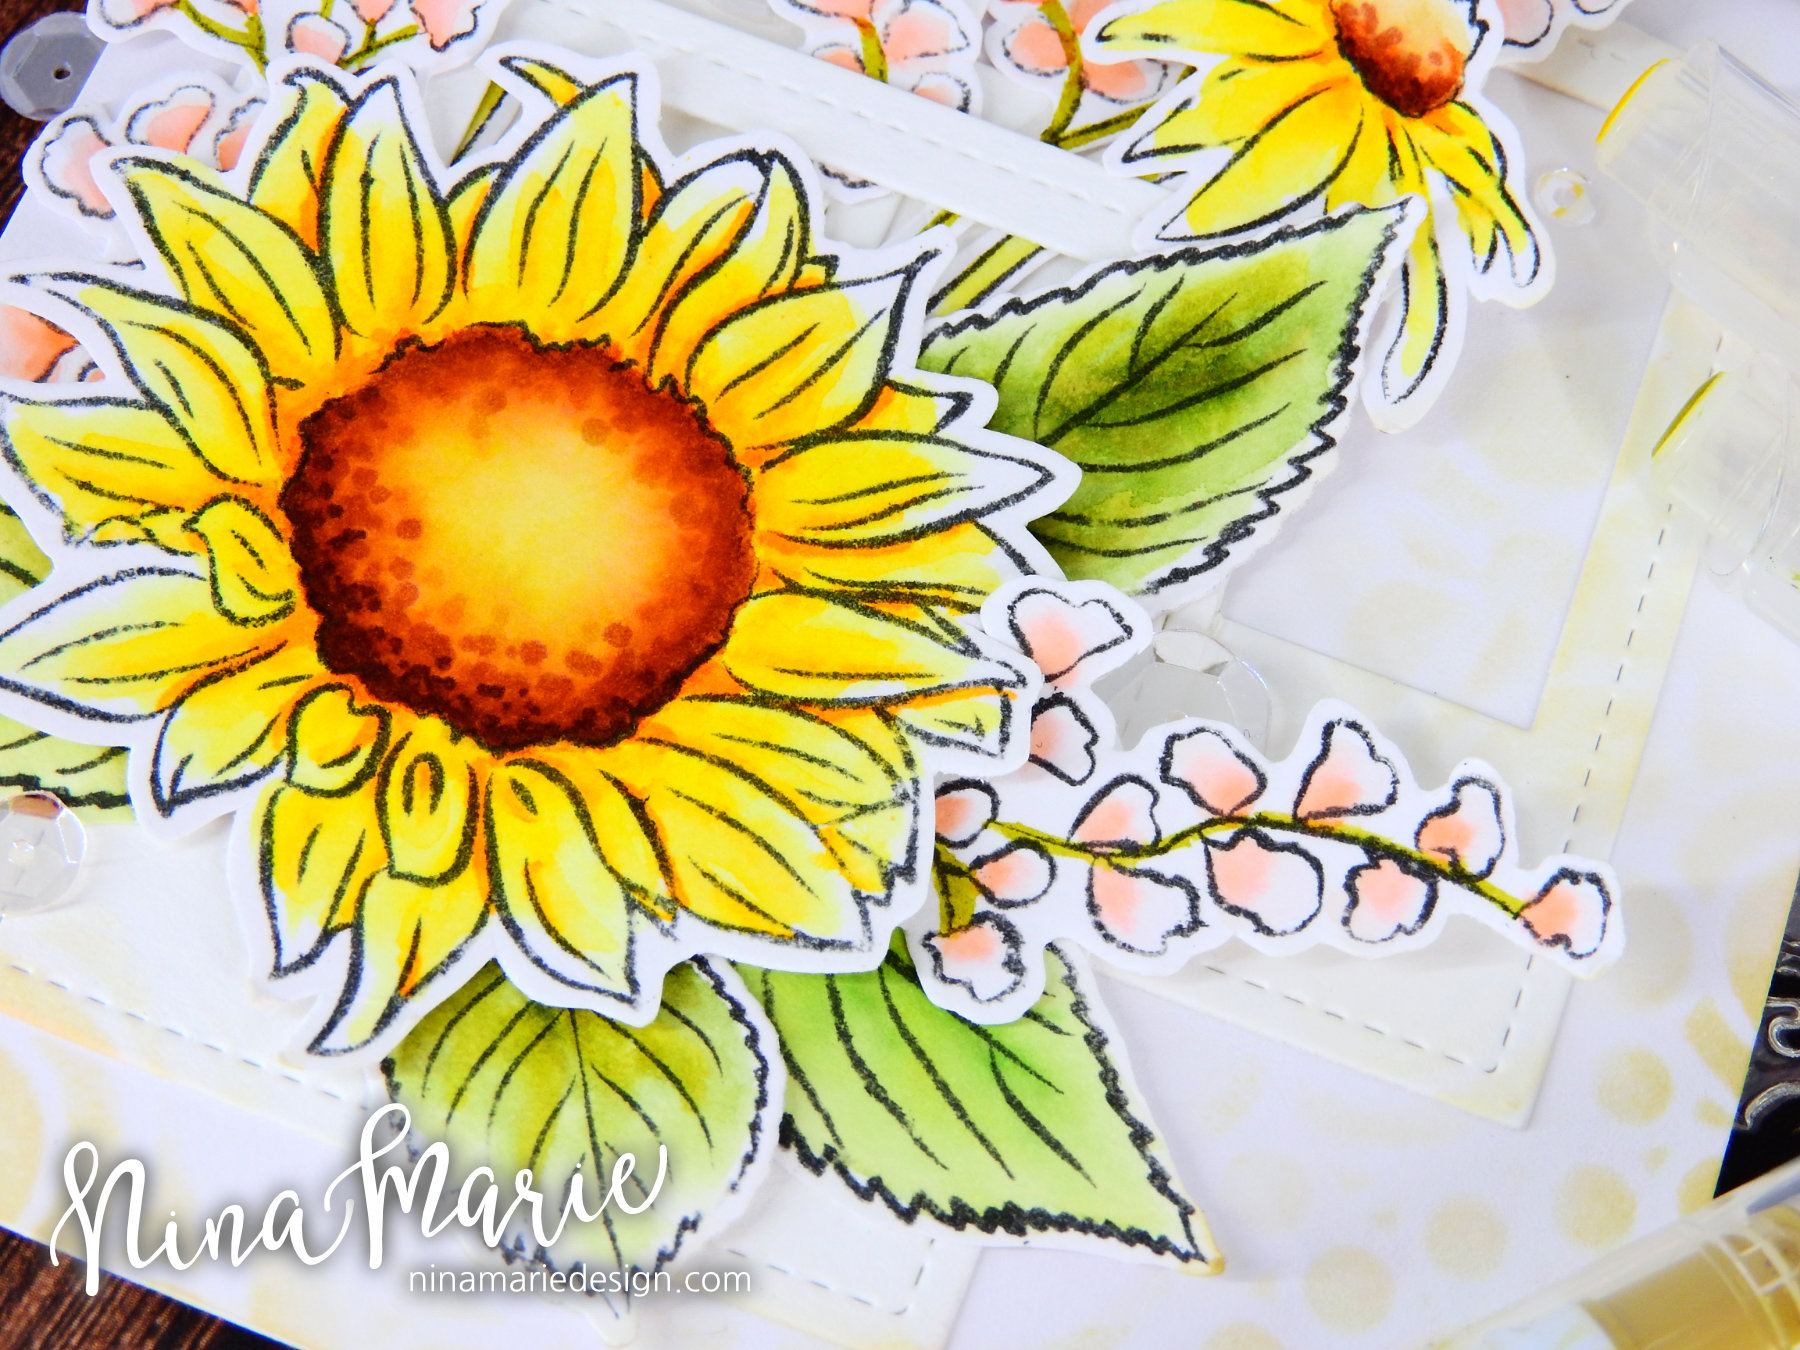
Today I want to share some inspiration on creating appealing card layouts using Winnie and Walter's In Bloom: Addie's Garden and In Bloom: Anna's Flora stamp sets. The reason I chose these floral images for today's card is because floral images are a great example of building a good layout; a poorly arranged flower bouquet isn't as pretty as one that was more thought-out. These floral stamps are some of my most favorite because of the beautiful detail and larger size of the images. This allows you to get creative with your coloring, which is so much fun! For this card I used a combination of Zig Clean Color markers and Copics to color the flowers and leaves.

  Creating Floral Arrangements_2

When building a good floral arrangement, I like to make sure I build with a few things in mind:

Rule of thirds: It helps to balance a design when there are three elements grouped into your card. For instance; I maintained this rule by using three frames in the background, three daisies, and three pink floral clusters. The odd number sits better in your mind believe it or not!

  Creating Floral Arrangements_5

Visual triangle: See how all of the major elements on this card all can be connected by a visual triangle (imagine overlaying a triangle to connect like objects together)? This helps draw attention to the more prominent elements and allows them to take center stage while still maintaining a good balance. Examples of the visual triangle are the layout of the frames in the background as well as the placement of the daisies and the pink clusters.

  Creating Floral Arrangements_1

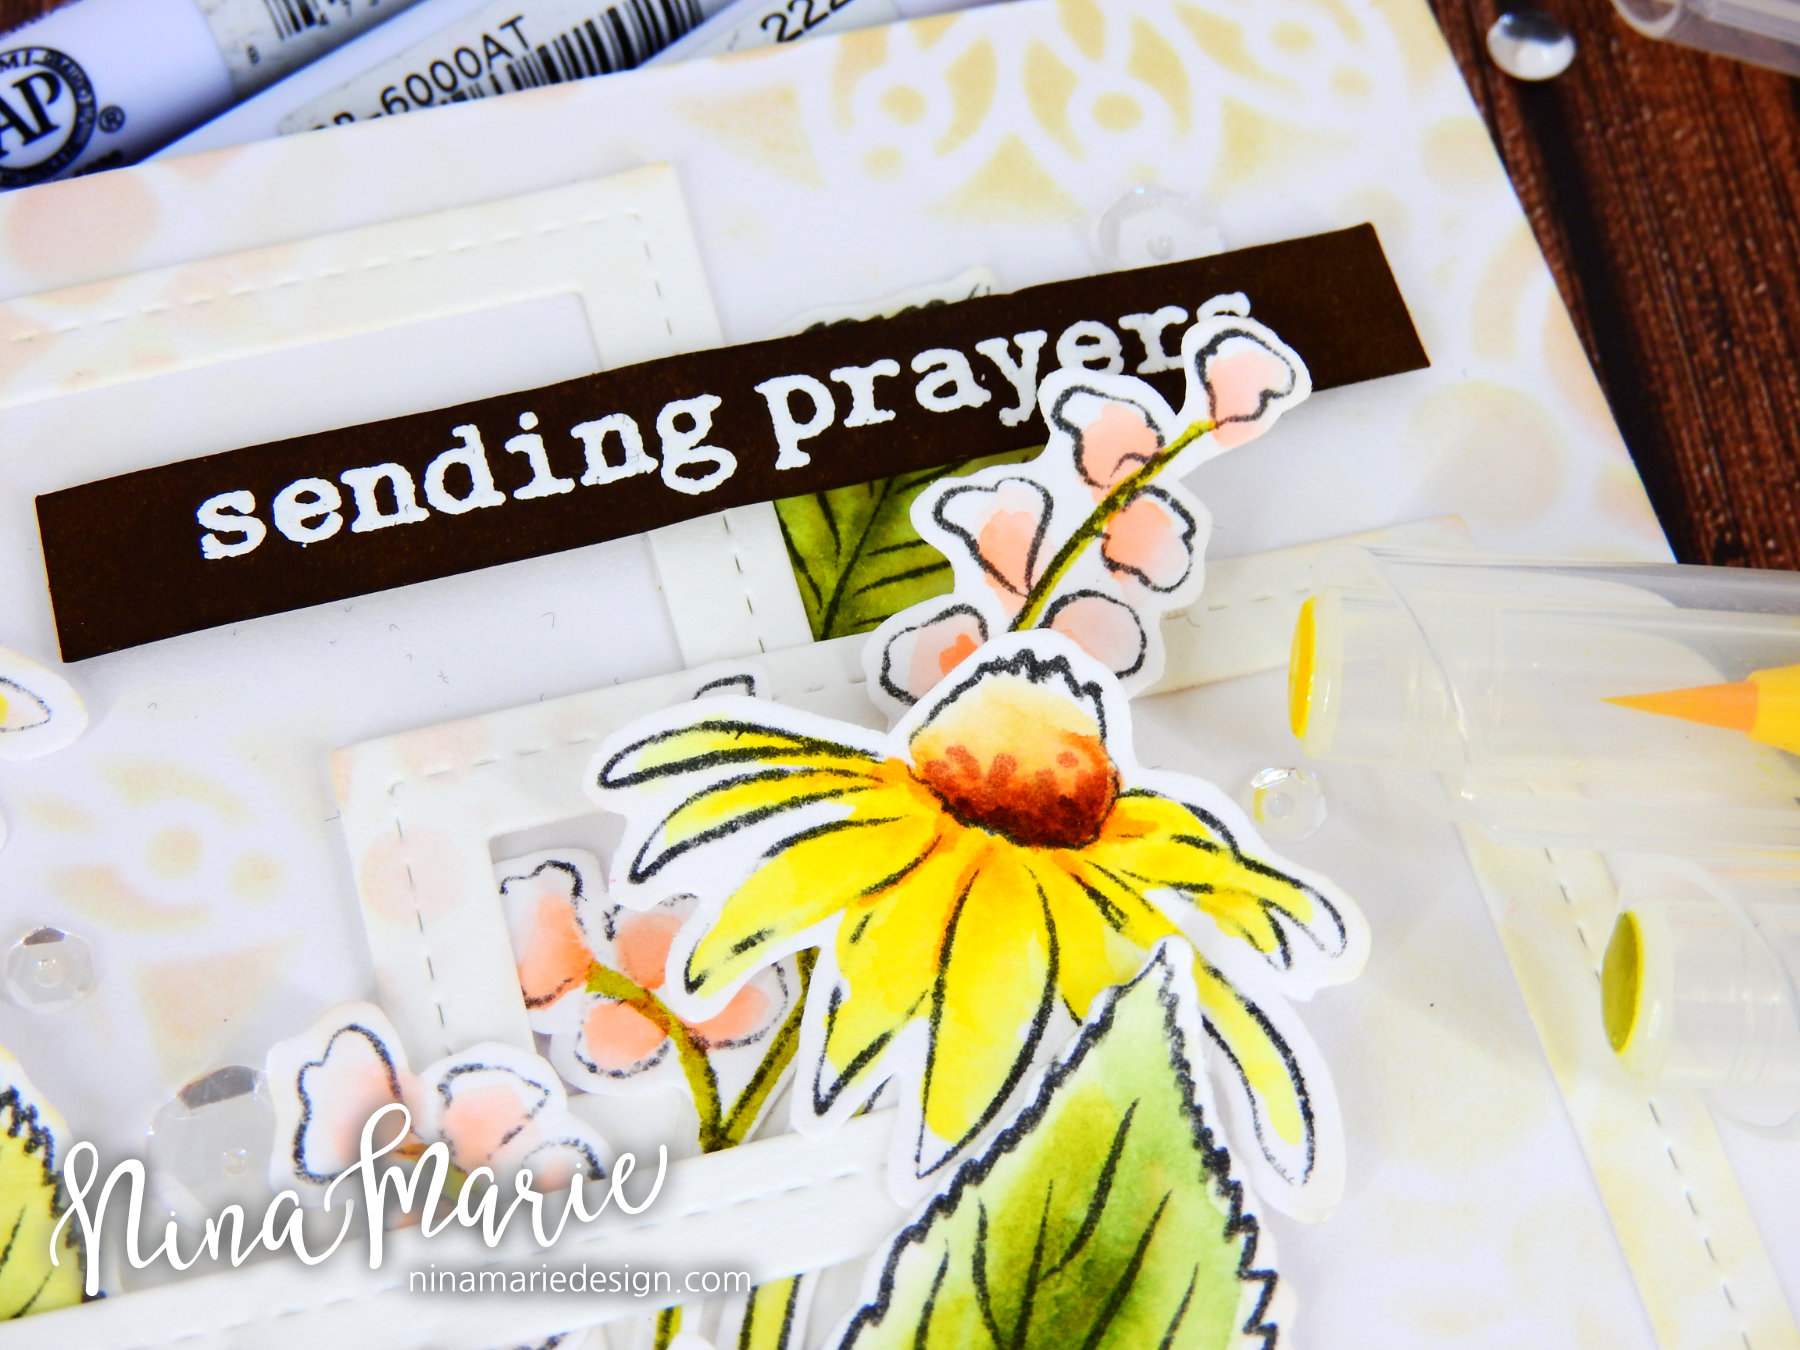
Balancing Large and/or Bold Objects: This card features two heavy (large/bold) objects; the largest daisy and the strong colors of the sentiment strip. These two items can be balanced out on the design by placing them at polar opposites. In this case, I attached the daisy at the bottom left and the sentiment along the top right of the card. By placing them apart from each other, rather than close together, this helps keep the design from being too heavy in one area.

  Creating Floral Arrangements_6

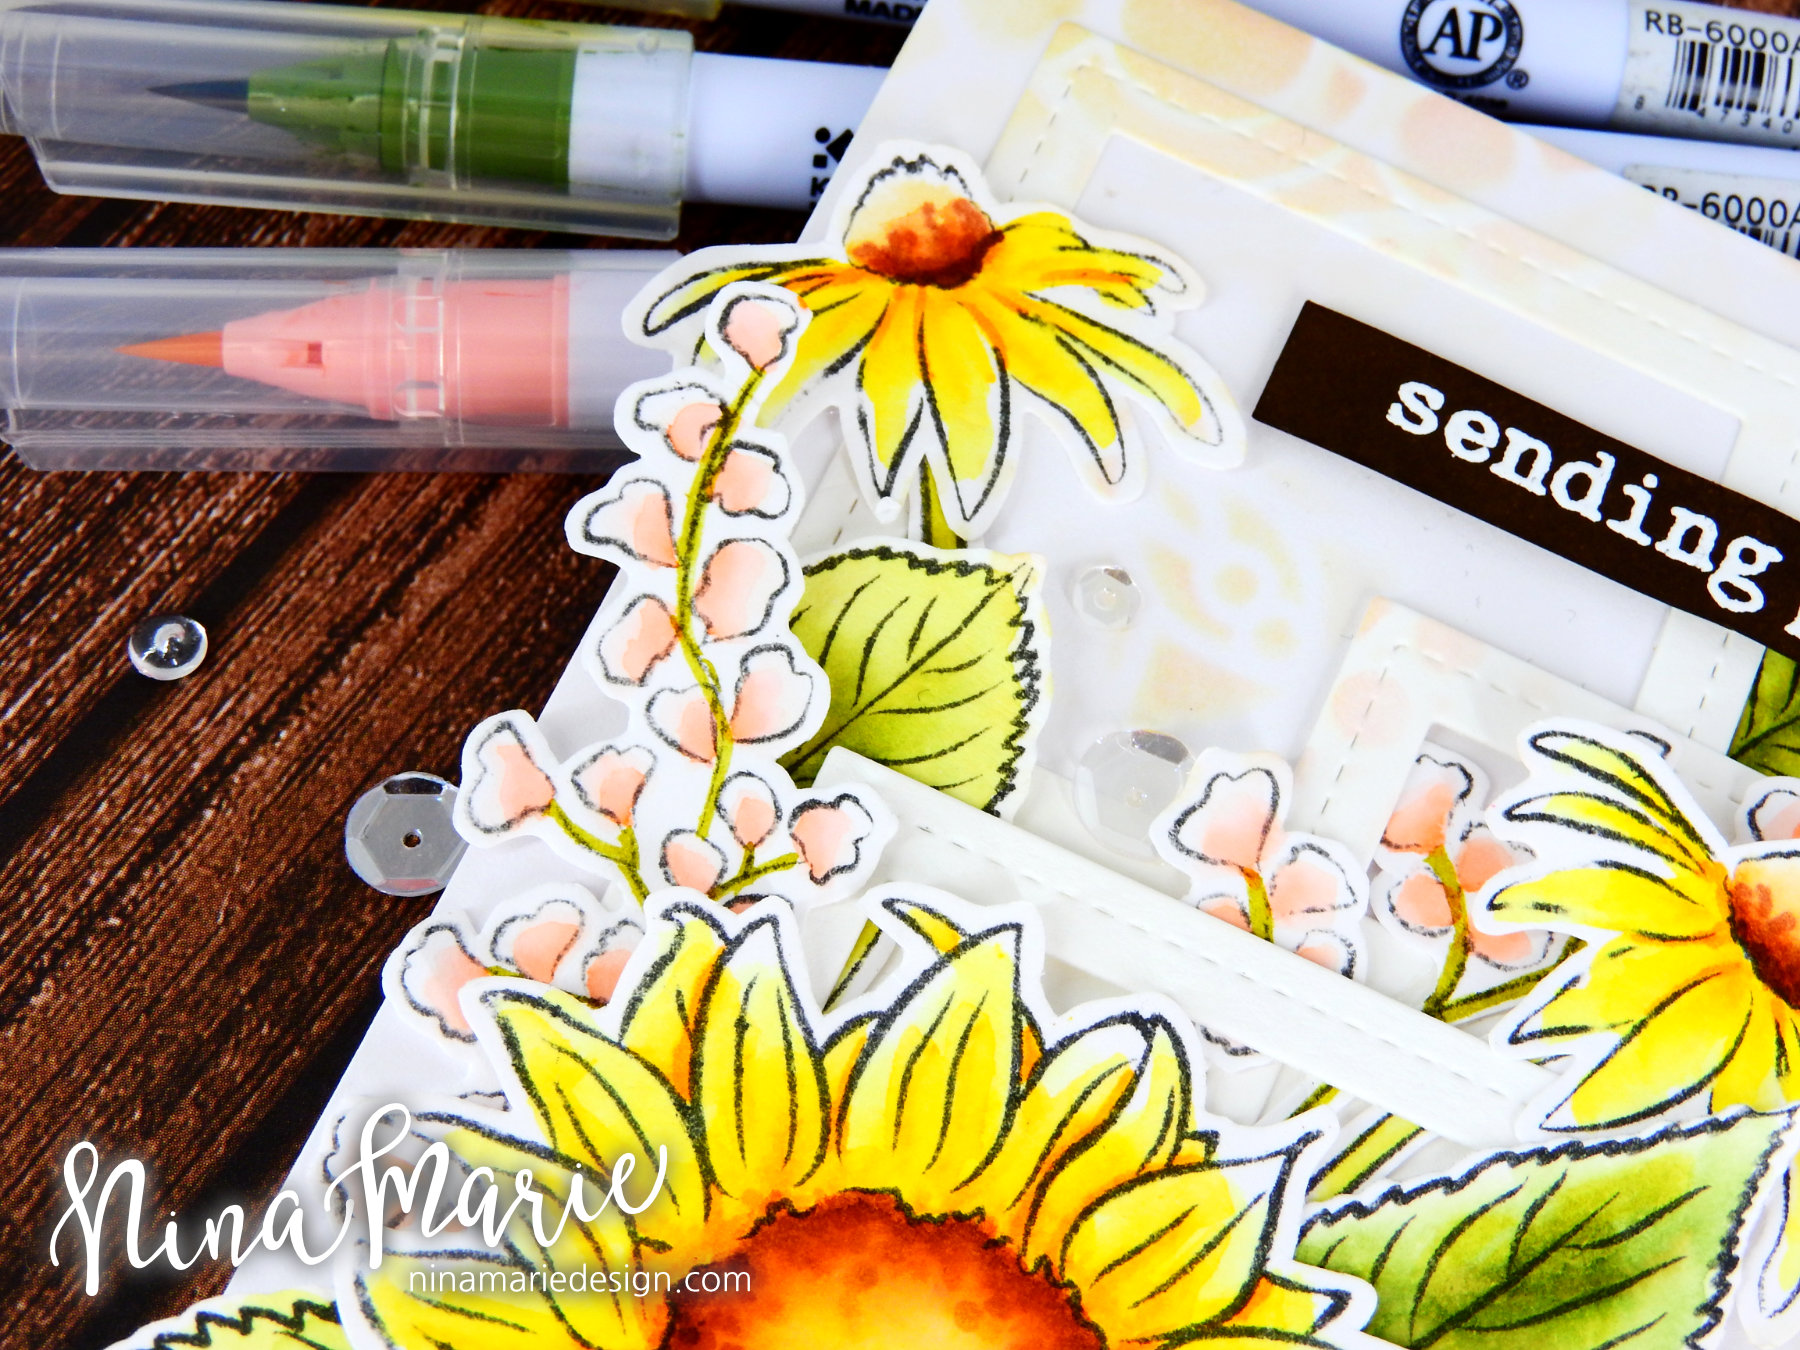
Odd Numbers: Remember the rule of thirds and how odd numbers helps the design of the card sit better in your head? Well the same applies for numbers greater than three! I scattered a total of 7 clear sequins around the floral arrangement, as well as having a total of 13 larger elements on the card (12 floral elements and 1 sentiment strip). Having that odd number really ensures a good layout! 

Mixed Sizes: You'll also notice that I varied the size of almost all of my elements on the card. This helps add a bit more interest to your design, as it keeps everything from becoming too boring and repetitive. If you can vary the size of the elements on your card, this helps keep the visual attention of the viewer.

  Creating Floral Arrangements_4

This may seem like a lot of work and thought to put into a card, but remember you don't have to incorporate them all into your card all at once; I wanted to make sure they were each included in the design so I could best show you how they work together to create an overall appealing design. And trust me; the more you practice these design tips, the more you'll start doing them automatically. This is how I started; I had to remind myself of these things as I created a card, but now it's just part of the design process for me and I do it on "auto-pilot" so to speak! And I know that the more you practice these things, the more you will start doing them automatically too! 

Before I go, I'll quickly touch on the rest of the card process: 

I stamped the images onto watercolor paper with a waterproof ink and colored the images with Zig markers. I then went back in with a couple of Copic markers and added in a bit more extra detail. I layered the flowers and die cut frames onto my card base using liquid glue; I added the sentiment (heat embossed on dark brown cardstock in white embossing powder) using foam tape. The sequins were then tucked in and around the florals using some Glossy Accents. 

I hope this post has helped you learn some new tips and tricks on creating good layouts on your cards! Thanks for spending some time with me today, I will see you again next week! :)  

GIVEAWAY!

w&w_30giftcard

Before you go, I want to tell you that Shay was SUPER generous in allowing me to giveaway a $30 gift certificate to one of you, which can be used in the Winnie and Walter store! How cool is that?? BIG thank you to Shay for being so sweet!

To qualify for the giveaway, make sure you leave a comment on any of my Winnie and Walter blog posts (commenting on each Saturday post this month will count as extra chances to win the giveaway). After the last Leading Lady post at the end of the month, I'll draw a random winner from all the collective post comments.

PRODUCTS