As January ends we sadly must bid adieu to our our January Leading Lady Greta Hess.The last few weeks with Greta has been a spotlight for her excellent design, mastery of composition and terrific techniques. Greta has exhibited her tremendous talent and astounding creativity week after week. I feel so fortunate Greta shared her talents with us this month and made this month something special.
If you missed her smashing debut you must see it...CLICK HERE or her sensational second performance showcasing her oh-so-clever coloring methods CLICK HERE or her triumphant third performance highlighting a tremendous trio of cards showing off a wonderful design element that adds just the right amount of drama CLICK HERE!Today's projects add just that extra bit to make them shine!
Lucky for us all we have her final command performance today.
I'm thrilled to be back with my Final Performance as the Winnie & Walter January Leading Lady. It's been a huge honor & I can't thank Shay enough.
I love shimmer & shine including foil. For my final 3 cards I thought it'd be fun to show you ways to add foil without using a laminator. First up is a festive birthday card with a rainbow color scheme.
I stamped images from Scenery: Dotty on the card front using a variety of Distress Inks that match the rainbow foil. The In a Word: Happy Cutaway was die cut from self-adhesive foam so that the adhesive was on the top. Then the foil was pressed onto the word & carefully peeled back to reveal the gorgeous results! This really is my favorite way to use foil--super easy & fun! The little word from The Big, the Bold & the Happy was white embossed on a black scrap & trimmed into a label. I added a scattering of shimmer dots for embellishment.
For the next card I first made a plaid panel using 2 images from Scenery: Stripes stamped in Memento Lilac Posies & Teal Zeal. Then I added strips of 1/8 inch score tape going both directions & pressed silver foil onto the adhesive.
I love how it totally changes the look! The bloom & leaves from In Bloom: Addie's Garden were die cut, stamped & brushed with the same inks. I also used a shimmer pen on the bloom & attached it with foam tape. For the sentiment I used In a Word: Thanks Coordinating Cutaways. The shadow was cut from white cardstock & the word from a medium gray. I like how it stands out, but doesn't compete with the silver foil.
To finish up I made my most common type of card & that is one to keep in touch with a friend. I began by randomly stamping flowers from In Bloom: Eva's Favorite Flowers in 3 warm ink shades. I added the dot from the same set using kraft ink.
Then I used my Quickie Glue pen to make dots in the flower centers. When they turned tacky, I pressed on gold foil. Almost looks like designer paper with foil accents, don't you think?! I stamped the words from The Big, the Bold & the Happy in dark brown ink. Originally it was a one layer card, but I decided to add a gold foil frame. I cut the panel down slightly & brushed the edges of the card front with Flitter Glu. When it dried to a tacky finish I pressed on the same gold foil & attached the floral panel. The frame could also have been done using 1/4 inch Score Tape.
I hope you've been inspired in some way by my projects this month. Winnie & Walter has given me a $30 gift certificate as a prize for the random drawing I'm doing on my blog.
Be sure to stop by each of my Leading Lady posts to be in the running. Thanks again to Shay for having me & I look forward to seeing all your Winnie & Walter projects in blogland.
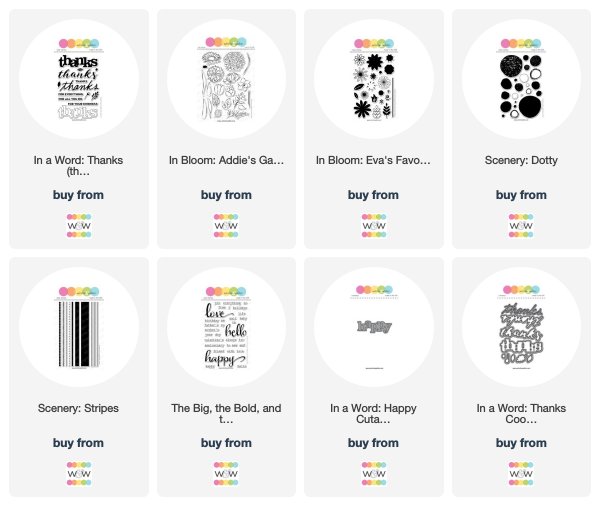
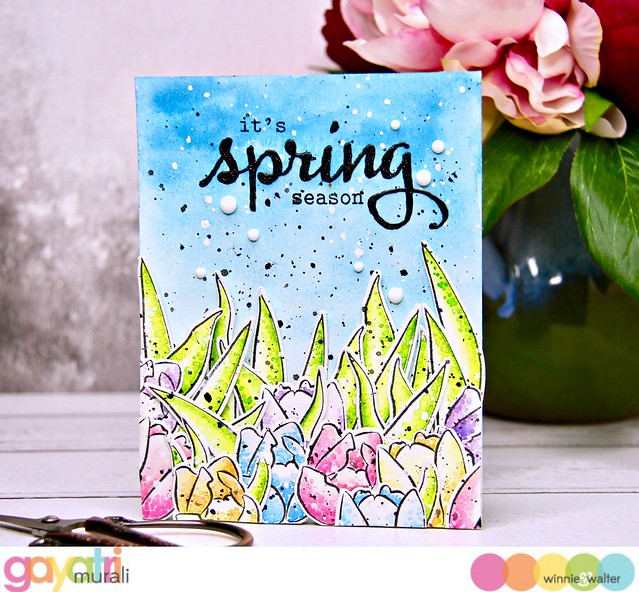
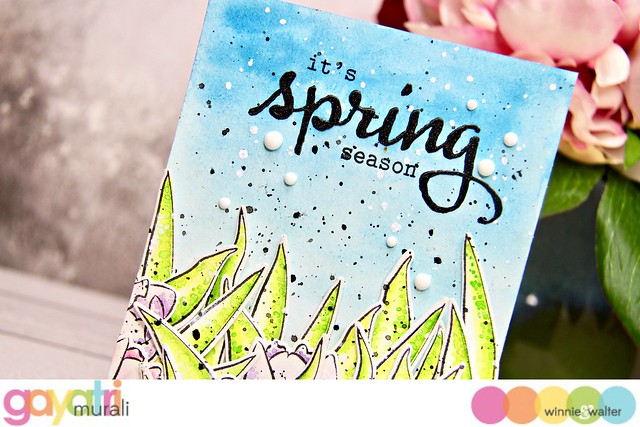
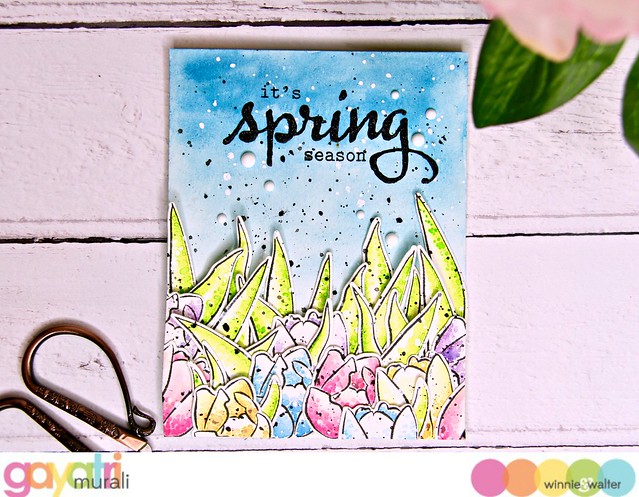
Hello everyone. Gayatri with you today.Last post of mine I shared a fall card since you all in northern hemisphere are in the autumn season. Today I am sharing a spring card because I and several others in the southern hemisphere are in the spring season. After a few months of heavy rain, cold, windy and no sun whatsoever, its is awesome to see the sun out, warmth and lots of flowers around. To celebrate the season, I made this card.
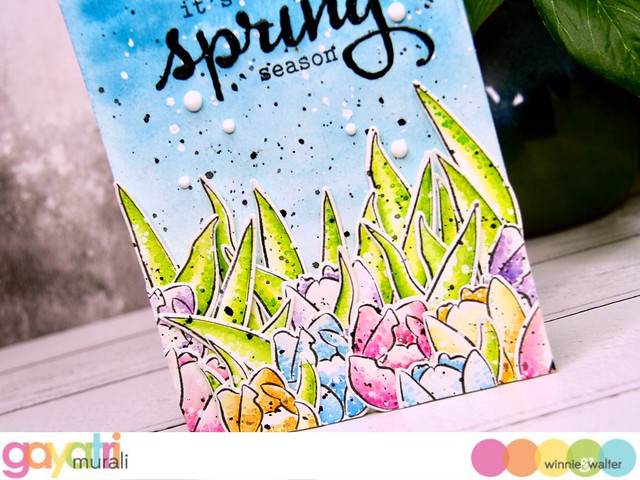
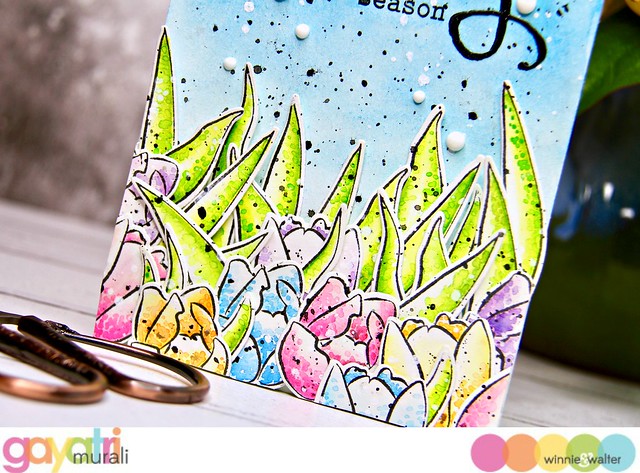
I did some messy watercolour on the gorgeous tulip and leaves images from In Bloom: Addie’s Garden stamp set. I stamped the images on watercolour paper using Simon’s intense black ink. This ink is great for watercolouring. Then I used Zig clean clear brush pens to add the first two layers of the watercoloring on the images. Then I used the Migello Mission watercolours to add texture to the images. I let the watercolours dry. Then spattered with black and white Altenew spray and left the panels to dry. Once dry, I used the coordinating cutaways to die cut the images.
For the background, I did a blue ombre watercolour, dried it and spattered with black and white Altenew spray. After the panel is completely dry, I adhered the die cut tulips and leaves on the bottom of the background panel using glue and foam adhesive for dimension.
For the sentiment I die cut the Spring using The Big, the Bold and Seasons Cutaway using black glitter cardstock. This is my main sentiment. The secondary sentiment is from The Big, the Bold and Seasons stamp set which I simply stamped on top and bottom of the main sentiment die cut. Finally a few white Nuvo crystal drops to finish off the card.
Hope you like my messy watercoloring and a very colourful spring card. All w&w supplies used to make this card below. Thank you very much for visiting today.
Our September Leading Lady, Maryam Shalabyis back for her sensational second performance! If you missed her smashing debut you must see it...CLICK HERE. I think you will be enchanted with today's cards as I am!
Ladies and gentlemen, Maryam...
Hello and welcome back ,
I am still as excited as my first post for being a September leading lady at Winnie and walter blog and I would like to share with you these elegant cards that I made as my takome back ,
I am still as excited as my first post for being a September leading lady at winnie and walter blog and I would like to share with you these elegant cards that I made as my take 2 . Before I started I would like to thank you for your kind words and support it means too much for me.
If you follow me you will notice that I love to use vellum in my cards . Vellum usually my elegant element , I love to used it in my shaker, emboss my sentiment on it and / or for adding details or layers in to my cards . In my post today , I will share with you who I made these two vellum covered cards .
In these two cards I used vellum as a main card but I placed it over another base card to highlight this vellum content.
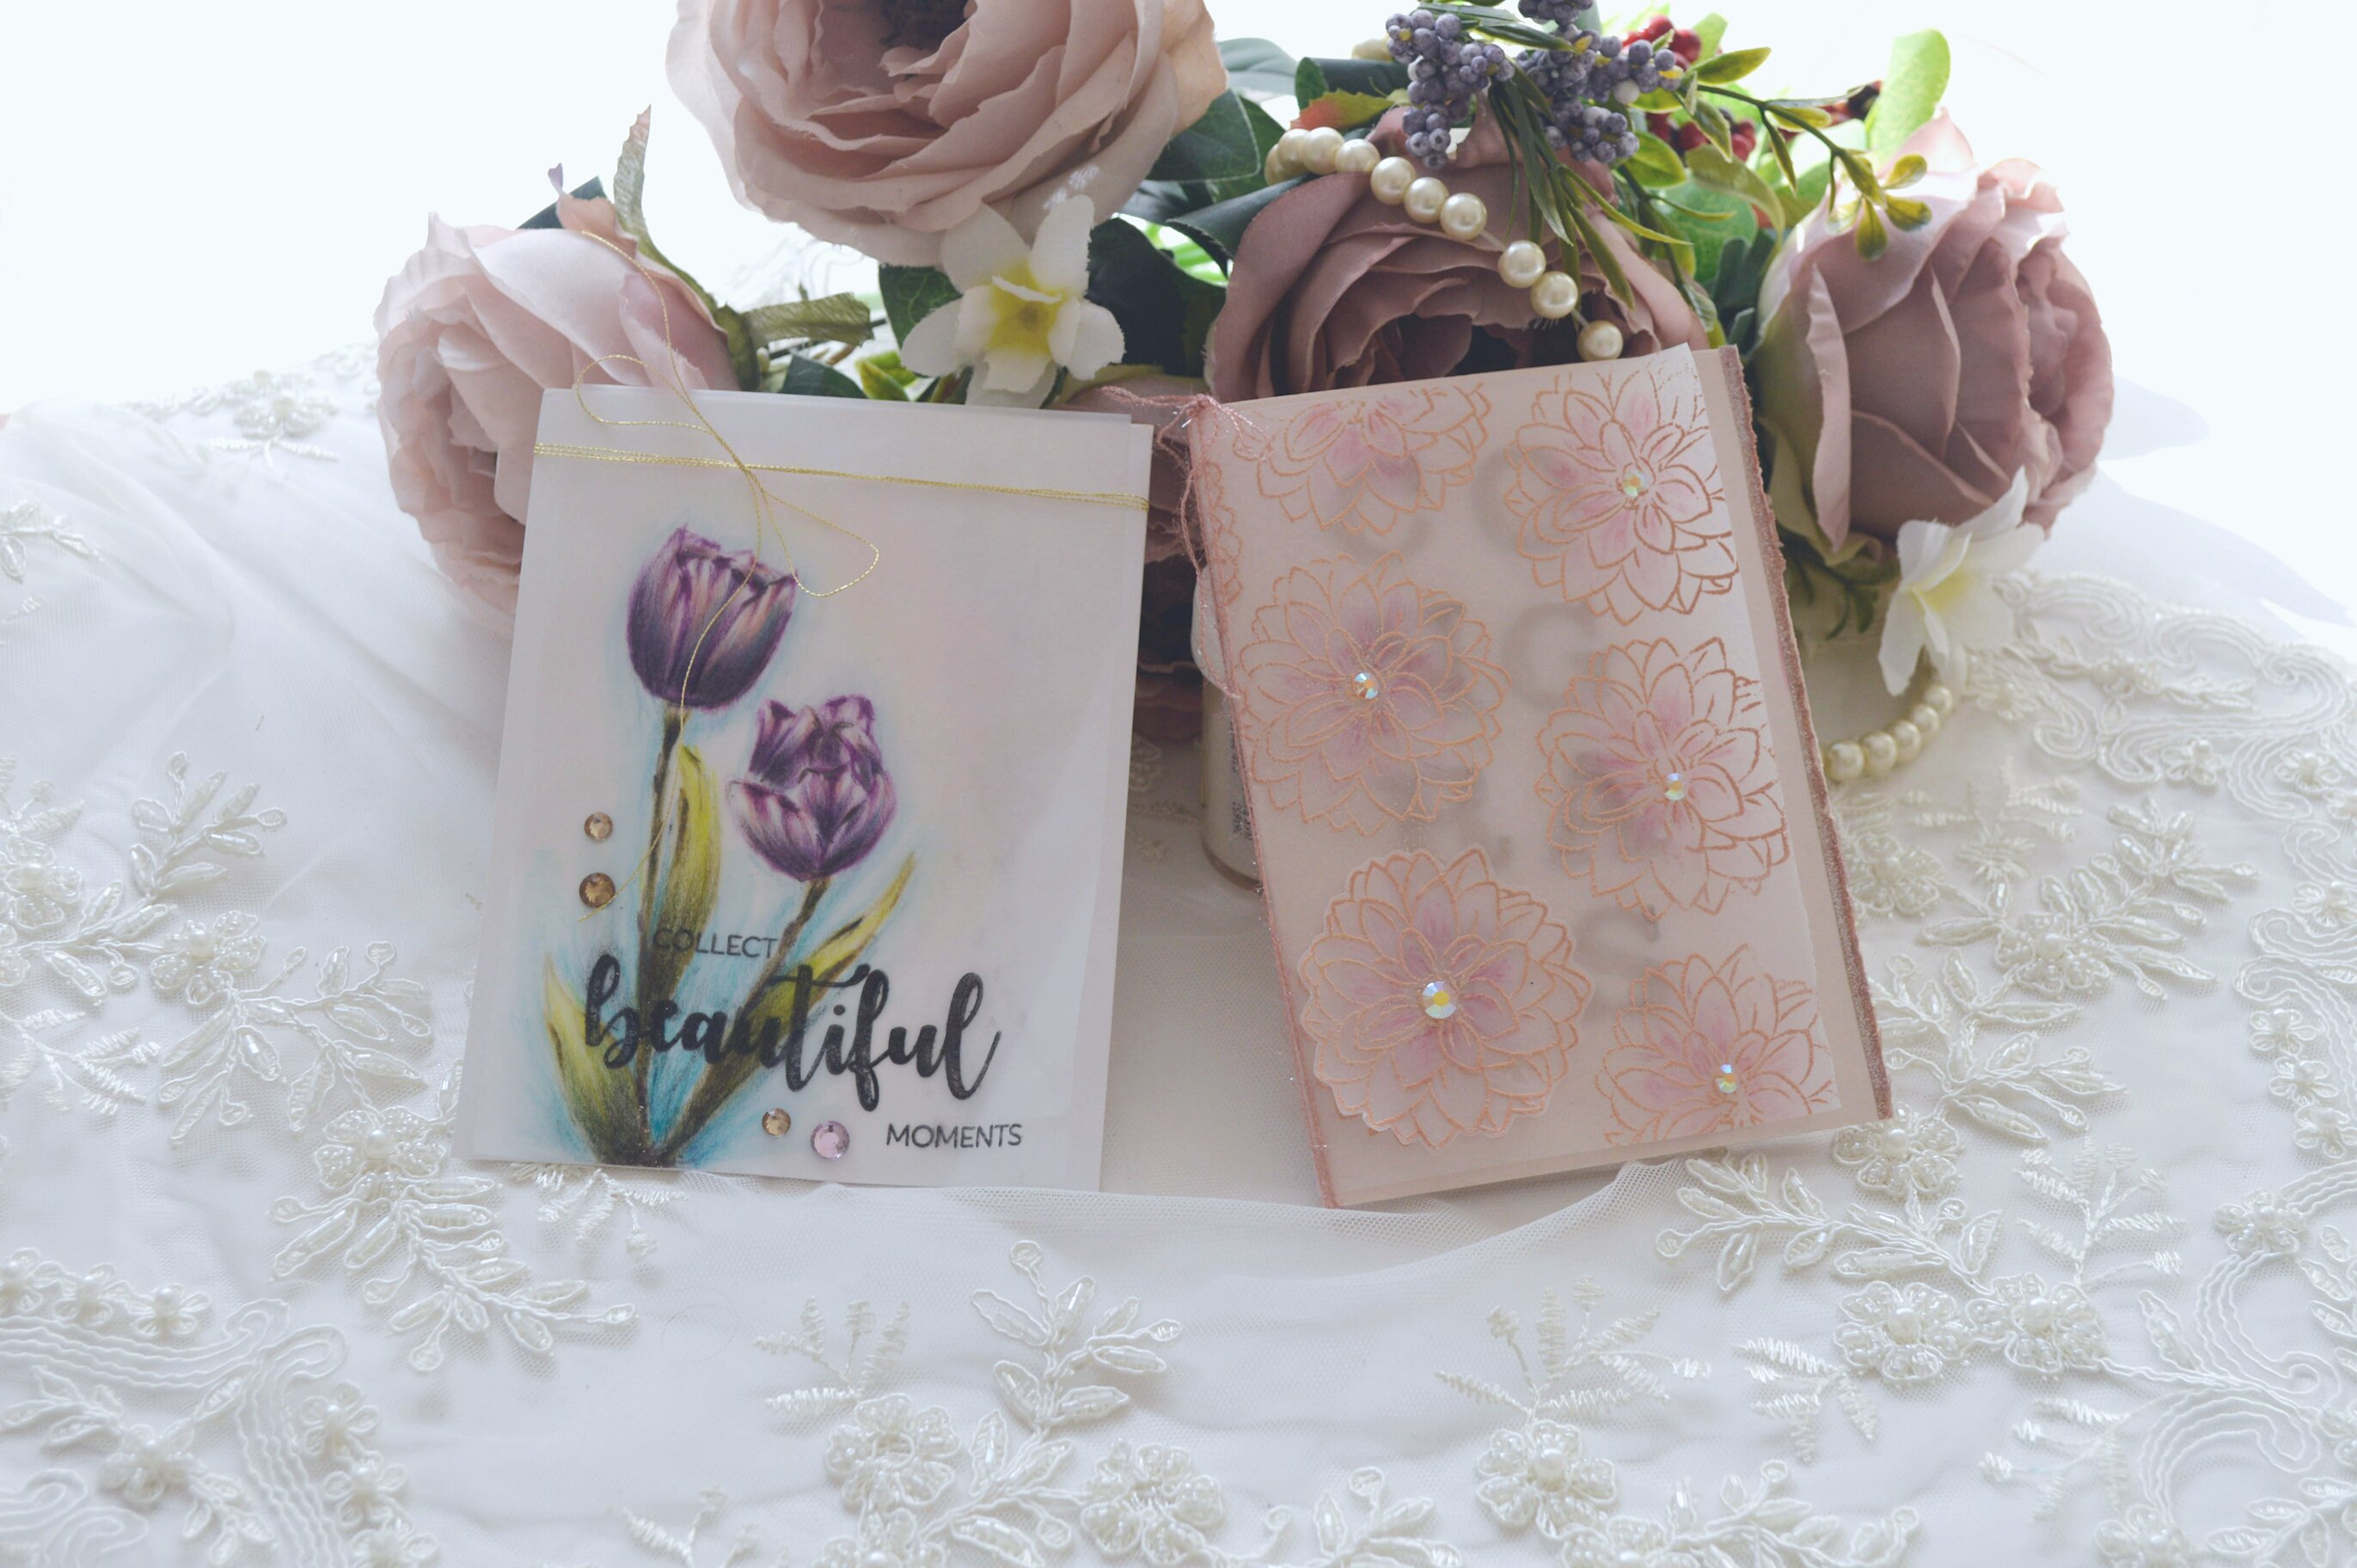
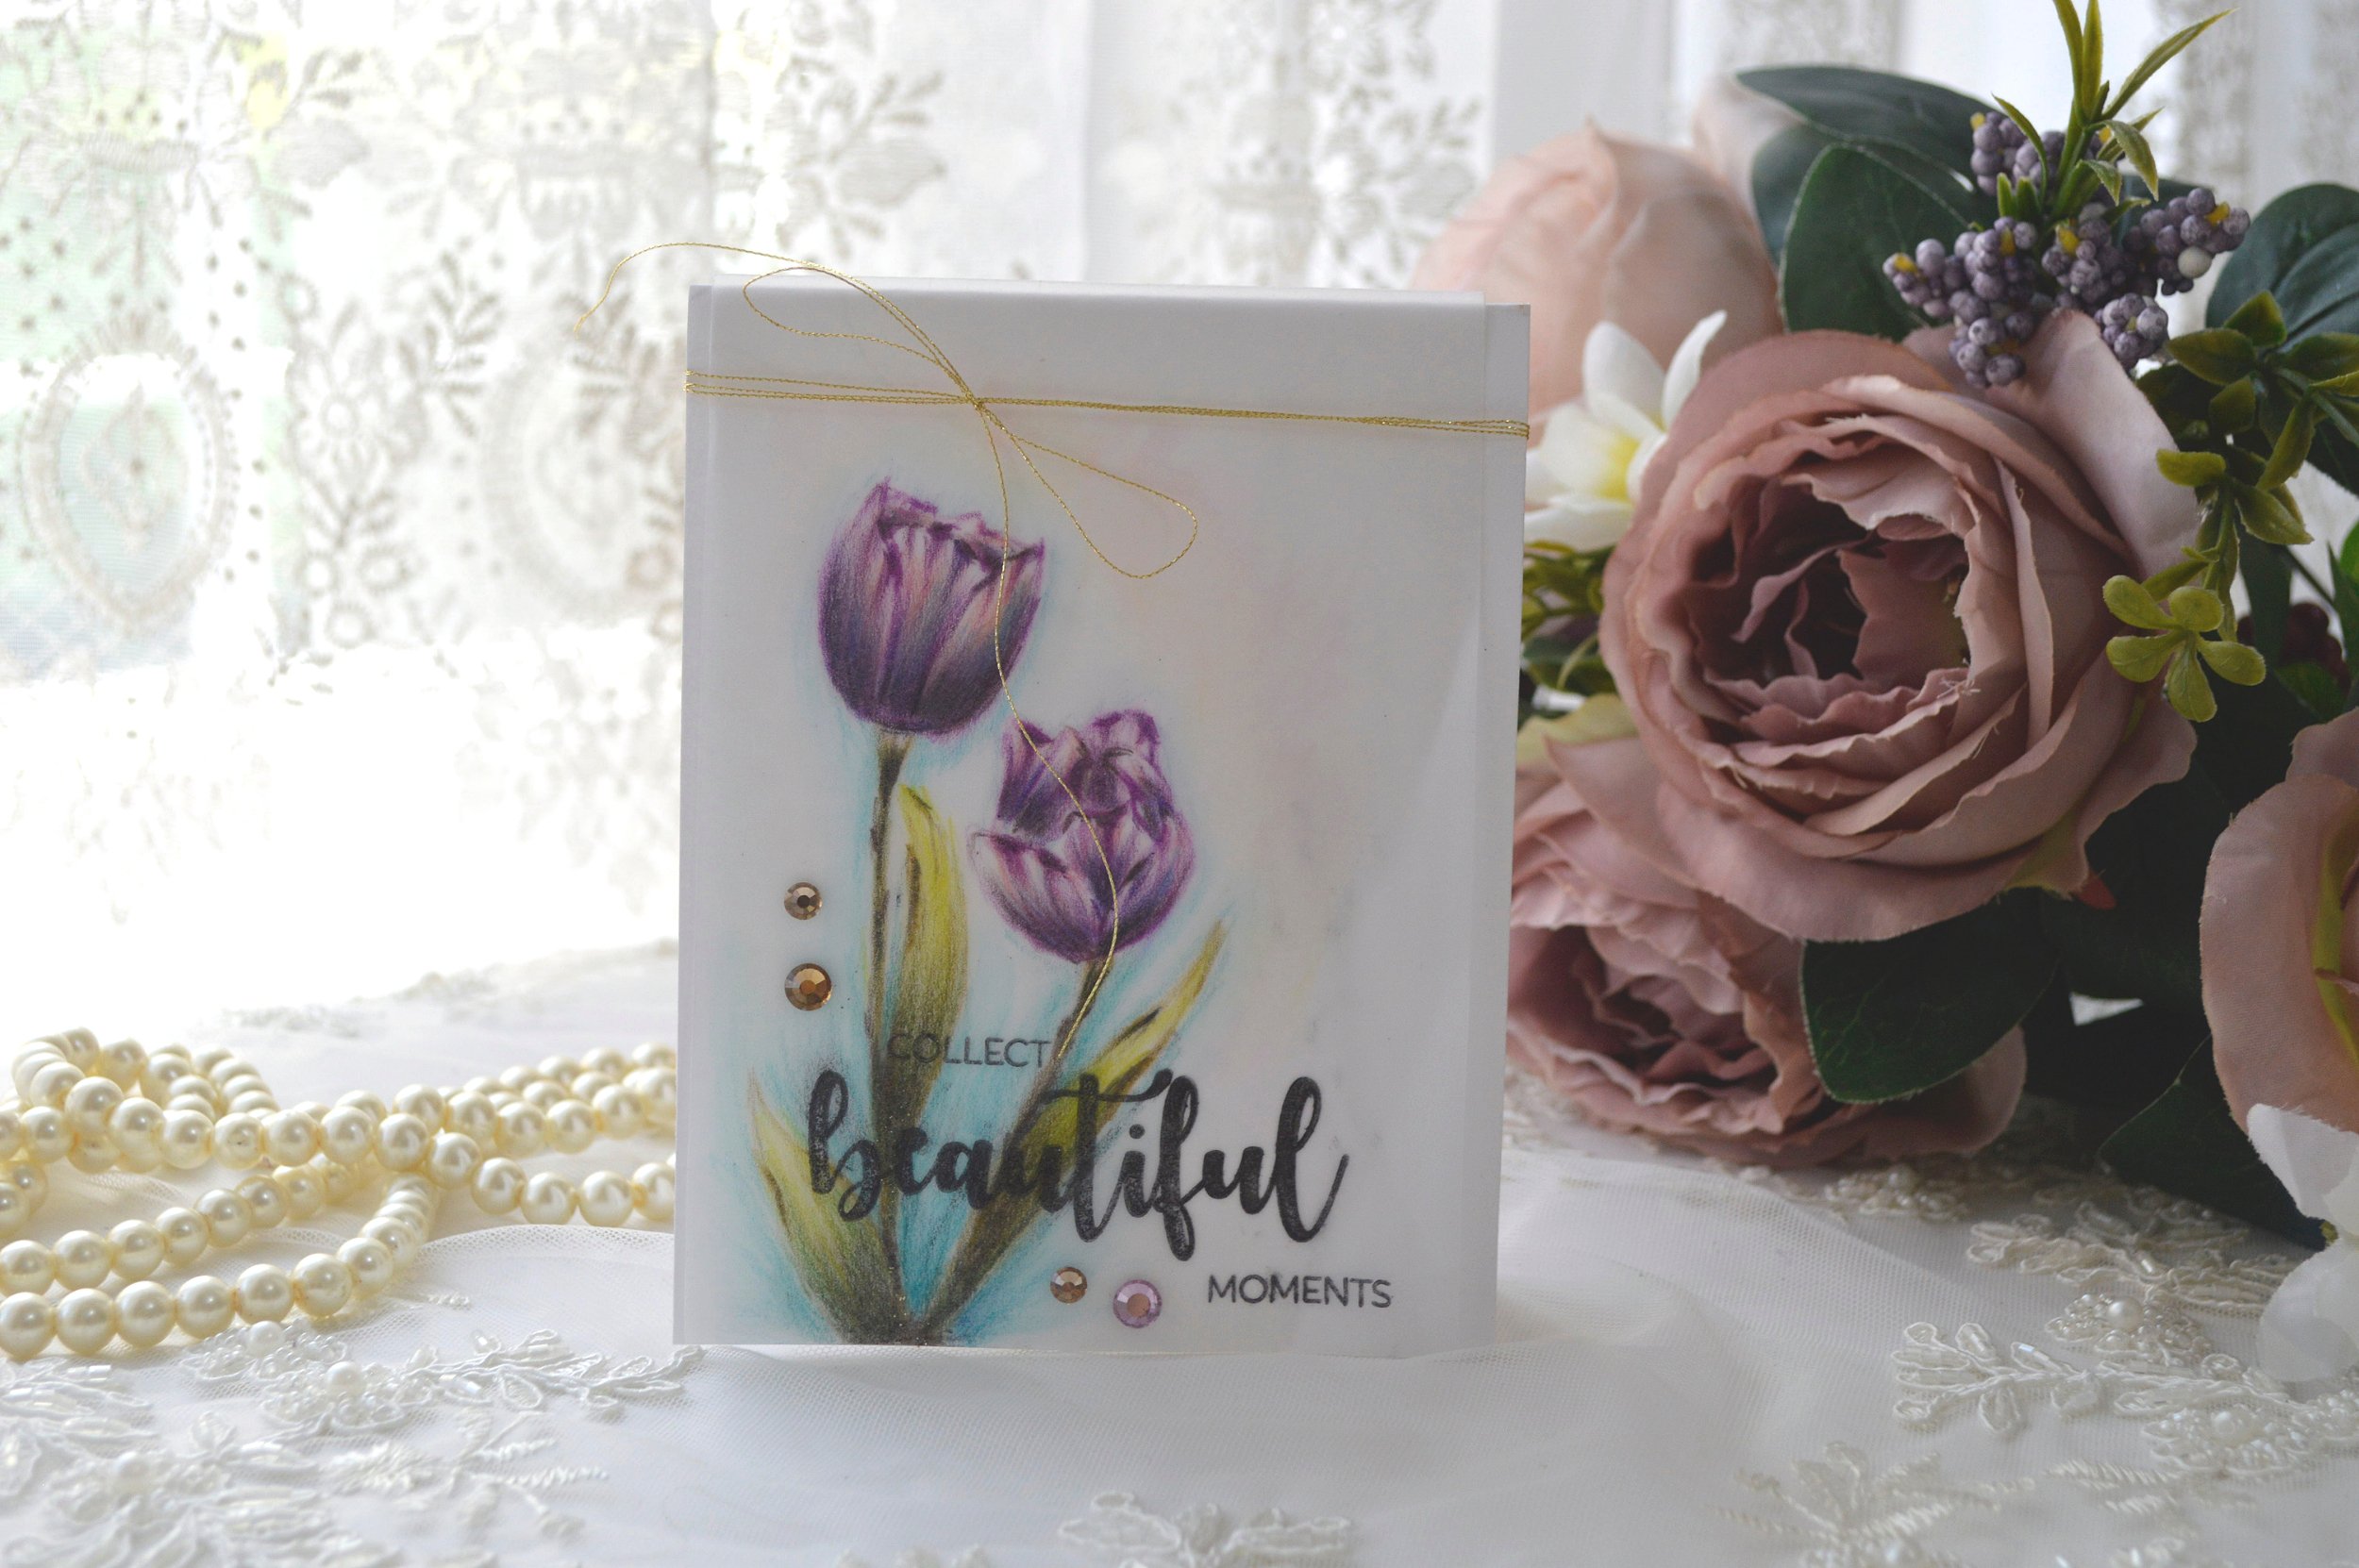
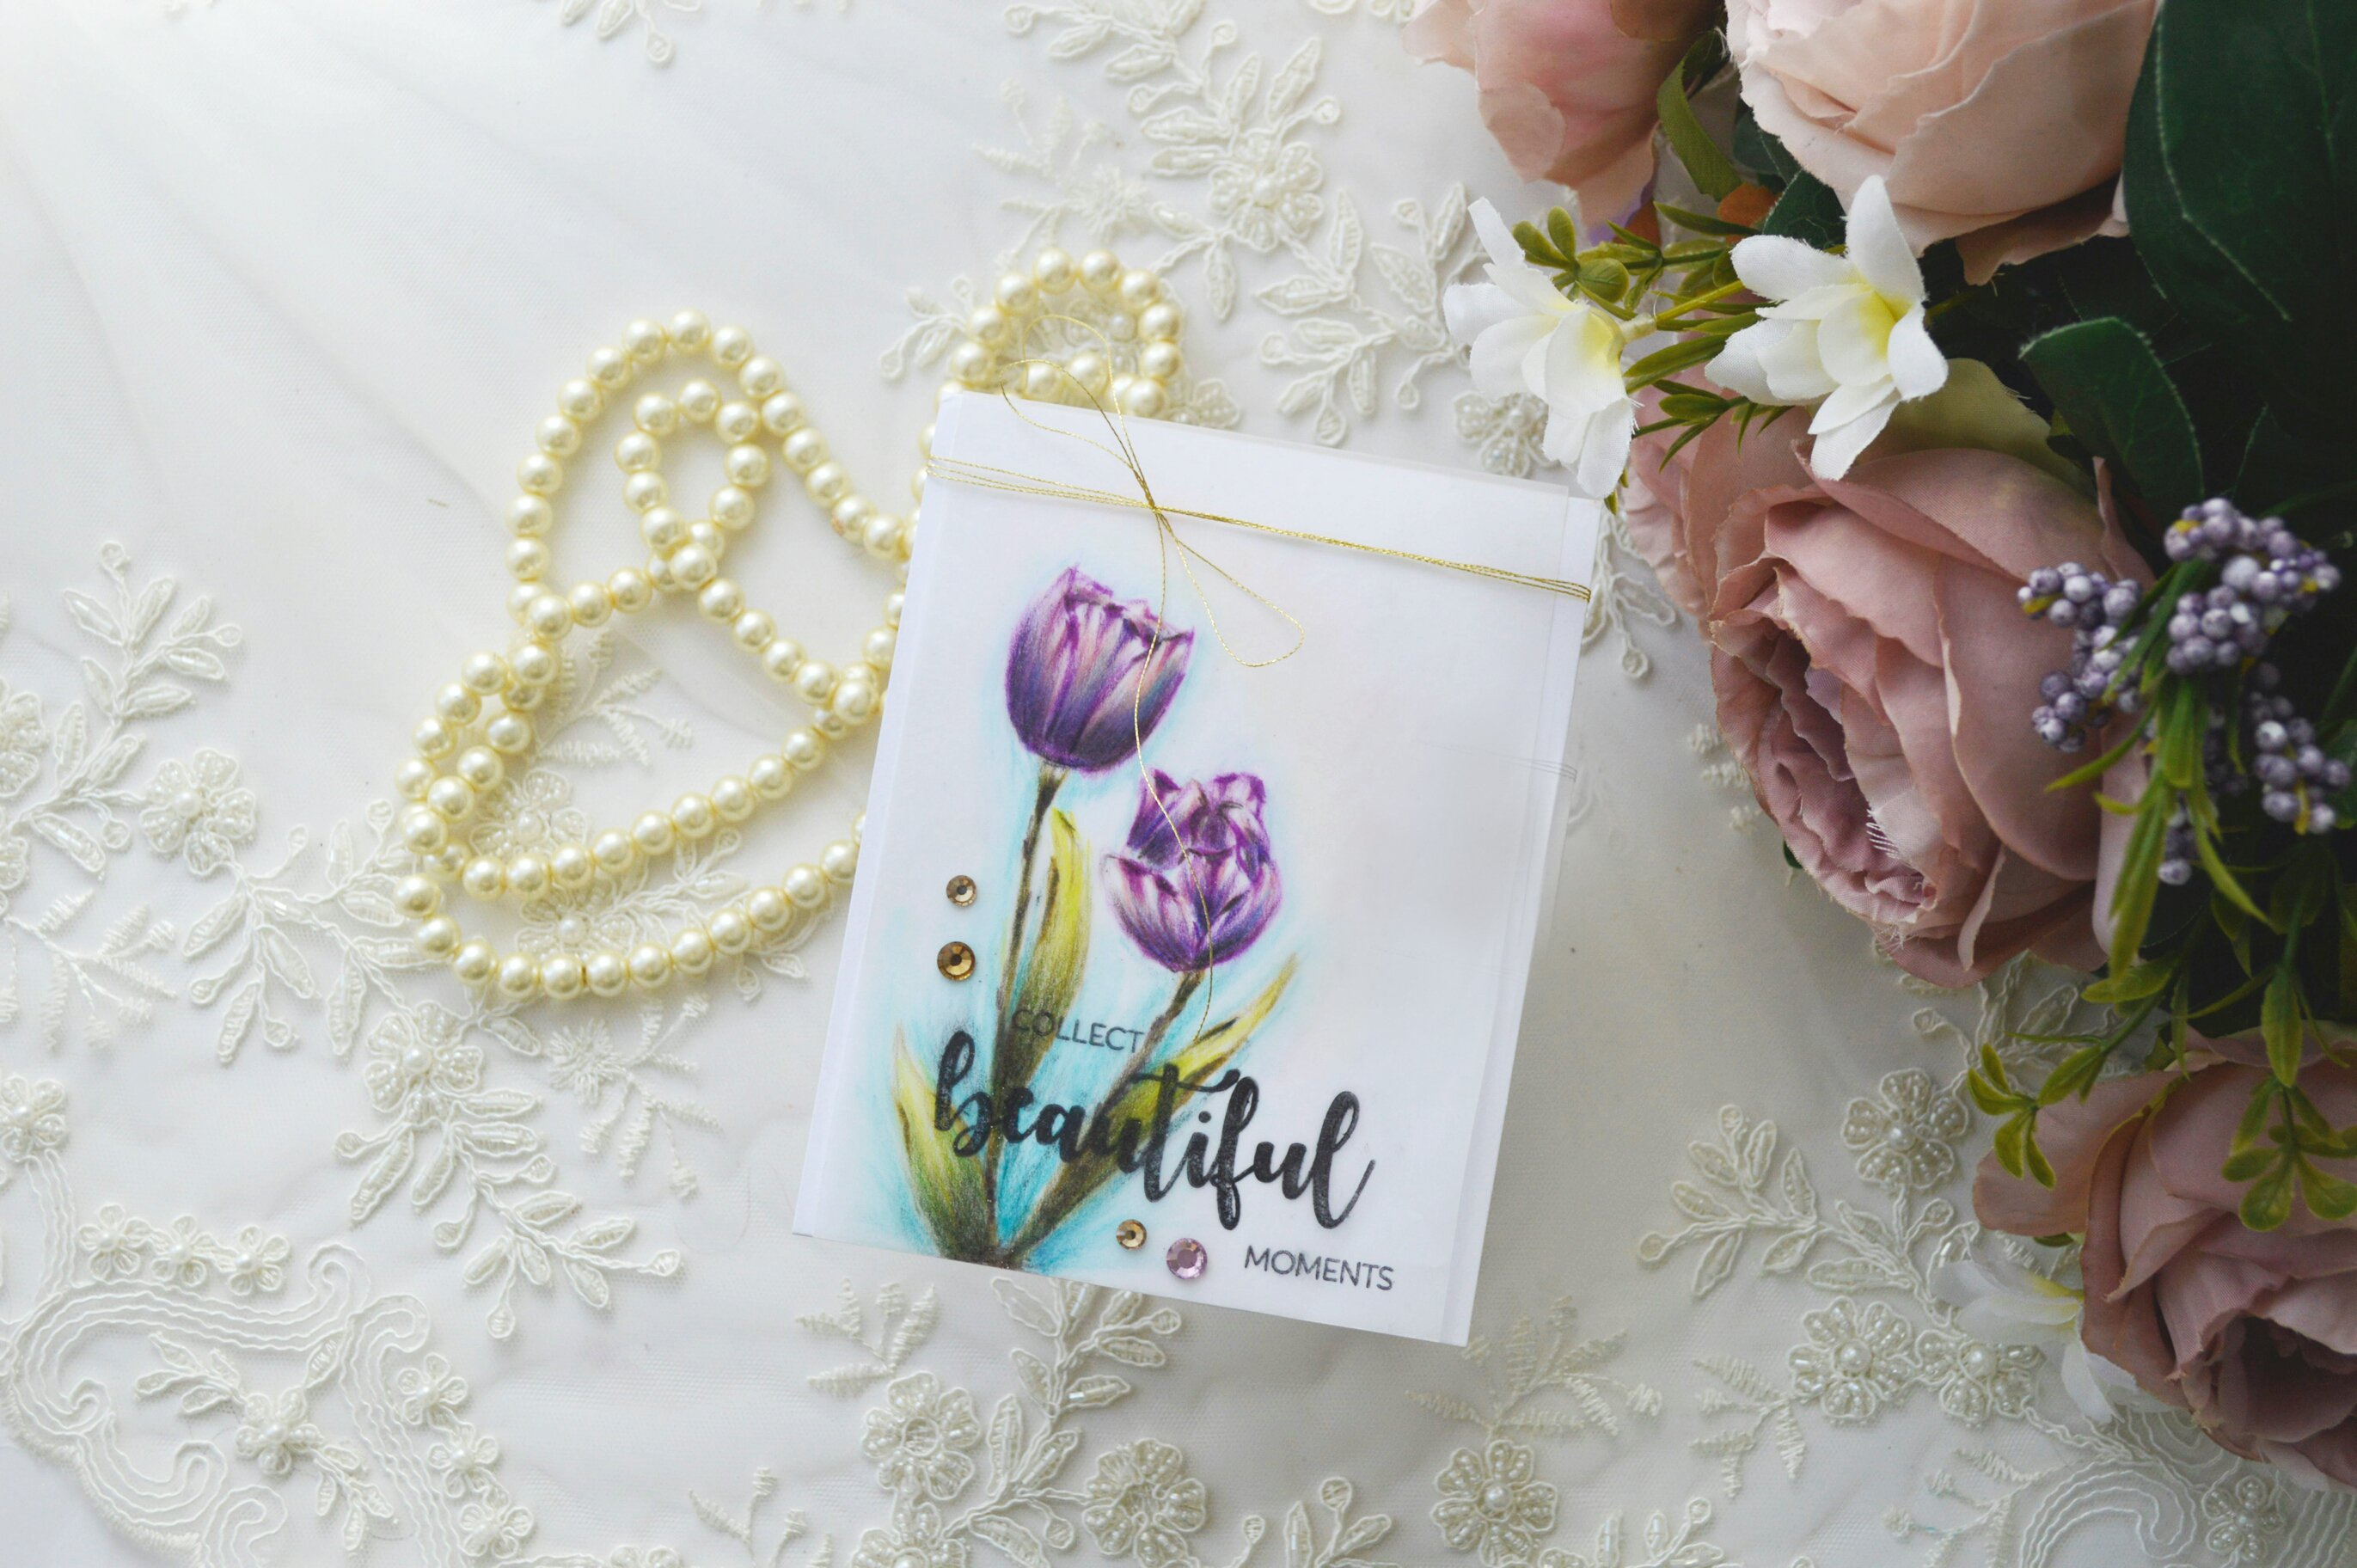
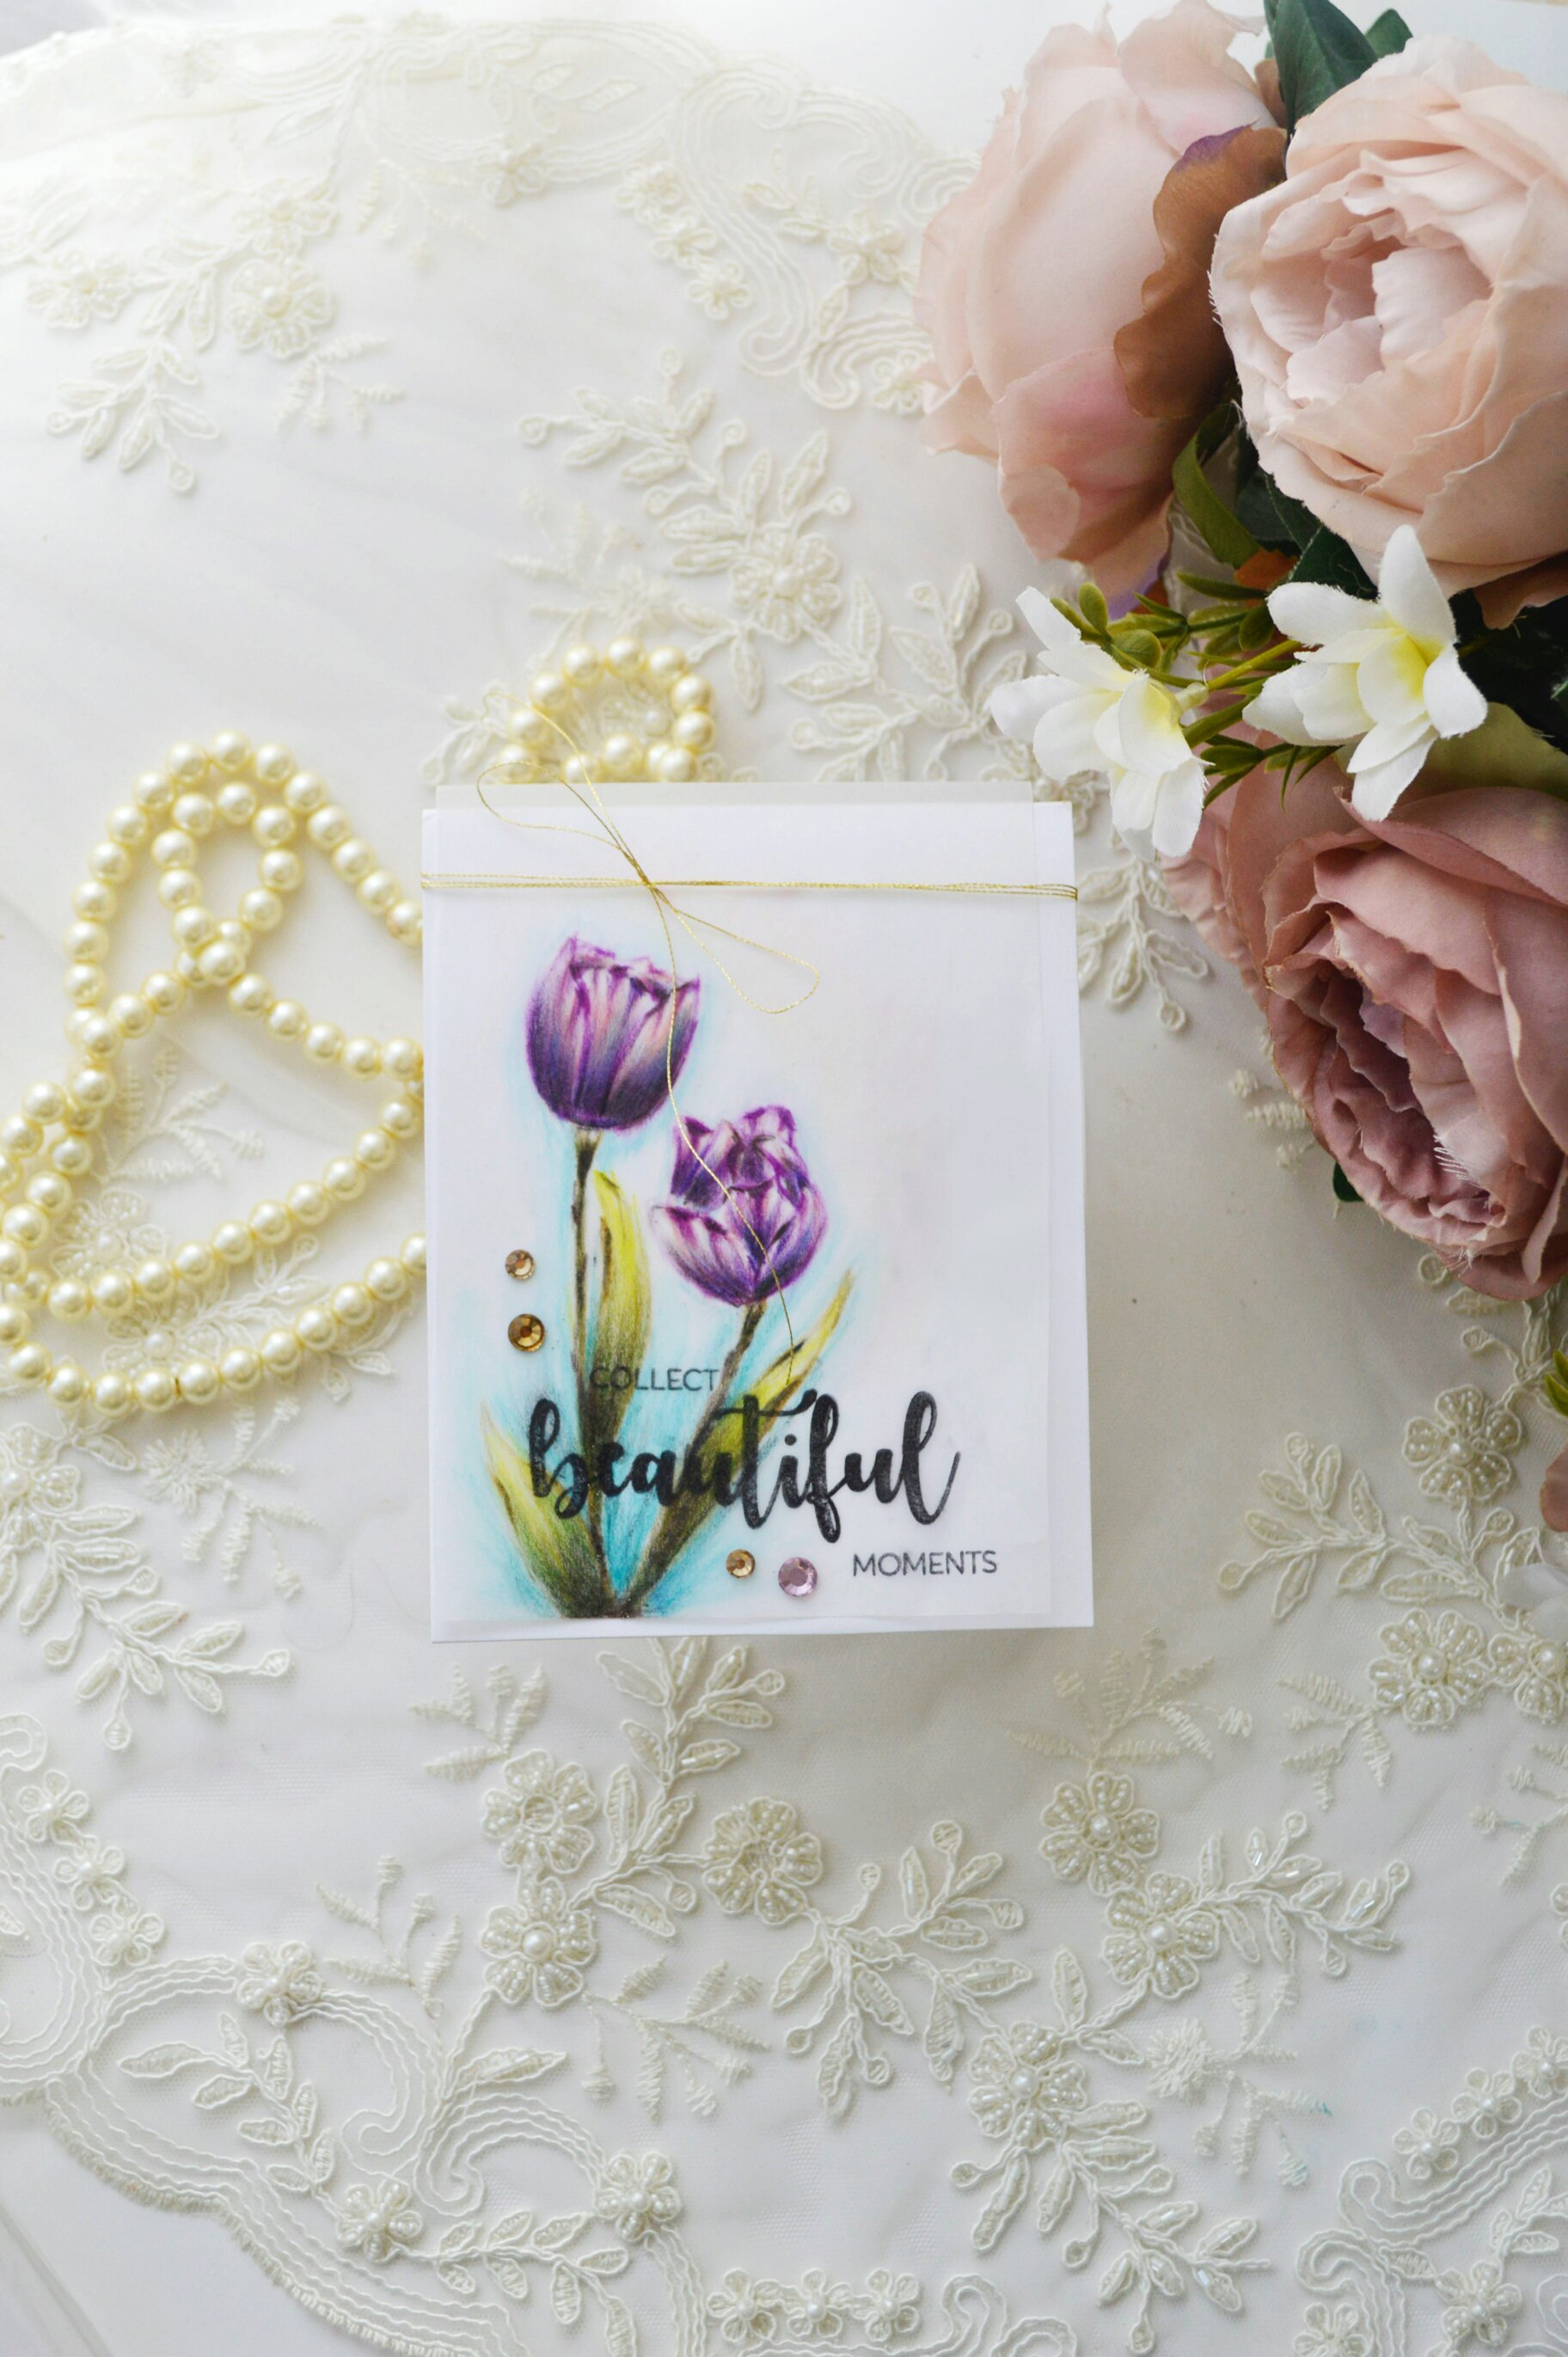
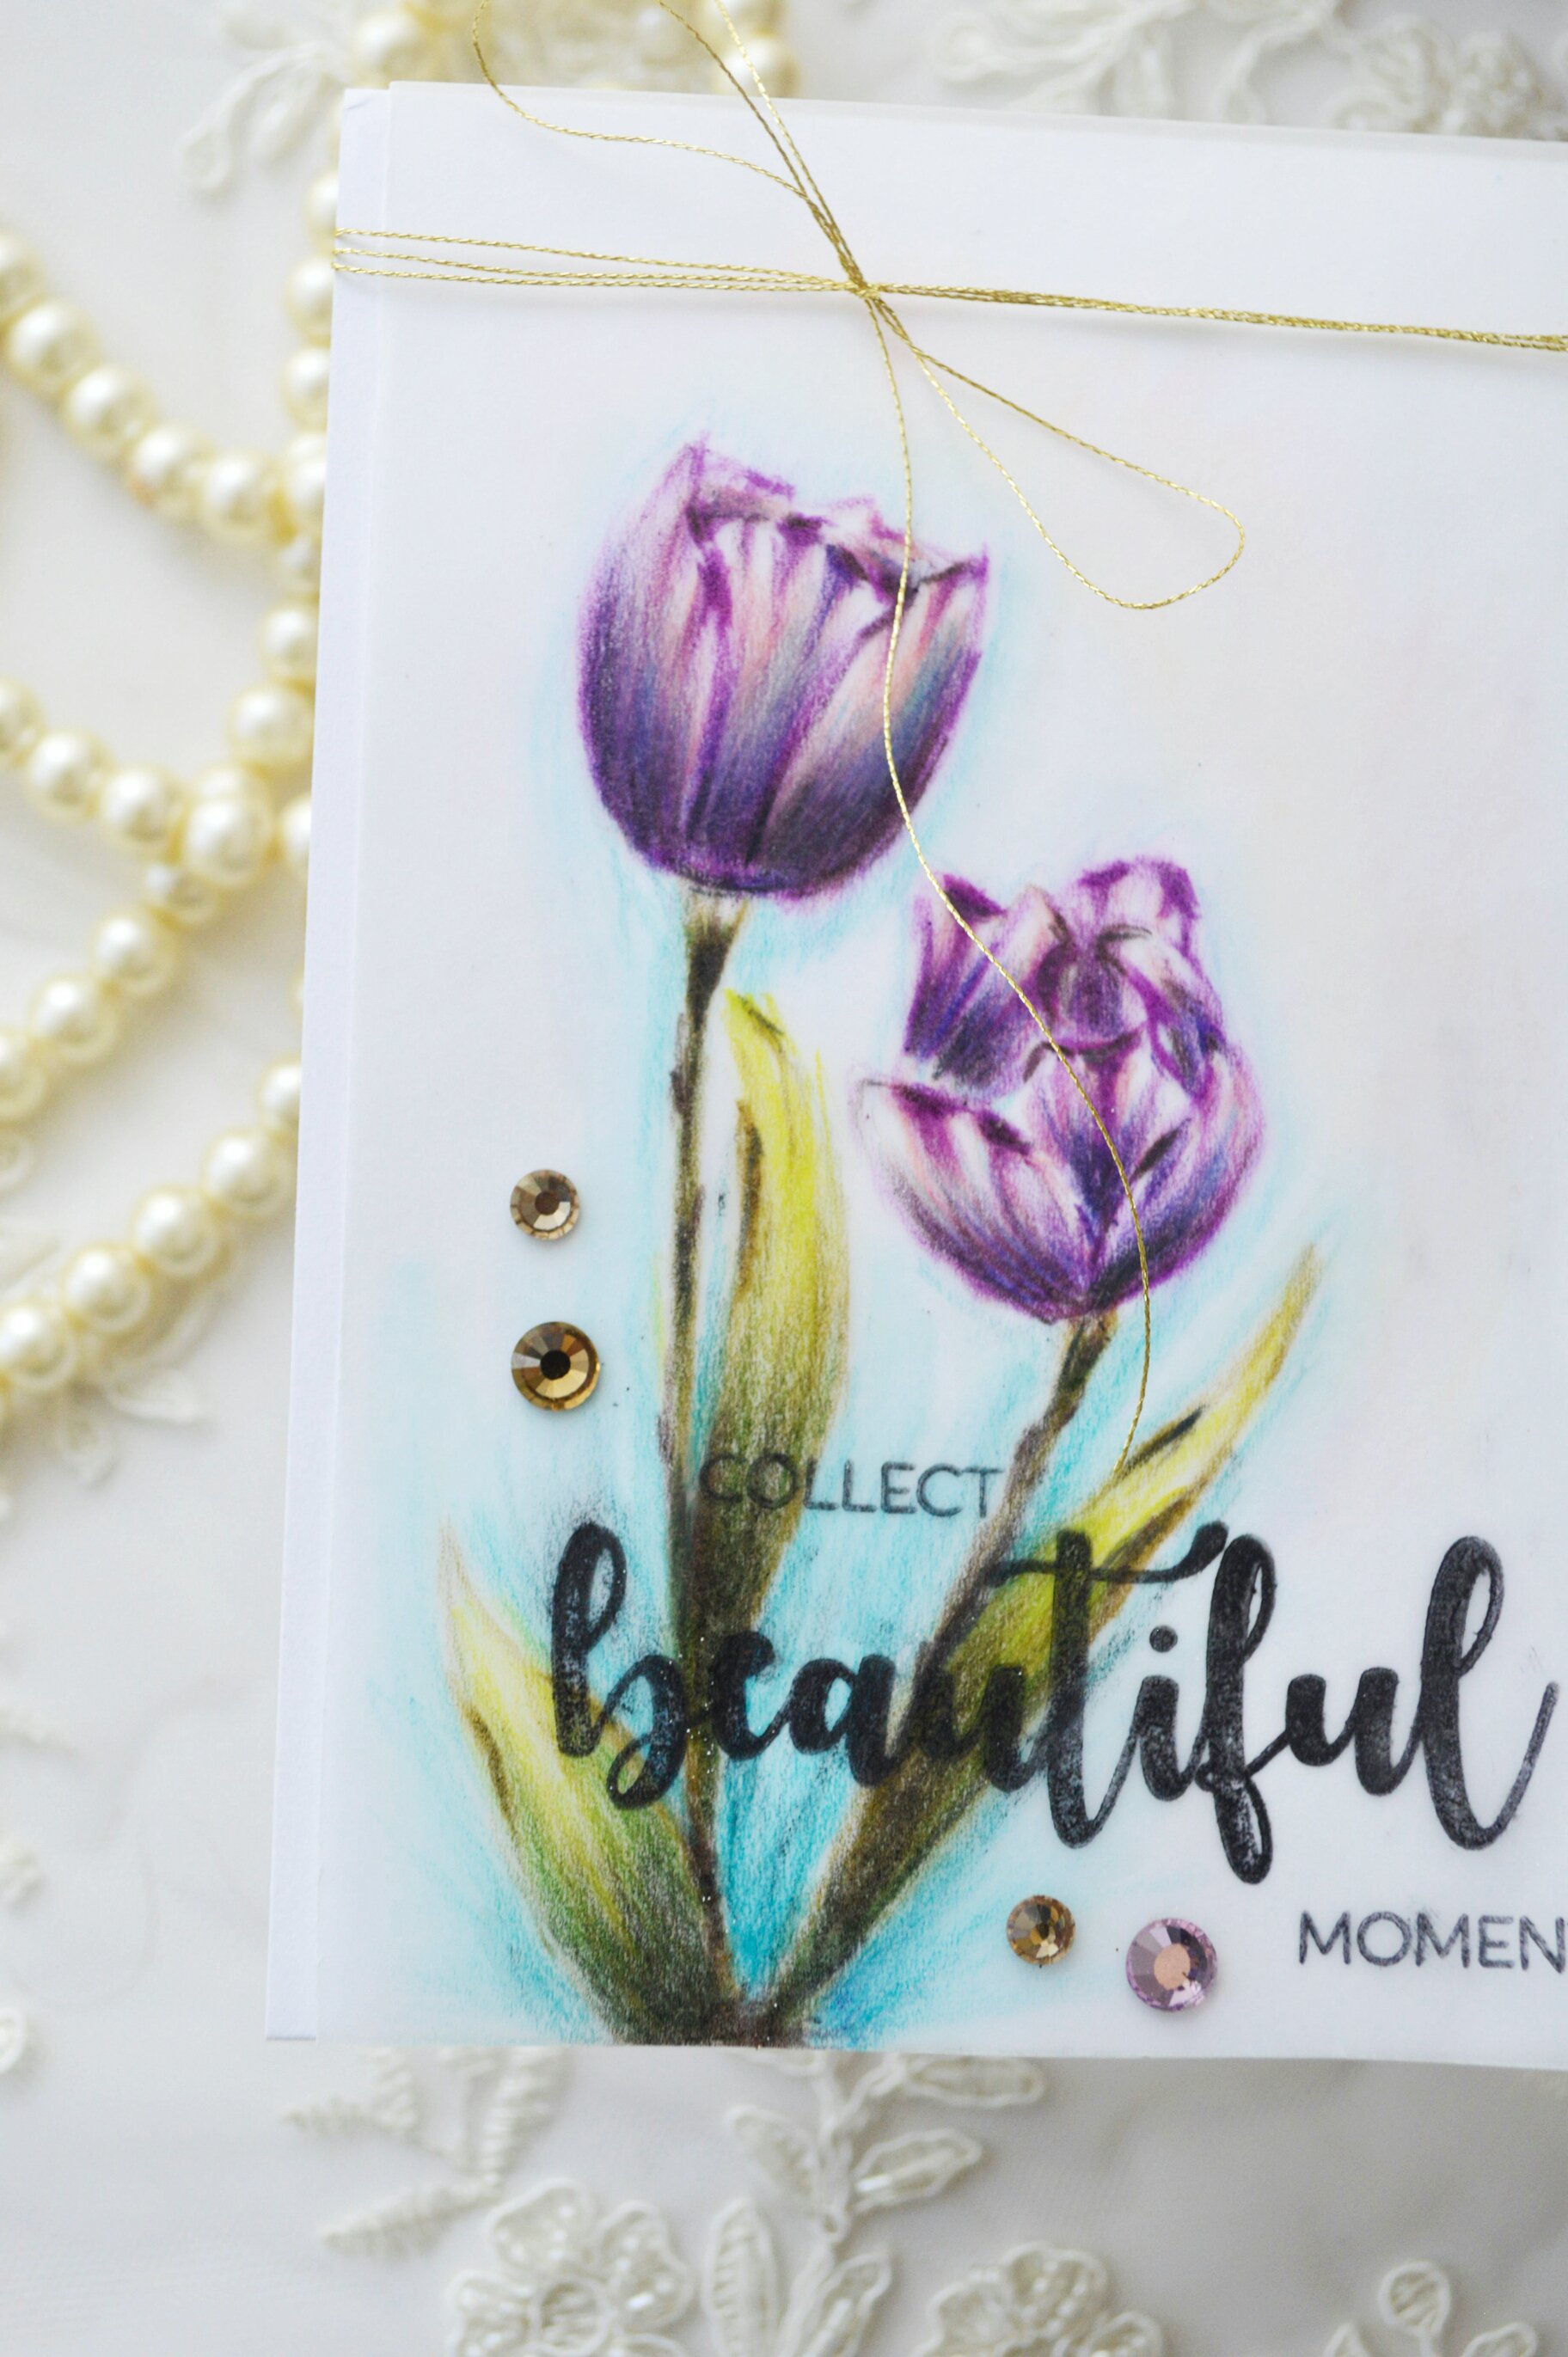
In my first card I colored over vellum then I placed it over a white cardstock . Here is some tips for who I made this card
* used a heavy vellum and I folded it as I fold my cards that opens up .
* for my no line coloring , I stamped my image for these two tulips flower from winnie and walter In Bloom Addie's Garden stamp set over a white piece of paper and I placed under the vellum , I secured them with washi tape after that I started to color .
* here in this card I used prismacolor pencils for coloring over vellum . Trying to blend many colors and added more details to the flowers .
*I was checking out every now and then who the images looks without the stamped background by placing a piece of white scrape under the colored vellum . Then adding more details on the vellum.
*I highlighted the images by adding blue pencil colors around the main image and blend them with blending copic to not leave any strike lines and get this
smooth look.
* I stamped the sentiment from the new release of winnie and walter In Bloom: Ashlee's Rosie Posies with Lydia Evans stamp set. using a dye ink , be careful because vellum tend to move with your stamping so you have to secure your vellum well in your stamping tool and I used my heat gun to fix the ink in the vellum and speed up the time .
* I placed the vellum over a standard sized folded to up white card stock.
* as a final details I added some gems at the bottom and gold thread around the upper part .
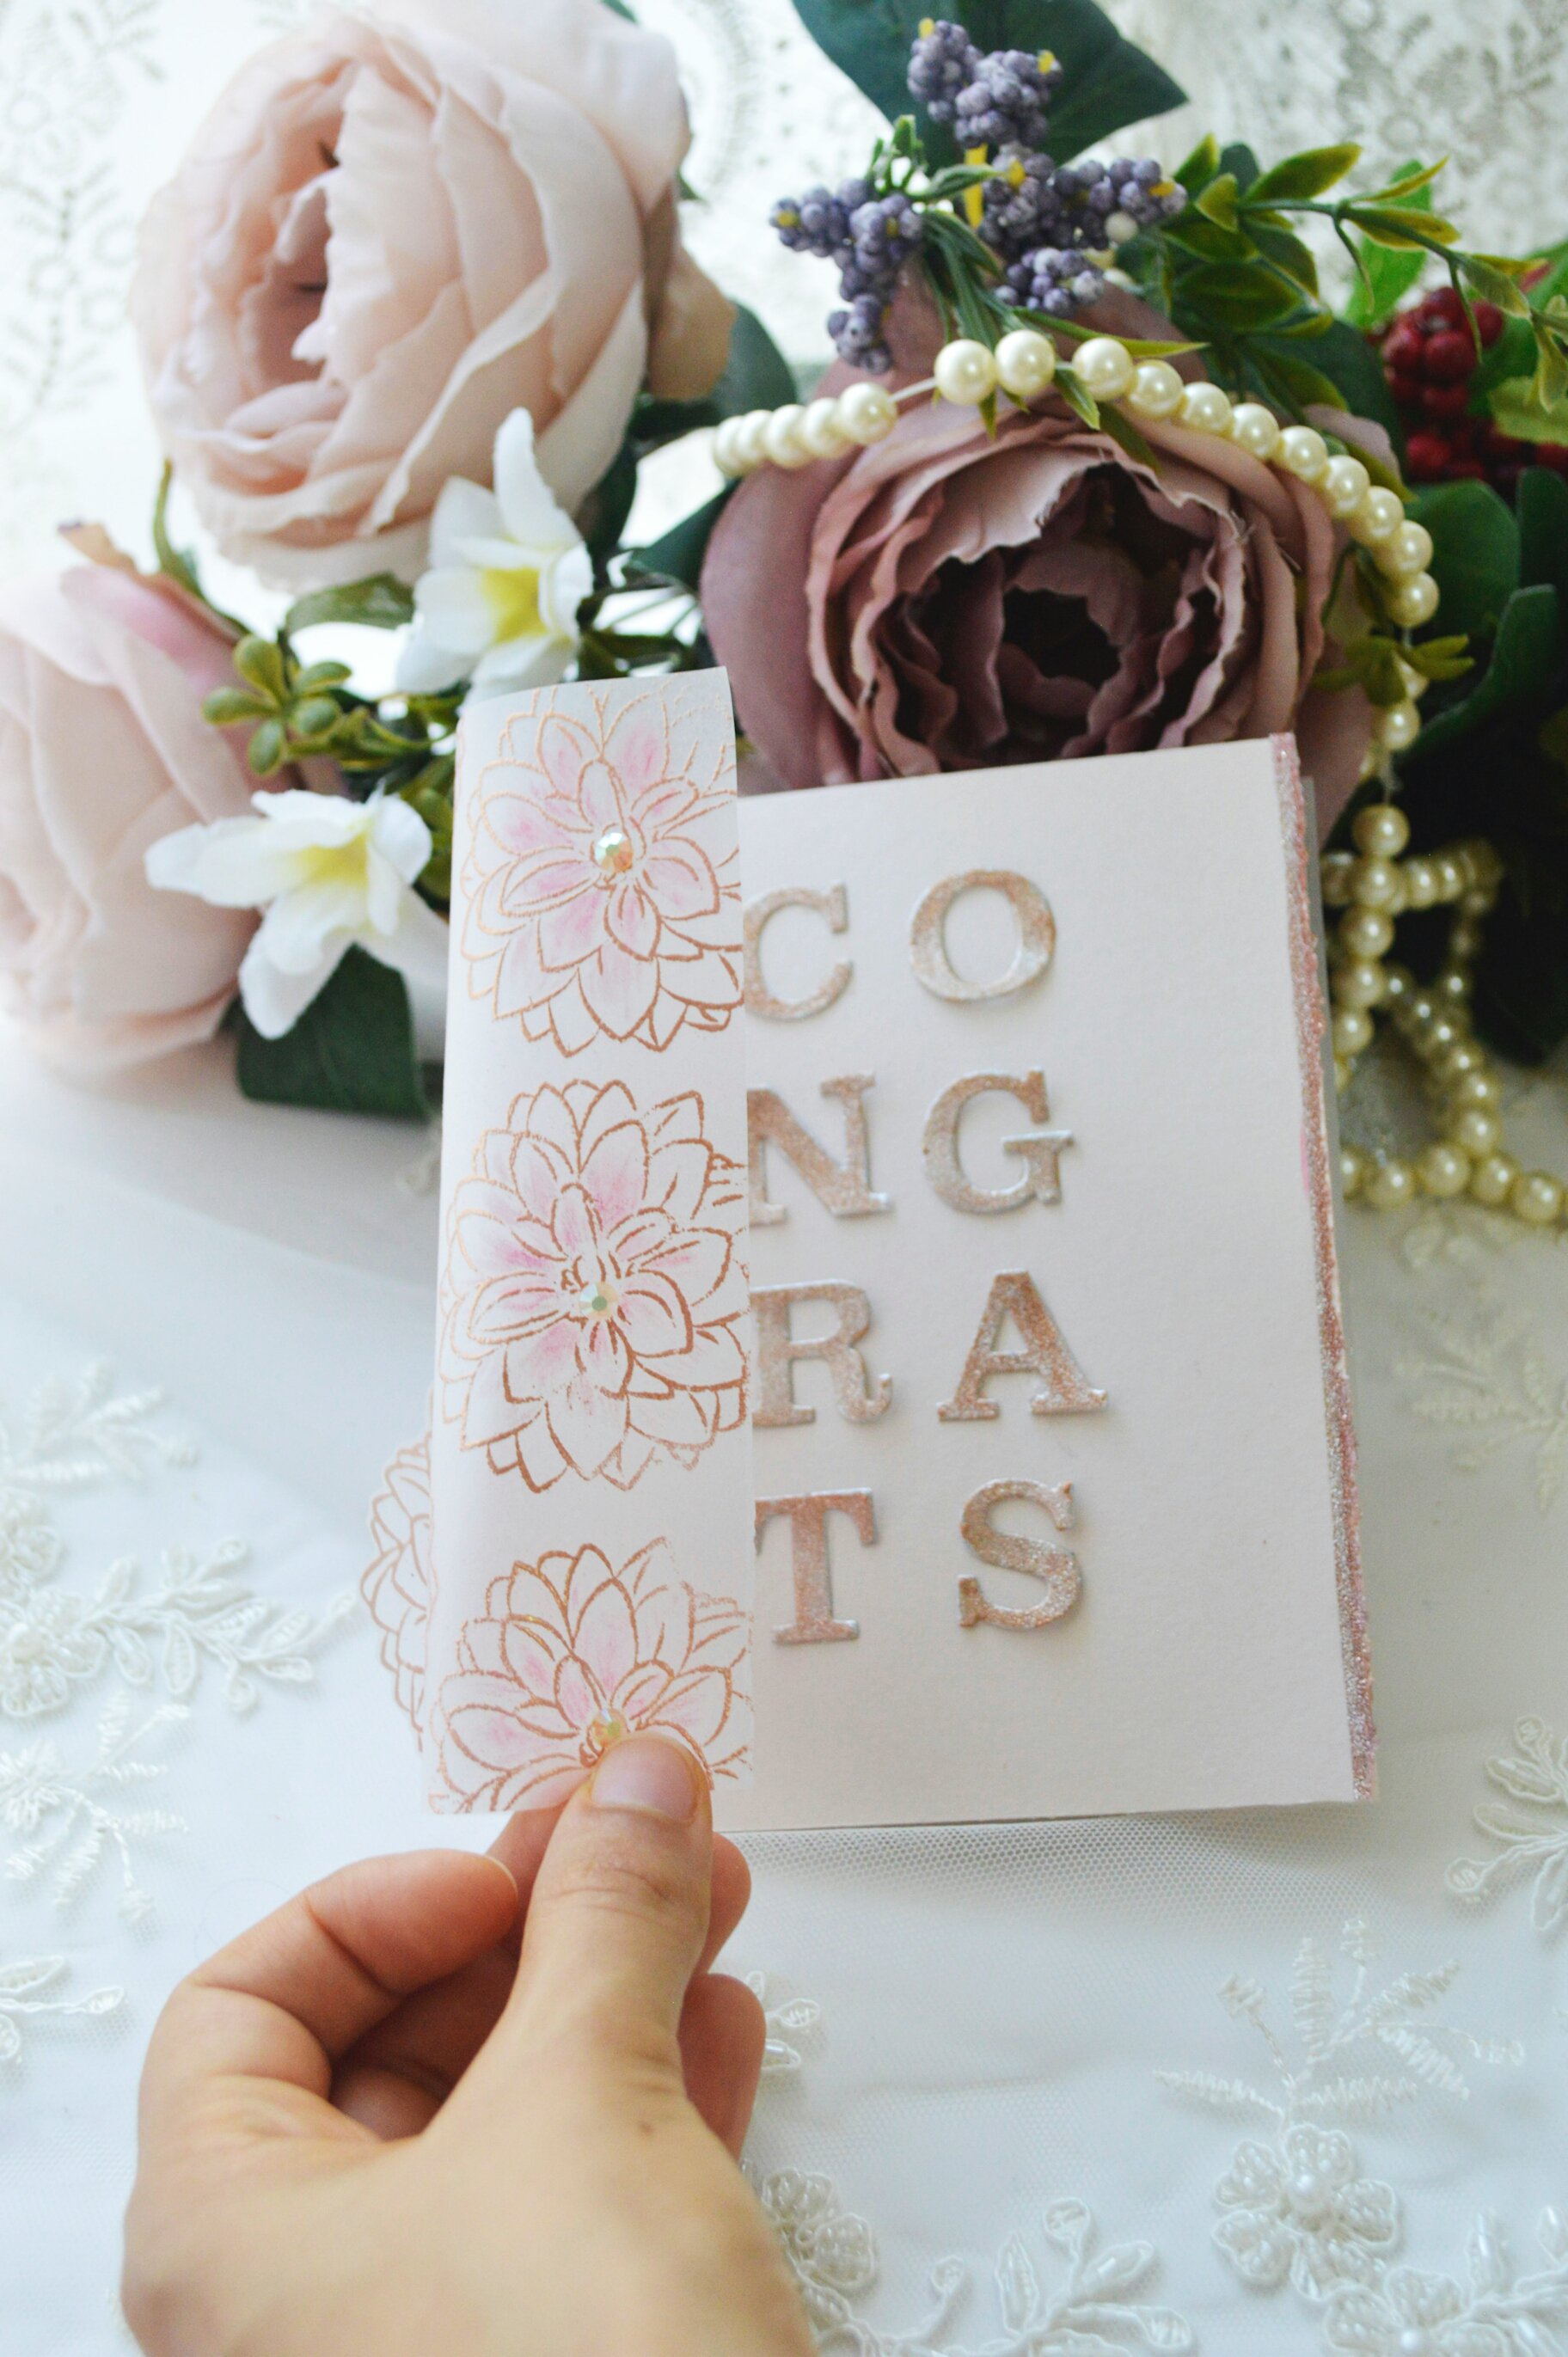
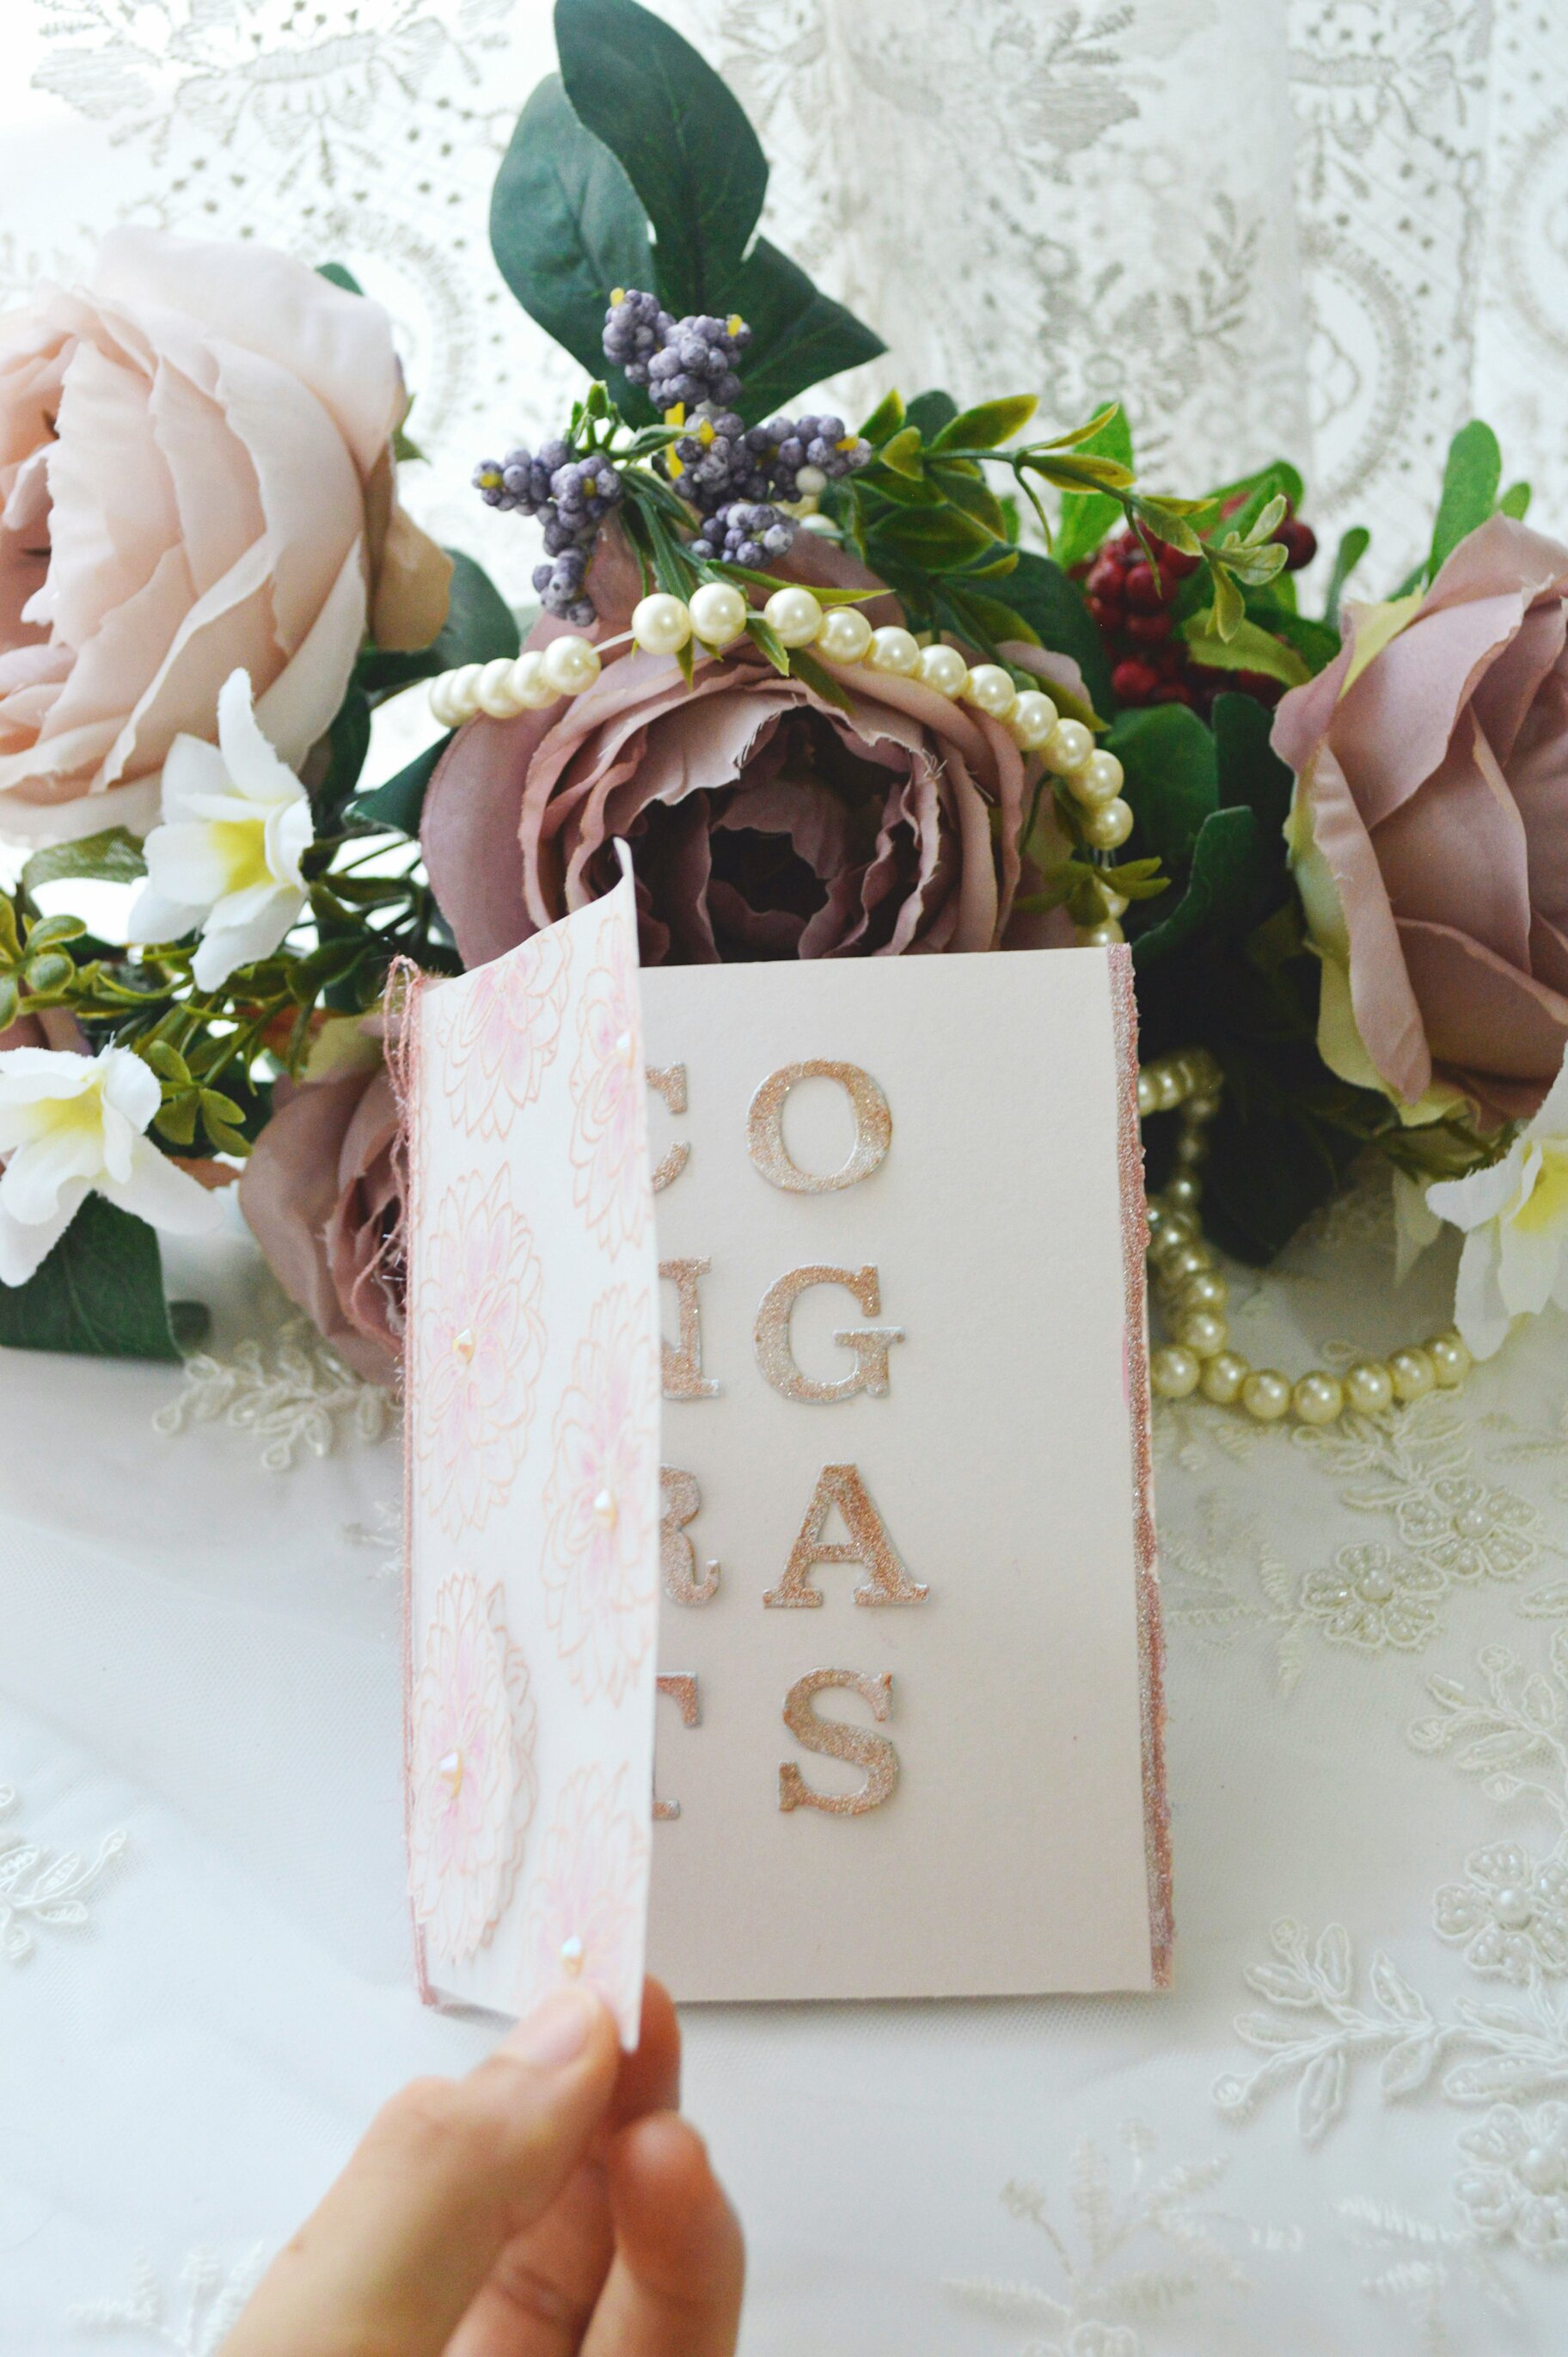
For my second card that open to the sided, I used embossing powder over vellum .
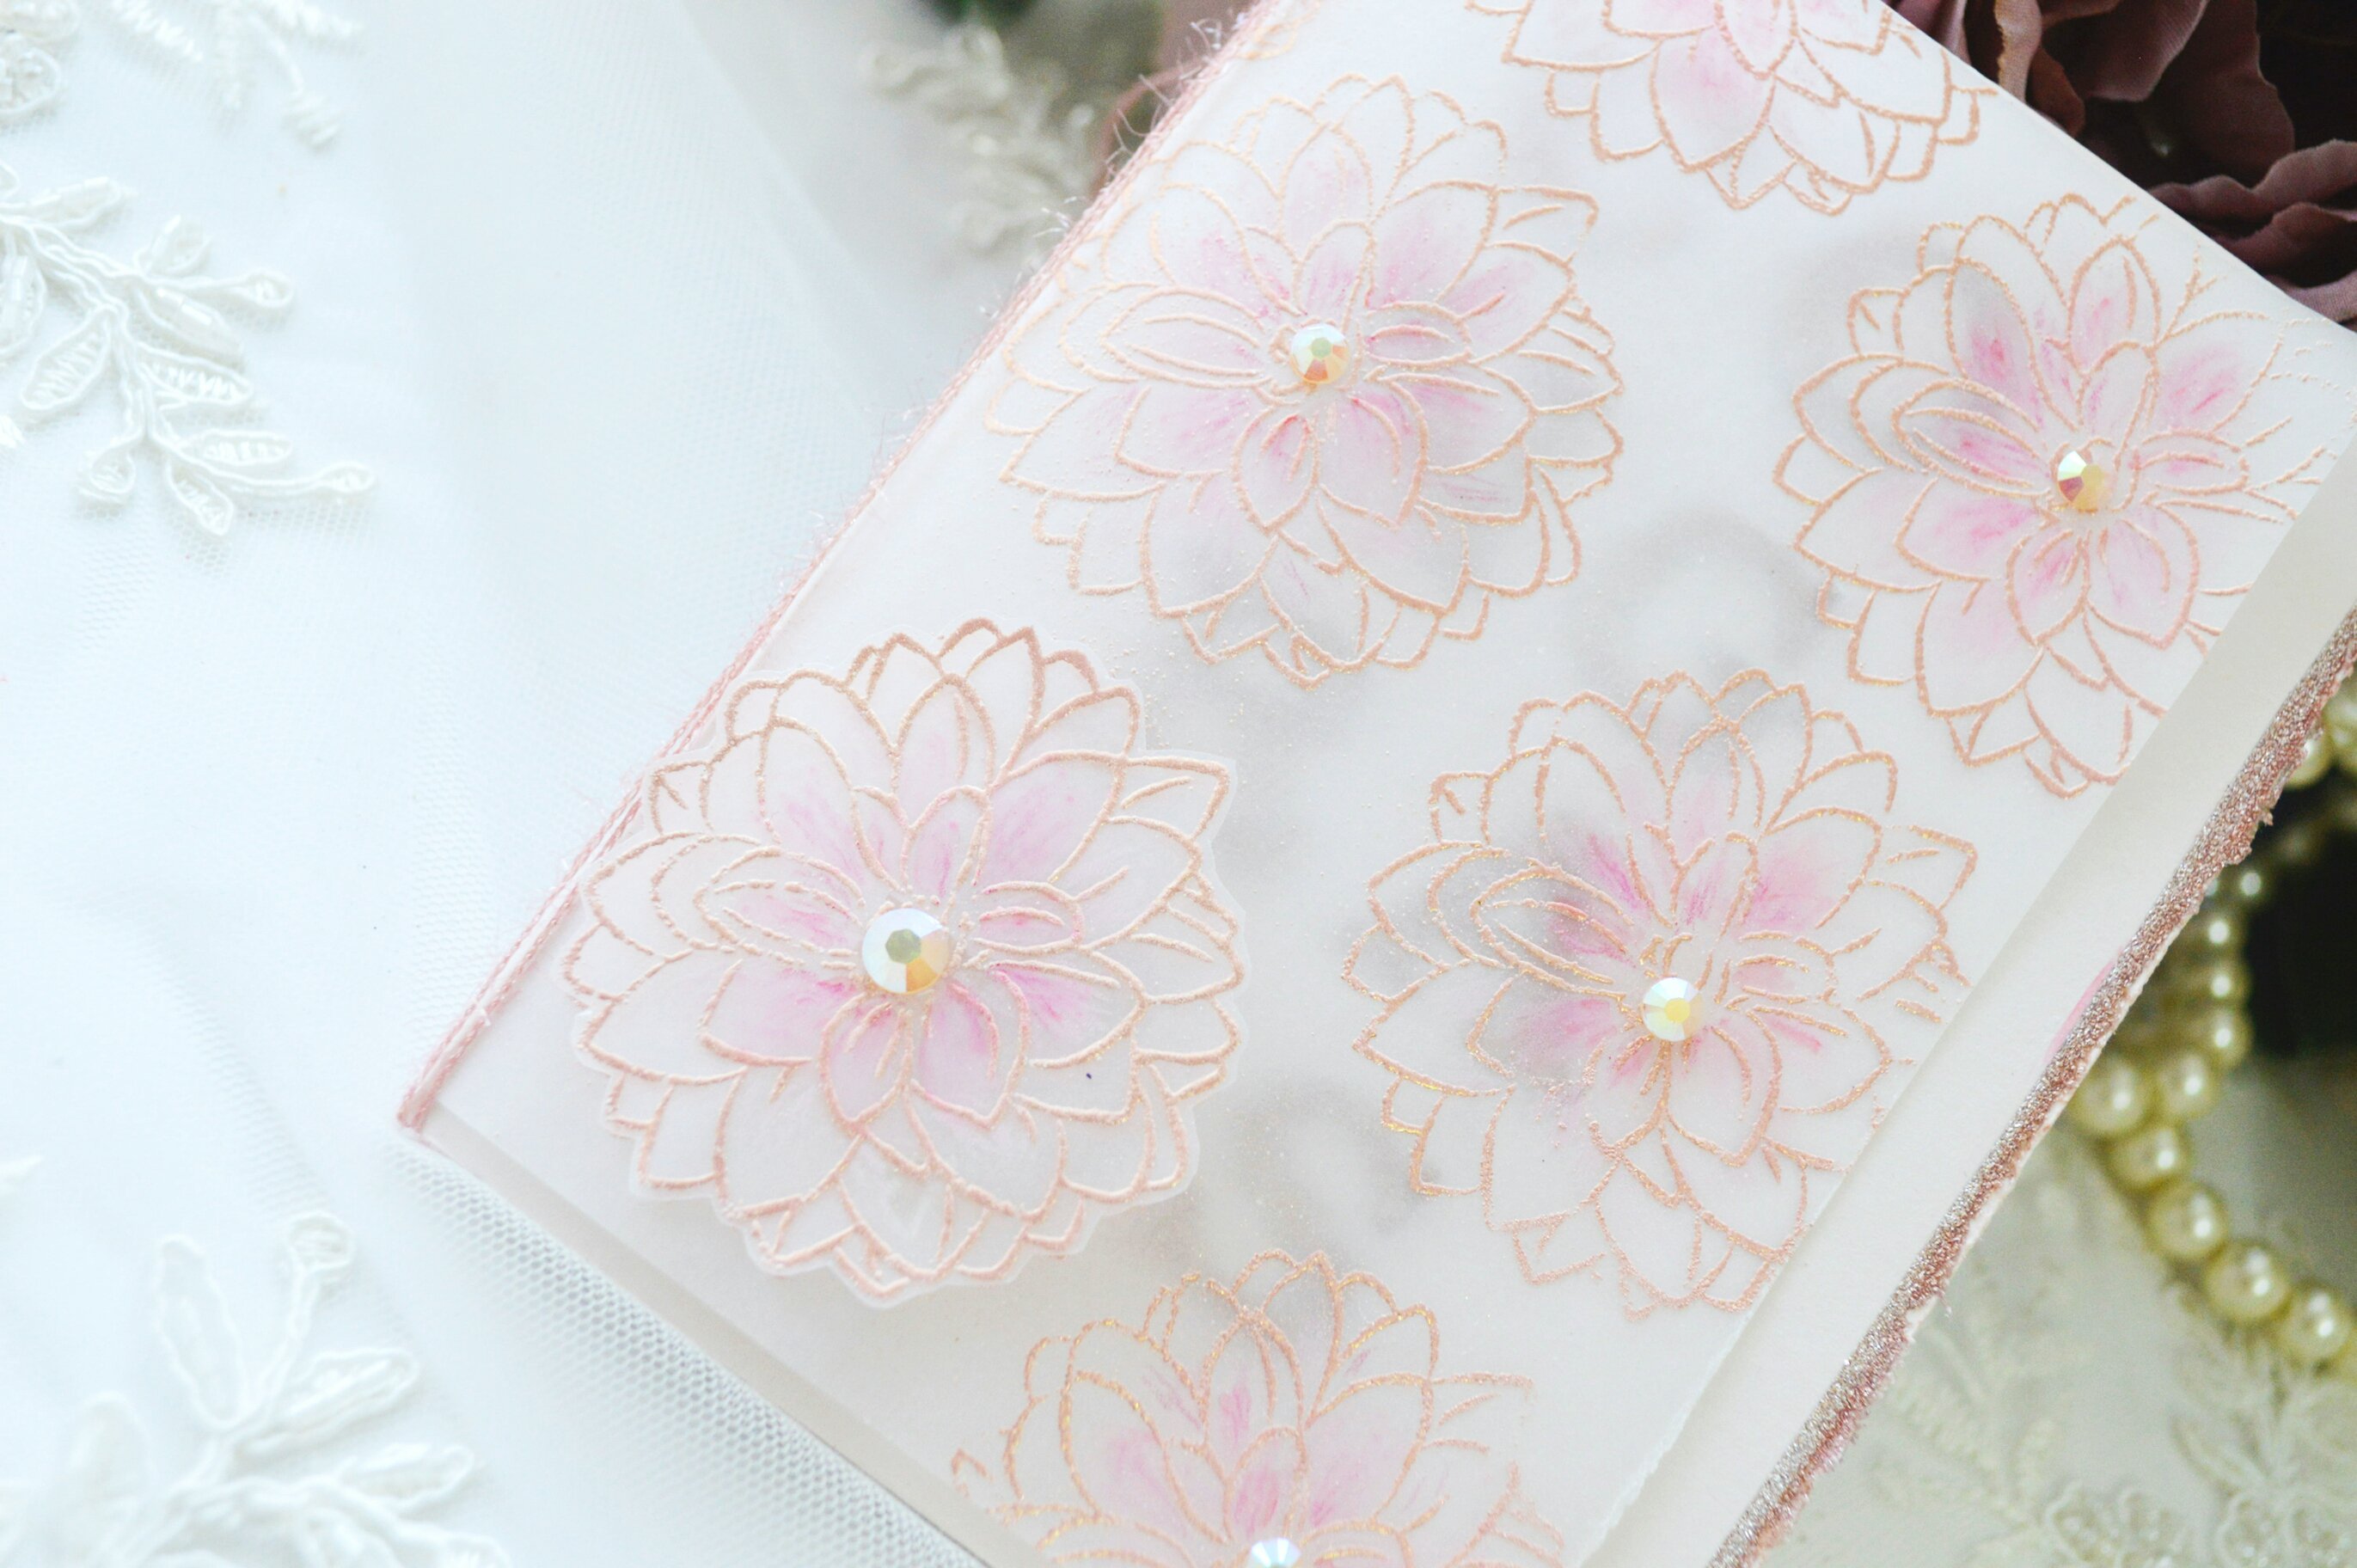
We all know how it is elegant to used while embossing powder over a vellum to create a wedding or elegant congratulations card . For this card I used golden beach embossing powder over a vellum then placed it over a light blush beachy cardstock .here is some tips describing who I made this card.
* in this card I used a medium weighted vellum and I folded to be standard size card open to the side * I applied some antistatic ( here is I used a baby powder ) on the vellum then I used versa fine ink to stamp the image from Winnie and Walter In Bloom: Addie's Garden stamp set then added the embossing powder over them.
* I found that when you applied good amount of the powder just over the image it will stick more over the embossing ink .
* I found one of flowers not having this sooth lining so I made another one in scrape of vellum and I cut it and added it to hide the one that I don’t like and to add more dimension to the card .
* I used prisma color pencils to add some details inside the flowers then I blend them with blending copic .
* I placed the vellum over a folded blush beachy card stock that open in the side then I cut with me hand a stripe of vellum to make a little border for the vellum part .
* I die cut these letters for congrats using winnie and walter Typecast: Cary Letter Cutaways . I used piece of silver glittery paper and I colored it with both peach and blush alcohol marker colors . I added a tiny piece of hand cut strip of this glitter paper to the main beech color card stock to match the die cut letter on the side .
* I added some gems on the flower as final touch details.
If you'd like a chance to win a $30 gift certificate to winnie and walter store( thanks Shay for providing this giveaway it's too kind of you ) , kindly leave a comment on all of Leading Lady post at my blog maryams craft . I will randomly draw a winner from all of the comments and announce the winner on October 2nd .
Thanks for joining me this week , I hope you liked these two cards and get inspired. I Can't wait to meet you next week with another theme creations . Have an amazing weekend.
It's the first Saturday (and also first day) of the month so that means a new Leading Lady! This month I am delighted to introduce our September Leading Lady, Maryam Shalaby. Maryam has been a long-time and dedicated participant in our challenges and over the years I have been blessed to see her skills flourish, develop and blossom into something truly incredible. Maryam is also full of grace and kindness and I am so pleased to finally have her as a leading lady.
I am really excited to see what Maryam will be creating this month as she takes us on an adventure of her own design on Saturdays in September on the w&w blog.
Please give Maryam a big round of applause to welcome her as she steps onto the stage for her first performance as our September Leading Lady!
Hello all, I was super excited when Shay invited me to be a leading lady for this September at Winnie and Walter blog. First of all, thanks Shay for all you act of kindness. Your tender heart and kindness were always showers Winnie and Walter blog .
A little story about me and Winnie's store, About 3 years ago I used to pin Winnie and Walter amazing cards , and I had that dream to use there products to create like these amazing projects . I was lucky and I won randomly from one of there challenges, that encouraged me to have my first crafty order from USA, after I introduced to USA market, I learned passionately more in card making art.
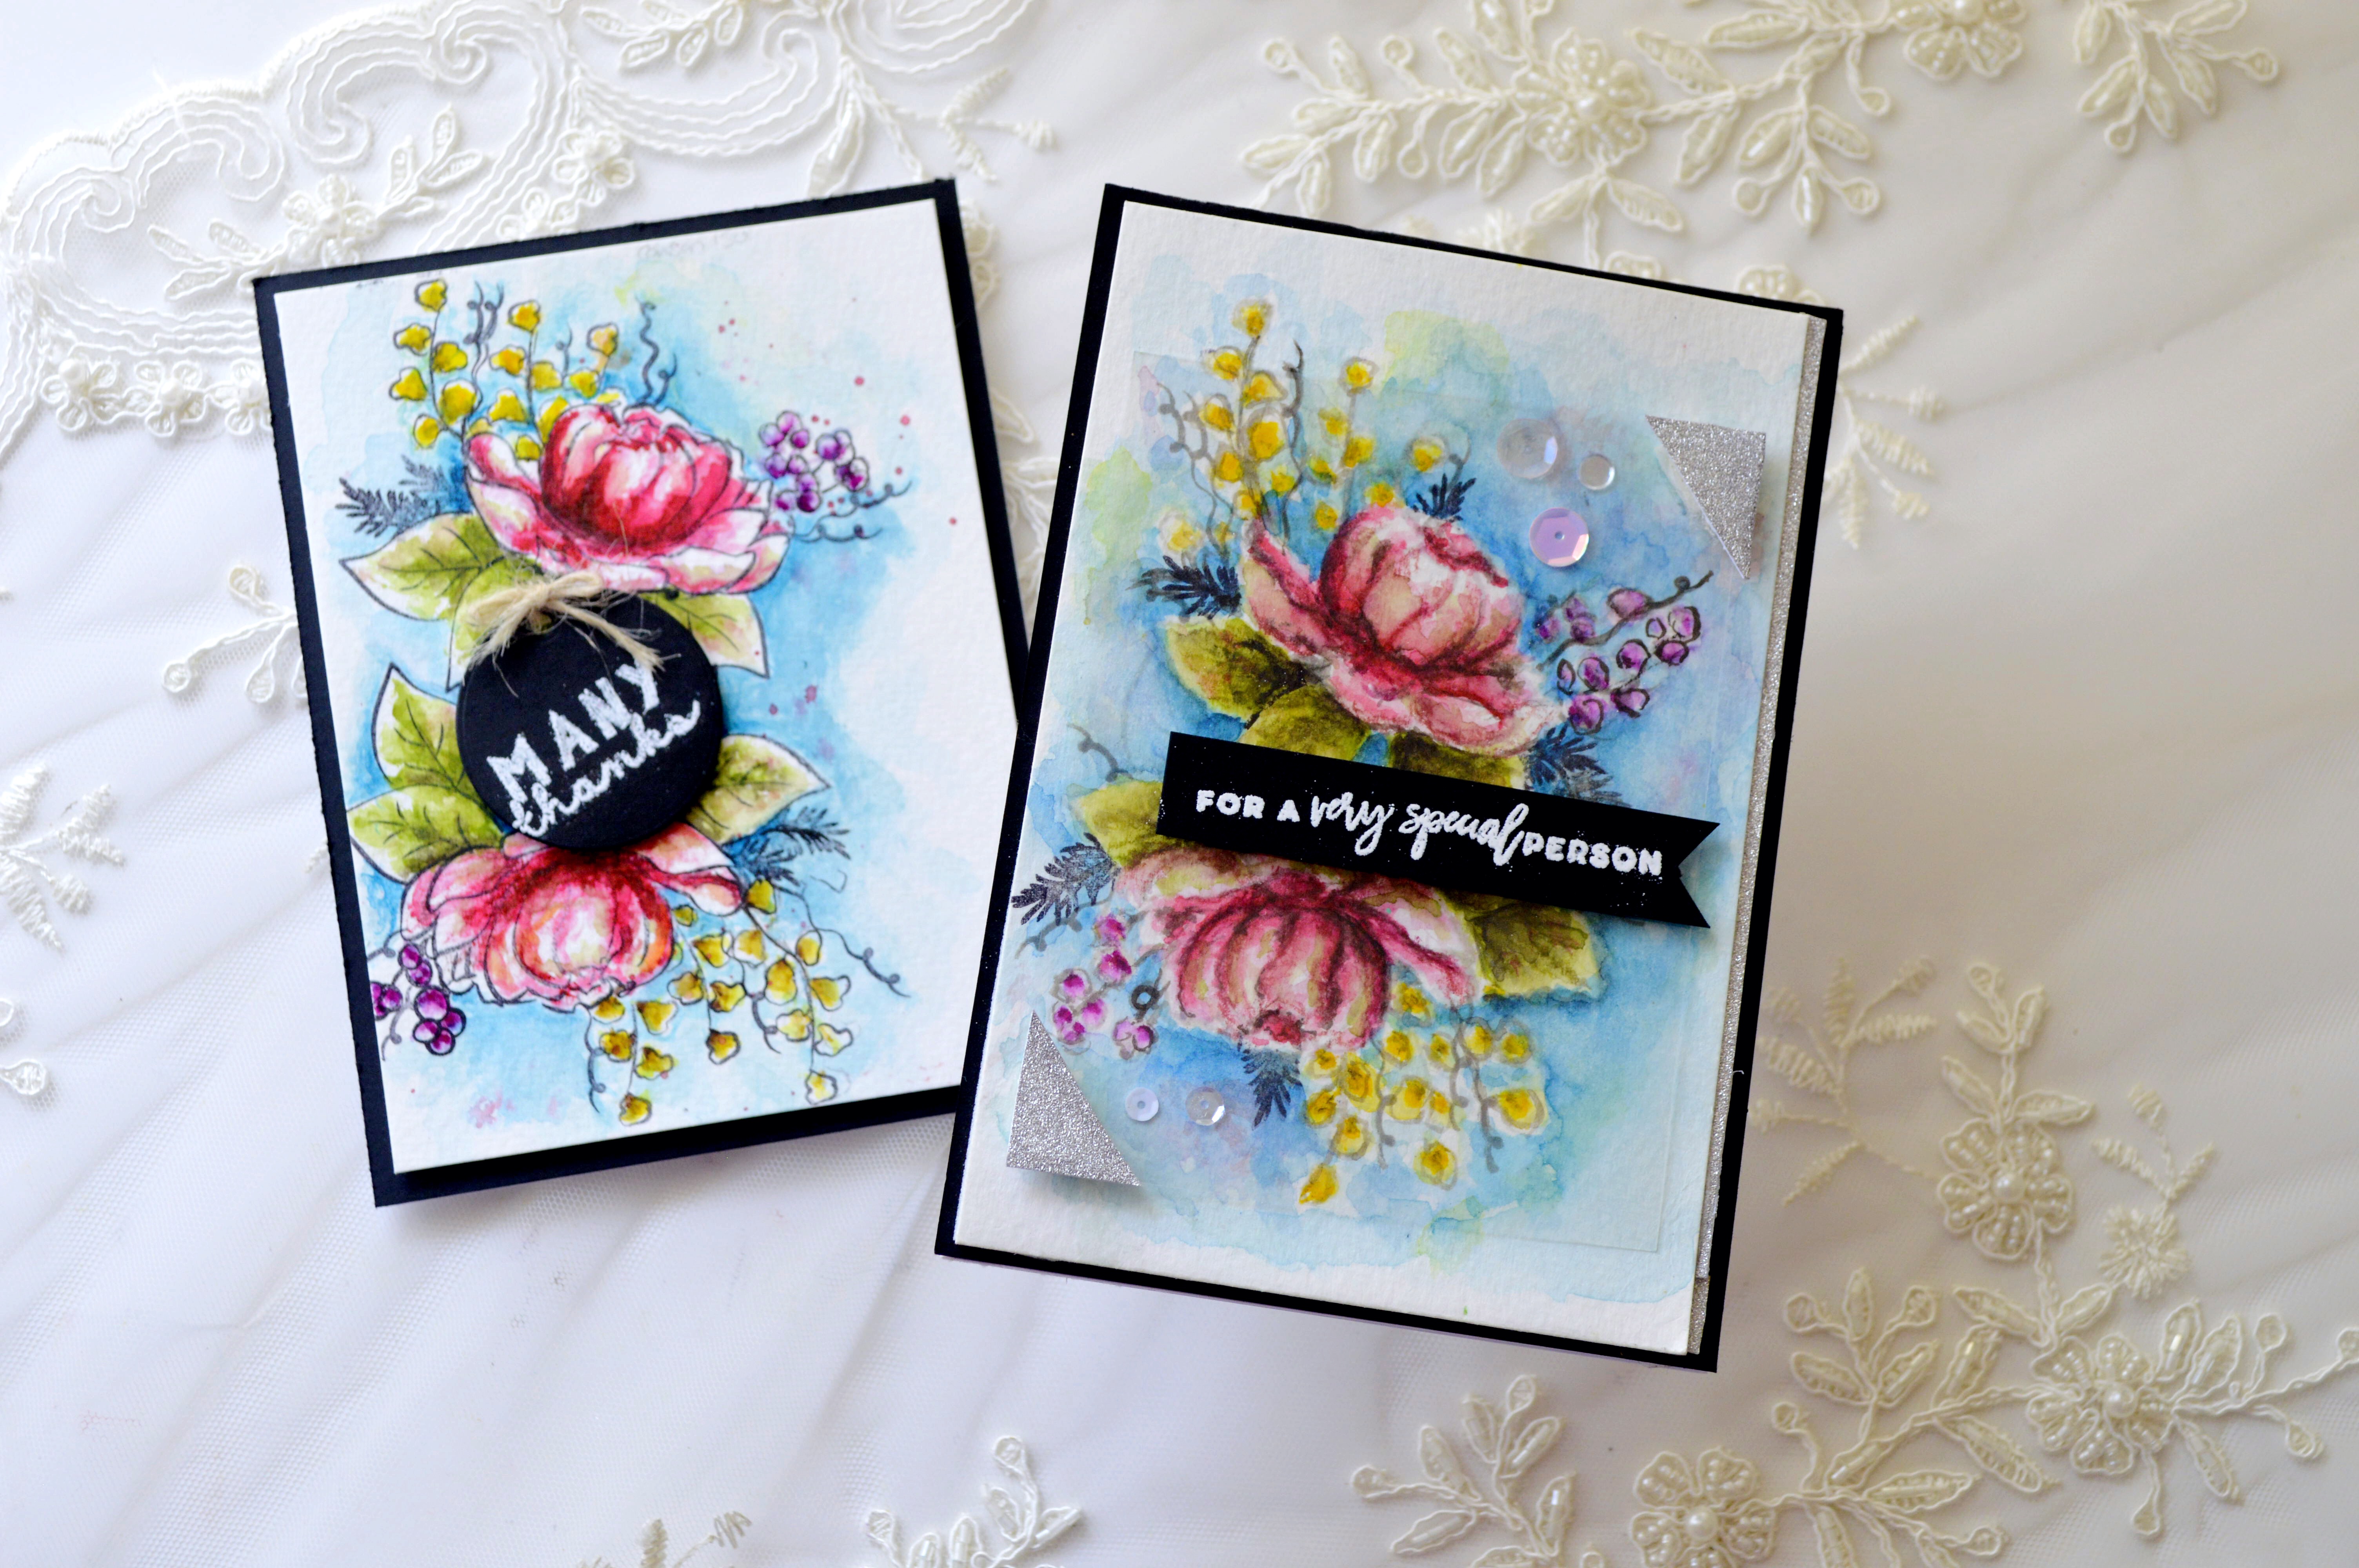
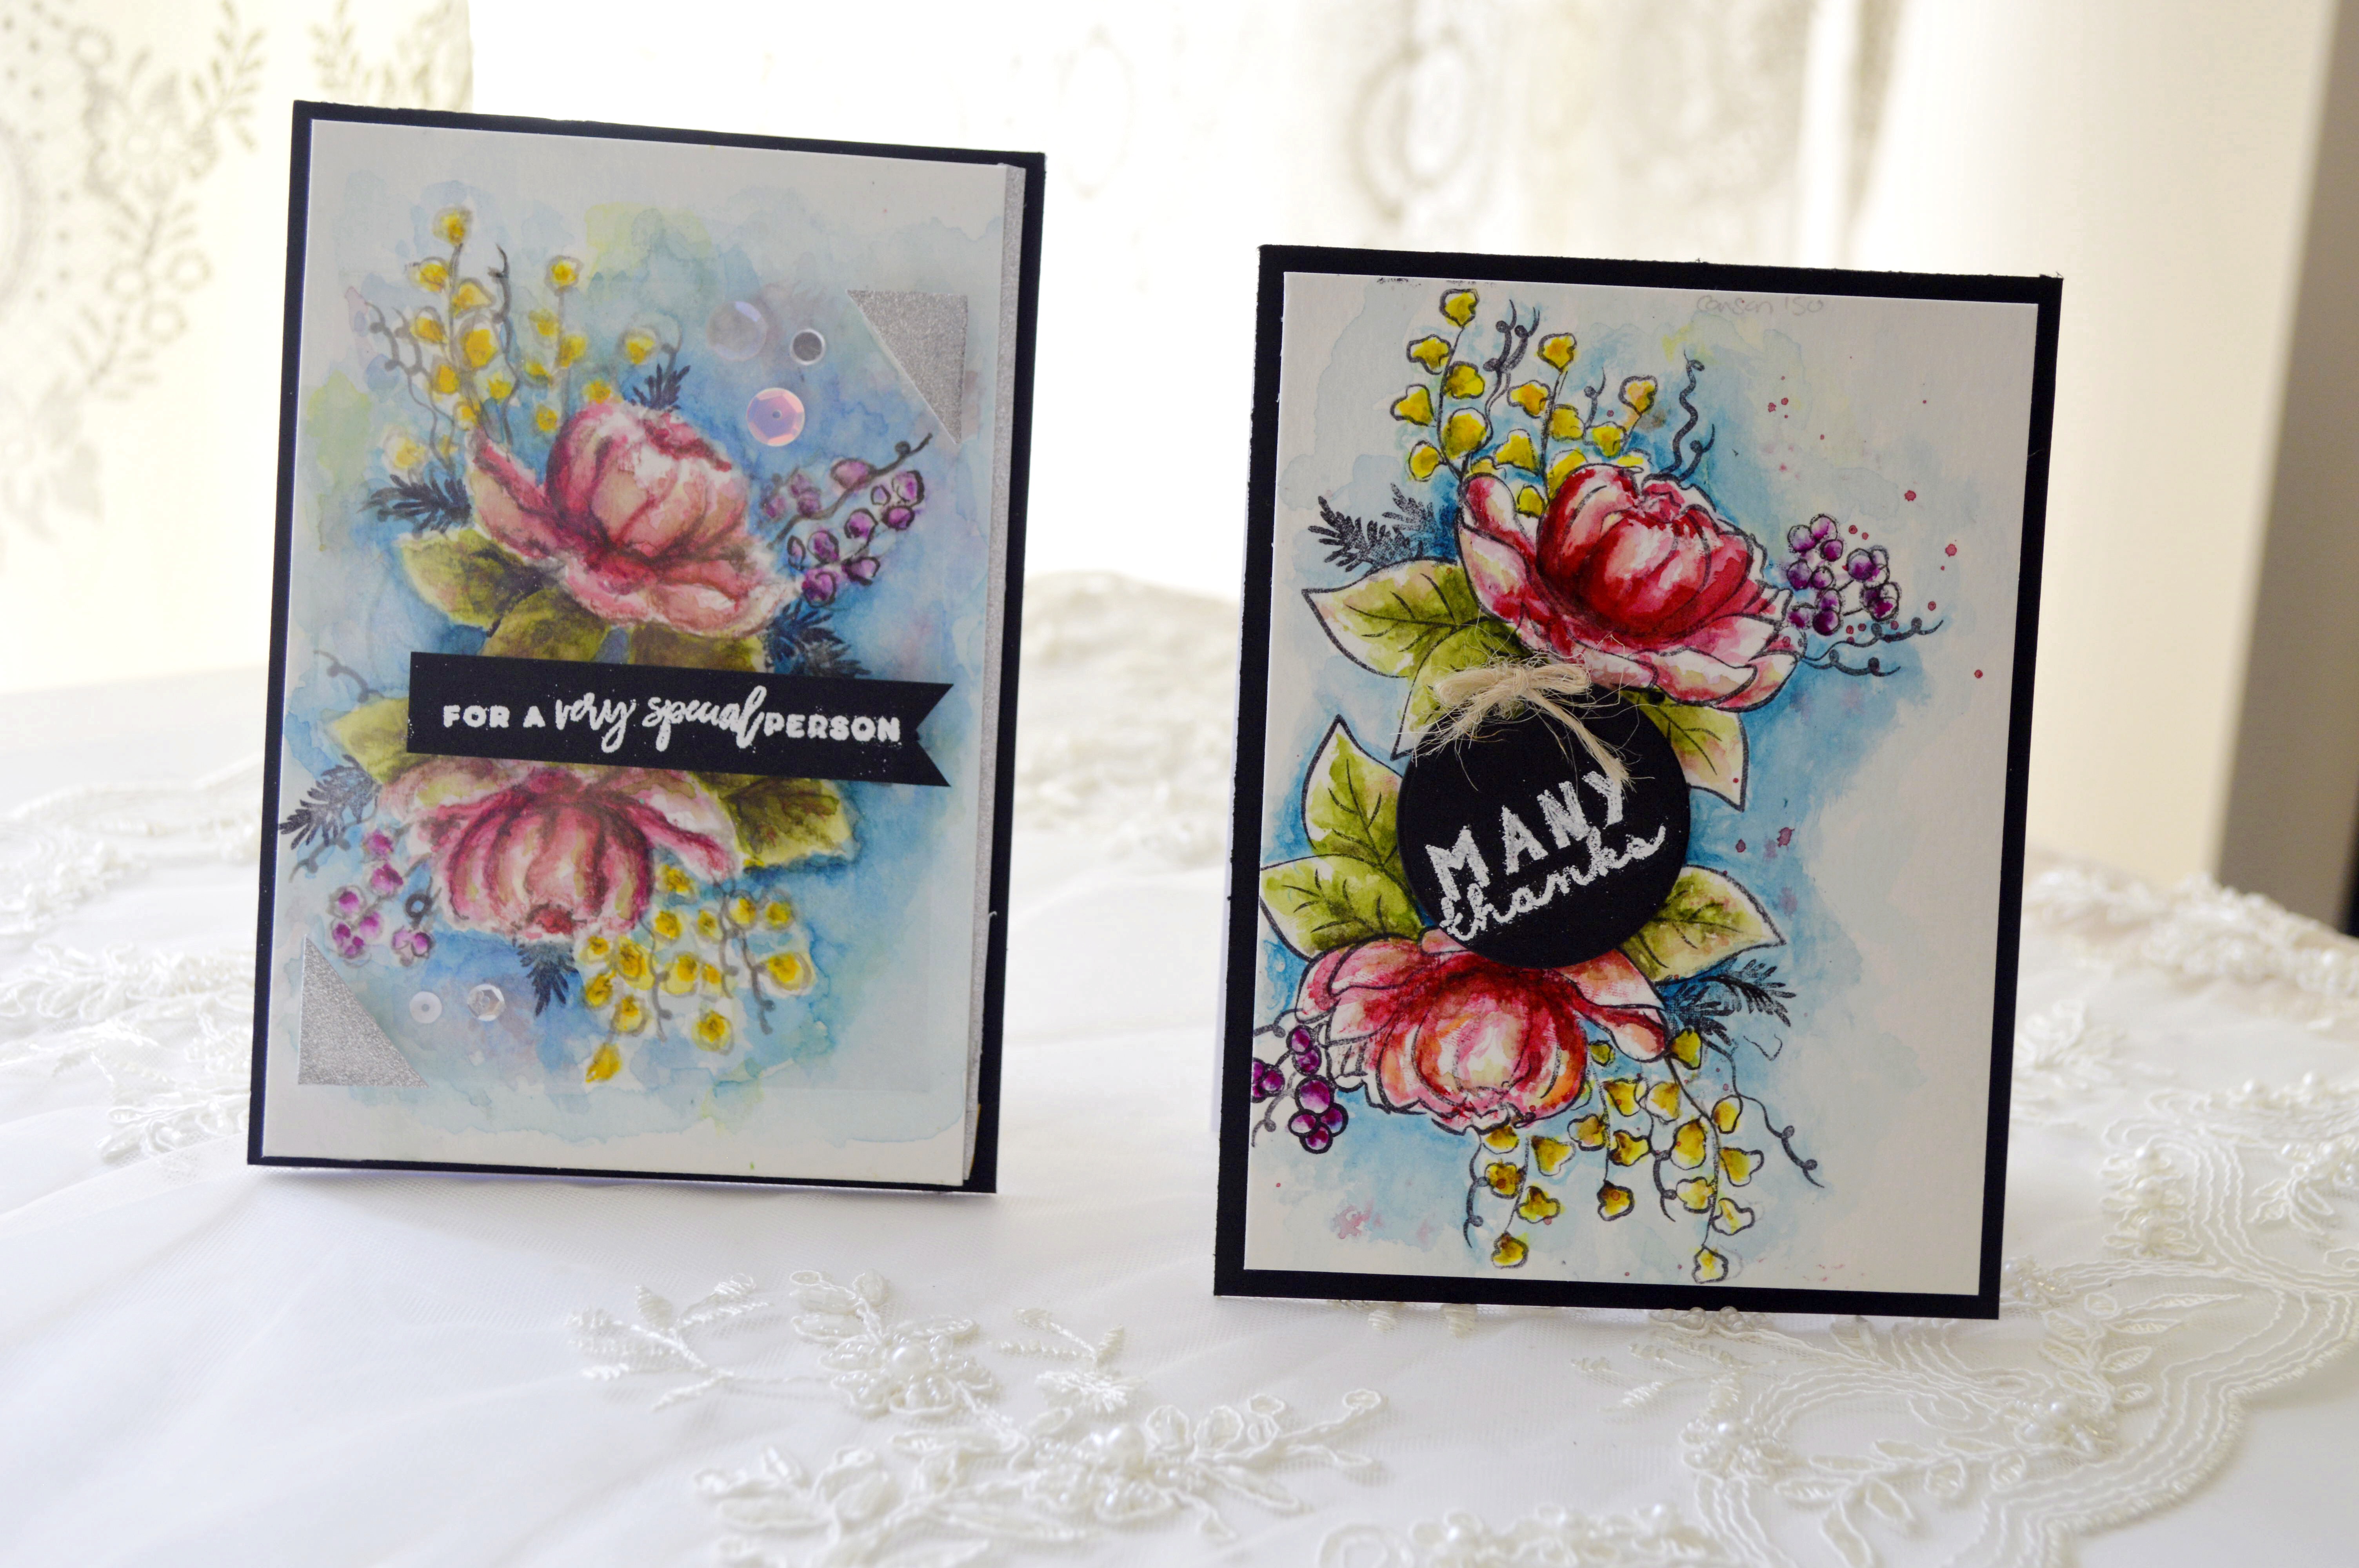
I believe in this words - Be careful what you wish for you just might get it - back then I was dreaming to have some of W&W product, today I was honored to be a leading lady. I will posting on Winnie and Walter blog as a guest designer every Saturday on this September 2018 . It was a little tricky to choose what I am going to share with you in my first post, I wrote down the thing that I would like to share with you and couldn't resist to share with you one of my favorite techniques, which is watercolor . If you have some time it will be my pleasure to continue reading this post and watching my long video. I made two card they are almost the same , one was colored with no-line watercolor techniques and the other one with watercolor with black outline.
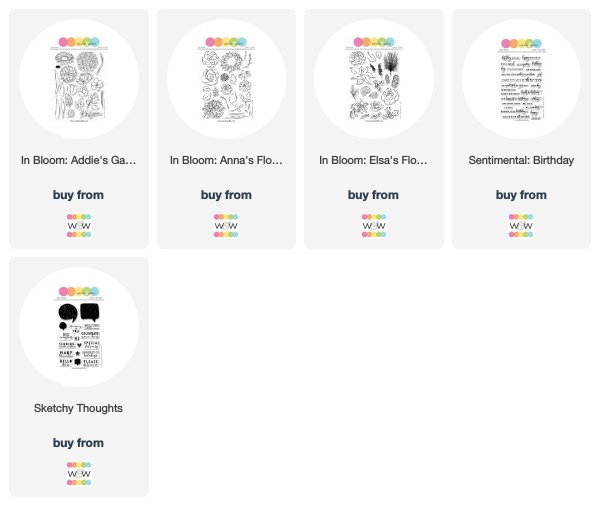
For my first card, I used no line watercoloring to create this card . I used W&W In Bloom: Addie's Garden stamp set for the main flower and some accessory flowers and leaves from W&W In Bloom: Elsa's Flora stamp and W&W In Bloom: Anna's Flora stamp . I stamped these images with sss barely beige ink pad , this ink is so friendly with no line watercoloring . For coloring I used mainly mission gold mijllio watercolor.
Here is some tips that I used in this cards. ** I started by applying light color first as base layer of the flowers then I went with full strength color over them . ** I paid attention to leave some white space for the lighting effect and it will give me more space for blending the colors. ***I added darker red color detail with 00 brush with dark brown color to highlight the shadows in the image. ****The key for good watercoloring is leaving your coloring to set and dry then applied your layer or blend them so will, *****don’t hesitate to use darker colors like black or dark brown to make your image shine in the middle of these many colors .... After I colored all my images I colored the background too with watercolor . I mounted them over a black card stock they i add a dimensional acetate over the images to give this frame look and add more dimensions with the sentiment that I embossed over black card stock with white embossing powder . I used W&W Sentimental: Birthday for this sentiment.
My video:
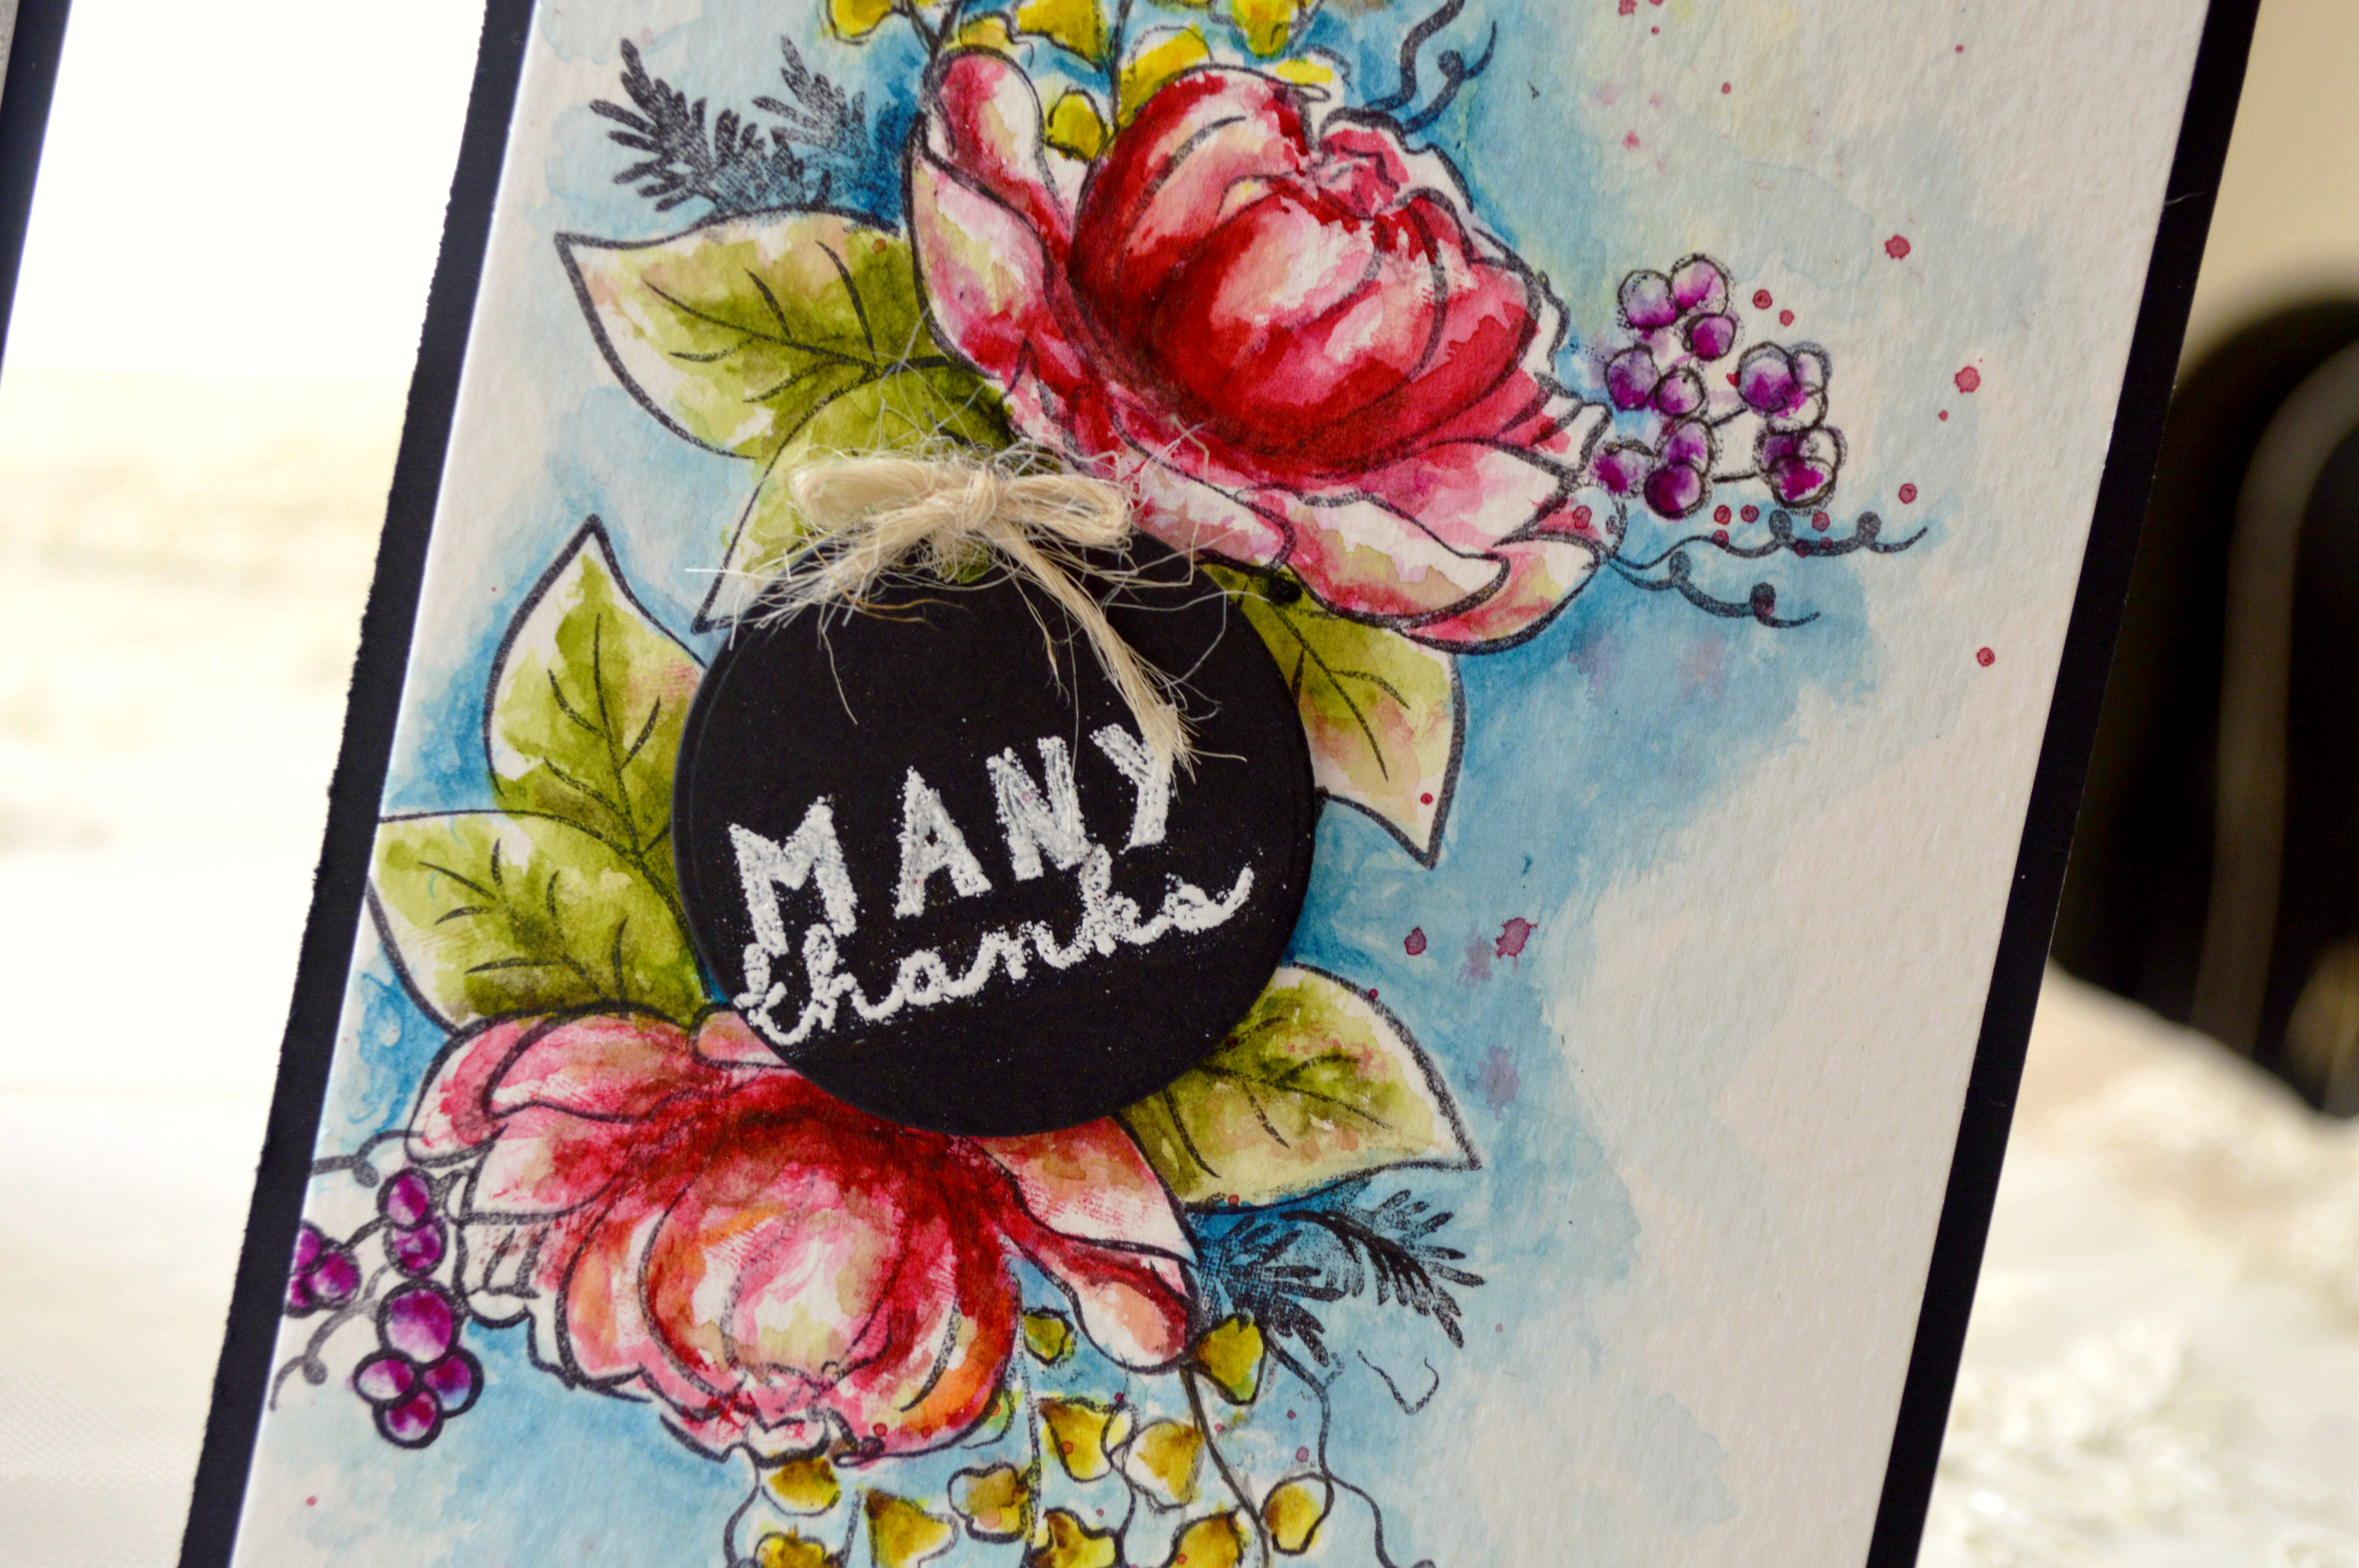
For my second card I stamped the images after I did some masking using the same stamping set from Winnie and Walter products with watercolor resistant black ink (staz on). Then I started coloring as I did in the no line watercolor card .
*Coloring with black ink are much easier and its gives a better result .
**I colored inside the image easily and I defined the shadow and light area easily too .
***After that I colored the background I was not worried so much of blending as the black ink in between will act as a barrier I can easily recognize the blending and I am not going to lose my outer lines .
I added a little red splatter at the end . And I stamped this sentiment from W&W Sketchy Thoughts stamp set. I mounted the card over a heavy black card stock. I didn't want yo add any more embellishment to this card so I left it like this .
I love these both cards and i enjoyed coloring them so much . Evert one of them has its own magic’s .But Let me be honest with you, I love the outcome of 2nd card more it much bright although I enjoyed coloring the no line watercolor card more.
Thank you for joining me today on my first take as a Winnie & Walter Leading Lady , I hope I've inspired you to grab your watercolor and do some watercoloring .
Shay was so generously gifting a 30$ gift card to use it in Winnie and Walter store to give it to one of randomly selected winner from the comments on any of the 5 leading lady posts on my blog maryam's craft . Kindly leave your comment, and let me know what is your favorite coloring media and I will choose the winner on the 2nd of October.
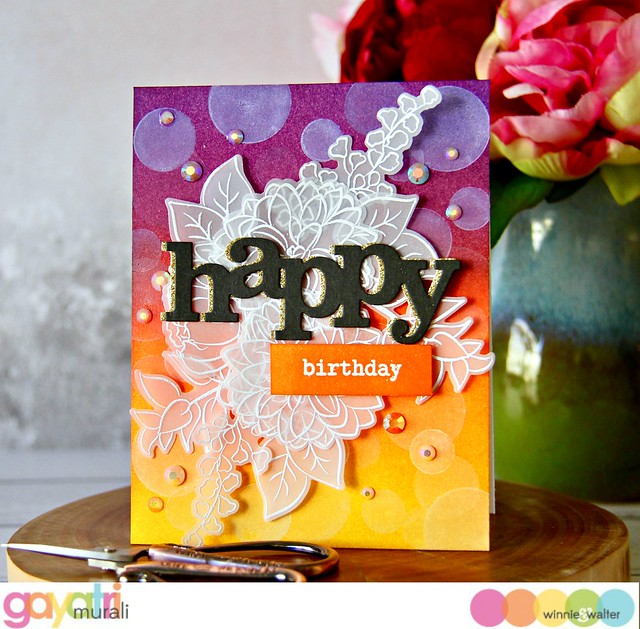
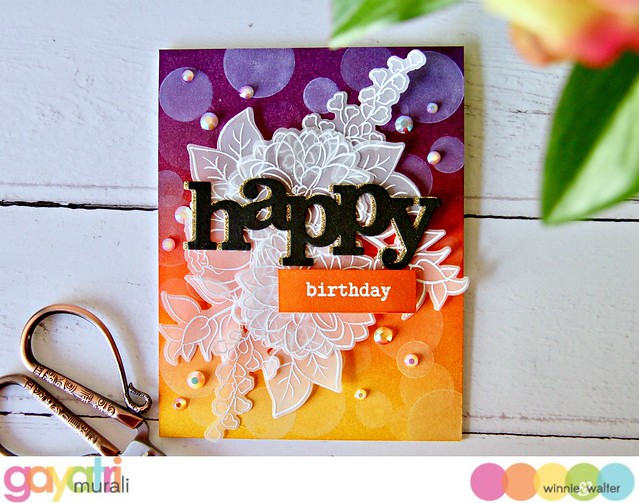
Hey everyone, Welcome! This is Gayatri with you. My last project for July here. I have a floral card to share with you today. I also created a bokeh background for the floral cluster. Here is the card for you.
If you are following me on Instagram, you will know I am sharing distress ink blends each day. The background I used here is blend #4. The colours I have used on this background are Dusty Concord, Seedless Preserve, Ripe Persimmon, Carved Pumpkin and Mustard Seed Distress inks. Then I used W&W’s Scenery: Bigger Bang Confetti stamp set (limited edition) to stamp solid circles on the background using white pigment ink to create bokeh background. Since the background is colourful and busy, I want to keep the focal point simple and clean. So I white heat embossed the images from In Bloom Addie’s Garden stamp set on heavy weight vellum. Then used the coordinating cutaway to die cut them and glue to form a floral cluster. I adhered this cluster on the middle of the background panel.
For the sentiment, I die cut In a Word: Happy cutaway in black and gold glitter. I glued them slightly off set to make the gold glitter as the drop shadow for the black die cut. I know its not traditional. Usually its black die cut that is the drop shadow. I adhered the Happy sentiment on the middle of the floral cluster. The secondary sentiment is white heat embossed on a strip fo white cardstock and sponged with Carved Pumpkin distress ink. I adhered this below the large die cut sentiment using foam adhesive. Finally to finish off some sparkle from jewels.
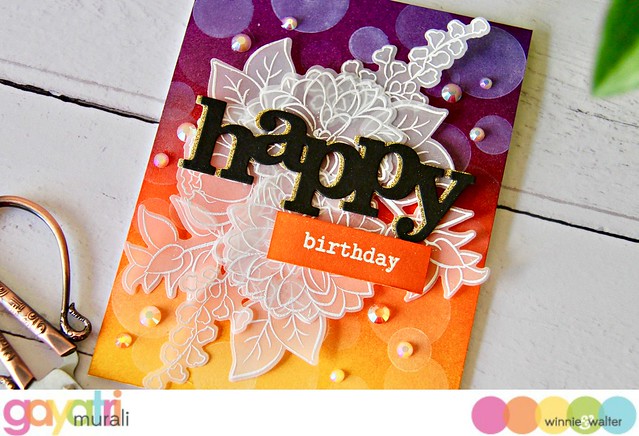
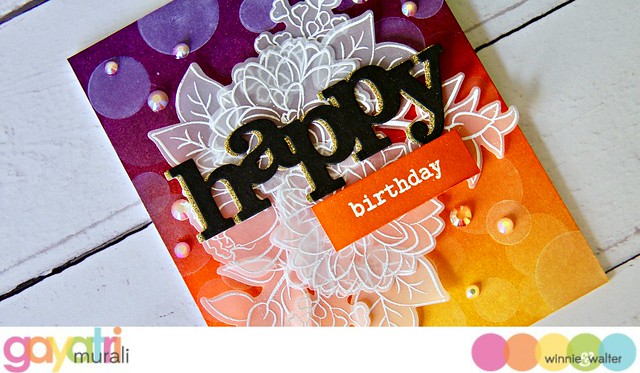
Here are couple of closeups of the card.
Love the card. The colours are a bit unusual for a birthday card. But if you have a friend who has birthday that falls on Halloween, here it the birthday card inspiration. :) Hope you are inspired by my project. All supplies used to make this card below.
Thank you very much for stopping by. Have a lovely day!