Sadly November is coming to a close so we must bid adieu to our positively radiant November Leading Lady, Jessica Frost-Ballas. The last four weeks with Jess have been full of brilliant color, and design. Each project and post has been a delight. I feel so blessed Jessica shared her talents with us this month!
If you missed her smashing debut you must see it...CLICK HERE or her sensational second performance where she made us swoon over her stunning cards in an elegant and dramatic color scheme...CLICK HERE! For today's performance Jessica takes us through an gorgeous journey through the seasons. or her triumphant third performance featuring a gorgeous journey through the seasons CLICK HERE.
Lucky for us all we have her final command performance today.
Good morning! Jessica here for my final Leading Lady post. :( I can't believe how fast November has flown by! I have greatly enjoyed my time on the
Winnie & Walter blog and thanks so much to Shay (and Winnie!) for having me! :) For my last post I decided to focus on something else I love: interactive cards!
I have always loved sequins and beads (pretty much anything sparkly) and you just can't help but smile when you shake around a card and watch all those pretty metallic bits shimmer and sparkle as they bounce around! As I mentioned last week I fell head over heels for the adorable critters in the last release and wanted to focus on them! I stamped the owl pair from
Happy Owlidays with Evelin T Designs onto white cardstock with copic-friendly ink and then colored them with copic markers. I went with non-traditional holiday colors of teal and peach! I used the
coordinating dies to cut them out and set them aside while I worked on the rest of the card.

I stamped the scalloped banner from
Framed with Evelin T Designs onto vellum with versafine and heat-embossed it with clear embossing powder. I also stamped and heat-embossed my sentiment from
Happy Owlidays with Evelin T Designs. Next I fussy cut the banner and cut off the stakes to create a freestanding hanging banner. I used the
Essentials: Carly Cutaways circle die to die-cut a white A2 panel for my shaker frame. Then I added a layer of acetate behind the frame and built up the back of the panel with foam mounting tape. I filled my shaker with a mix of peach, pink, gold, and clear sequins and tiny teal beads. At the last second I decided to make my shaker background colorful so I painted a piece of watercolor paper with scattered straw, wild honey, and worn lipstick distress ink and once it was dry I heat-embossed it with holographic embossing powder. I sealed my shaker with the watercolored background to create a frosty sunrise. Finally I adhered my banner and my owls to the front of the shaker with liquid adhesive.

My last card appears to be a normal scene card but there's a little surprise that I'll share later! ;) I stamped the igloo and penguin from
Season's Tweetings with Evelin T Designs onto white cardstock with copic-friendly ink and colored them with copic markers before die-cutting them with the
coordinating cutaways. Next I worked on my wintery background. I smooshed evergreen bough, chipped sapphire, dusty concord, and black soot distress ink onto a craft mat and spritzed it with water before pressing a piece of watercolor paper into the ink. I repeated the process several times drying the ink with my heat gun between repetitions. When the ink covered the entire background panel I dried it for the last time. Then I flicked it with water droplets and let them sit on the panel for 30 or 60 seconds before blotting the excess water off to create the faded white splotches. I also used a toothbrush to flick white acrylic paint onto the background to create brighter "snow." While the acrylic paint was drying I die-cut the
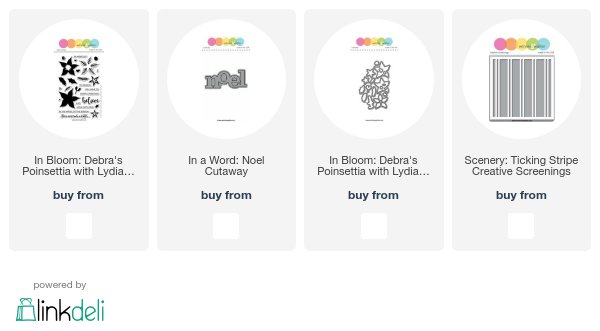
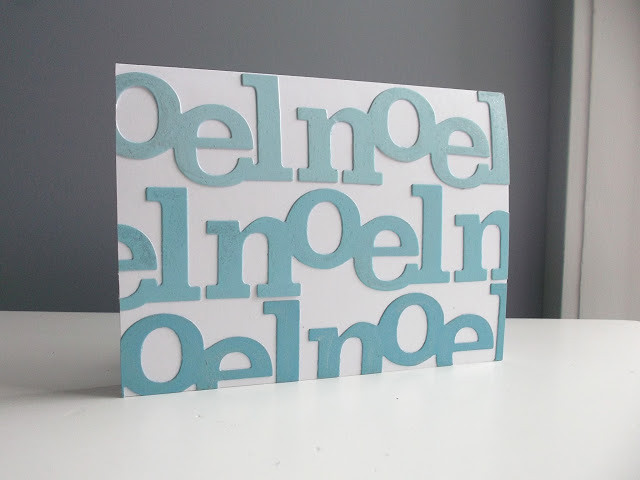
In a Word: Noel cutaway with silver glitter paper and white cardstock and adhered them together to create a rigid sentiment. I adhered that to my background with liquid adhesive.
Next I tore strips of white cardstock to create a snowy ground for my scene. I adhered those to the background and then added my penguin and igloo. I punched a few holes through some of the Christmas lights on my igloo and made sure they went all the way through the background panel....

...so I could create a LED circuit underneath my card to light up a few of my Christmas lights! I also used a twinkle effects sticker so that my lights would blink on and off when you press the penguin's belly. In the above photo I used a paperclip to squeeze together the circuit so you could get the effect without my finger in the way! You can also see areas where I didn't have a layer of foam mounting tape on the back of the watercolor panel so it appears lighter in some spots...I think it kinda looks like the Northern Lights which was totally unintentional but I love it! I used white LED stickers but colored them with copic markers to create the colored lights. It's a fun surprise to see the lights light up!
And that's curtains for me!! Don't forget to comment on any or all of my previous Leading Lady posts for a chance to win a $30 gift certificate to
Winnie & Walter! Thanks so much for visiting each weekend and I hope I inspired you to break out those
Winnie & Walter stamps and get crafty! Have a wonderful holiday weekend!