Showing posts with label in a word: friend cutaway. Show all posts

Thursday, May 10, 2018

Hi Friend Hello with Gayatri

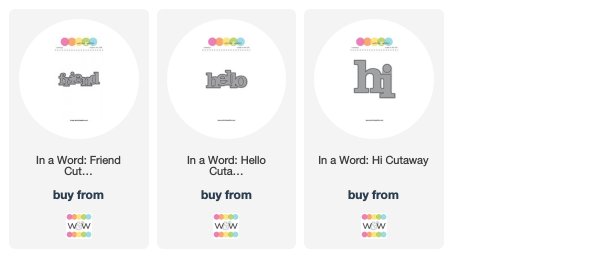
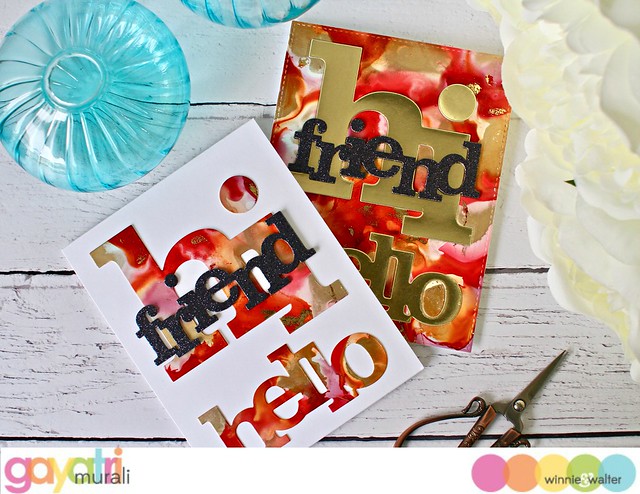
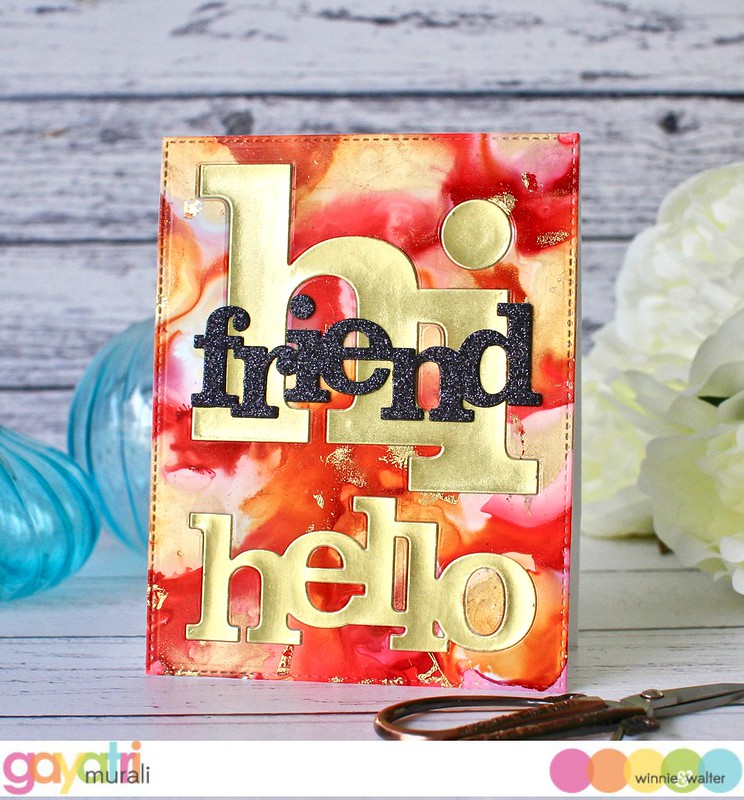
Today I have couple of cards using Winnie & Walter's cutaways(dies). I have stretched the cutaways to make two cards. Basically I used both the positives and negatives of the same cutaway to make two cards. The best way to stretch the cutaways is creating a background and die cutting the background using the cutaways. Use the negative of the die cut to make one card and the postive die cuts to make the other. For the background of my cards, I used alcohol inks and decor foil.
gayatri_W&W May cards#1

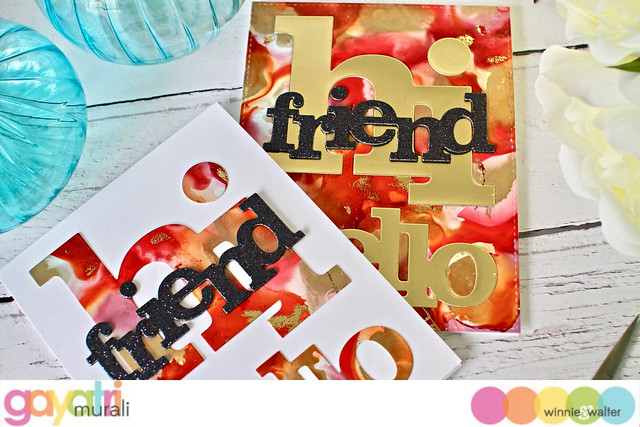
The alcohol ink colours I used are Watermelon, Pink Sherbet and Sunset Orange along with gold mixatives to make my background on Yupo paper. While still tacky, I used gold foil to rub on the panel. The foil will adhered to the tacky areas creating organic veins of gold foils on the panel. They are beautiful. Then I die cut the background using a stitched rectangle die to fit the card front.
gayatri_W&W May cards#1closeup

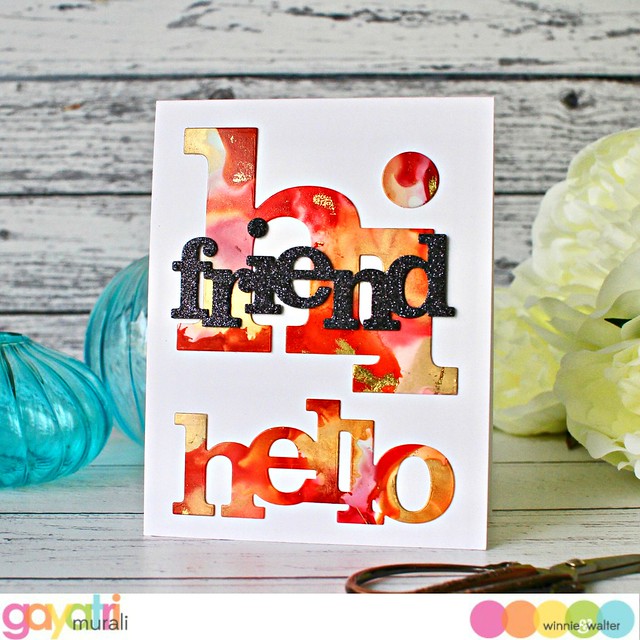
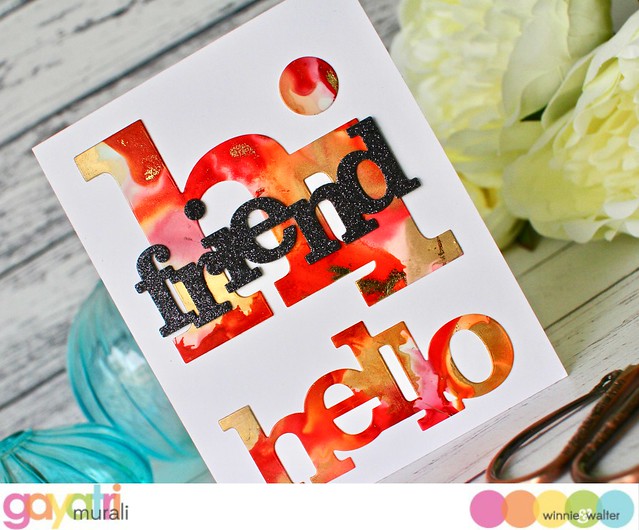
Then I used In a Word: Hi and Hello cutaway to die cut the background. I used the die cuts on a white card base adhering them one below the other to fill the card front. The contrast of white with the colourful die cuts are fantastic. To add to the contrast and add dimension, I die cut In a Word: Friend using black cardstock twice and black glitter paper once. I glued stacked the die cut with the black glitter on the top.  I adhered this on top of the Hi die cut on the card front. I am not adding any embellishments to the card because the contrasts and big bold colourful die cuts are the highlights of the card.
gayatri_W&W May cards#1d gayatri_W&W May cards#1ecloseup

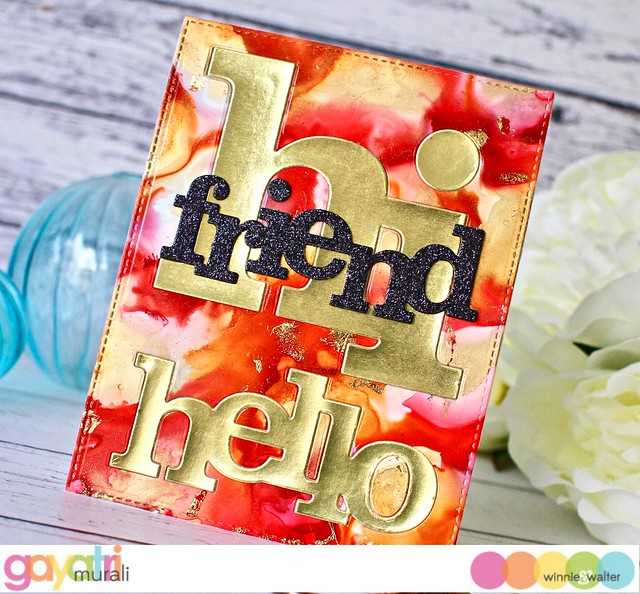
For my second card, I used the negative panel. I adhered this panel on the card card front flush. Then I die cut the same In a word: Hi and Hello using gold foil cardstock and in laid the die cuts into its place on the negative panel on the card front. I also put back the little fill in pieces.  I repeated the same process for In a Word: Friend cutaway and adhered in the same spot as the first card. So the layout on both the cards are the same.
gayatri_W&W May cards#1c gayatri_W&W May cards#1bcloseup

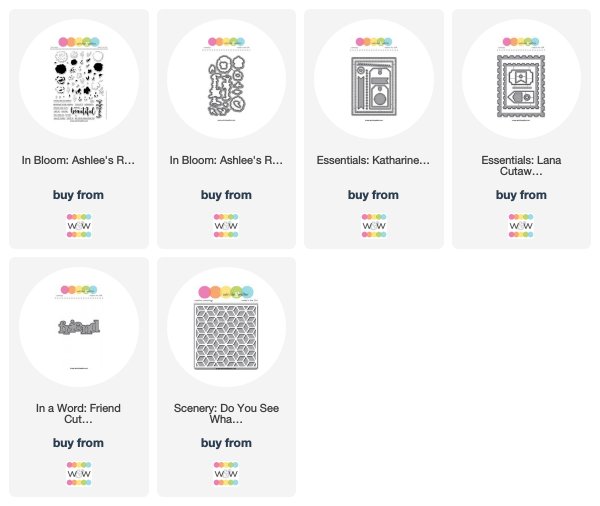
So here is how I used the same dies to stretch and make two cards. The colourful mesmerising alcohol backgrounds makes a big impact. I hope you like my projects for today. All the w&w supplies used to make this card are listed below.

Thanks for stopping by today.

My blog signature

w&w-supplies

Friday, April 20, 2018

April Documentarian Jen Gallacher | Take One

It is time for the first project post by our April Documentarian, Jen Gallacher. Don't miss out on her introduction from last Friday==> CLICK HERE.  I am so thrilled with the gorgeous layout she created and I have already learned so much!

Ladies and gentleman, Jen....


Have you tried using stamps on your scrapbooking layouts? Stamping for scrapbooking is an easy way to fully customize your scrapbooking layouts. I was super excited to use several die and stamp sets from Winnie and Walter to create this beautiful layout. Keep reading for some instructions on how I created this layout. Be sure to pin your favorite images for inspiration later!

How to Add Stamps to a Scrapbooking Layout:

Step 1: Use a stencil, a foam applicator, and yellow stamping to create a diagonal pattern on white cardstock.


Step 2: Using a variety of yellows and greens, stamp and die cut flowers, leaves, and a title for the layout.


Step 3: Use the stamp rectangle shape dies to die cut two different sizes of photo frames from green cardstock. This will require the use of a manual die cut machine.


Step 4: Using the manual die cut machine, cut a variety of shapes from purple patterned paper and black patterned paper.


Here's a look at the finished layout. You can see I added some additional embellishments, and journaling to make this page really pop. But most of my items are die cut, stenciled or stamped items from Winnie and Walter. What's so amazing about these types of projects is that I can continue to use these items for future projects. Now that's stretching your supplies.


w&w-supplies

Thursday, February 1, 2018

w&w 4th Birthday Bash | Anything But a Card Challenge with Kate

challengeb

Hello, it's Kate here and it's my turn to share a challenge with you for Winnie & Walter's 4th Birthday Bash!

My challenge for you is create a project which is anything but a card.  Today I made 2 tags for you. 

kate_IMG_2405 kate_wwtag1 kate_wwtag2

I hope you can join in the challenges and i can't wait to see what you make. Thanks for looking!

>>>GIVEAWAY<<<

Link up your take on this challenge for a chance to win a $75.00 gift card (gift code) to the w&w shop.  One random winner will be chosen.

For more information on how to enter to become our Guest Star for the next release CLICK HERE.  Please remember you need to include GS in the Link Title to be considered for the Guest Star competition.

>>>LINK UP<<<


Wednesday, March 16, 2016

Dear Friend with Lydia

Hi there everyone! It's Lydia here with you today showing a neat little trick to add a little 'faux' texture to one layer cards.

  Adding faux texture to one-layer cards 

I started off by using 'The Big, the Bold and Friends' set - I know it's not immediately clear how I used it but this is the set I used to created the kind of faux texture on the floral images. To do this I took many of the small words from the set and suck them in three rows on a long acrylic block- the block I used is 6" long so I could stamp these in a diagonal but you could always stamp these straight across the card if you have a smaller block. I stamped these lines of text repeatedly using white pigment ink so the whole front of my card blank was covered.

  DSC07384

Once the white pigment ink was dry I then set to work stamping my floral images. For this I used 'In Bloom: Eva's Favorite Flowers', for this technique you want to pick a solid image to stamp over the text you stamped in white and this set is perfect. You also want to use dye inks to stamp the flowers and leaves, the dye ink will be lighter on the pigment ink stamping so it will show through.

DSC07383

For the sentiment I die cut the 'In a Word: Friend Cutaway'from black card and attached this flat to my card, I covered it with a Wink Of Stella and Glossy Accents. I finished the sentiment off by using the 'dear' from 'The Big, the Bold and Friends' stamp set.

Thank you so much for stopping by and I hope you give this technique a try! 

Hugs, Lydia xxx  

w&wDT_lydiaevans_blog-sig 2


w&w-supplies


Tuesday, February 16, 2016

w&w Belated 2nd Birthday Bash | Special Guest Star Joni Andaya

200specialgueststarjoni

Today's guest is special as it is the return of the gloriously talented Joni Andaya.  I was so excited Joni could join in with our Belated 2nd Birthday Bash as it just makes the celebration all the happier and just feels right as she was one of the original Talent.  As another treat Joni is sneaking something from our February 2016 Release (check back next week! wink).  Joni's card is such a lovely take on Gayatri's Create Your Own Background Challenge!

Hello Everyone Joni here sharing another inspiration that will be coming to the Winnie and Walter store soon.

1

To begin my project, I stamped the new upcoming Kindness with Evelin T Designs stamp set (February 2016 Release) on a watercolor paper using the versamark ink and heat embossed in white embossing powder. Then, I watercolored the images using Windsor & Newton watercolor paints. Next, I die-cut the In a Word: Friend Cutaway using a black cardstock. I also added some sequins from Little Things from Lucy’s Cards in Caribbean Dream to finish off the card.

2

Here’s another look.

3

I hope you guys enjoyed! Have a Wonderful Week :)


w&w-supplies


Saturday, October 3, 2015

October Leading Lady Keren Baker | Take One

keren-baker-oct2015


Today we are thrilled to introduce our October Leading Lady, Keren Baker.   A wife and mum of 6 from England, Keren is a published artist and 2014 Top 10 Gallery Idol.  Keren really impressed us with her ingenuity, cleverness, individuality and artistry.      

Over the next few Saturdays in Keren will be leading us on a journey of her own design and imagining.  Make sure to visit her blog, Keren Baker's Blog, to see more from her and for a chance to win a giveaway! 

Give Keren a big round of applause to welcome her as she steps onto the stage for her first performance as our October Leading Lady!    
Hello! It's so lovely to be here with you all.

I'm pretty chuffed to have been asked to be a Leading Lady (although being a 'lady' makes me feel really old!) and to be honest, I've hardly known which lovely Winnie and Walter supplies to choose. So rather than focus on one set or die, I've gone with a theme;
'Making more out of your dies!'

I had intended on just bringing you one or two ideas and then the theme progressed to using up what I'd already created for the previous card and it morphed slightly out of control ;-)

The first card is using a die to create a simple stencil with cardstock to add embossing paste through. I've used the fabulous Cover Model: Multifaceted Cutaway


By not adding paste through the whole die-cut stencil it gives a really interesting shape. I just made sure I masked it off well.

The central heart is from the 'True' stamp set and I've just embossed onto vellum and added some watercolour markers.


I wanted to do a 'multi layered' stacked technique next and used the In A Word: Hi Cutaway


This was tonnes of fun creating, I just die cut 9 layers of 'hi's' in different cardstock colours. Next, I sewed around the top layer in matching threads and just offset each layer whilst keeping each layer straight. Whilst making this card I realised that the left overs were in fact, a brilliant shape just perfect for another card. Spy the gap between the 'h' and if you trim it out and add a little 'stick', you'll end up with something like this!


I've also added The Big, The Bold and Friends Cutaways for the sentiment. I just wanted 'smile' so trimmed the 's' off. Wouldn't a row of ice-lollies make anyone smile!

When I had added the strips of cardstock to the 'Hi' card, I had lots left and so thought I'd create a striped effect with another die. I used the Cover Model: Multifaceted Cutaway along with In A Word: Friend Cutaway.


This was done using an acetate die-cut of the Cover Model. I added some Distress inks onto the acetate stencil, spraying it with water and then pressing onto a piece of cardstock. Dab any excess off and you get a pretty watercolour effect.


I added the left over strips onto a piece of card and die cut the In a Word: Friend Cutaway die out twice. This gave it dimension without detracting too much from the background.

The thing was, I had a lovely leftover striped piece that now needed using too ;-)


So, I backed it onto another piece of card. I added the negative black parts from another die cut piece and that finished it off perfectly.

Who knew that one lovely die would lead to so many other cards!

Whilst I can't promise 5 projects each week, I am going to be exploring some Winnie & Walter digital files next week and using them with stamps and dies to get a different look.

Thanks for letting me join you this week, I'm really looking forward to being with you next week for Part 2!  

Keren x

w&w-supplies