Showing posts with label october 2015 release. Show all posts

Monday, December 21, 2015

October 2015 Release Showcase with Mayuri

Hello there - Mayuri here to share some cards using the October Release - I didn't get a chance to create anything back then because I was filming my Craftsy Class, but wanted to show you how versatile these stamps and dies are!
Here's the first card:
WW_CARD1_OCT15_RGB_0212
​
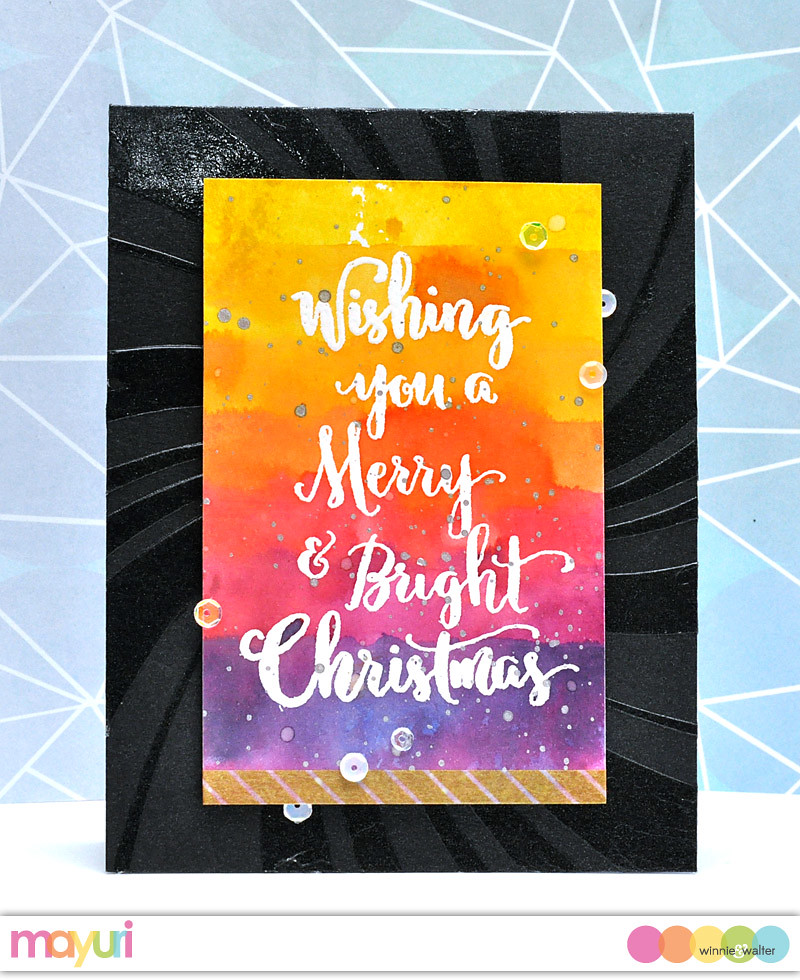
This one came together by adding a subtle pattern in the background to make the focal element pop - I used translucent embossing paste through the Scenery: The Peppermint Zone Creative Screenings onto a black card base. 
While that was drying I swiped some Distress Ink cubes across an acrylic block, spritzed with water and then stamped down onto a panel of white cardstock. I did this with several colours, heat set and then stamped a sentiment from Merry & Bright with Evelin T Designs with Versamark ink. I sprinkled white embossing powder and heat set before trimming the panel down, adding some gold washitape to the bottom and foam mounting to the card base. Here's the second card:
WW_CARD2_OCT15_RGB_0221
​
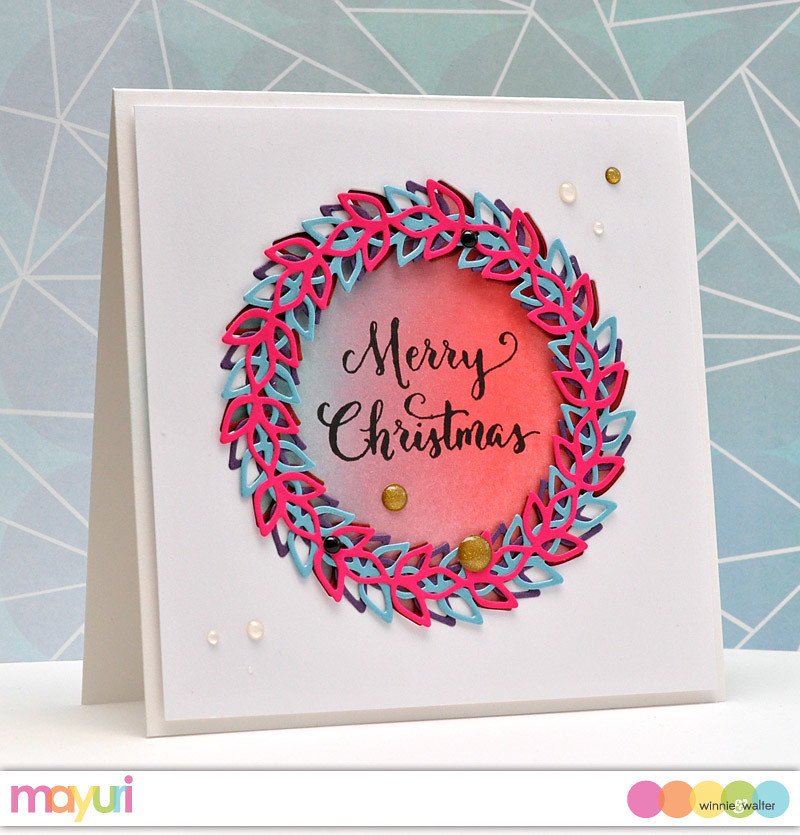
This one showcases how much fun you can have with the In Bloom: Paulina's Greenery Cutaways.  I simply die-cut the wreath out of four different coloured bits of cardstock, but also out of the centre of a piece of white cardstock to act like an aperture. On a white card base, I blended some Worn Lipstick and Tumbled Glass Distress Inks and stamped a sentiment from Merry & Bright with Evelin T Designs in the centre, before foam mounting the white panel to the card base. 
I then arranged the four wreath die-cuts on top, allowing the blended ink and the sentiment to show through. A few enamel dots and Glossy Accent blobs finished the card up nicely! Here's the third card:
WW_CARD3_OCT15_RGB_0228

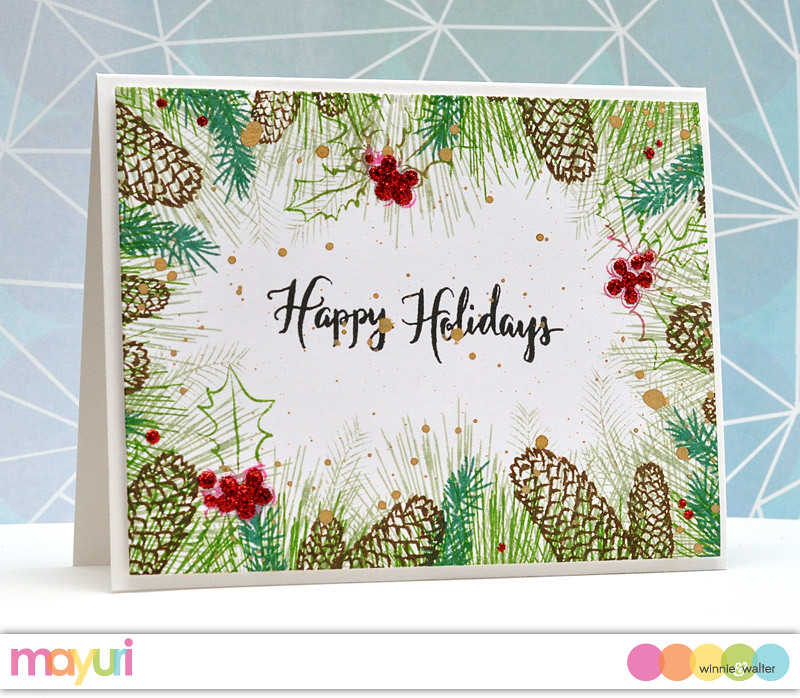
You can use any stamps in your stash to create a pattern around a sentiment, but I think the images from In Bloom: Elsa's Flora make it so easy for this look. I stamped a sentiment from Merry & Bright with Evelin T Designs in the centre of a white cardstock panel with black dye ink, then stamped various images around it with different shades of green ink for the leaves and brown for the cones.
I also stamped the holly images from the same set, and filled in the berries with Xmas Red Stickles for a bit of fun! I added a few gold ink splats and then mounted the panel to a white card base. Here's the fourth card:
WW_CARD4_OCT15_RGB_0238
​
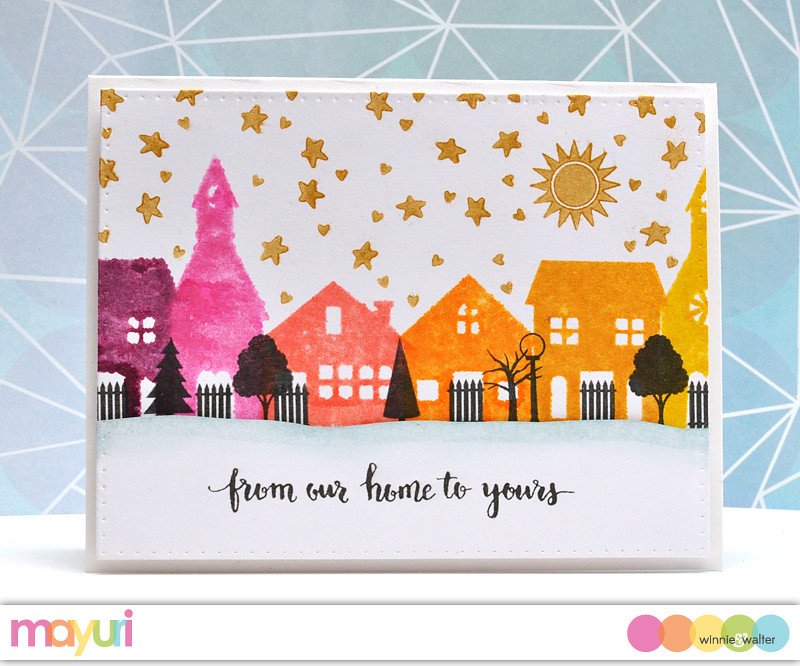
I love creating sceneries and the cute images from Our Town made it so fun to create a street full of colourful houses. I stamped them with Distress Inks and then added pops of black for the smaller images. The sparkly sky is made by stamping the stars from the same set with Delicata Golden Glitz ink and brushing with Perfect Gold Perfect Pearls.
The sentiment comes from Happiest of Holidays with Evelin T Designs and was stamped onto a panel that I'd trimmed to look like a snow bank. I foam mounted the colourful street and the snow bank to a white card base to finish up. And here's the final card:
WW_CARD5_OCT15_RGB_0250
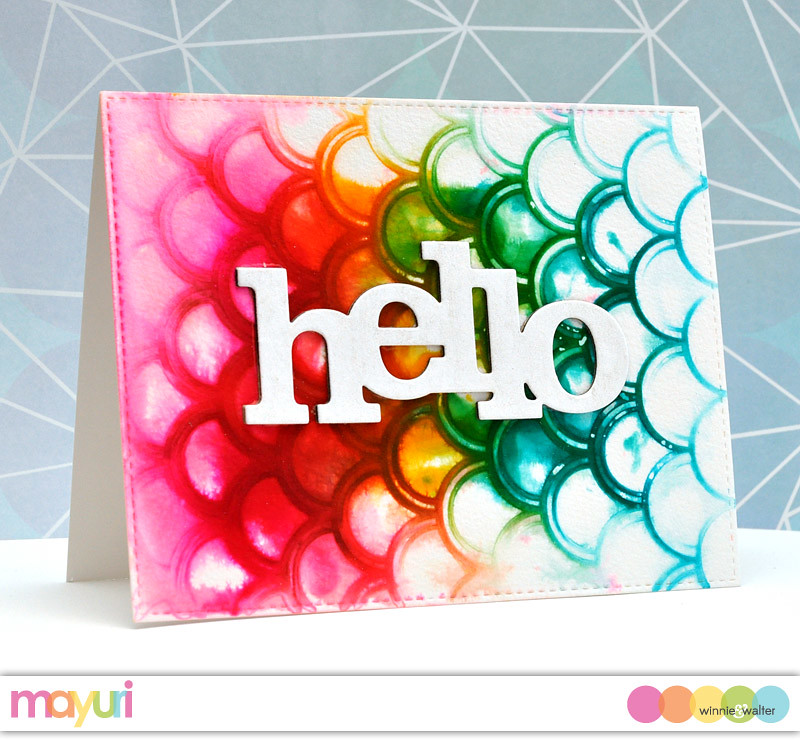
I created the background using the Scenery: Madison Creative Screenings and one of my favourite techniques. I added droplets of Dylusions Ink Sprays onto a large acrylic block, covering the entire surface and then liberally sprayed a piece of watercolour cardstock with water. I laid the stencil down and immediately pressed the inky acrylic block on top. I jiggled the block around a little to allow the ink to move and create an amazing, blended look through the stencil - you have to try it to believe it!
I removed the block and the stencil before heat setting the panel. I then trimmed it to the same size as my card base and adhered it straight down. The sentiment was created by die-cutting the In a Word: Hello Cutaway out of white and black cardstock, and then adhering them both together to create a thicker embellishment. This was then adhered to the card front.
I hope you enjoyed my showcase of the October Release! 
Have a great Christmas and New Year ;-)
Mayuri
w&wDT_mayuri_blog-sig


w&w-supplies

Tuesday, November 3, 2015

The 25 Days of Christmas Tags

25 Days of Christmas 
Hello loverlies!  It is Shay here today with a very fun post.

Tracey McNeely has a wonderful event called The 25 Days of Christmas Tags in which for 25 days she features Christmas tags.  There are lots of guests and giveaways along the way!

One of the first things I learned to stamp was tags so this is near and dear to my heart.

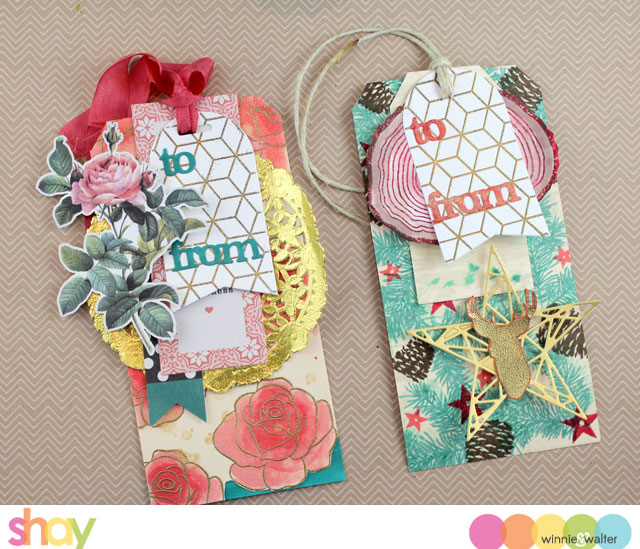
shay_w&w_25dayschristmastags 

We just released Essentials: Noelle Cutaways which make Christmas tags a breeze!   Really any of the Essentials are good for tag making.  I ended up doing the same basic design of Christmas tag with the first being feminine and second more masculine using the color palette of gold, green, white, brown (at times only manila) and red.

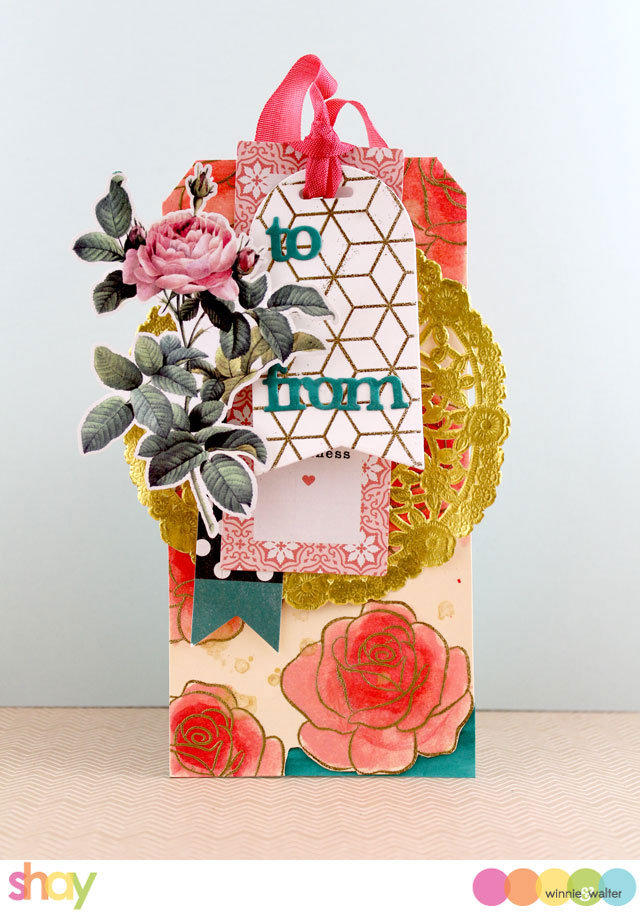
I began the tags by cutting out the tag shape from Essentials: Noelle Cutaways from white cardstock that I then stamped with Mini Scenery: Do You See What I See? in Versamark and heat embossed in gold.  I used the slit die from Essentials: Noelle Cutaways to make an opening on the embossed tag of one of them.

shay_w&w_25dayschristmastag1

For the feminine tag I stamped the rose from In Bloom: Elsa's Flora in Versamark and heat embossed in gold on a large manila tag.  I colored in the roses with Distress Ink and shine Mister Huey's.   I flicked some gold lame Color Shine by Heidi Swapp on the rose manila tag.  I cut around the bottom rose and behind that corner added a strip of green cardstock.  I cut out the "to" and "from" from cardstock and colored them in to match the tag. I added them to the gold embossed smaller tag.

I attached a gold doily to the rose embossed manila tag.  To add interest I used die cuts from the Open Book collection by Maggie Holmes/Crate Paper.  I attached the layers of tags with some seam binding.

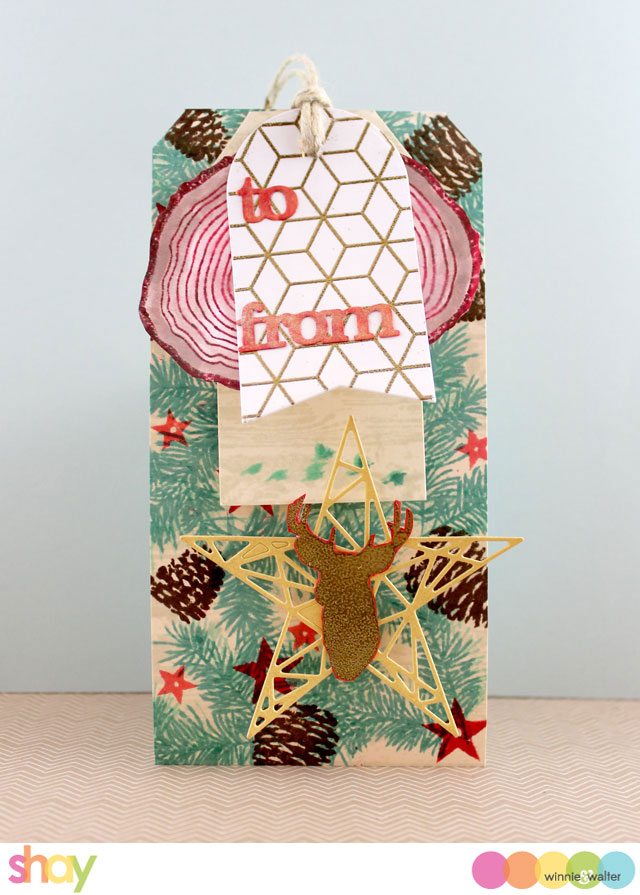
shay_w&w_25dayschristmastasg2

On the masculine large manila tag I stamped Mini Scenery: Mulitgrain in light grey and over that the pine and pine cones from Winter Woodland in Distress Ink and the stars from Comfort + Joy.

On a smaller manila tag I stamped the Mini Scenery: Mulitgrain in light grey and the birds in Distress Ink from Comfort + Joy.

On a piece of white cardstock I stamped the slice of wood in Distress Ink.  I colored it in with Distress Ink and shine Mister Huey's.  I cut it in half and attached it behind the gold embossed tag.  I cut out the "to" and "from" from cardstock and colored them in to match the tag. I added them to the gold embossed smaller tag.

From gold cardstock I cut out the patterned star from True Multifaceted Star Cutaways.  I attached it to the pine manila tag with dimensional foam adhesive and on top of that adhered a gold embossed stag from Comfort + Joy.  Using hemp cord I tied the smaller tags to the pine tag.

I know these are busy tags but that means you could attach them to a simple kraft or white paper wrapped gift.  Change up the images, embellishments, colors and the like to customize your packages and by all means make them more clean and simple if that's your preference.

Gayatri also played along with a truly magnificent tag.  CLICK HERE to see it!

Don't forget to visit Tracey's blog HERE to get more details, inspiration and enter tons of giveaways including one from w&w!

P.S. Today is Tracey's birthday so make sure to share some birthday cheer with her! :-)


w&w-supplies


Monday, November 2, 2015

October 2015 Release | Giveaway Winners

Hello all!  We are ready to announce the winners of the October 2015 release giveaways and to tell everyone how much we treasure each of your comments.  It humbles us mightily.  We may need food, water, sleep and shelter to live, but it is you that is one of the things that makes the living rewarding! :-)


>>>OCTOBER 2015 RELEASE GIVEAWAY WINNERS<<<


Winner of In Bloom: Anna's Flora, In Bloom: Elsa's Flora, In Bloom: Renee's Leaves, In a Word: Home Cutaway, In a Word: Joy Cutaway, In a Word: Merry Cutaway, In a Word: Peace Cutaway + In a Word: Thanks Cutaway (Day 1)

day1winner

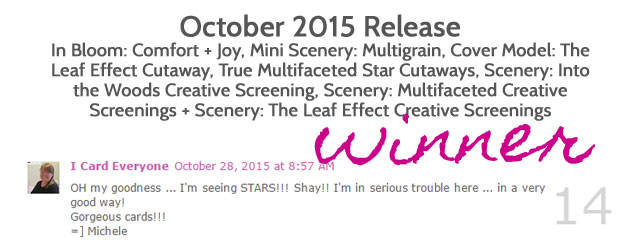
Winner of Comfort + Joy, Mini Scenery: Multigrain, Cover Model: The Leaf Effect Cutaway, True Multifaceted Star Cutaways, Scenery: Into the Woods Creative Screening, Scenery: Multifaceted Creative Screenings + Scenery: The Leaf Effect Creative Screenings (Day 2)

day2winner

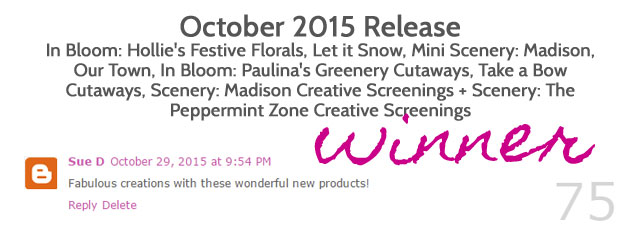
Winner of In Bloom: Hollie's Festive Florals, Let it Snow, Mini Scenery: Madison, Our Town, In Bloom: Paulina's Greenery Cutaways, Take a Bow Cutaways, Scenery: Madison Creative Screenings + Scenery: The Peppermint Zone Creative Screenings (Day 3)

day3winner

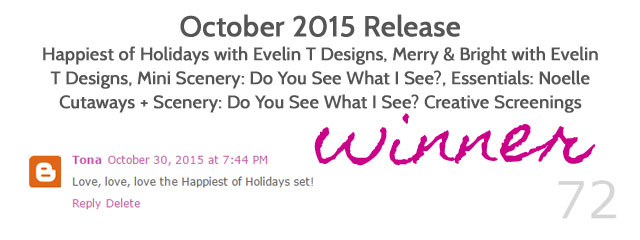
Winner of Happiest of Holidays with Evelin T Designs, Merry & Bright with Evelin T Designs, Mini Scenery: Do You See What I See?, Essentials: Noelle Cutaways + Scenery: Do You See What I See? Creative Screenings (Day 4)

day4winner

The Big Giveaway Winner
biggiveawaywinner

Congratulations!

Winners please contact info {at} winniewalter {dot} com by Friday, November 6 at 12:00 p.m. with which winner you are in the subject (for example October 2015 Release Day 1 Giveaway).  If we don't hear from a winner by Friday, November 6 at 12:00 p.m. we will pick another winner in that category (and we really, really hate to do that!!).

Thank you to everyone who commented! Every single comment is a gift to us.  

Have an awesome day,
Julie, Walter, Shay & Winnie

Saturday, October 31, 2015

October Leading Lady, Keren Baker | Take Five

Sadly it is our last Saturday with our astonishing outstanding October Leading Lady, Keren Baker.   We've felt so utterly delighted and blessed to spend the last five weeks with the all-round lovely Keren.  We wish to express our heartfelt gratitude to you, Keren, for the brilliance, scope, depth, sheer creativity and mastery of each of your performances.  It has been an true honor to have you as our leading lady.  

If you missed her smashing debut you must see it...CLICK HERE or her delightful and innovative second performance showcasing cut files CLICK HERE or her third triumphant performance where she goes 3D CLICK HERE or her party of a fourth performance CLICK HERE.

Lucky for us all we have her final command performance today.  

Keren_oct2015
I feel like singing, 'and now, the time is here, I'll face the final curtain' ;-)
My final week is over as Leading Lady. Who was to know it would be so much fun and how much it would stretch my creativity. I said to Shay that I'd not really done flower cards very much...but now I LOVE them! This next flower project is one of my favourite cards ever! 
I'm loosely basing my projects around 'gift giving' this week; hope you can see where I'm going with it!ll5a
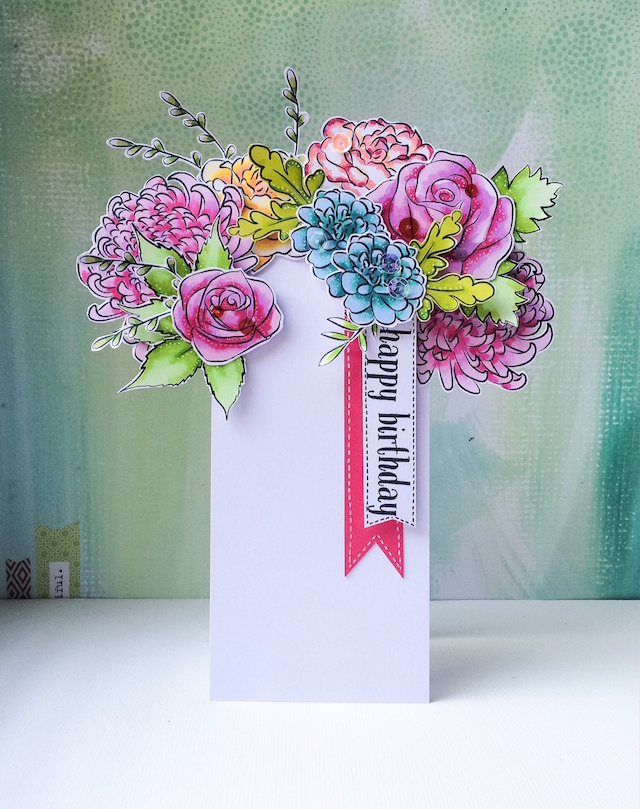
I wanted it to look like a bunch of flowers, with the vase as the card base. I've mixed and matched flowers from both 'In Bloom: Elsa's Flora' and 'In Bloom: Anna's Flora'. These sets work interchangeably so well because the sizings are the same- which means you get more use out of them. I've simply added the sentiment from Winter Woodland
ll5
To make it 'beyond the card', I've added a little acetate frame that I adhered to the front of the card (but knew I'd cover with the blooms). Granted, it does show at the back, but you could  add more flowers on the back of the card, which would be a lovely touch.
Next up pillow boxes for any gifting occasion
ll5c
So for the Christmas one I've mixed up Winter Woodland with Elsa's Flora, and for the Grateful pillow box, I've used the Take A Bow Cutaways, the Happiest of Holidays with Evelin T Designs stamp set & the flowers from In Bloom: Lola's Bouquet with Joni Andaya.
I've gone a little different for my next gift! A pair of earrings!
lld
I've made these pretty quickly (and very easily) using the new In Bloom: Paulina's Greenery Cutaways and black shrink plastic!
I simply die cut the shrink plastic and then shrank them. They were a little wriggly whilst shrinking and probably need a coat of varnish just to give a little strength. For the background I used the Mini Scenery: Multifaceted stamp.
llf
My last (& super quick) project is more of a message from me rather than an actual tag. It was to say 'thank you' for having me (Shay & Julie) and for you all being so supportive of my projects. It's been a joy to be here, and hugs to all of you. 
lle
In case you're wondering, I've die cut the In a Word: Hugs Cutaway into a piece of cardstock die-cut with the new Cover Model: The Leaf Effect Cutaway. I die cut it onto some plain card too. Add some distress inks onto the top of the word. Fold the Leaf Effectpibece in half and adhere to a folded piece of vellum. Insert the 'hugs' piece and add sequins to finish! 
If you still wanted a chance to win the $30 gift voucher which Shay & Julie have kindly donated, do visit my blog & follow the instructions there. You've got until Nov 2nd to do that.08910-w2526w_30giftcard
Thanks so much,

Keren xx


w&w-supplies