Friday, July 31, 2015

Bold + Bright | Hello with Heather P.


Hi, everyone! Heather P. here, and it's my turn on the Winnie & Walter blog today to share the card I've created using the theme Bold and Bright as inspiration. 

To create my card today, I started with a piece of white CS and offset stamped the solid chevron from V for cheVron in a variety of inks.  Once the ink had dried, I then went back and stamped one of the key words from the Big, the Bold and Happy in versafine black ink.


The stamped image layer was then adhered to a light gray card base with pop dots.  To finish up, I embellished with some sparkly, clear sequins.  

Well, that wraps it up for me today, thanks for stopping by! :)

w&wDT_heatherpulvirenti_blog-sig


w&w-supplies


Wednesday, July 29, 2015

Bold + Bright | You Sparkle with Mayuri

Hello there - Mayuri here to share a card using The Big, the Bold and Fun and Scenery: Big Bang Bling stamp sets to create a clean and simple card.
WW_MAYURI_JUL2015_IMAGE01


I began by repeatedly stamping one of the cluster of sequin images from Scenery: Big Bang Bling with Delicata Golden Glitz ink, in a sort of semi-circle. I then brushed with Gold Perfect Pearls while the ink was still wet to intensify the gold. 
WW_MAYURI_JUL2015_IMAGE02


I set the Perfect Pearls with a light misting of water and then trimmed the panel out using the largest frame die from Essentials: Katharine Cutaways
WW_MAYURI_JUL2015_IMAGE03


I combined two of the small words from The Big, the Bold and Fun to create a sentiment and stamped it with black dye ink onto the panel, before foam mounting it to the card base.
WW_MAYURI_JUL2015_IMAGE04


To finish, I added a few gemstones and a gold sequin. I hope you'll have fun creating your own 
sentiments and clustered backgrounds!
Thanks for stopping by ;-)

w&wDT_mayuri_blog-sig

w&w-supplies

Monday, July 27, 2015

Bold + Bright | Congratulations with Gayatri

Hi everyone,

This is Gayatri here hijacking Winnie & Walter Blog today. I have another bold and bright card to share. This card uses the Cover Model: Multifacted Cutaway. But first, here is my card.

gayatri_Congratulations card

For my previous card this month, I sponged a white cardstock panel in rainbow colours and die cut using Cover Model: Multifaceted Cutaway. I used the negative triangle die cuts from the die on my card. And I was left with the positive die cut. So for today’s card, I am using that positive die cut. I trimmed off the edges of the Multifacted die cut and adhered on a black card base by applying glue to only the centre of the die cut. I wanted the edges to be raised to give dimension. Love love the contrast of the rainbow colours against the black background. 

For the focal point, I simply stamped the Dahlia flowers and leaves from In Bloom: Addie’s Garden stamp set on white cardstock in black ink and fuzzy cut them out. I clustered and adhered the flowers and leaves on the card front. Black and White flower cluster lets the rainbow colour pop yet adding subtle attention to it. Sentiment is from Parentville Extras stamp set which I simple white heat embossed on black cardstock and adhered. Finally embellished with some gold sequins from Pretty Pink Posh. 

gayatri_Congratulations closeup

So get more out of your dies by using both the positive and negative die cuts to make two totally different cards.

Thanks for stopping by today. Have a great day!


w&wDT_gayatrimurali_blog-sig


w&w-supplies


Saturday, July 25, 2015

July Leading Lady Anja Bytyqi | Take Four

As July gives way to August we reach the last Saturday with our astonishing July Leading Lady, Anja Bytyqi.  These four weeks with Anja have been illuminating and have passed all too quickly.  We wish to express our heartfelt gratitude to you, Anja, for the excellence, detail and scope of each of your performances.  It has been a delight and honor to have you as our leading lady.  

If you missed her smashing debut you must see it...CLICK HERE or her masterful touch with masks and stencils showcased in her second performance CLICK HERE or her skills with inks gloriously displayed in her third performance CLICK HERE!

Lucky for us all we have her final command performance today.  

Hi everyone,

Can't believe how fast time flies! I'm sentimental today because my time as Winnie & Walter's Leading Lady for July now comes to an end :-( I really had a blast to create and share all these projects here and I'm truly honored and thankful for this wonderful chance! Thank you so much for all your lovely comments and the positive feedback! It really means so much to me!


For my last turn I will do some kind of a Wrap-Up post by incorporating the techniques I've shown you in my last three performances. I will combine these topics with my love for floral stamps and dies which of course can be found in the Winnie & Walter store.

Ready for today's Flower Power?


Embossing with a die and watercolored die-cuts


For my first card I once again used the incredible Cover Model: Multifaceted Cutaway die. But this time I did some fun Dry Embossing with it. This means I've run it through my die-cutting machine using a silicone mat so the parts won't be cut but pressed into the paper. To create this beautiful flower I did some free Watercoloring with Distress Inks and die-cut the solid parts with the In Bloom: Maggie's Roses Cutaways. After that I also die-cut the outlines from white cardstock and glued them on top. I really love how this turned out! For a bit of dimension I popped up the rose with foam tape. The sentiment is from The Big, the Bold and Friends stamp set. I white heat embossed it on vellum and did some fussy cutting. To embellish my card I adhered a couple of clear and pink sequins.


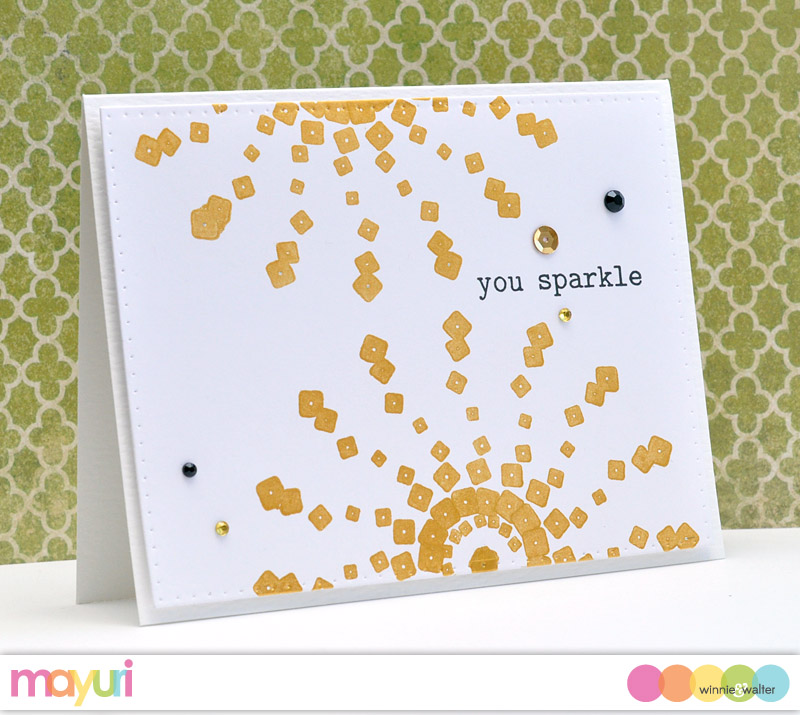
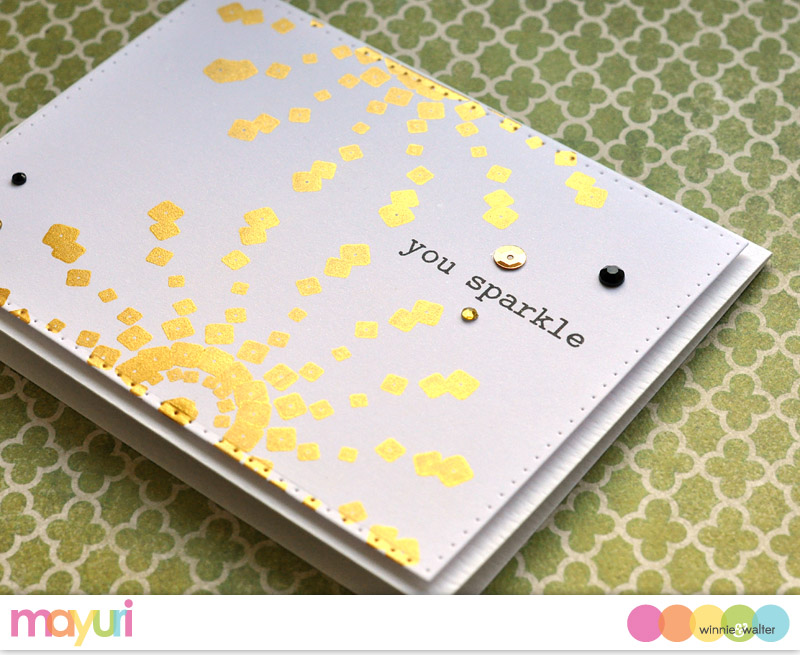
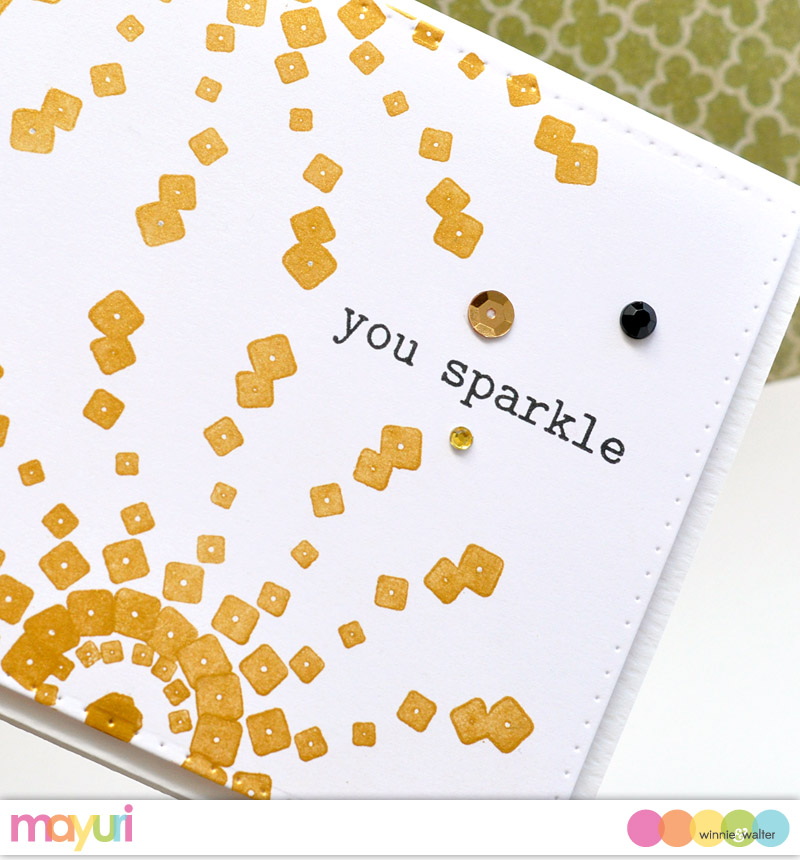
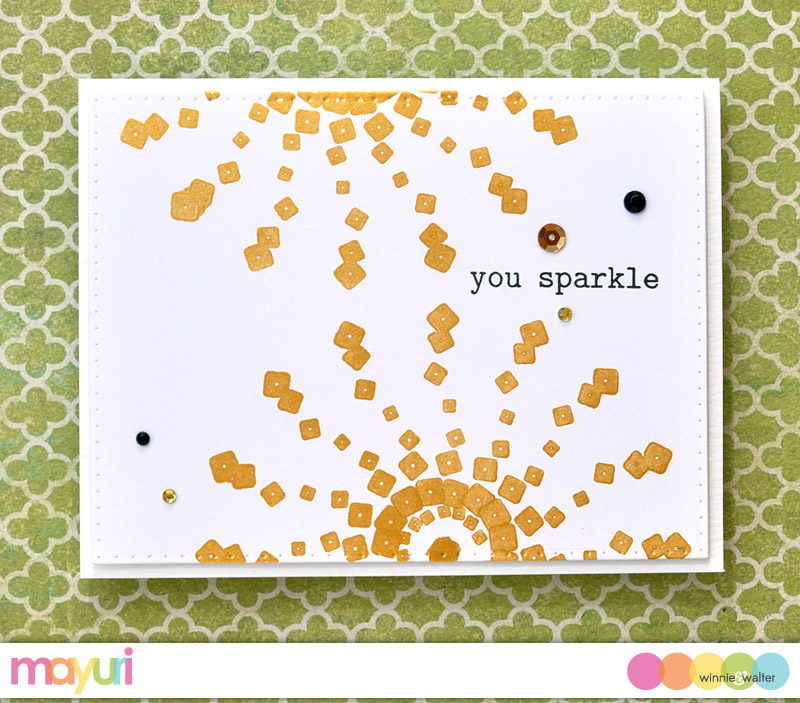
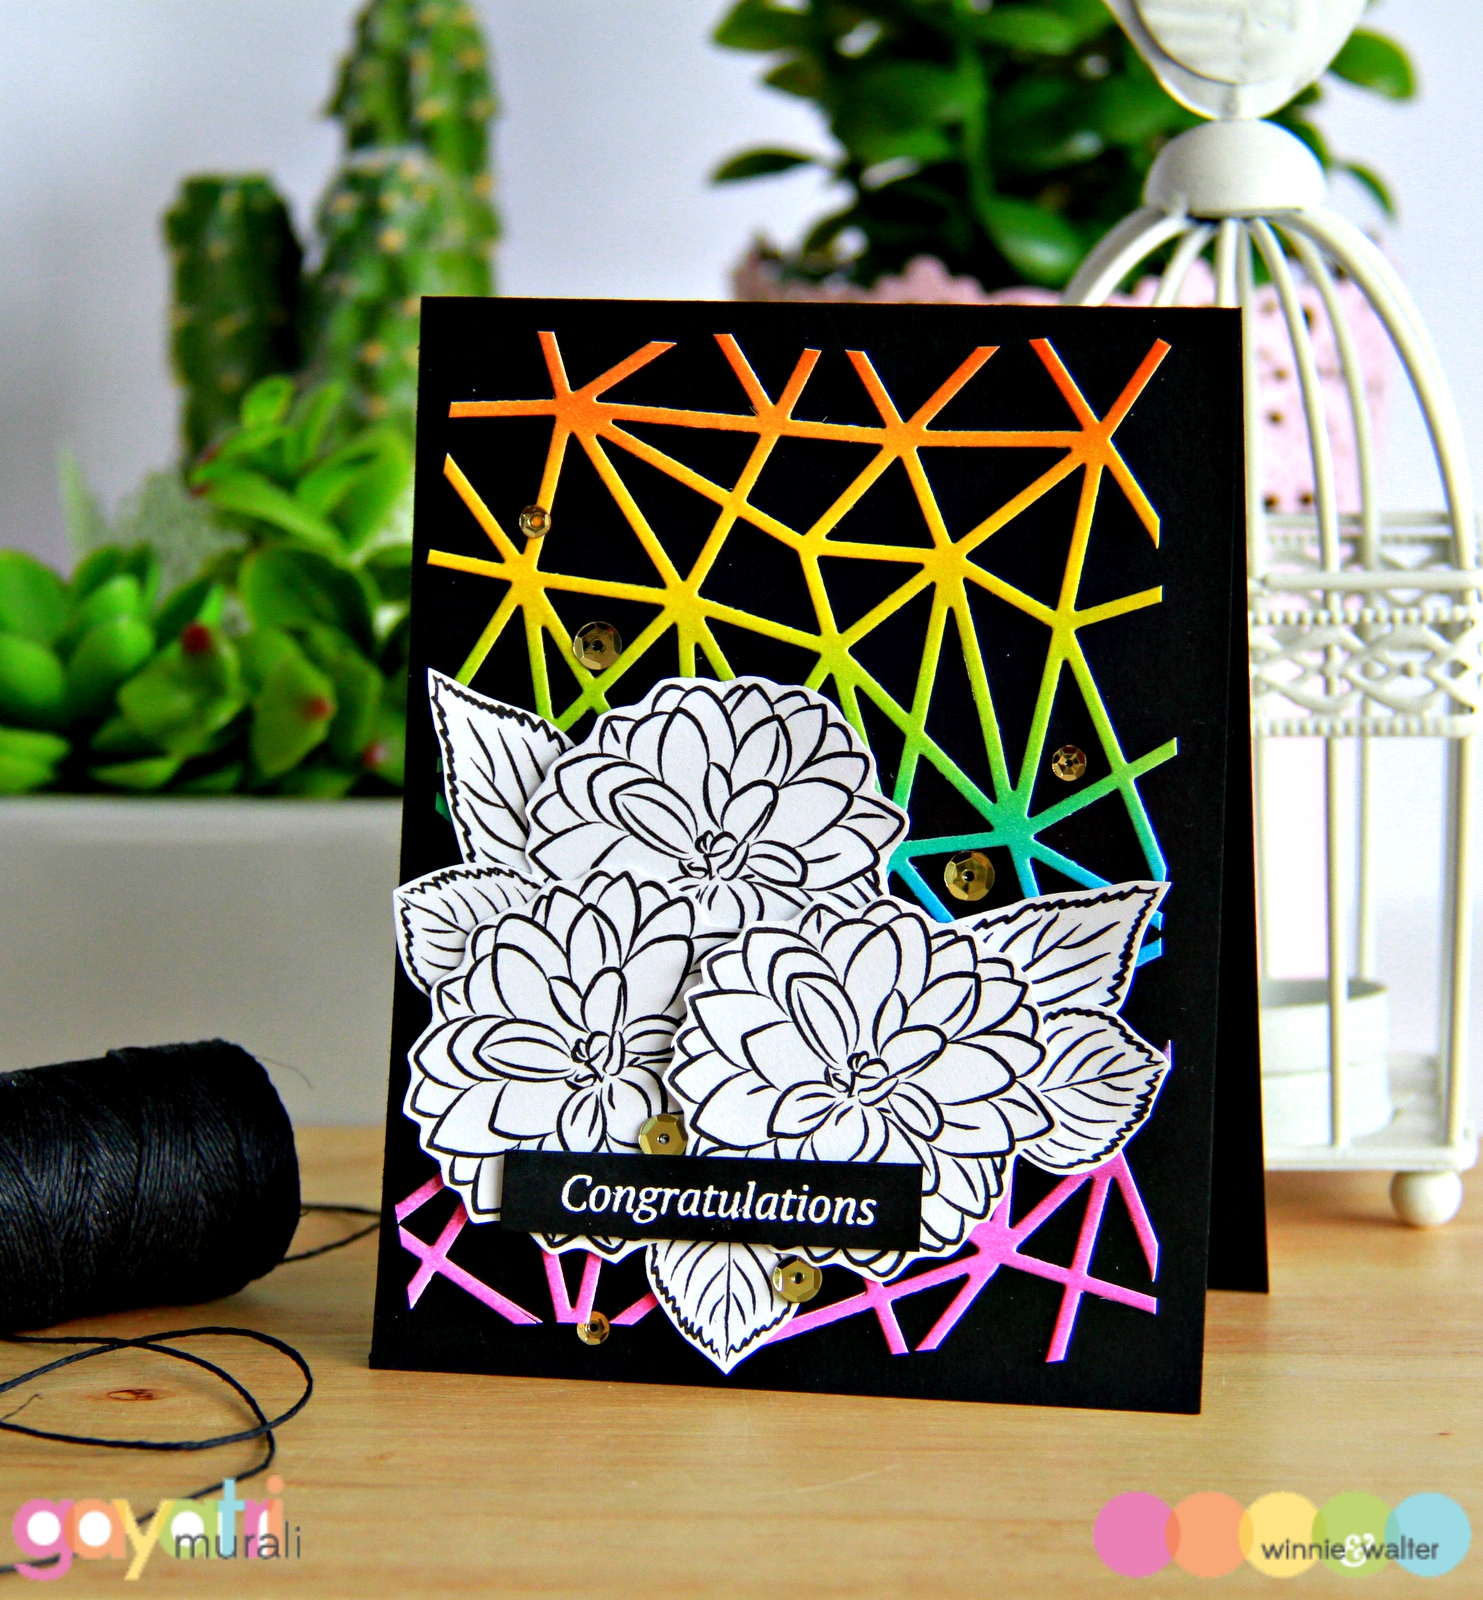
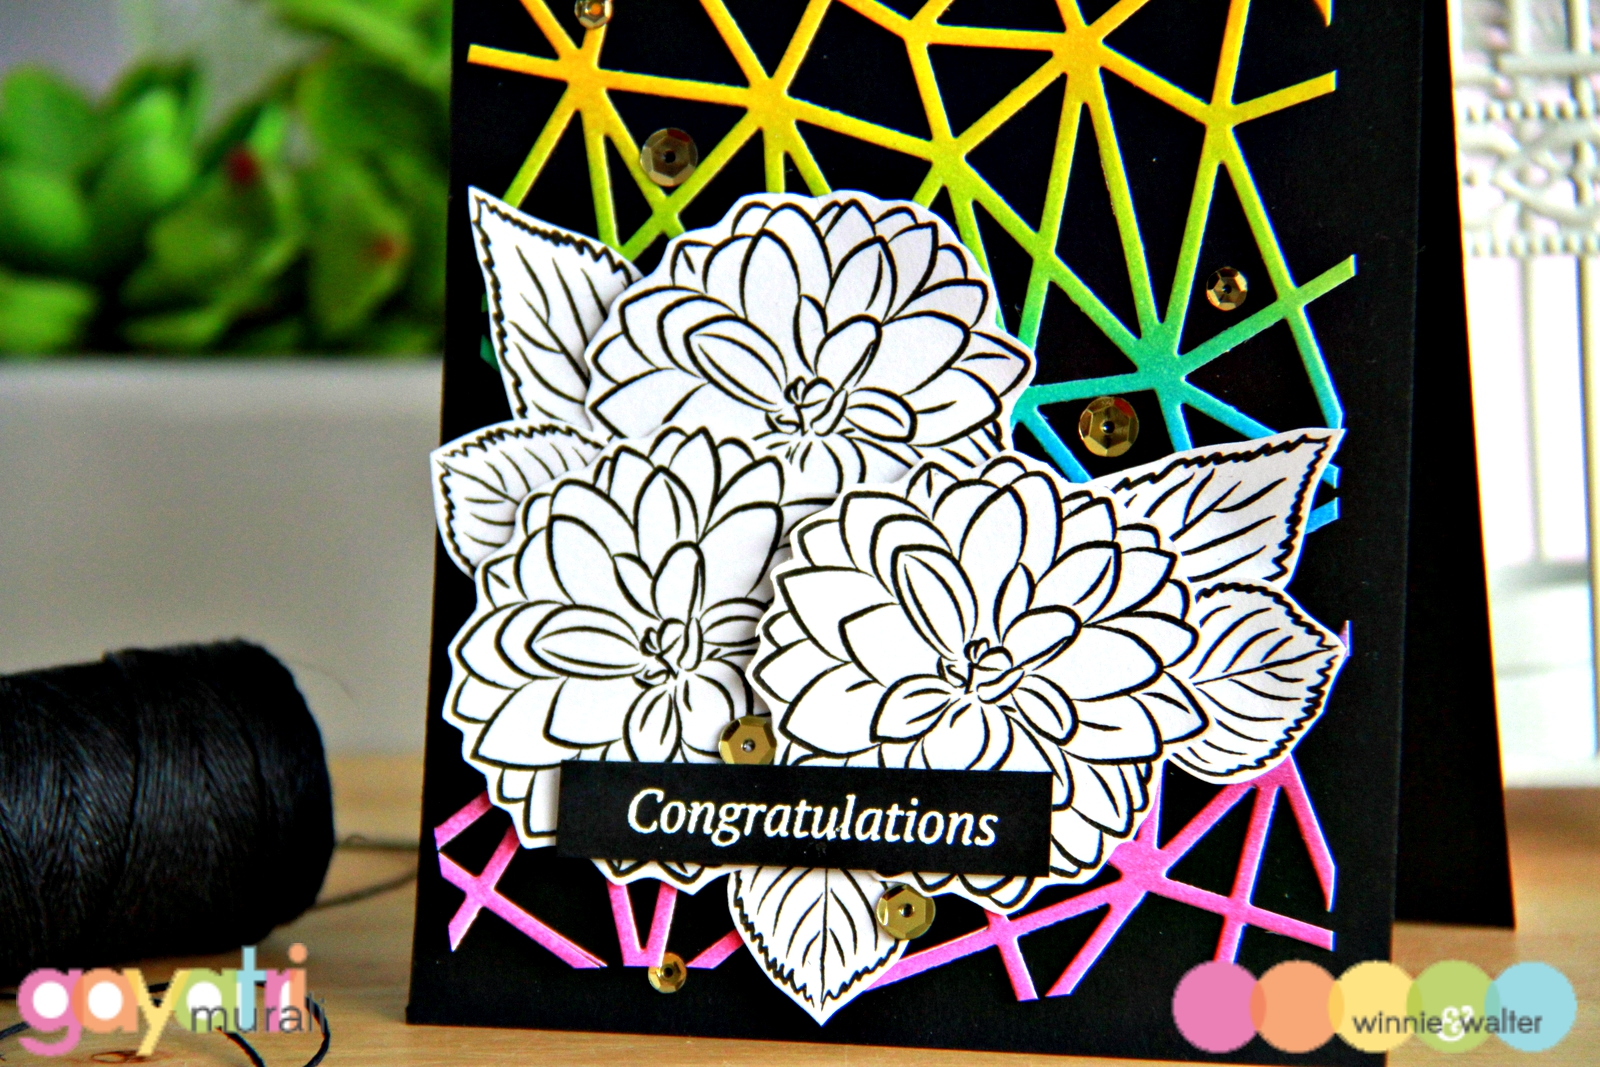
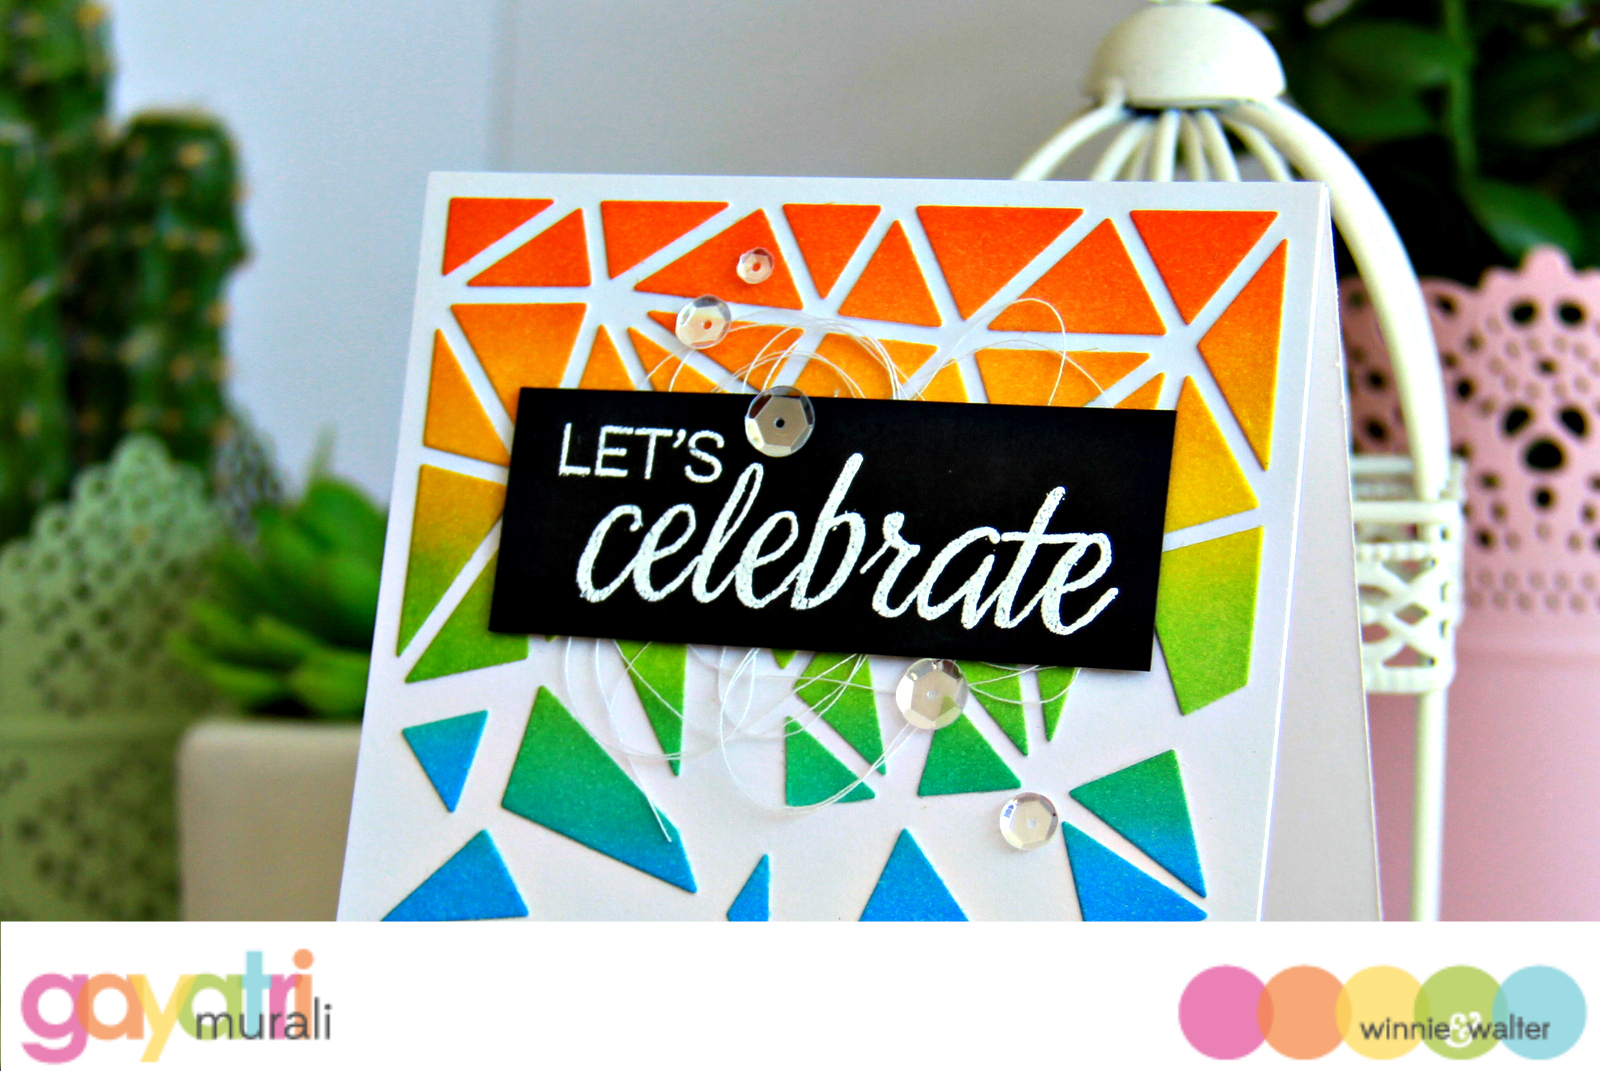
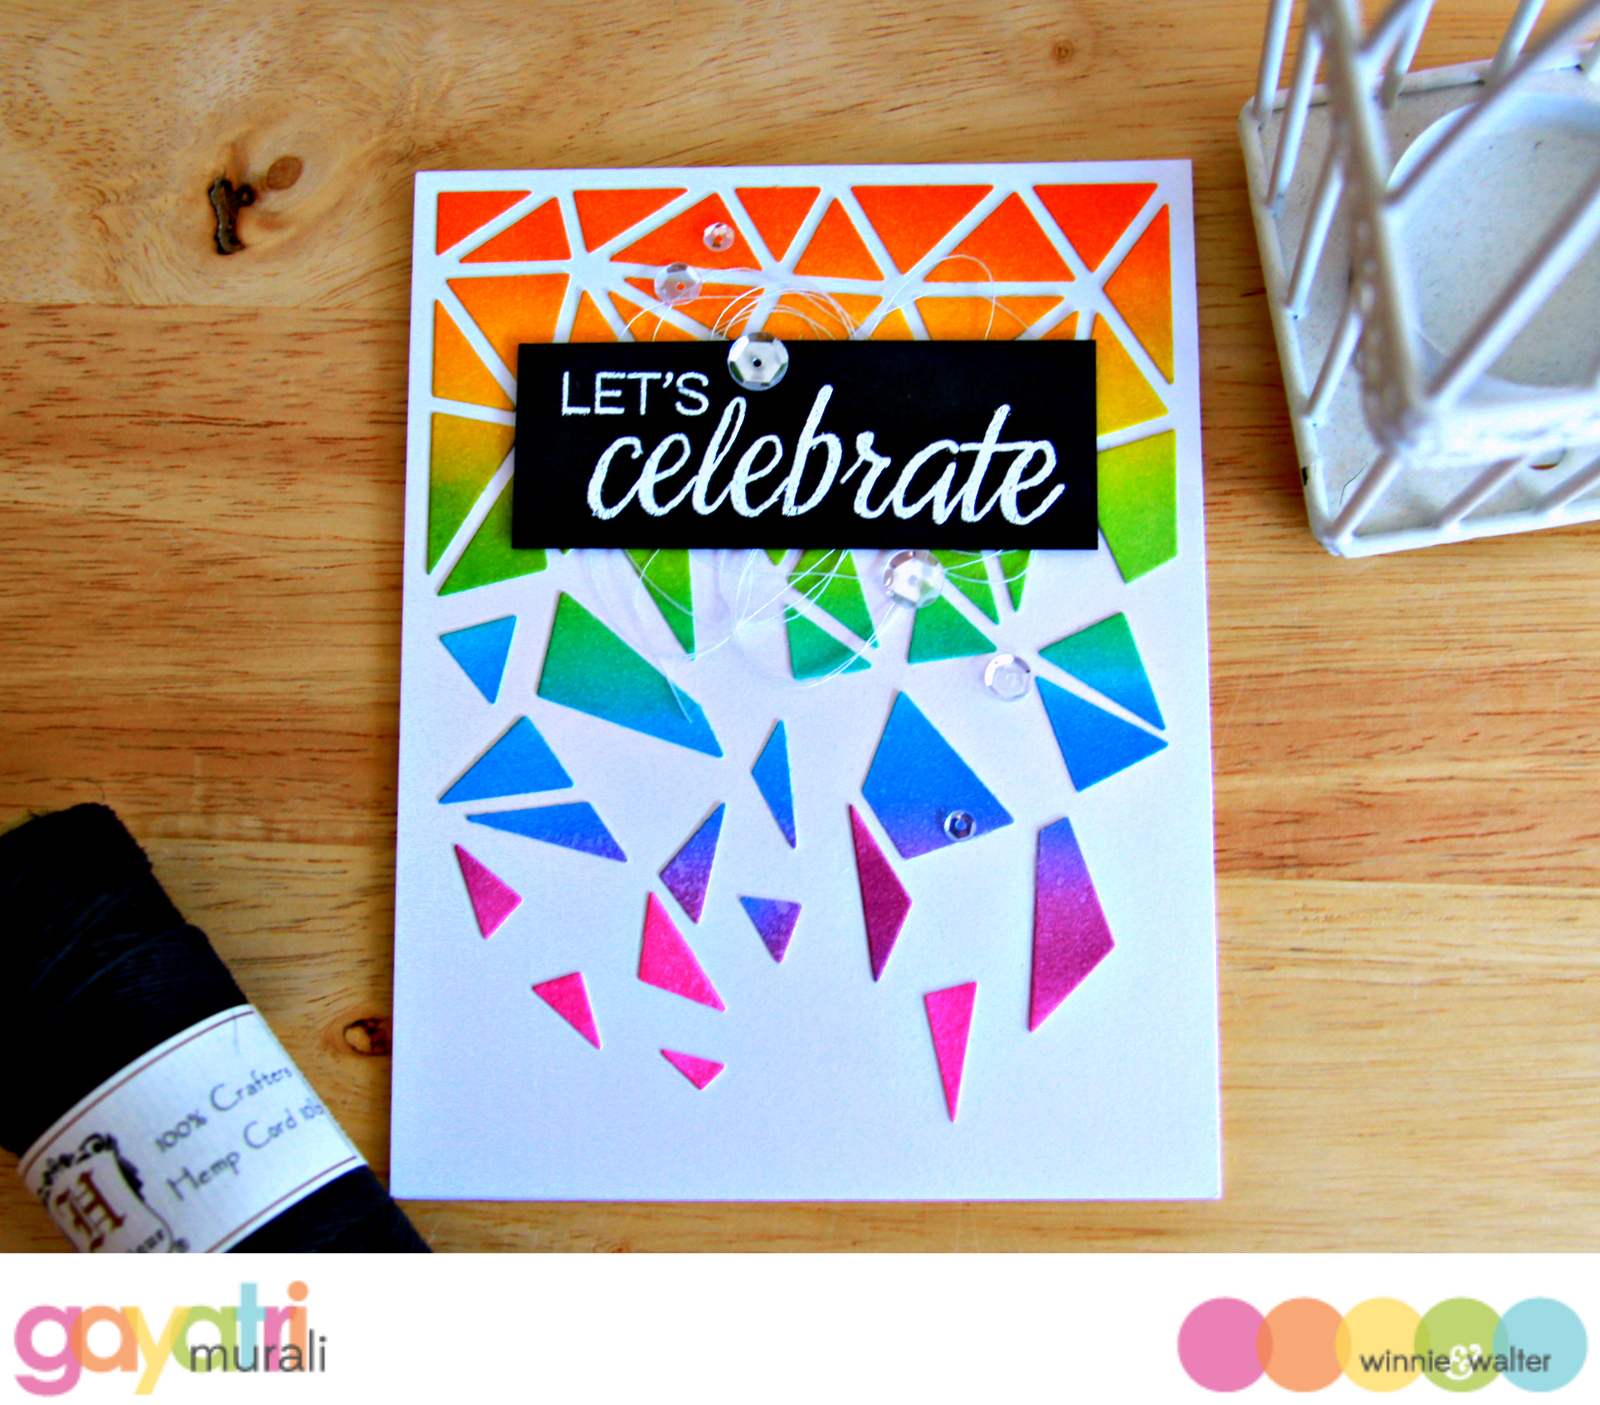
Stenciled Golden Stripes and Heat Embossed Flowers


Here I combined a striped background with white heat embossed floral images. I generously sponged «Delicata Golden Glitz» Pigment Ink from Tsukineko through the Scenery: Classic Diagonal Creative Screenings stencil. This looks great on dark cardstock. I arranged some flowers from the In Bloom: Addie's Garden stamp set and heat embossed them in white. The sentiment is from The Party stamp set.


Stamped Floral Background


I like to create my own backgrounds with several stamps especially flowers. For this card I used the images from two sets: Joni Andaya's gorgeous In Bloom: Lola's Bouquet and The Party. I tried a new color combo with my Dye Inks which are great for crisp impressions. I die-cut a scalloped rectangle from vellum with one of the Essentials: Audrey Cutaways dies. The sentiment from The Big, the Bold and You was heat embossed with «Liquid Platinum» by Ranger. I glued the vellum on my stamped floral background. To hide the few dots of adhesive I added a couple of pearls and sequins.


For my last two cards I once again used the pretty In Bloom: Addie's Garden stamp set to show you its versatility. These floral images can look really elegant and soft by watercoloring them but also simple and modern when only using the outline on a bold watercolor background.


Watercolor Blooms


At first I white heat embossed the flowers and leaves on watercolor cardstock. I did some masking to build my cluster. Then I colored it with Distress Inks. The light blue «glow» was made with one of the new-to-me ZIG Clean Color Real Brush Pens which are totally in trend right now. I die-cut the word «hugs» (The Big, the Bold and Friends Cutaways) four times from white cardstock and stacked them together. Finally I added some clear sequins.


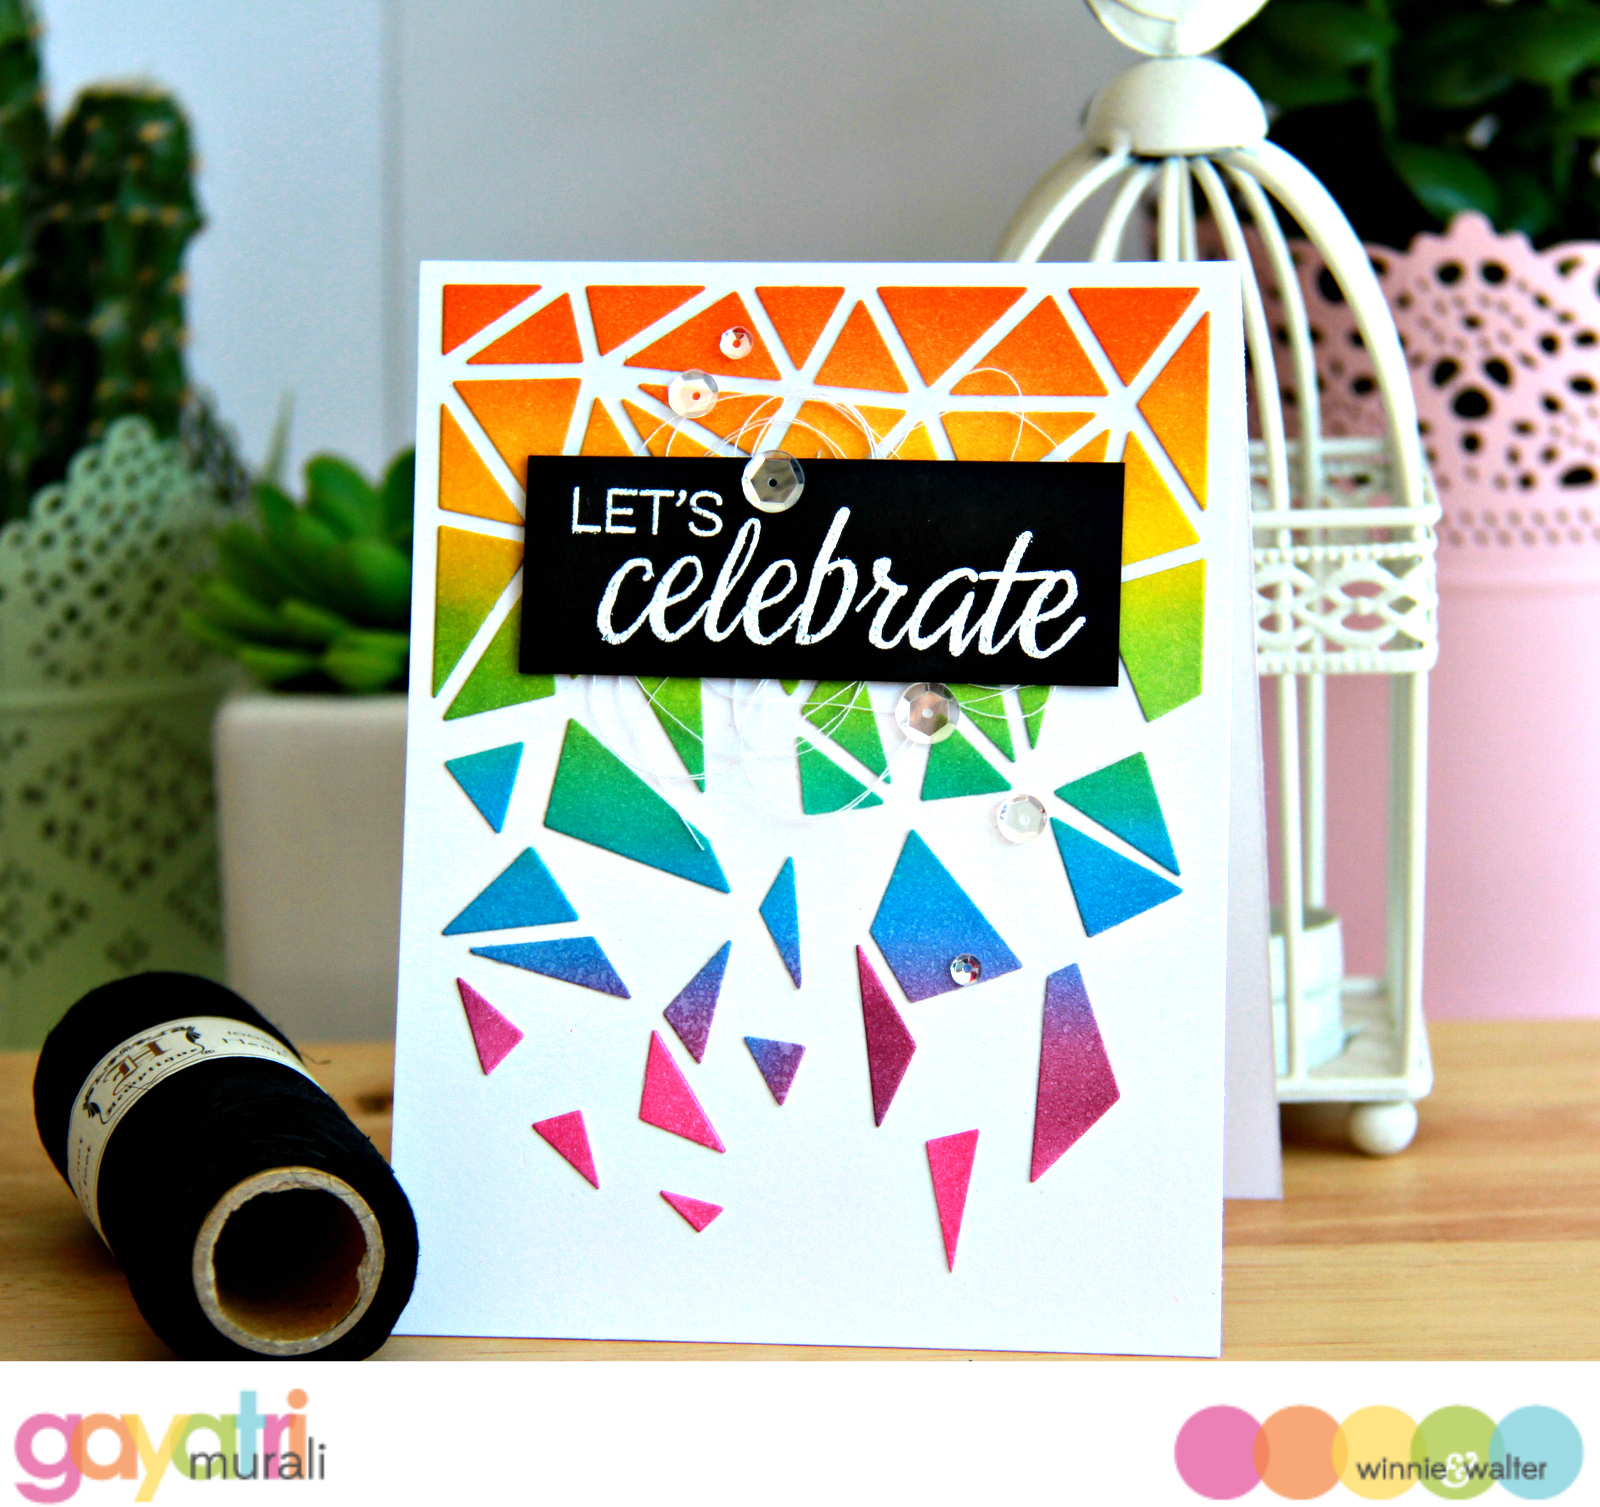
Gerbera on a bright watercolor background


I made this watercolor background with my Distress Inks by simply letting them blend with the help of water. I love how bright and cheery these inks are! I only used three colors – through blending, the pink and the turquoise created this gorgeous blue and purple tones. After letting this dry completely I heat embossed the gerbera and the sentiment from The Party in white. To finish my simple card design I matted the watercolor piece on black cardstock for a better contrast and added two white enamel dots.


Now it's time for me to leave the Leading Lady stage *sniff*. I so enjoyed this incredible experience! I'm sad writing these last couple of lines but also very grateful for this awesome opportunity!

Don't forget to comment on the Leading Lady posts on my personal blog for your chance to win a $30 gift card to the Winnie & Walter store. I will draw a random winner by the end of the month.


Thanks to Julie & Shay for having me! I really appreciate your support and generosity!

Thank you so much for stopping by! Wishing you all a wonderful weekend!


w&w-supplies


Thursday, July 23, 2015

Spotlight On...Marlene Bonetti! Part Deux

We are delighted to have Marlene Bonetti back with us for another amazing post that will have you put you in the giving mood!  If you missed learning more about Marlene and seeing her first post bursting with fun, clever and awesome projects CLICK HERE!

Now, it's Marlene's time to sparkle and shine...  


spotlight-marlene-bonetti

Hello everyone!

It’s Marlene again, today with a gift set.

It’s easy to see: I love the “happy”die! For a birthday I’ve needed a gift bag for a bottle and I’ve found this felt bag in a shop here in Switzerland (it’s made from recycled PET, not wool). It's great, that this bag is reusable. 

To create this gift set I’ve used heat transfer foil from Silhouette. I’ve cut several “happy” and some confetti from yellow and orange flock foil and pink flex foil. Afterwards I’ve ironed it on the bag. Pretty simple, but I love how the colors pop on the grey felt. As a little extra I’ve cut a CD box with my Silhouette Cameo and ironed the foil on the cardstock. The word “birthday” is embossed with white powder.


For the cards I’ve ironed also the foil on the black cardstock and embossed the word “birthday” with white powder. Then I’ve sewed it on a second piece of cardstock and glued it on the card base. To finish the cards I’ve used some sequins from PrettyPink Posh (Sweetheart Mix and Gold) and an enamel star. I love the extra texture of the heat transfer foil – it’s so much fun!


I hope you will give it a try to use some heat transfer foil on your projects.

Thank you so much, dear Julie & Shay, to have me as a guest on your blog ♥ It was a big pleasure and an honor to be here!

Have a great day!


Wednesday, July 22, 2015

Bold + Bright | Let's Celebrate with Gayatri

Hello everyone,

Gayatri here today.   I am sharing a bright and bold card made using the negatives from Cover Model: Multifaceted Cutaway.

gayatri_Let's celebrate card 1

My concept of a bright and bold is to use lots of vibrant colours with plenty of contrast. Plus I wanted to use a technique or two on my card. So I started with sponging and blending distress inks to make a rainbow coloured panel. I sprayed clear shimmer all over the panel. Once dry, I adhered the panel to double sided adhesive sheet and then die cut the panel using the Cover Model: Multifaceted Cutaway. Now I have the die cut and its negatives stickers. On my card base, I used the positive multifaceted die cut as my guide to stick my negatives back inside. I stuck the negative pieces all in place up to a quarter of the way, then randomly, spacing out the end. I then removed the positive die cut which I used as the guide. I am left with the negative pieces in rainbow colours as though the pieces are falling like confetti. Love the bright colours and contrast against the white background.

gayatri_Let's celebrate closeip

To add more contrast, I white heat embossed the sentiment from The Party stamp set on a piece of black cardstock. I then adhered this sentiment strip on the card front using foam adhesives with some bunched up thread under it. Finally embellishing with Pretty Pink Posh Sparkly Clear sequins.

gayatri_let's celebrate card flat

Hope you liked my version of bright and bold card. 

Thanks for stopping by today.

w&wDT_gayatrimurali_blog-sig


w&w-supplies