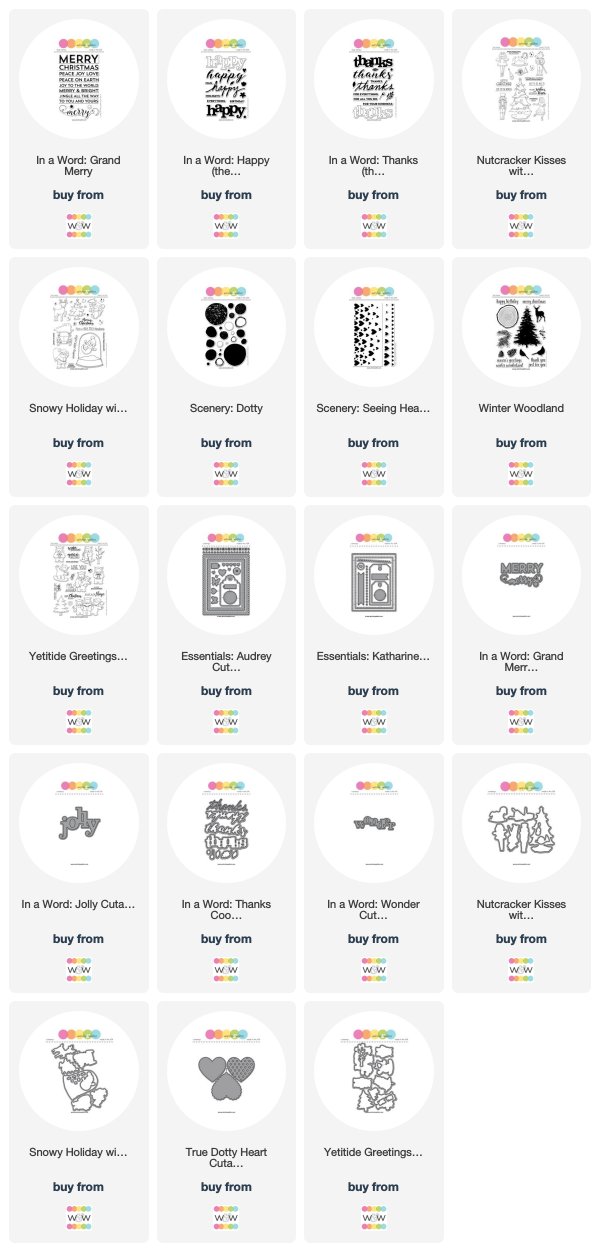
Showing posts with label scenery: dotty. Show all posts

Friday, December 21, 2018

November 2018 Release with Trina

For another treat we have an incredible post from Trina Pham our November Leading Lady highlighting the November 2018 Release.  Enjoy!

Hello everyone!  I am so delighted to be back here on the Winnie & Walter blog to share some more creations using the fabulous new products from the November release!

HEARTFELT THANKS

I wanted to start off by thanking Shay for having me join in the release, so I created a CAS thank you card using In a Word: Thanks (the stamp set).


Stamped the outline thanks with Copic friendly black ink on an A2 size X-press It piece of cardstock and coloured in with red Copic markers.


The hearts from Scenery: Seeing Hearts were heat embossed with clear embossing powder.  Abandoned Coral and Candied Apple distress inks were then blended over top for an ombré look.  Wiped off excess ink with a tissue.  Heartfelt from Sentimental: Thanks  was white heat embossed on a black strip.  This set was free with qualifying orders during the Black Friday/Cyber Monday sale, and will be available to purchase in the future. For added dimension, Crystal Glaze was added as the finishing touch.


Since there is coordinating In a Word: Thanks Coordinating Cutaways, I created a second CAS thank you card using it.


Thanks was die cut twice; one from black and the other from pearlescent white cardstock.  They were offset for a shadow effect which helps to make it stand out.  Once again, the sentiment from Sentimental: Thanks was white heat embossed on a black strip.


Next a reverse heart mask was die cut from masking paper using True Dotty Heart Cutaways.  Placed the mask off the edge of a regular white A2 panel,  then blended Picked Raspberry, Wilted Violet and Salty Ocean distress inks.  For some sparkle, spritz with a DIY shimmer spray of Perfect Pearls and water.  Removed the mask and added a few clear sparkly sequins to finish.


JOLLY SANTA

When I saw In a Word: Jolly, I thought of Santa!  I know, it's a  bit of  a stretch. 😂


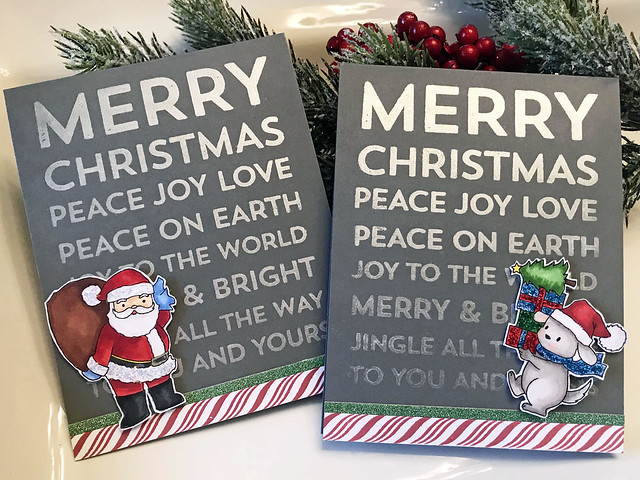
Instead of having Santa replace the "o", I thought it would be fun to have him stepping out of the Jolly die cut.  Started by stamping Santa from Snowy Holiday with Evelin T Designs with Copic friendly black ink.  Coloured him with Copics, then die cut out with the matching cutaway.  


A scallop panel was then die cut from Bristol paper using Essentials: Audrey Cutaways.  Jolly was die cut from that and popped up with foam adhesive over some silver glitter paper on a white card base.  Holidays from In a Word: Happy (the stamp set) was white heat embossed on black.  Some silver splatters finished off the card.


BOKEH WONDER

In keeping with the magic and wonder of the season, I thought a Bokeh background would be suitable.  Rooted in photography, bokeh is the blurred or out-of-focus areas of an image.  I've done this background before using circle stencils and white pigment ink, but I thought I would try achieving the effect with the VersaMark resist/ghosting technique.  Not sure I succeeded, but it was easy and fun to do.


Paper that does not absorb ink easily is best for this technique.  Glossy cardstock works, but I had some coated cardstock given to me from my friend Christine and that was what I used.  I started by randomly stamped the images from Scenery: Dotty in several sizes with VersaMark ink.  Allowed it to dry before applying distress inks (di) in rainbow colours with a mini blending tool.  The VersaMark ink resisted the colours, leaving varied light areas.  I may have gotten a little carried away with the amount of images I stamped. 😂  Excess ink was wiped off with a tissue.


Season's from Winter Woodland was heat embossed with white embossing powder on a vellum strip.  In a Word: Wonder was die cut from white glitter paper and adhered to the vellum.  Instead of die cutting a shadow piece, a grey Copic marker was used to add the shadow on the vellum from the backside.  Stamped, Copic coloured and die cut the ballerina from Nutcracker Kisses with Evelin T Designs to finish.


The background was not only easy, but effective, so I created two more cards.  I used the sentiments from In a Word: Grand Merry.  On this first card I tied it without the vellum.


I think it looks better with vellum.  So on this final card, I added the vellum back.  I also changed up the design, and took the smaller rectangle from Essentials: Katharine Cutaways and die cut from the panel then matted it to white cardstock leaving a 1/8" white border.  Stamped, Copic coloured and die cut the yetis from Yetitide Greetings with Evelin T Designs to finish.  


This post was longer than I had intended, but good news is you've reached the end!  Thank you for taking the time to visit, especially during this busy time of year and with Christmas only four days away!  Wishing you all a safe and joyous holiday season!


w&w-supplies

Thursday, November 29, 2018

November 2018 Release | Premiere Day No. 3

To enter our November 2018 Release's The Big Giveaway CLICK HERE.
To enter to win Premiere Day No. 1 featured products...CLICK HERE
To enter to win Premiere Day No. 2 Featured Products  CLICK HERE 
To enter to win Premiere Day No. 3 Featured Products...continue reading!
To enter to win Premiere Day No. 4 Featured Products CLICK HERE (goes live at 7:00 a.m. CST on November 30, 2018)
==========================================================

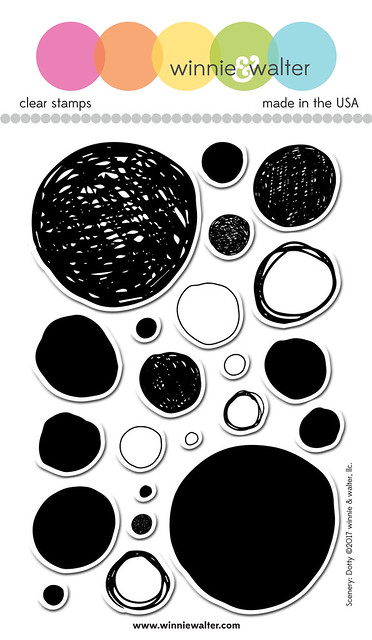
Scenery: Dotty is full of hand-drawn sketchy, solid and outline circles for a touch of fun to add to your projects.  Use the dots as snow, to spotlight an image, to create backgrounds and more!

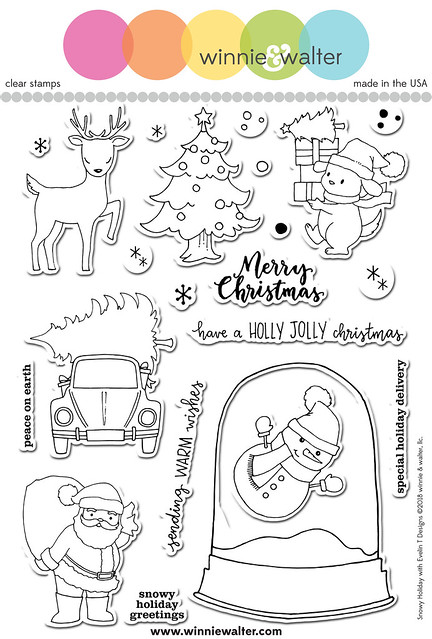
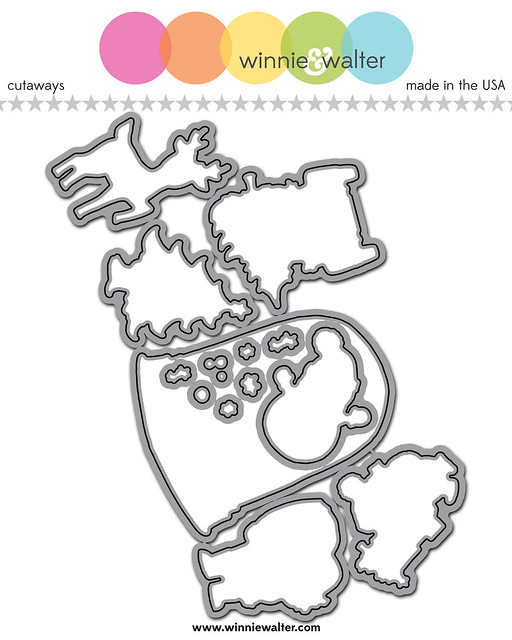
Snowy Holiday with Evelin T Designs is another precious set from Evelin that is wonderful on its own or with other Evelin T Designs sets (think of all the scenes you can add to the snow globe!).  We are also introducing its companion cutaways.

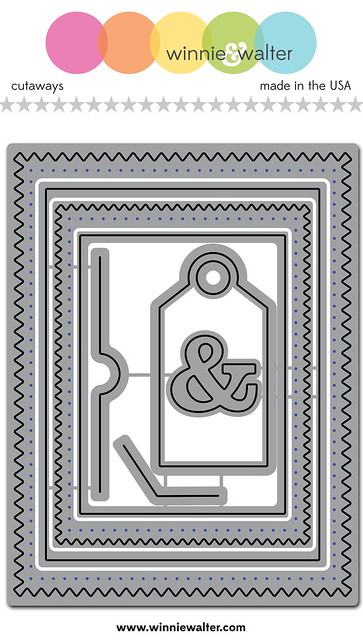
Essentials: Tilda Cutaways is our next addition to the Essentials cutaway collection and you will love all the possibilities in this set of cutaways which is perfect for sending cards and other projects!

>>>THE DETAILS<<<

w&w_SceneryDotty_4x6_web
Scenery: Dotty
Available for purchase the evening of November 30, 2018
4x6 stamp set
Retails for $15.00
Includes Twenty-two (22) stamps-twenty-two (22) images

w&w_SnowyHolidayETD_6x8_web
Snowy Holiday with Evelin T Designs
Available for purchase the evening of November 30, 2018
6x8 stamp set
Retails for $22.00
Includes Twenty-two (22) stamps--sixteen (16) images + six (6) sentiments

w&w_SnowyHolidayETD_Cutaways_web

Snowy Holiday with Evelin T Designs Cutaways
Wafer Thin Steel Dies
Available for purchase the evening of November 30, 2018
Retails for $38.00
Includes fourteen (14) dies


w&w_ETilda_Cutaways_web
Essentials: Tilda Cutaways
Wafer Thin Steel Dies
Available for purchase the evening of November 30, 2018
Each retail for $28.00
Includes eight (8) dies
  

>>>THE GOOD STUFF<<<

Let's get to the fun part and see these products in action.

Shay

Happy Thursday!   How are you liking the release so far?

Let's see what I came up for you today:

shay_IMG_4398

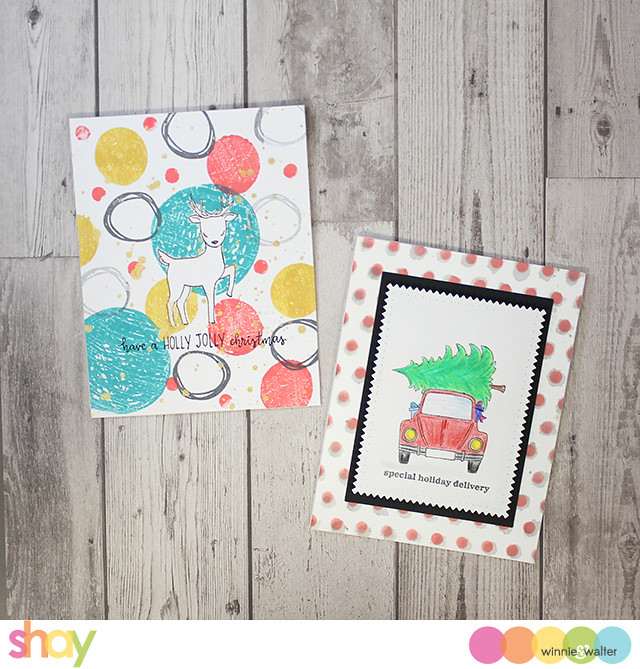
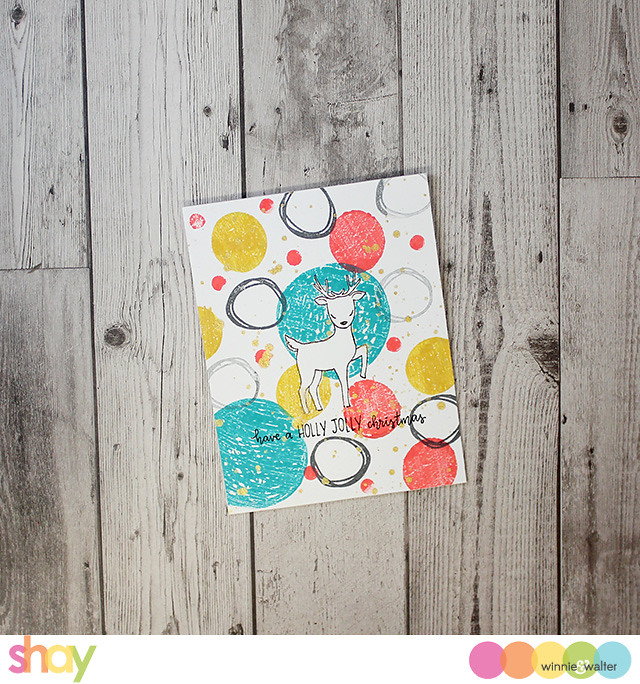
For the first card I wanted something modern and fun.  So I stamped the deer from Snowy Holiday with Evelin T Designs and covered it with a mask.  I then inked up dots from Scenery: Dotty in peacock feather, abandoned carol and fossilized amber Oxide Distress Inks along with black jack ink.  Okay, I have a serious problem with gold spray because I used it once again and I know I will again because I love what it brings to the card.  Last I stamped the sentiment in Versafine.

shay_IMG_4400

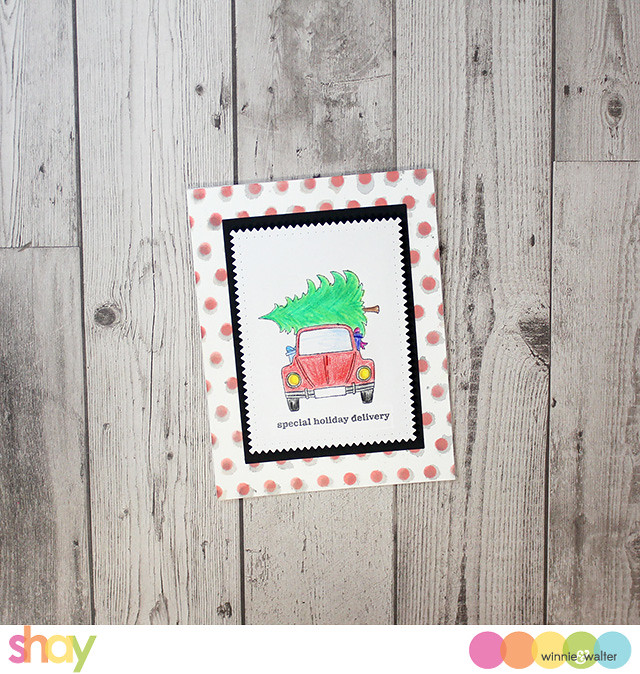
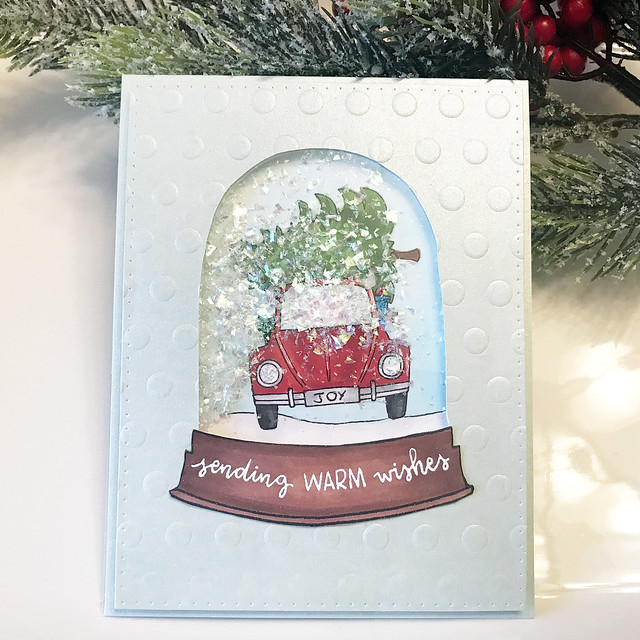
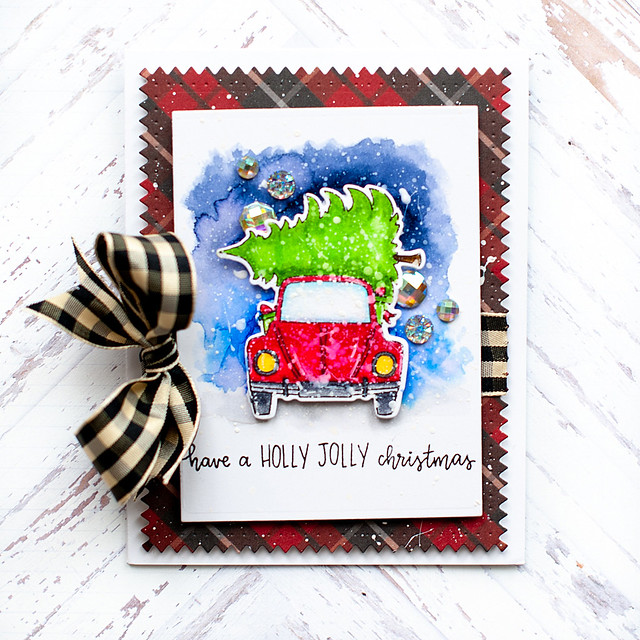
The second card I stamped the adorable car with tree and colored it in with colored pencils...the image is so sweet that my mediocre coloring still looks good enough.  I stamped the sentiment (okay in all honestly I stamped the sentiment on a piece of cardstock and adhered it on later as I forgot to stamp the sentiment prior to adhering the panel with foam adhesive).  I cut out the card using the smaller patterned rectangle from the new Essentials: Tilda CutawaysTip: when cutting these dies apart be patient and use as small of wire cutters as possible as they are packed close together.  I cut a black cardstock panel with the larger plain rectangle and adhered the stamped panel to the black one with foam dimensional adhesive. I placed it all on a panel I created using Scenery: Pennsylvania Polka Creative Screenings using a silver spray and then abandoned coral ink over that.

shay_IMG_4401

You've not seen anything yet!  Serious you will be as blown away as I am...Jill Vickers our November Leading Lady and Trina Pham our October Leading Lady, Crystal, Gayatri, Heather, Kate, Kelly and Lea are joining me today with these amazing cards:

November Leading Lady, Jill Vickers

jill_2018nov28-1 jill_2018nov28-2
CLICK HERE to see more from Jill.

October Leading Lady, Trina Pham

trina_image1 trina_image2
CLICK HERE to see more from Trina.

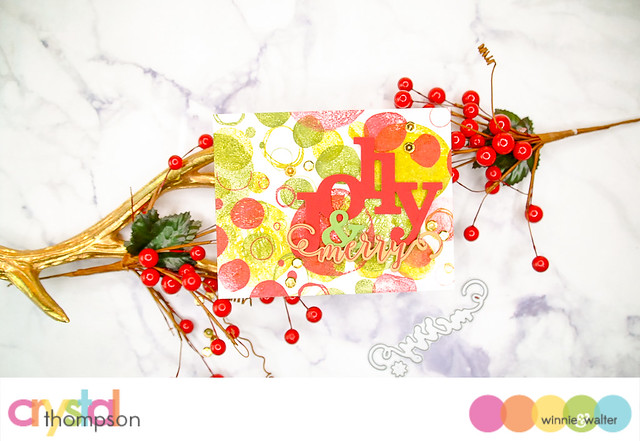
Crystal Thompson of The Talent

crystal_nov - watermark (6 of 44)
CLICK HERE for more from Crystal.  

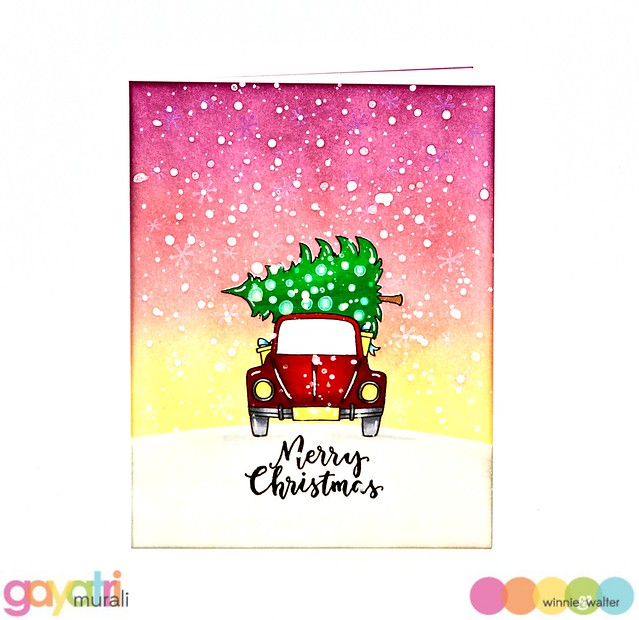
Gayatri Murali of The Talent
gayatri_W&W Nov release day #3
CLICK HERE to see more from Gayatri.

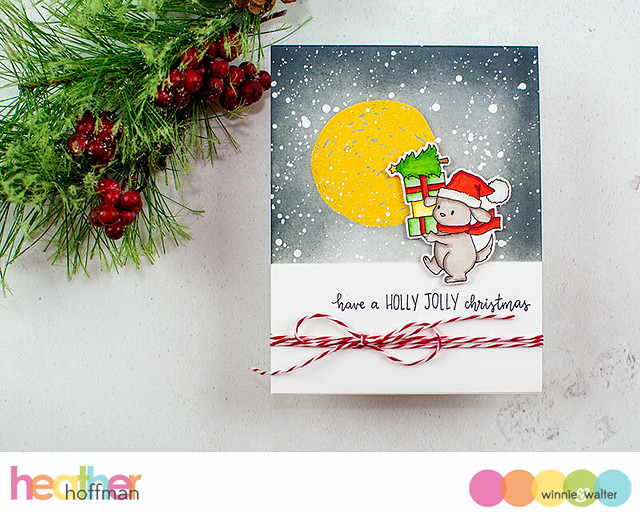
Heather Hoffman of The Talent

heather_Cards-11-26-18-062
CLICK HERE to see more from Heather.

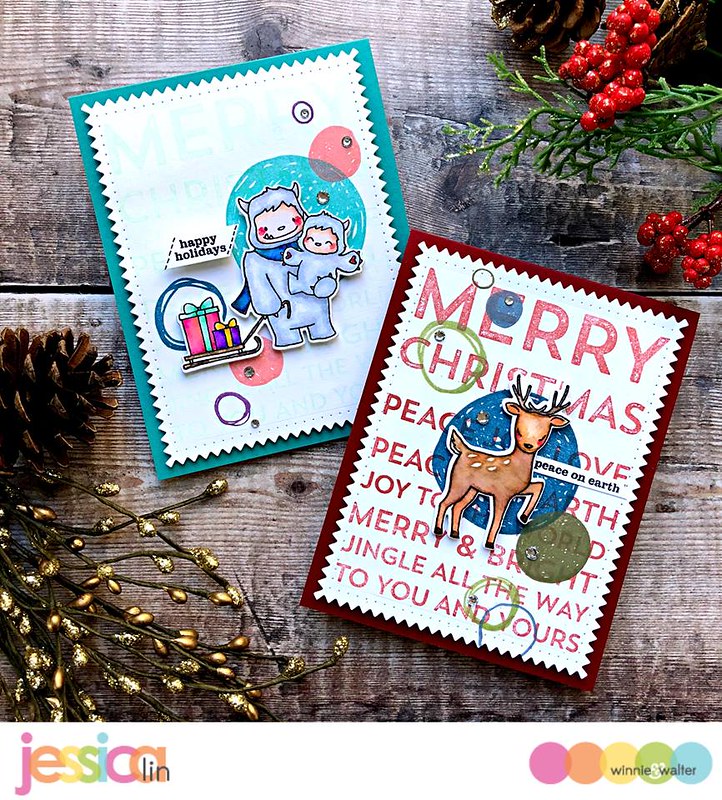
Jessica Lin of The Talent

jessica_day3
CLICK HERE to see more from Jessica.

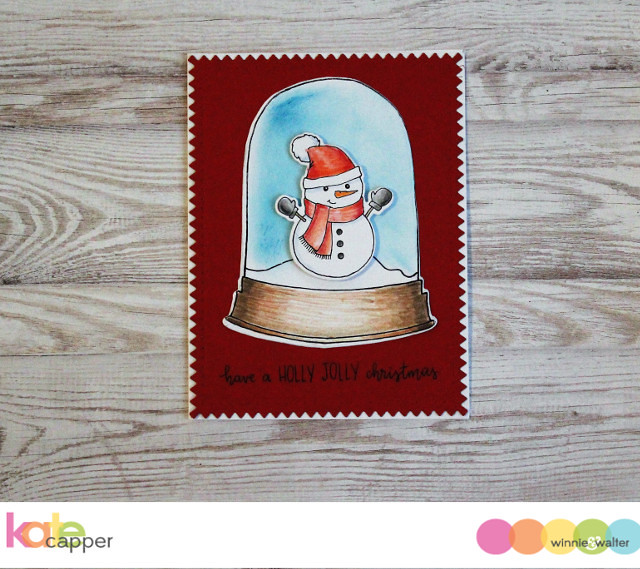
Kate Capper of The Talent

kate_wwday3
CLICK HERE to see more from Kate.

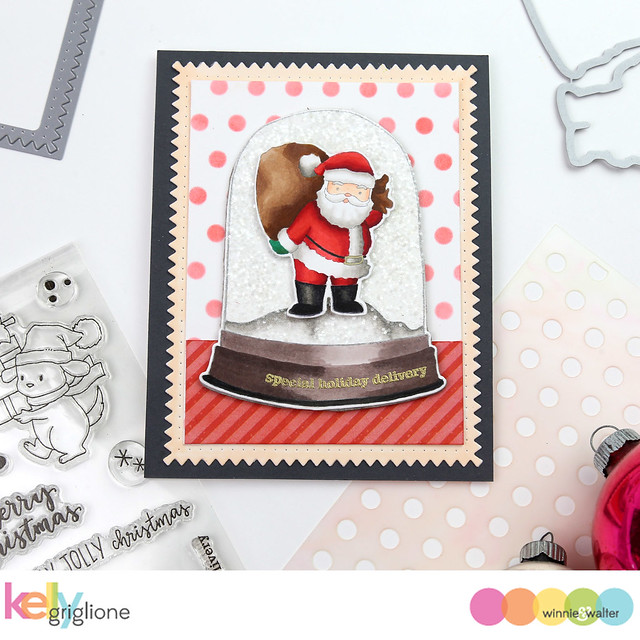
Kelly Griglione of The Talent

kelly_Winnie and Walter Snowy Holiday   Evelin T Designs
CLICK HERE to see more from Kelly.

Lea Lawson of The Talent

lea_WW-NovRelease-08
CLICK HERE to see more from Lea.

>>>THE GIVEAWAY<<<

Comment here on this post for a chance to win Scenery: Dotty stamp set + Snowy Holiday with Evelin T Designs stamp set + Essentials: Tilda Cutaways + Snowy Holiday with Evelin T Designs Cutaways of your own by 11:59 p.m. (central standard time) November 30, 2018.  One comment will be chosen at random. 

All winners during our November 2018 Release will be announced by December 17, 2018.

To enter our November 2018 Release's The Big Giveaway CLICK HERE