Showing posts with label jill vickers. Show all posts

Wednesday, December 5, 2018

November 2018 Release with November Leading Lady Jill Vickers

I am so happy to bring you a special little gift in the form of our November Leading Lady Jill Vickers returning for some more fabulous cards featuring our brand new November 2018 Release!  Enjoy!!


It is wonderful to be on the Winnie & Walter Blog today sharing a few project ideas using new products from the amazing November release.


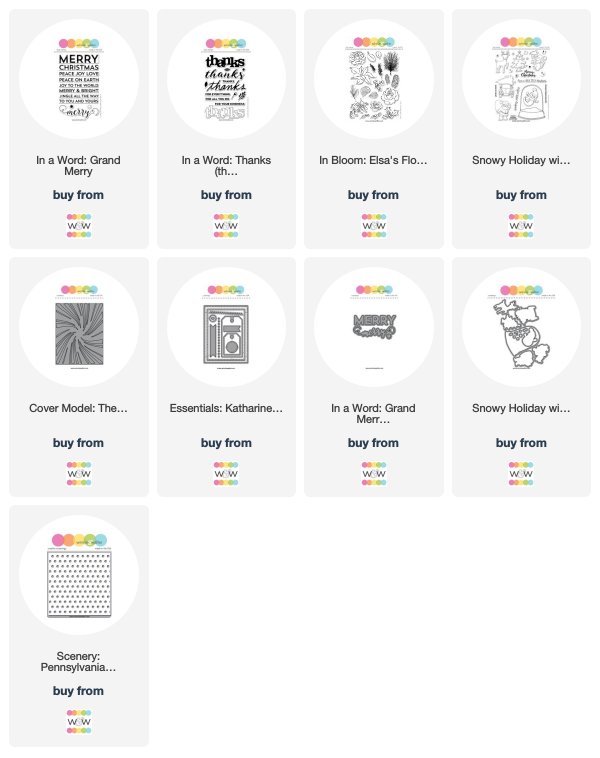
First up is a thank you card featuring In A Word: Thanks (the stamp set). I was so happy when this set came out - along with some coordinating cutaways as well :)  The In A Word: Thanks is definitely my all-time most used word die I'm surprised I haven't worn it out yet ;)  so having the stamps and additional cutaways to play with is so much fun.


For this card, I started by cutting the "thanks" from freezer paper to create iron on masks, and then I applied the masks to a piece of water colour paper by running them through my Minc machine. I used freezer paper because I wanted to play with my pearlescent watercolours for the background but this  could also be done with regular masking paper and regular ink blending. I painted the water colour wash over the background and let the paint dry. I then layered the new Scenery: Pennsylvania Polka Creative Screening over the panel and lightly removed the paint from the exposed areas using a baby wipe. I love the subtle effect this leaves.

Once all this was done, I removed the masks with the help of my heat gun and then lined up the outline "thanks" stamp on the masked areas and stamped it in grey ink. I inked a piece of cardstock using the same ink and then heat embossed a white sentiment from the set onto it. The sentiment was popped up with foam tape and I added a few sequins to finish off the card. 

I tried to catch the shimmer in a photo but I couldn't quite get it - so here is a close up photo of the card: 


My next card features two of the new products - the Peppermint Zone Cutaway and Snowy Holiday with Evelin T stamps and cutaways.

I was so excited when I saw the Peppermint Zone Cutaways - there are so many possibilities with this wonderful die, and I know that it is going to become one of my favourites very quickly. For this card, I used it to create a swirly glittery background. To create the background, I adhered a piece of Be Creative adhesive sheet on top of a heavy weight card stock, and I left the protective sheet in place on the top side of the piece. I then ran it through my Big Shot with the protective sheet against the cutting face of the die - this cut the protective sheet but not the card stock. I carefully removed the pieces of protective sheet covering the "blue" areas and then poured on the blue glitter. After this was all cleaned up, I repeated the process with the remaining area and the white glitter. I love this effect! I added the glittery panel to the front of a pearlescent blue card base. I stamped, Copic coloured and die cut the adorable snowman from Snowy Holiday with Evelin T Designs, and then stamped a greeting from the same set along the side of the panel.


Here is a close up of the glitter:


My last couple of cards are very similar. I started out by watercolouring two panels with Distress Oxide inks (Evergreen Bough, Iced Spruce) and some pearlescent gold paint - I was trying to create the effect of lights on a Christmas tree. I then added some pine needles using a stamp from In Bloom: Elsa's Flora; on one panel, I stamped the needles differently on each of the panels (as shown below). I also added some gold splatters to each of the panels.


The first card is actually where my inspiration came from - when I first saw the You Are a Blessing stamp set (right now is free with $25 purchase!!!!), I saw an ornament instead of a leaf and I thought it would make a great seasonal card. I stamped the image onto vellum with Versamark (masking the stem) and then heat embossed it with gold powder. I fussy cut it out and added it to the panel with some foam tape. I also added some red ribbon to make it look like it was "hanging" from the tree. I added the panel to a light grey card base with some more foam tape.


The second card is very similar but I used the In a Word: Grand Merry stamp set (another new fave!) and cutaways to create the greeting. I stamped the curvy "merry" in Versamark on vellum heat embossed with some glittery red powder. I die cut the vellum word with the coordinating cutaway and mounted it with foam tape onto the panel. I heat embossed the second part of the greeting with gold powder to complete the panel before mounting it on a grey card base.


Here is a close up of the second card to show the gold watercolour highlights:


This release is amazing - so many fun products to play with - I am sure that you will find something new to add to your crafty stash :)

And now onto the winner.....

It was so much fun being the November Leading Lady - a huge thank you to Shay for inviting me and enormous thank yous to everyone who left such wonderful comments. I randomly chose one of them to receive a $30 gift voucher to the Winnie & Walter shop........


Congrats SHartl - I will reach out to you with your prize info!

Thanks for stopping by!
Jill


w&w-supplies

Friday, November 30, 2018

November 2018 Release | Premiere Day No. 4

To enter our November 2018 Release's The Big Giveaway CLICK HERE.
To enter to win Premiere Day No. 1 featured products CLICK HERE  
To enter to win Premiere Day No. 2 Featured Products  CLICK HERE  
To enter to win Premiere Day No. 3 Featured Products CLICK HERE 
To enter to win Premiere Day No. 4 Featured Products...continue reading!!
==========================================================

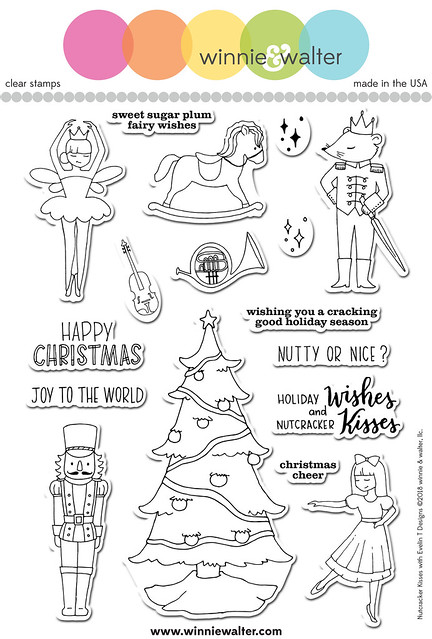
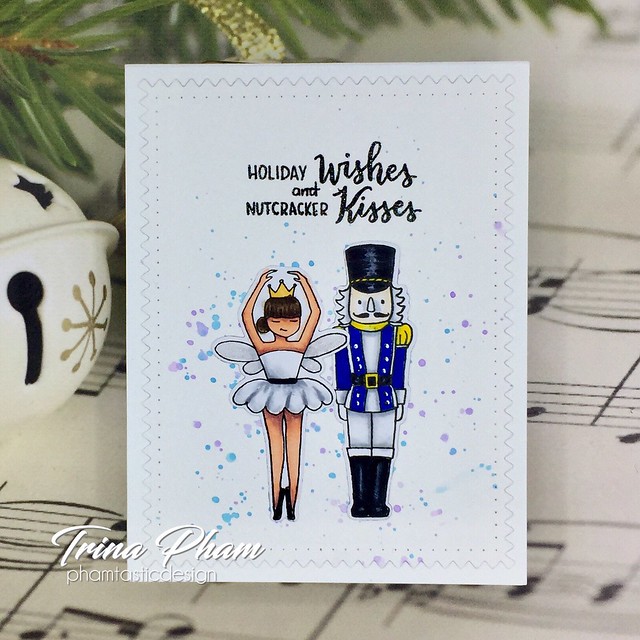
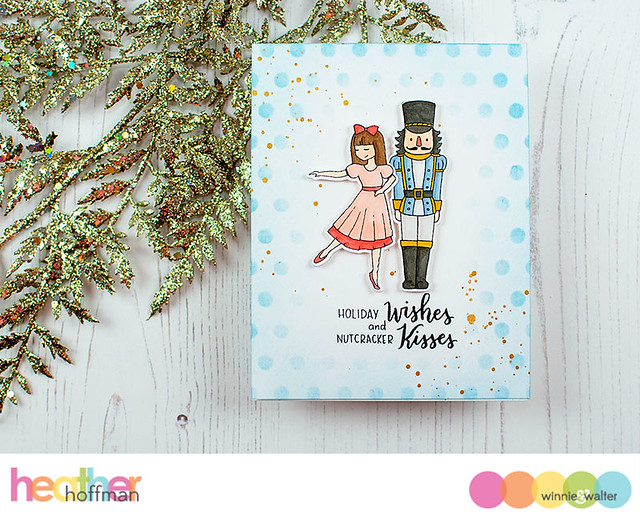
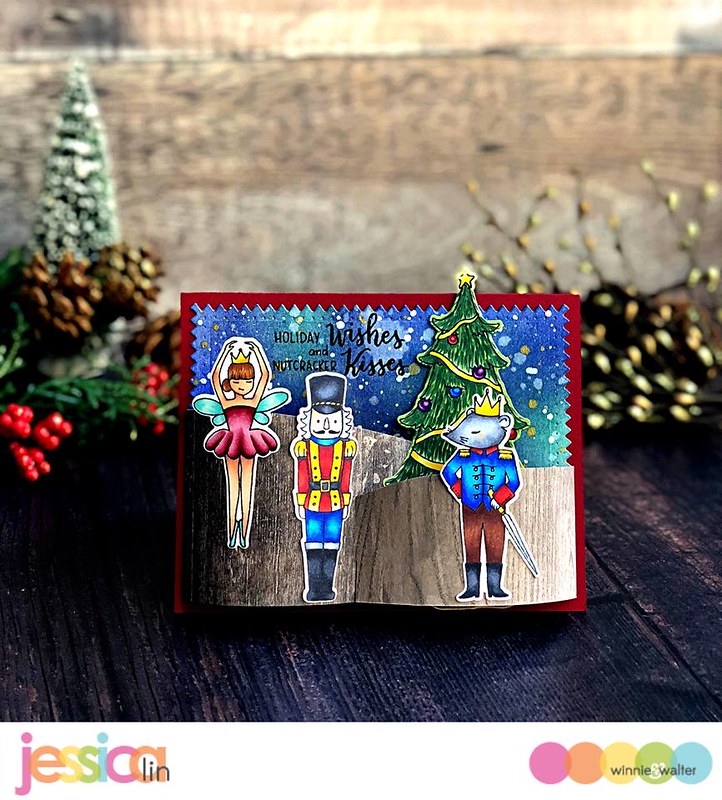
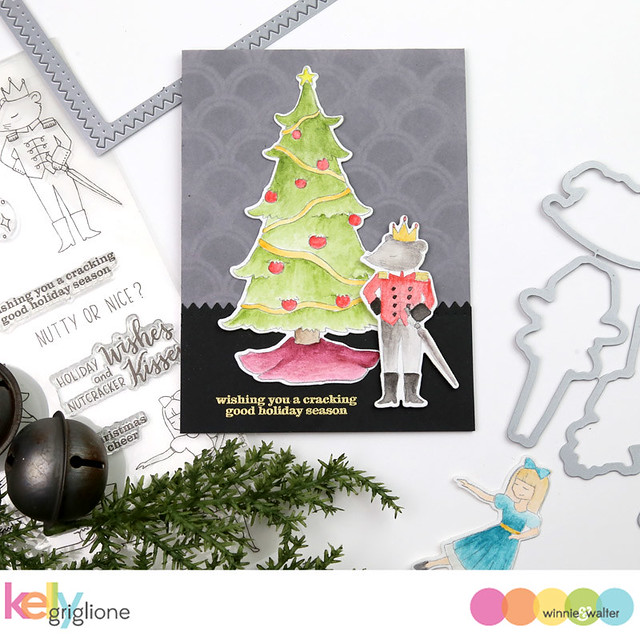
Nutcracker Kisses with Evelin T Designs is a musical and dramatic set from Evelin that is wonderful on its own or with other Evelin T Designs sets.  We are also introducing its companion cutaways.

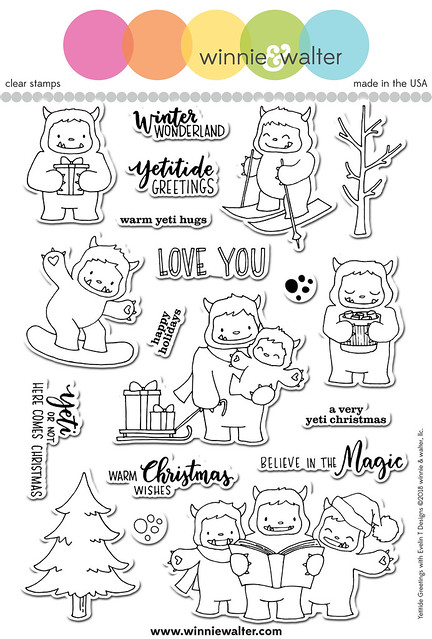
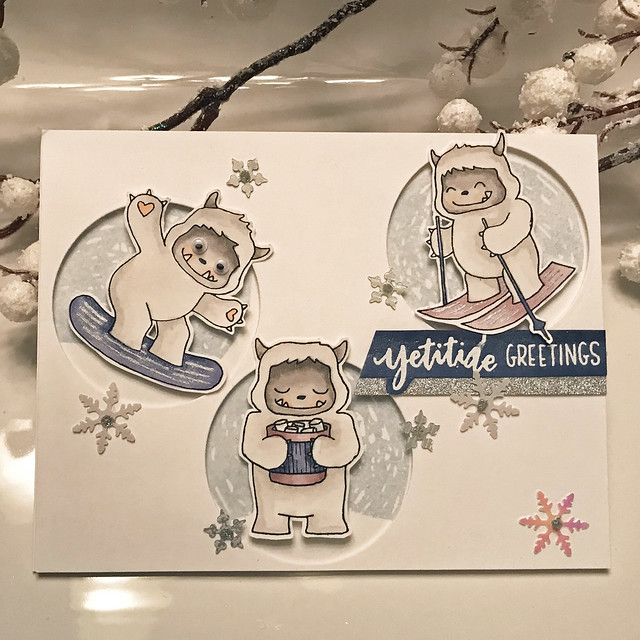
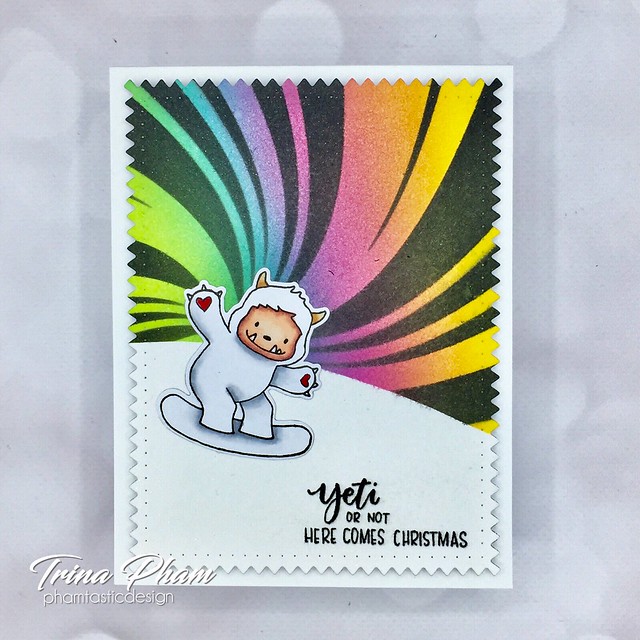
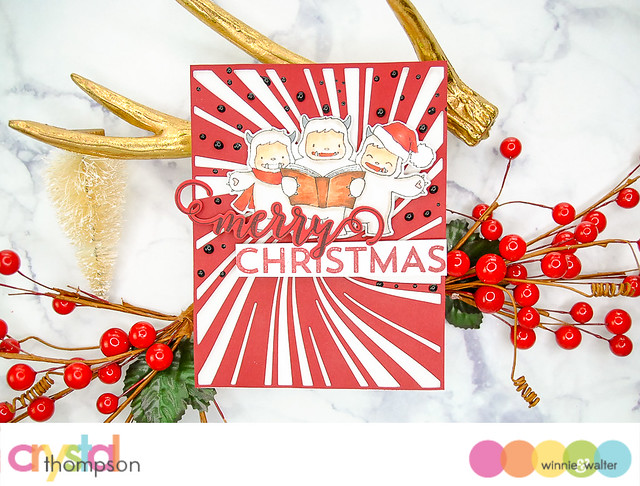
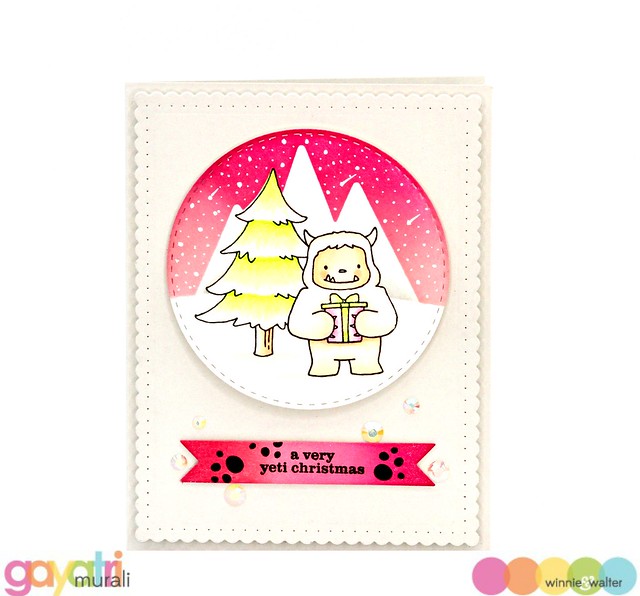
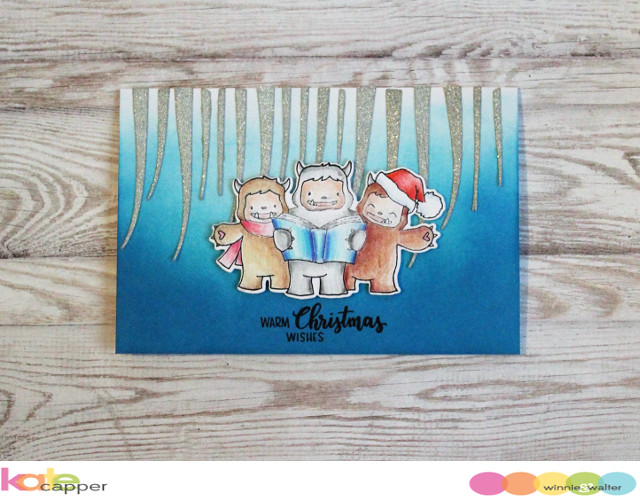
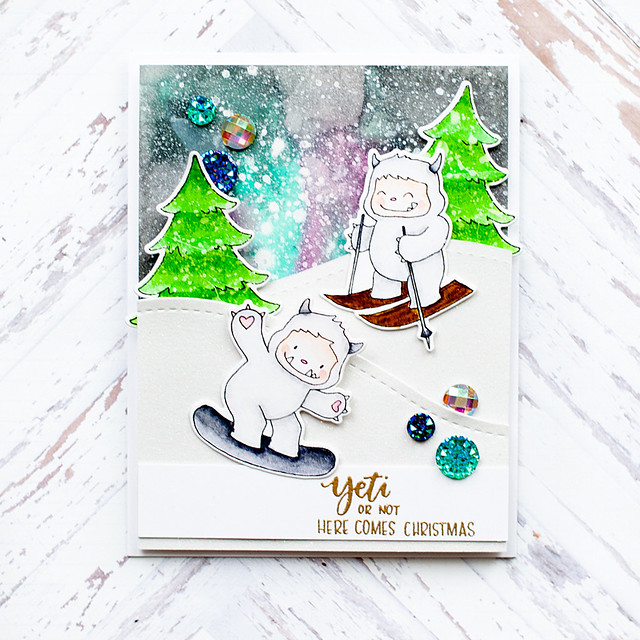
Yetitide Greetings with Evelin T Designs is an incredibly adorable set (come on yetis!?!) from Evelin that is wonderful on its own or with other Evelin T Designs sets.  We are also introducing its companion cutaways.

>>>THE DETAILS<<<

w&w_NutcrackerKissesETD_6x8_web
Nutcracker Kisses with Evelin T Designs
Available for purchase the evening of November 30, 2018
6x8 stamp set
Retails for $22.00
Includes Seventeen (17) stamps--ten (10) images + seven (7) sentiments

w&w_YetitideGreetingsETD_6x8_web
Yetitide Greetings with Evelin T Designs
Available for purchase the evening of November 30, 2018
6x8 stamp set
Retails for $22.00
Includes Nineteen (19) stamps--ten (10) images + nine (9) sentiments

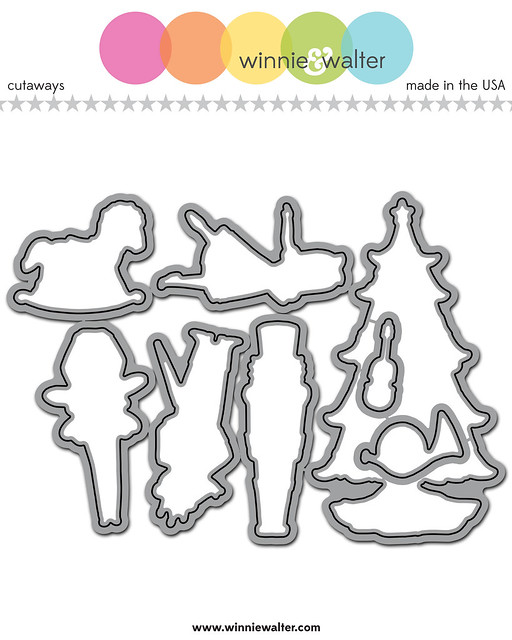
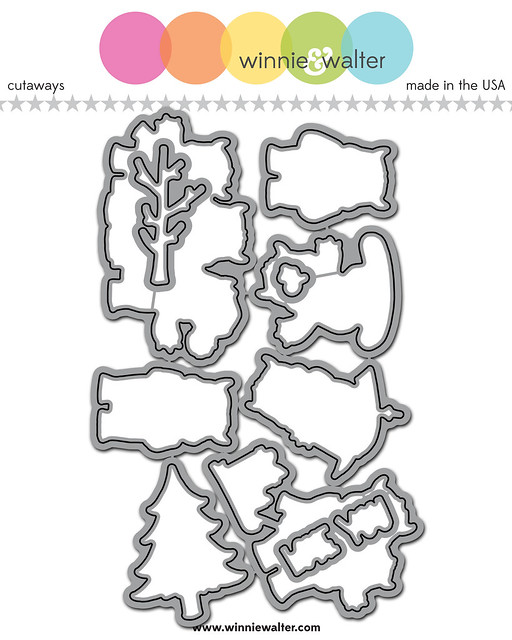
w&w_NutcrackerKissesETD_Cutaways_web

Nutcracker Kisses with Evelin T Designs Cutaways
Wafer Thin Steel Dies
Available for purchase the evening of November 30, 2018
Retails for $30.00
Includes eight (8) dies

w&w_YetitideGreetingsETD_Cutaways_web

Yetitide Greetings with Evelin T Designs Cutaways
Wafer Thin Steel Dies
Available for purchase the evening of November 30, 2018
Retails for $34.00
Includes ten (10) dies
  

>>>THE GOOD STUFF<<<

Let's get to the fun part and see these products in action.

Shay

Happy Friday and our final Premiere Day!  Liking (maybe even loving) the new release?  We are going out big...like yeti-big. :-)  Evelin's sets this release are stunning.

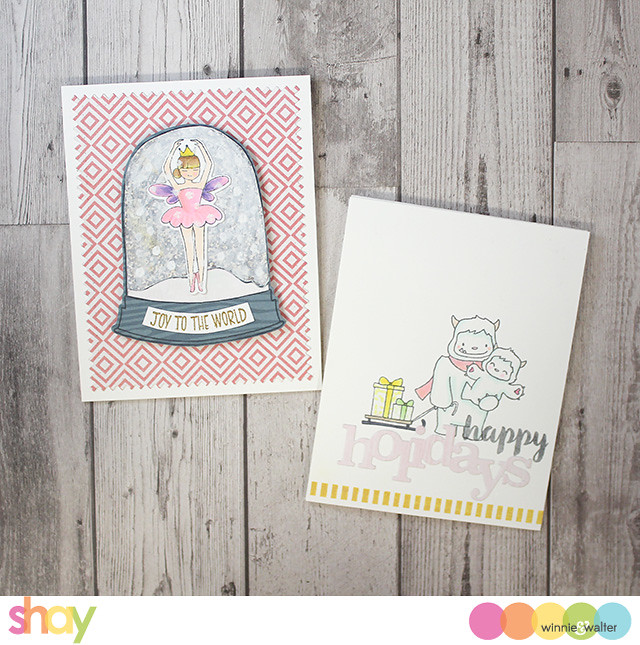
I have two cards for you today.

shay_IMG_4405

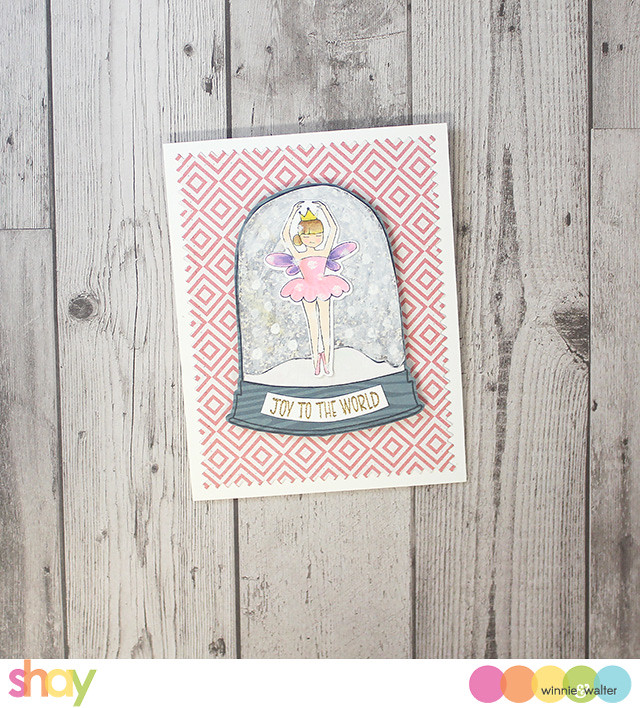
I have to admit I am sort of in love with my first card.  I imagined the sugar plum fairy from Nutcracker Kisses with Evelin T Designs inside the snow globe from Snowy Holiday with Evelin T Designs and I created a card around it.

shay_IMG_4407 

I stamped the snow globe on 3 different patterned papers.  On the snow layer I painted over the pale pink patterned paper with white paint.  For the main "glass" section I used a glitter patterned paper and dry brushed it with some white paint.  For the sugar plum fairy I stamped her cut her out with the corresponding cutaway and used Copics to color her in.  I adhered her to the snow globe and then I used a brush and the white paint and added dots of snow over the fairy and in the the snow globe.  For the sentiment I curved the sentiment and stamped it in Versamark and heat embossed it in gold and adhered it to the snow globe base.  The entire snow globe was attached to the panel cut using the largest decorative rectangle from Essentials: Tilda Cutaways with dimensional foam adhesive.  Everything was then adhered to a white A2 card base.

shay_IMG_4409

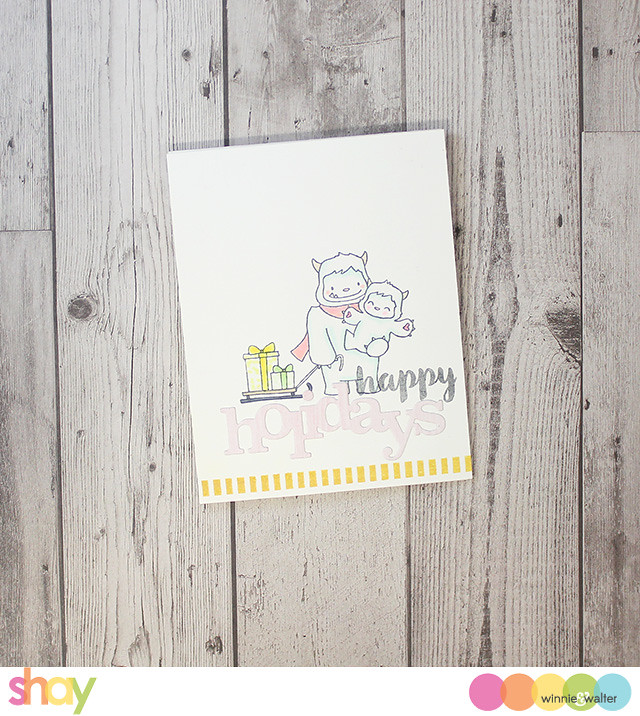
For my second card I went simple because the yetis are just so darn adorable they don't need much.  On a white panel I stamped the mom and baby yeti (darling, right?)  I colored in with Copics.  Then I stamped "happy" from Happy Birthday to You and cut out In a Word: Holiday Cutaway from patterned paper.  Last I added the border from Scenery: Stripes 2.

That is all from me, but I am over the moon with what our November Leading Lady Jill Vickers, our October Leading Lady Trina Pham, Crystal, Gayatri, Heather, Kate, Kelly and Lea created for you today!  

November Leading Lady, Jill Vickers

jill_2018nov30-1
CLICK HERE to see more from Jill.

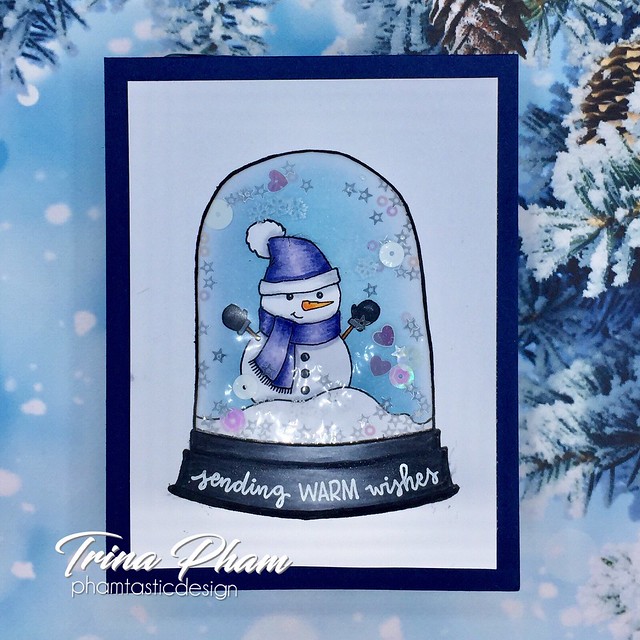
October Leading Lady, Trina Pham 

trina_image2 (2) trina_image1 (2)
CLICK HERE to see more from Trina.

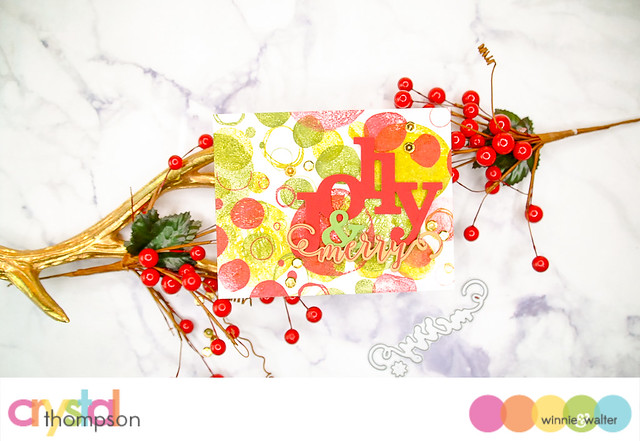
Crystal Thompson of The Talent

crystal_nov - watermark (35 of 44)
CLICK HERE to see more from Crystal.

Gayatri Murali of The Talent
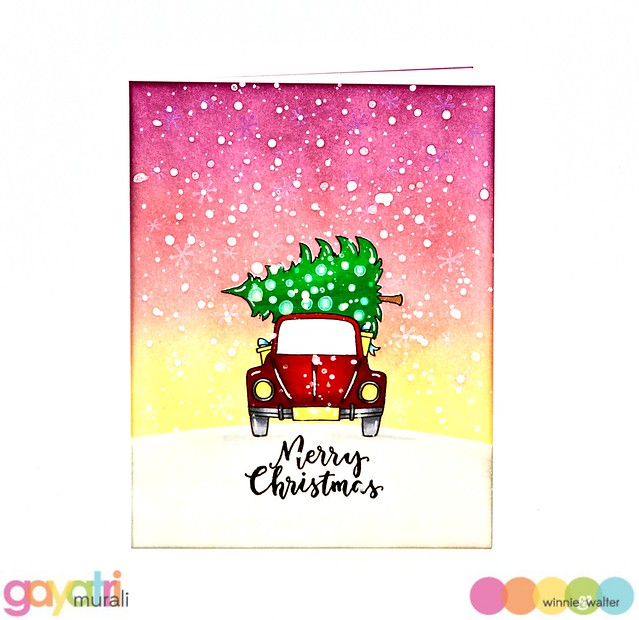
gayatri_W&W nov release day #4
CLICK HERE to see more from Gayatri.

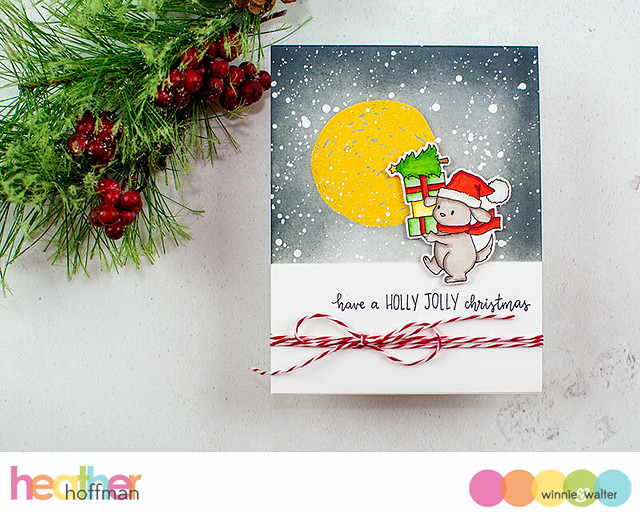
Heather Hoffman of The Talent

heather_Cards-11-26-18-158CLICK HERE to see more from Heather.

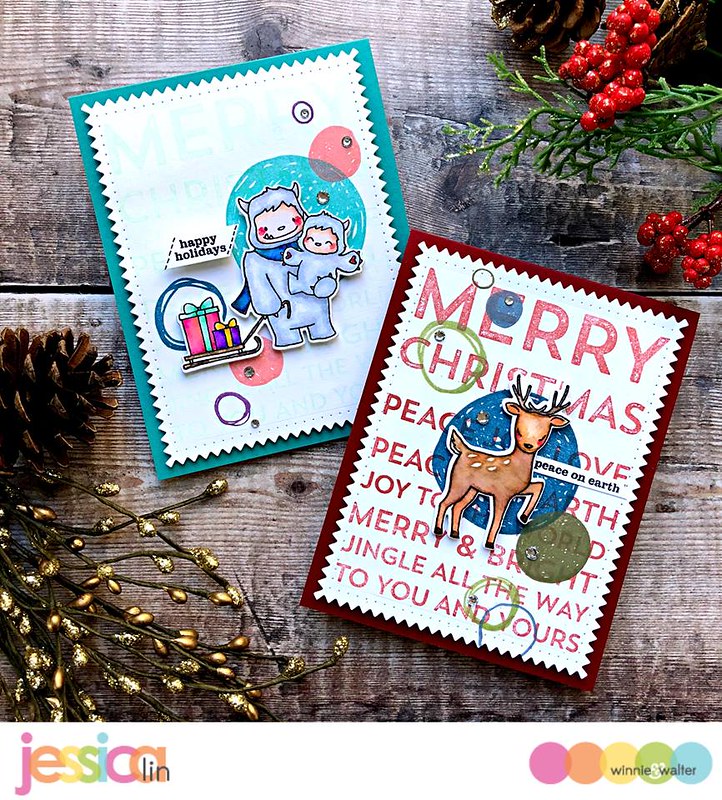
Jessica Lin of The Talent

jessica_day4
CLICK HERE to see more from Jessica.

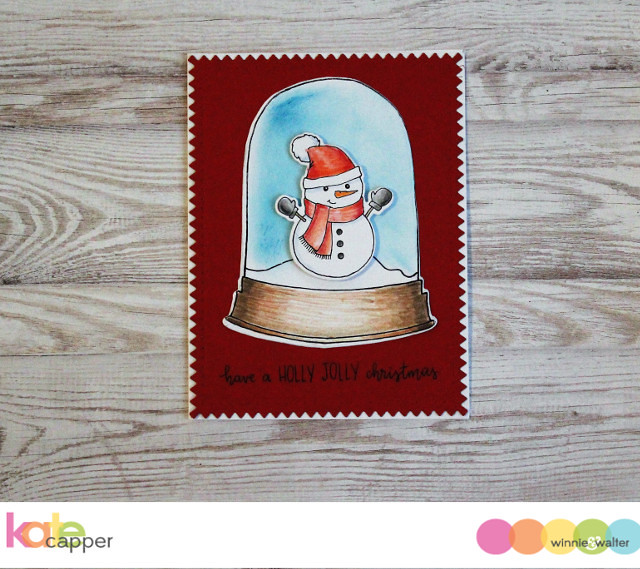
Kate Capper of The Talent

kate_wwday4
CLICK HERE to see more from Kate.

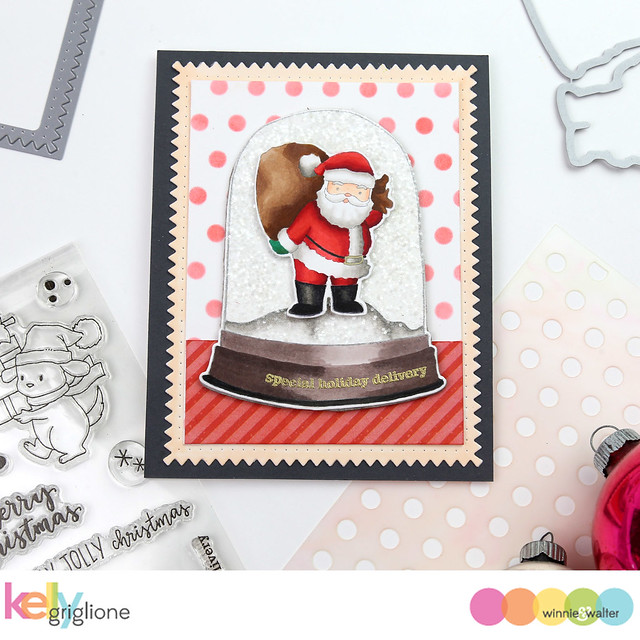
Kelly Griglione of The Talent

kelly_Winnie and Walter Nutcracker Kisses   Evelin T Designs Mouse King
CLICK HERE to see more from Kelly.

Lea Lawson of The Talent

lea_WW-NovRelease-08 (2)
CLICK HERE to see more from Lea.

>>>THE GIVEAWAY<<<

Comment here on this post for a chance to win Nutcracker Kisses with Evelin T Designs stamp set + Nutcracker Kisses with Evelin T Designs Cutaways + Yetitide Greetings with Evelin T Designs stamp set + Yetitide Greetings with Evelin T Designs Cutaways of your own by 11:59 p.m. (central standard time) November 30, 2018.  One comment will be chosen at random. 

All winners during our November 2018 Release will be announced by December 17, 2018.

To enter our November 2018 Release's The Big Giveaway CLICK HERE.

Thursday, November 29, 2018

November 2018 Release | Premiere Day No. 3

To enter our November 2018 Release's The Big Giveaway CLICK HERE.
To enter to win Premiere Day No. 1 featured products...CLICK HERE
To enter to win Premiere Day No. 2 Featured Products  CLICK HERE 
To enter to win Premiere Day No. 3 Featured Products...continue reading!
To enter to win Premiere Day No. 4 Featured Products CLICK HERE (goes live at 7:00 a.m. CST on November 30, 2018)
==========================================================

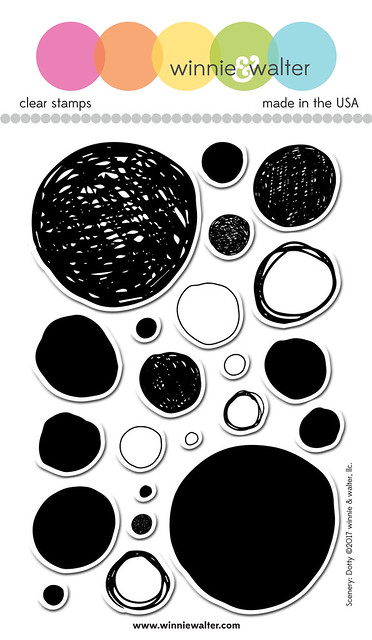
Scenery: Dotty is full of hand-drawn sketchy, solid and outline circles for a touch of fun to add to your projects.  Use the dots as snow, to spotlight an image, to create backgrounds and more!

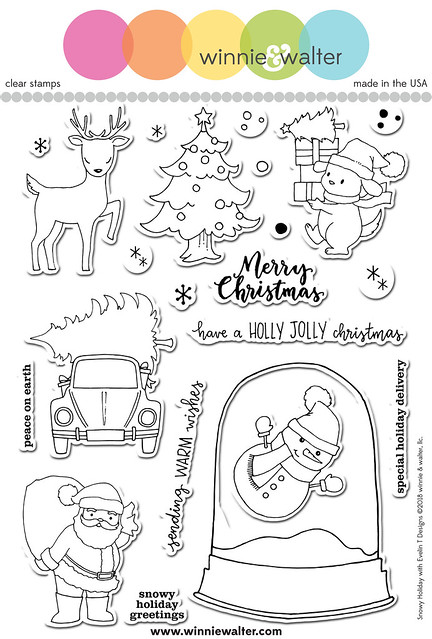
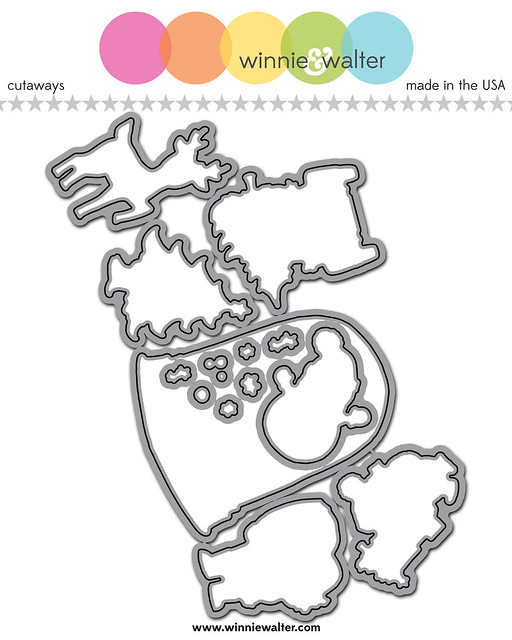
Snowy Holiday with Evelin T Designs is another precious set from Evelin that is wonderful on its own or with other Evelin T Designs sets (think of all the scenes you can add to the snow globe!).  We are also introducing its companion cutaways.

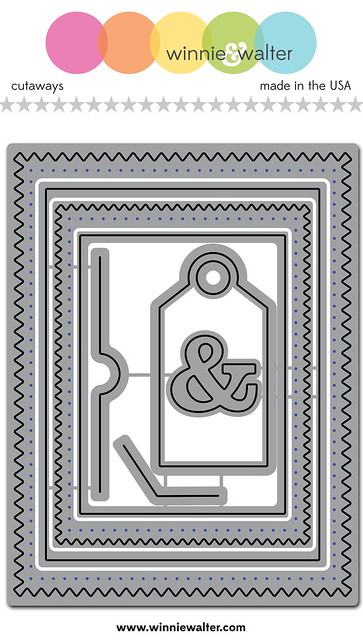
Essentials: Tilda Cutaways is our next addition to the Essentials cutaway collection and you will love all the possibilities in this set of cutaways which is perfect for sending cards and other projects!

>>>THE DETAILS<<<

w&w_SceneryDotty_4x6_web
Scenery: Dotty
Available for purchase the evening of November 30, 2018
4x6 stamp set
Retails for $15.00
Includes Twenty-two (22) stamps-twenty-two (22) images

w&w_SnowyHolidayETD_6x8_web
Snowy Holiday with Evelin T Designs
Available for purchase the evening of November 30, 2018
6x8 stamp set
Retails for $22.00
Includes Twenty-two (22) stamps--sixteen (16) images + six (6) sentiments

w&w_SnowyHolidayETD_Cutaways_web

Snowy Holiday with Evelin T Designs Cutaways
Wafer Thin Steel Dies
Available for purchase the evening of November 30, 2018
Retails for $38.00
Includes fourteen (14) dies


w&w_ETilda_Cutaways_web
Essentials: Tilda Cutaways
Wafer Thin Steel Dies
Available for purchase the evening of November 30, 2018
Each retail for $28.00
Includes eight (8) dies
  

>>>THE GOOD STUFF<<<

Let's get to the fun part and see these products in action.

Shay

Happy Thursday!   How are you liking the release so far?

Let's see what I came up for you today:

shay_IMG_4398

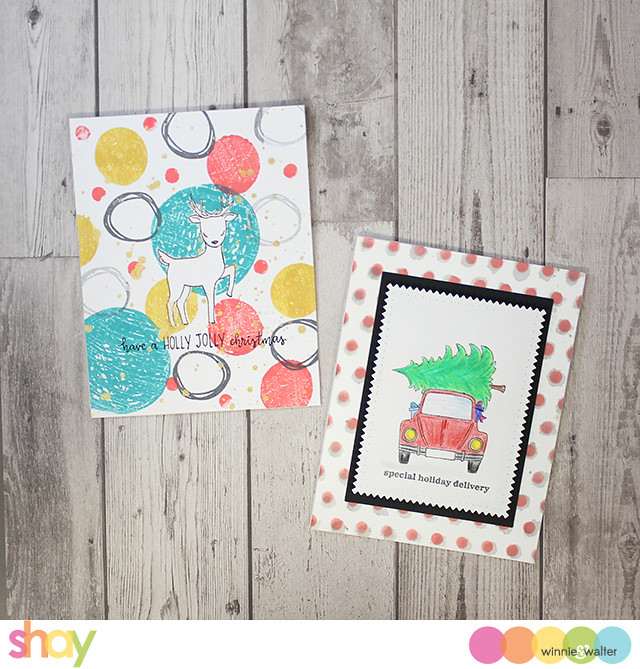
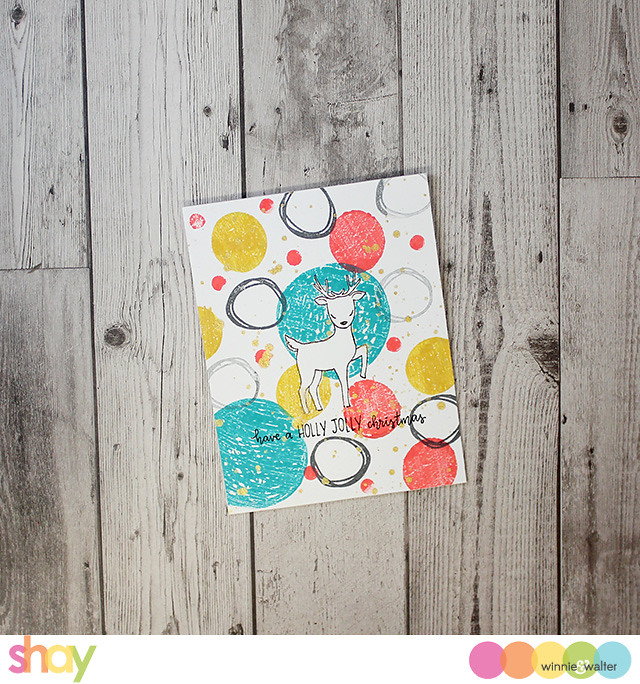
For the first card I wanted something modern and fun.  So I stamped the deer from Snowy Holiday with Evelin T Designs and covered it with a mask.  I then inked up dots from Scenery: Dotty in peacock feather, abandoned carol and fossilized amber Oxide Distress Inks along with black jack ink.  Okay, I have a serious problem with gold spray because I used it once again and I know I will again because I love what it brings to the card.  Last I stamped the sentiment in Versafine.

shay_IMG_4400

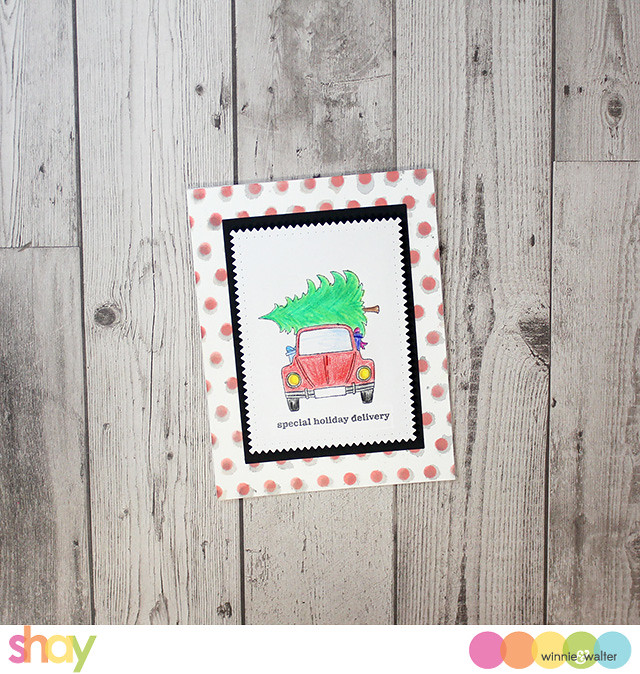
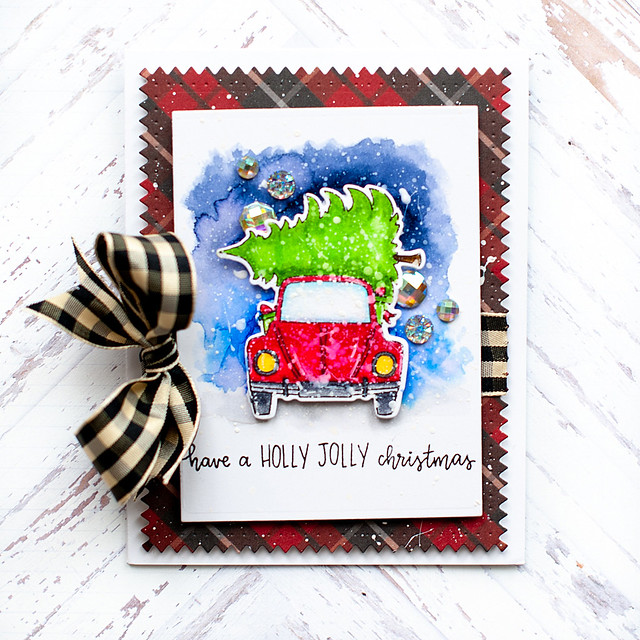
The second card I stamped the adorable car with tree and colored it in with colored pencils...the image is so sweet that my mediocre coloring still looks good enough.  I stamped the sentiment (okay in all honestly I stamped the sentiment on a piece of cardstock and adhered it on later as I forgot to stamp the sentiment prior to adhering the panel with foam adhesive).  I cut out the card using the smaller patterned rectangle from the new Essentials: Tilda Cutaways.  Tip: when cutting these dies apart be patient and use as small of wire cutters as possible as they are packed close together.  I cut a black cardstock panel with the larger plain rectangle and adhered the stamped panel to the black one with foam dimensional adhesive. I placed it all on a panel I created using Scenery: Pennsylvania Polka Creative Screenings using a silver spray and then abandoned coral ink over that.

shay_IMG_4401

You've not seen anything yet!  Serious you will be as blown away as I am...Jill Vickers our November Leading Lady and Trina Pham our October Leading Lady, Crystal, Gayatri, Heather, Kate, Kelly and Lea are joining me today with these amazing cards:

November Leading Lady, Jill Vickers

jill_2018nov28-1 jill_2018nov28-2
CLICK HERE to see more from Jill.

October Leading Lady, Trina Pham

trina_image1 trina_image2
CLICK HERE to see more from Trina.

Crystal Thompson of The Talent

crystal_nov - watermark (6 of 44)
CLICK HERE for more from Crystal.  

Gayatri Murali of The Talent
gayatri_W&W Nov release day #3
CLICK HERE to see more from Gayatri.

Heather Hoffman of The Talent

heather_Cards-11-26-18-062
CLICK HERE to see more from Heather.

Jessica Lin of The Talent

jessica_day3
CLICK HERE to see more from Jessica.

Kate Capper of The Talent

kate_wwday3
CLICK HERE to see more from Kate.

Kelly Griglione of The Talent

kelly_Winnie and Walter Snowy Holiday   Evelin T Designs
CLICK HERE to see more from Kelly.

Lea Lawson of The Talent

lea_WW-NovRelease-08
CLICK HERE to see more from Lea.

>>>THE GIVEAWAY<<<

Comment here on this post for a chance to win Scenery: Dotty stamp set + Snowy Holiday with Evelin T Designs stamp set + Essentials: Tilda Cutaways + Snowy Holiday with Evelin T Designs Cutaways of your own by 11:59 p.m. (central standard time) November 30, 2018.  One comment will be chosen at random. 

All winners during our November 2018 Release will be announced by December 17, 2018.

To enter our November 2018 Release's The Big Giveaway CLICK HERE

Saturday, November 24, 2018

November Leading Lady Jill Vickers | Take Four

As November ends we sadly must bid adieu to our superb November Leading Lady Jill Vickers.  The last few weeks with Jill has been a spotlight for her dazzling depth and scope of skill, innovation and terrific techniques.  Jill has exhibited her tremendous talent and astounding creativity week after week.  I feel so fortunate Jill shared her talents with us this month and made this month something special.

If you missed her smashing debut you must see it...
CLICK HERE or her sensational second performance sure to ensnare your focus CLICK HERE or her triumphant third performance with a plethora of cards that will have you reaching for dies CLICK HERE!  Today's projects !

Lucky for us all we have her final command performance today.  


I can't believe how quickly November has flown by and that it is already time for my last act! I want to thank Shay for her generosity and her invitation to join this wonderful Winnie & Walter blog for the month. I also want to thank everyone for their wonderful comments - both here and on my blog - they have brought me such joy and I am truly grateful that you took the time to leave them.


So now - onto my finale :)

Last week, I focused on building backgrounds using die cuts - so this week, I am focusing on stretching my stamps to create fun backgrounds.

For my first cards, I used the Scenery: Holiday Trimmings stamp set - this is one of my favourite sets for decorating holiday card envelopes - but the border images are perfect for building backgrounds as well. I stamped the tree image repeatedly across the card fronts in Versamark ink- I did shift the border to the left and the right to change the styles of trees on each row. On one card front, I embossed with detail clear embossing powder, and on the other, I embossed with clear sparkle embossing powder. I then sponged ink across the panels- on the clear embossed panel, I used Picked Raspberry, Mustard Seed, and Salty Ocean to create a rainbow effect. I used Cracked Pistachio, Peacock Feathers, and Blueprint Sketch on the sparkly one. I added a simple white embossed greeting from In A Word: Merry to each of the panels, and a few silver star sequins to a few of the trees before adhering the foam-mounted panels to some cards bases dressed up with silver glitter washi.


For my next cards, I wanted to create a "knit sweater" style background - there a quite a few background stamps that do this but I was pretty sure that I could make my own. I used two more borders from the Scenery: Holiday Trimmings set, a border from the Julie's Roses set (a 2016 Black Friday W&W Special set), and a row of hearts from Scenery: Seeing Hearts. I stamped two panels - both using light grey ink - one onto a white panel and one onto a light grey panel for a tone-on-tone look. This process is really straightforward using the MISTI - the hardest part is deciding what the pattern should look like but once the stamps are lined up, it is just a matter of shifting the panel up and down to create the pattern.


To complete the grey tone-on-tone card, I used some stamped images from In Bloom: Debra's Poinsettia with Lydia Evans and In Bloom: Victoria's Very Merry Flowers with Lydia Evans as well as an embossed greeting from Sentimental Winter and a scattering of crystal gems. To complete the white panel card, I added a pink ombre stamped mug from Warm Wishes To You, a greeting from Sentimental Birthday and a few pink gems.


For my last card, I used the swirl stamps from the Dotty About You with Lydia Evans set to create a Van Gogh inspired wintery background. I stamped the panel using a light blue ink - I did do some masking as well to avoid the overlaps but it was pretty easy to cut the masks. I added the panel to a light blue card base. To complete the wintery scene, I added the skiing bear from Winter Wishes with Evelin T Designs (seriously - how cute is he?), Copic coloured in soft colours. To finish the card, I silver embossed sentiment from the same set (after doing some minor stamp surgery to position it linearly) and a few iridescent silver-blue snowflake sequins.


I love creating backgrounds like this, and I could have easily done many more with all the wonderful Winnie & Products but unfortunately, I ran out of time....  I do hope that this post has given you some ideas on how to stretch your stamps to create backgrounds, and that you enjoy it as much as I do.

Shay has kindly offered up a $30 Winnie & Walter gift card for me to give to one lucky commenter on my blog, My Life in Paper For your chance to win, leave a comment on this post and/or any of my leading lady posts and I will randomly pick a winner from all the comments left by November 30th.


Thanks again for all your lovely comments and your support for my Leading Lady act - it was so much fun! 
Jill

w&w-supplies