Showing posts with label in a word: love cutaway. Show all posts

Wednesday, May 25, 2016

Please Ask Me For Hugs with Keren

 
How are you all? It's Keren with you today with a card to encourage any friend going through a tough time!

So, have Winnie and Walter secretly brought out a new set of word Cutaways? 
Nope. I've just got my scissors out, and snipped individual letters out from different In A Word: Cutaways to create a fun sentiment! 
So which ones? Which dies can you spy? 
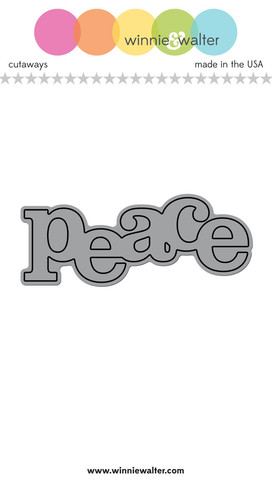
Well, the obvious one is the In A Word: Hugs and then Peace, I've used Home, Merry, Kisses and
Love.
w_w_inaword-peace_cutaways-web-prv_large
My first thought was to just snip the 's' off a 'hugs' and add an 'e' to make 'huge hugs' but then had someone in mind when I made this phrase. I've used soft pastels as it's supposed to be a calming card and for the background I've used the Cover Model: The Leaf Effect Cutaway.
cover_model_the_leaf_effect_cutaway_large
I hope you'll give your In A Word Cutaways a second glance and see what fun words you can create using them!
See you soon! xx


w&wDT_kerenbaker_blog-sig

w&w-supplies

Monday, February 15, 2016

w&w Belated 2nd Birthday Bash | Special Guest Star Jennifer Ingle Part Deux

200specialgueststarjennifer

We are lucky that some of our special guest stars are joining us more than once! Today we welcome back Jennifer Ingle, aka Just Jingle, as she takes on another challenge.   To see Jennifer's first post CLICK HERE.

You are going to adore her card today! 

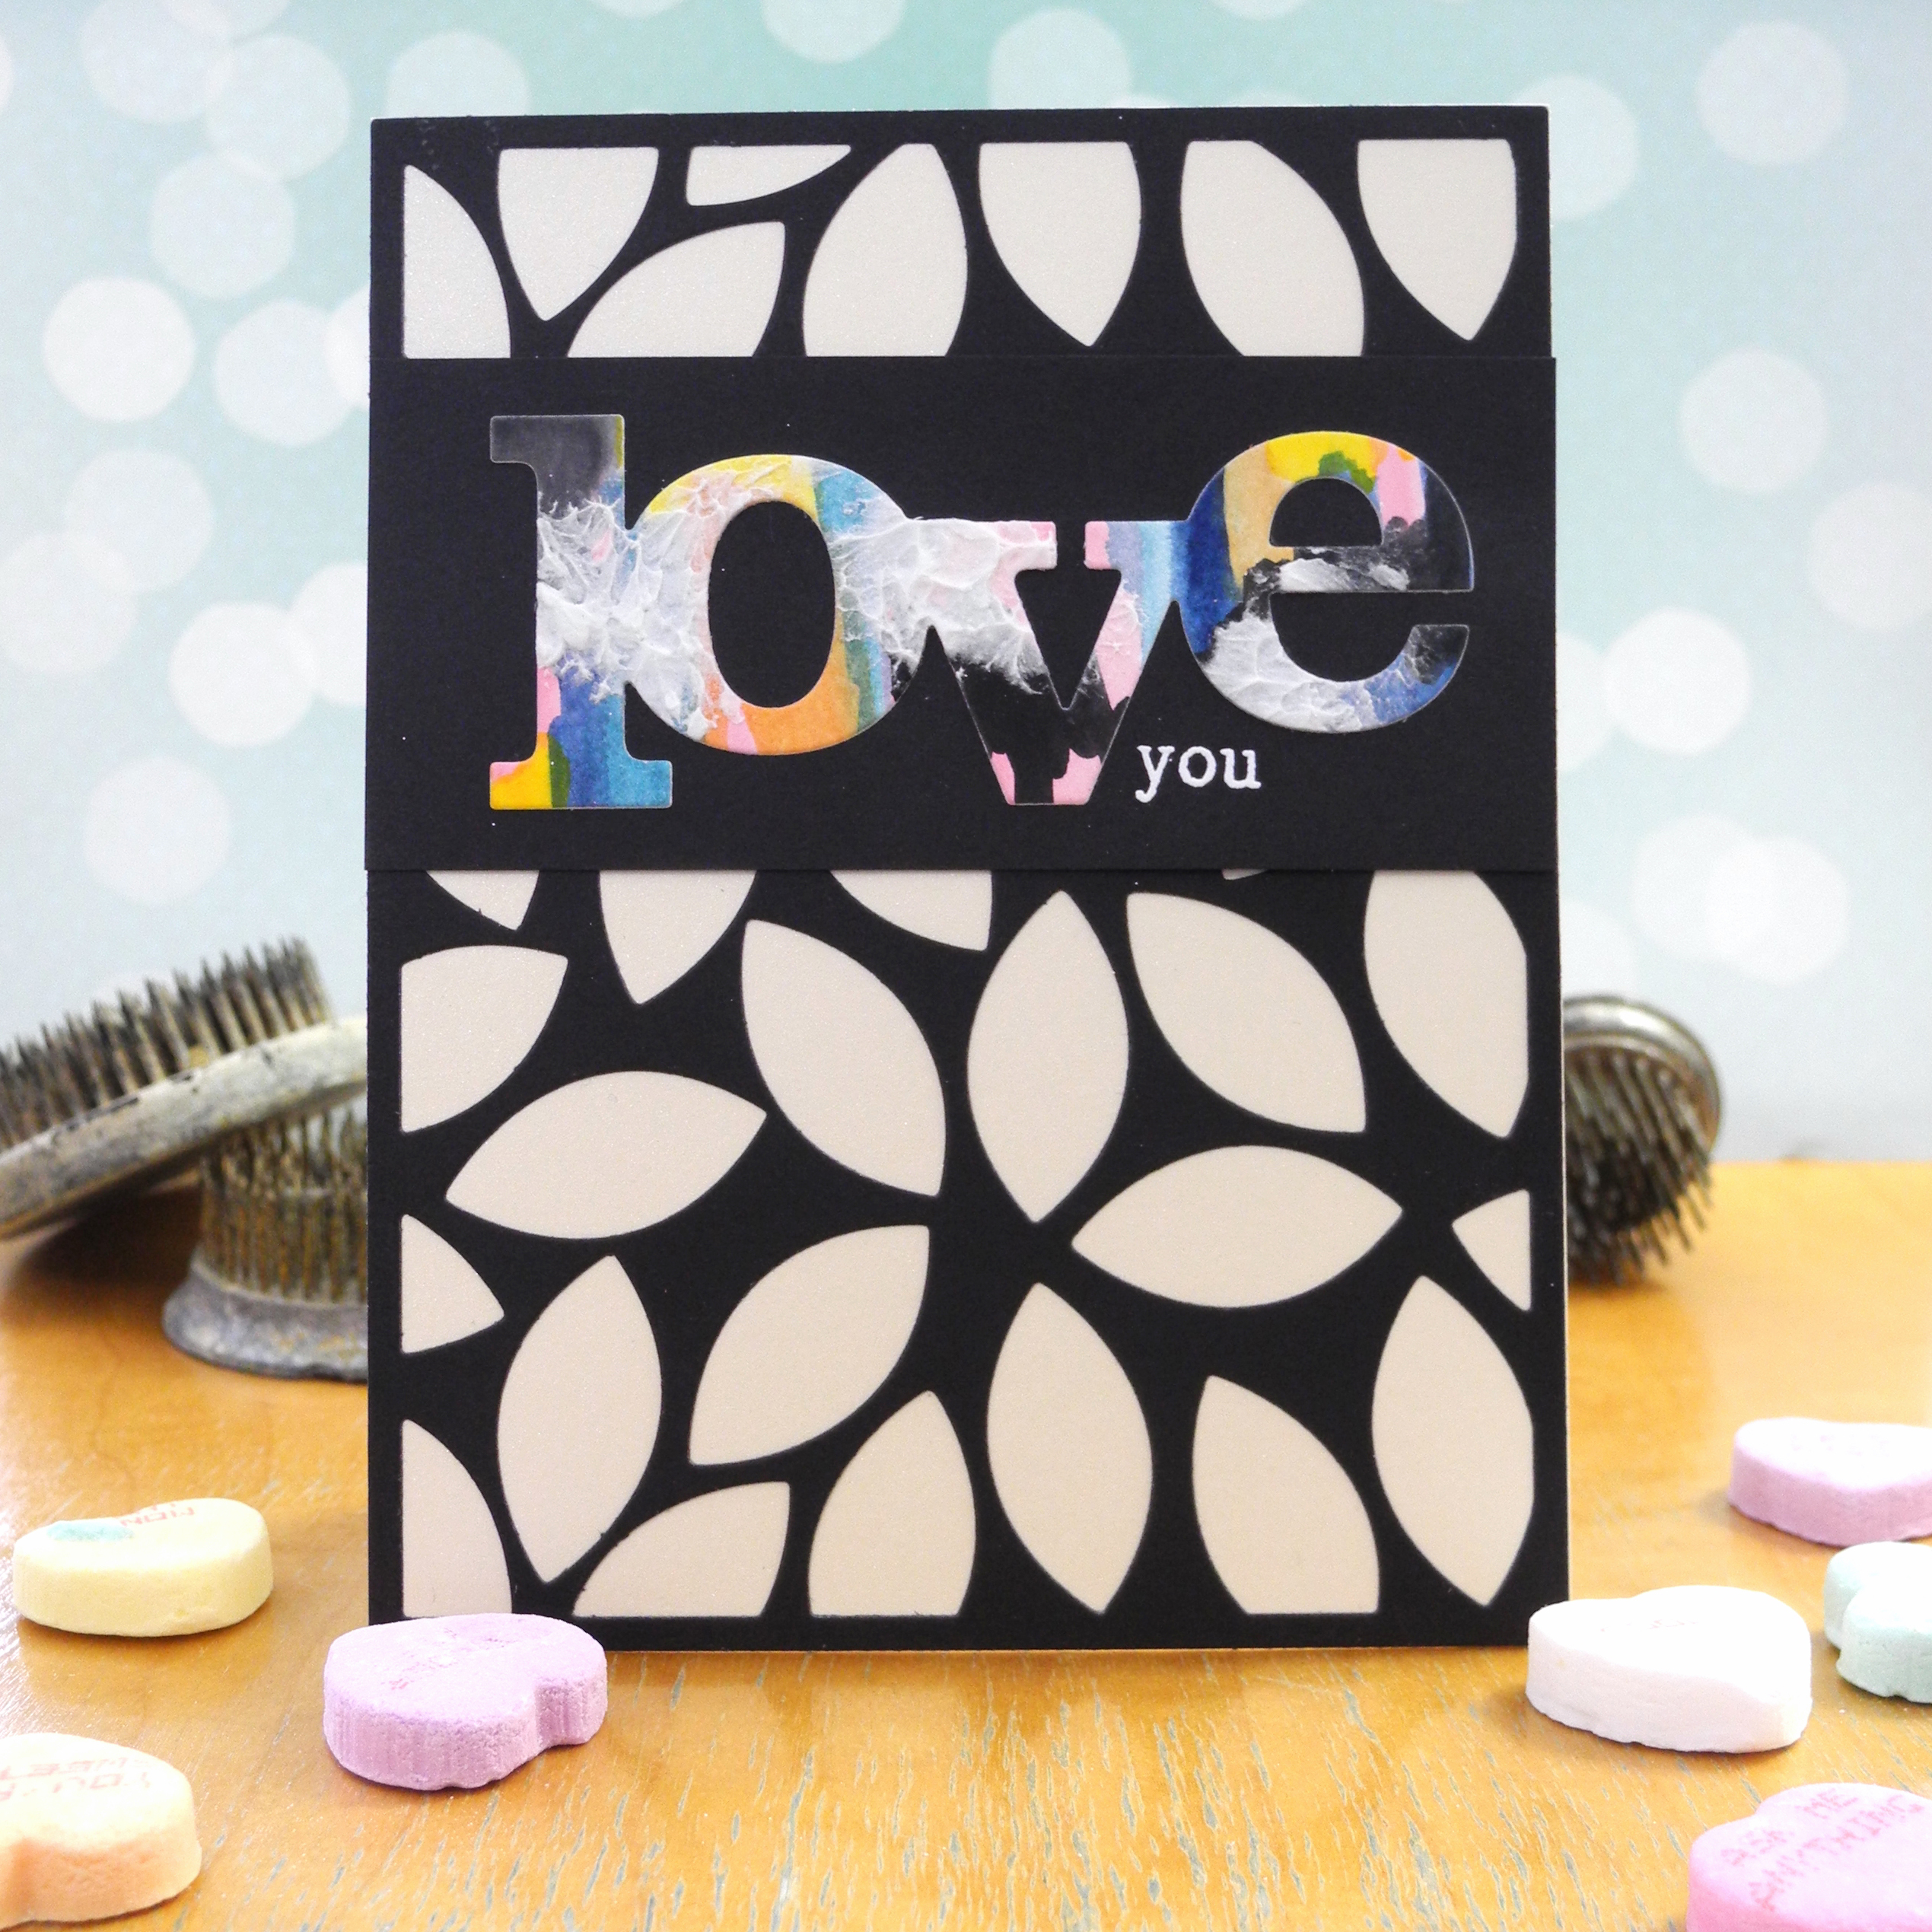
Hello, Winnie & Walter friends! I am excited to be here again for this super fun Belated Birthday Bash celebration! For today's card I was super inspired by the Photo Inspiration challenge! I loved the photo and saw so many potential card ideas in it! I decided to begin with the pillow. I love the shimmering gold background with the black details and this Cover Model: The Leaf Effect Cutaway was the PERFECT tool to make this design happen! (This may be my new favorite die. I LOVE IT!)

jennifer_WW Love you

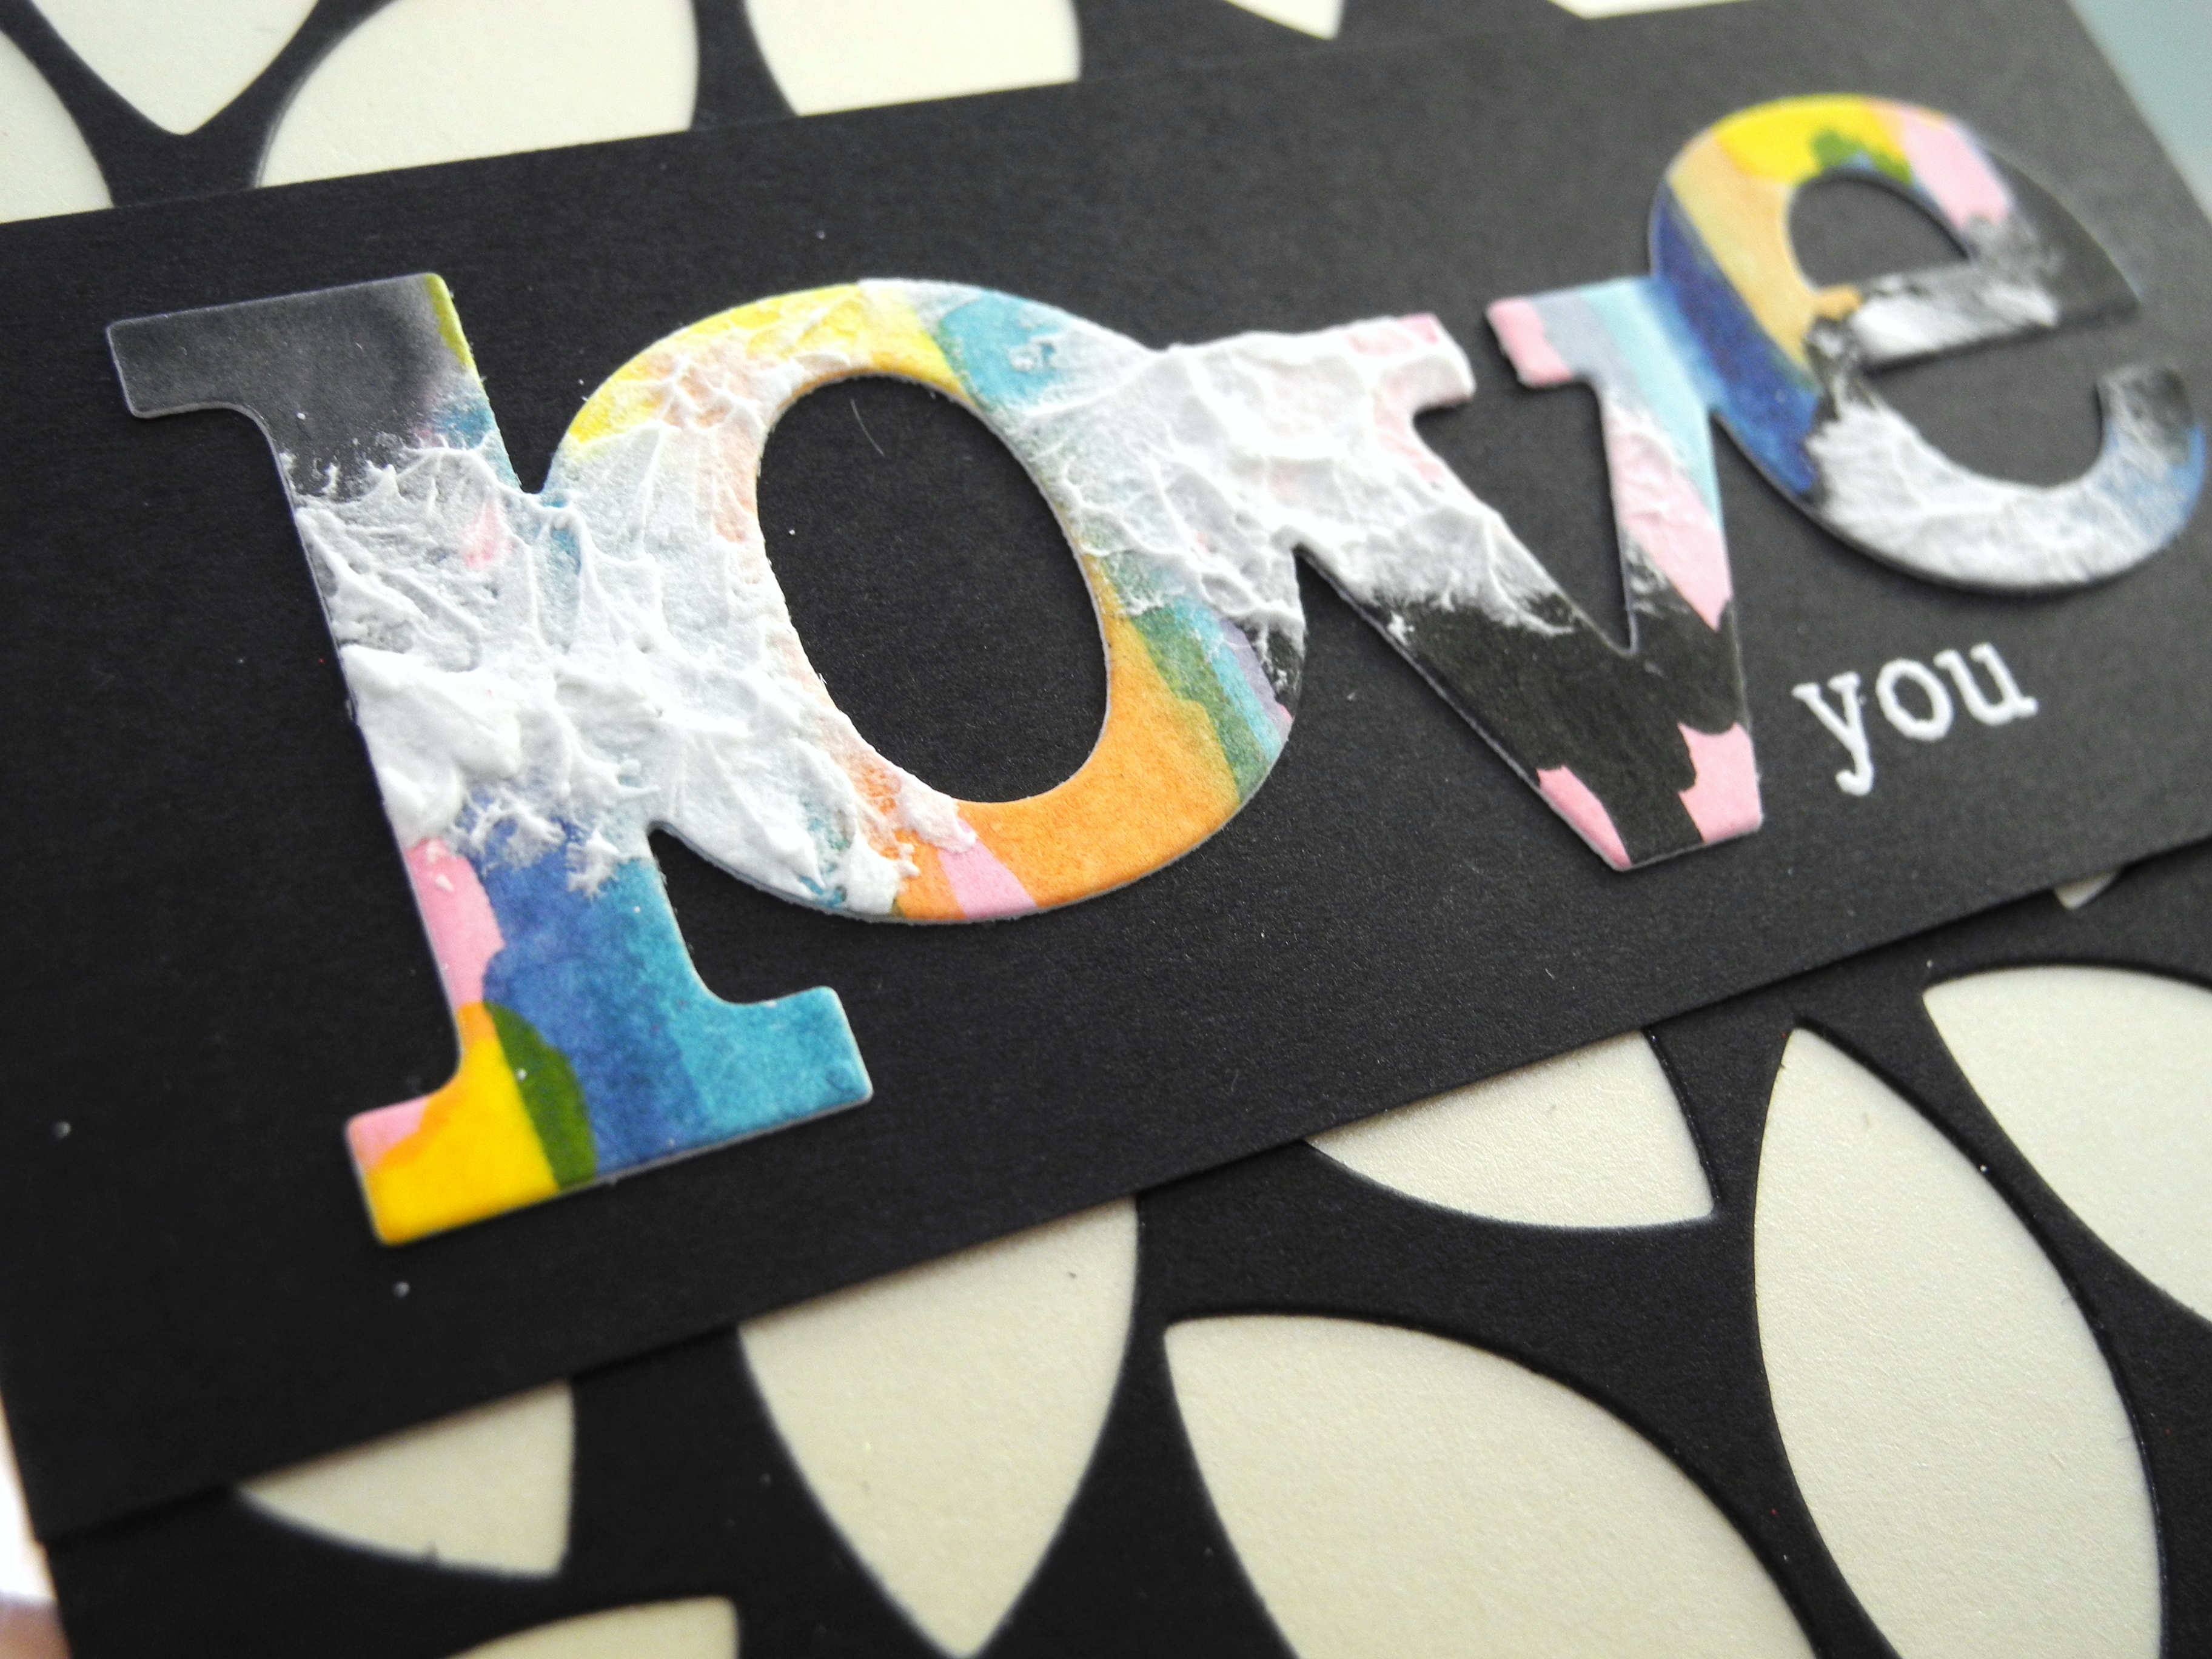
I used a shimmery cardstock for the background and then layered the cutaway in black over it. I love the contrast! The sentiment is die cut with the In a Word: LOVE Cutaway from watercolor paper. I painted with watercolors before cutting it and then added some whipped spackle paste for the white texture. IT MAKES ME SO HAPPY, YOU GUYS! For reals, though.

jennifer_WW Love You (detail)

Have you tried out this challenge yet? You TOTALLY should! The painting obviously catches the eye, but there are so many other amazing details in that photo to inspire you! I hope you get a chance to play along!

Have a Happy!

Jingle


w&w-supplies

Saturday, February 13, 2016

February Leading Lady Emily Leiphart | Take Two


Our February Leading Lady, Emily Leiphart is back for her sensational second performance!  If you missed her smashing debut you must see it...CLICK HERE.  Emily takes on both the positive and negative with her incredible cards today!

Ladies and gentlemen, Emily....

Hi, everyone! It's Emily here and I'm back with my second Leading Lady post!! Every Saturday this month, I'll be sharing projects with a weekly theme. Today's theme is positive and negative die cuts. One card features the positive pieces of a die cut and the other uses the negative.


For my first card, I die cut In a Word: Love twice, placed them down on a craft sheet and smooshed distress inks on them. After they dried, I stamped words from The Big, the Bold and Friends on lower-case Ls.


On the base panel, I used my MISTI stamping tool to stamp roses from In Bloom: Elsa's Flora with Versamark ink and then heat embossed them with glitter gold embossing powder. Then I mixed grey and black distress inks with water and splattered the two corners with a brush.


My second card features the negative space created after I die cut In a Word: Hugs from a shaped panel created with Essentials: Noelle Cutaways. Before die cutting, I brushed a light wash of distress inks to create a background.


I placed acetate behind the panel and adhered all the small pieces from the die cut on the acetate using glossy accents. Then I created a shaker card by applying foam tape borders and adding three types of sequins. The silver glitter shapes were created using Big Bang Confetti Cutaways.


Here are the two cards shown side-by-side to show how die cuts can be used in two very different ways. The first card has its depth in the popped up positive die cuts, whereas the second card has its depth behind the main panel in the form of a shaker.


GIVEAWAY

Winnie & Walter has given me a $30 gift card to share with my readers! All you need to do is head to my blog and comment on all four of my Leading Lady posts this month and you'll be entered to win. Good luck! :)


Thanks so much for stopping by and I hope you'll join me again for Take 3 next Saturday!

w&w-supplies

True Love, Big Love:


Hugs:

Monday, January 25, 2016

Love You with Kelly


Hi Folks! I've got a cute Valentine's Day heart that I made to showcase in my newly-found love of making mesh wreaths (pictured at the end). This project uses the following Winnie & Walter products:


The heart is free-hand cut from pink paper. Then I added the "love" die from In a Word: Love Cutaway in the middle. To get the border around the pink heart, I used one of the border stamps from  Scenery: The Party Hangover and curved the stamp directly on the paper.



When I got the stamp to follow the curve of the heart, I placed my acrylic block down on the stamp to secure the shape. Then I can ink the stamp and stamp the image. 


After repeating this process around the heart, I simply colored the area outside the line with alcohol markers. I used a white gel pen to color inside the outlined shapes, and put a Pretty Pink Posh sequin in the large circle outlines. Finally, the "you" from The Big, the Bold and You is stamped in red, slightly overlapping the "love" cutaway. I pressed down on the stamp harder than usual to make sure the ink filled in the gap between the heart and the cutaway. Thankfully, it did! Otherwise I would have gone back with a red colored pencil to make it look less obvious.


The heart would make a cute card, but I intended this to hang in the middle of my deco mesh Valentine's Day wreath, so there it stays. What a fun thing to see coming into my mud room! Winnie & Walter supplies are so easy to use while decorating around the house!


w&wDT_kellygriglione_blog-sig

w&w-supplies


Tuesday, May 19, 2015

Spotlight on...Hussena Calcuttawala! Part Deux

spotlight-hussena-calcuttawala

We are so lucky to have Hussena Calcuttawala back with us for another lovely and elegant post!  If you missed learning more about Hussena and seeing her first beautiful In Bloom projects CLICK HERE!

Now, it's Hussena's time to sparkle and shine...

Hi friends! It's Hussena from Quill and Punch Works blog again to share with you some more inspiration for this month's theme 'In Bloom'. I have two more cards and a tag to share with you all. 

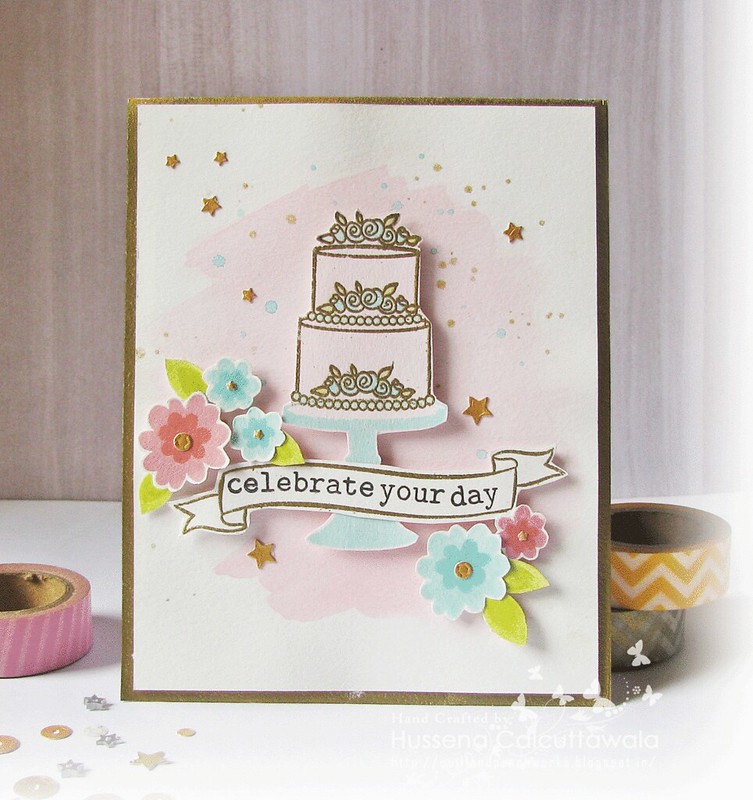
Here's a look at my first card :
hussena_calcuttawala_Card_Cake

For my card, I first created a soft watercolored background using a single wash of Worn Lipstick Distress ink on a watercolor paper. Then, I stamped the cake stand from the Sugar Rush stamp set using a mint color pigment ink and masked it. I then, stamped and heat embossed the cake with the flowers using Gold Super Fine embossing powder and colored the tiny flowers and leaves using Distress inks again which are also from the Sugar Rush set. The banner is from The Big, Bold and Extras and the sentiment is from the same set as well. The flower clusters with the leaves are from the The Write Stuff: Leave it to Mom set. I finished off the card by randomly spattering some gold mist and a very diluted Peacock Feathers Distress Stain. I also added some die cut gold stars and small sequins to the centre of my flowers. 

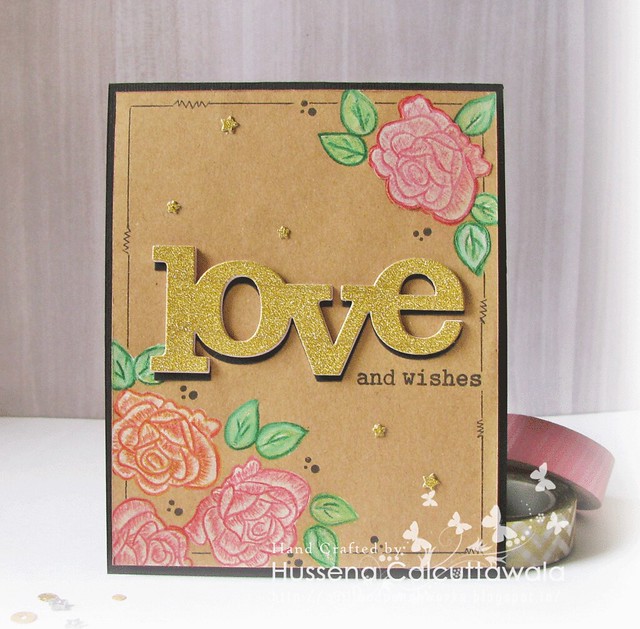
My second card : 
hussena_calcuttawala_Card_Love (1)

On a kraft color cardstock, I first stamped the flowers from The Big, Bold and Extras stamp set using ColorBox White pigment ink and heat set it to dry. Once it was dry, I used Steadler watercolor pencils to go over the outlines of the flower and also shaded it on the inside using small pencil strokes. Then later on I brought in a clean waterbrush and slightly blended the colors on the leaves and the flowers. The sentiment has been die cut from the In a Word: Love Cutaway. I have die cut three layers of the word die using black cardstock, light pink watercolor paper and gold glitter paper and adhered it slightly offsetting each other to create a shadow like effect. Once I adhered it to my card panel, I stamped the sentiment from The Big, the Bold and Party set. Finished off my card by scattering some die cut stars and faux stitching on the outline of my card panel and adhering it on a black card base. 

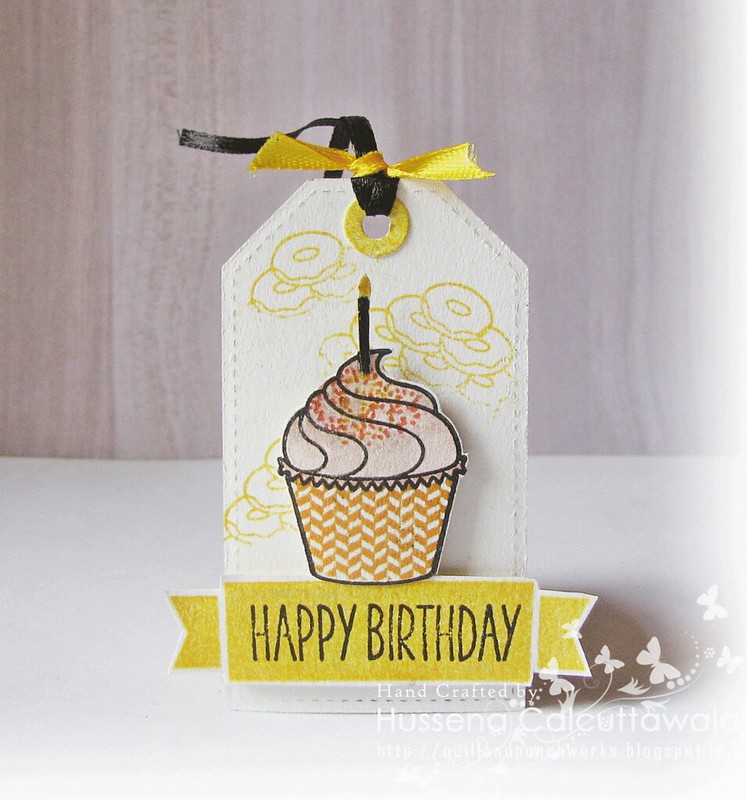
My final project for the day, a birthday tag :
hussena_calcuttawala_Tag_Birthday

I die cut the tag using a creme color cardstock and stamped the background using the donut stamp from the Sugar Rush set. I then stamped my cupcake on a small piece of white cardstock and used the herringbone design base for the cupcake. The cupcake sprinkles have been created using the small donut frosting stamp, all which are from the Sugar Rush stamp set. To create the frosted look, I have stamped it using thee different inks by doing repeated stamping. The birthday banner and the sentiment are also from the Sugar Rush set and so is the candle.I have fussy cut both the banner and the cupcake and mounted it on foam dimensions for added interest. I think it's a cute little tag to add to a birthday gift. This stamp set has so many possibilities and is very to mix and match!!

I hope you enjoyed seeing my projects. I would love to get your feedback about it and thank you so much Julie and Shay. It has been such a pleasure to create these projects for the W & W blog.