Showing posts with label party on with evelin t designs. Show all posts

Saturday, July 21, 2018

July Leading Lady Caren Bartholomew | Take Three

Our July Leading Lady Caren Bartholomew is back for her triumphant third performance!  If you missed her smashing debut you must see it...CLICK HERE or how she shook it up during her sensational second performance CLICK HERE.   You will not be able to resist her cards today ;-)!

Without further ado, Caren...

Hi everyone! Welcome back to week 3 of my Leading Lady reign at Winnie and Walter. Thank you for all the wonderful comments on my first two posts.
 

For week three, I used the emboss resist technique to create cards using the great Winnie and Walter products. This technique is designed to leave the stamped image white while adding color to the background. The stamped image will “resist” the ink (thus the name).

  caren_Photo Jul 18, 8 02 05 PM

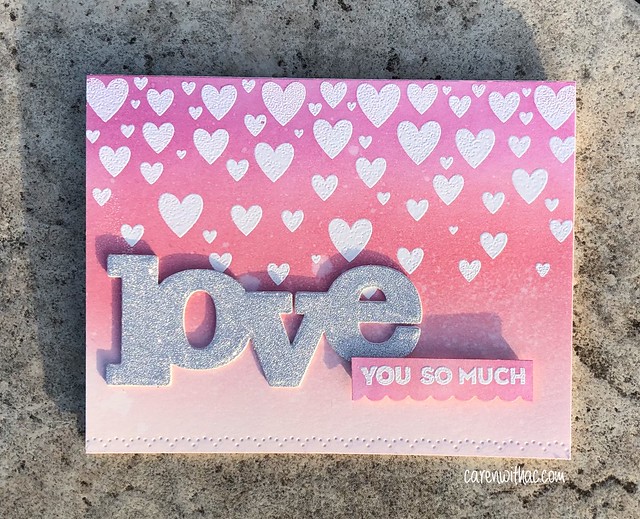
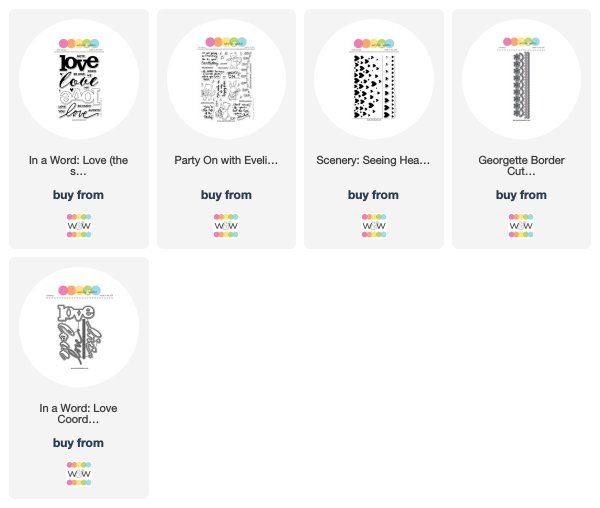
For my first card, I stamped the cascading hearts from the stamp set Scenery: Seeing Hearts in embossing ink, covered it in white embossing powder, and heat set it. I think inked up that panel using 3 shades of pink Distress ink. As you can see the hearts "resisted" the ink. I did the same thing with the You So Much sentiment from In a Word: Love stamp set. I thought the panel need a little more pizzazz, so I used on of the dies from Georgette Borders to add some detail to the bottom of the panel. I used the Love die from In a Word: Love Coordinating Cutaways (have I mentioned I adore this die!) I die cut it three times and layered them together. The top layer is in silver glitter paper. I adhered them to the card base to finish the card.

  caren_Photo Jul 18, 8 01 35 PM

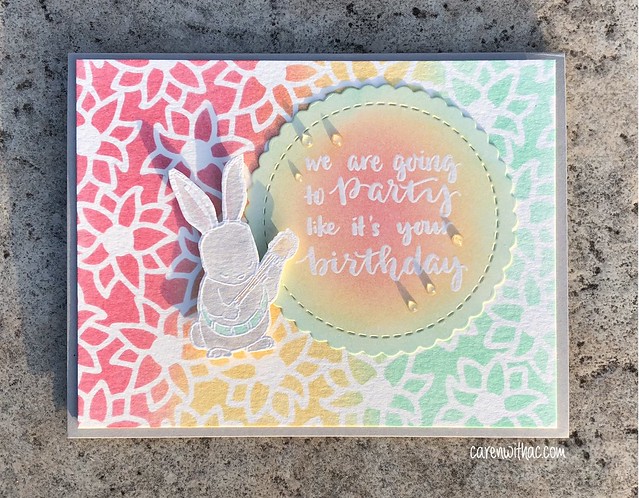
For the second card, I embossed the sentiment on a scalloped circle, then layered three shades of distress ink on it. The back panel uses the same three shades of ink with a stencil. I water colored the bunny using distress inks and fussy cut it out and layered all the pieces onto a gray card base. The sentiment and bunny are from the Party On with Evelin T Designs stamp set. I added a few clear Nuvo drops to finish the card. Thanks again for the love last week, join me next week for the big finally and a chance to win a $30 gift card from Winnie and Walter on my blog.


w&w-supplies
 

Monday, July 9, 2018

July Color Combo with Heather H. (Challenge)

Good morning! Heather here stopping by this morning to share a new Color Combo Challenge with you! This month's color combo is bright and happy and colorful - a perfect cheery color combo for the middle of summer!


Here is my color inspiration for this month - I love these bright happy shades of green and yellow!


I used some adorable images from Happy Dance with Evelin T Designs for the elephant and bundle of balloons on my card, coloring them up with Copic markers to match my color scheme, and adding some details with a white gel pen. I die cut them with their Coordinating Dies as well.


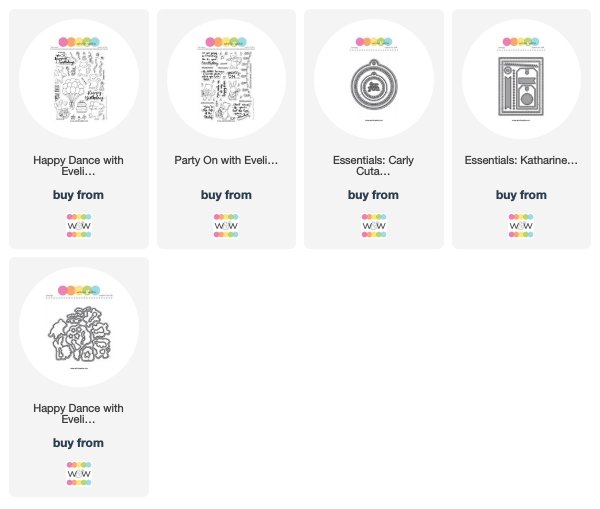
Next, I created a shaker element by die cutting a panel of white cardstock with Essentials: Carly Cutaways (for the circle window) and Essentials: Katharine Cutaways (for the dotted rectangle). I stamped my sentiment from Party on with Evelin T Designs, and backed my shaker with yellow cardstock, and filled the inside with tiny 3mm clear sparkling sequins from Pretty Pink Posh. Finished off by mounting on a green top folding cardbase!


Now - I have a few favorites from the last Color Challenge to feature! I know it was a bit of a challenging color combo, but I loved seeing all the creative takes on it!

First up - this lovely creation from Rosali! I love how she incorporated the challenge colors - and that heart looks like stained glass! Beautiful!!!


Next up, isn't this a fun card from Vinita Jane? I love the fun angle, layers, and how she used the colors in such an unexpected way! Awesome work!


And then there is this fun little card by Jane! What a fun take on the challenge colors! I love all the white space, and the cluster in the corner with all the elements! So very cute! 


 And last but not least - Maryam nailed it with this soft and pretty beauty! So lovely and dreamy - beautiful work!


>>>RANDOMLY CHOSEN WINNER<<<

greta_W&W Color June
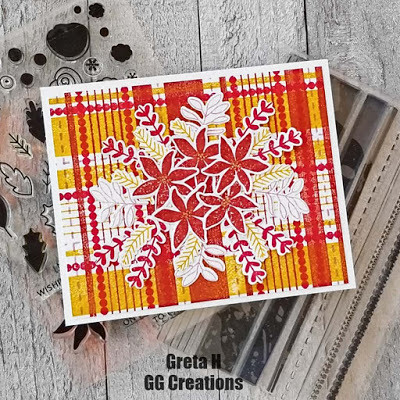
No. 9 | Greta
Greta's fabulous card is bold and has not only a wonderful handstamped background, but a lovely central cluster of flowers!

Greta, please email us at info {at} winniewalter {dot} com with the subject "June Color Combo Challenge Winner" to claim your prize.

>>>CHALLENGE<<<

New challenge will post on the second Monday of each Month, and will end on the Friday before the next challenge begins to allow time to pick a winner and some favorite entries to feature.

Now it's your turn to play along!
  1. Create a new project using the July Color Combo. 
  2. Use at least one (1) winnie & walter product.  This can include Cutaways (dies), Creative Screenings (stencils/masks), printable/digital items, cut files and/or stamp sets.  Remember we offer freebies in our shop.  Our freebies can be used to create your project(s) for this challenge.
  3. Link up your project below using the InLinkz Link-up by 11:55 p.m. CST on Friday, August 10, 2018.  
  4. Enter as many times as you want before the deadline.
  5. This July Color Combo Challenge may be combined with other challenges found here on the w&w blog or elsewhere. 
One randomly selected entry will receive a $25 gift certificate to Winnie and Walter. YAY!!! I can't wait to see your entries! 


Thanks for stopping by - have a wonderful day!


w&wDT_heatherhoffman_blog-sig 2


w&w-supplies

Wednesday, April 18, 2018

In a Word: Birthday Titles Cutaways with Kelly


Hi Folks! Kelly Griglione here to share a fun set of cards using In a Word: Birthday Tiles Cutaways. (Editor's Note: these will be back in stock very soon!)


This project started while Spring cleaning my craft room ... I made an honest effort while evaluating all my scraps and random pieces of projects laying around to "use it or lose it." Awhile ago I made this packaging as part of the August 2017 product release (see blog post). I haven't had an occasion to use it right away, and I really didn't want to keep storing something that bulky, so I removed the metallic purple bands and cut them down to size.

I wanted to put each metallic purple band on the bottom of the card, so for the top of the card I taped together three different cutaway phrases. As a bonus, all but the white card base are leftovers from prior projects as well!

 Once the words are set on the card base, all that's left to do is add some adorable critters ... Evelin T Designs to the rescue! The elephant from Happy Dance with Evelin T Designs looks so celebratory, especially with a balloon in hand. 


On the charcoal card, I added a cupcake from Wish Big with Evelin T Designs and got some puffy texture with my Tsukinekeo Radiant Neon Amplify liquid that magically gets puffy when you heat it. It's so fun to watch! The bird guarding the cupcake is from LS Exclusives: So Tweet with Evelin T Designs. 

The foxy flutist from Party On with Evelin T Designs is another leftover I was able to enlist for a focal point. As with the previous cards, I like that the die cuts extend over on top of the text so that you know the words are there, but they're not 100% visible. Kind of like how magazine covers are laid out so the main images are often covering a portion of the magazine title. You know what it says, but you don't see all the letters. 

Sometimes I hesitate on getting the companion die set because I think I can just get away with stamping all the images onto the card. This is a case where the dies were necessary ... both for the main image, and for the tiny music notes drifting through the negatively cut letters. 
One more thing to mention, the tree stump the fox is standing on for his performance is actually the cupcake turned upside down!
 

The last card has the kitty playing an accordion on a leftover heart from True Dotty Heart Cutaways. For all the critters I tucked the far leg behind whatever they were standing on so it looked more like they were dimensional. Also, on several of the cards I added some arrows from Scenery: Stripes 2.

It's been awhile since I've used a side fold card, and honestly I only did this because the leftover card bases I wanted to use were all folded that way. But in the end I rather like them this way, and might consider doing this more. Plus anytime you can see through to the inside of the card, I think that's a fun element to have. It's a chance to show off any patterned paper you have inside. 
Three cheers for a more efficient workspace (those long metallic purple strips were really a pain to store!) and for a new set of birthday cards. I'm happy with how they turned out!

Hope you're able to get some Spring cleaning done in your workspace. Every little bit helps!

Thanks for stopping by!
- Kelly


w&wDT_kellygriglione_blog-sig


w&w-supplies

Monday, February 26, 2018

w&w 4th Birthday Bash | Special Guest Star Rubeena Ianigro

rubeenaianigro 

Today's special guest star, Rubeena Ianigro, is no stranger to Winnie & Walter as she was our April 2016 Leading Lady and her work is always a treat!  Rubeena is also an incredibly generous, welcoming and giving person with a huge amount of talent and skill. Please give her a warm w&w welcome!

Hello, friends! I am happy to be joining the winnie & walter 4th Birthday Bash this month as a Special Guest Star. Shay is one of the sweetest, most generous people in the craft industry and I had the honor of meeting her at Creativation last month! I have two projects to share with you today that represent my style the best.

  ACS_0159 

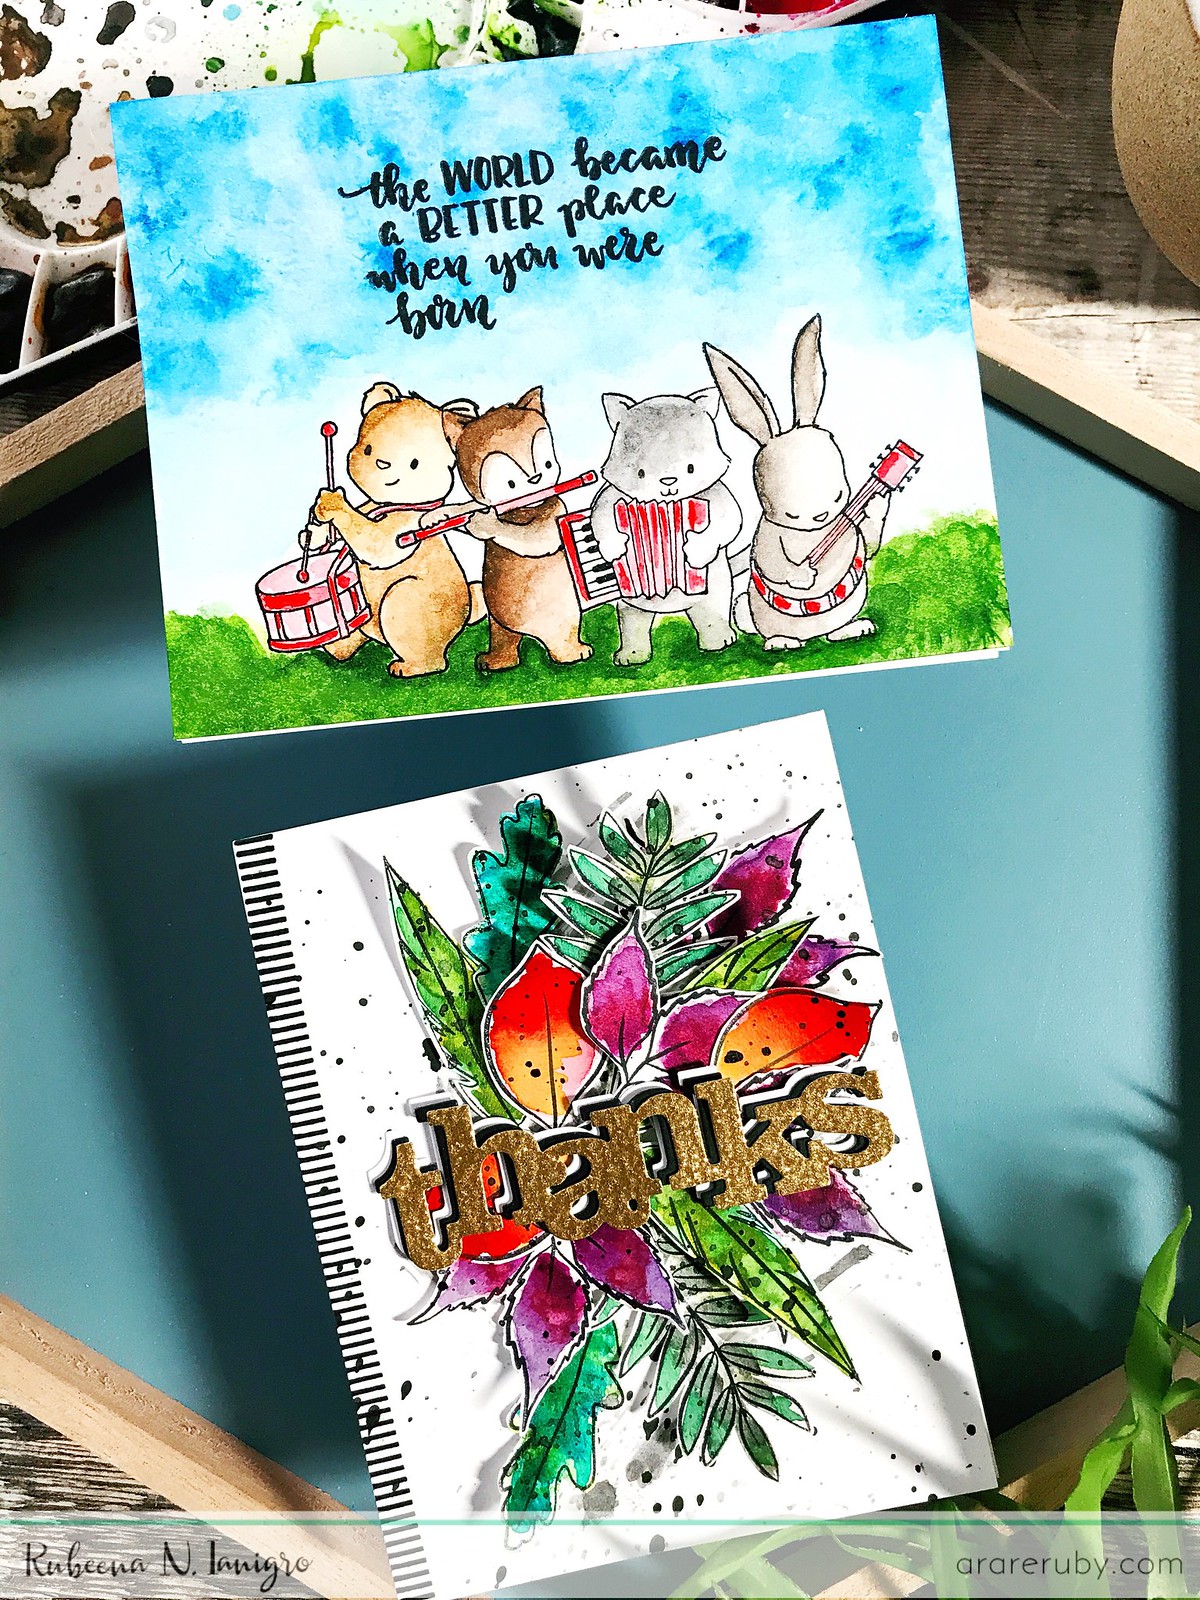
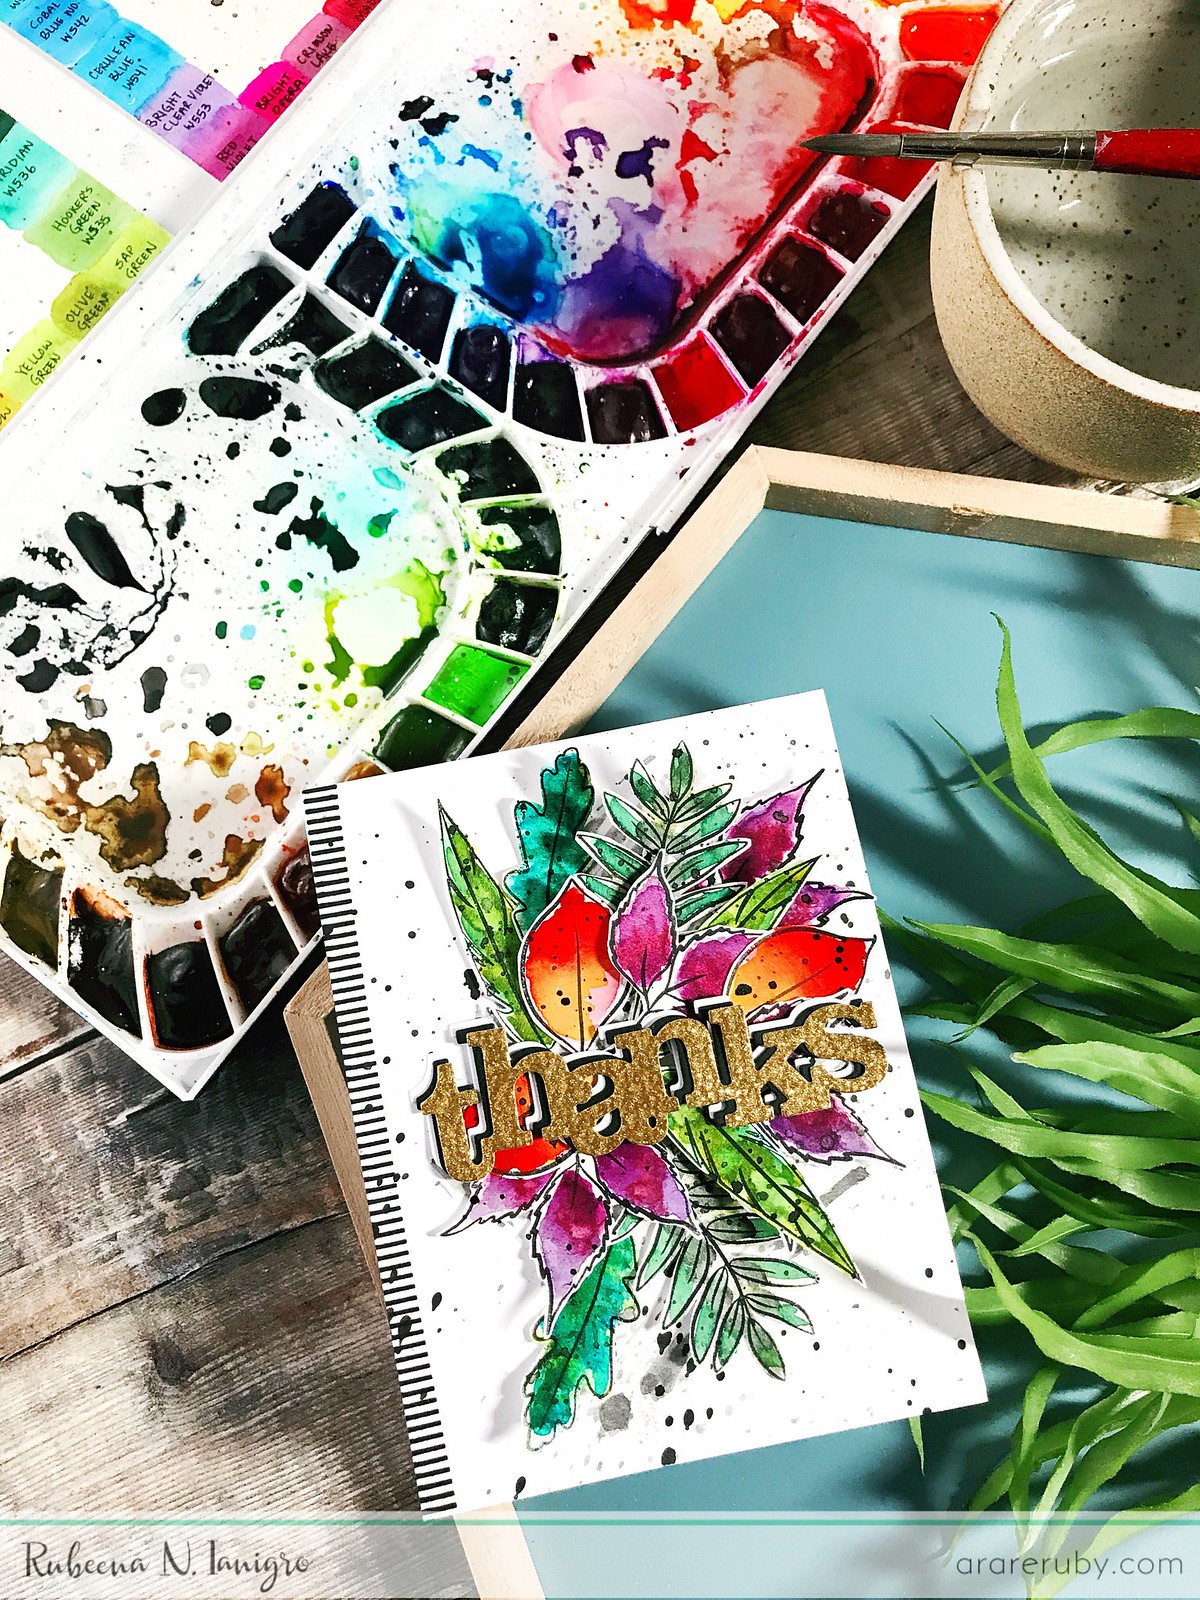
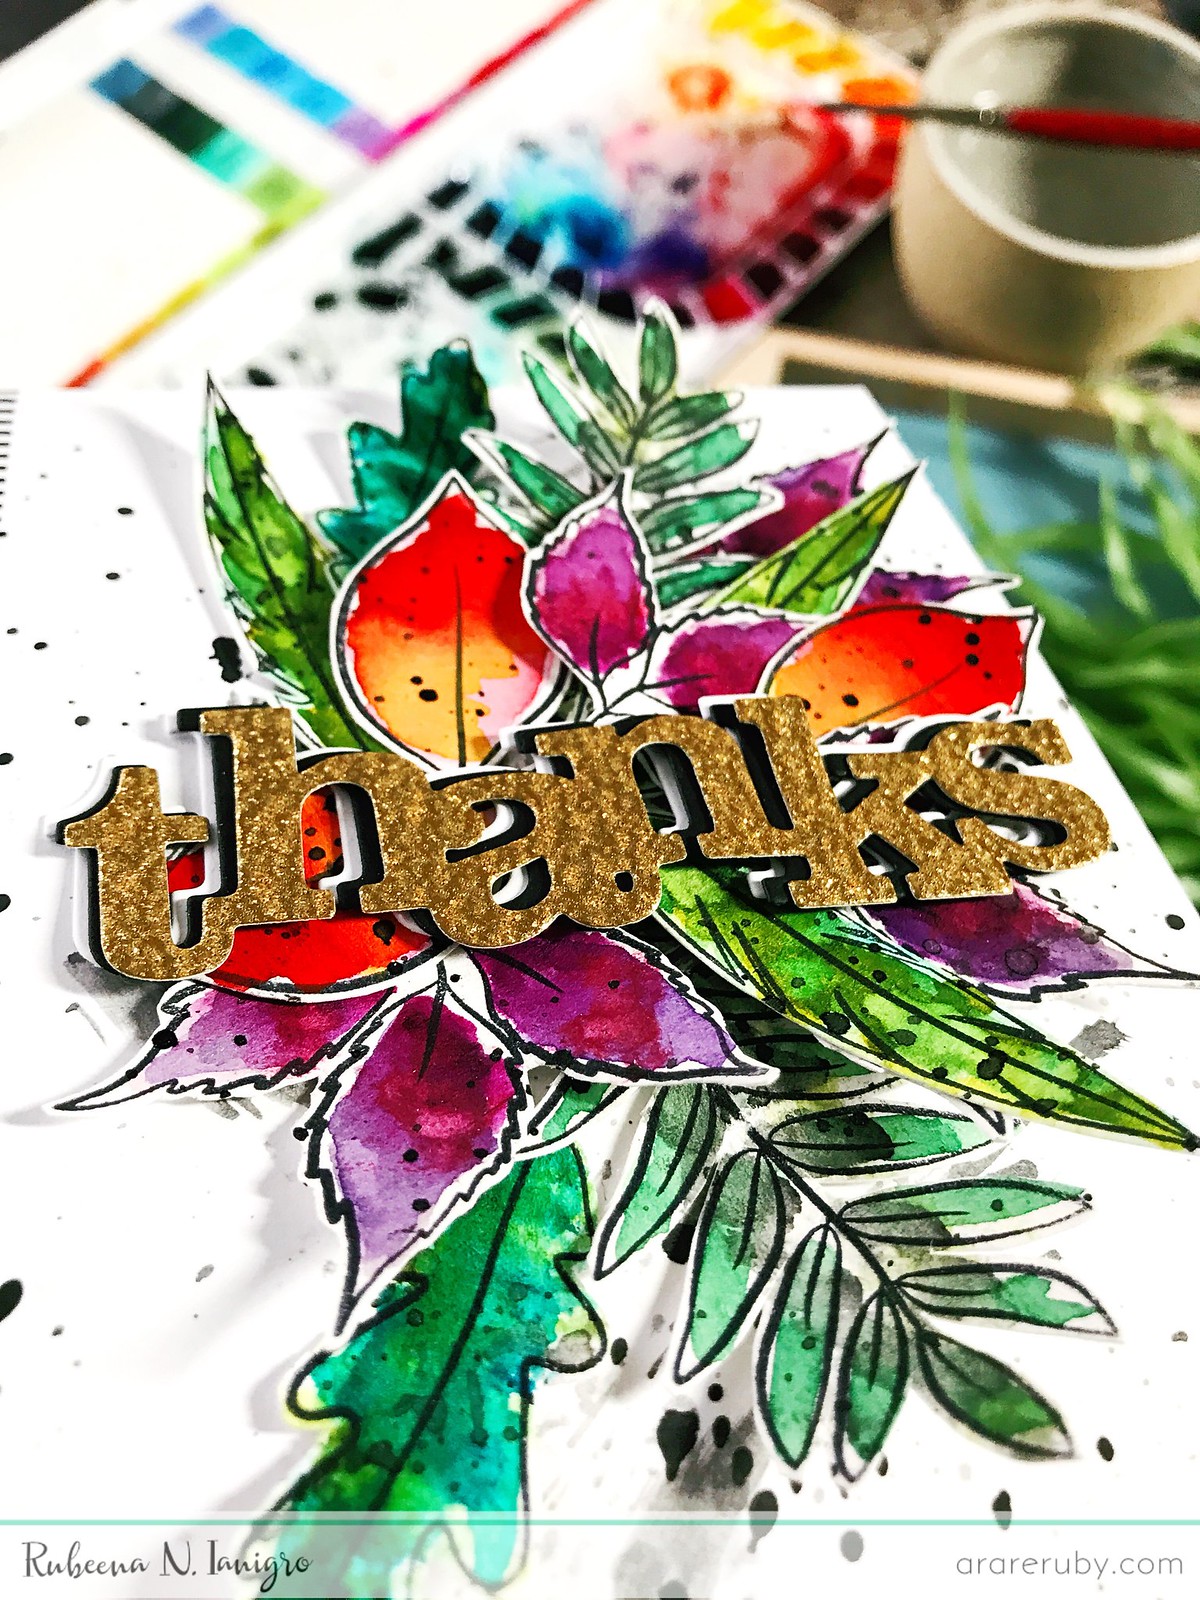
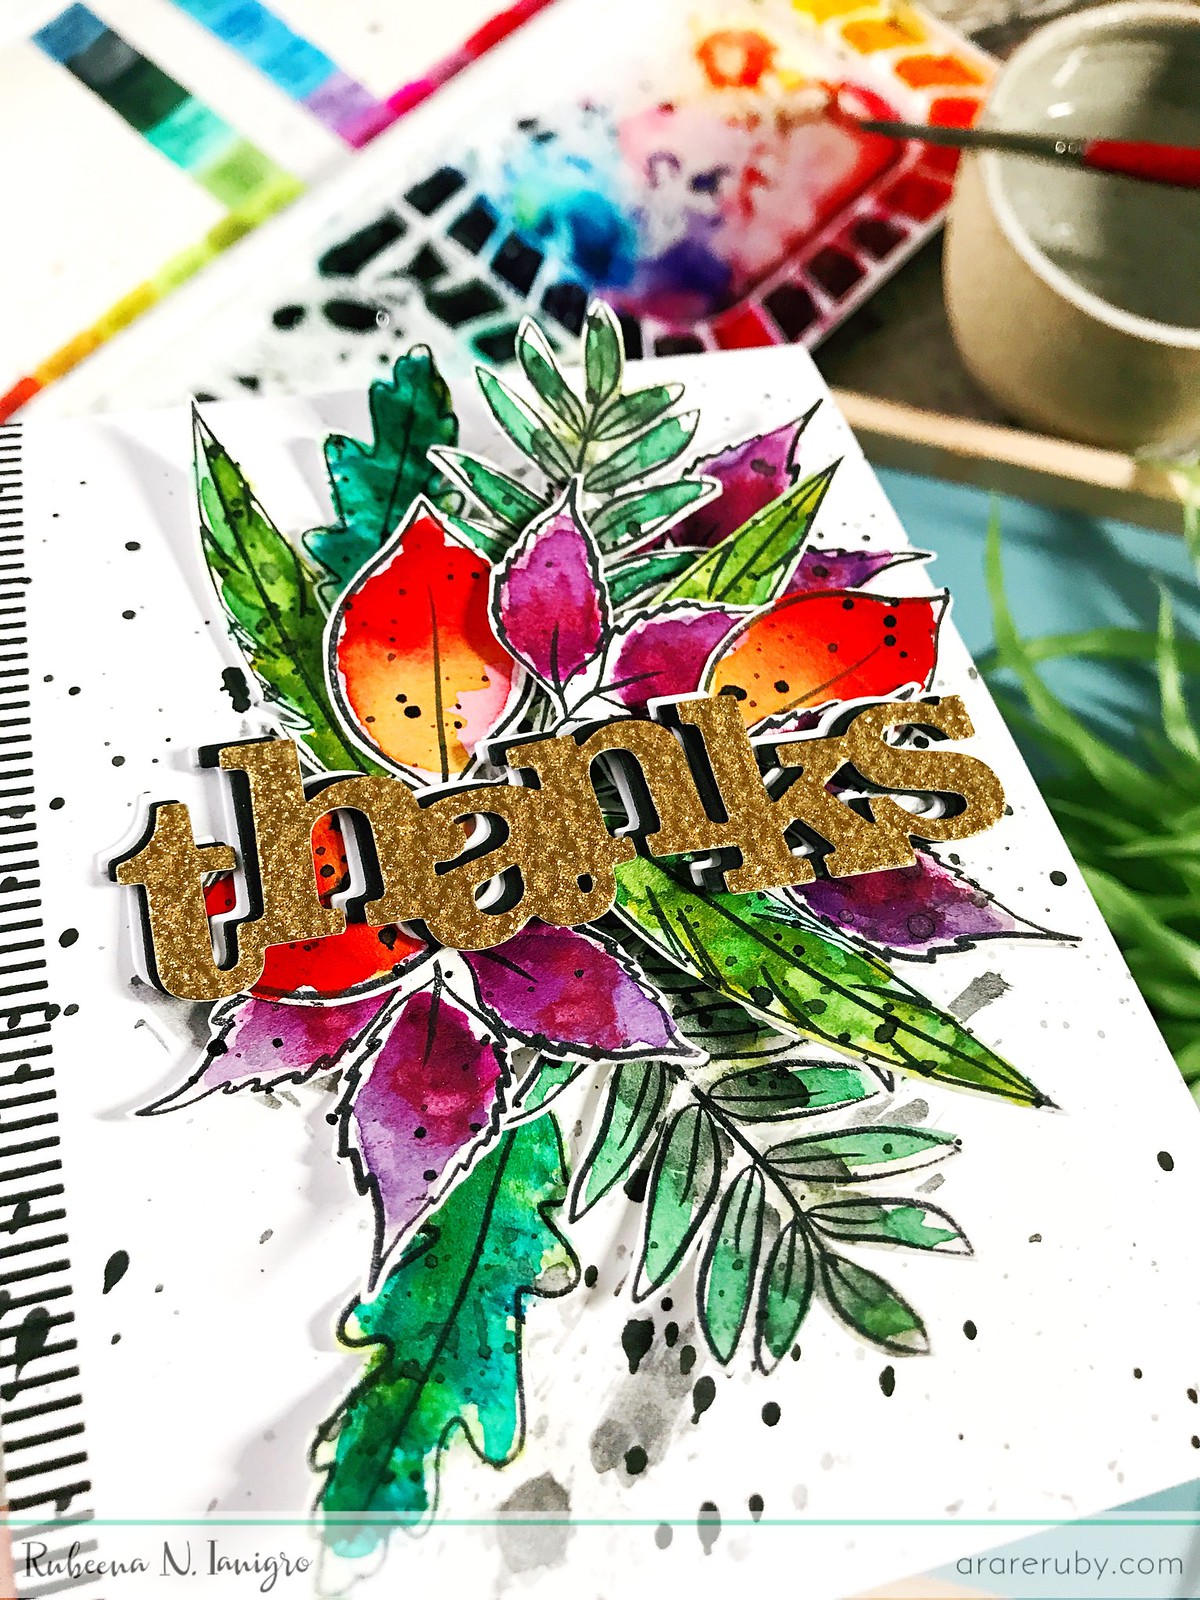
 Loose watercoloring is very relaxing. I have so much fun working with greenery so I decided to play with In Bloom: Renee's Leaves for my first card. I stamped an assortment of the stamps on watercolor paper using a waterproof black ink pad. Then, I used my Mijello Mission Gold watercolors to color. I added black splatters and fussy cut the images. For the card base, I stamped one of the line borders from Scenery: Stripes 2 on the far left edge and then added black splatters to the base. I arranged all the leaves first using glue dots. I finished the card off by adding the die-cut sentiment (which was cut in gold glitter, black, and white cardstock layers) from In a Word: Thanks Cutaway. This card shows all the things I love when it comes to creating: layers, black and white stripes, splatters, bold colors, die-cut words, and gold glitter! For this card, I incorporated the Die Challenge with Lydia.

ACS_0150ACS_0149 ACS_0148  

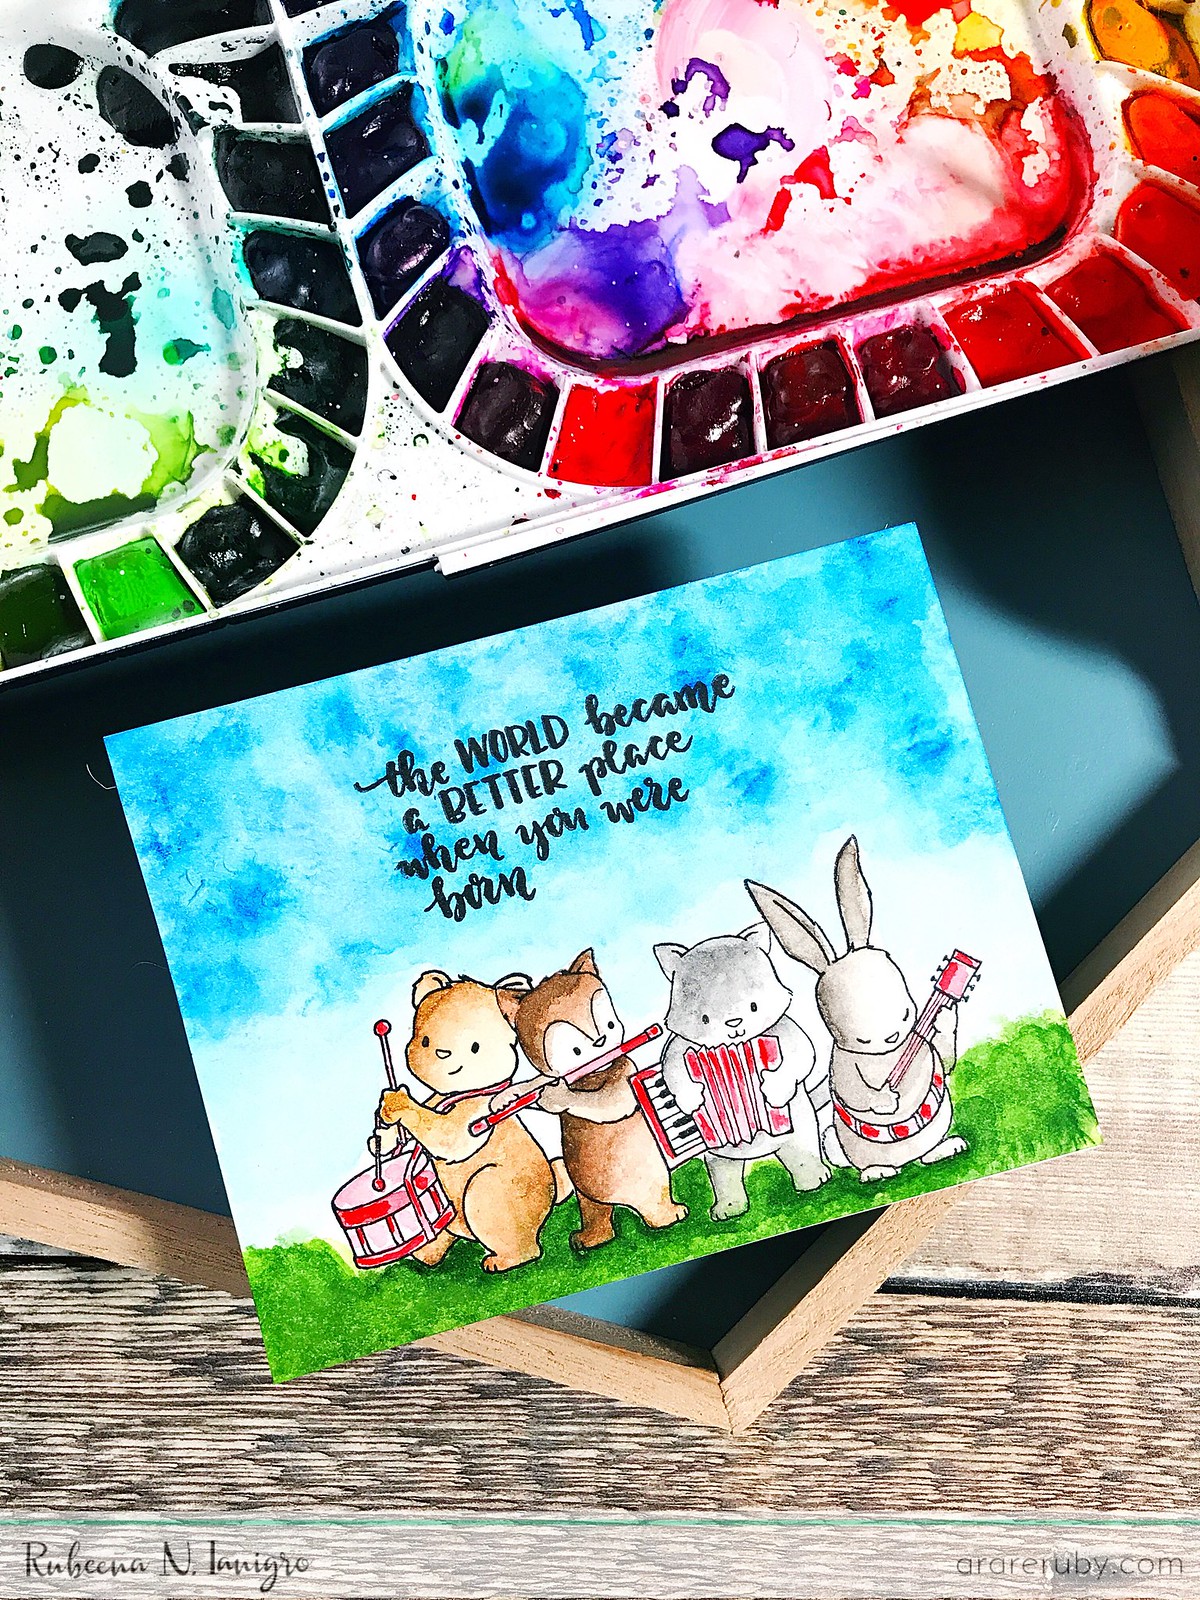
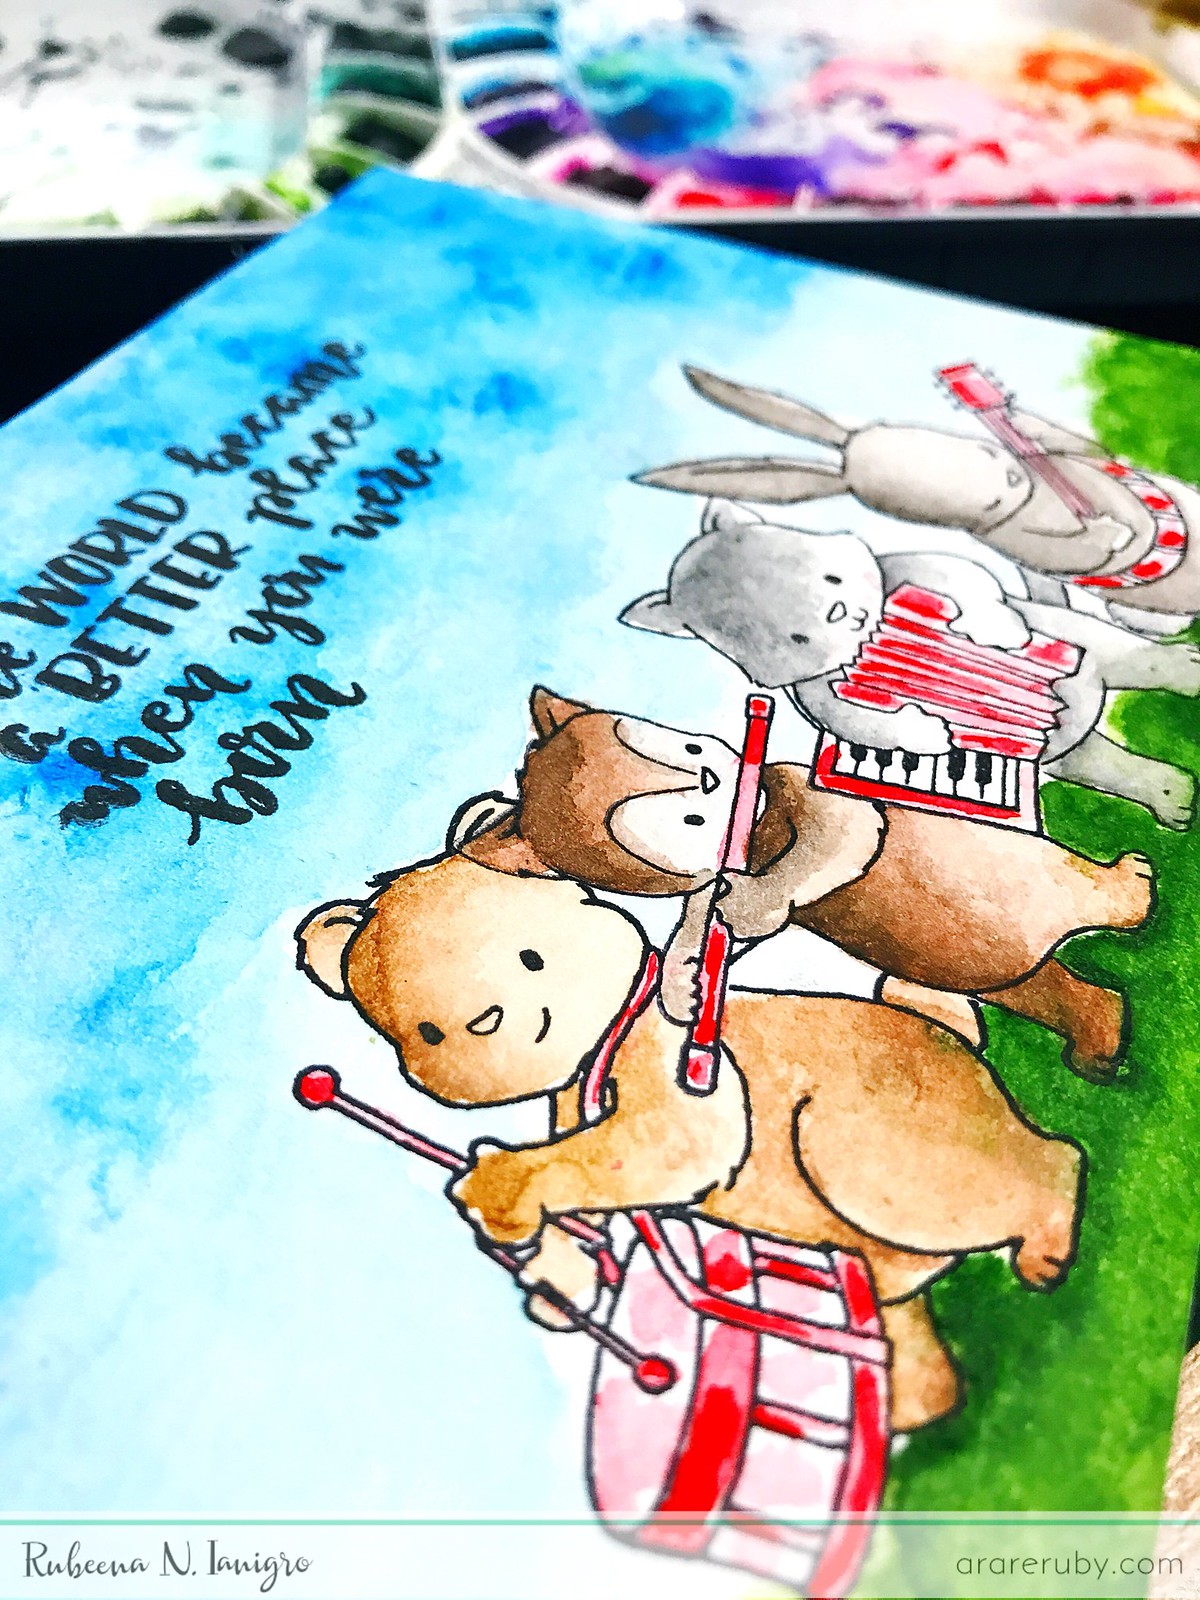
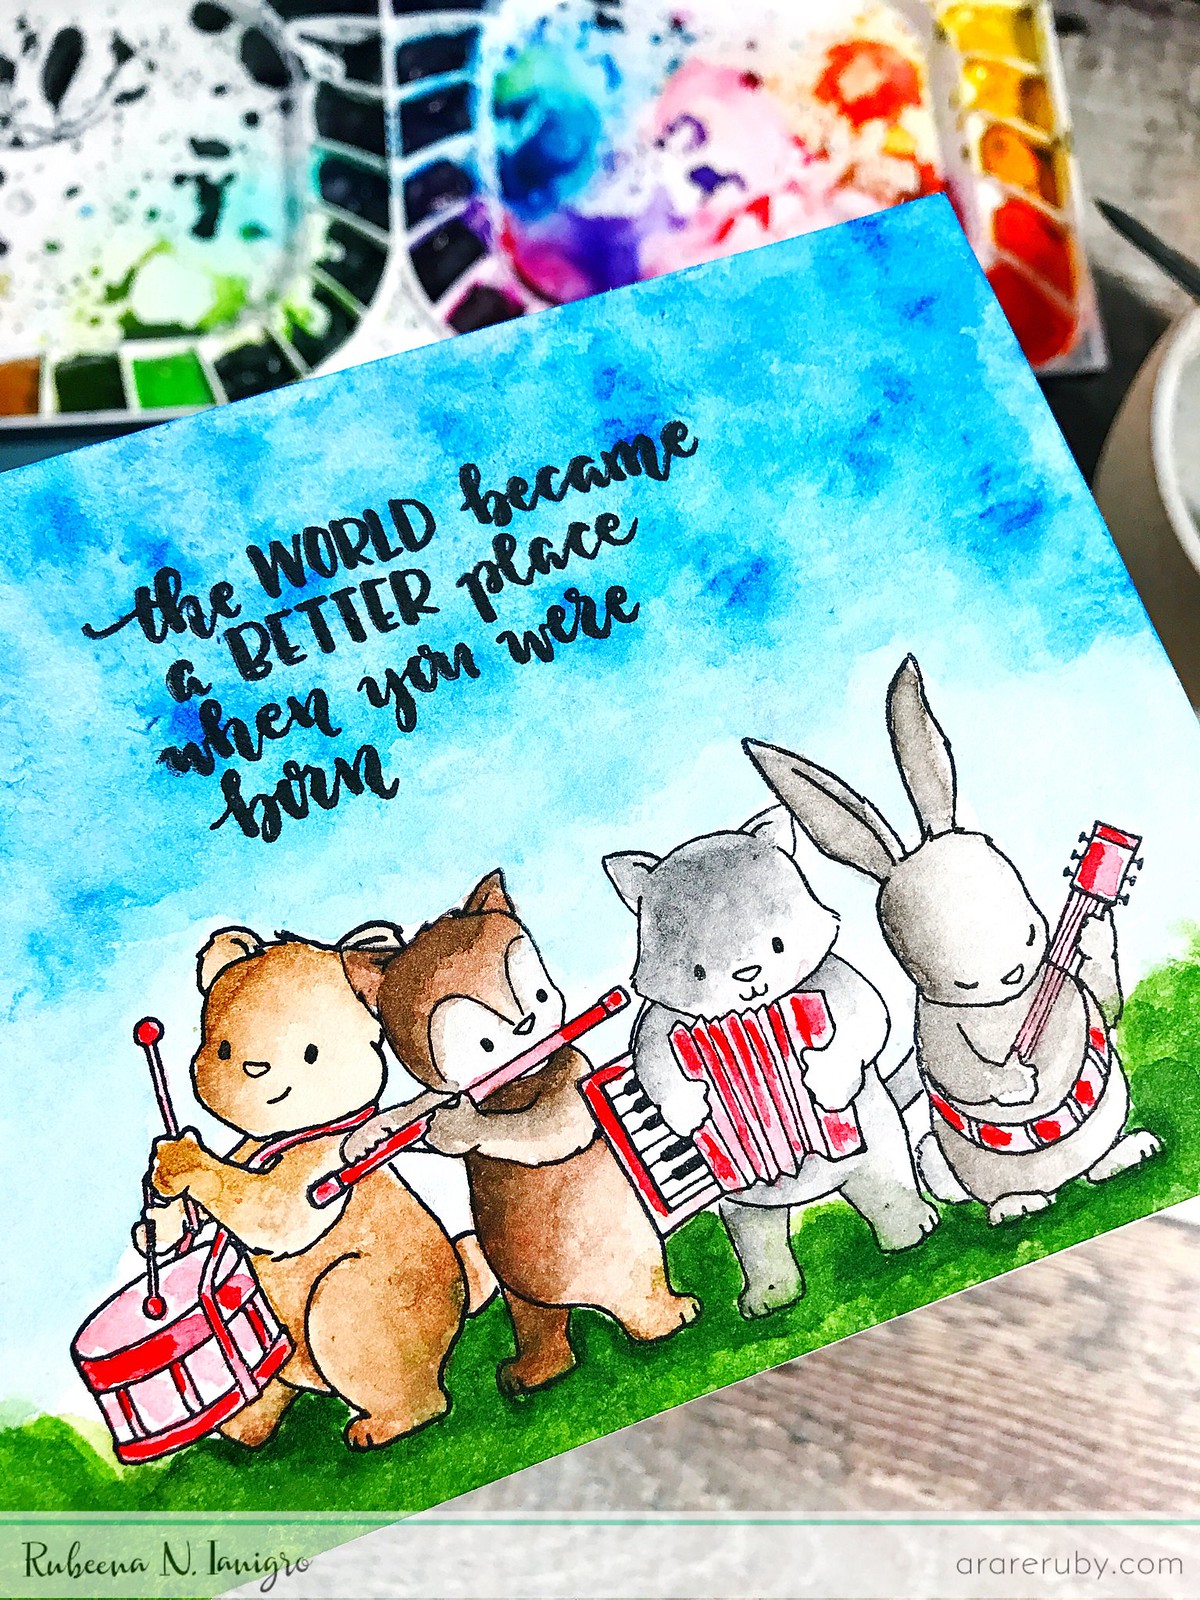
For my next card, I continued watercoloring but focused on using Party On with Evelin T Designs. I also enjoy one-layer cards. I stamped the four critters on watercolor paper using the same waterproof black ink pad and masked off each one before stamping the next. Then I colored loosely with my watercolor palette. Once everything dried, I stamped the beautiful sentiment from the same set and then taped the finished piece to my white cardbase. So fun and simple! For this card, I incorporated the Four Challenge with Shay since I used all four critters.

 ACS_0156ACS_0153 ACS_0157 

You still have time to enter any of the challenges list on the winnie & walter Blog for the 4th Birthday Bash - Shay is offering some AMAZING prizes!

Thank you so much for having me here and for everyone who stops by and leaves us love. We really appreciate the support. I hope you were inspired by my work, and I can't wait to see what everyone does with winnie & walter's products. Have a great week!


w&w-supplies

Wednesday, February 21, 2018

w&w 4th Birthday Bash | Special Guest Star Jessica Frost-Ballas

jessicafrost-ballas

Our 4th Birthday Bash continues going strong with our next special guest star, Jessica Frost-Ballas!  Jess has been a friend of w&w for quite some time and she was our Leading Lady back in November 2016 where she dazzled each month which is no surprise as she is exceptionally gifted at crafting and such a lovely person.  I love to invite her as a guest whenever possible. :-)  Please give Jessica a big w&w welcome!

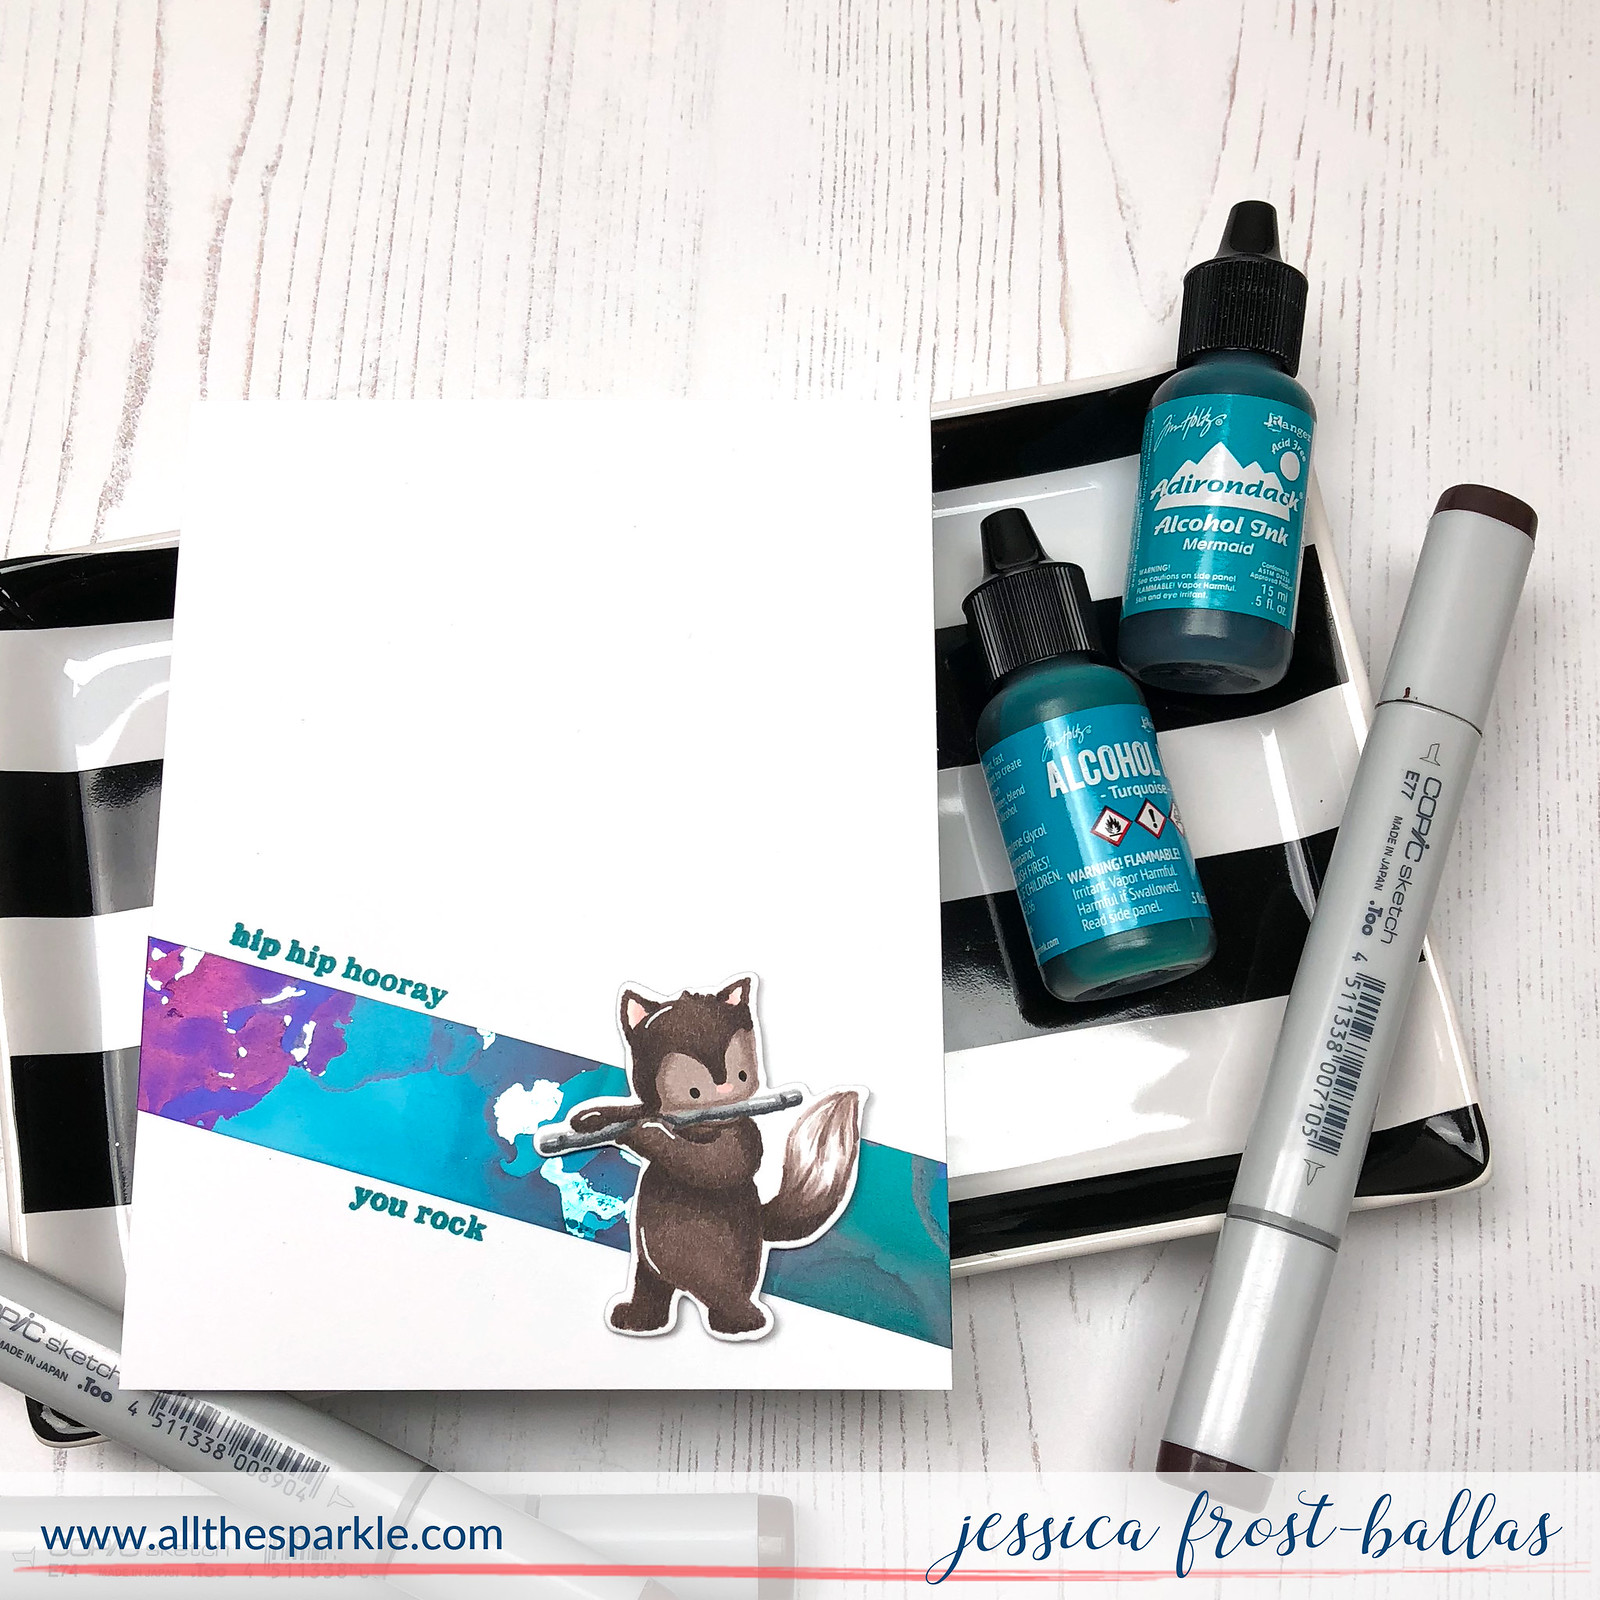
Hello!  Jess here from All the Sparkle and I’m thrilled to be here guesting for Winnie & Walter’s 4th Birthday Bash!!   Today I’m playing along with Kelly’s Use Your Scraps challenge!  I almost feel like I’m doubling up on the scraps since I’m using a leftover alcohol inked background scrap plus an adorable fox I colored during the recent coloring challenge! 

jessica_W&W1

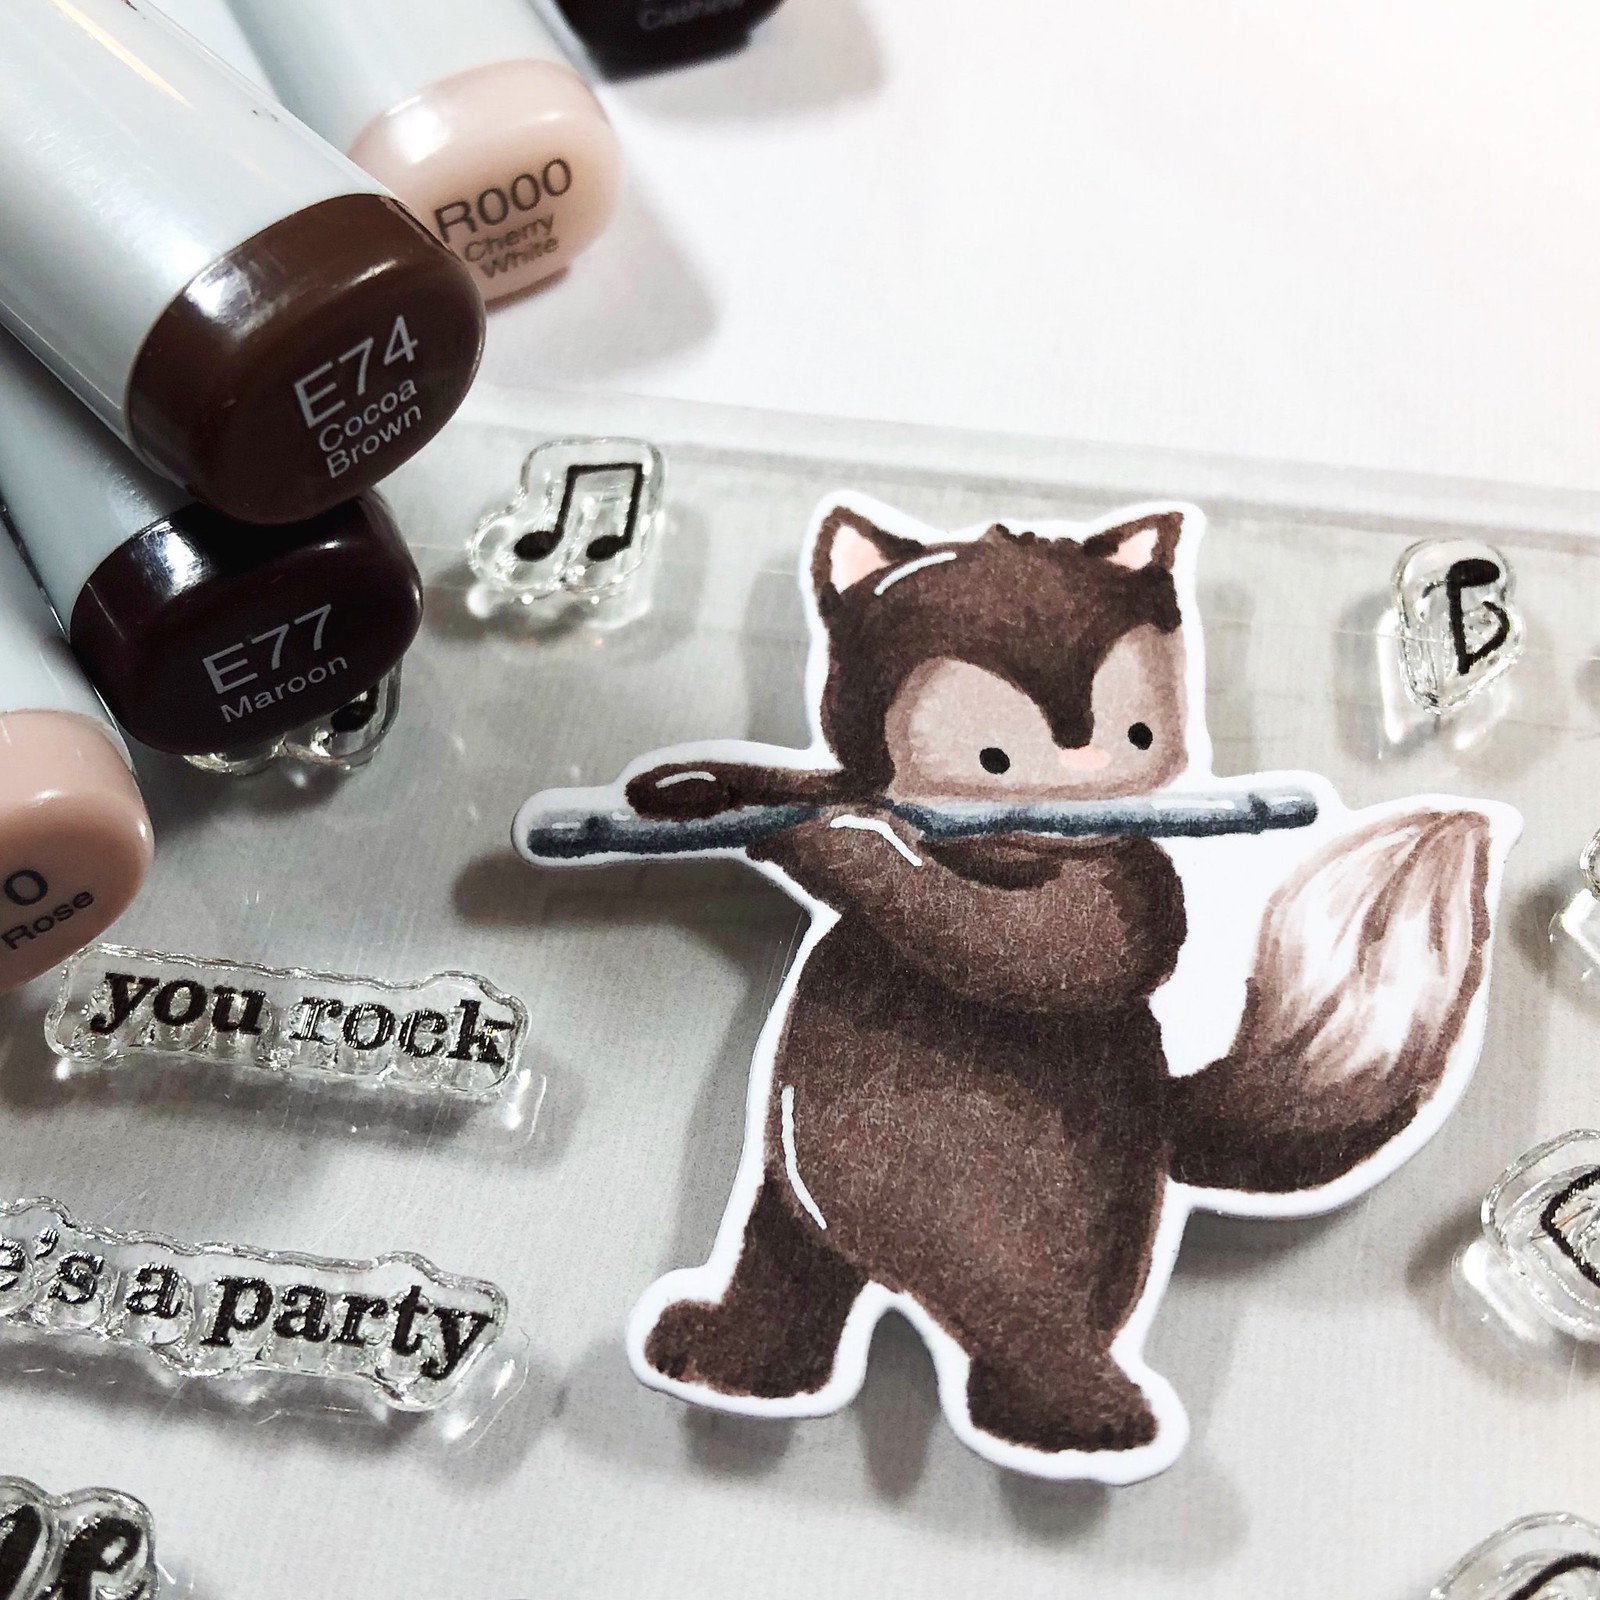
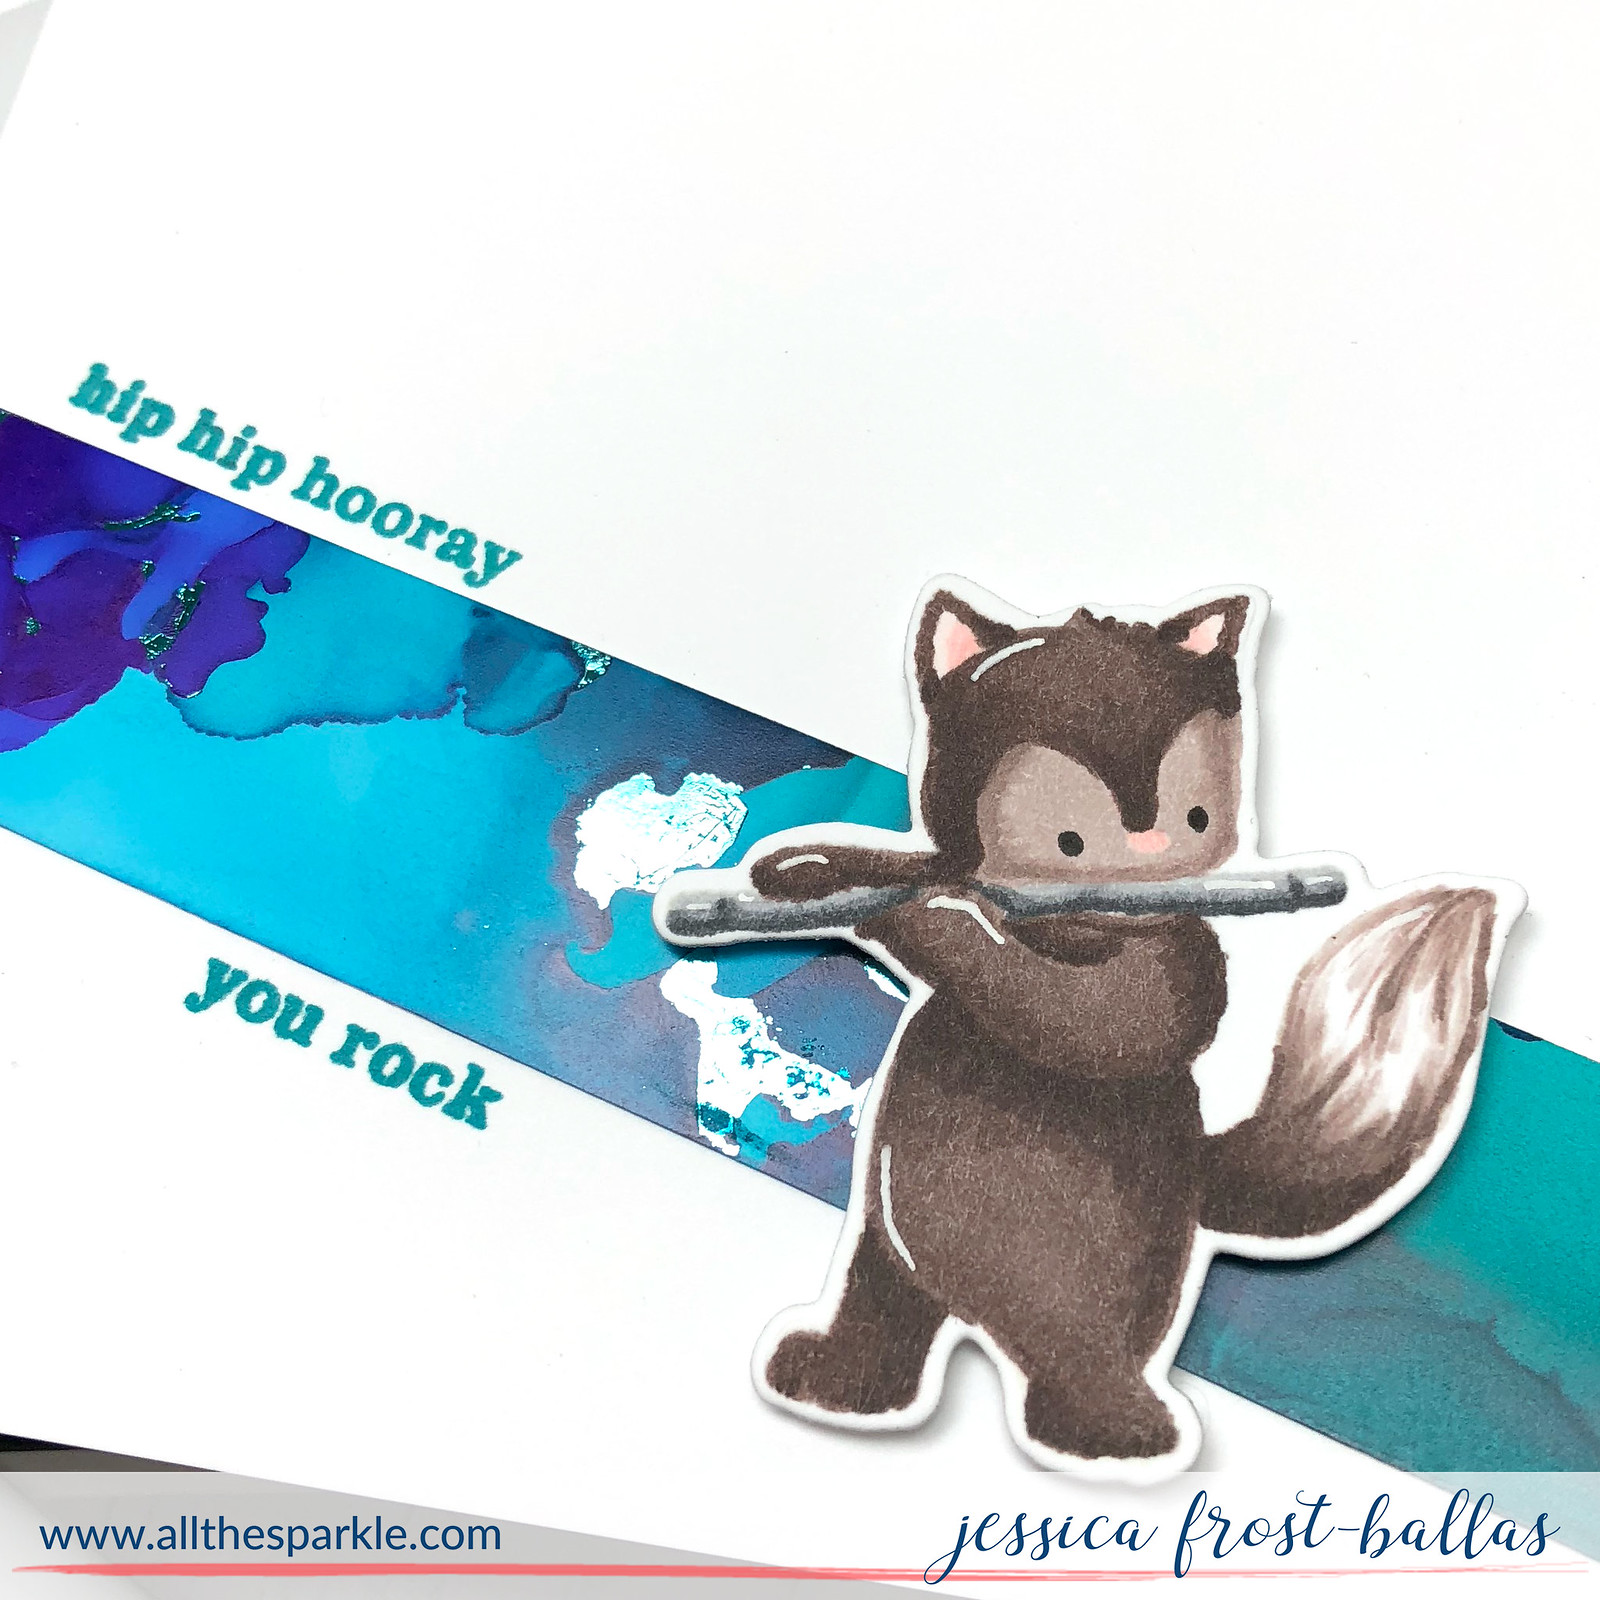
The technique that terrifies me most in crafting is no-line anything-ing.  Watercoloring, copic coloring, colored pencil coloring.  No me gusta.  But I’m trying to challenge myself to try new things so I decided to try no-line coloring this flute-playing cutie from Party On with Evelin T Designs using copic markers.  I stuck to the E70s for warmer grey brown fur and added accents with a white gel pen.

jessica_W&W 2

I die-cut my fox with the coordinating dies and set him aside while I worked on the background.  I wanted to add a pop of color but also keep the background fairly simple to focus on my critter.  I had a scrap of alcohol inked background leftover from another project so I trimmed that down to a strip and adhered it to a white card base.  Then I stamped the sentiments from Party On around the strip using a teal ink that matched the alcohol ink.  Finally I popped up the fox with foam mounting tape and adhered him to the card.

jessica_W&W3

Thanks so much to Shay and Winnie & Walter for inviting me to join them in their birthday festivities this month and here's to many, many more birthday bashes to come!! :)  Have a fantastic day!!


w&w-supplies

Saturday, January 27, 2018

January Leading Lady Andrea Shell | Take Four

As we come to the end of January, we also close out with the final fabulous performance of our January Leading Lady Andrea Shell!  Andrea has delighted each and every week this month with her sensationally colored projects.  Her projects are so wonderfully joyful, vibrant and inspiring.  I feel so blessed to have had Andrea as our leading lady this month.

If you missed her smashing debut you must see it...CLICK HERE or her pink and plaid extravaganza from her sensational second performance CLICK HERE or her triumphant third performance in which she takes your breath away with her garden inspired card CLICK HERE!

Lucky for us all we have her final command performance today....
Andrea_Shell_january2018

Hello, again! I can't believe January is almost over, and so is my time as Leading Lady. I have had a blast sharing my creations with you, and I hope I've inspired you even just a little. Thank you, Shay, for this wonderful opportunity! It was really hard to decide which "favorite thing" I would share for my last post, but in the end, I chose interactive cards. I love all kinds - from shaker cards to slider cards to cards that wobble. They are all so much fun to make AND to receive! If you haven't tried them already, I hope you will.


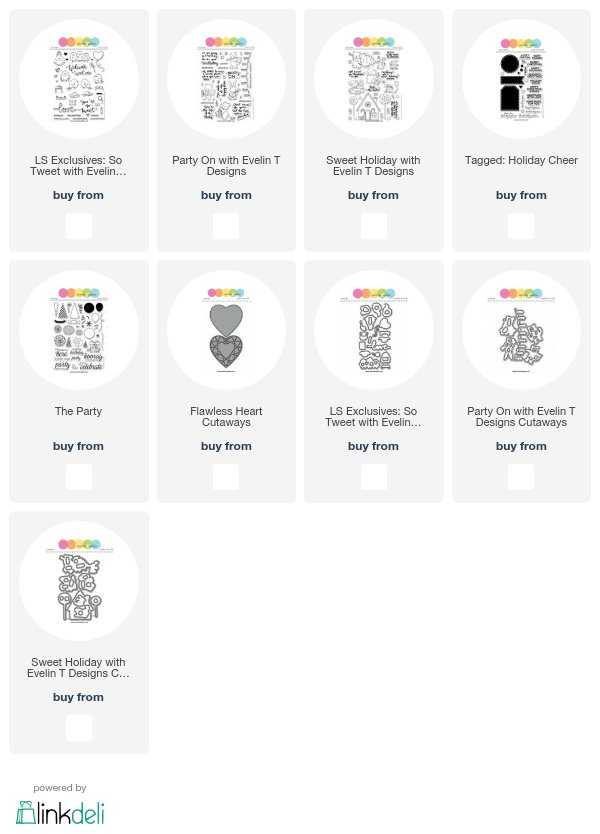
For my first project, I went with a simple shaker card. I just love this card - it would make a great Valentine for a child or even a sweet thank you note. That adorable birdie is from LS Exclusives: So Tweet with Evelin T Designs, and the vine is from Party On with Evelin T Designs. I stamped both with Memento Tuxedo Black ink and colored them with Copics. To the bird I also added some details with a white gel pen and some sparkle with Spectrum Noir Clear Sparkle Overlay.


Onto a white card, I white heat-embossed a sentiment from So Tweet. After ink-blending with Fossilized Amber distress oxide, I flicked on some water and blotted it dry. I inked up some Bristol Smooth paper with Worn Lipstick distress ink and flicked on some water. Once the panel was dry, I die-cut it with the heart cutaway. The Flawless Heart Cutaways frame that gorgeous sentiment perfectly!


I backed the heart opening with clear acetate and covered the panel with foam tape. I placed some iridescent sequins in the opening and topped the panel with my card. I adhered the vine and bird to the card and finished with a scattering of heart sequins.


This next card may be my favorite! I really wanted to combine a shaker element with a slider, and this is what I came up with. I started with that adorable image from Sweet Holiday with Evelin T Designs. I stamped the image twice with Memento Tuxedo Black ink - once with the bear's face masked and the other with the full image - and colored both with Copics. I fussy-cut both images, trimming the gift from the bear's face, and went around the edges of both images with a black marker.


The balloons are from The Party. I die-cut three balloons from Bristol Smooth paper. Onto the die-cut panel, I gold heat-embossed a sentiment from The Party before ink-blending with Squeezed Lemonade and Cracked Pistachio distress ink. To give the background a little more interest, I flicked on some water and blotted it dry. Onto another panel of Bristol paper, I marked where the balloons would be and ink-blended with Worn Lipstick, Wilted Violet, and Peacock Feathers distress ink, being sure to use masks to prevent getting ink from one balloon on the others.


Ta da! A peekaboo bear! To make him I used a ruler and my Xacto knife to cut a track into my die-cut panel. I adhered a plastic slider disc to a small white circle and placed the panel on top so that the disc was in the track. To the disc I adhered a small white banner and adhered the bear on top. I placed tiny bits of foam tape on the bottom of the gift and adhered it on top of the bear. I dressed up the banner with a sentiment from Tagged: Holiday Cheer and added some white details and sparkle to my image. I built my shaker element just as I did for the first card (I wish I had used some anti-static powder to prevent my sequins from sticking to the foam tape, but I was impatient to see the final result.) and adhered the whole thing to a white card.

Thank you for stopping by! If you'd like a chance to win a $30 gift certificate to Winnie & Walter, leave a comment on all of the Leading Lady posts on my blog by January 31st at midnight CST. I will randomly draw a winner from all of the comments and post it on my blog on Saturday, February 3rd.

w&w-supplies