To get all the information about w&w WCMD 2018 CLICK HERE.
Hello lovelies!
You've made it to our last challenge for WCMD 2018 and I hope you are having a splendid time.
I have a different challenge for you which I am calling the Lucky 7 Limit Challenge. What is you may be wondering. Let me explain. If you choose to take on this challenge you will be limited to a total of 7 colors (yellow would count as 1 color even if you have several shades), layers, products/supplies (patterned paper, embossing powder, stamp sets, stencils, dies, etc.) and embellishments. For instance you could choose to create a 1 layer card with 3 products (2 stamp sets + 1 embellishment like enamel dots) and 3 colors. Tools (like a die cutting machine, MISTI, ink blending tool, water, adhesive), inks, cardstock and neutral colors (white, grey, brown and even black) are freebies and do not count towards your 7. I have a couple of examples for you.
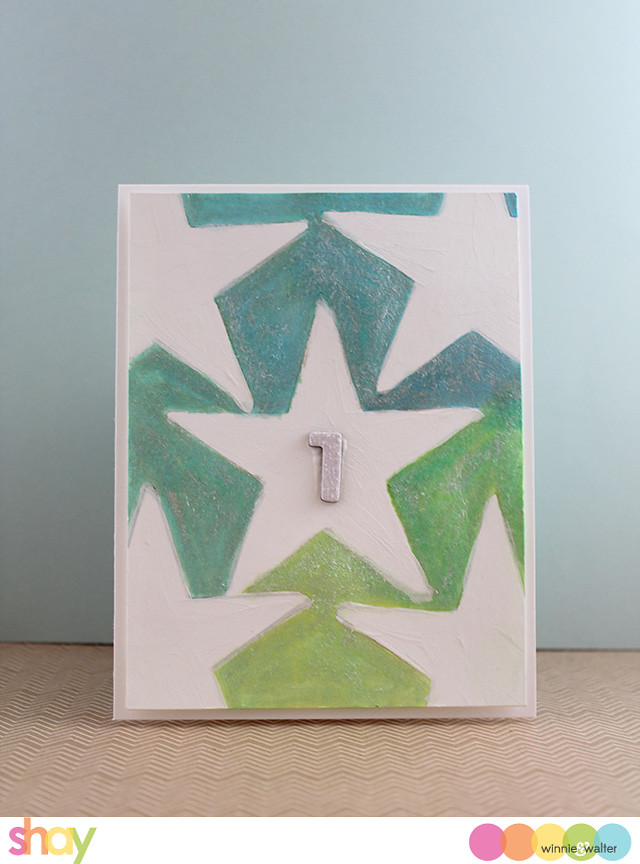
Card No. 1
So for a really simple card that really has no problem meeting this challenge I give you this little number:
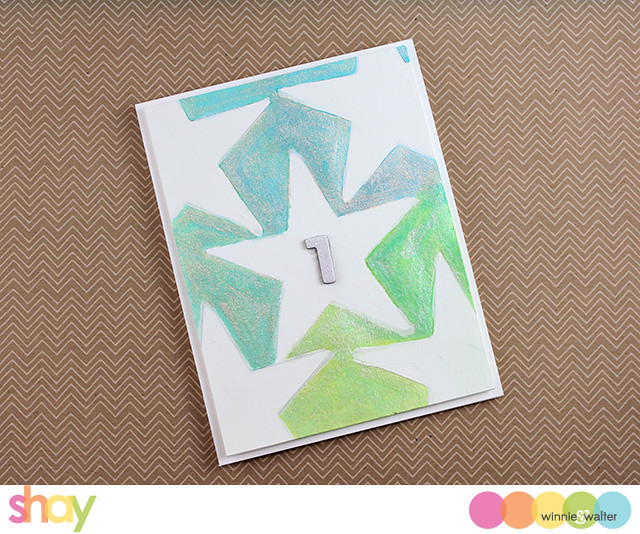
This is a super easy card where I used the solid star from True Multifaceted Star Cutaways to create a star pattern on a piece of a cardstock and then with ink painted around the stars and then painted in the stars with white paint and I also painted on some glimmery paint over the blue and green (I am going to count the 2 paints as a single item: paint lol). Then I adhered the panel to a white A2 piece of cardstock and finished it with a glittery "1" Thicker.
I can't wait to see your take on this challenge!
Prize: One randomly chosen project that is linked up will win $50.00 gift credit to the w&w shop. **Remember for rules about the challenges to read up HERE.**
As September ends we sadly must bid au revoir to our stellar September Leading Lady Maryam Shalaby.The last few weeks with Maryam have been a revelation of delightful techniques and startling skill. Maryam has showcased her stunning talent and astounding creativity week after week. I feel so honored Maryam shared her talents with us this month and made this month something special. If you missed her smashing debut you must see it...CLICK HERE or ethereal and enchanting cards from her sensational second performance CLICK HERE or incredible inky masterpieces from her triumphant third performance CLICK HERE or her fantastic fourth performance sure to warm your heart CLICK HERE! Today's projects are full of beautify and skill!
Lucky for us all we have her final command performance today.
Hello everyone .
I really can't believe it is the end of September and I am sadly posting my last post as being leading lady for winnie and walter blog . I enjoyed being with you every week for this whole month , which encouraged me to create these projects . Thank you Shay for this great opportunity to show how much I love winnie and walter products. And thank you all who read my post and left me a kind comments.
In today post I would like to share with you two simple mixed media creation i made using some winnie and walter product .I was and still amazed by how we can mix colors and some of the materials we had to get an amazing creation . Where is the magic and how these professional mixed media maker are able to mix these unrelated things to have these wow projects . As I am still in the learning stage so I made what I can call it a " CAS mixed media creation " so simple and clean project using some handy materials.
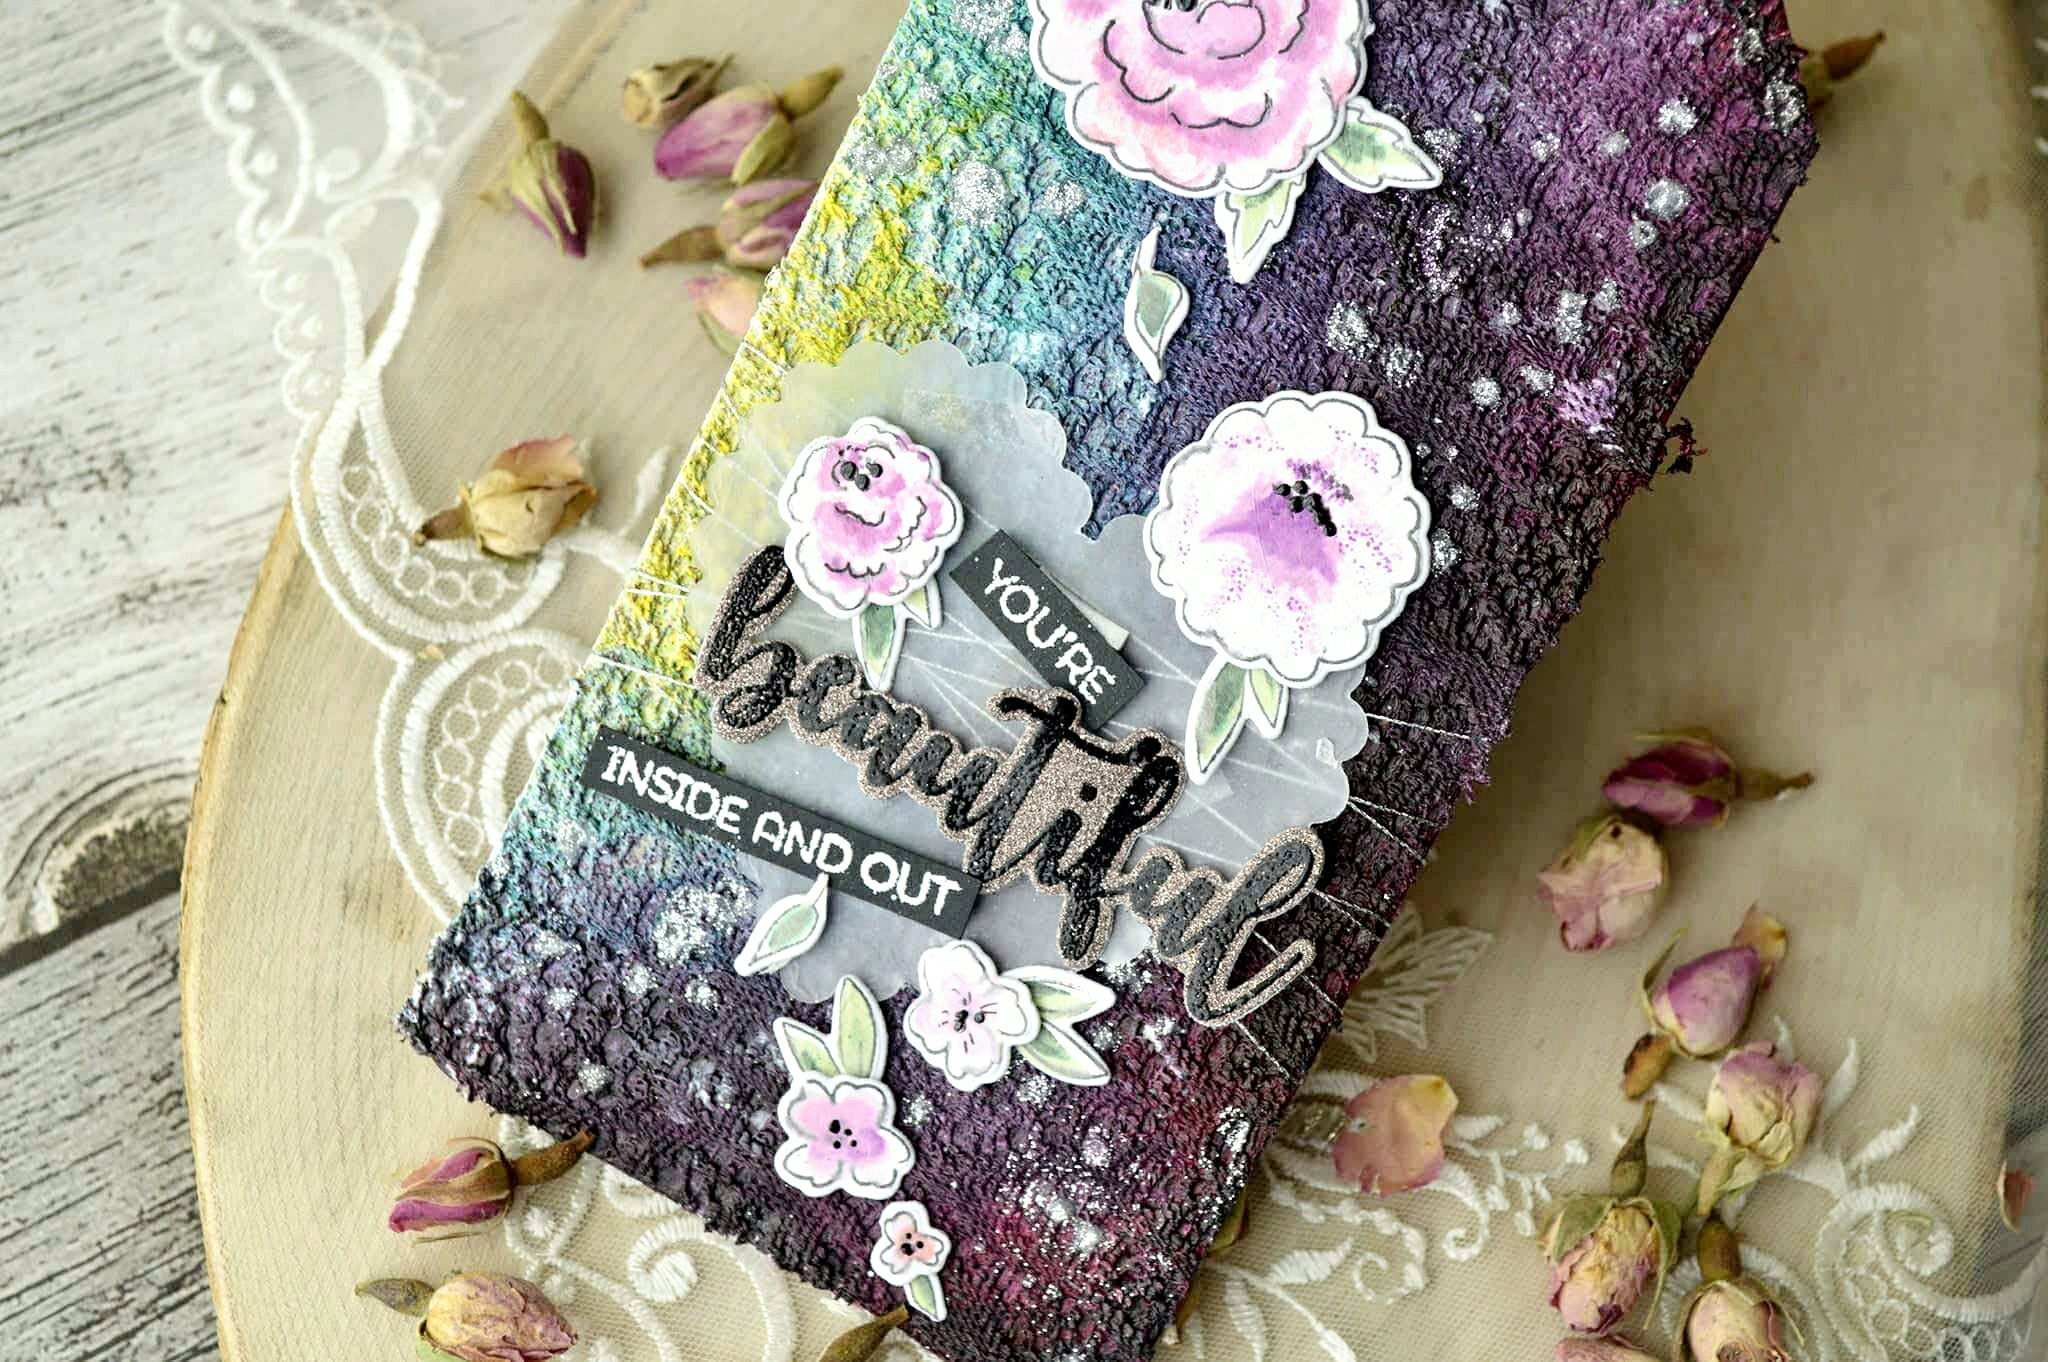
For first one , I clear C A S mixed media tag , and it turned out
so pretty .
Here is some tips how I made this tag ..
* I used a heavy kraft tag to be able to hold the fabric above.
** I coated the kraft with double layer of white gesso, then I glued the fabric ( it was from old table runner ) . Then I added extra generous amounts of the gesso over the fabric.
*** I used a spray colors ( pink, purple, turquoise and yellow) over the fabric and I spray over them to get blended, then I used the brush because its easier to blend for a specific areas.
*****I like this sentiment from the same stamp set and there matching die cut . So I added to the tag. I didn't want to add more embellishments or dimensions so I left simple and clean like this .
Here is the link for my youtube video https://m.youtube.com/watch?feature=youtu.be&v=uGjMW1qDJ2c or you can watch it here:
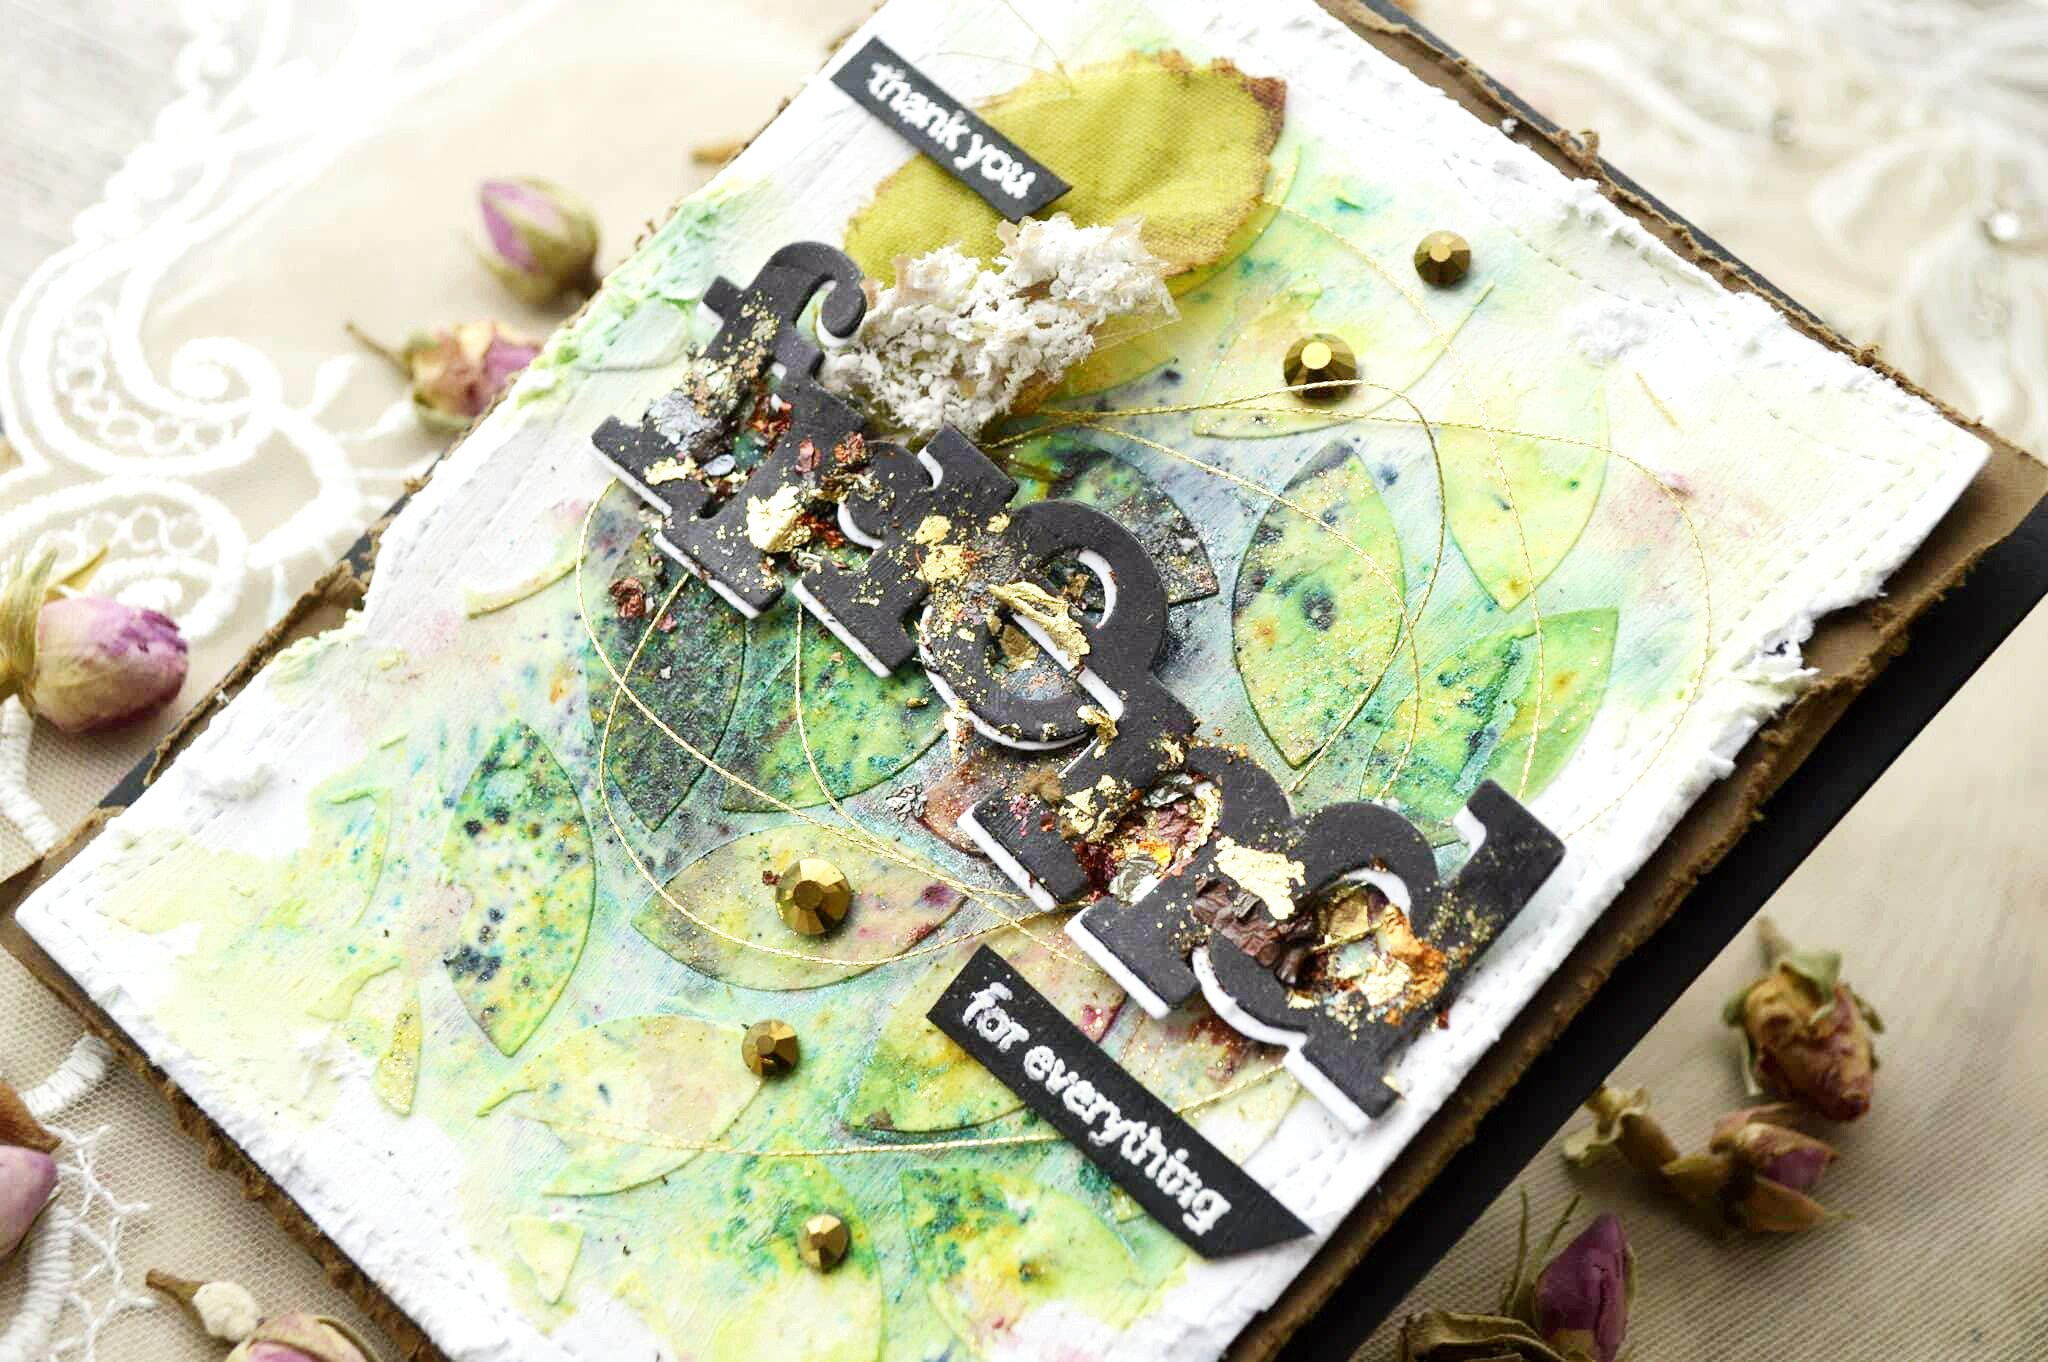
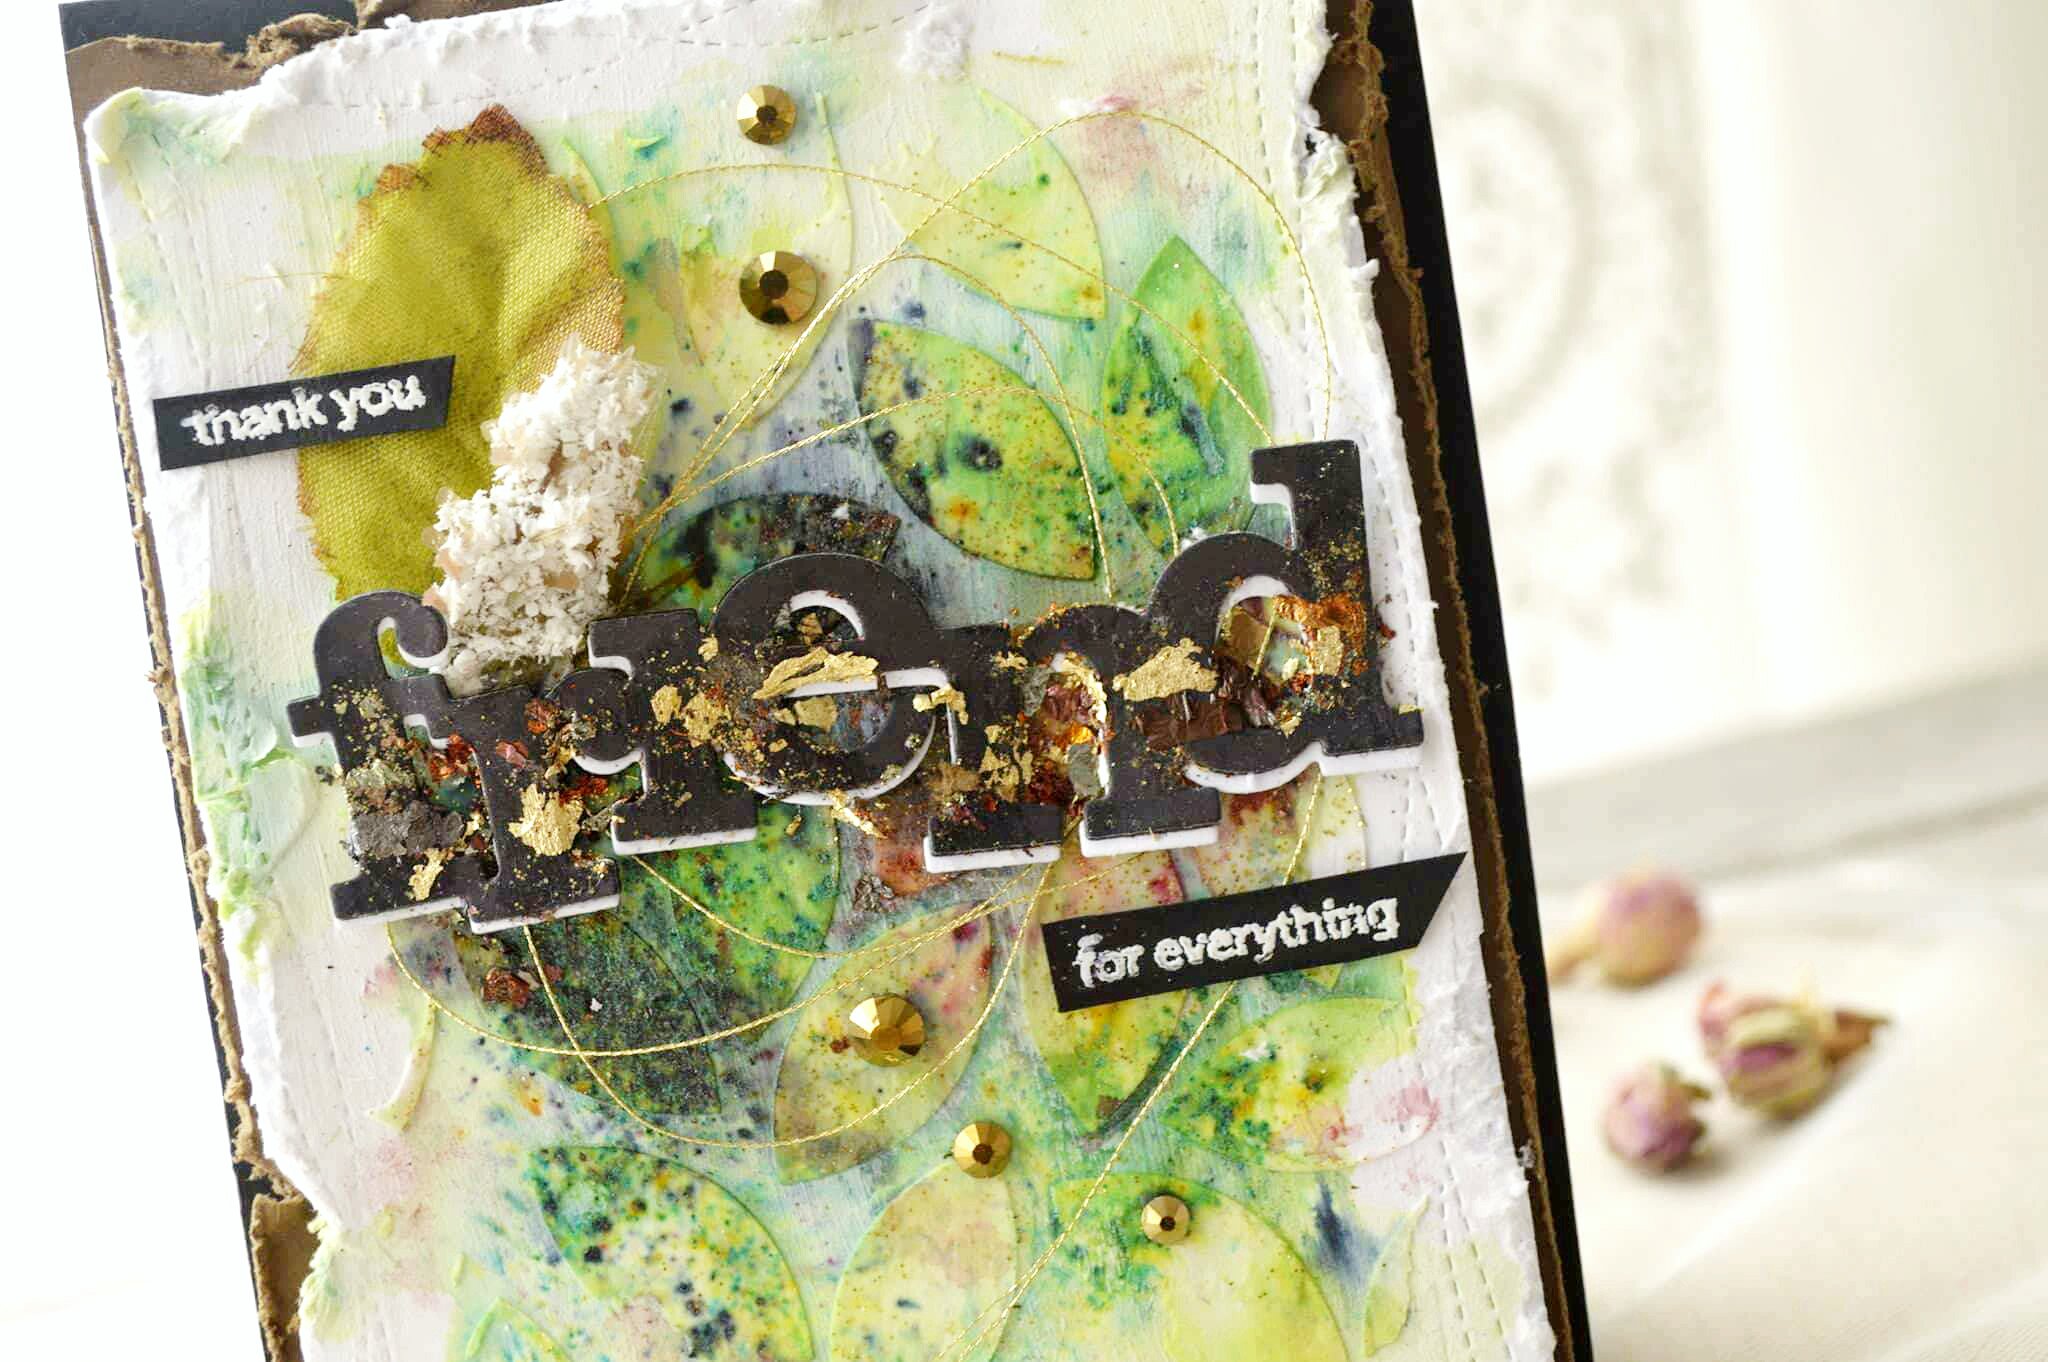
For my second project. It's kind of CAS mixed media card. In this card I used mainly the stencil to create this back ground .after mixing some colors and adding few materials it turned out to this gorgeous card.
* I used a heavy water color paper and I double coated it with gesso .
*** I used some of lindy's gang magical powder green, blue, brown red, and black Over this leafy background.
**** some extra tips I learned for applying the pigmented powder , we should spray the paper with a little water before adding the powder . When we used any colored powder , we should use a clean dry brushes and use a separate brush with every color to avoid contamination of the colors.
***** I die cut the w&w In a Word: Friend Cutaway with black card stock and I mounted it over the same die cut using white card stock.
****** I placed a gold thread in the back and added a leave from the flower that I used to photograph my cards . Then I used gliding flacks in the middle of friend die cut.
******* I added some metallic copper gems .then I distress the edges and I placed it over a copper distressed paper then I mounted them all over a back heavy card stock.
I finished my project today. I hope you like them and get inspired to try some of mixed media techniques.
If you kindly leave me a comment telling me if you like mixed media art and from your opinion what is the magic in the mixed media ( For me the creative mind of the crafter and the gesso having that secret) . And If you like to win a 30 $ gift card provide by the sweetest shay to winnie and walter store please leave a comment in any of the five winnie and Walter leading lady post on my blog , I will choose a winner on the early October on my blog .
At the end thanks a lot Shay it was a pleasure to be a leading lady for this month, thanks all who encouraged me to create these project and left a sweet words . See you again in the coming winnie and walter challenges as I like to participate in to them , I hope you will join us there.
Our September Leading Lady, Maryam Shalabyis back for her triumphant third performance! If you missed her smashing debut you must see it...CLICK HERE or ethereal and enchanting cards from her sensational second performance CLICK HERE. Today's cards are incredible inky masterpieces!
Without further ado, Maryam...
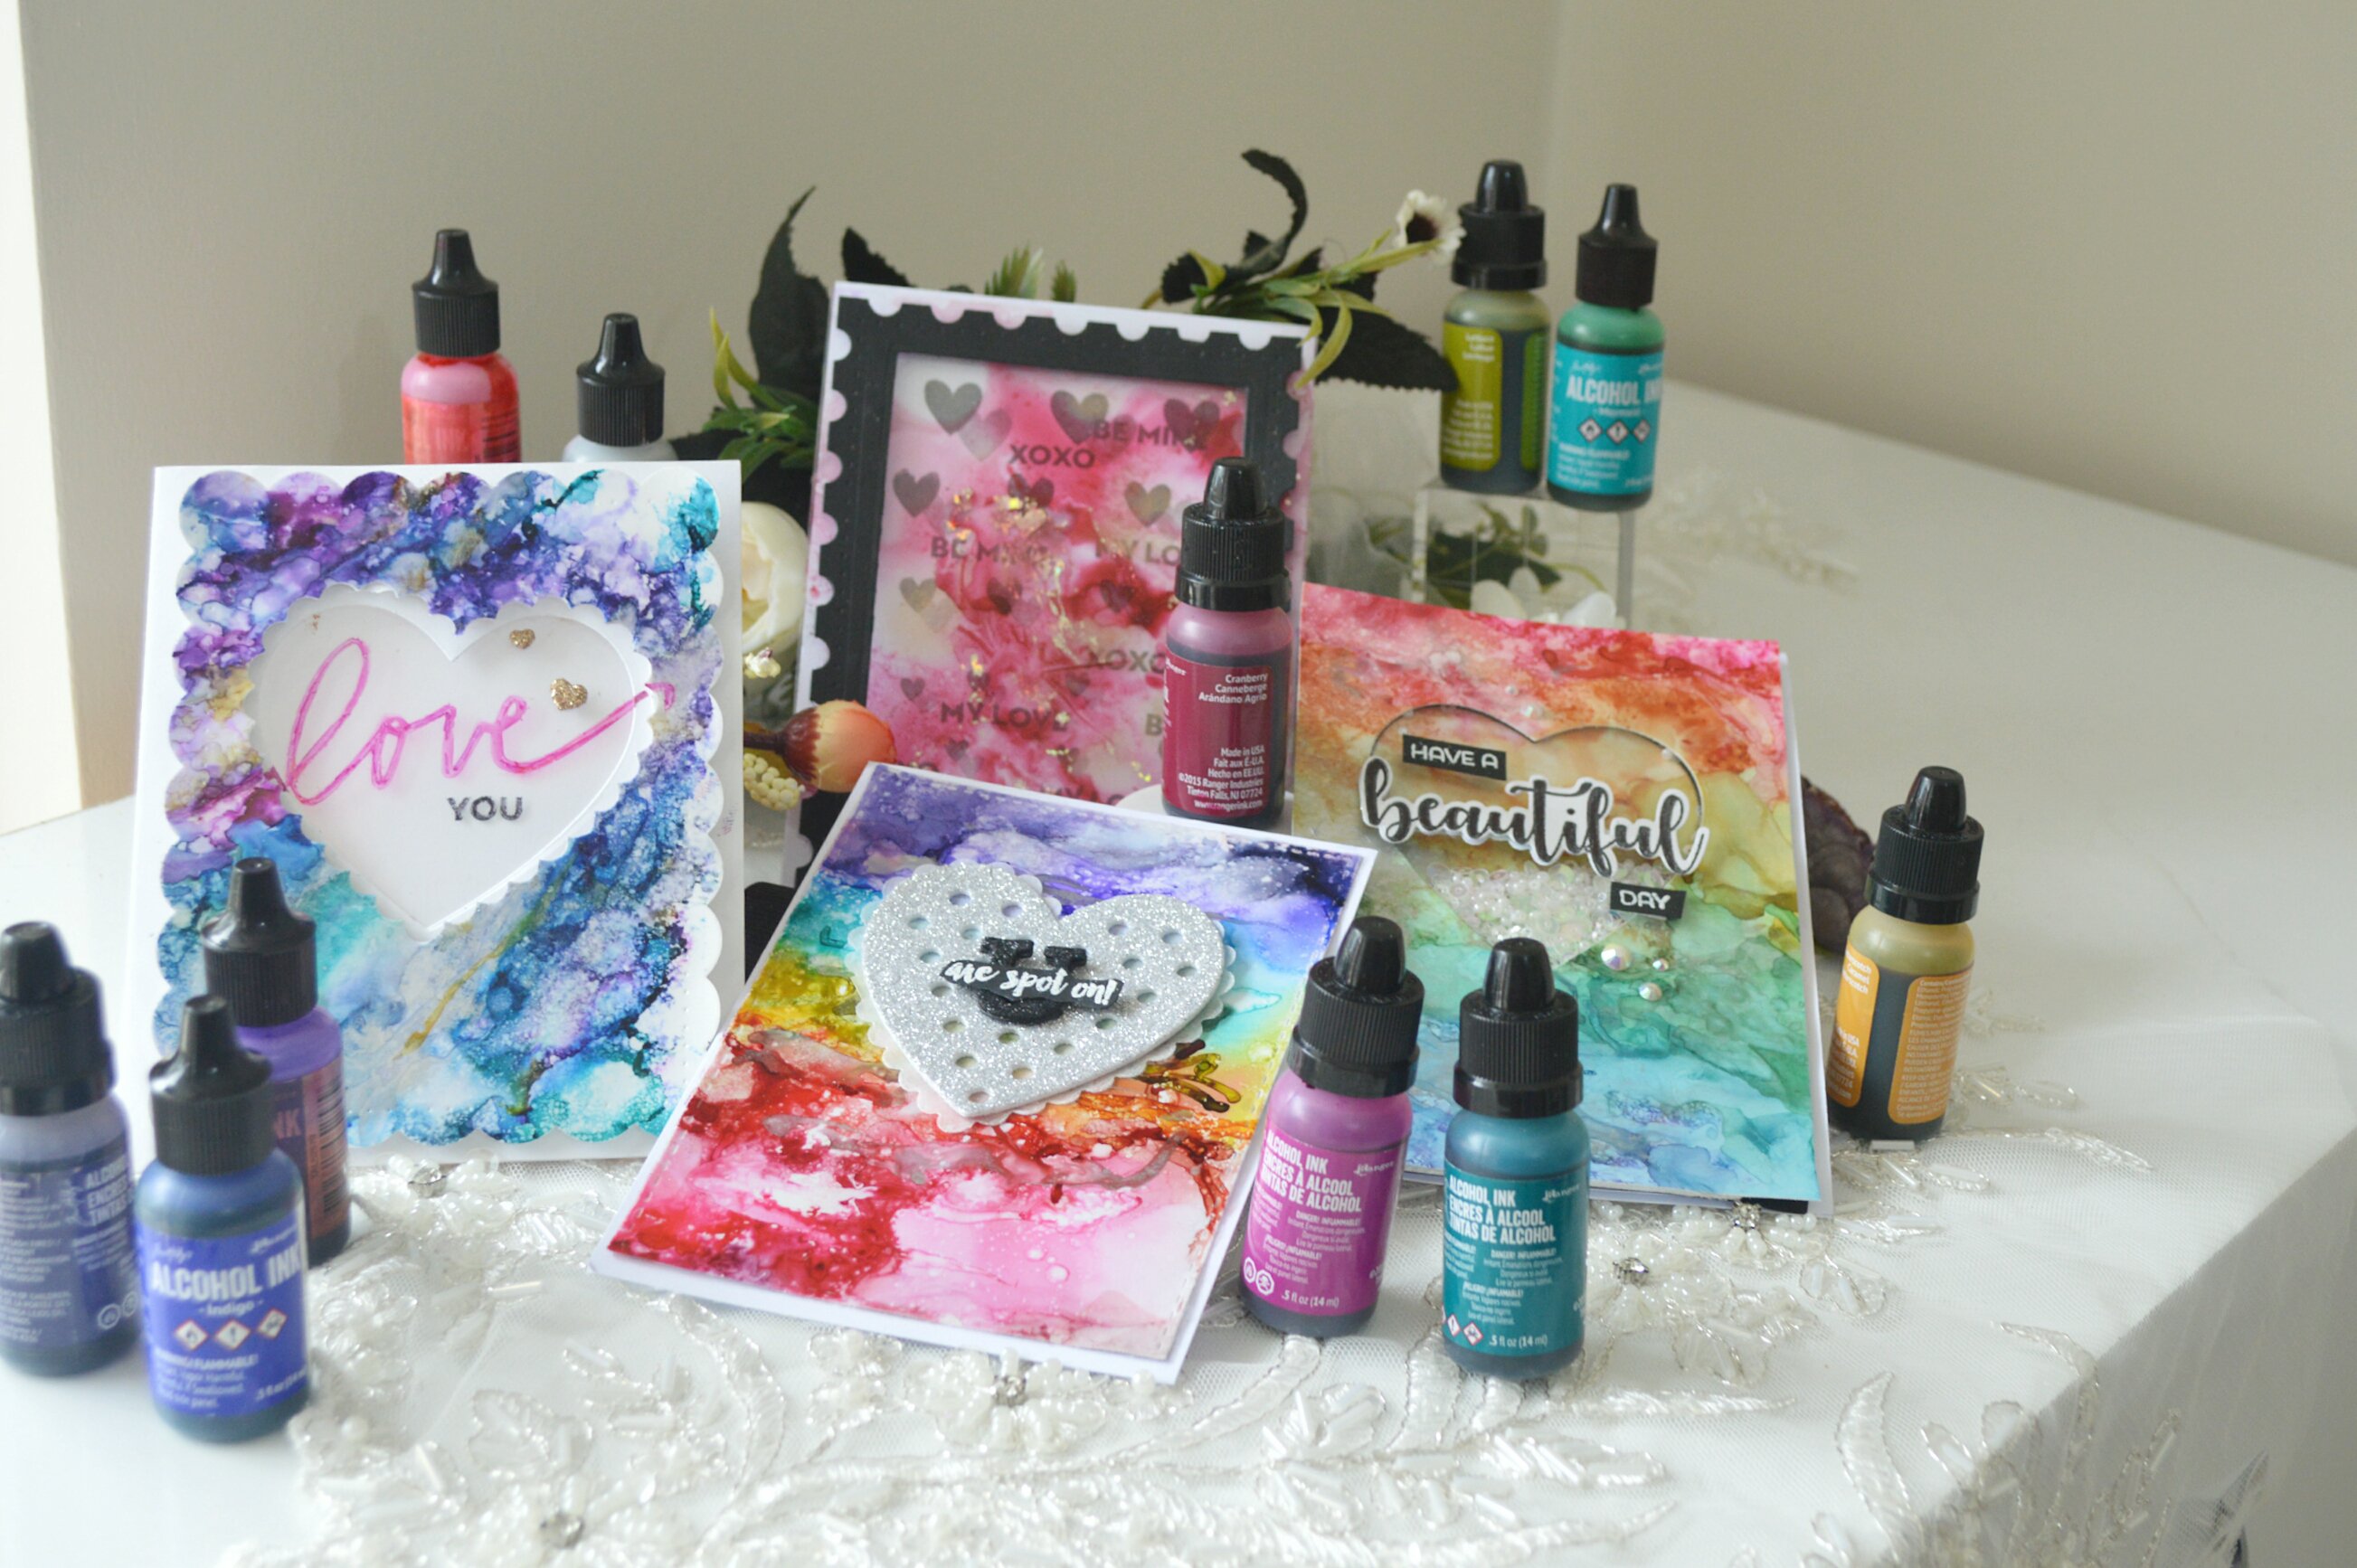
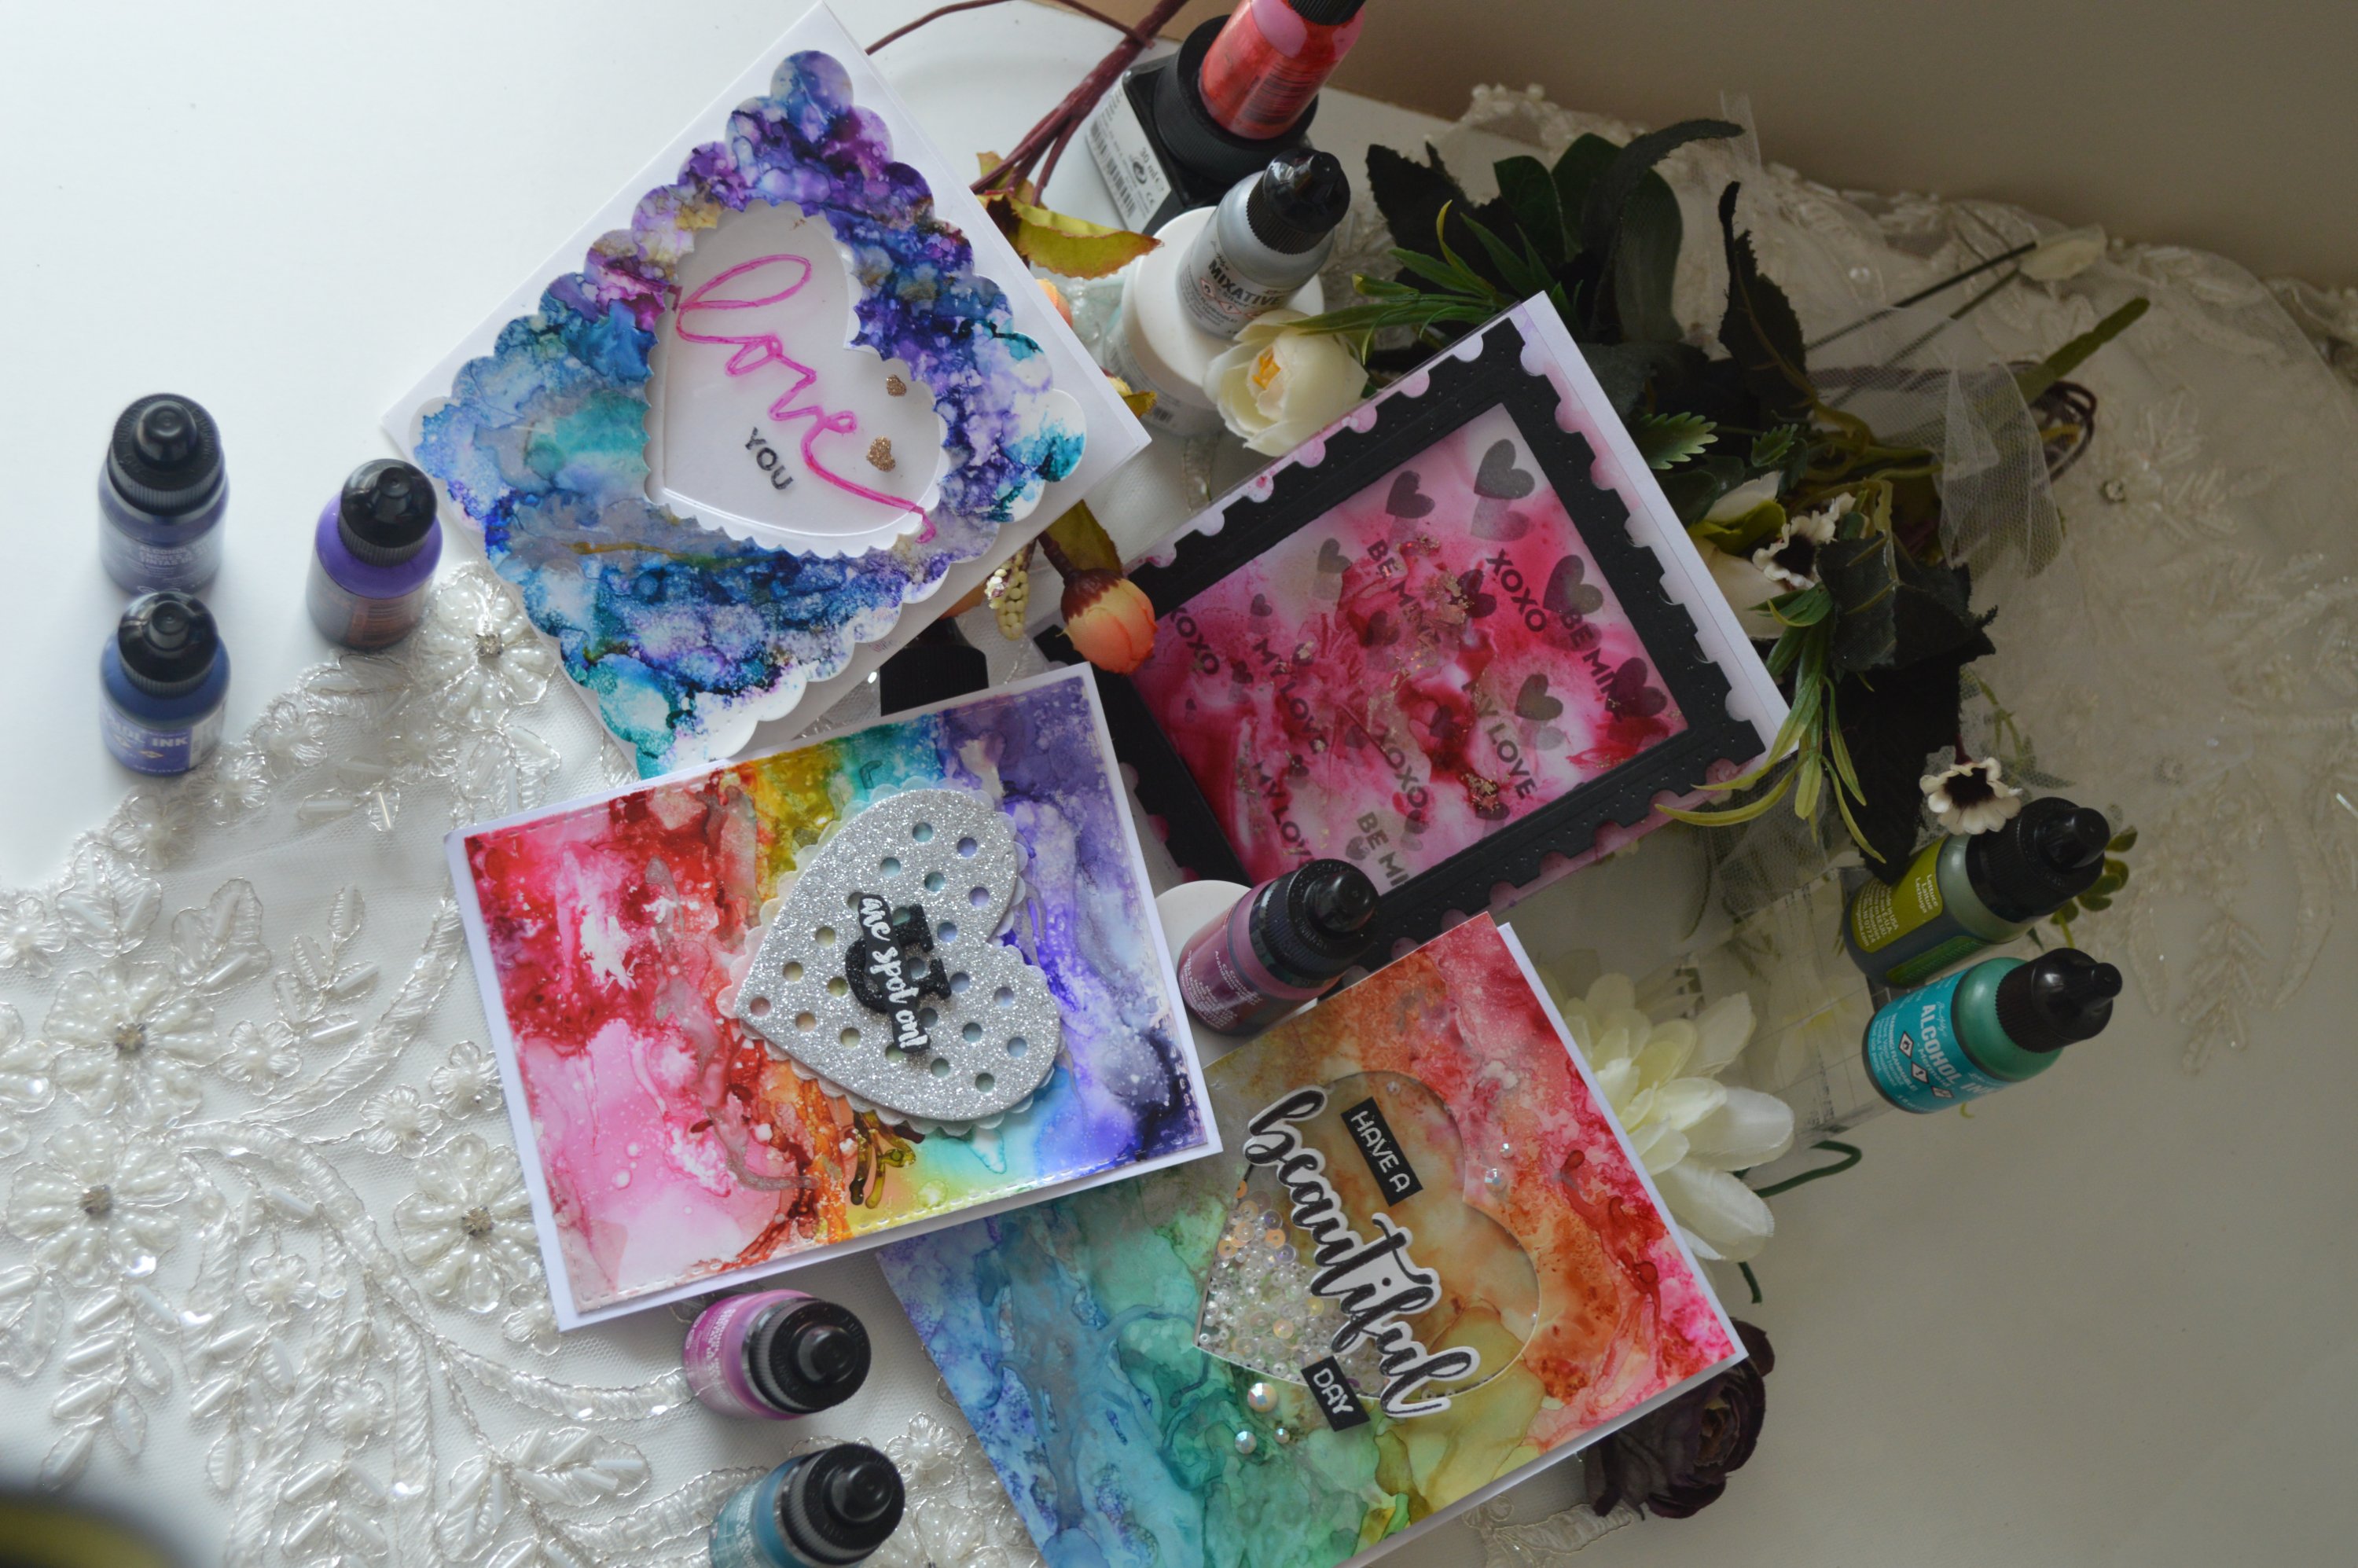
A little story about how I mad these cards. I was trying for the whole week to make a cards that I would like to share it with you . I was writing a list for the techniques that I would like to share with you in this month but I wasn't in the mood to make any of them . And after few days of trying I realized that I lost my mojo .It’s a Bad timing, for not to be in the crafty mood .I Wondered if I should try my magical description for returning back my mojo. Usually when I loose my mojo I grap some of ranger alcohol ink and play with them there vibrant colors elevate my mood and brighten my mind.
I usually found it's a little tricky to design a cards with alcohol inks with all these vibrant colors and busy backgrounds., I was so happy that I figured out how to over come that in this post .
You can watch the video for these cheerful cards here :
Let's start the fun part.
For my first card I tried these dark vibrant colors from ranger alcohol inks on a yupo paper . Here is some tips for making this card...
# I wet a yupo paper with alcohol solution ( I don't have an alcohol blending solution so I used isopropyl alcohol instead)
# I applied these alcohol inks ( butterscotch , willow, indigo, patina , amethyst, and purple twilight ) as little strips next to each other then I let them to blend , because the underneath alcohol solution it made this blending is going easy .
# I sprayed more blending solution over the blending ink to get them more blended and move the colors around .
# I wanted to add a texture so I added a little strips of silver metallic mixative ink and more blending solution to get every thing smooth
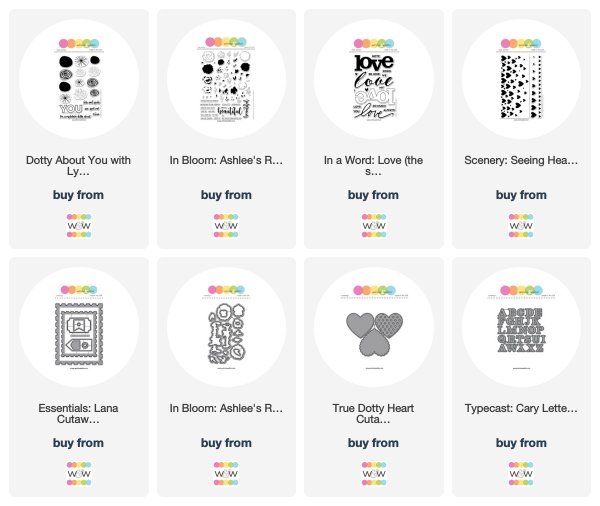
# I used the scallop heart from winnie and walter True Dotty Heart Cutaway to cut in the center of the inked card, then I mounted it over a white card stock
# I wanted this card to be a window card to brighten these strong colored background . So I die cut the white base card with the smaller dotty heart border from the same True Dotty Heart Cutaway in a place that fit with the upper layer
# I stamped the love and you from winnie and walter In a Word: Love stamp set with permanent inks over a piece of vellum to preserve the open window effect on this card .
For my second card
I wanted to try something different, instead of using these vibrant colors I want a less pigmented colors so I diluted a little of inks with blending solution, then I started the fun...
here is a little tips for who I achieved this background .
# I applied a little amount of the solution for the base before applying the ink over them .
# when I used the diluted ink it was harder to control the blending I think because it was too fluidly.
# It took more time to dry than the concentrated one over a yupo paper.
# I used almost the same technique as the first card by applying stripes on the yupo, blending them with more solution, then adding the silver tone .
# for this card It was a not that vibrant like the others ones so I used the whole paper in making the card , I turned it to shaker I die cut the yupo paper with winnie and walter true dotty heart cutaway fill it with a white sequin to brighten the card.
# for the sentiment I used W&W winnie and walter In Bloom: Ashlee's Rosie Posies with Lydia Evans stamp set.
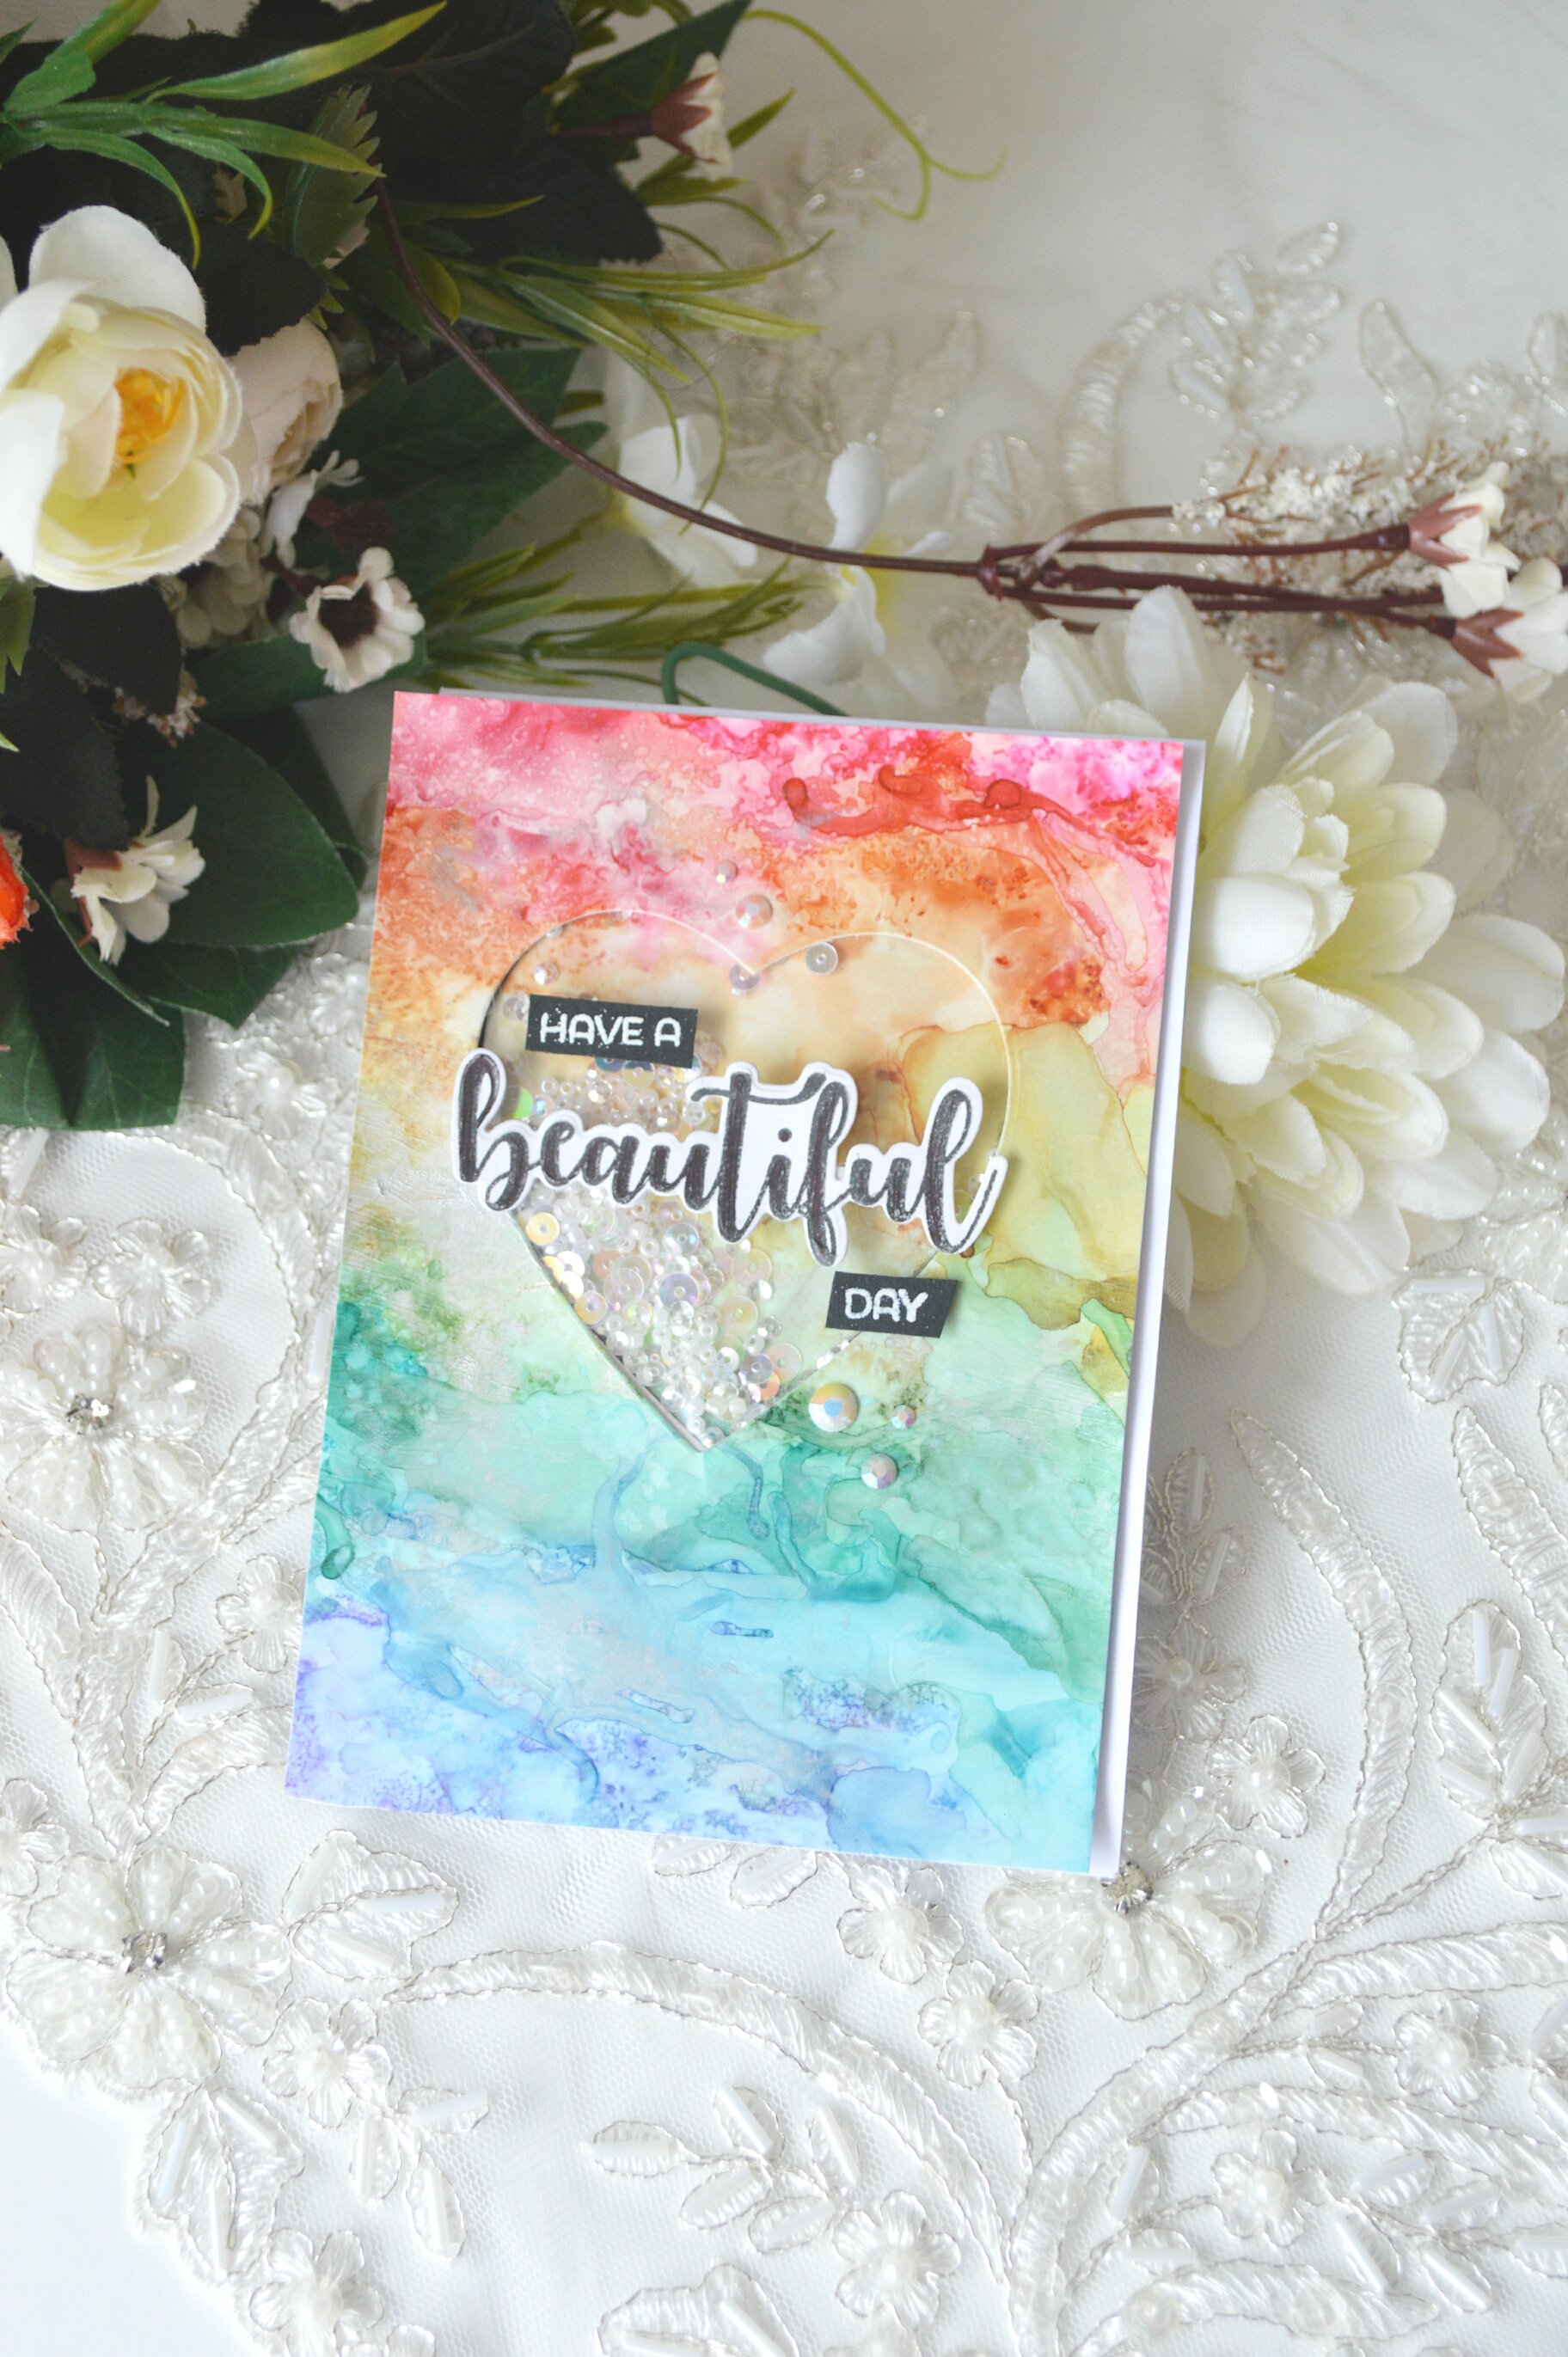
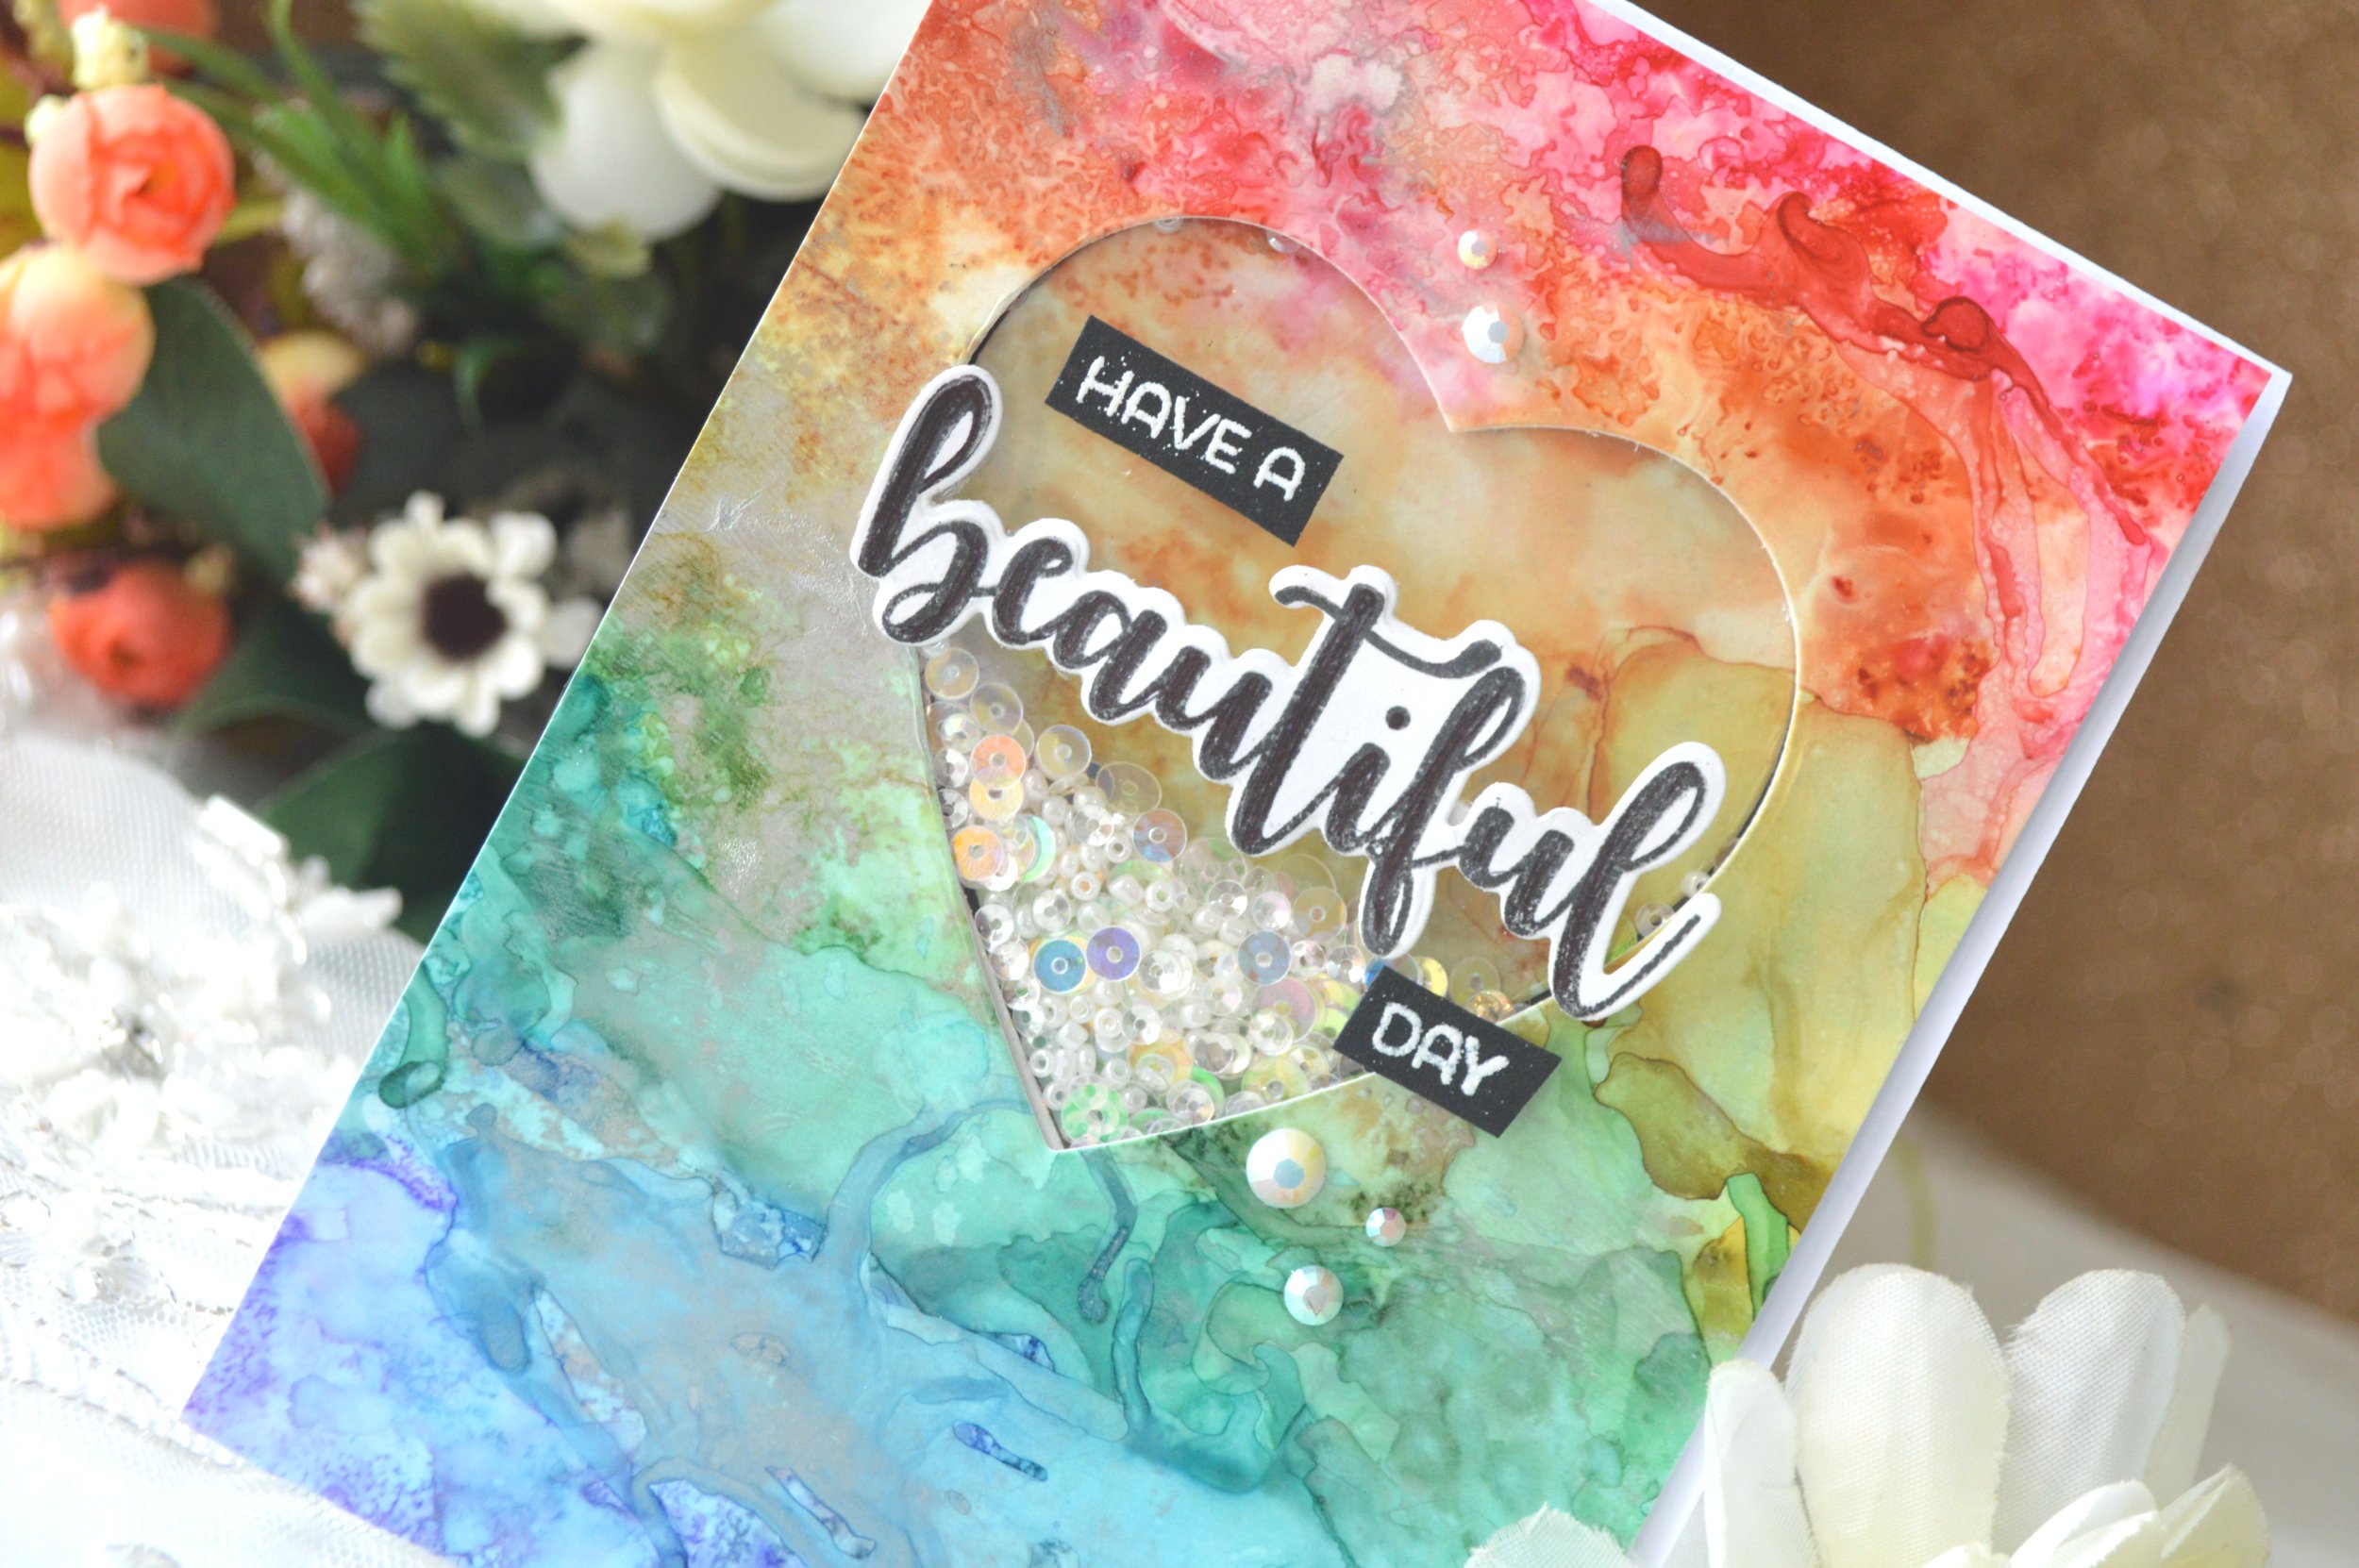
My 3rd card was almost the same like the second but I used the full strength of the alchol ink to make this vibrant rainbow card.
I die cut the spoty heart from winnie and walter true dotty heart cutaway in a silver glittery sticky foam , I placed it over the larger scallop heart from the same die cut set.
For the u I die cut from winnie and Walter Typecast: Cary Letters Cutaways . with 3 heavy black cardstock the upper one was glittery . Then I white embossed this perfect sentiment for this card from winnie and walter Dotty About You with Lydia Evans stamp set.
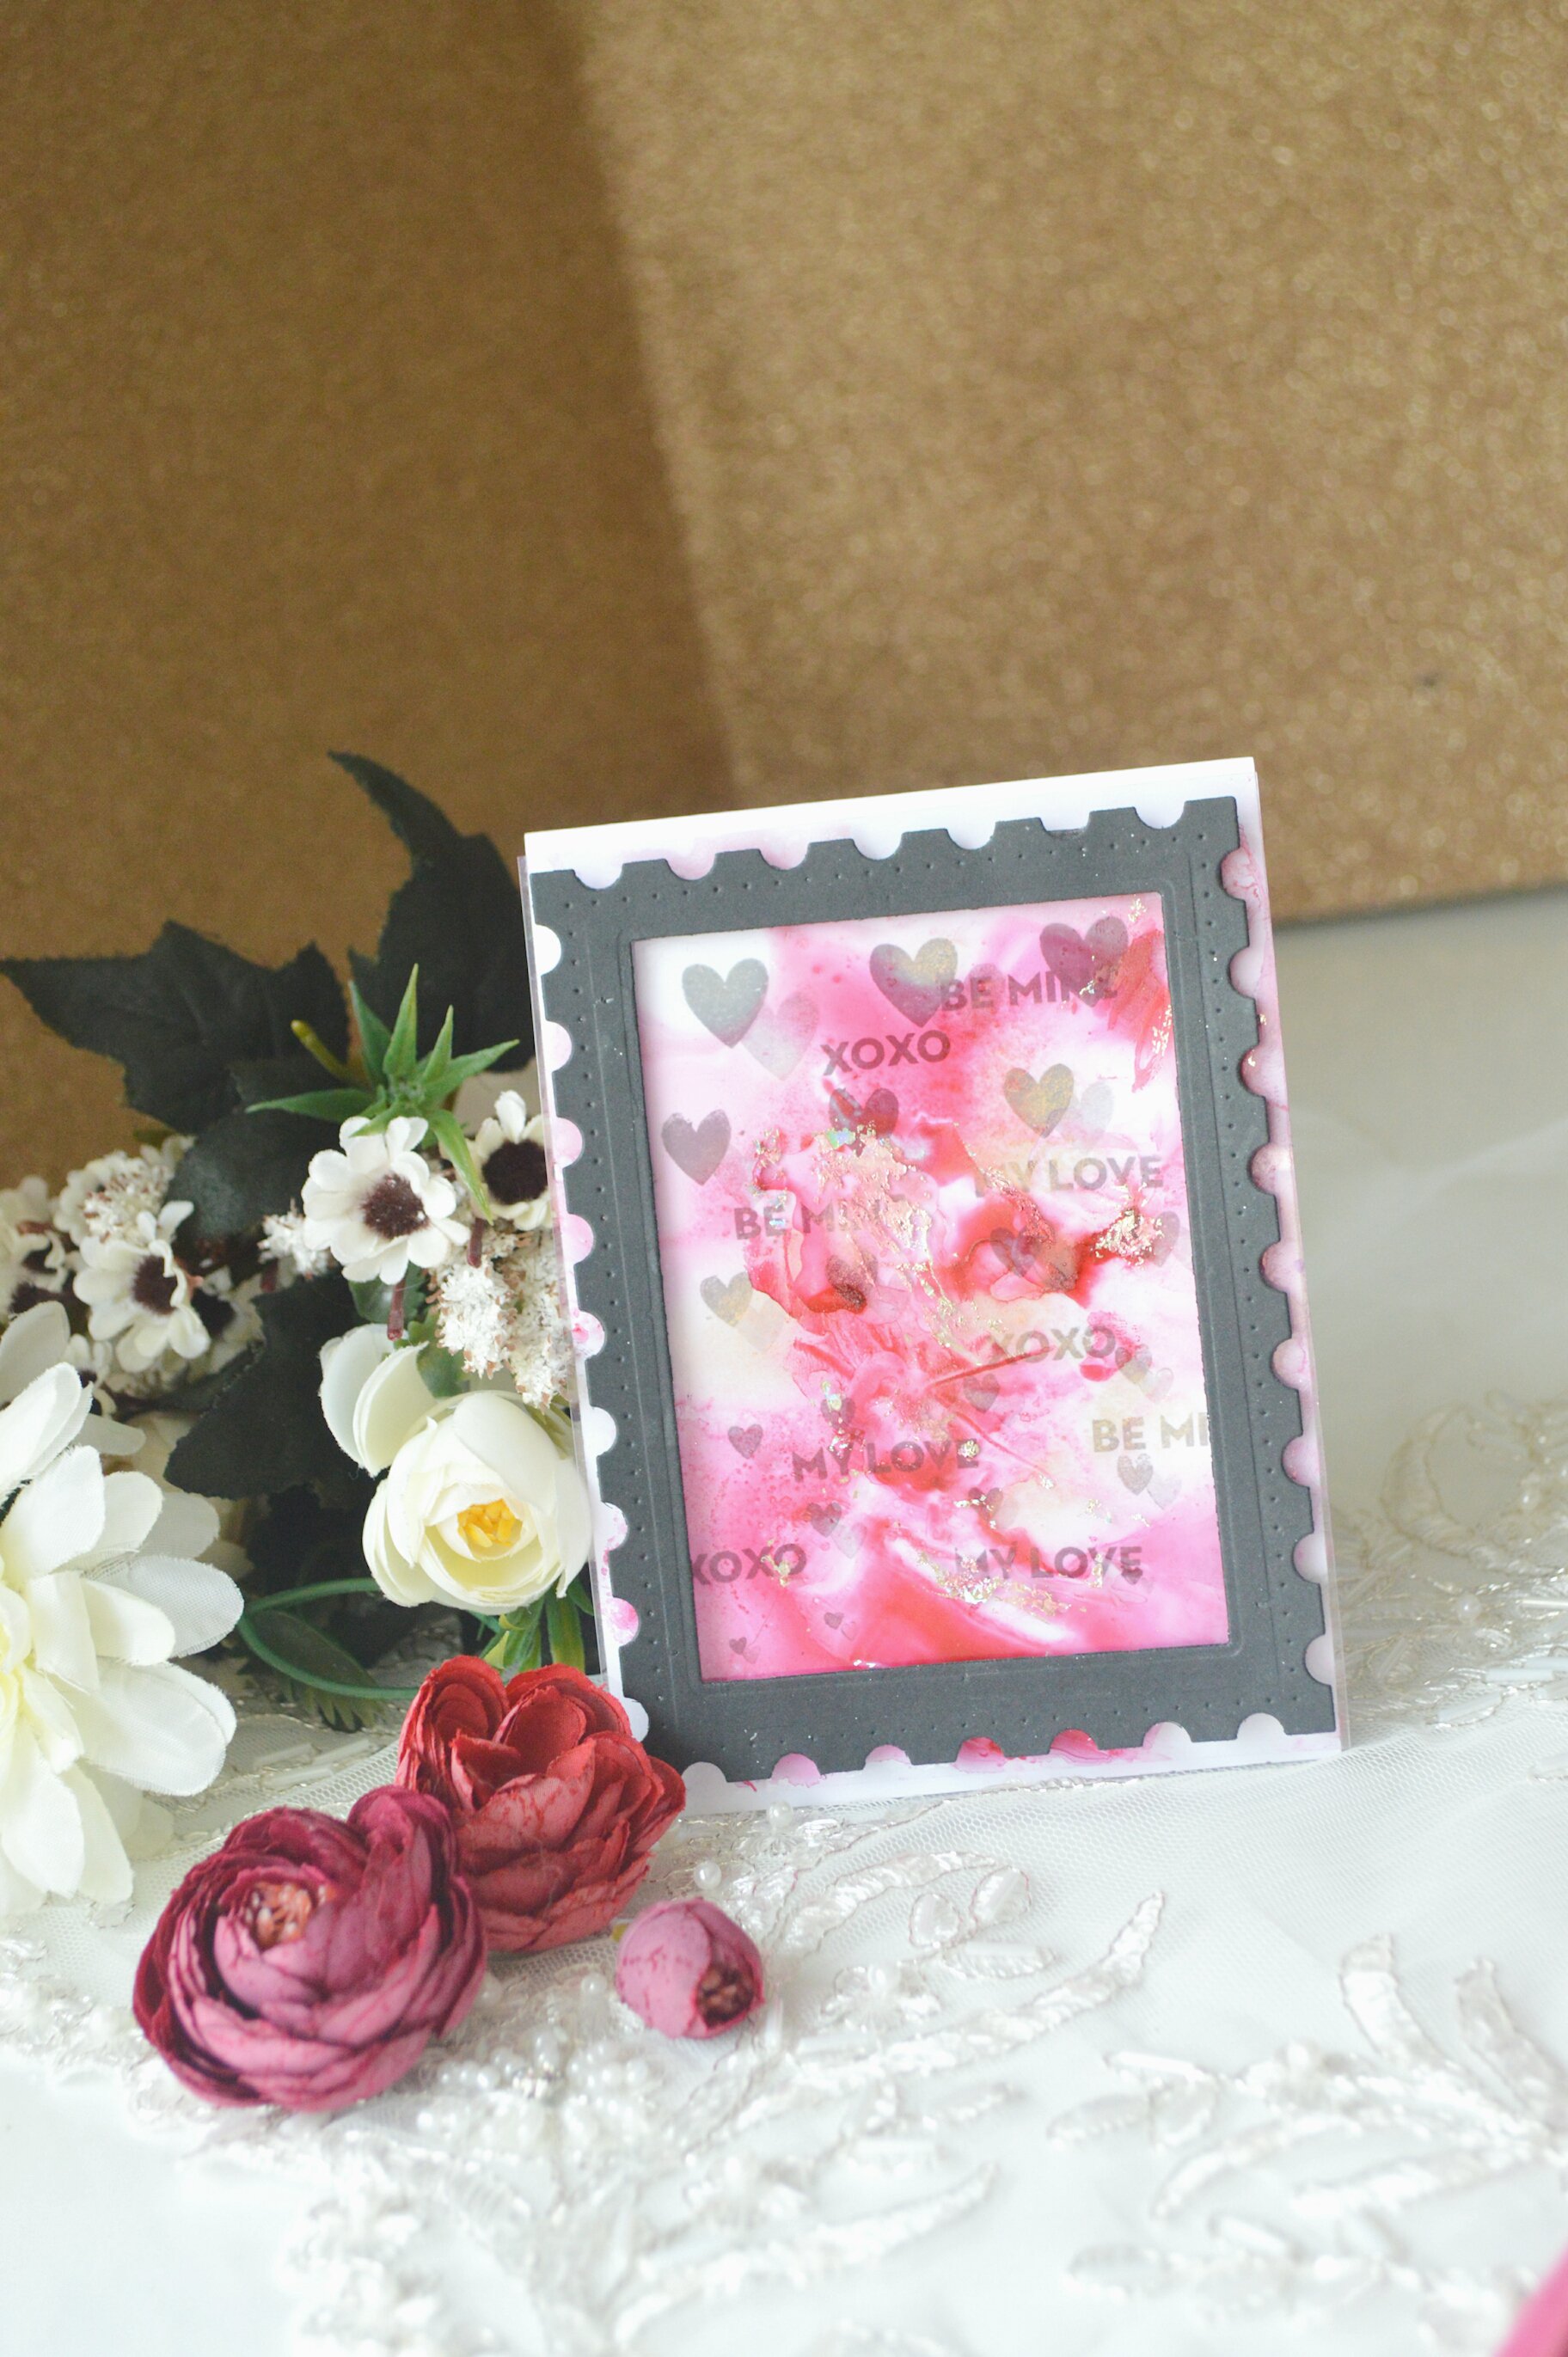
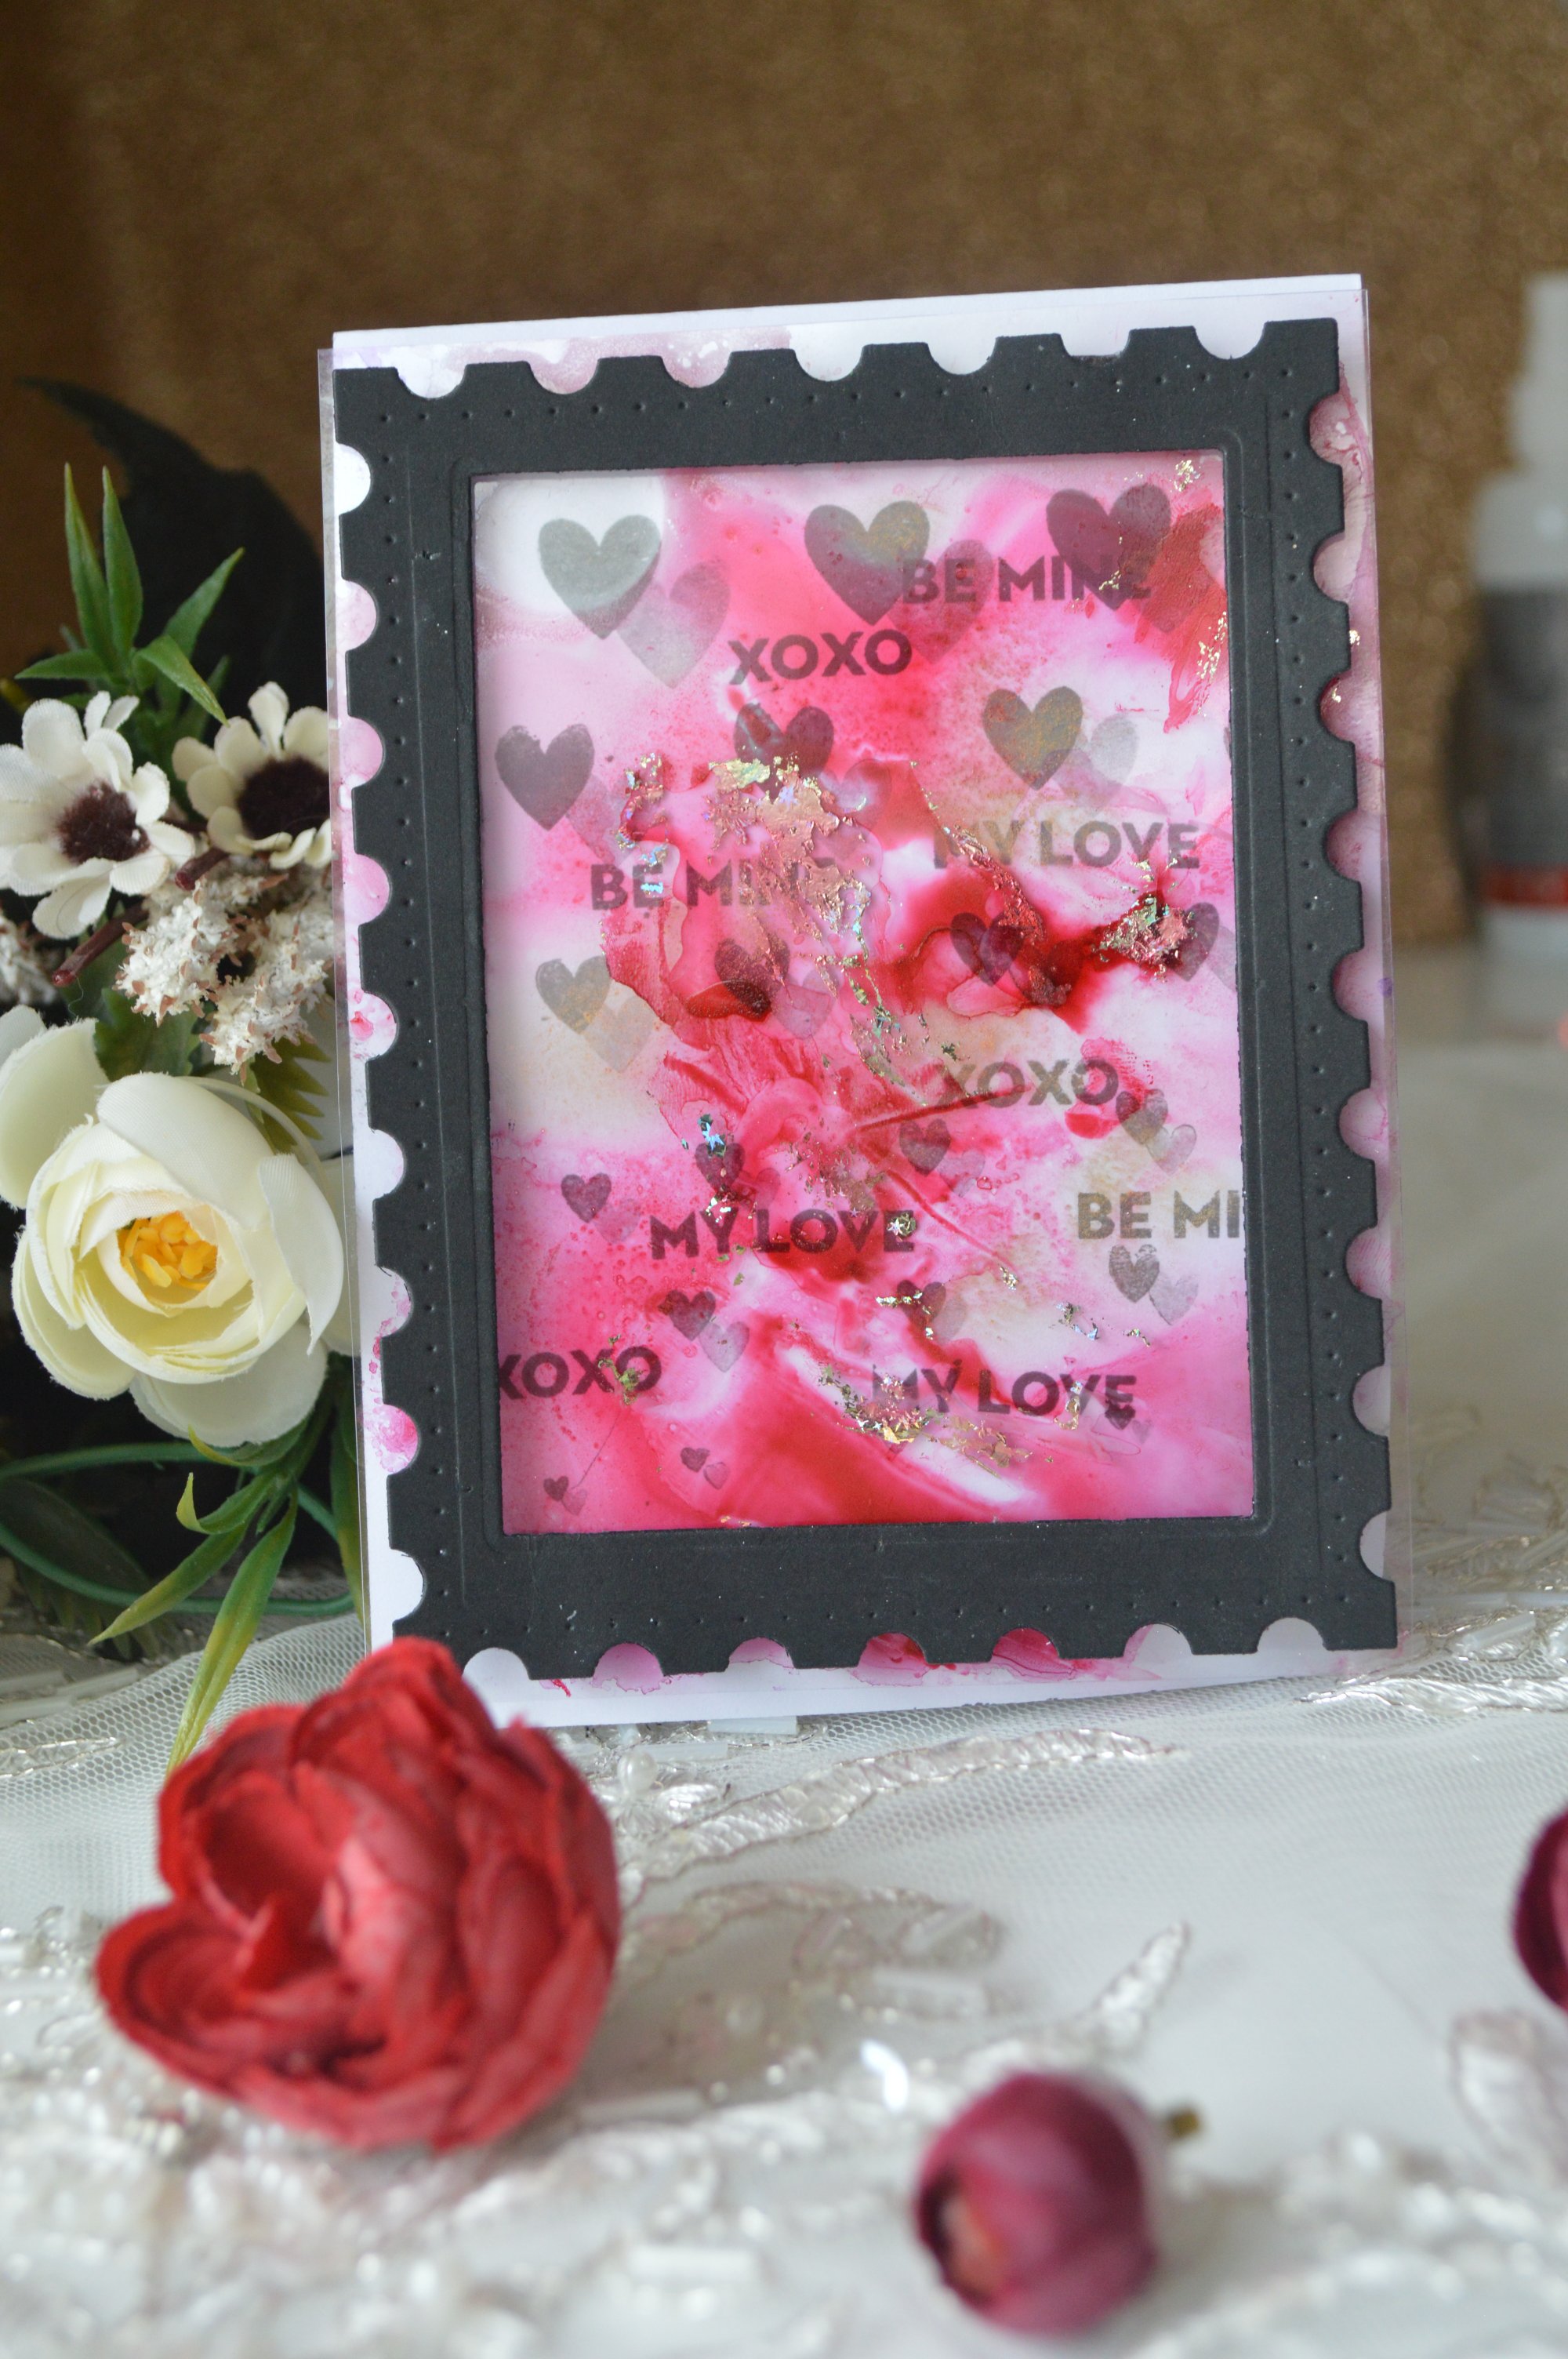
Finally my last card, although bright red is not my color at all ,but I like this card so much.
In this card I wanted to share with you who I can get almost the same brighter and vibrant colors even if I didn't use yupo , by using acetate over a white card stock .
# I applied some blending solution at the acetate , then I used different shades of pinkish red ranger alcohol ink over it.
# I placed a white scrape of paper under the acetate to see who they blend . I added some gold metallic mixative inks .
# before the inks were almost dried . I applied foil sheet randomly over some area . Stick on the sticky ink and got the glittery foil accent.
# I designed the white base card . I stamped these heart from winnie and walter Scenery: Seeing Hearts with first full strength ink and second faint generation trying to follow some order by placing the biggest heart in the top then the smaller in the down . I stamped the smallest one at the bottom .
# I stamped randomly some mini love sentiments from winnie and walter In a Word: Love stamp set between the hearts .
# I placed the acetate over it with some dimensions foam tape. Then I die cut this frame from winnie and walter Essentials: Lana Cutaways using heavy stock black cardstock
# I found this card would be extra busy if I added extra sentiment so I left the card without any more main sentiment.
Thank you so much for joining me today ! Don't forget to head over to my blog maryams craft and leave a comment on all of my Leading Lady posts for a chance to win a $30 gift certificate to winnie and walter store , generously provided by Shay!!
Our September Leading Lady, Maryam Shalabyis back for her sensational second performance! If you missed her smashing debut you must see it...CLICK HERE. I think you will be enchanted with today's cards as I am!
Ladies and gentlemen, Maryam...
Hello and welcome back ,
I am still as excited as my first post for being a September leading lady at Winnie and walter blog and I would like to share with you these elegant cards that I made as my takome back ,
I am still as excited as my first post for being a September leading lady at winnie and walter blog and I would like to share with you these elegant cards that I made as my take 2 . Before I started I would like to thank you for your kind words and support it means too much for me.
If you follow me you will notice that I love to use vellum in my cards . Vellum usually my elegant element , I love to used it in my shaker, emboss my sentiment on it and / or for adding details or layers in to my cards . In my post today , I will share with you who I made these two vellum covered cards .
In these two cards I used vellum as a main card but I placed it over another base card to highlight this vellum content.
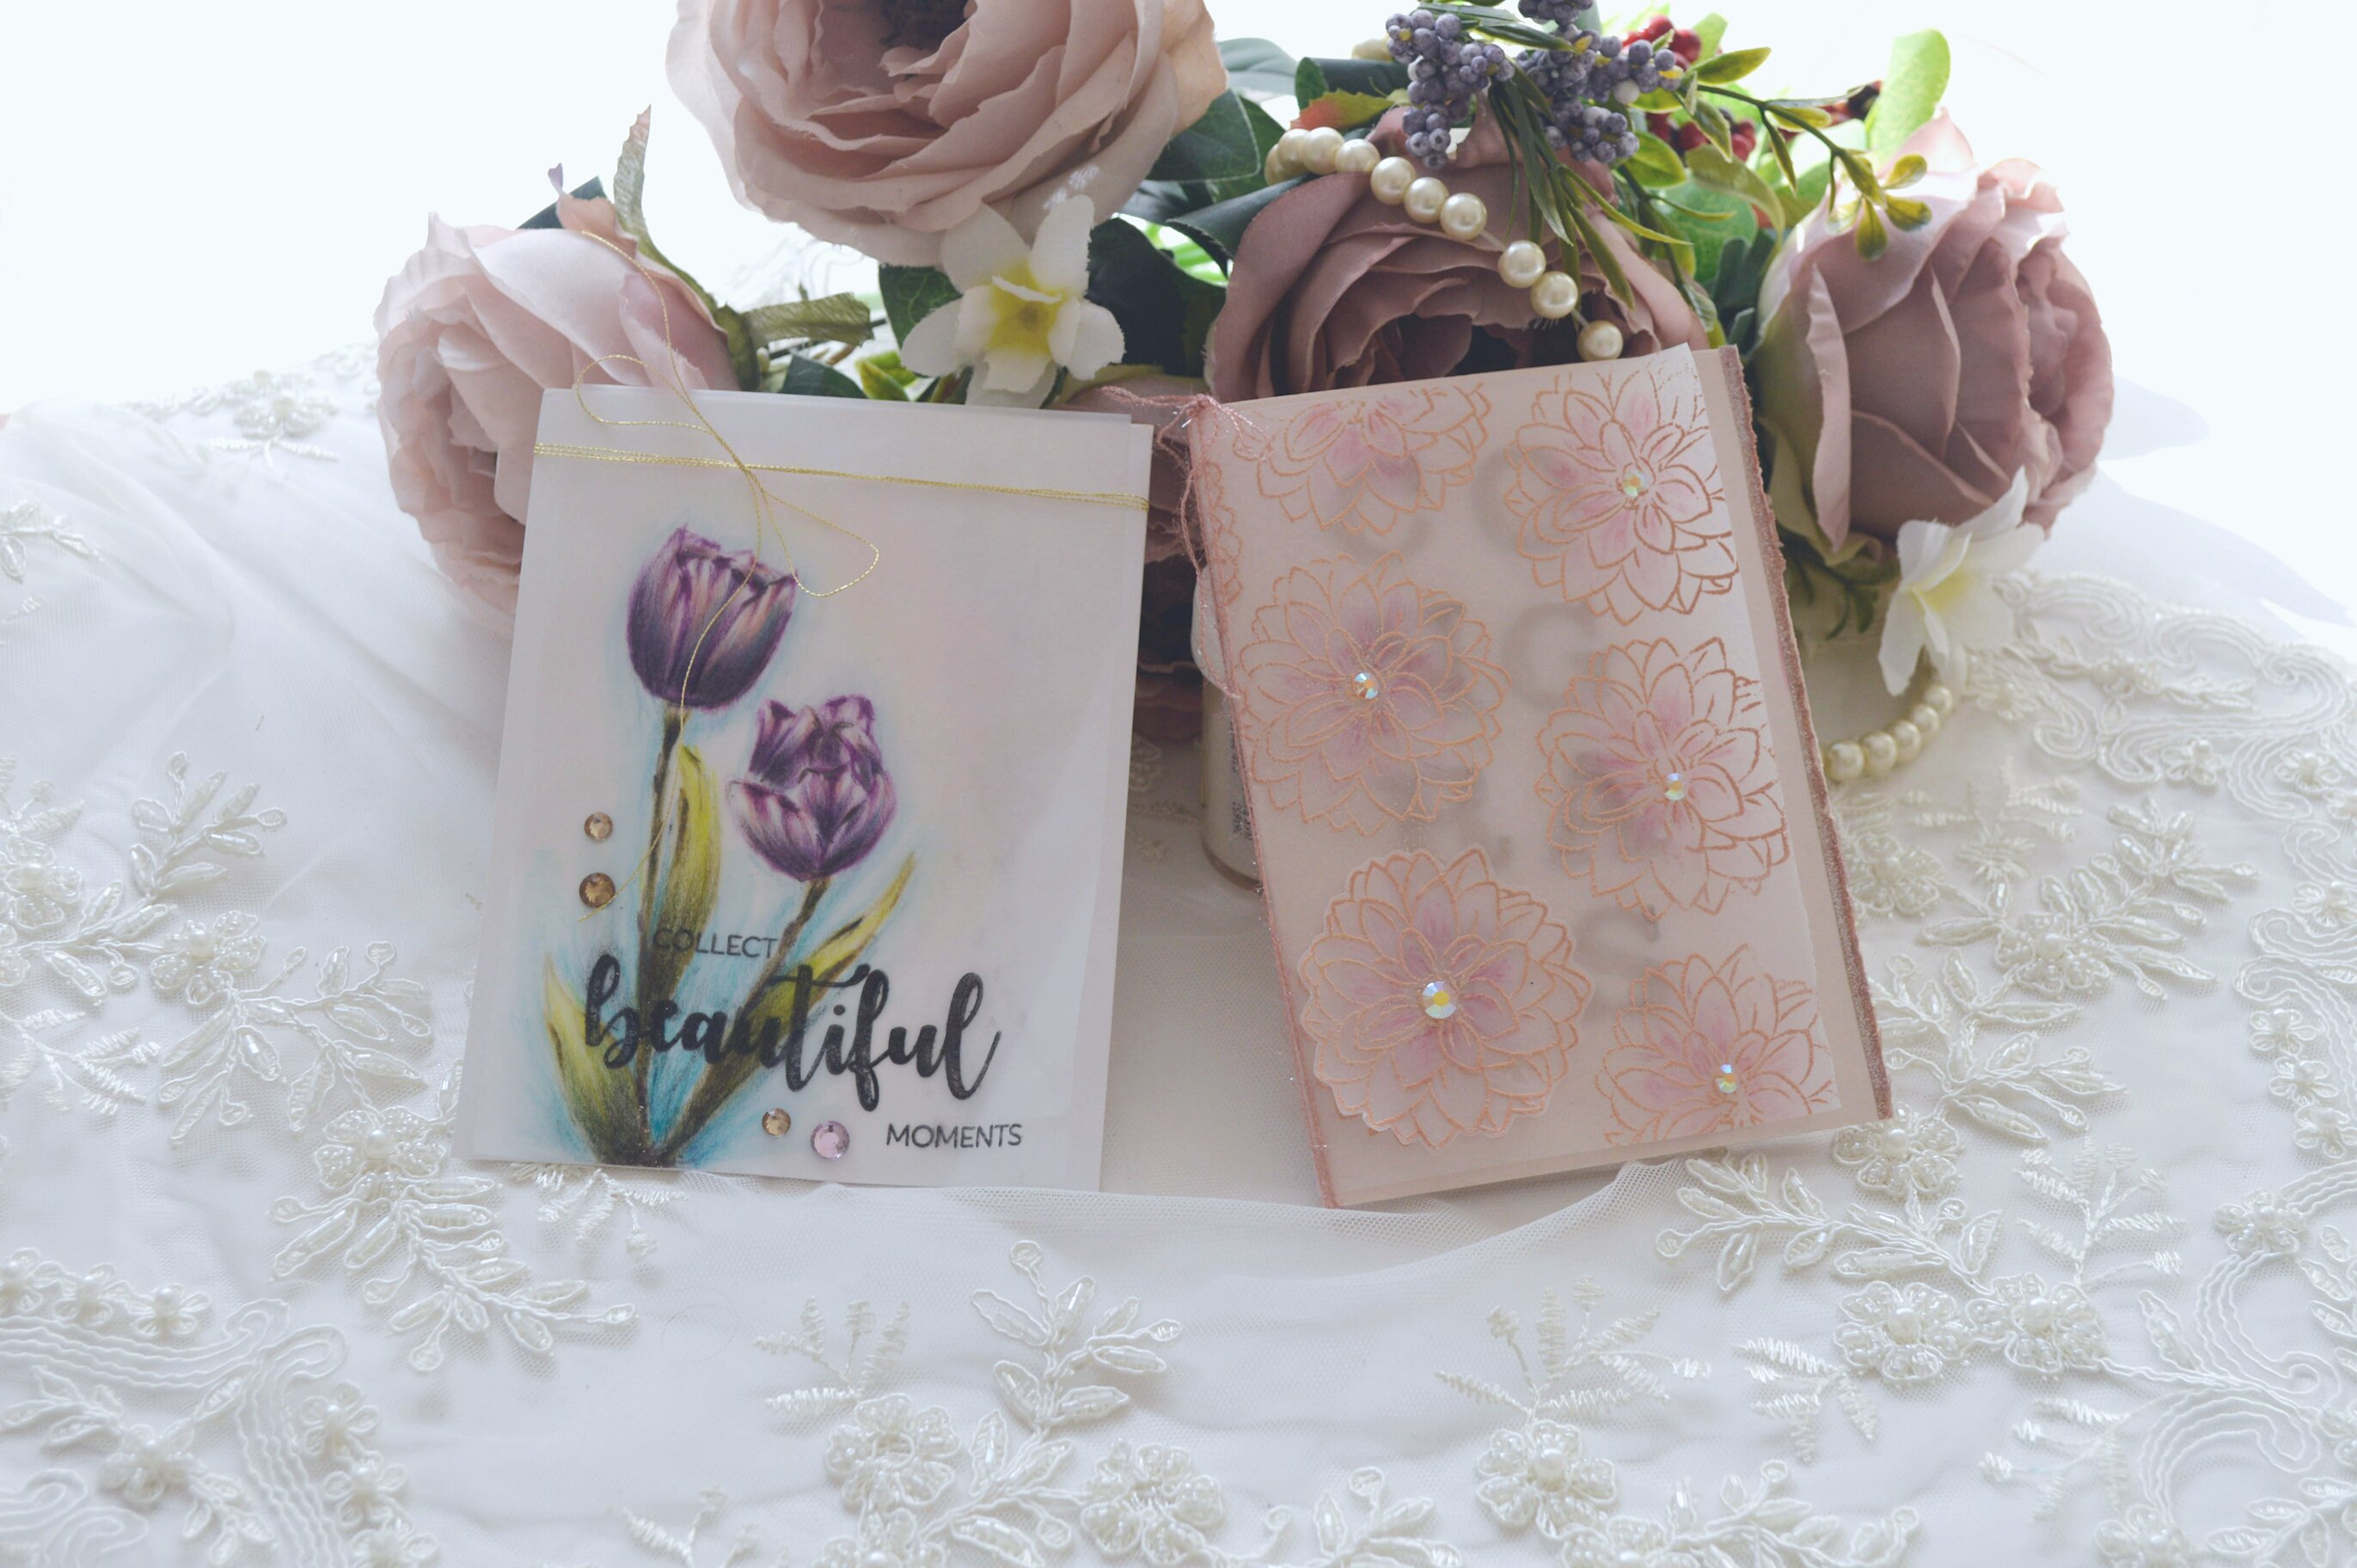
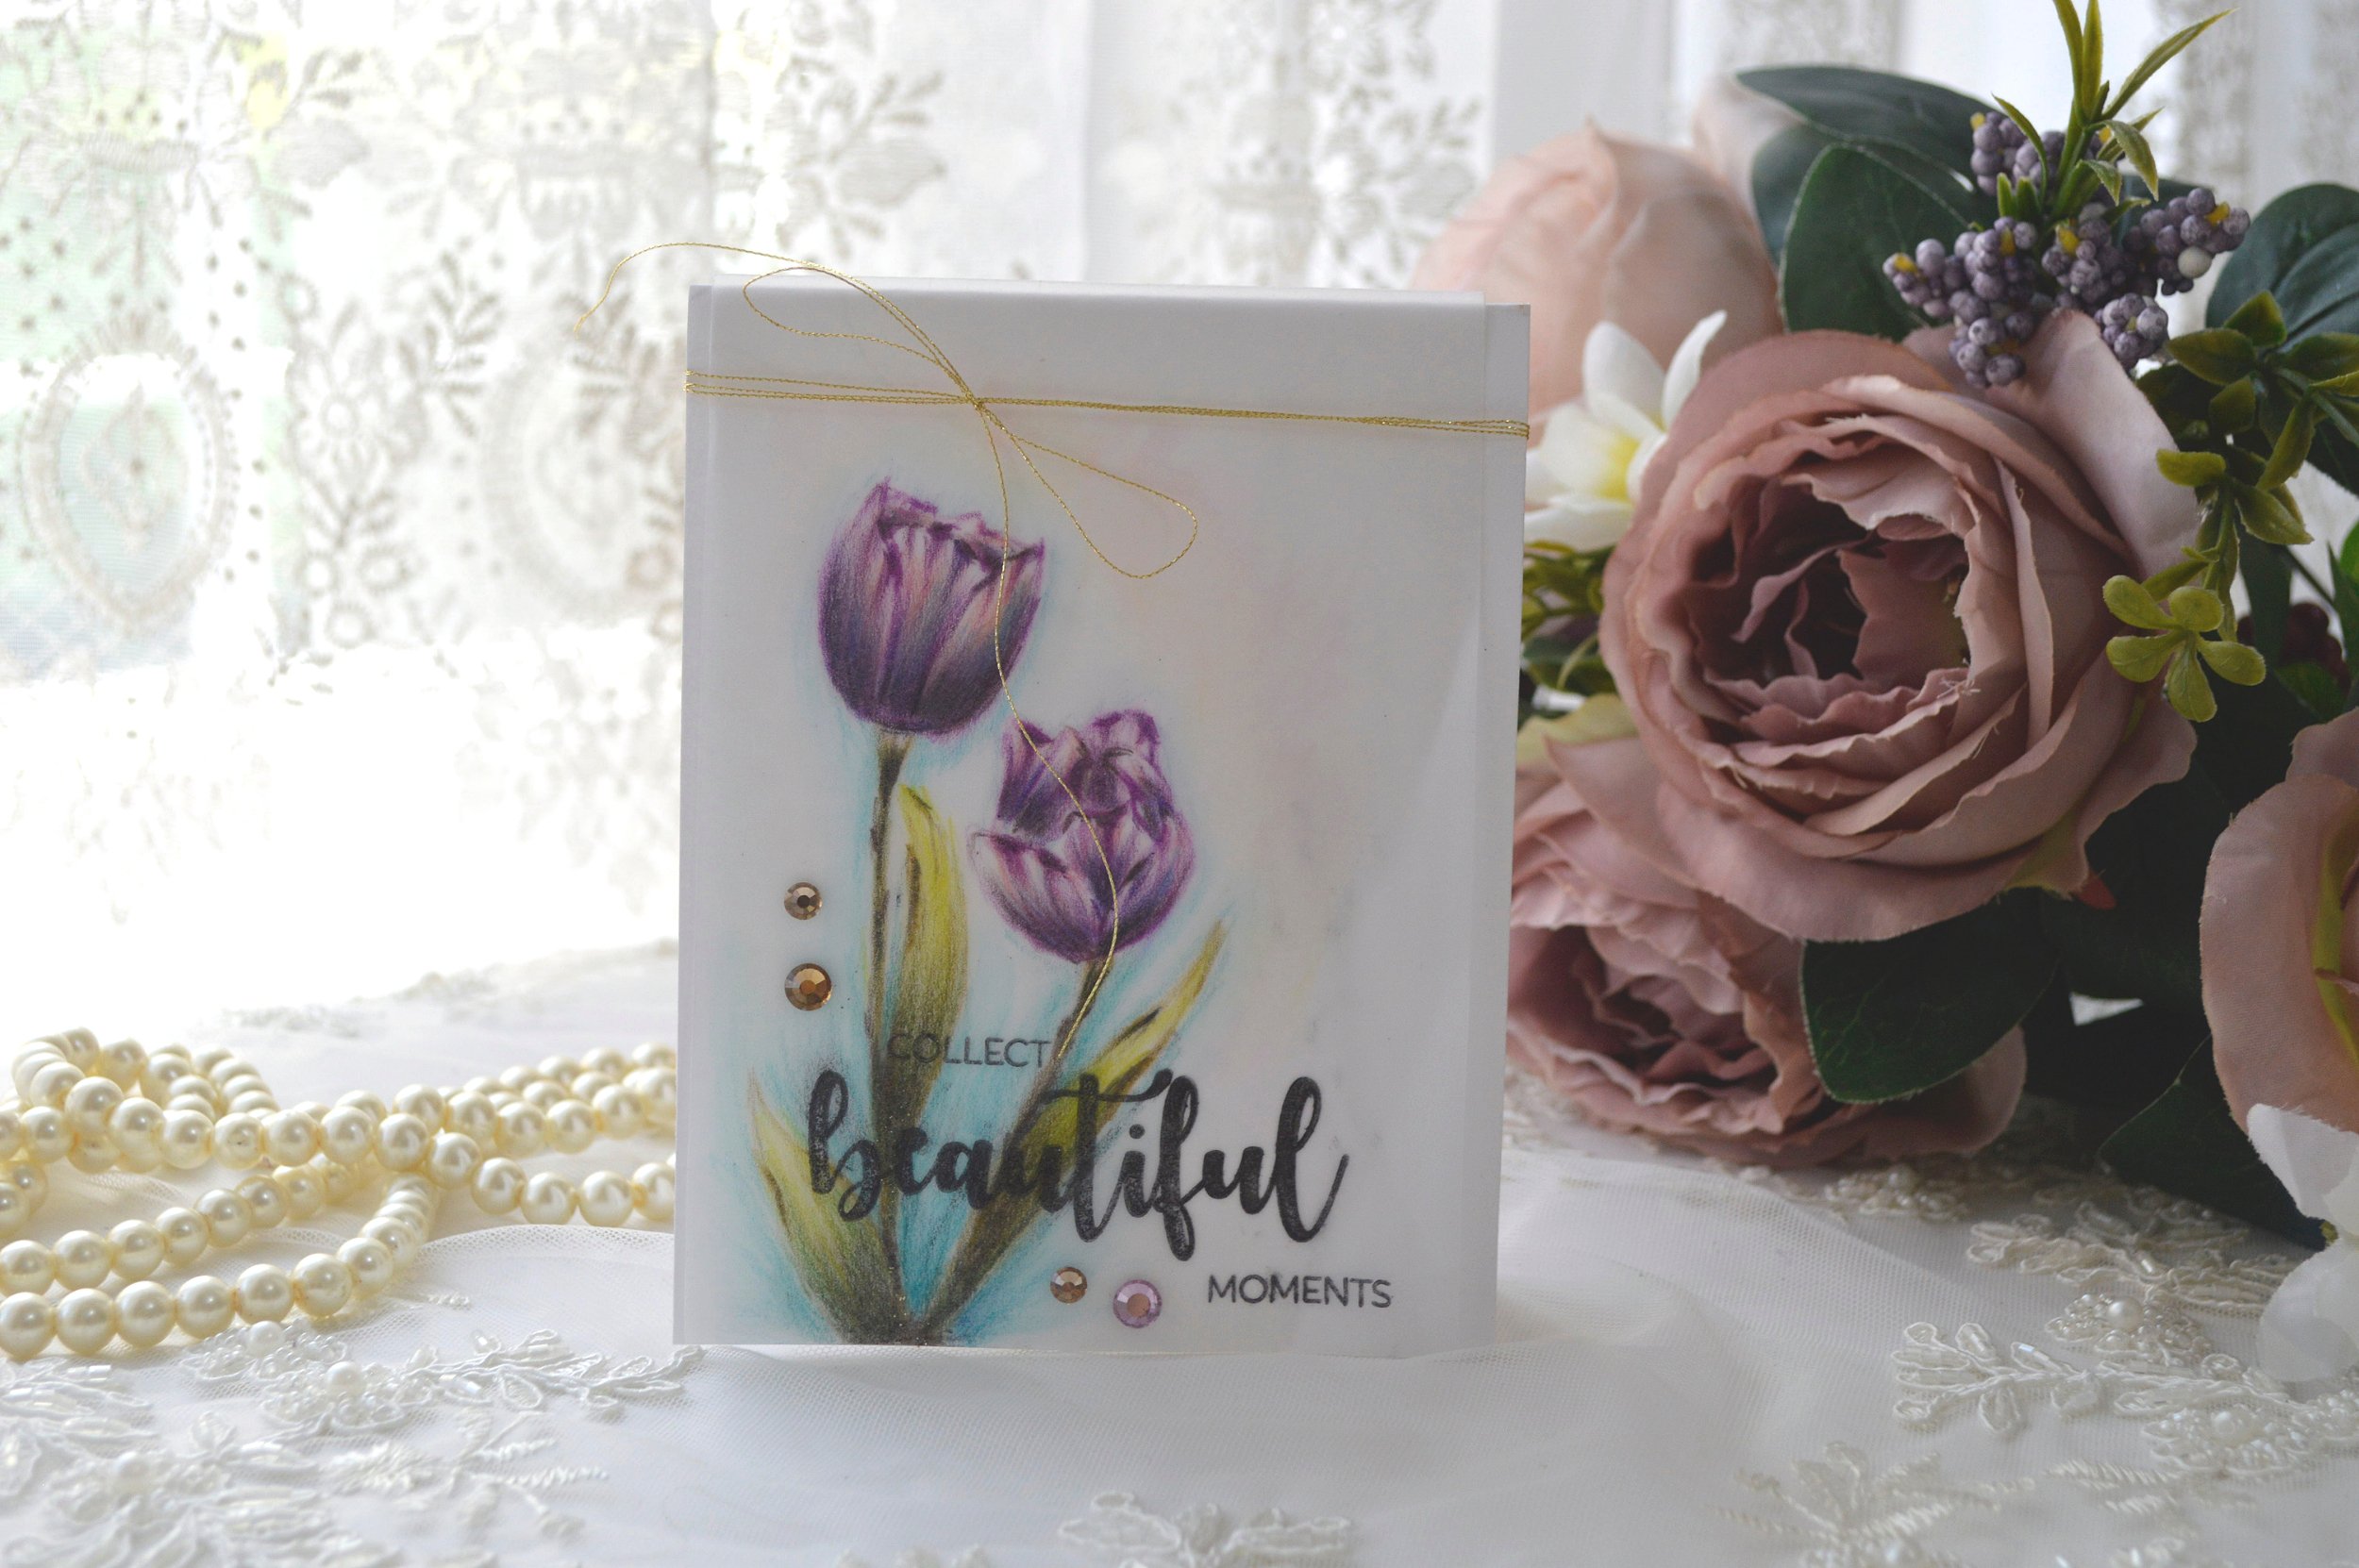
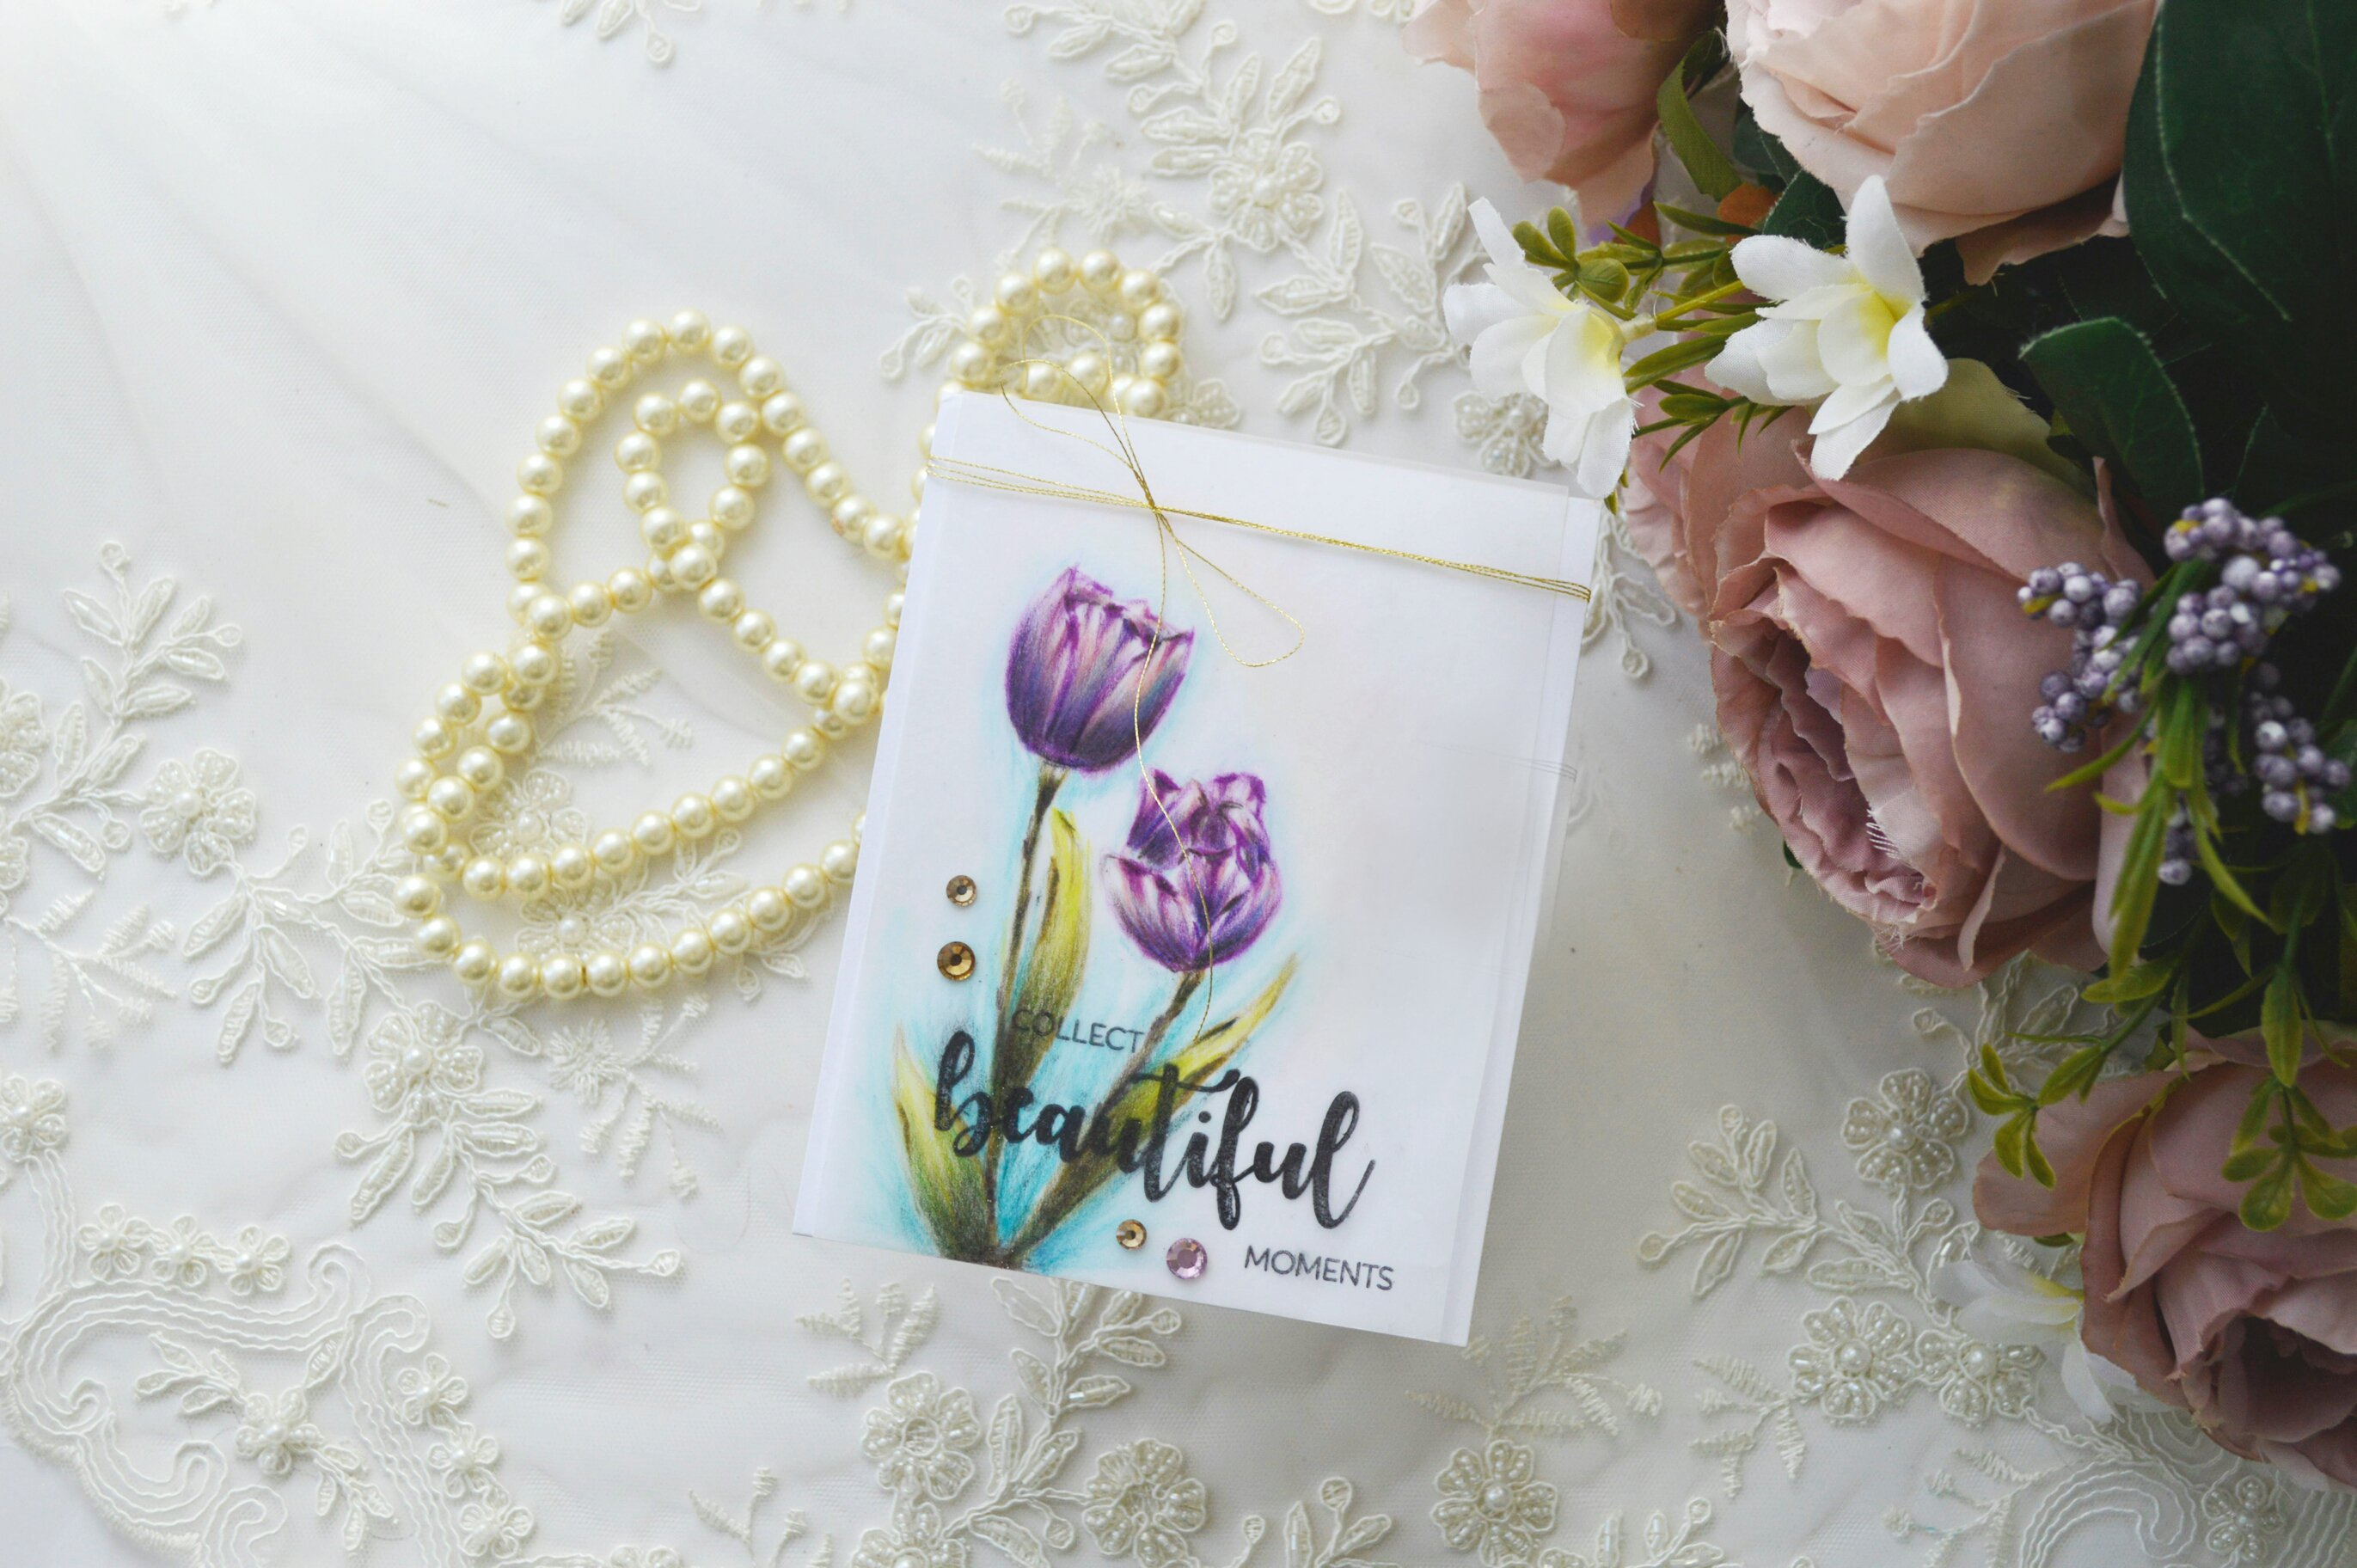
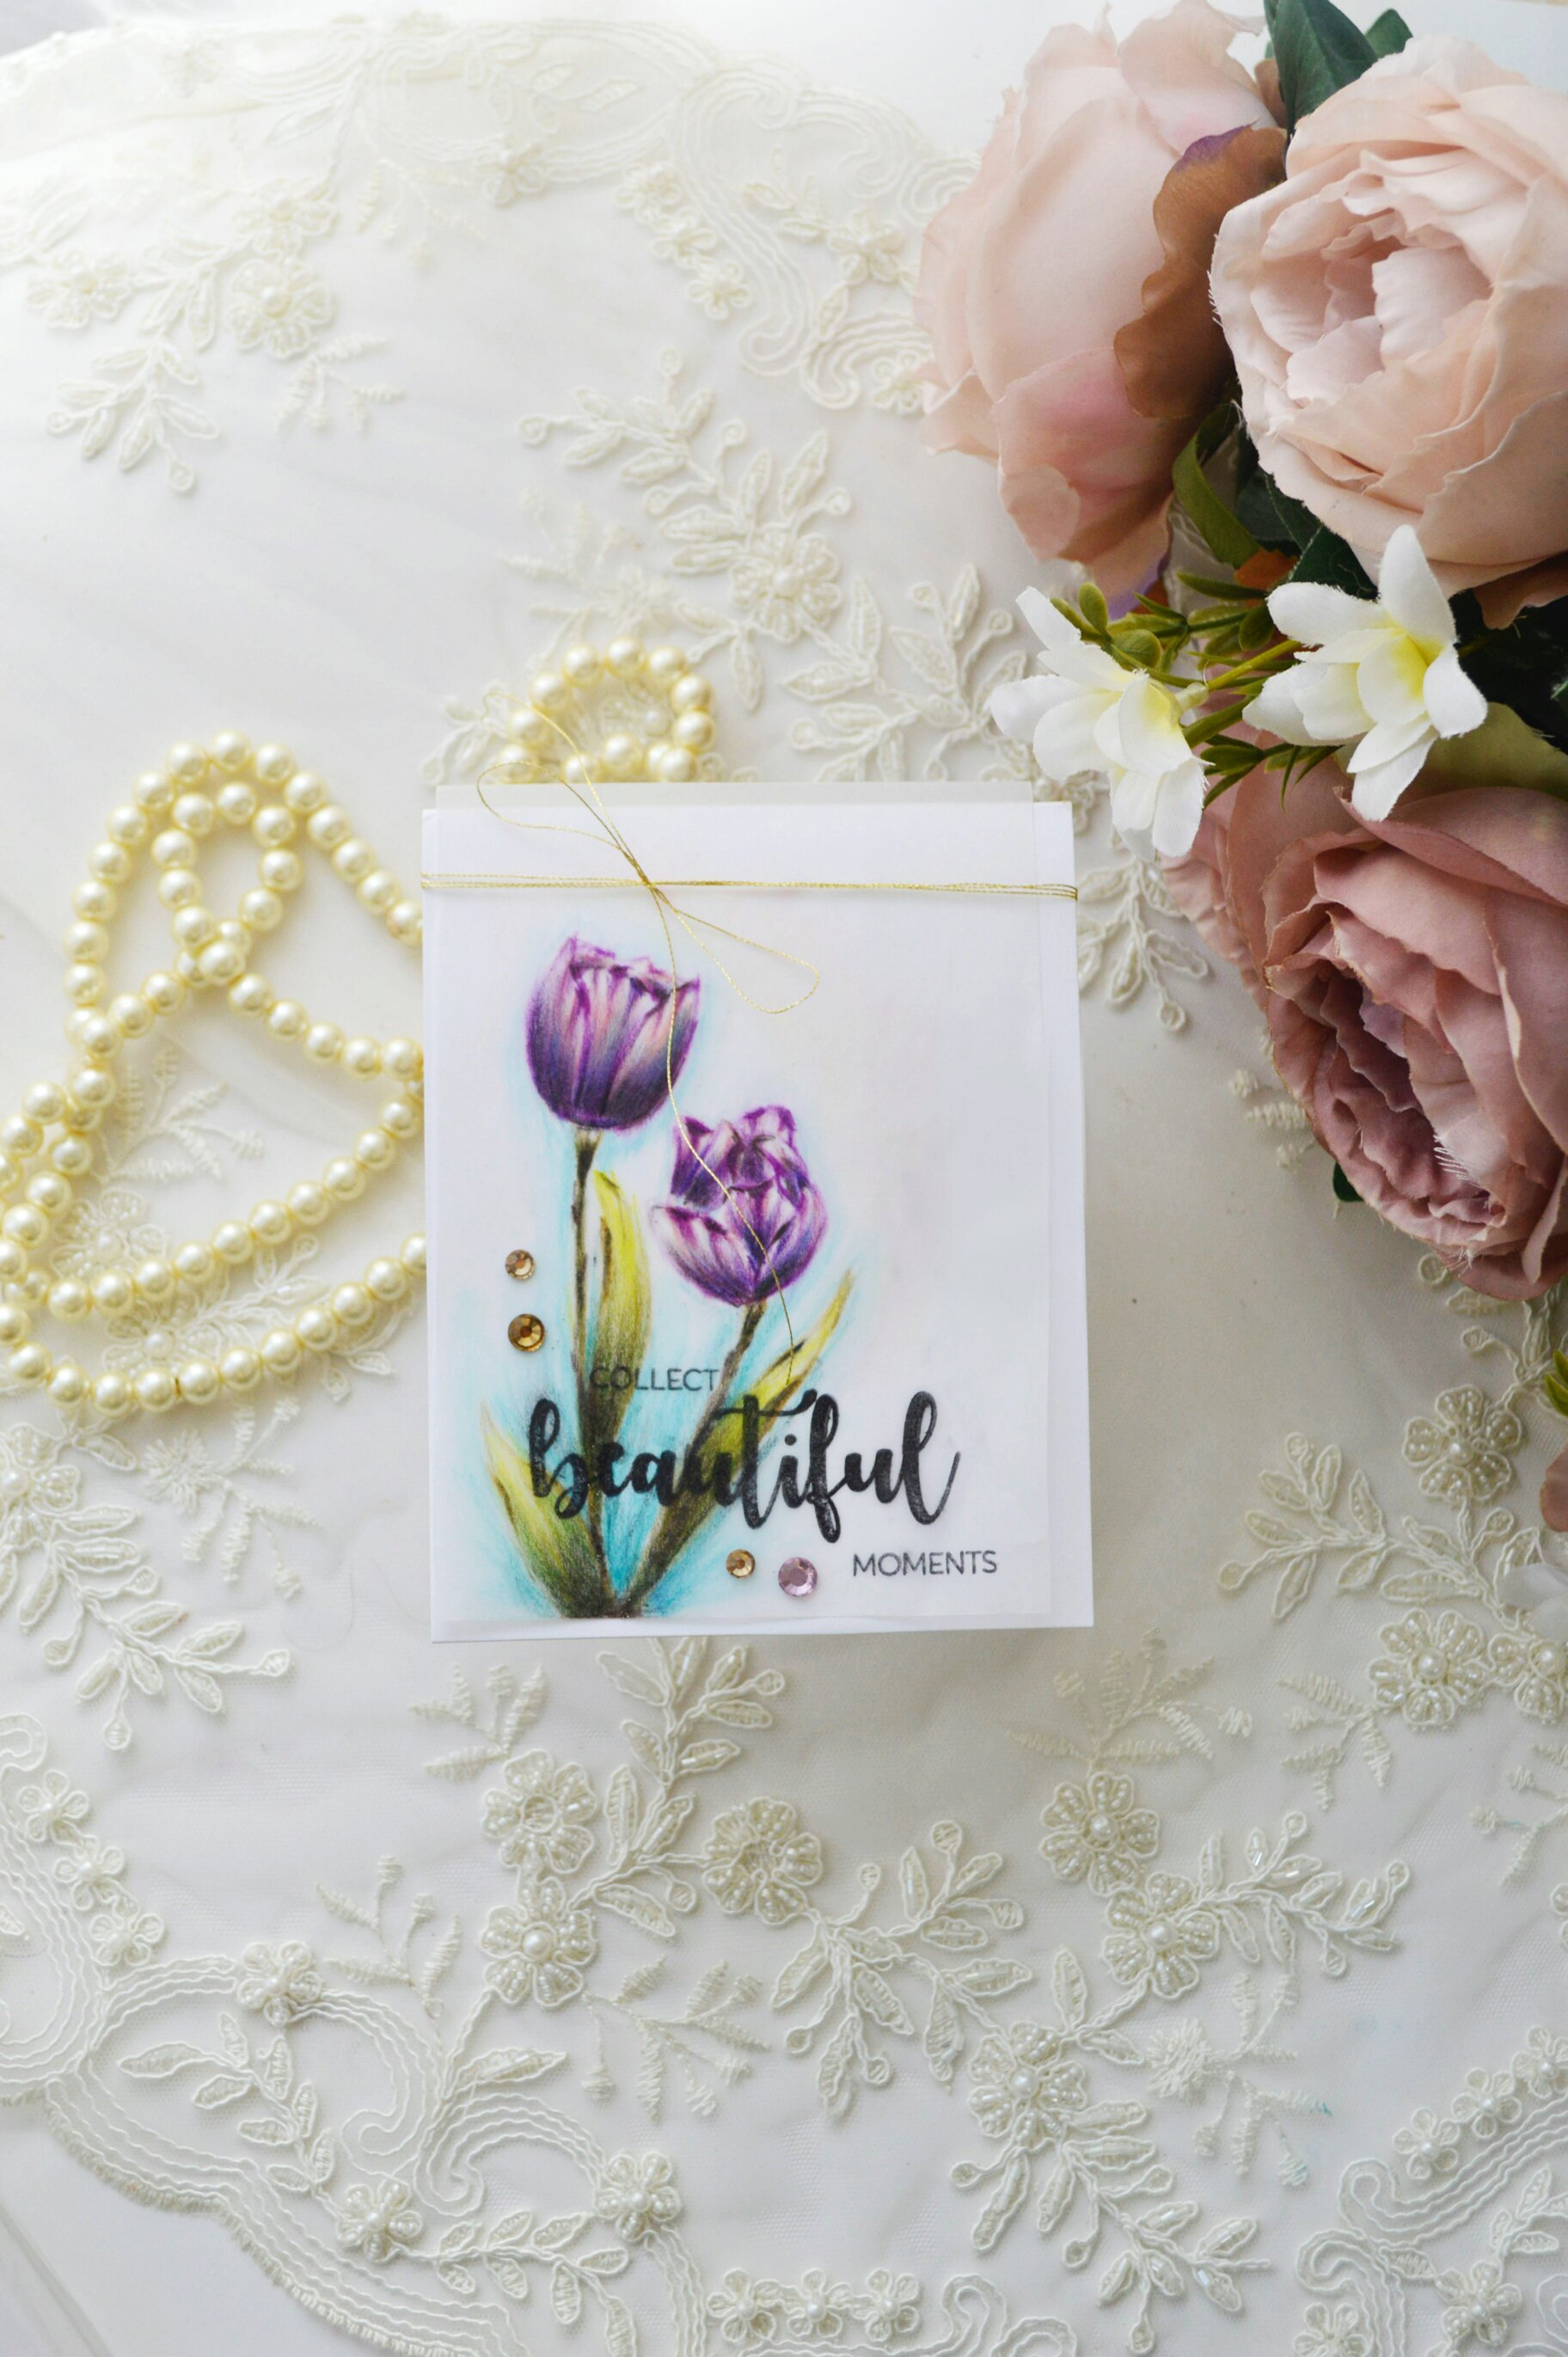
In my first card I colored over vellum then I placed it over a white cardstock . Here is some tips for who I made this card
* used a heavy vellum and I folded it as I fold my cards that opens up .
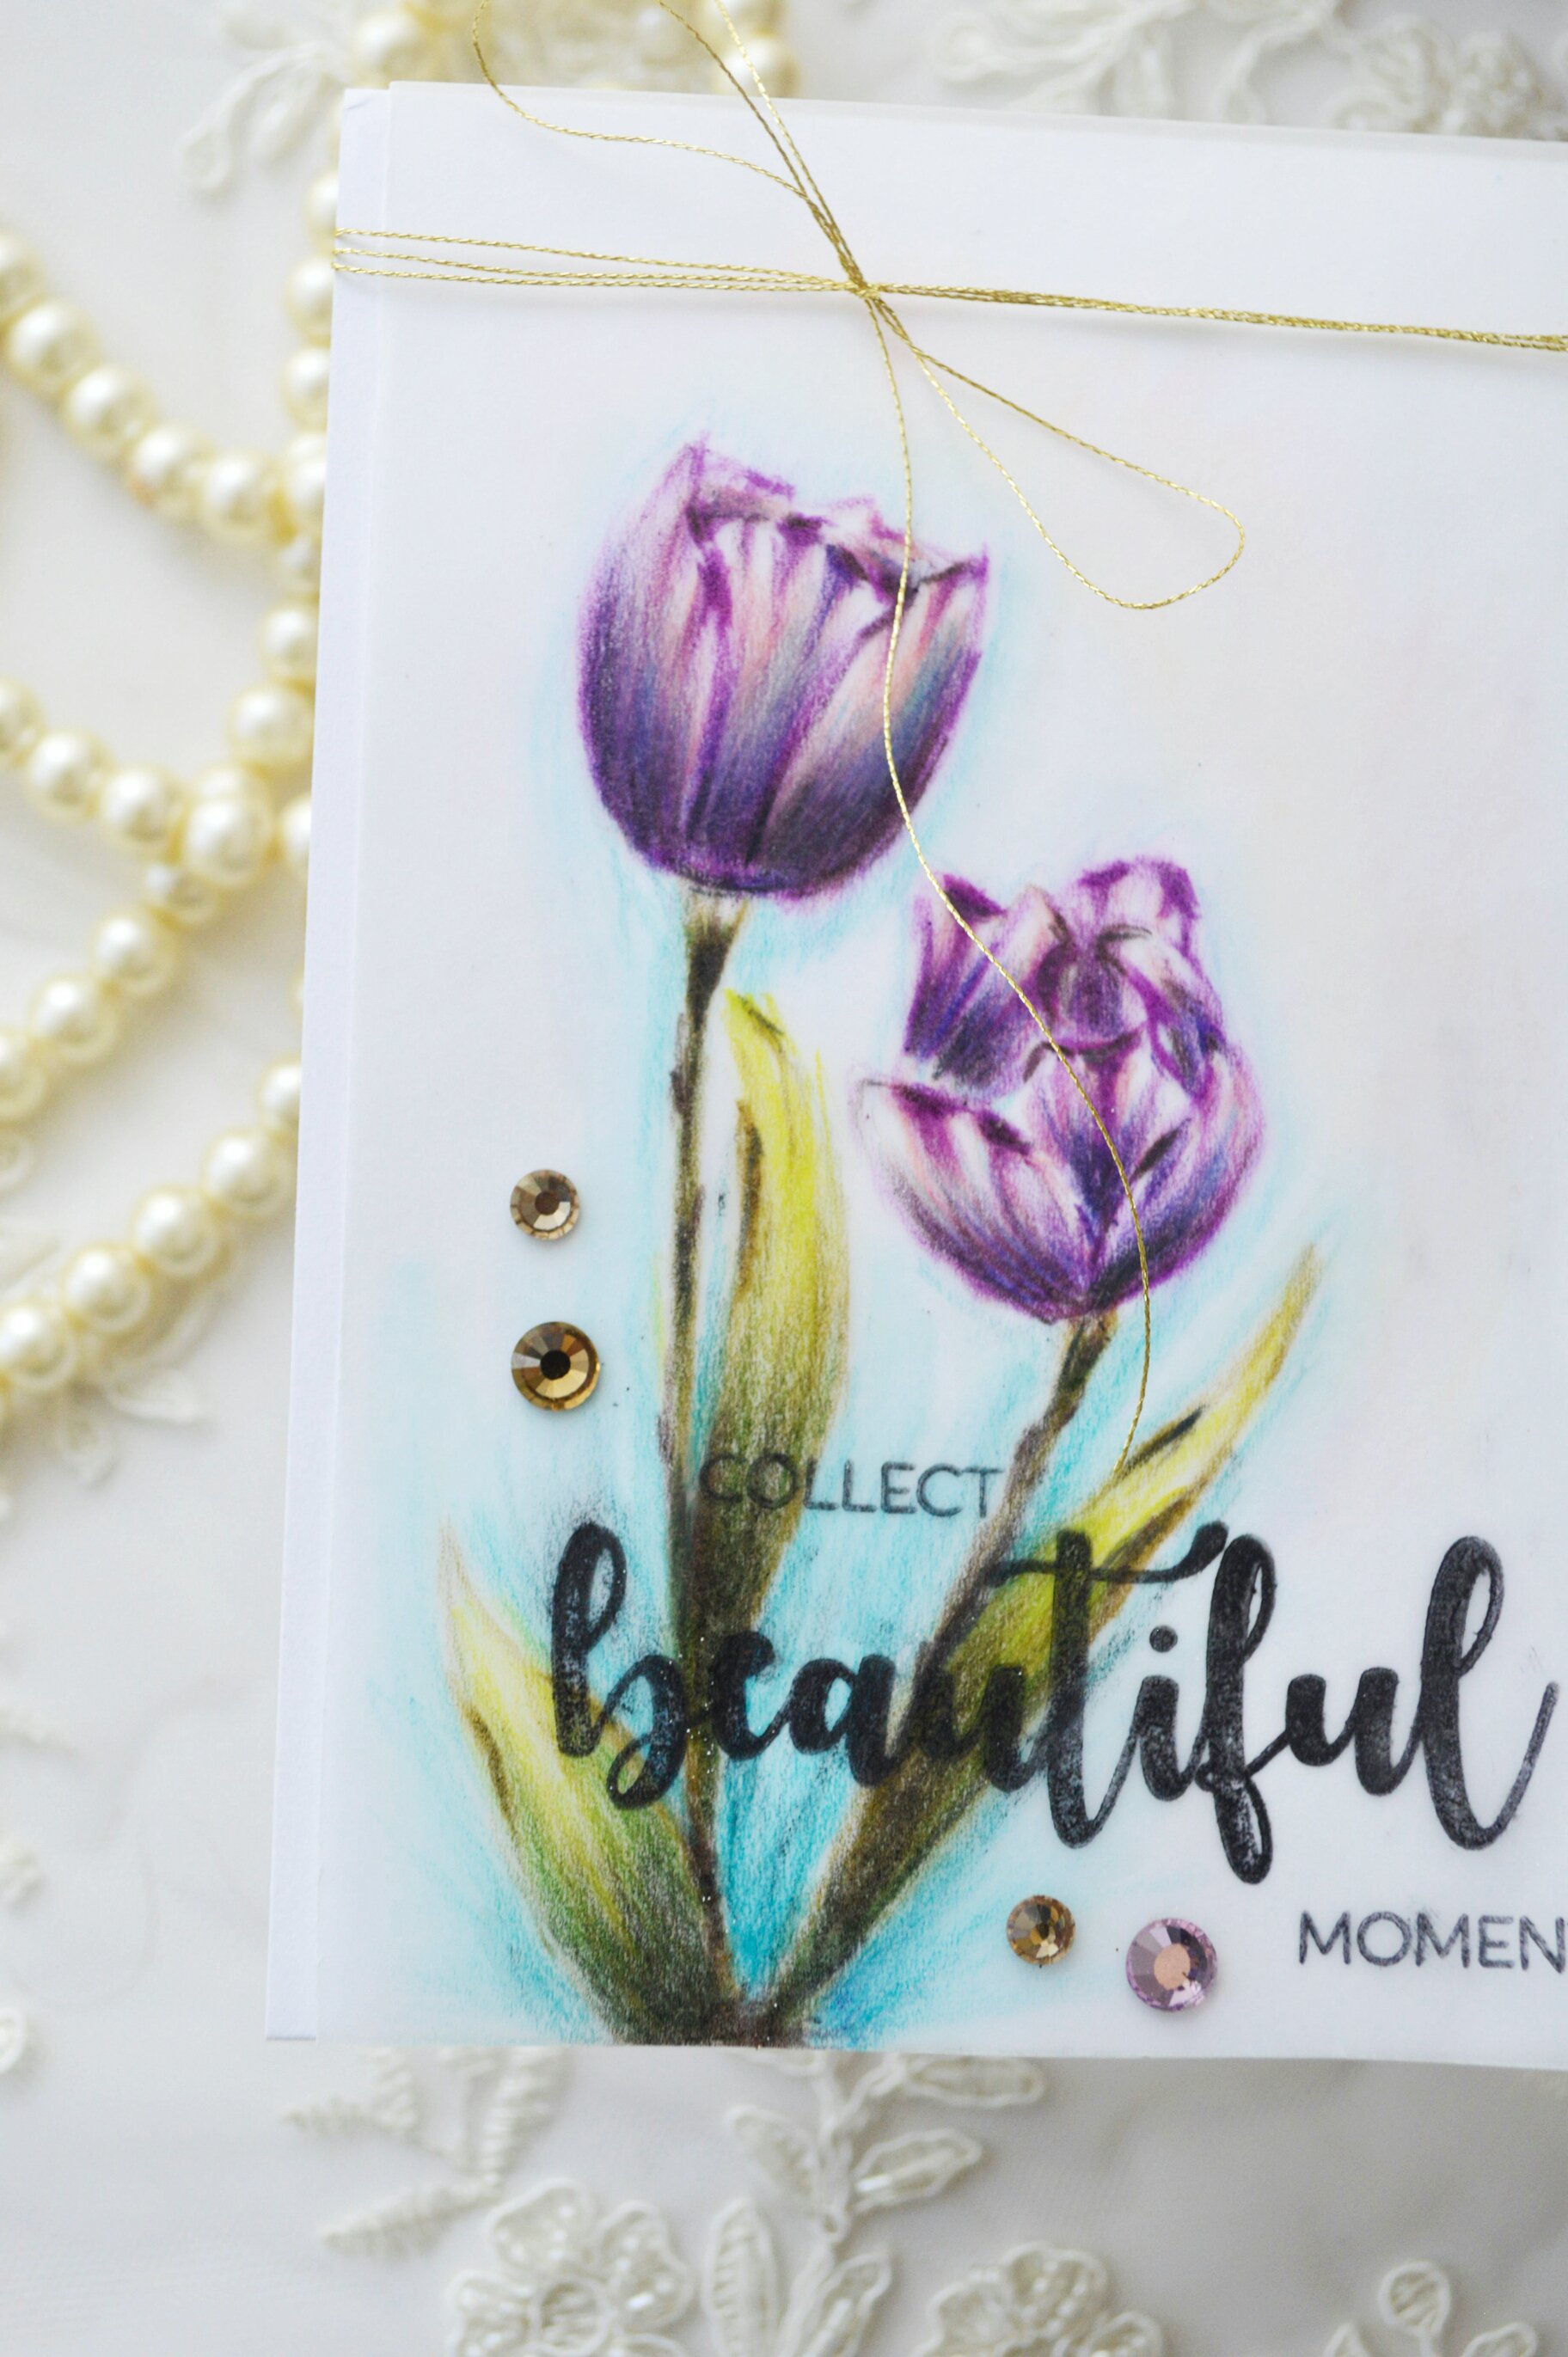
* for my no line coloring , I stamped my image for these two tulips flower from winnie and walter In Bloom Addie's Garden stamp set over a white piece of paper and I placed under the vellum , I secured them with washi tape after that I started to color .
* here in this card I used prismacolor pencils for coloring over vellum . Trying to blend many colors and added more details to the flowers .
*I was checking out every now and then who the images looks without the stamped background by placing a piece of white scrape under the colored vellum . Then adding more details on the vellum.
*I highlighted the images by adding blue pencil colors around the main image and blend them with blending copic to not leave any strike lines and get this
smooth look.
* I stamped the sentiment from the new release of winnie and walter In Bloom: Ashlee's Rosie Posies with Lydia Evans stamp set. using a dye ink , be careful because vellum tend to move with your stamping so you have to secure your vellum well in your stamping tool and I used my heat gun to fix the ink in the vellum and speed up the time .
* I placed the vellum over a standard sized folded to up white card stock.
* as a final details I added some gems at the bottom and gold thread around the upper part .
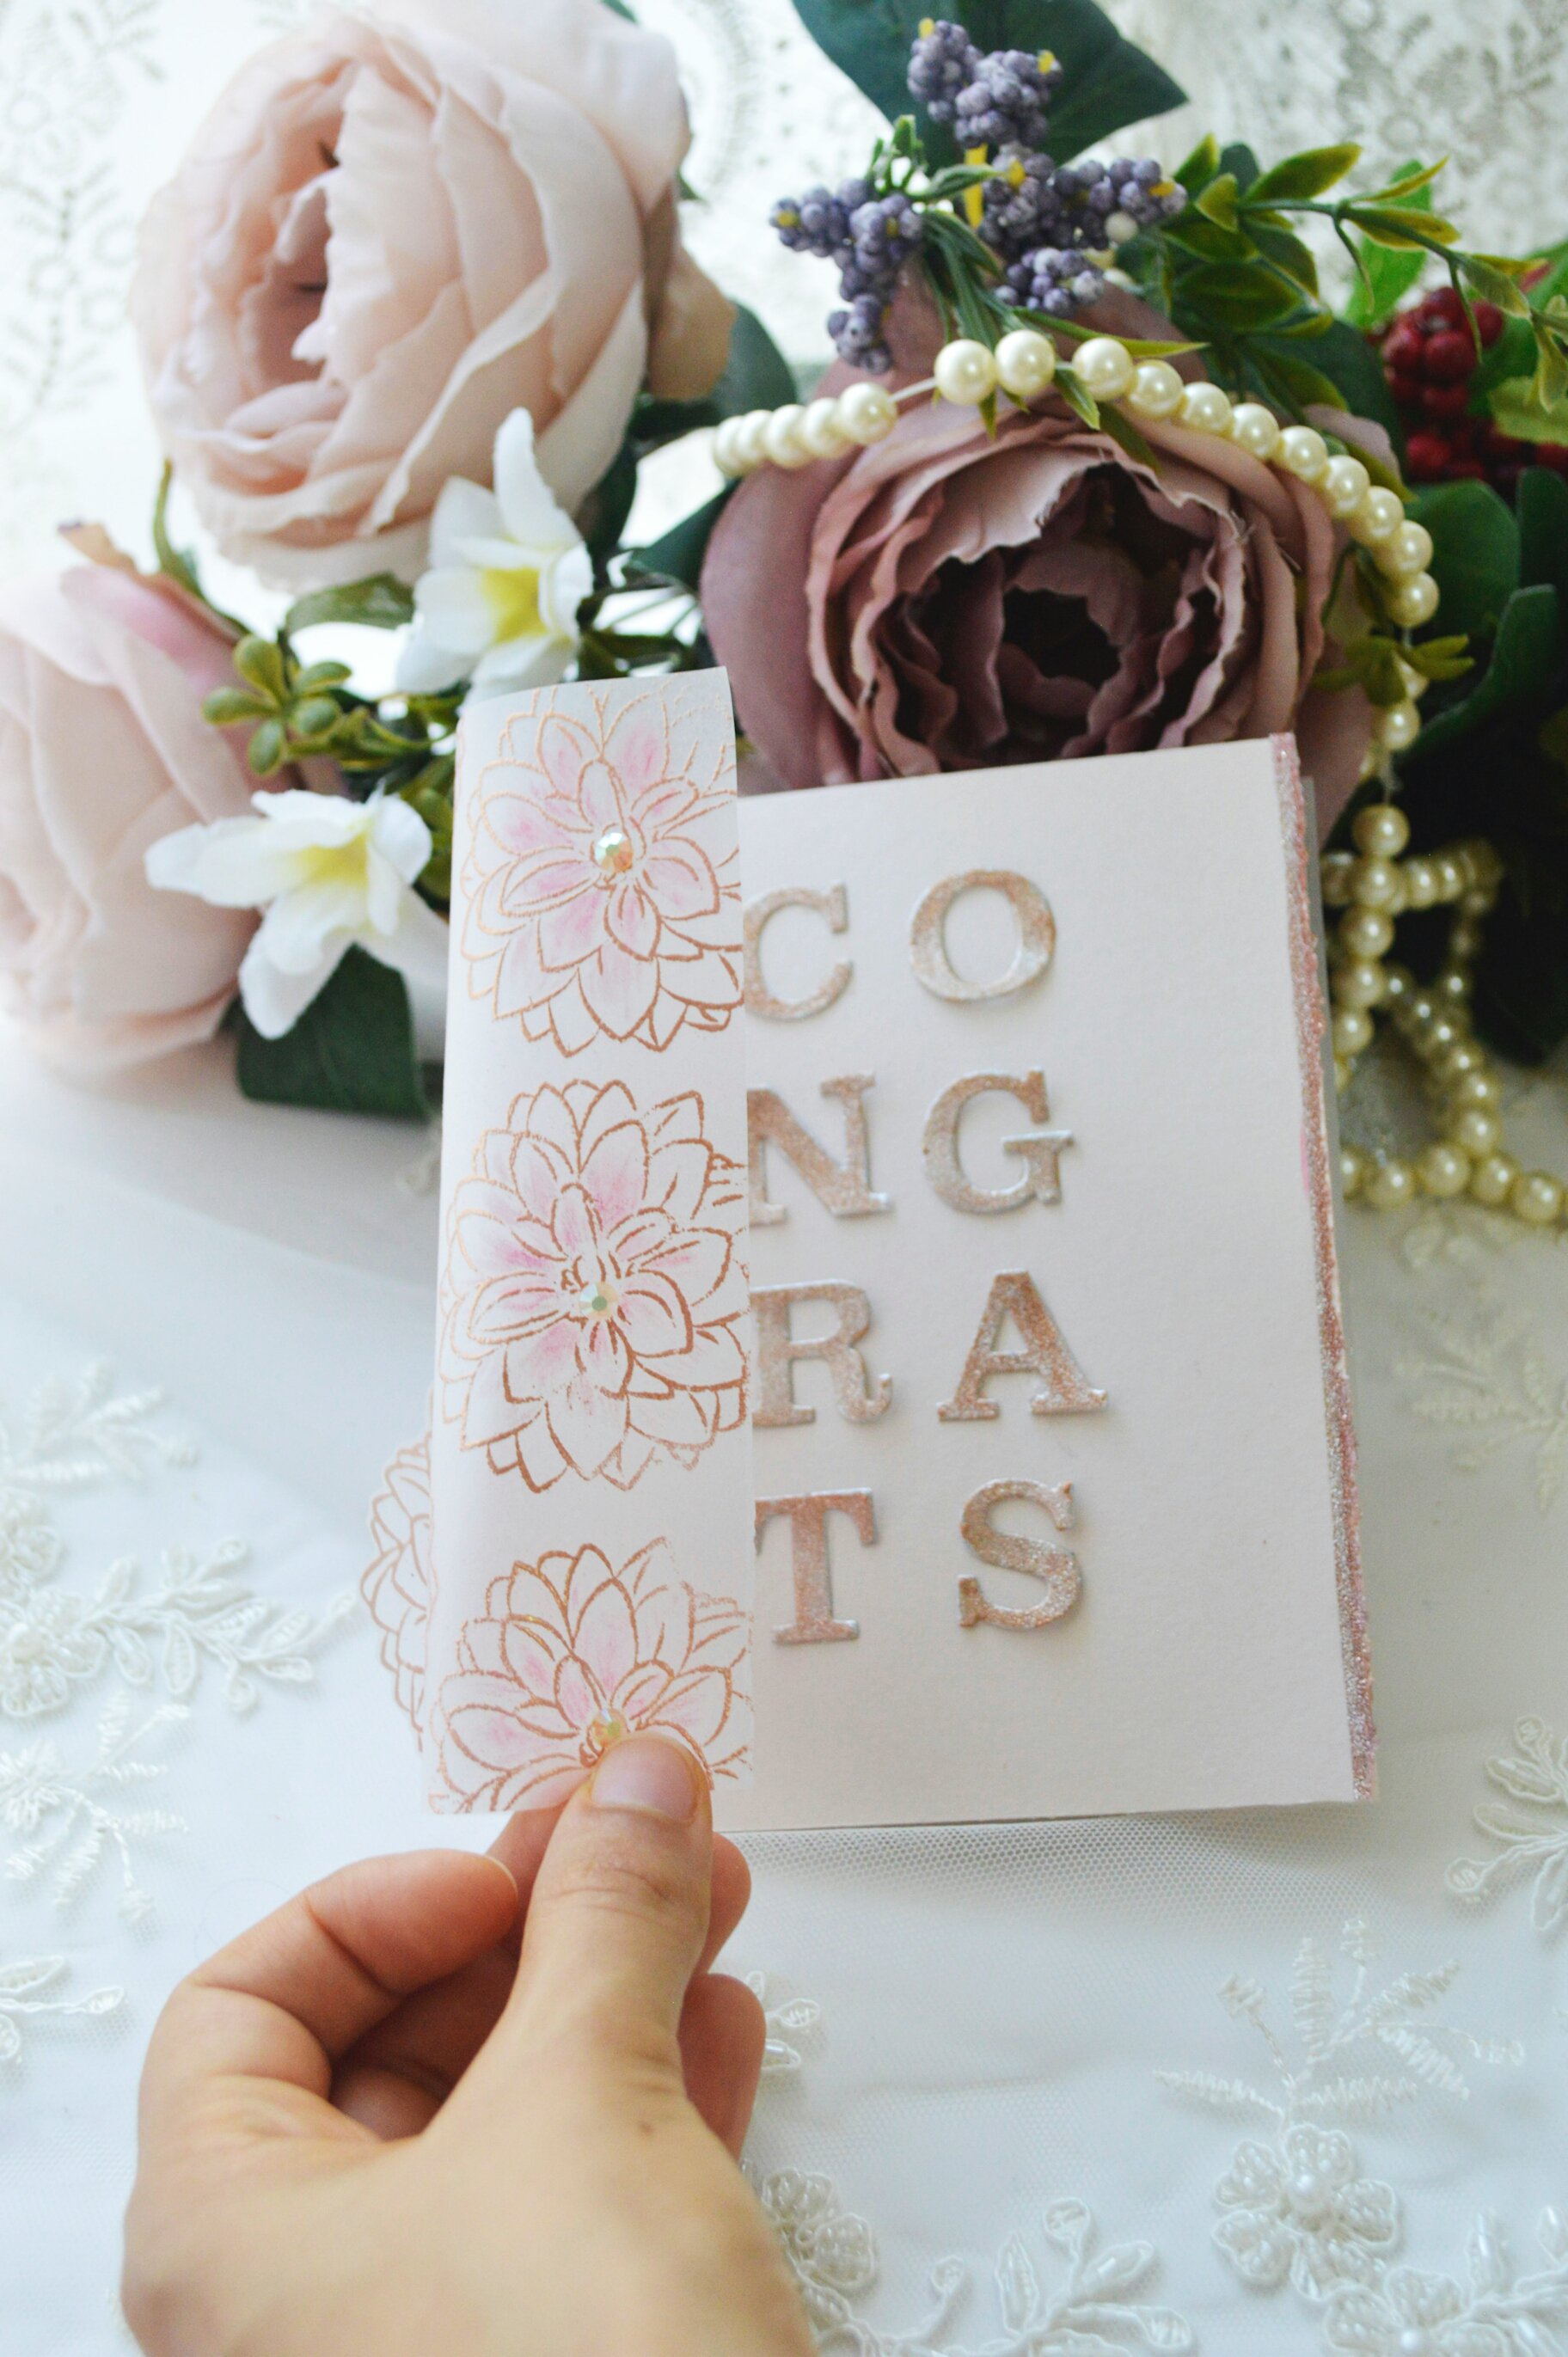
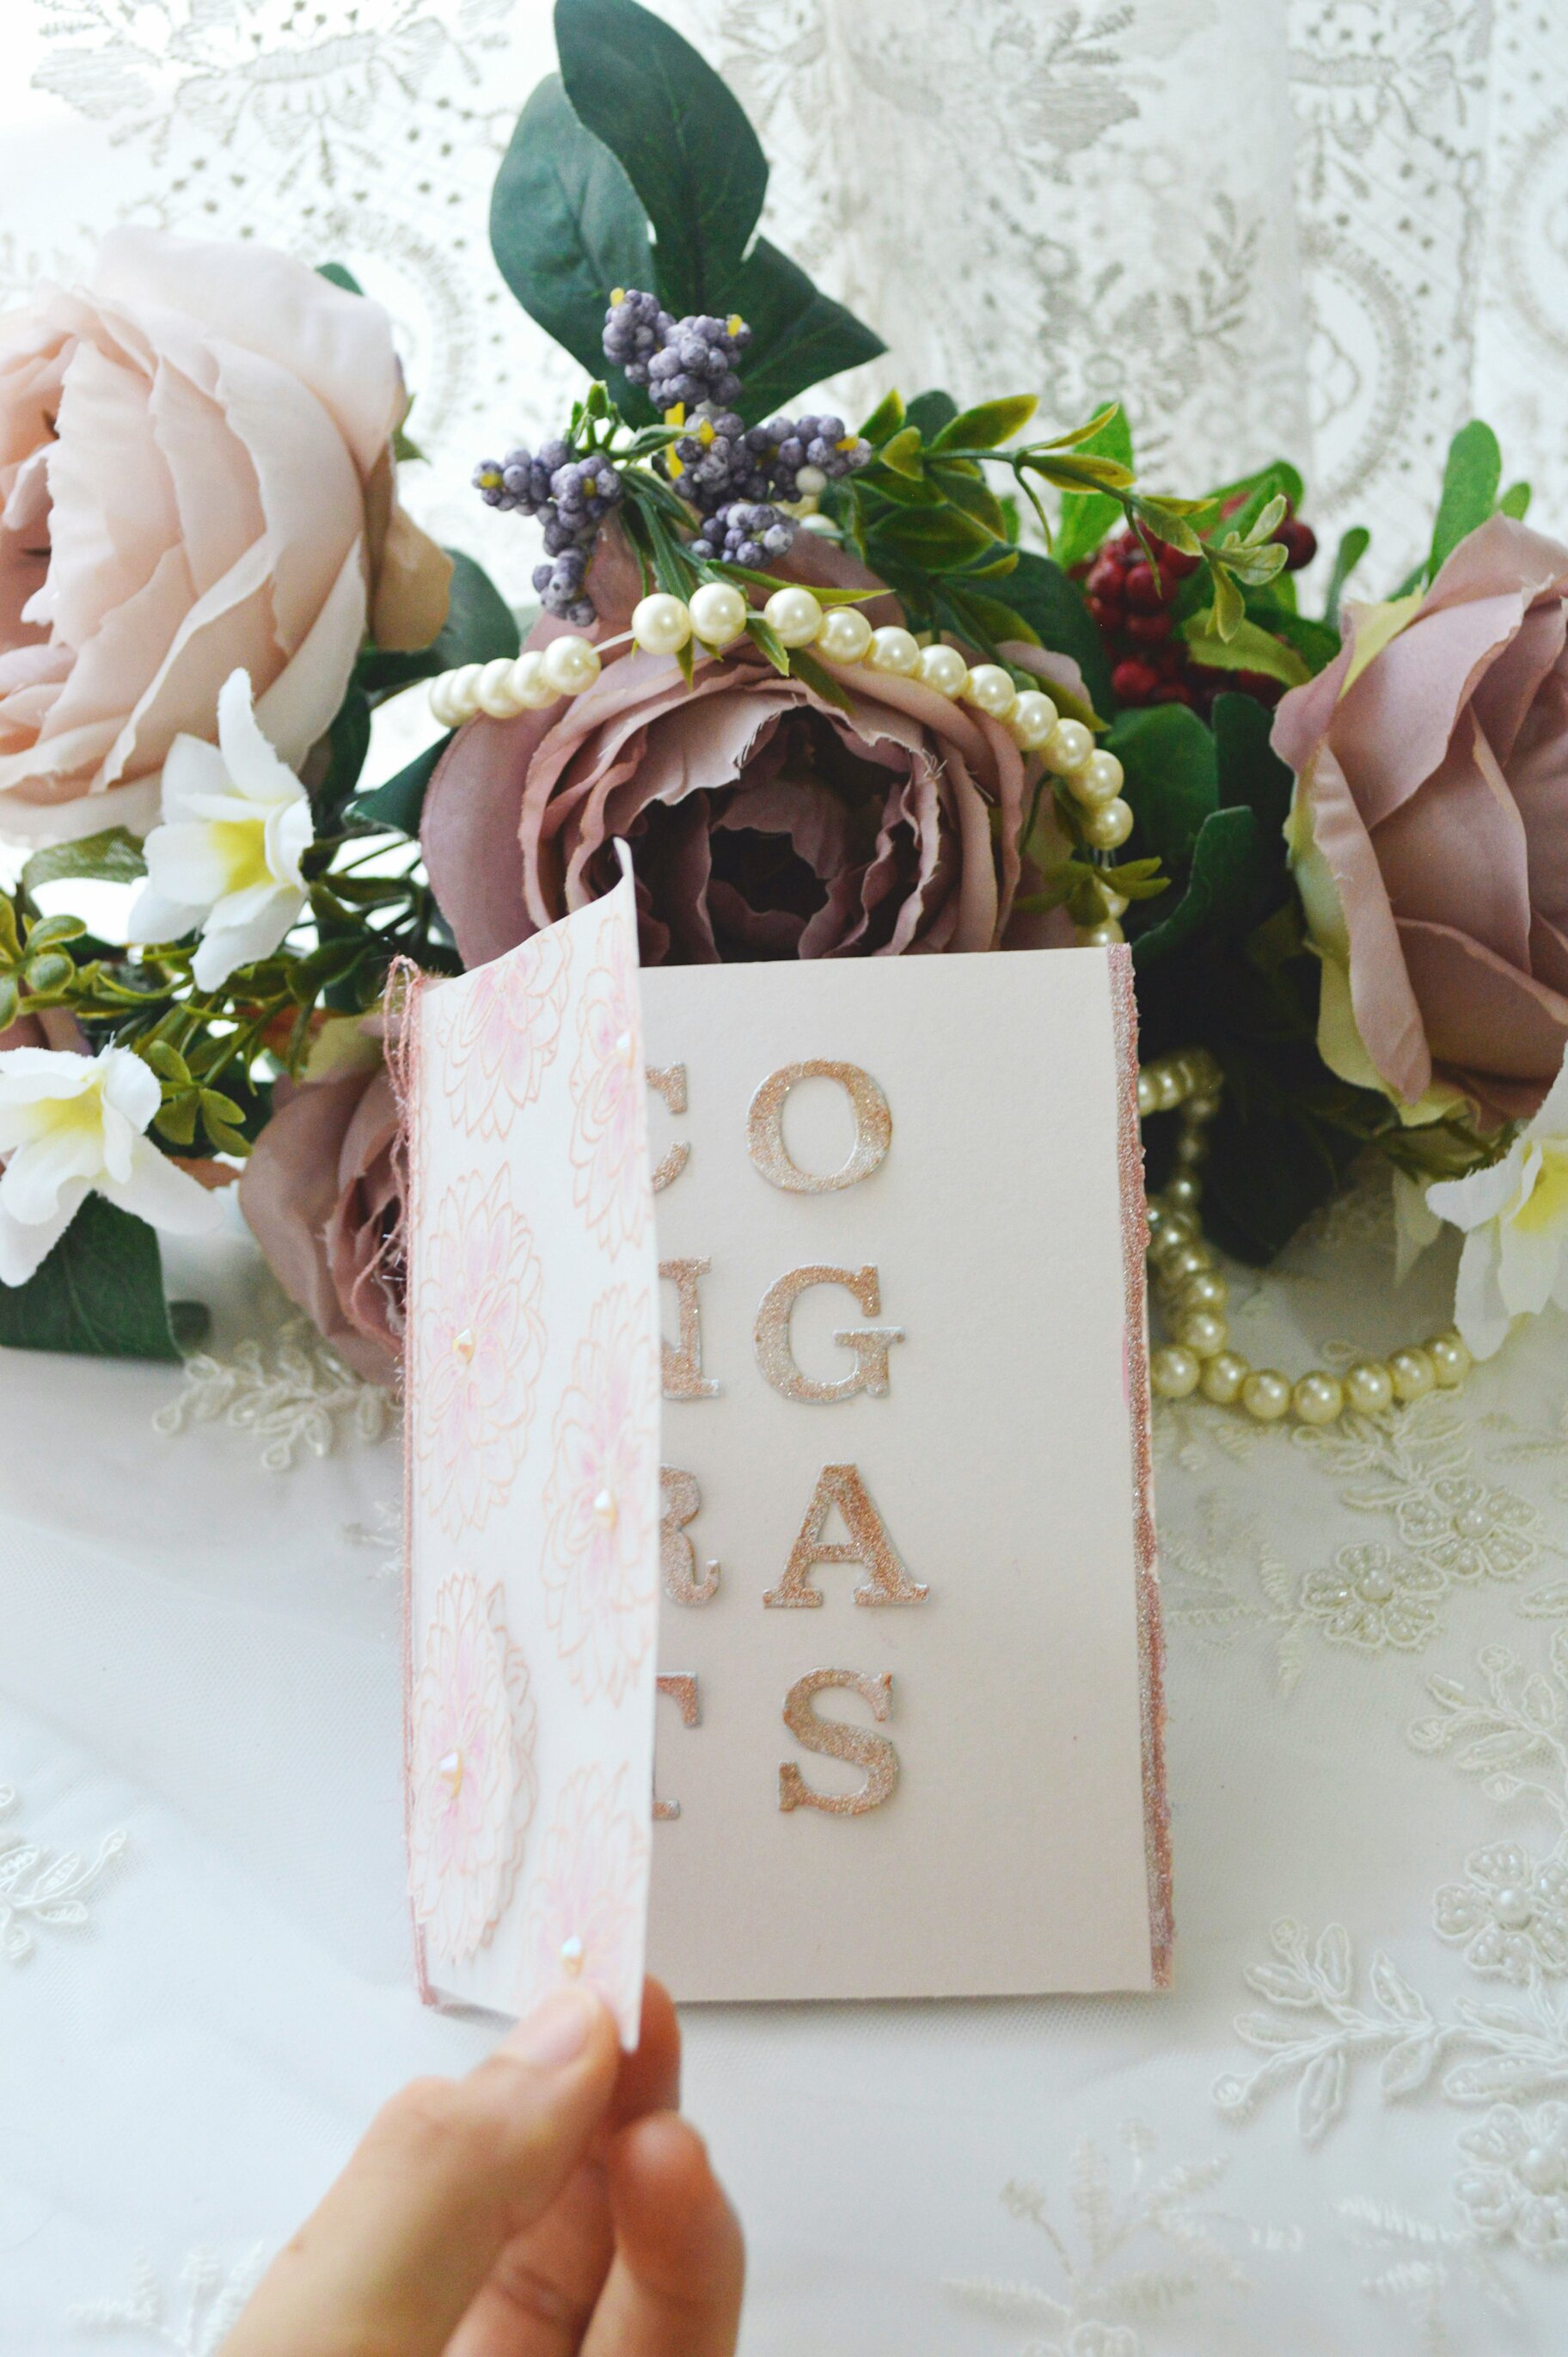
For my second card that open to the sided, I used embossing powder over vellum .
We all know how it is elegant to used while embossing powder over a vellum to create a wedding or elegant congratulations card . For this card I used golden beach embossing powder over a vellum then placed it over a light blush beachy cardstock .here is some tips describing who I made this card.
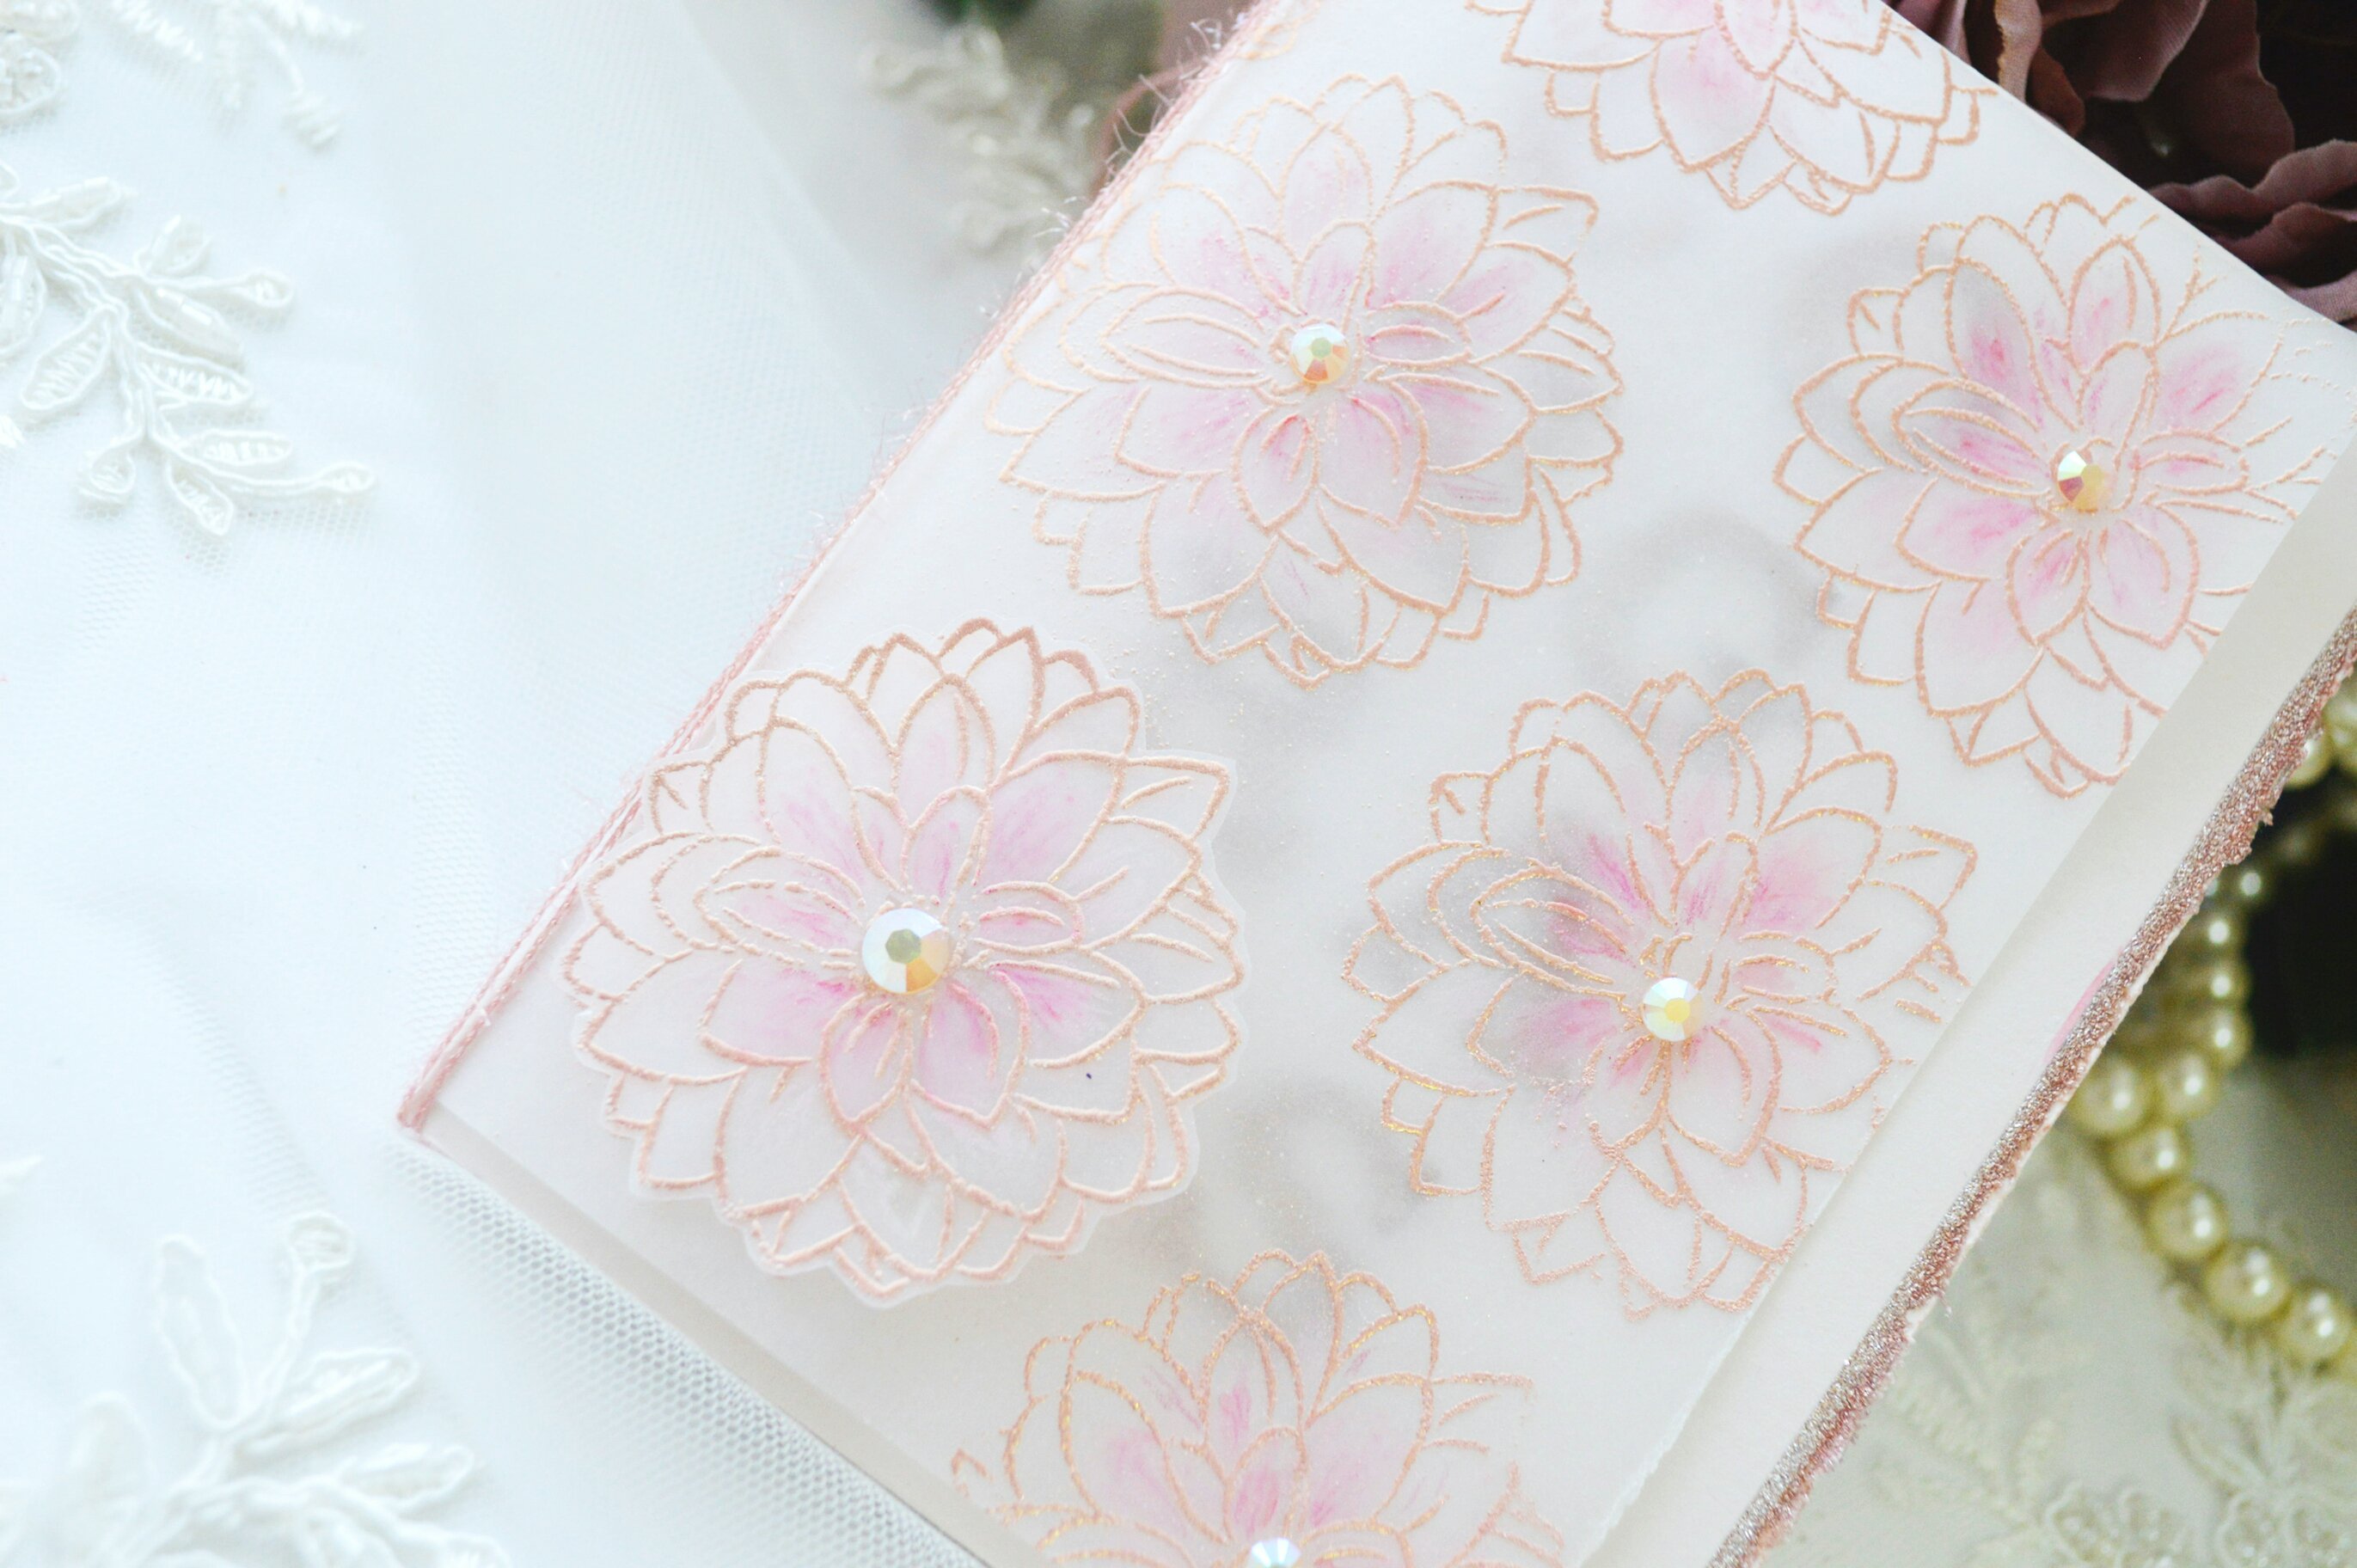
* in this card I used a medium weighted vellum and I folded to be standard size card open to the side * I applied some antistatic ( here is I used a baby powder ) on the vellum then I used versa fine ink to stamp the image from Winnie and Walter In Bloom: Addie's Garden stamp set then added the embossing powder over them.
* I found that when you applied good amount of the powder just over the image it will stick more over the embossing ink .
* I found one of flowers not having this sooth lining so I made another one in scrape of vellum and I cut it and added it to hide the one that I don’t like and to add more dimension to the card .
* I used prisma color pencils to add some details inside the flowers then I blend them with blending copic .
* I placed the vellum over a folded blush beachy card stock that open in the side then I cut with me hand a stripe of vellum to make a little border for the vellum part .
* I die cut these letters for congrats using winnie and walter Typecast: Cary Letter Cutaways . I used piece of silver glittery paper and I colored it with both peach and blush alcohol marker colors . I added a tiny piece of hand cut strip of this glitter paper to the main beech color card stock to match the die cut letter on the side .
* I added some gems on the flower as final touch details.
If you'd like a chance to win a $30 gift certificate to winnie and walter store( thanks Shay for providing this giveaway it's too kind of you ) , kindly leave a comment on all of Leading Lady post at my blog maryams craft . I will randomly draw a winner from all of the comments and announce the winner on October 2nd .
Thanks for joining me this week , I hope you liked these two cards and get inspired. I Can't wait to meet you next week with another theme creations . Have an amazing weekend.