Happy February! I am so excited for this special month as it's our birthday month so we have lots of challenges. Speaking of challenges and special we have an incredible February Leading Lady to introduce you to today: Rosali!
I have been awed by Rosali's projects ever since she began entering our challenges. I love how thoughtfully and beautifully designed each of her cards are and I can't wait to see what she has in store for us this month and in honor of our birthday month we're doing something a bit different this year and including a challenge to you on each of Rosali's posts this month. See the end of this post for more details and to link up!
Please give Rosali a big round of applause to welcome her as she steps onto the stage for her first performance as our February Leading Lady!
I have been awed by Rosali's projects ever since she began entering our challenges. I love how thoughtfully and beautifully designed each of her cards are and I can't wait to see what she has in store for us this month and in honor of our birthday month we're doing something a bit different this year and including a challenge to you on each of Rosali's posts this month. See the end of this post for more details and to link up!
Please give Rosali a big round of applause to welcome her as she steps onto the stage for her first performance as our February Leading Lady!
Hello everyone!
It's Rosali and I am super excited to be joining Winnie & Walter as their Leading Lady this month!! Eep!! Shay is one of the most generous and kind shop owners in the industry with lots of amazing products and I am honored that she asked me to guest design!!

For those of you who don’t know me yet - I’m a 30-something crafter, I live in Northern Germany with my hubby and you might know me under my social media nickname ilovestamping. Because I just loooove stamping, hah! 😃 My little addiction with cardmaking started about 4 years ago and shortly after I joined Instagram and met so, so many wonderful crafters there. I also started my own blog last year! I love to connect with people from all over the world through this amazing hobby.
I am gonna have a blog post for you guys each Saturday during February and I thought I would focus on a technique that I use super often on my cards: masking! It’s a very versatile technique that helps you get the most out of your supplies! I am gonna concentrate on a specific way to use it every week. I am also gonna share Copic guides and a few tips on coloring alongside the masking techniques. Today's post makes a start in which I will show you two examples on how to:
USE MASKING WITH STENCILS
So let’s ‘dive’ right in, shall we? This is my first card:
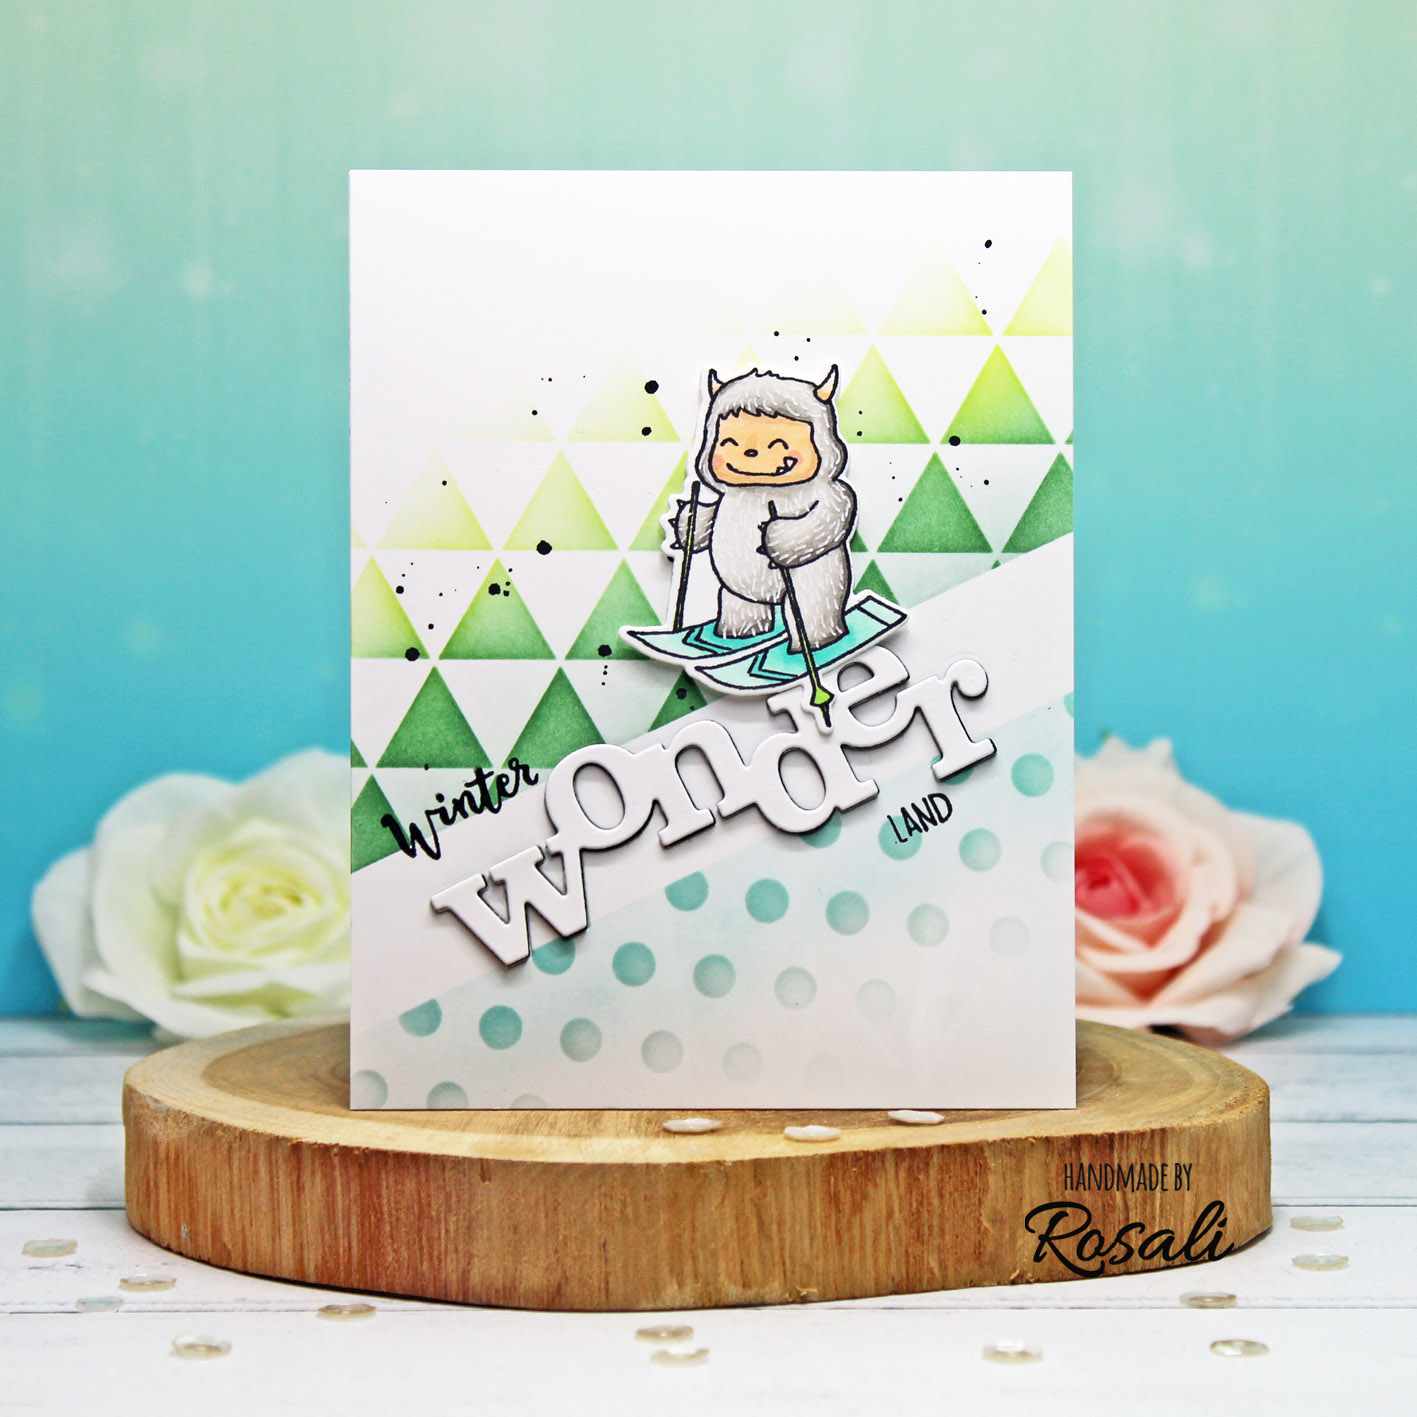
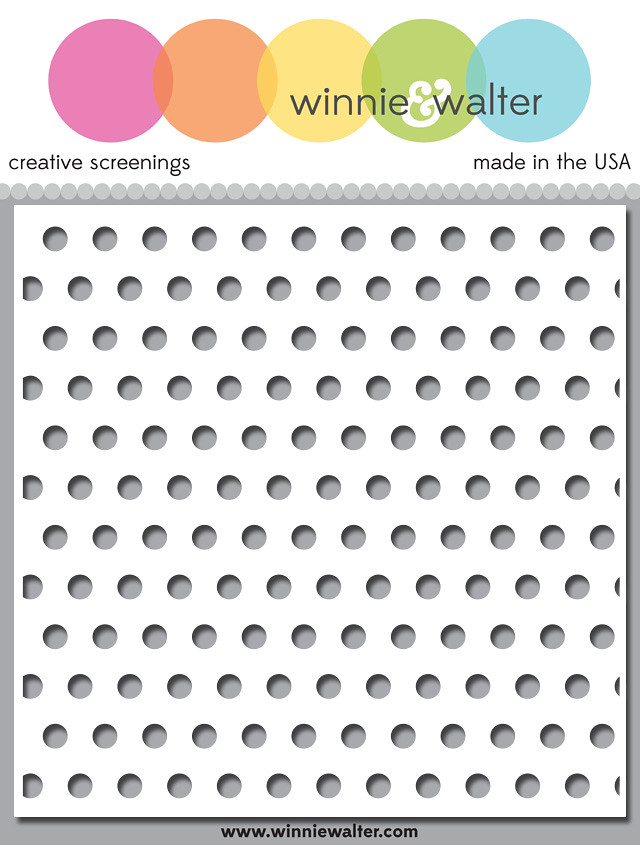
Here is how I used masking to create the background on this first card with the help of two graphic stencils - Polka Creative Screenings and Triangled Creative Screenings:
- I took a strip of Post-It Tape and put it across my cardstock panel at an angle to mask off the area for my sentiment. You can also use a strip of masking paper or a piece of painter's tape!
- First, I used light colored ink pads and a blending tool to add a minty base color above the tape and a light blue base color below the tape. This helped to define the borders of the masked area.
- After that I placed the Triangled stencil above my mask and inkblended three shades of green ink over it. I also added black watercolor splatters because I always love the artsy feel that it gives. 😊
- For the bottom part I took the Polka stencil and inkblended light grey ink over it.
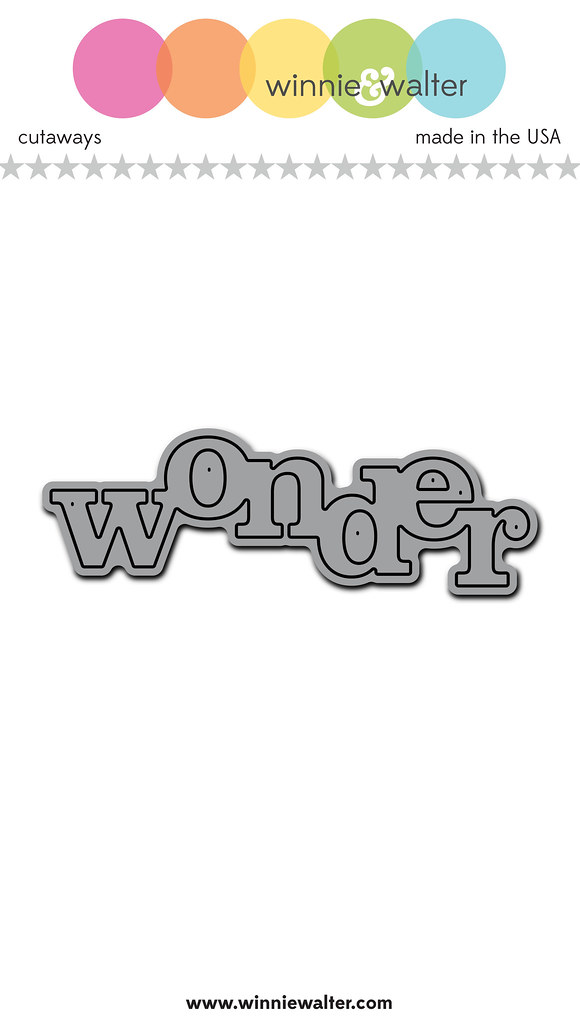
Removing the tape after you're finished is always an exciting moment! I was happy with the outcome and went on to design the rest of my card. I die cut the Wonder Cutaway once from white cardstock and once from black fun foam and glued both together for dimension. I adhered them onto the background.
In addition, I stamped "winter" and "land" from one of the sentiment stamps from Yetitide Greetings to create my "winter wonderland" sentiment. To mask off the parts of the sentiment stamp that I didn't need I used a piece of washi tape when inking up the stamp! Just remember to remove the washi before stamping on your project (ask me how I know lol) ...

The skiing yeti from Yetitide Greetings was the perfect critter for my card. I colored him with Copics (see coloring guide below) and adhered him using foam tape. If you use your imagination it kind of looks as if the white masked strip could be a snowy hill and the green triangle pattern could be trees!
For my second card, I followed a similar idea:
I wanted to use the Triangled stencil to represent mountains on my background. To get that look, I used Post-It Tape once more - this time putting it onto the stencil instead of the cardstock. I masked off a bigger triangle on the Triangled stencil to use as a mountain and took light blue and teal Distress Oxides for inkblending over the stencil. Using this method, I added three mountains onto my grey background panel.
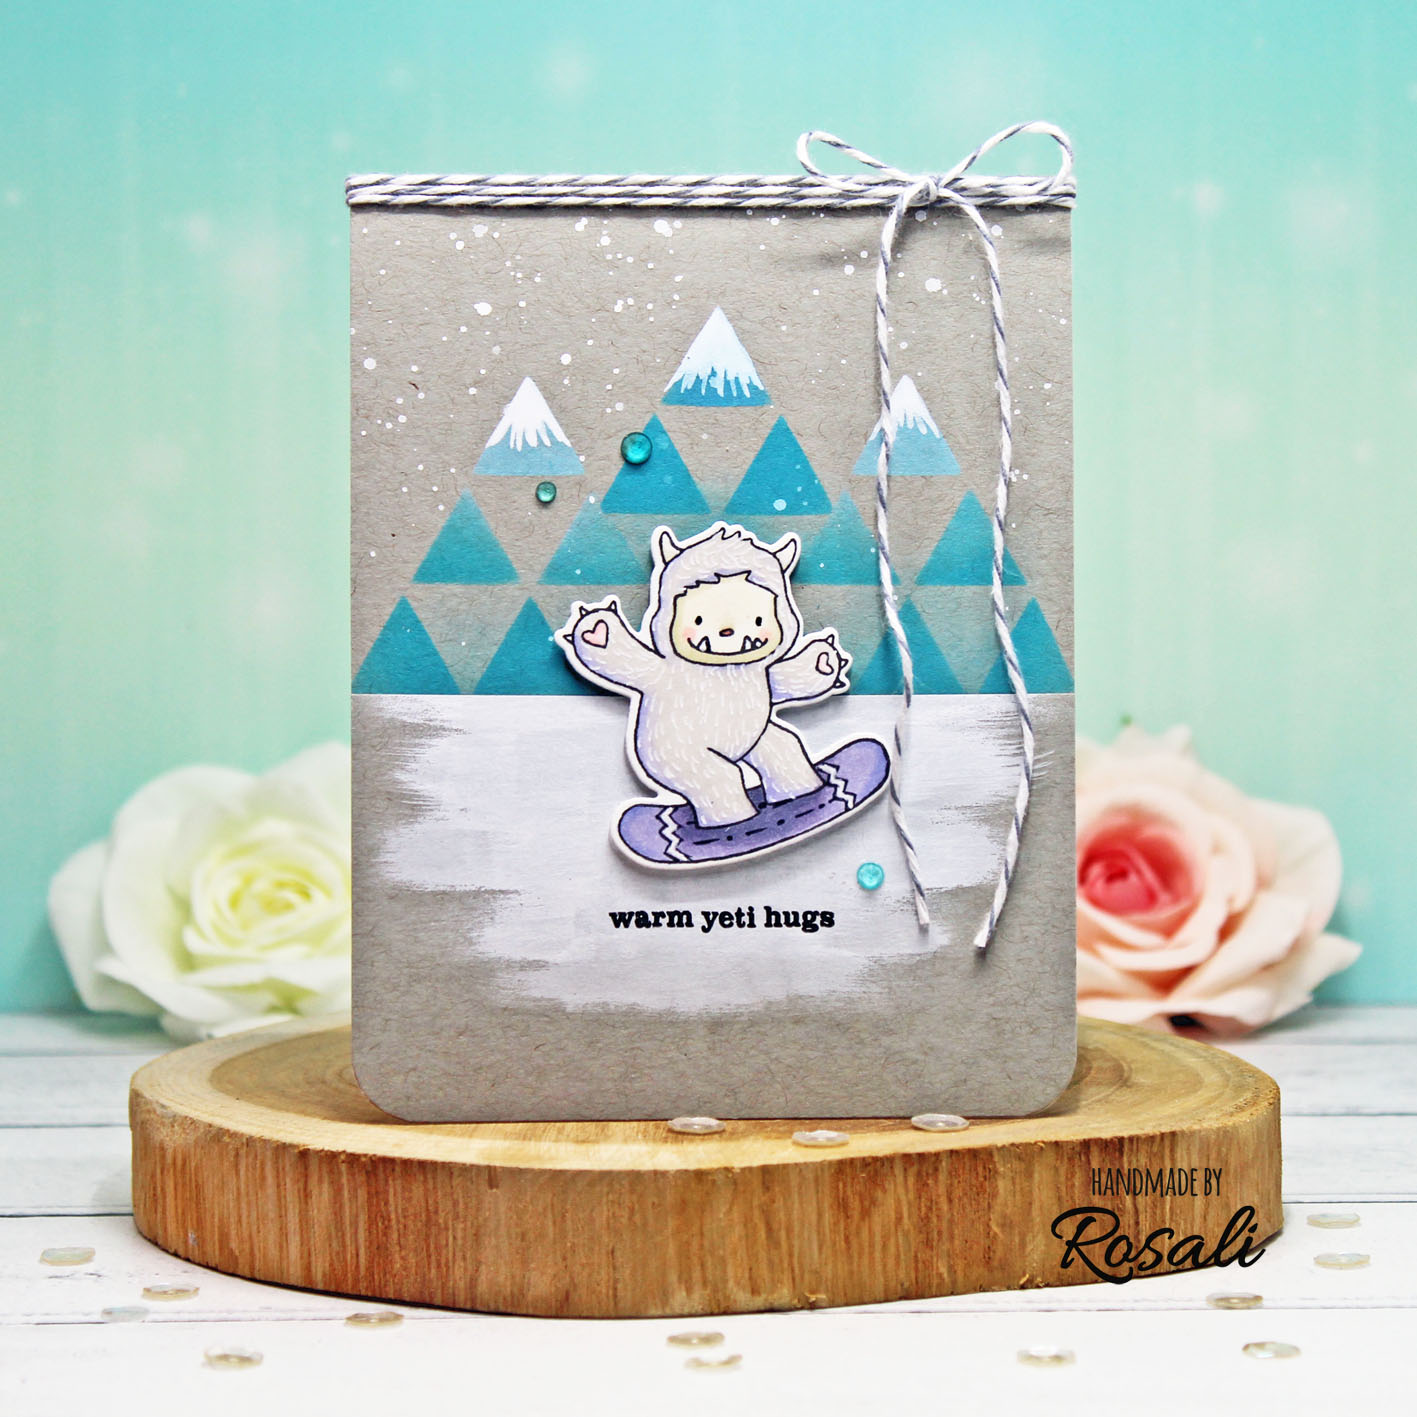
Then I took Copic Opaque White paint to
- give my mountains snowy tips,
- add small splatters as snowflakes and
- paint on a snowy ground (with a damp / rather thirsty flat brush - to get the painted look that I wanted)
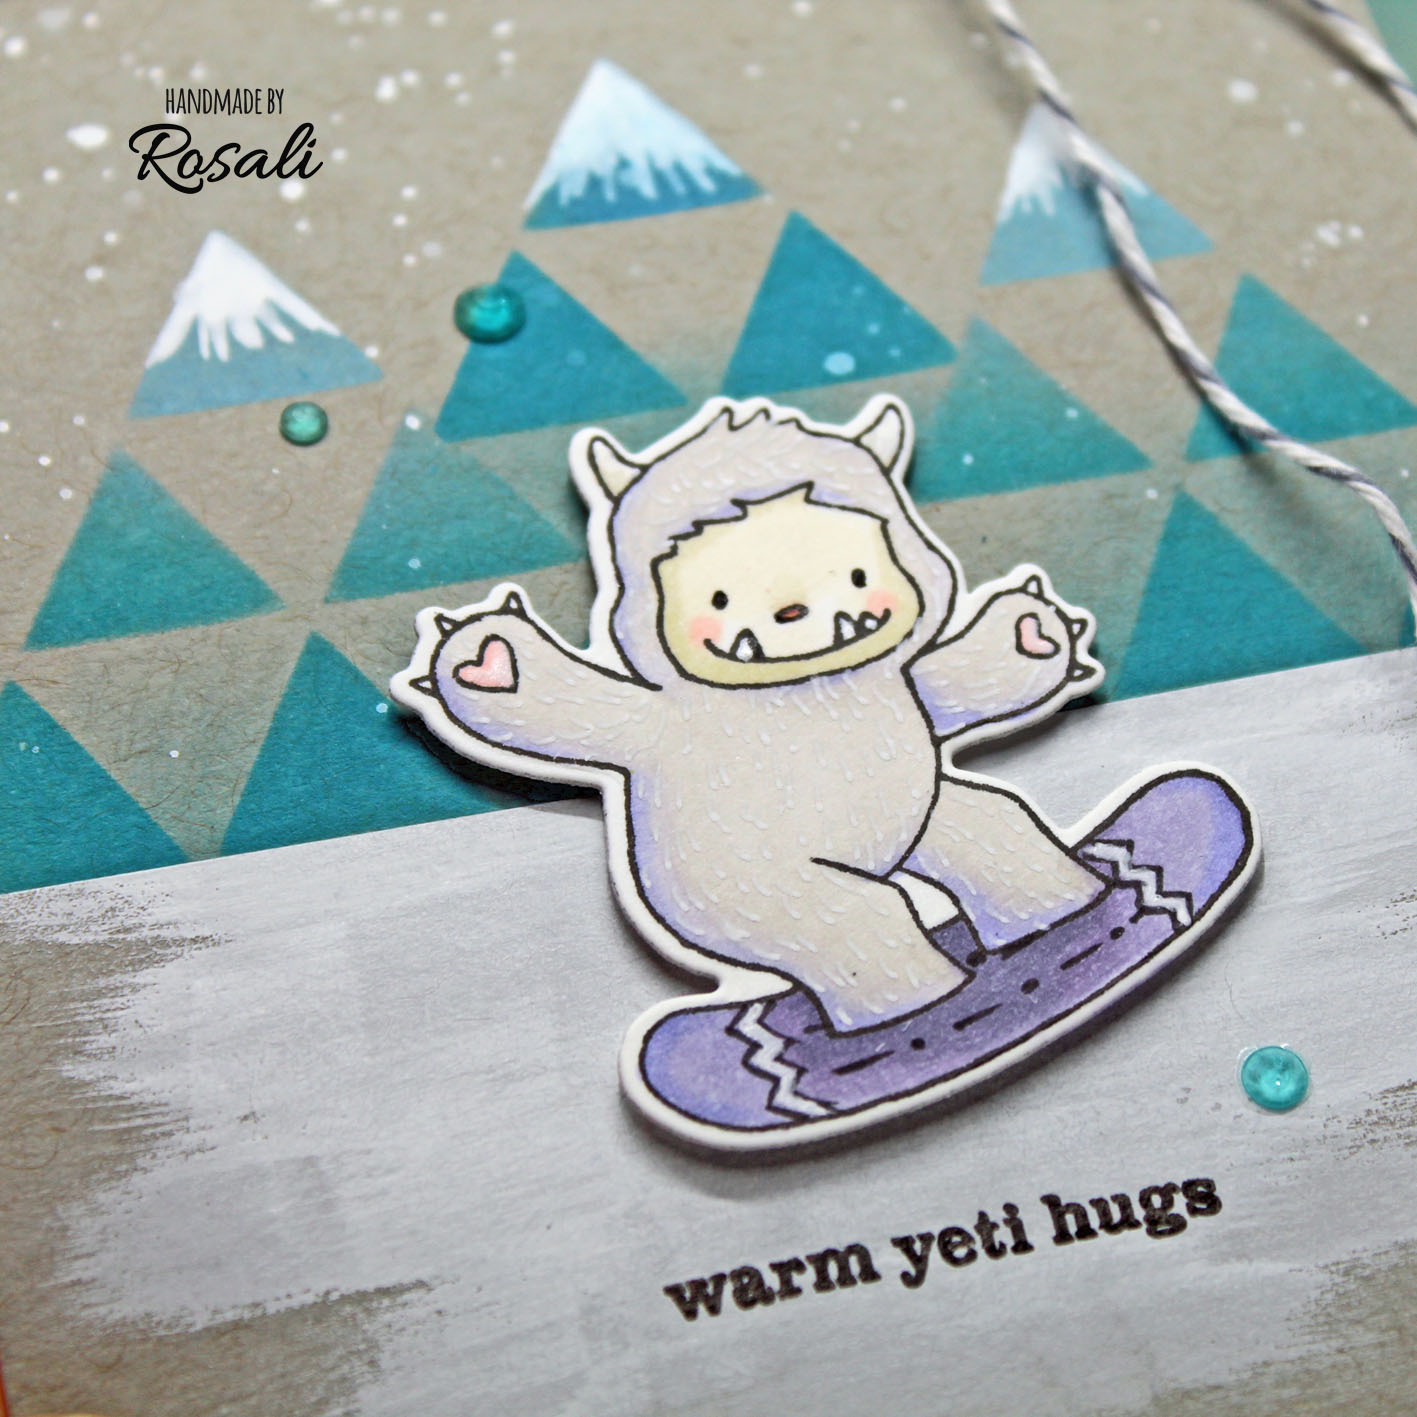
The snowboarding yeti and a small "warm yeti hugs" sentiment from Yetitide Greetings made my winter scene complete. Instead of plain grey I added a tint of lilac to my yeti this time. I really like the teal and lilac together in front of the grey card front!
CARD CLOSE-UP:
COPIC GUIDE & COLORING TIPS:
Card 1
Yeti’s face: E51, E21, R20
Yeti’s fur: 0, W1, W3, W4, W5
Skis & ski poles: G000, G00, BG13 & YG03, YG13
Yeti’s fur: 0, W1, W3, W4, W5
Skis & ski poles: G000, G00, BG13 & YG03, YG13
Card 2
Yeti’s face: YR30, E81, R20
Yeti’s fur: W1, BV02, V20, V22
Snowboard: V22, V25, V28
Yeti’s fur: W1, BV02, V20, V22
Snowboard: V22, V25, V28
TIP 1: For an easy fur look, add small flicks over your Copic coloring with a white gel pen!
TIP 2: Add patterns to the skis and snowboard with a Memento Marker for some extra interest.
I hope I have given you some inspiration today! Thanks for reading all the way down. :-) And don't forget to hop over to my blog and leave a comment over there as well. Winnie & Walter has generously sponsored a 30 $ gift certificate for one of you to win!
See you next week! ♥
Rosali
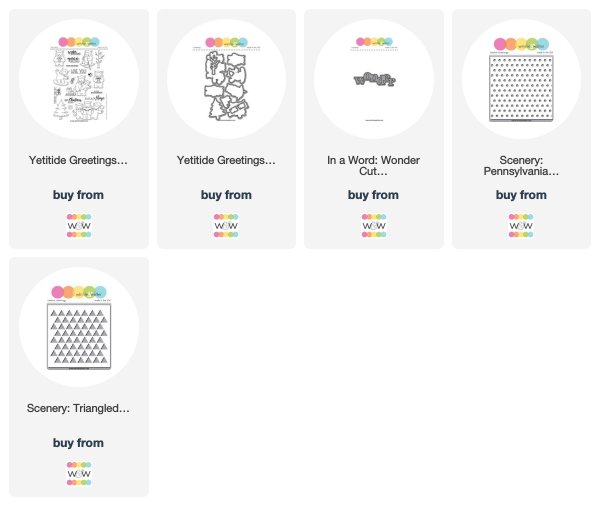
USED SUPPLIES:
Winnie & Walter stamps, dies and stencils:
Yetitide Greetings with Evelin T Designs Stamp Set
Yetitide Greetings with Evelin T Designs Cutaways
In a Word: Wonder Cutaway
Scenery: Pennsylvania Polka Creative Screenings
Scenery: Triangled Creative Screenings
Yetitide Greetings with Evelin T Designs Cutaways
In a Word: Wonder Cutaway
Scenery: Pennsylvania Polka Creative Screenings
Scenery: Triangled Creative Screenings