Welcome lovelies to our first monthly Rerun!
Each Rerun will provide plenty of inspiration focusing upon a featured product, a month-long sale on the featured product and a challenge.
For our first Rerun we are concentrating on
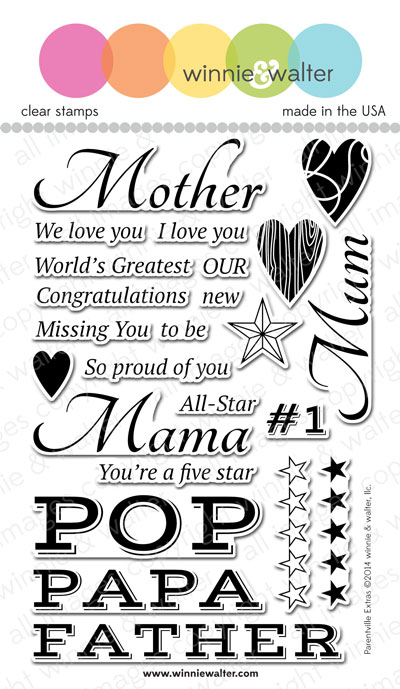
Parentville Extras. With father's day just around the corner this set should come in handy. You aren't limited to father's day and mother's day as this set includes sentiments and images that are pretty basic and can work in many different ways. If you miss the word "mom" and "dad" you may want to add
Parentville to your stamp collection.
We (Julie + Shay) and some of the Talent including our Talent in Residence, Heather Hoffman, have taken on the challenge of working with
Parentville Extras again.
Julie
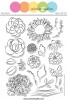
Parentville
Extras is such a versatile set with its variety of parent names, but
also for all of its small sentiments and hearts and stars. So I pulled from the sentiments and hearts to
create this card for a friend of mine that lives so far away.
Shay
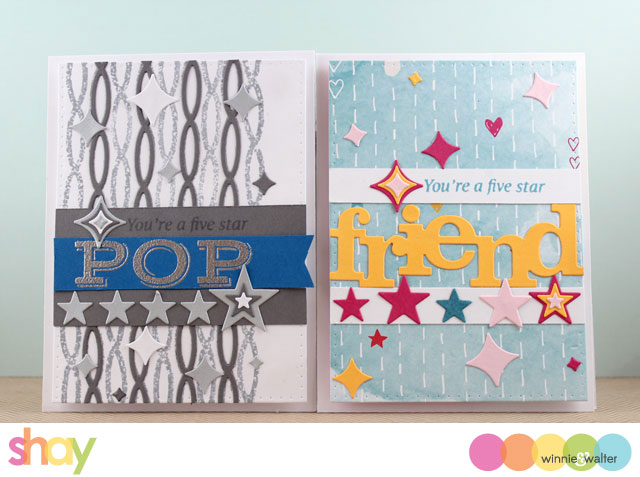
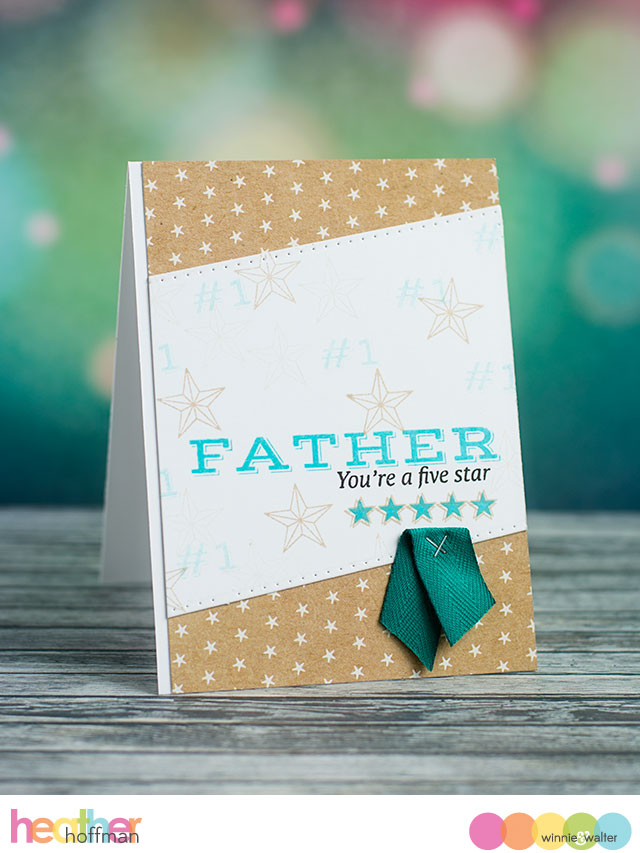
For Parentville Extras I wanted to show how to use the same design and main stamp set along with some additional items to create two different cards. One is a father's day card and the other for a friend.
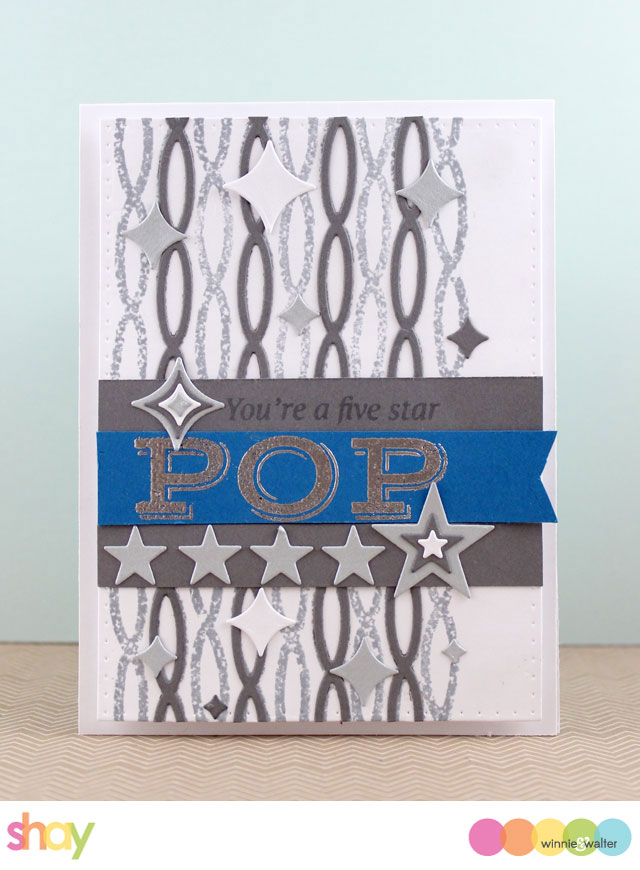
Card No. 1
I wanted to do a father's day card as the day is coming up...of course I could also save this one for a birthday so that is an even better thing.
I did something fun for this card. I die cut the chain from
Goldie Trim Cutaways from a scrap of cork. I then used some adhesive and attached the cork to an acrylic block and inked it up and stamped with it in Tim Holtz Distress Ink in weathered wood for a nice textured appearance onto the smaller rectangle layer from
Essentials: Katharine Cutaways. Over every other stamped chain I adhered the chain die cut from grey cardstock.
On a strip of grey cardstock I stamped "you're a five star" from
Parentville Extras. On a bold blue piece of cardstock I stamped "pop" from
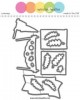
Parentville Extras with Versamark and heat embossed it in silver cutting the right end into a banner. The pop strip is also the only pop of color. I adhered the strips onto the cardstock layer. I also cut out another strip of grey cardstock and adhered it below the pop strip. On the bottom grey strip I added stars cut from silver, white and grey cardstock using
Big Bang Confetti Cutaways. I also added some of the sci-fi star shapes to the background. I then added the layer to a white card base using foam dimensional adhesive.
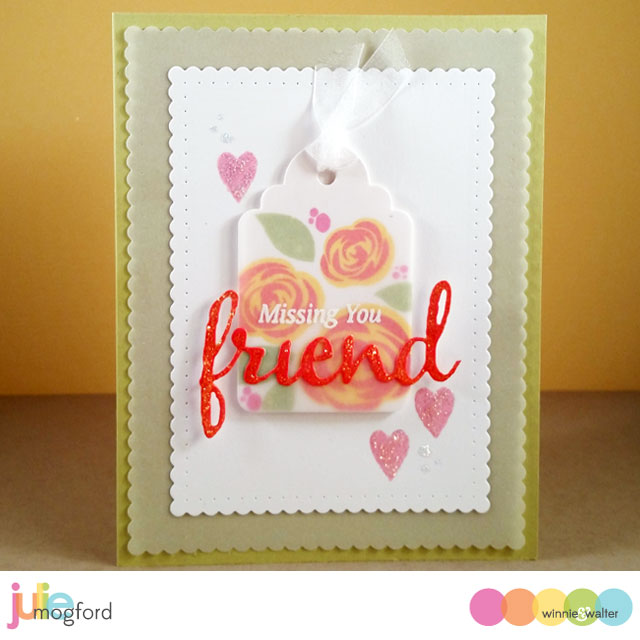
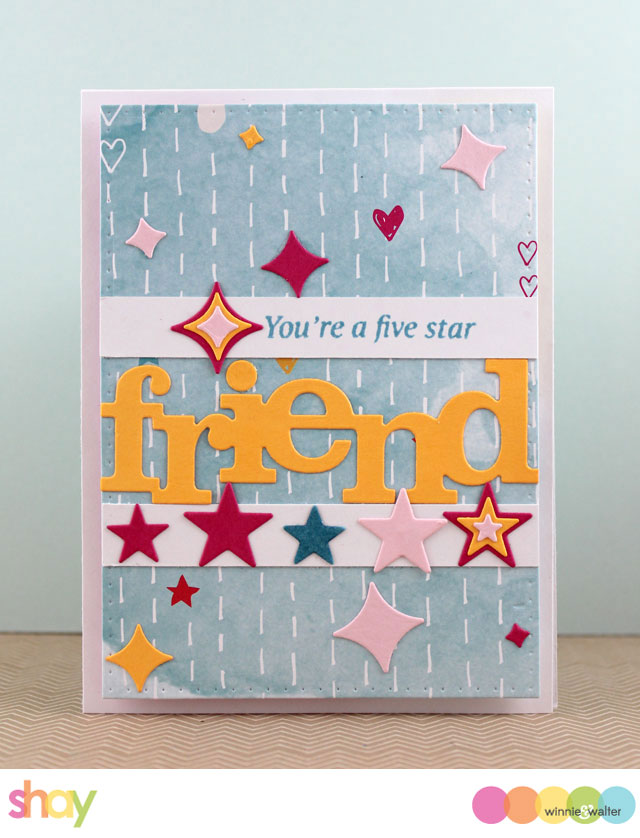
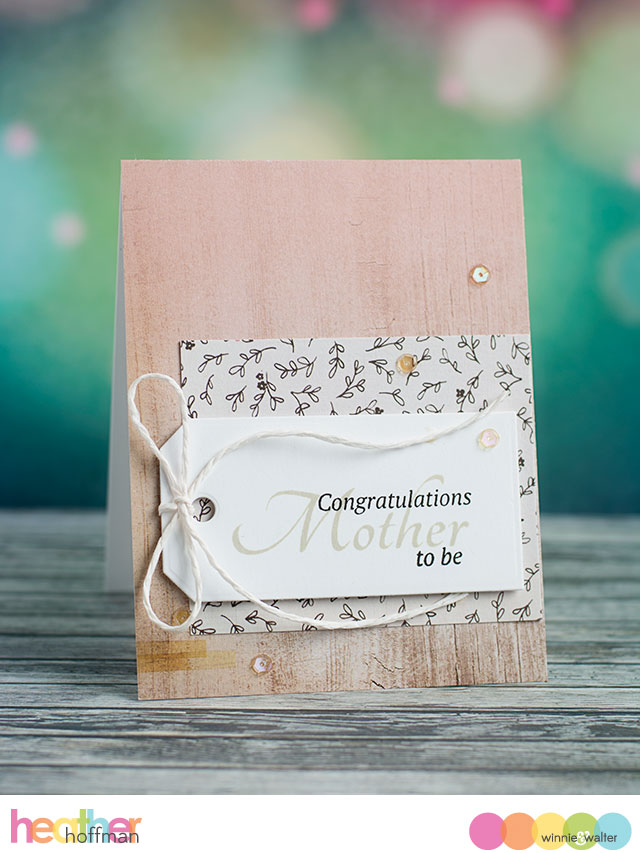
Card No. 2
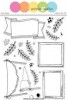
For this card I started with a piece of patterned paper from the Up in the Clouds Collection by Pinkfresh Studio die cut using the smaller rectangle layer from
Essentials: Katharine Cutaways. I die cut the
In a Word: Friend Cutaway from yellow-orange cardstock and adhered it to the patterned paper. I cut out two stripes of white cardstock, On one I stamped the sentiment from
Parentville Extras in Distress Ink in broken china and used die cut stars and sci-fi stars from
Big Bang Confetti Cutaways. I adhered the white strips above and below friend. I added some more sci-fi stars to the background. Then I adhered the patterned paper panel to a white card base using dimensional foam adhesive.
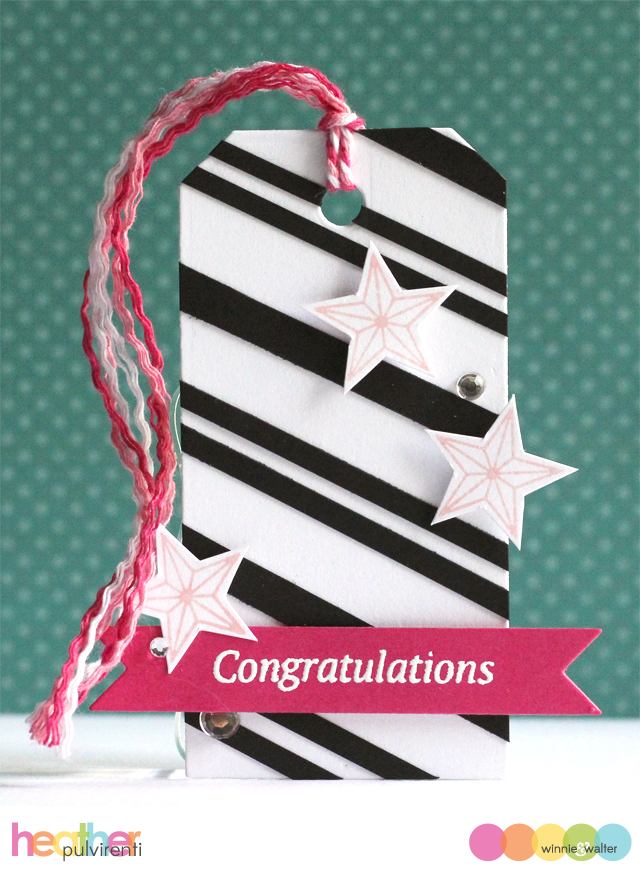
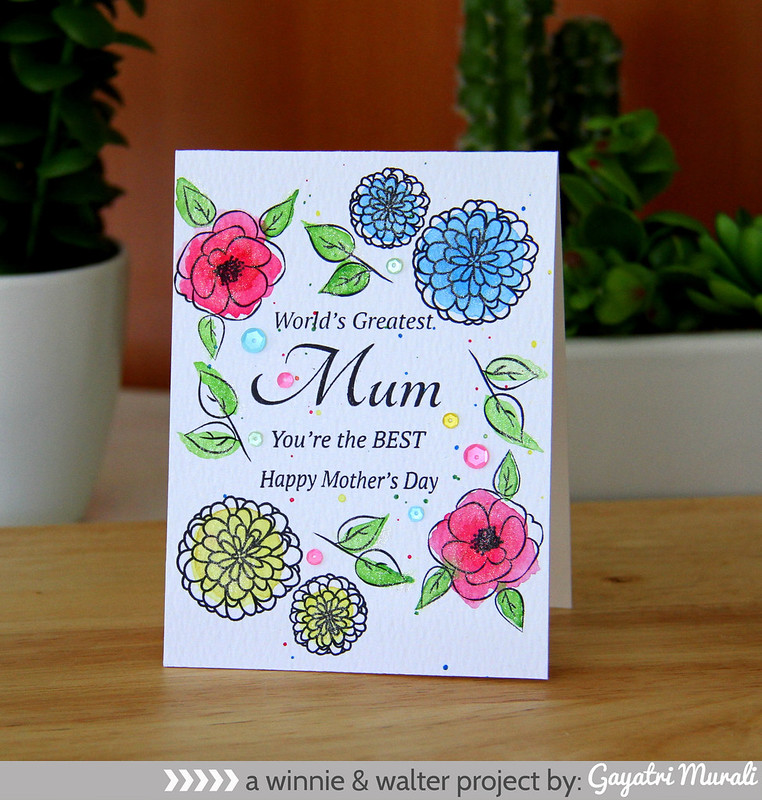
I hope you found a bit of inspiration and you feel like inking up your stamps. Speaking of inspiration, wait until you see what Gayatri, Heather P. and Heather Hoffman have made!
The Talent
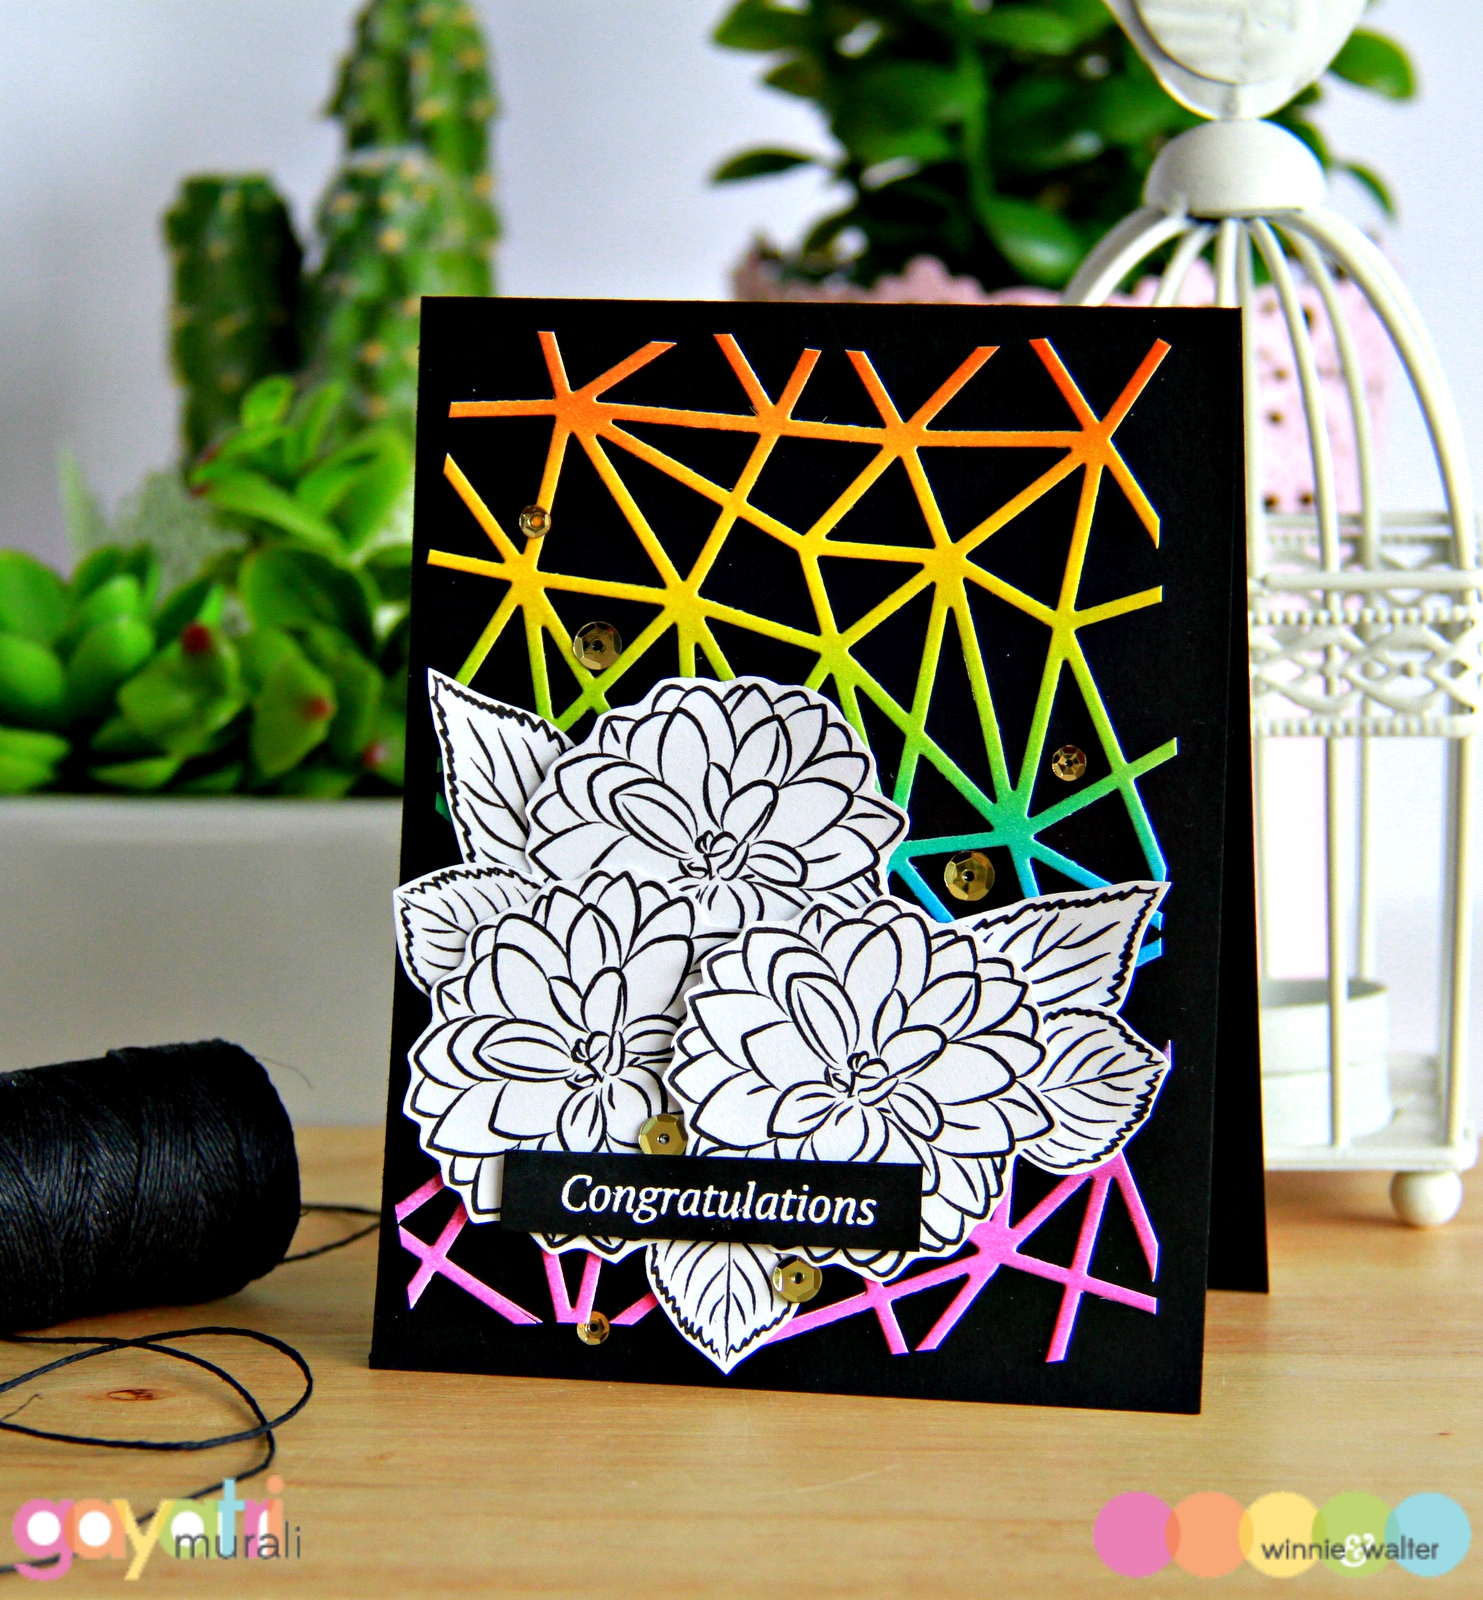
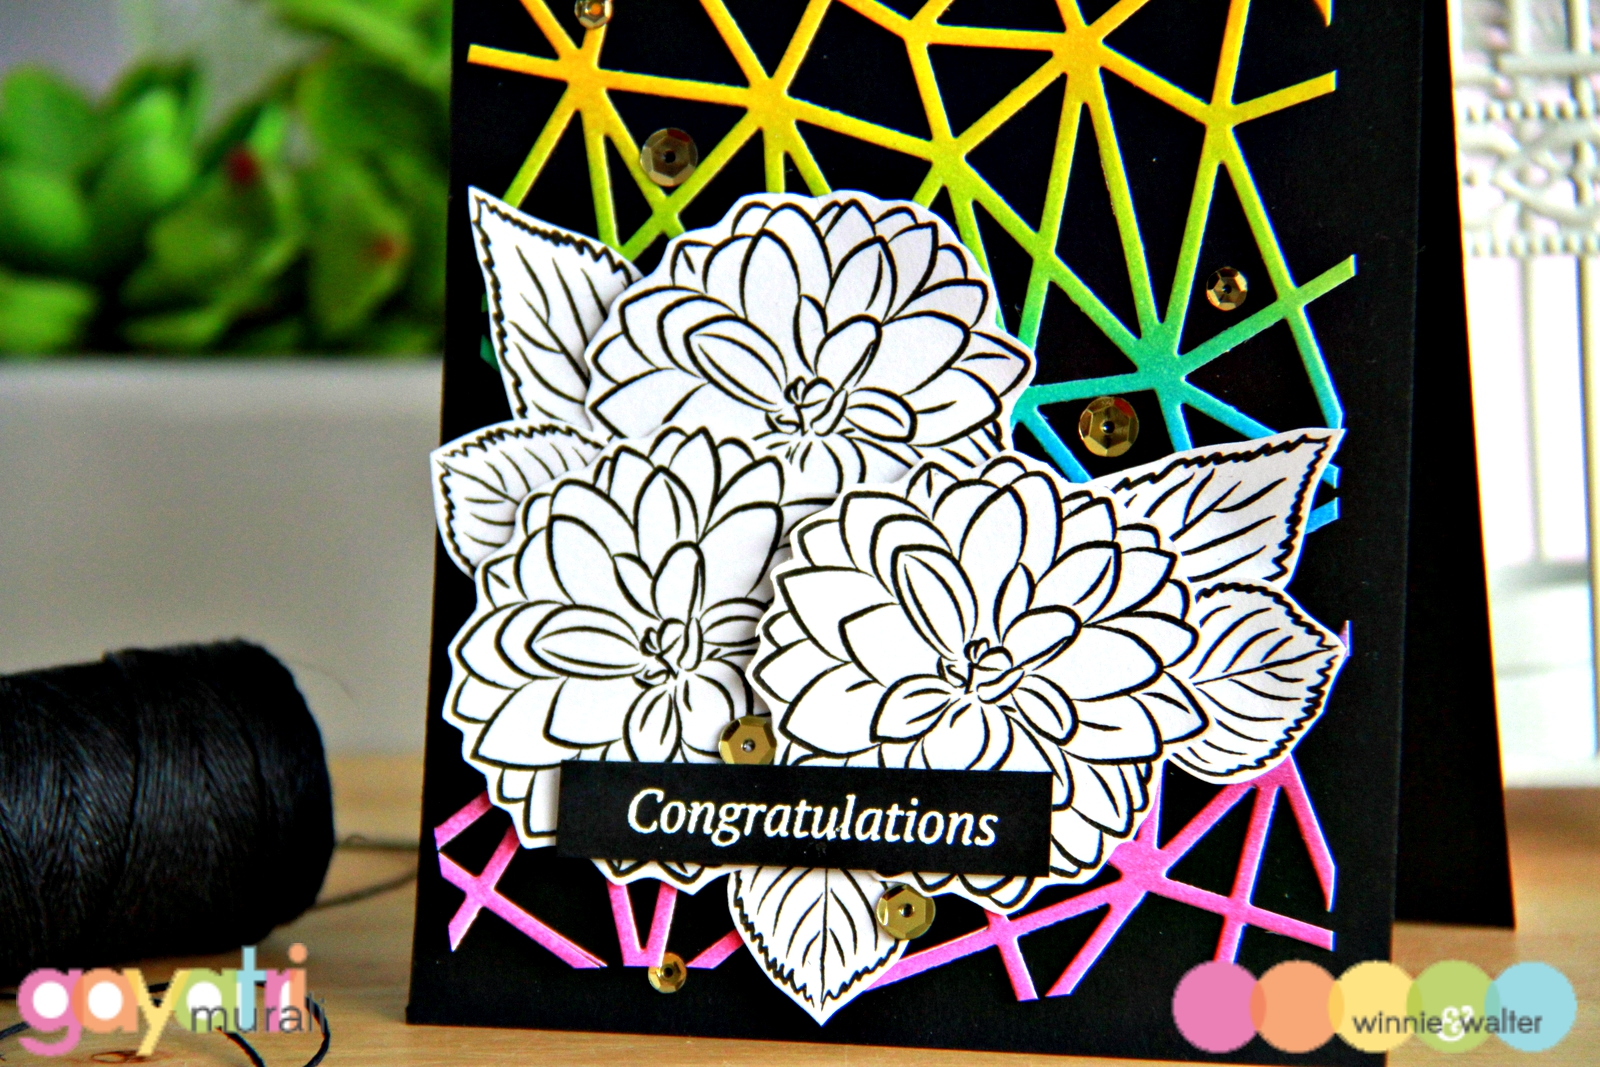
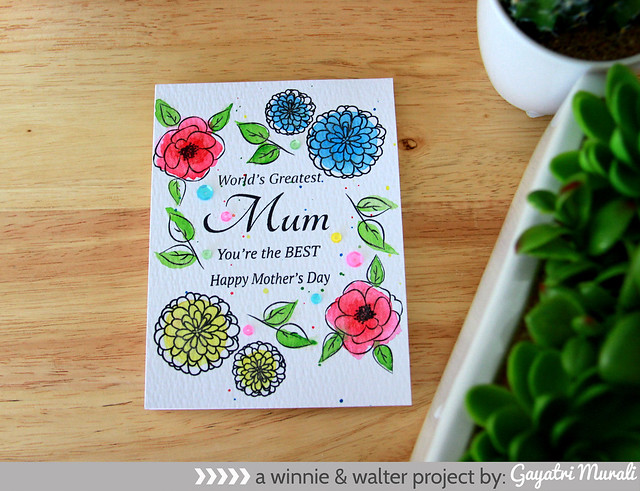
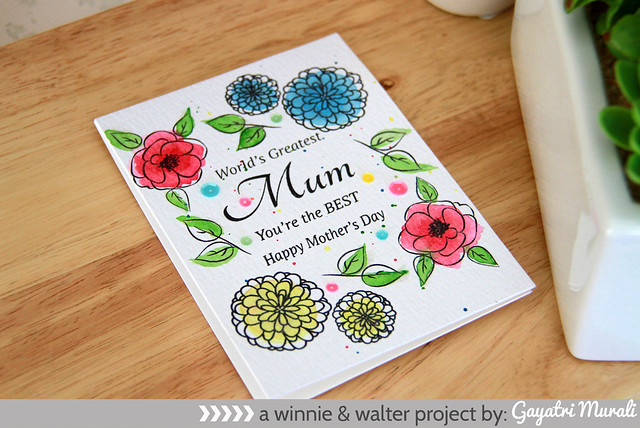
CLICK MORE to see more from Gayatri.
CLICK MORE to see more from Heather P.
CLICK HERE to see more from Heather Hoffman.
>>>CHALLENGE<<<
- Create a new project using Parentville Extras (and/or the coordinating cut files). An alternative to using Parentville Extras (and/or the coordinating cut files) is to create a new project using one of the projects featured in this post as your inspiration. Make sure you use at least 1 w&w product (this can include a freebie) in your project. If you choose the alternative, please include in your post or project description which project inspired you and how.
- Link up your project here by 11:59 p.m. CST on June 30, 2015.
- Enter as many times as you want before the deadline.
One project will be randomly chosen to win $20.00 credit to the w&w shop! Winner will be announced on the
Giveaway Winners page.