Showing posts with label masking. Show all posts

Monday, July 20, 2015

In Focus with Gayatri Murali No. 3 | Style #2

in-focus-banner-title_640px

Hope you are enjoying my In Focus series and getting inspired. 

Gayatri Technique banner

This month’s technique is Masking technique. There are various ways to using masking technique. In my previous post this month, I showed masking and stamping around a word cutaway. You can see it HERE.

Gayatri Style banner copy

Today I am going use Essentials: Katherine Cutaway and In a Word: Hugs cutaway to mask and stamp. Here is the finished card.
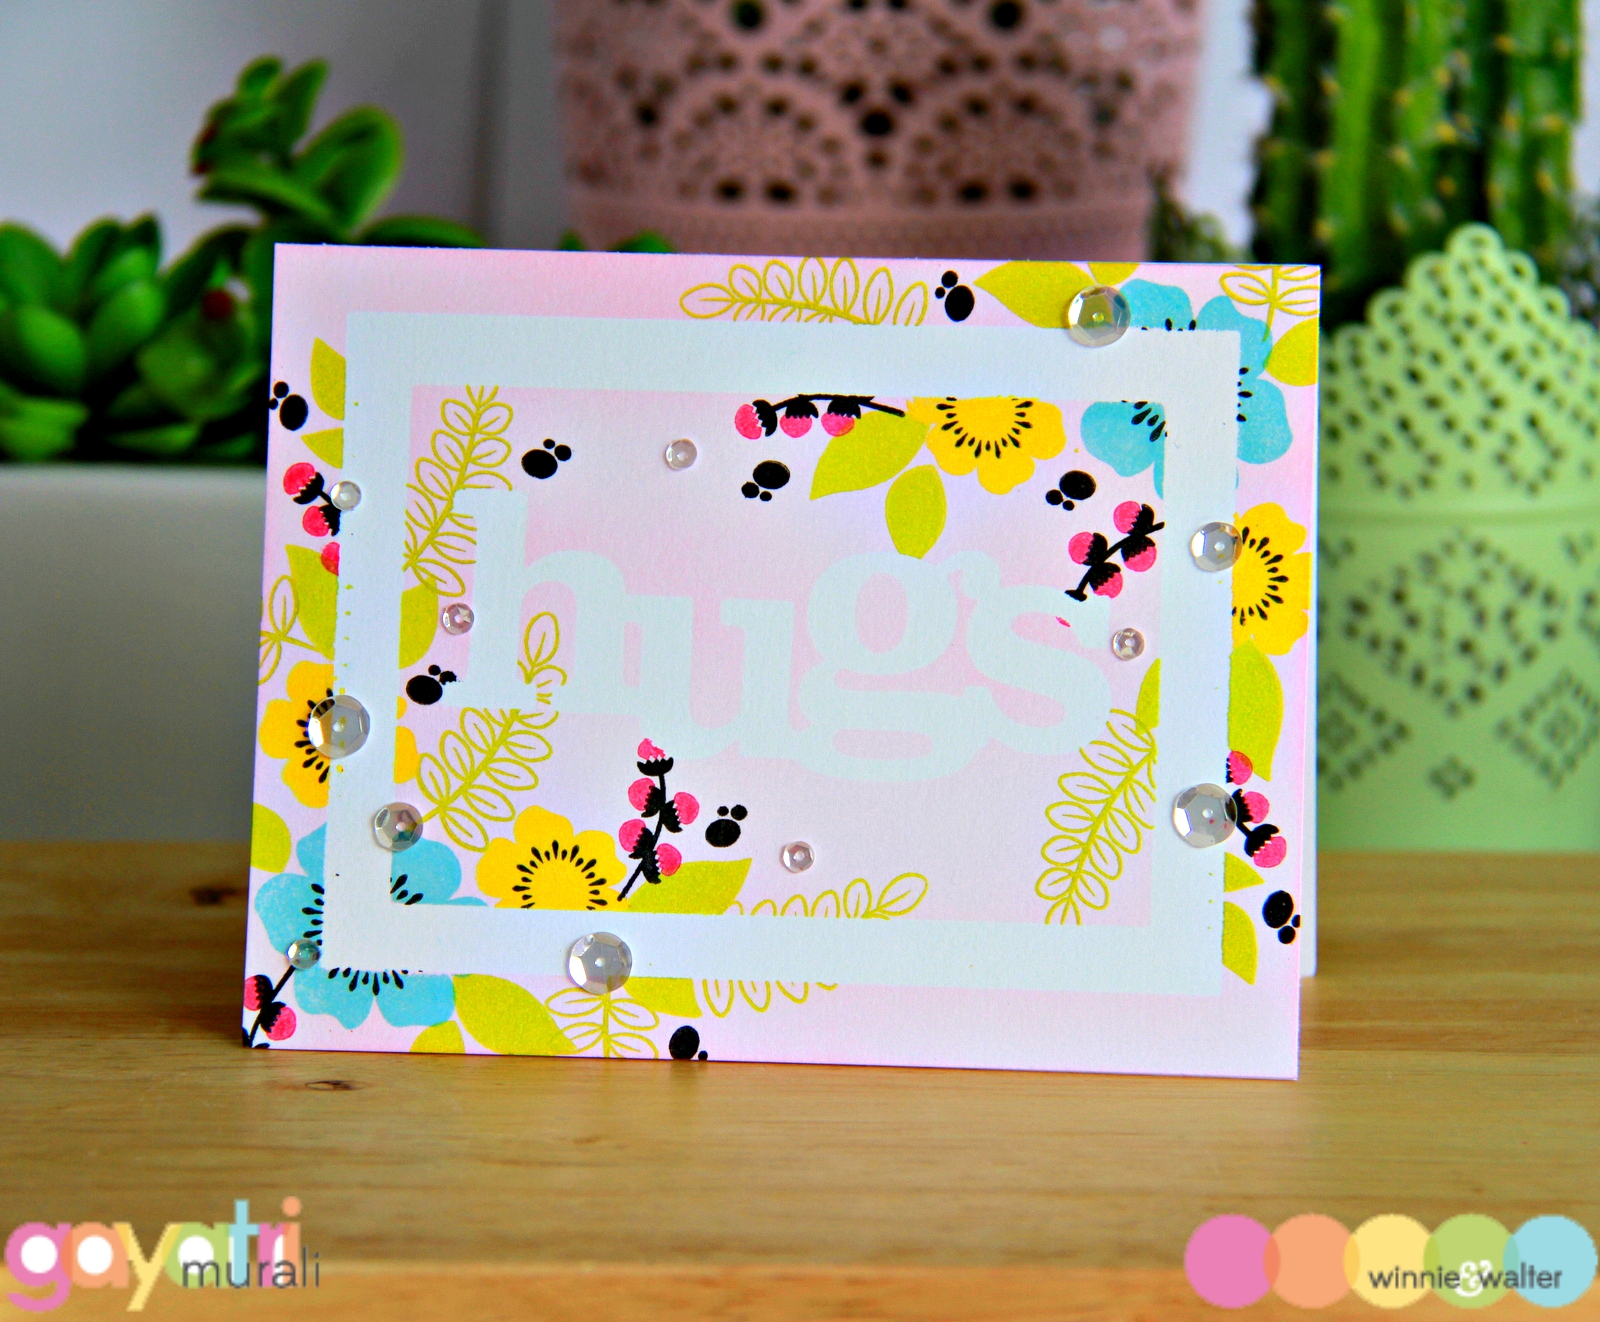

Hugs card2


photo-tutorial_banner

Here is a collage of photos showing how the card is made using the technique.
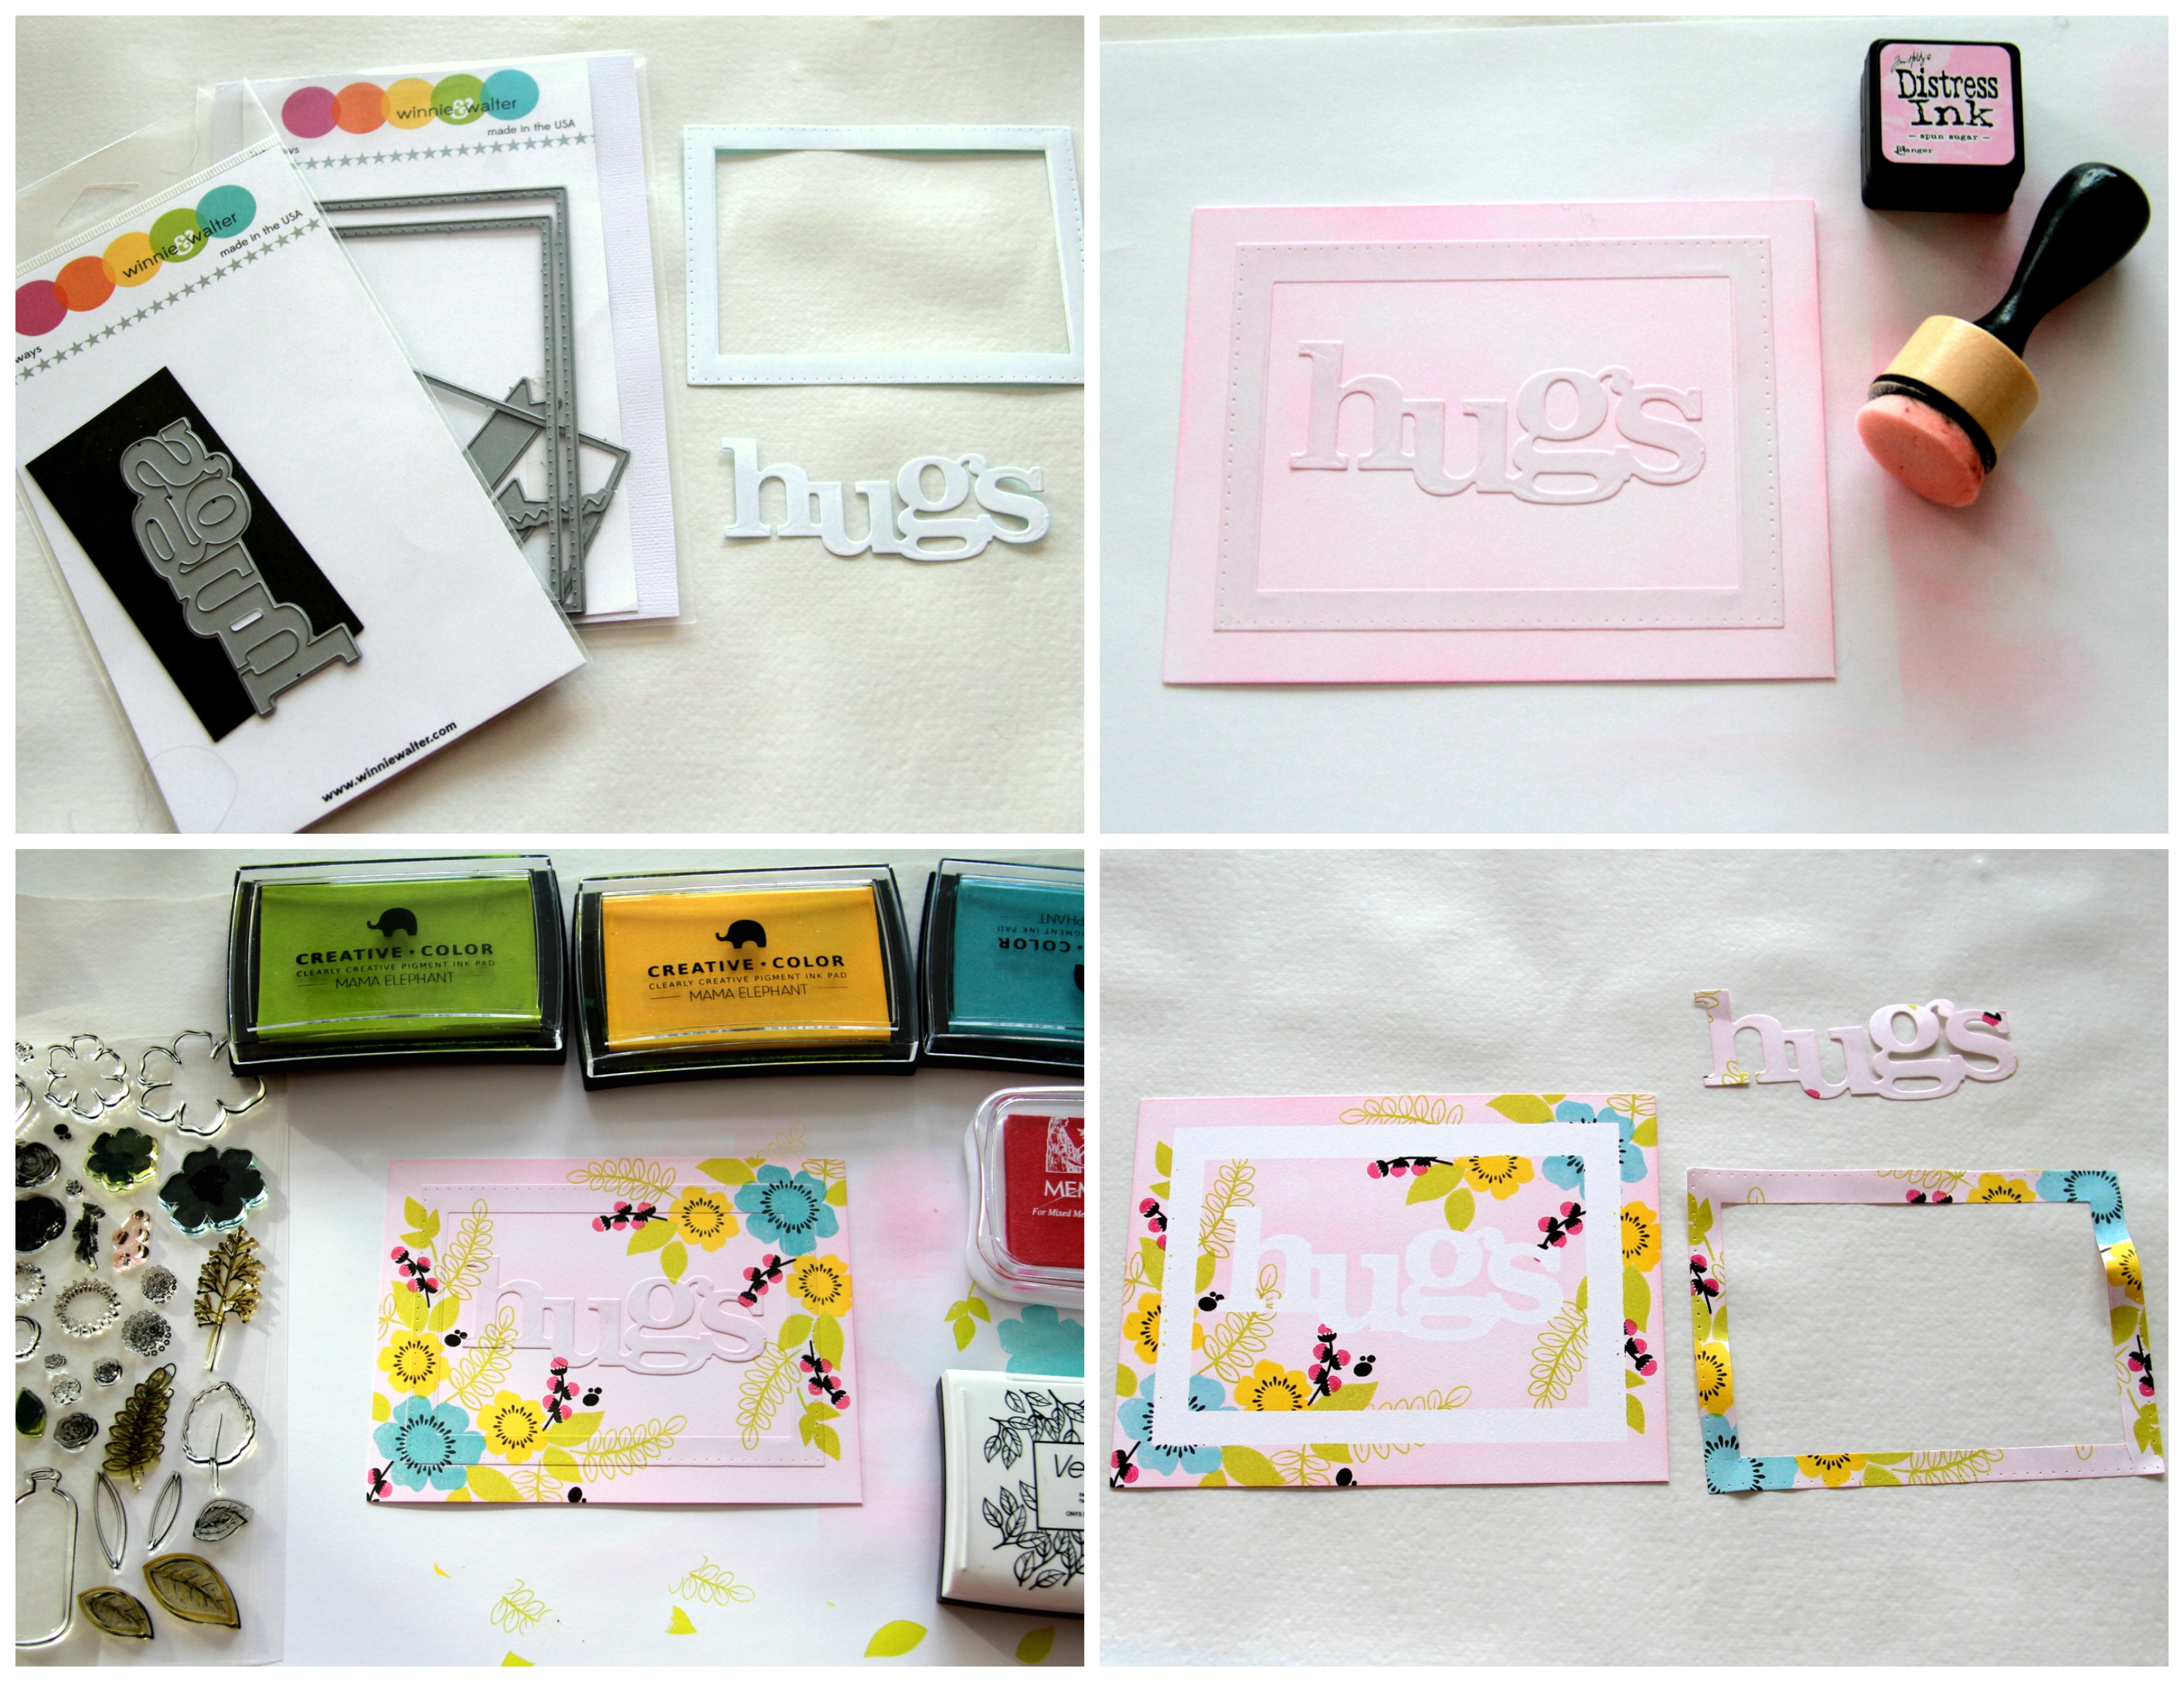
Hugs masking technique tutorial


brief_banner

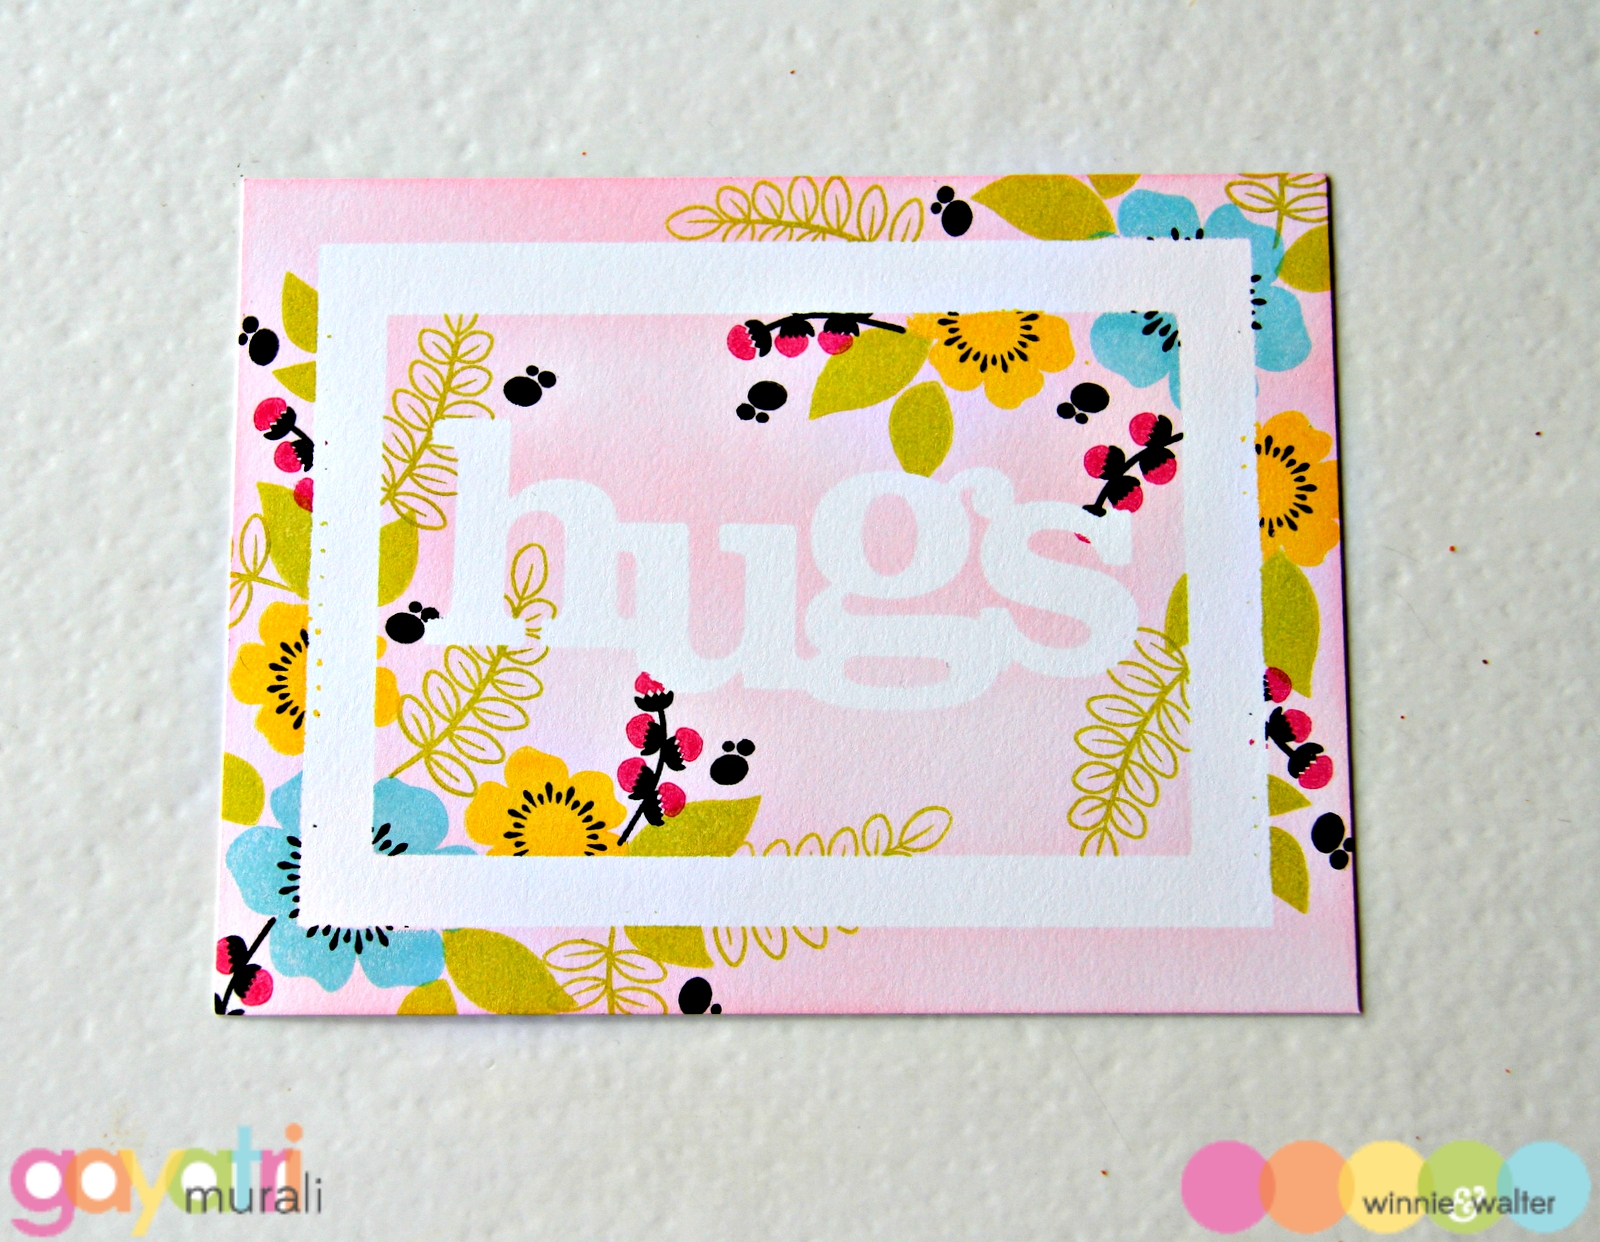
This style has one more masking element to it making it special. I used the smaller rectangle die from Essentials: Katherine Cutaway and another rectangle die to die cut a frame out of masking paper. I also die cut the word HUGS from In a Word: Hugs cutaway using the masking paper.

I adhered the frame and word masks on a white cardstock panel which was trimmed to the size of a standard card front. Then I sponged Spun Sugar distress ink covering the entire panel. Once the distress ink dried, I used the flowers from Lola’s Banquet and pigment inks to stamp cluster of flowers, leaves and buds on the diagonally opposite corners. Some of the stamped images touched the masked word to connect the masked word to the masked frame. Once again, I left the panel to dry. Then removed the masked frame and word to reveal the white masked area. Here is the finished panel:

Hugs panel


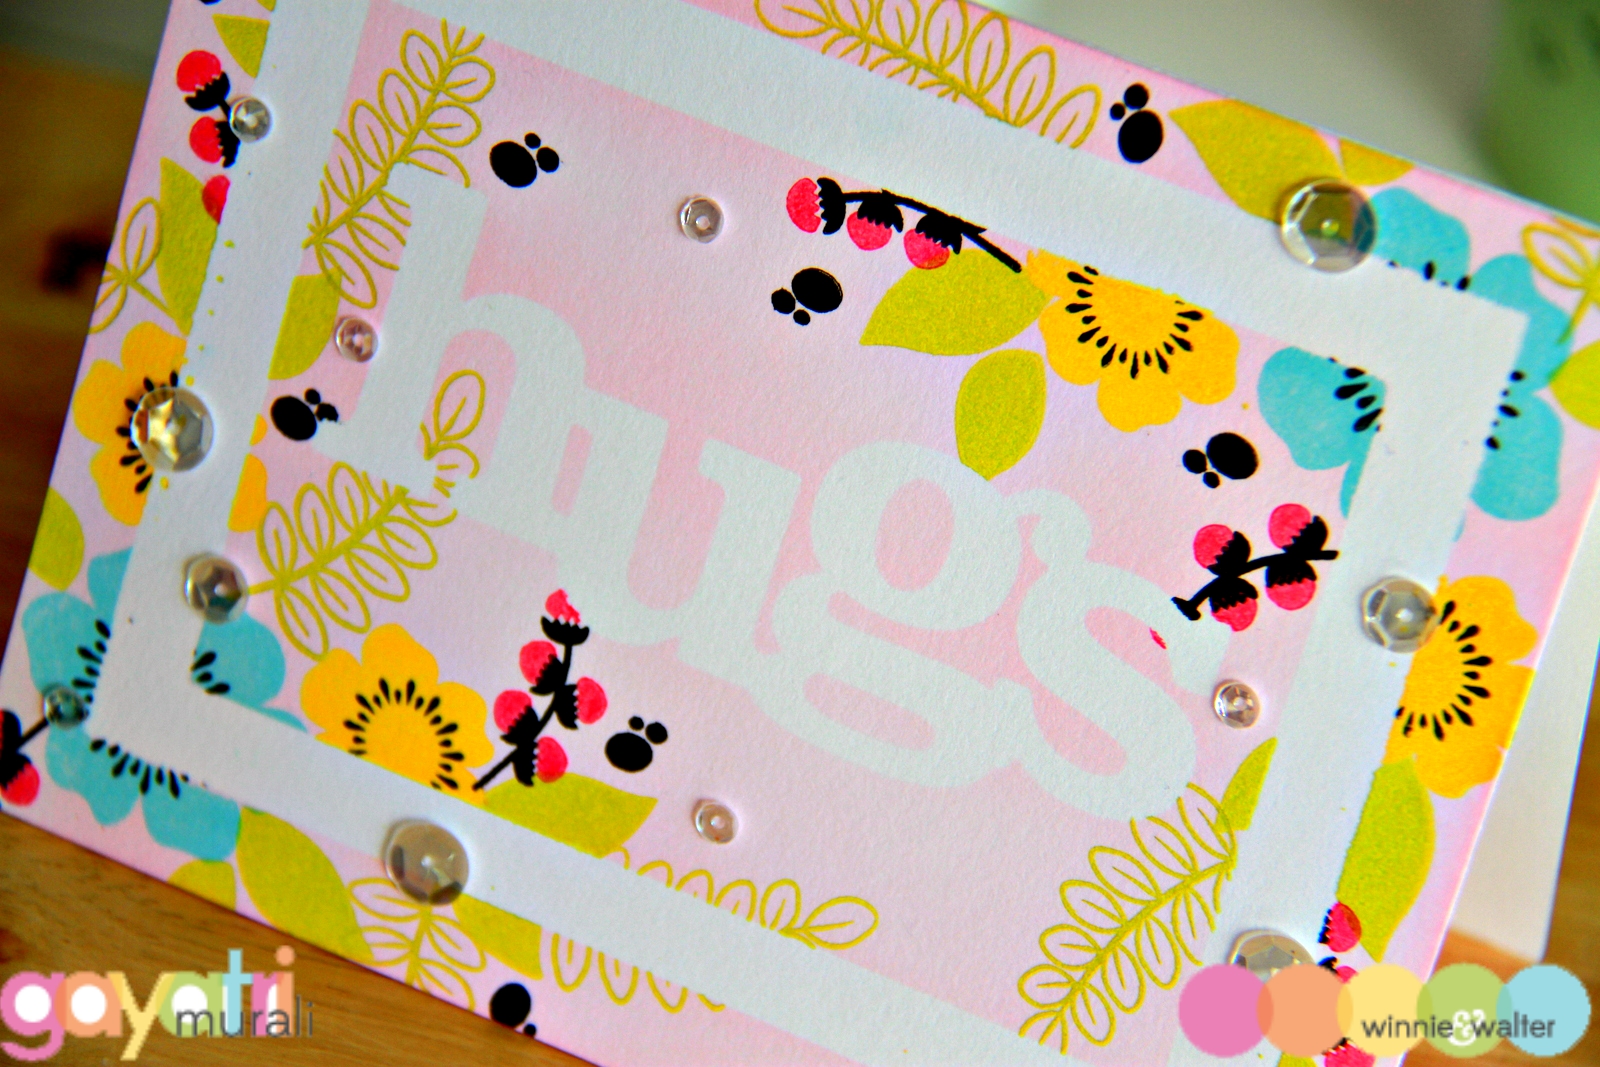
I adhered this panel to the card base and embellished with Sparkly Clear sequins from Pretty Pink Posh. Here is a close up photo of the card.

Hugs closeup


If you like to play along, we have a linky attached with this post.  Love to see what you do with this technique.

I will see you next month with another technique and two styles of executing it.

Monday, July 6, 2015

In Focus with Gayatri Murali No. 3 | Style #1

in-focus-banner-title_640px

Hello every one, Cannot believe half a year has already gone by! Wow! Time certainly flies. New month means another technique tutorial. Are you ready for the new tutorial?

Gayatri Technique banner

This month’s technique is Masking technique. There are various ways to using masking technique. I am going to use the Cutaways and share couple of styles of masking.

Gayatri Style banner

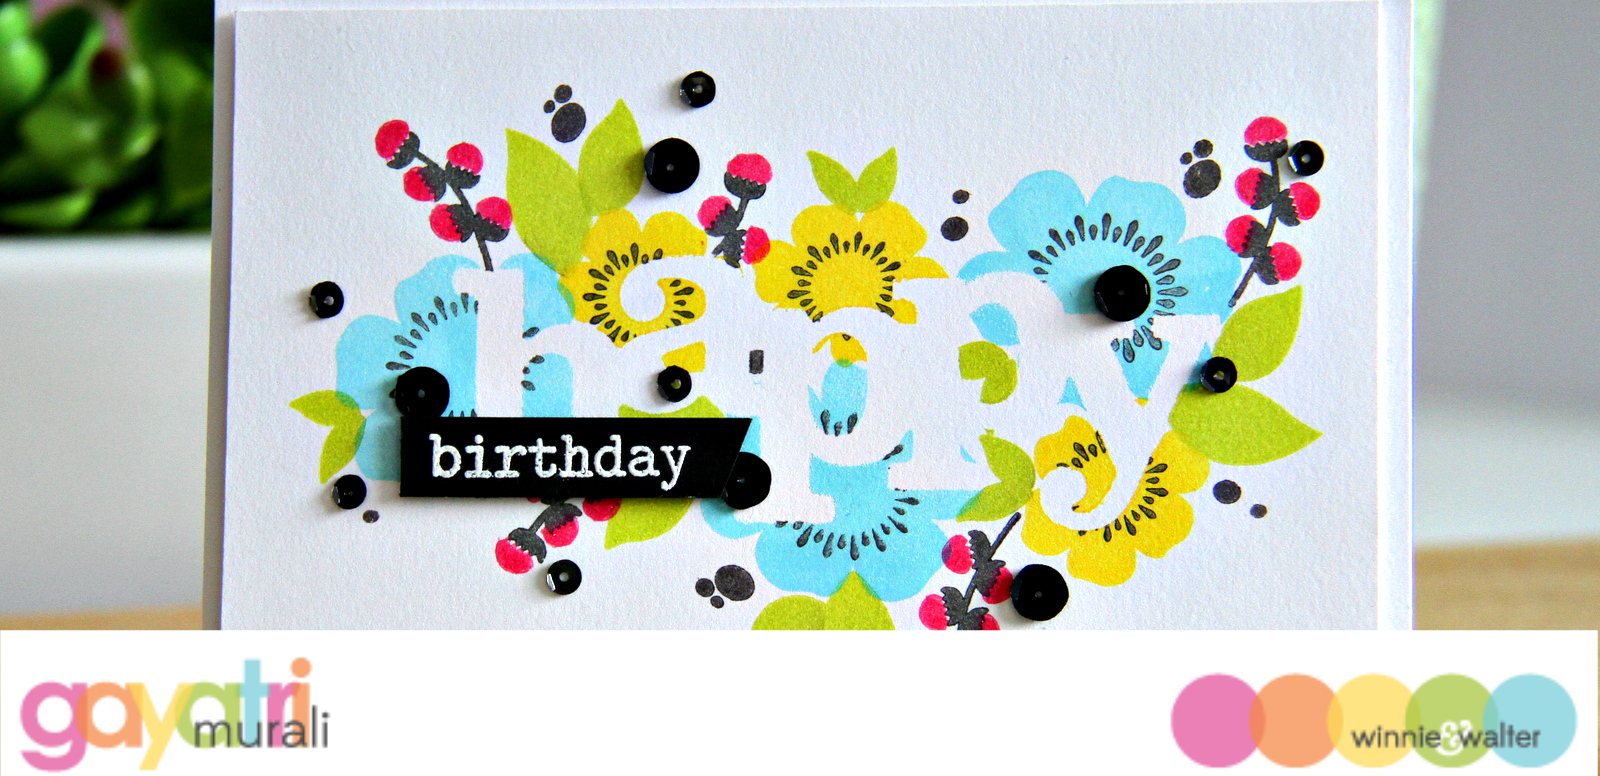
Today, I am using In a Word: Happy cutaway as my mask to stamp around it.

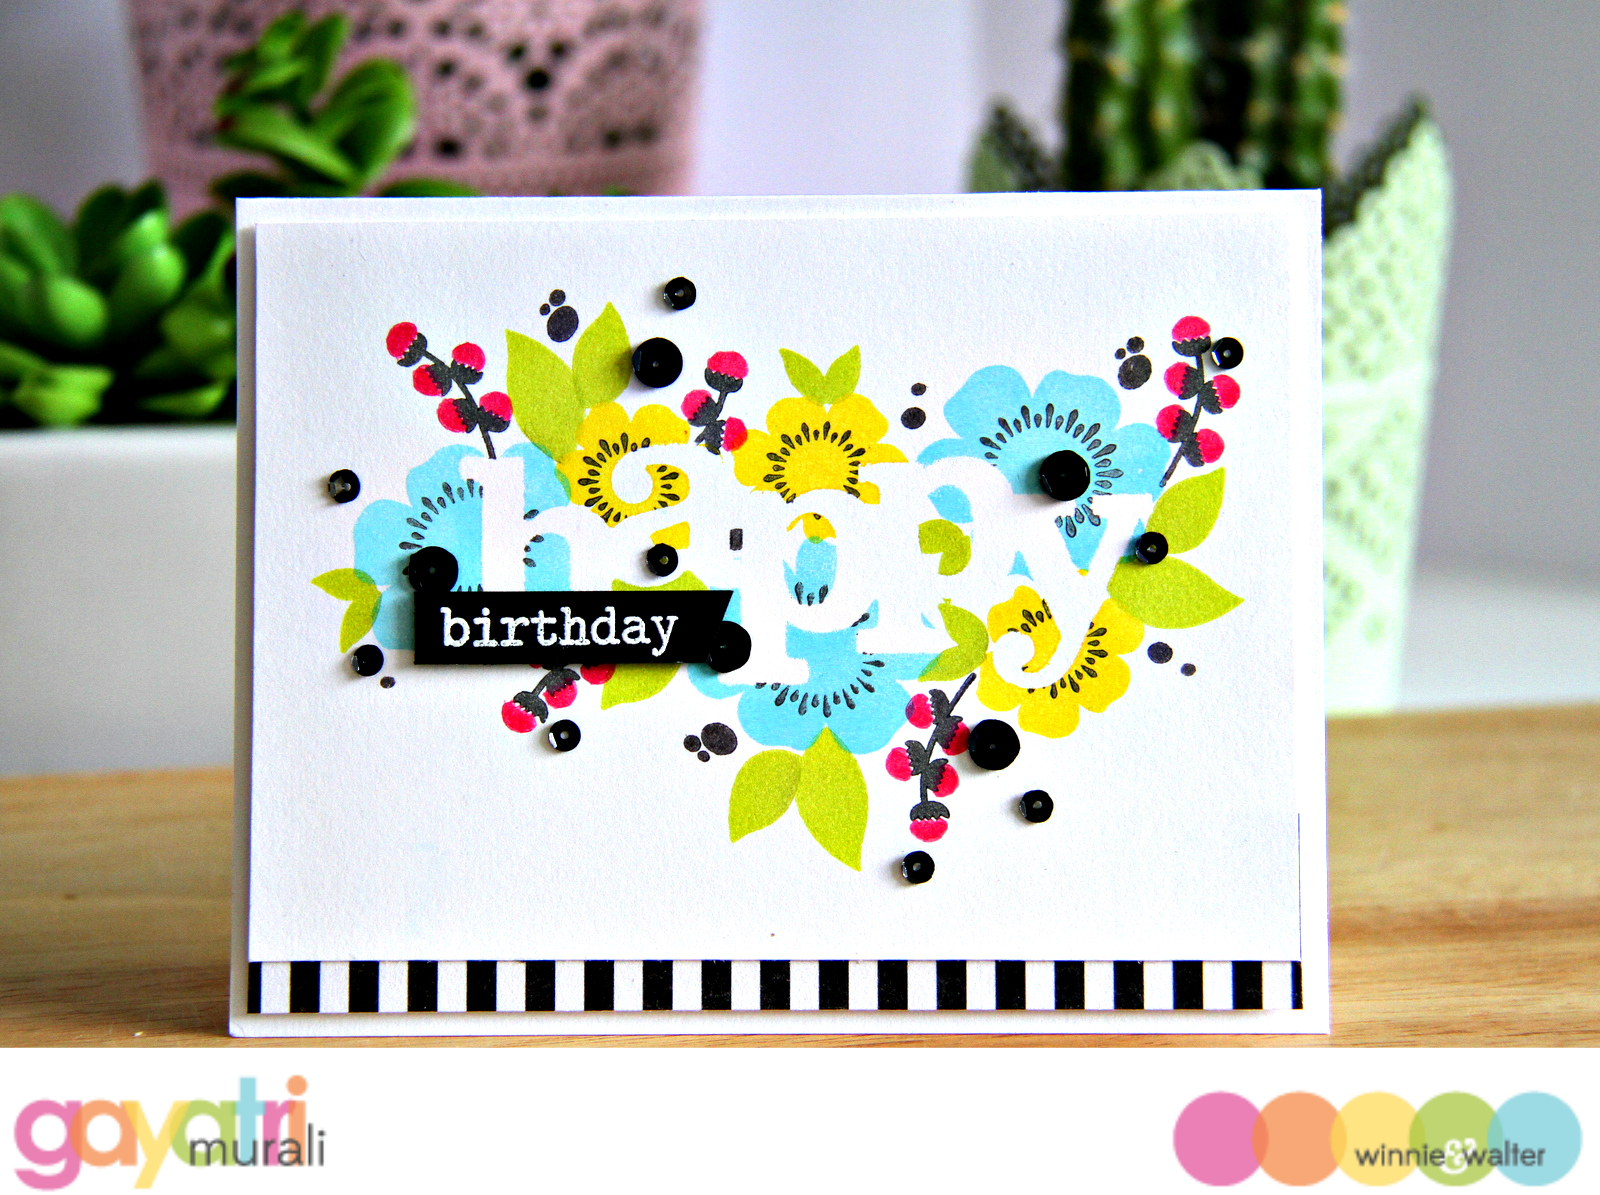
Here is the finished card

Style #1 masking technique 1


photo-tutorial_banner

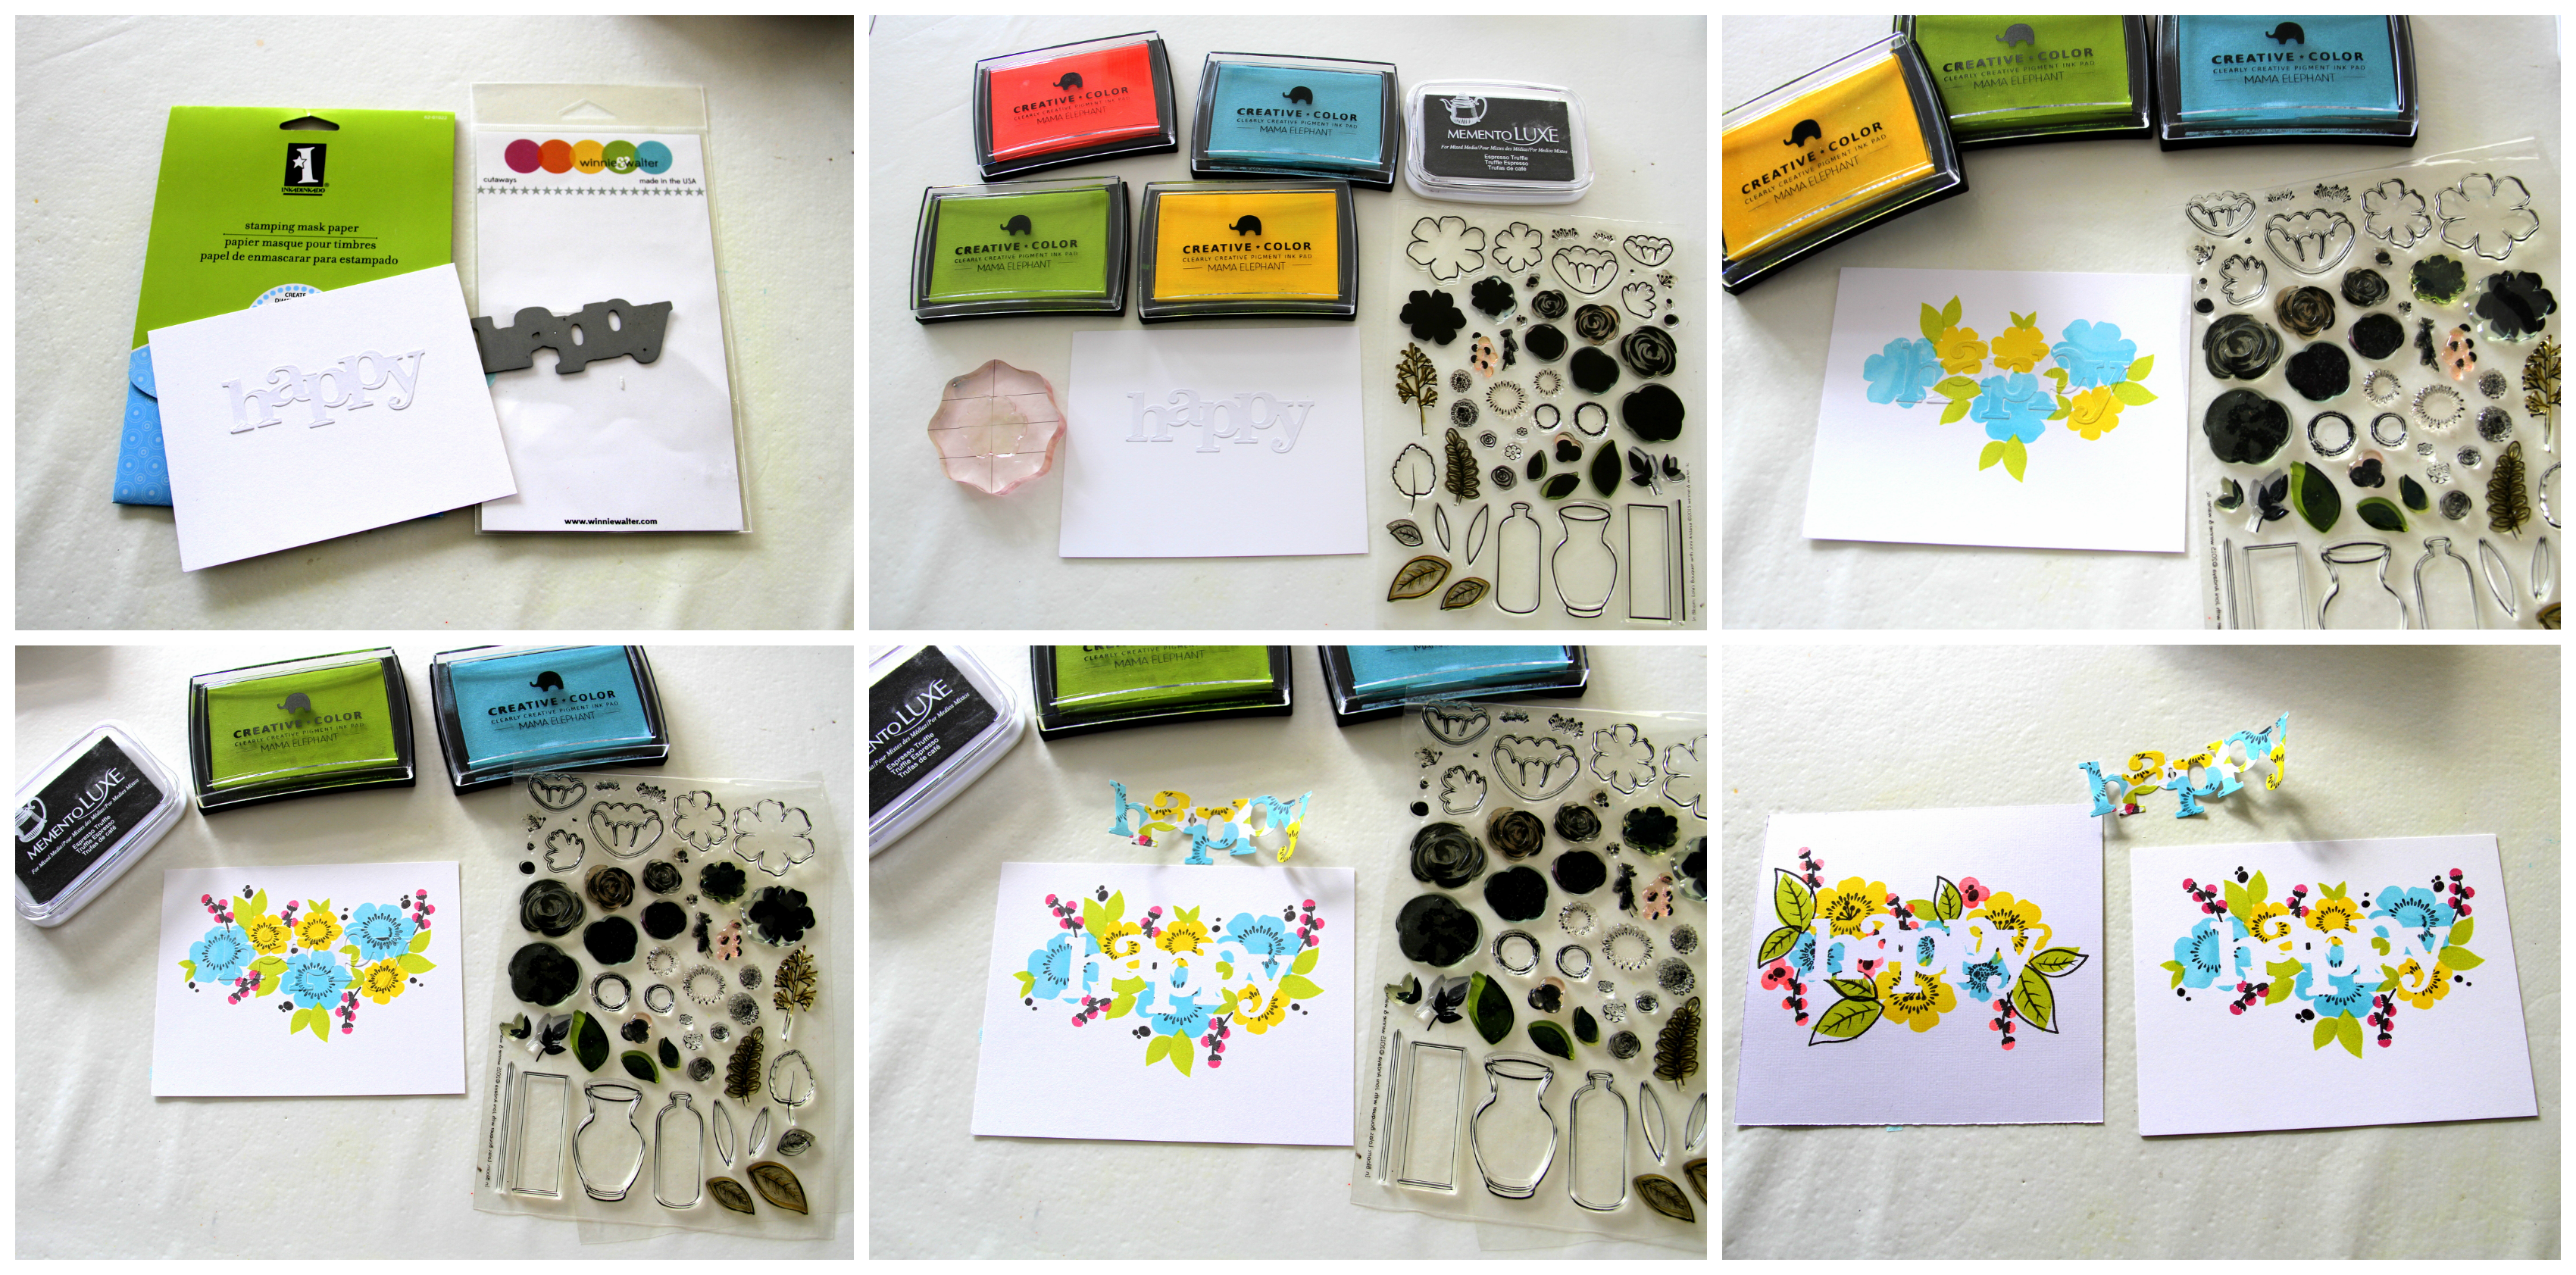
Here is a collage of photos showing how the card is made using the technique.

masking style #1 tutorial

brief_banner

Masking is a versatile technique, often used to create a cluster of images to get depth. I have however stamped a cluster of images using this technique in a different way.  I started with die cutting In a Word: Happy cutaway using the masking paper. I adhered the die cut on the white cardstock at the centre slightly towards the top. Before I started to stamp, I made sure the mask was adhered well by rubbing round the edges. I wanted a clean and crisp edge when I removed the mask later. The stamp set I have used to stamp around the mask is called Lola’s Bouquet. I love love this set. There are so many flowers, leaves and twigs to choose from to create your own cluster.

I started stamping with the largest flower in sets of three. Then with the smaller flower again in sets of three. I made sure the images overlapped the masked word. This showed the word clearly when I removed the mask later. I then added leaves, twigs, buds and accents to the cluster. The inks I have used here are pigment inks. They are the best inks to use for this technique as dye inks are absorbed by the masking paper and by repeated stamping will leak ink into the masked area.

Once I was happy with the stamping making sure I had covered most of the edges of the word, I left it to dry. Pigment inks take a few minutes to dry. Trying to remove the mask while the ink is wet risks smudging inside the masked area. This is the time I used to make my card base and heat emboss my smaller sentiment. Once the inks were dry, I removed the mask carefully. Love how the masked word “Happy” shows through among the cluster of stamped flowers and leaves. You can see in my last photo in the collage, that I had practised the technique first before I started on the card. This helps with making colour choices as well as identity the mistakes to correct them on the card.

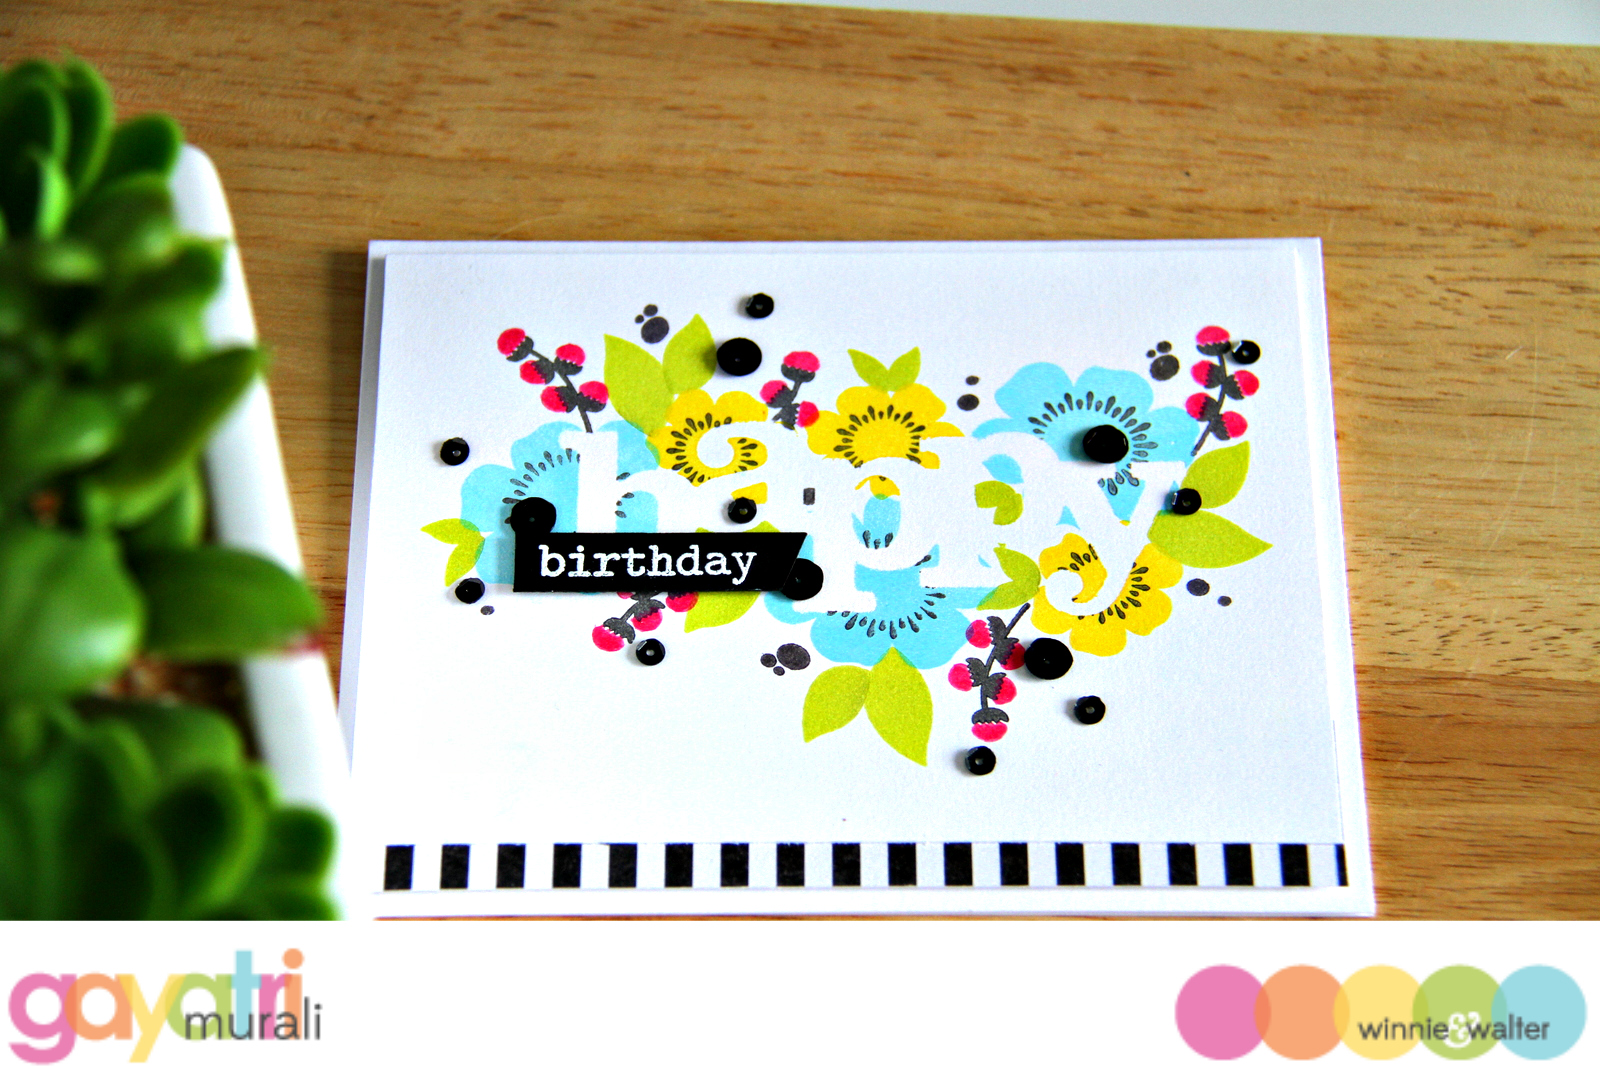
To assemble my card, I trimmed the panel, added a black striped pattern paper to the bottom, adhered the smaller sentiment using foam adhesives and accented with Onyx sequins from Pretty Pink Posh. This panel was then adhered to the white card base using foam adhesives.

Here are some more photos of the card.


Style #1 masking technique closeupStyle #1 masking technique closeup1

This technique could be used to make a one layer card, colour the masked area if you like it pop out more…. Possibilities are endless. Hope you are inspired by my technique card today.
If you like to play along, we have a linky attached with this post. Love to see what you do with this technique.

I will see you in a fortnight with another style of masking technique.

Thanks for stopping by!


w&wDT_gayatrimurali_blog-sig

>>>LINK UP<<<<


w&w-supplies