Showing posts with label true multifaceted star cutaways. Show all posts

Saturday, October 6, 2018

WCMD 2018 | Lucky 7 Limit Challenge with Shay

To get all the information about w&w WCMD 2018 CLICK HERE.


Hello lovelies!

You've made it to our last challenge for WCMD 2018 and I hope you are having a splendid time.

I have a different challenge for you which I am calling the Lucky 7 Limit Challenge.  What is you may be wondering.  Let me explain.  If you choose to take on this challenge you will be limited to a total of 7 colors (yellow would count as 1 color even if you have several shades), layers, products/supplies (patterned paper, embossing powder, stamp sets, stencils, dies, etc.) and embellishments.  For instance you could choose to create a 1 layer card with 3 products  (2 stamp sets + 1 embellishment like enamel dots) and 3 colors.  Tools (like a die cutting machine, MISTI, ink blending tool, water, adhesive), inks, cardstock and neutral colors (white, grey, brown and even black) are freebies and do not count towards your 7.  I have a couple of examples for you.

Card No. 1

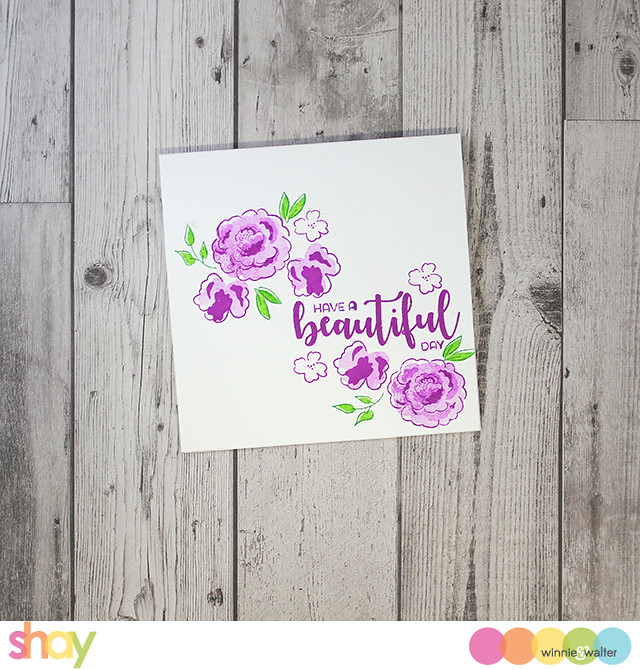
So for a really simple card that really has no problem meeting this challenge I give you this little number:
shay_IMG_4333  
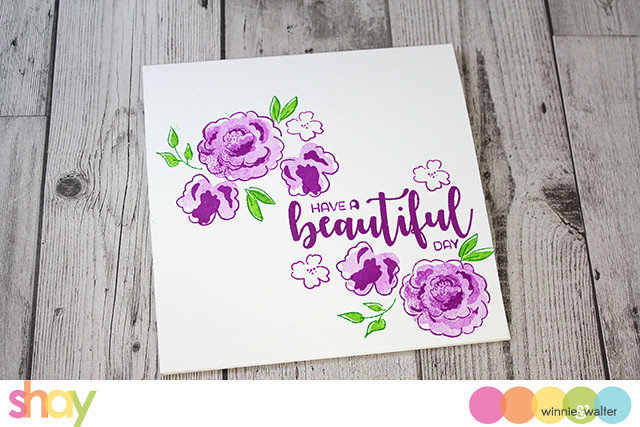
1 layer + 2 colors + 1 stamp set = 4!

This card uses In Bloom: Ashlee's Posies with Lydia Evans stamp set along with 2 colors of Catherine Pooler Inks: flirty fuchsia and grass skirt stamped on a white cardstock base.  Sometimes it doesn't take much to have a pretty card.
shay_IMG_4335

Card No. 2

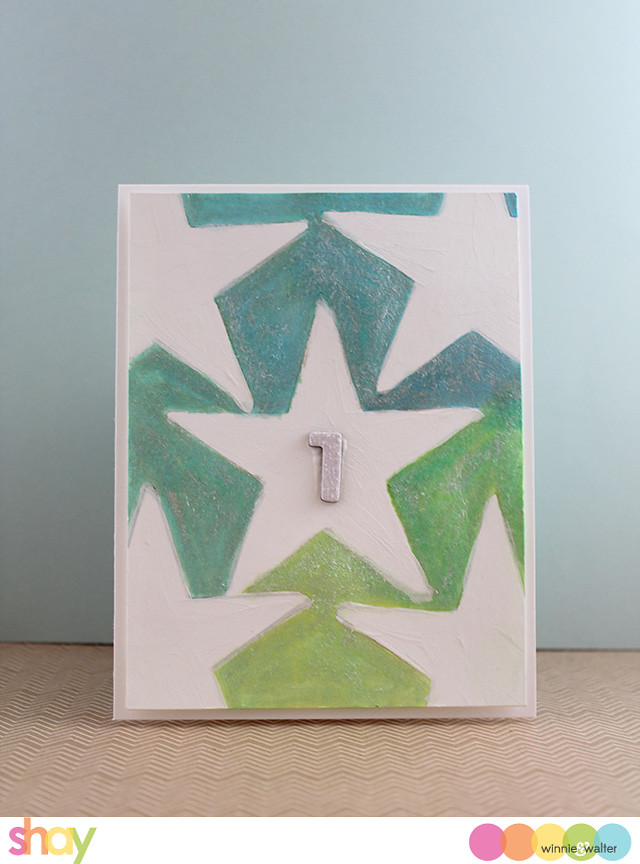
Now, I have another card that does stretch the bounds of this challenge:
shay_IMG_3898
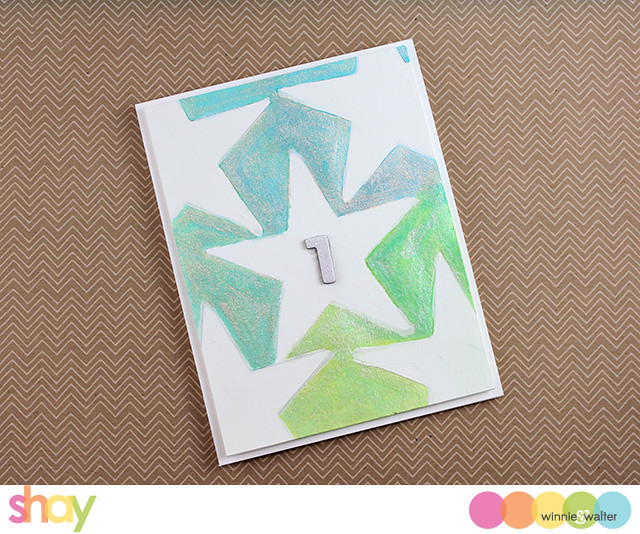
2 layers + 2 colors (blue & green) + paint + die cut + glittery thicker = 7!

This is a super easy card where I used the solid star from True Multifaceted Star Cutaways to create a star pattern on a piece of a cardstock and then with ink painted around the stars and then painted in the stars with white paint and I also painted on some glimmery paint over the blue and green (I am going to count the 2 paints as a single item: paint lol).  Then I adhered the panel to a white A2 piece of cardstock and finished it with a glittery "1" Thicker.
shay_IMG_3899

I can't wait to see your take on this challenge!

Prize: One randomly chosen project that is linked up will win $50.00 gift credit to the w&w shop.  **Remember for rules about the challenges to read up HERE.**

>>>LINK UP<<


Friday, September 16, 2016

Say Cheese with Lydia

Hi there everyone. Hope you are having a great day! Today I sharing a super fun card that I made with a plethora of Winnie & Walter stamps and dies.

  Winnie & Walter mickey_1
I started by stamping the background using the larger of the small circles from Scenery: Big Bang Confetti - I just love how you can really play with shapes to create things that you don't see first try. For the mouse head embellishment I die cut three circles using Big Bang Confetti Cutaways from black card- I stuck the two smaller circles into place. Added some Wink of Stella over it and covered with glossy accents and then left to dry.

  Winnie & Walter mickey_2

I just love how the die cut star (using True Multifaceted Star Cutaways) frames the mouse head and the sentiment. For the sentiment I used the speech bubble and words from Bubble Talk.

  Winnie & Walter mickey_4

I hope you liked my card today, and I'll see you again soon.

Hugs, Lydia x

w&wDT_lydiaevans_blog-sig 2


w&w-supplies


Saturday, January 16, 2016

January Leading Lady Virginia Lu | Take Three

Virginia-Lu_jan2016

Our January Leading Lady, Virginia Lu is back for her triumphant third performance!  If you missed her smashing debut you must see it...CLICK HERE or her sensational second performance with so much fabulous artistry CLICK HERE.  Today, Virginia certainly showcases her incredible versatility and depth of skill and scope of talent!

Without further ado, Virginia....

Hello, dear Winnie & Walter friends! I am excited to share my 3rd post as The January Leading Lady.  I am having SO much fun and keep coming up with lots of ideas as I play. Does that ever happen to you? When you have the “right products,” your ideas simply FLOW. Now that Christmas is over, does that mean you put away your Christmas stamps and dies away? Well, not so fast! Look what I made with some of my Christmas-themed products!

First, I came up with a sophisticated masculine birthday card with the Christmas supplies! It all started with the stenciled background by using Scenery: The Peppermint Zone Creative Screenings.  The multi-colored stripes were stenciled with Distress inks. I purposely masked off the star (with True Multifaceted Star Cutaways ) in the center.

happy birthday (2)[2]

I then embossed the stars from Comfort and Joy. With the added vellum star from the Cutaways, this card came together rather easily.

DSC_0582[2]

It was embellished with silver DMC strings and tiny star confetti ( Martha Stewart). After making this card, I used similar supplies to create a set of birthday cards. You can never have too many masculine cards on hand, right?

happy birthday[2]

The stars from Comfort and Joy are so versatile! I also chose some pattern paper to make the star dies to create the focal point. To add some hidden bling, I added a gold strip from Goldie Trim Cutaways. It was easy to mass produce once you have all the design elements in place.

happy birthday (set of cards)[2]

The sentiment is from The Big, the Bold and The Happy. Even though the design is the same, each card is unique and different. And that is the beauty of hand made cards. Next, I have a few art journal pages to share. This flower page is the perfect antidote to make in the middle of winter.

happy day[2]

Making the stenciled background on the top page was just as fun as stamping flowers! I absolutely love the Scenery: Madison Creative Screenings. Those scalloped borders make the page all that much more “happy”! The In Bloom: Anna's Flora stamp set is the ticket to a happy garden scene. I stamped all the flowers and then clear-embossed them with the help of MISTI. You can see a shiny outlines from the clear-embossing - love that!

close-up-002[2]

I colored the images with my Zig Markers. Because it is an art journal page, I totally owned my creative licence and did not feel pressured to strive for perfection. I added doily and stencilled paste (Gesso mixed with Cracked Pistachio Distress Ink) at the bottom. The sentiment “discover beauty” is a Rub-On from Ranger.

After making a happy garden page, I was pulled back to the reality! I was inspired by the snow scene near my house and came up with a winter scene. The trees in the wood totally inspired me! And how cool is that Scenery: Into the Woods Creative Screenings!? I prepared the background with Gesso and Mister Huey Color Mist (see photo below).

#10[2]

After the foundation was covered with the Gesso and dried, I applied the white embossing paste (Wendy Vecchi) all over. Once it was dried, I put the Scenery: Into the Woods Creative Screenings back in place. Then I applied Vintage Photo Distress Ink mixed with Gesso OVER the bottom part of the trees.

2015-12[5]

For the final embellishments, I added sequins and glitter on the “snow.” The sentiment is from the same Rub-on as my previous page. Aren’t our 4 seasons amazing or what? I hope this prompts you to try out new techniques, supplies, and designs.

be still breathe[2]

My last post (whaaat!!!?) is coming up on the 23rd. I know, time flies when you are having fun! Here is a peek!

sneak peek[2]

Thank you so much for stopping by!

Monday, December 14, 2015

Tagged | Merry with Kate Capper


Hello.
Today i have some gift tags to share, perfect for this months tagged theme.
I have some very different styles to share along with some of my favourite techniques.
And although i have made tags i think they could all work if placed on cards to.


This tag uses the True Multifaceted Star Cutaways. 
I used the solid die to cut the star from green card stock then heat embossed the word bright from The Big, the Bold and the Merry in clear embossing powder.
I then added the In a Word: Merry die cut.
I had coloured it with distress ink, some perfect pearls and lots of glossy accents.
The tag is finished with an eyelet and some twine.


For my next tag I have used the same die set but instead of using card I have made the star with a page protector and the fuse tool.
The clear star is filled with small star confetti.
I then die cut the patterned star from black glitter card and its joined to the clear one with the eyelet and some glossy accents.
I used the same method with the merry word die cut as I love this technique and how it comes out so sparkly and shiny.


So after a traditional then masculine colour schemes I have gone with a really feminine look with lots of pink and sparkle.
I started this tag by die cutting the tag from Essentials: Noelle Cutaways from pink card.
Then i stamped and heat embossed the house from Our Town and the snowflakes from Let it Snow in white and blended some distress inks over the the top. 
I really like the non traditional colours.


I actually made four of these tags.
Each of the smaller tags is joined with another piece of pink card.
I used the small open scalloped border die to cut the pattern at the bottom of each one.
They are finished with some pink ribbon and twine.

Thanks for looking.

w&w_kateTIR_blog-sig


w&w-supplies


Wednesday, December 9, 2015

Tagged | Peace with Gayatri

Hello everyone,

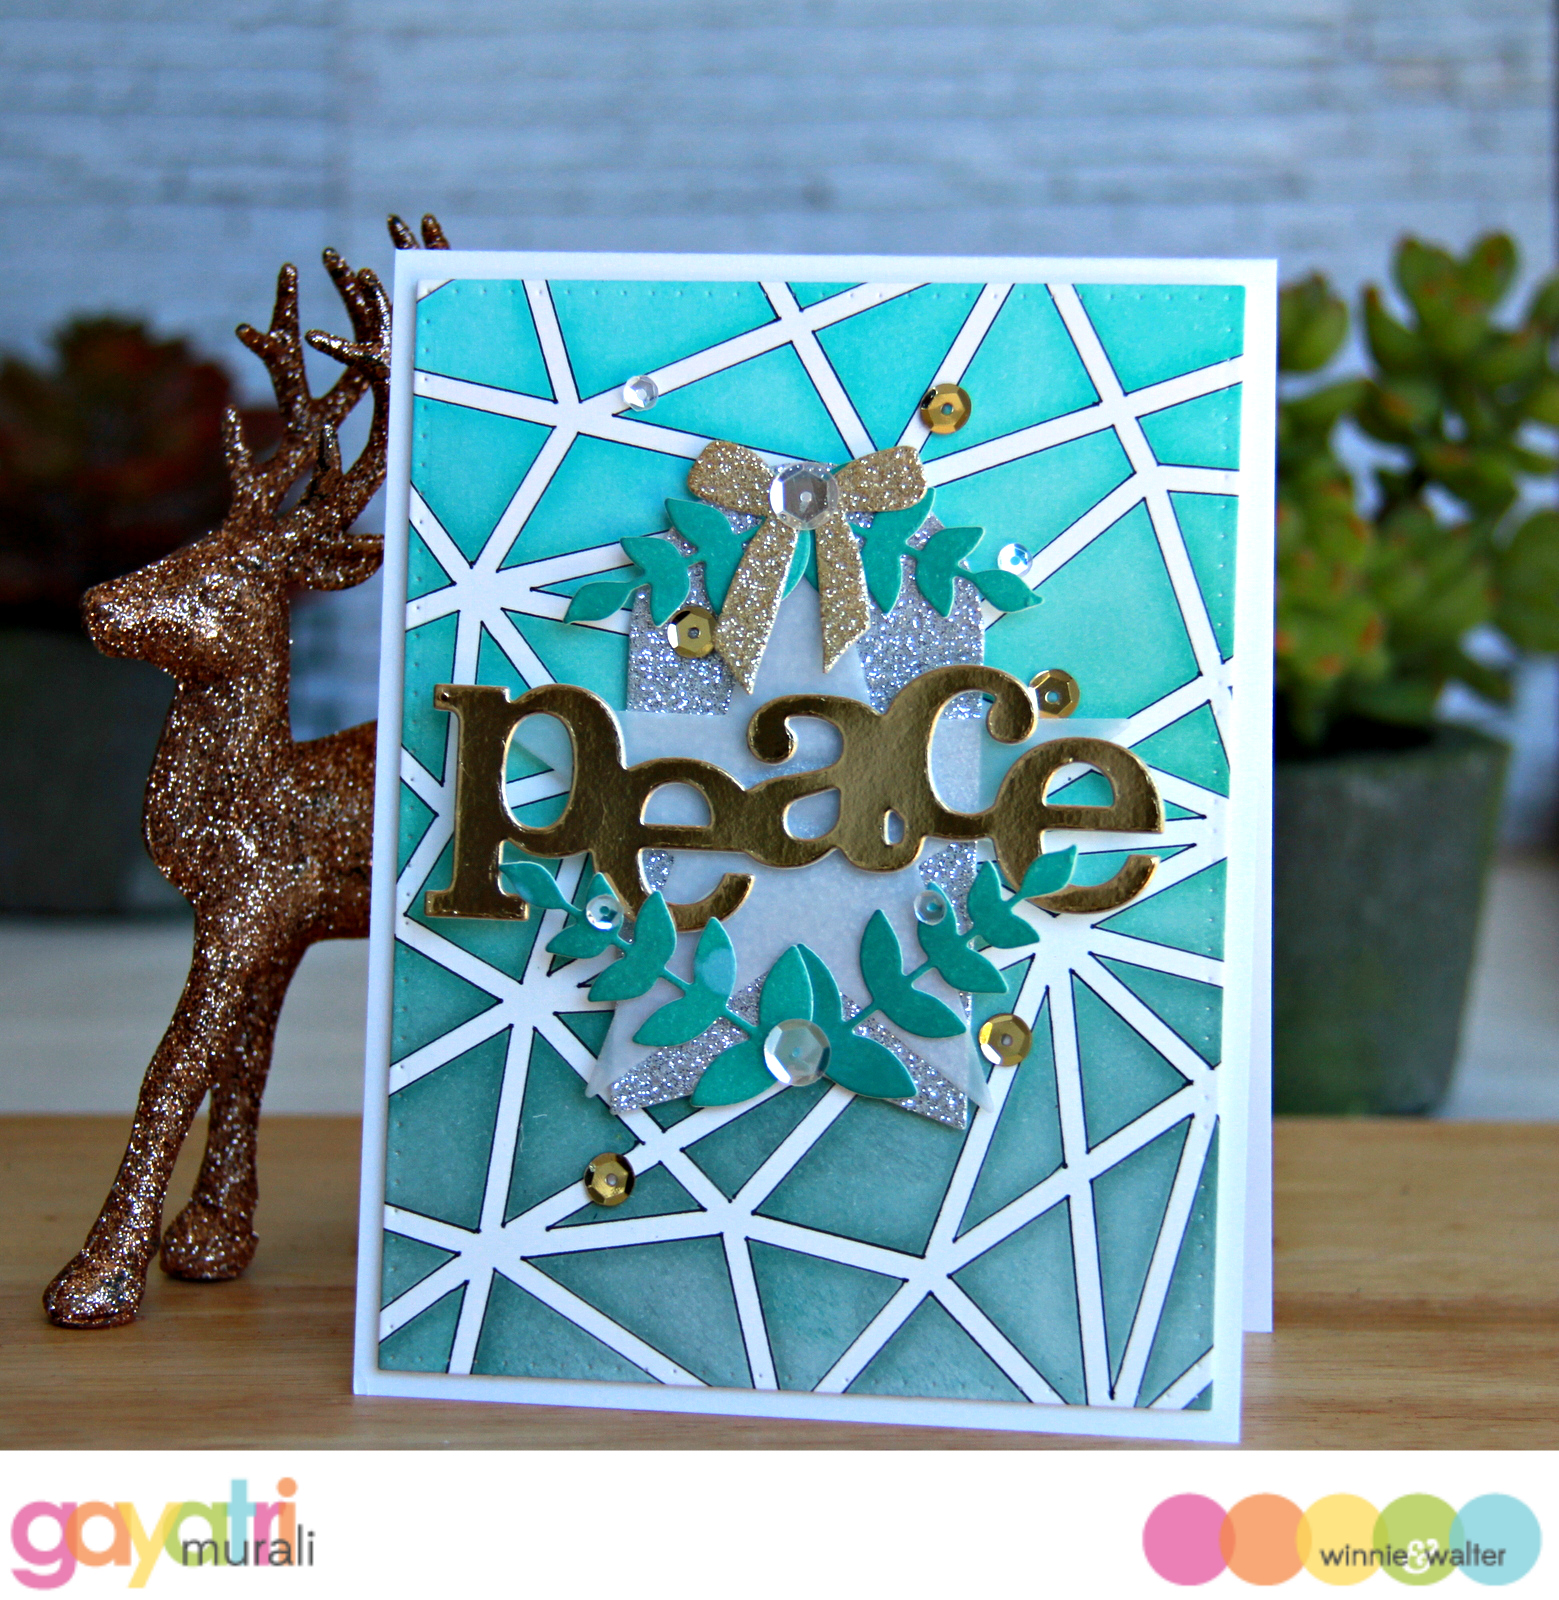
Gayatri here today sharing my Christmas card for this month’s Tagged theme. WOW! Can’t believe it is December already and Christmas is just couple of weeks away. Although I don’t celebrate Christmas, it is end of the school year for me and I cannot wait for the Summer school holidays. I want to relax and enjoy time. Anyway, for all you who celebrate the festival, Merry Christmas! Have a safe, happy and healthy time with you loved ones. Here is my card for you.

Gayatri-1220153 

I created my background by sponging Spruced Ice, Evergreen Bough and Peacock Feather distress ink on Scenery: Multifaceted Creative Screenings. I then drew the outline of the insides of the stencil using black fine liner. I love how it turned out. Then I diecut a rectangle panel of this background using the rectangle die from Essentials: Katharine Cutaways.

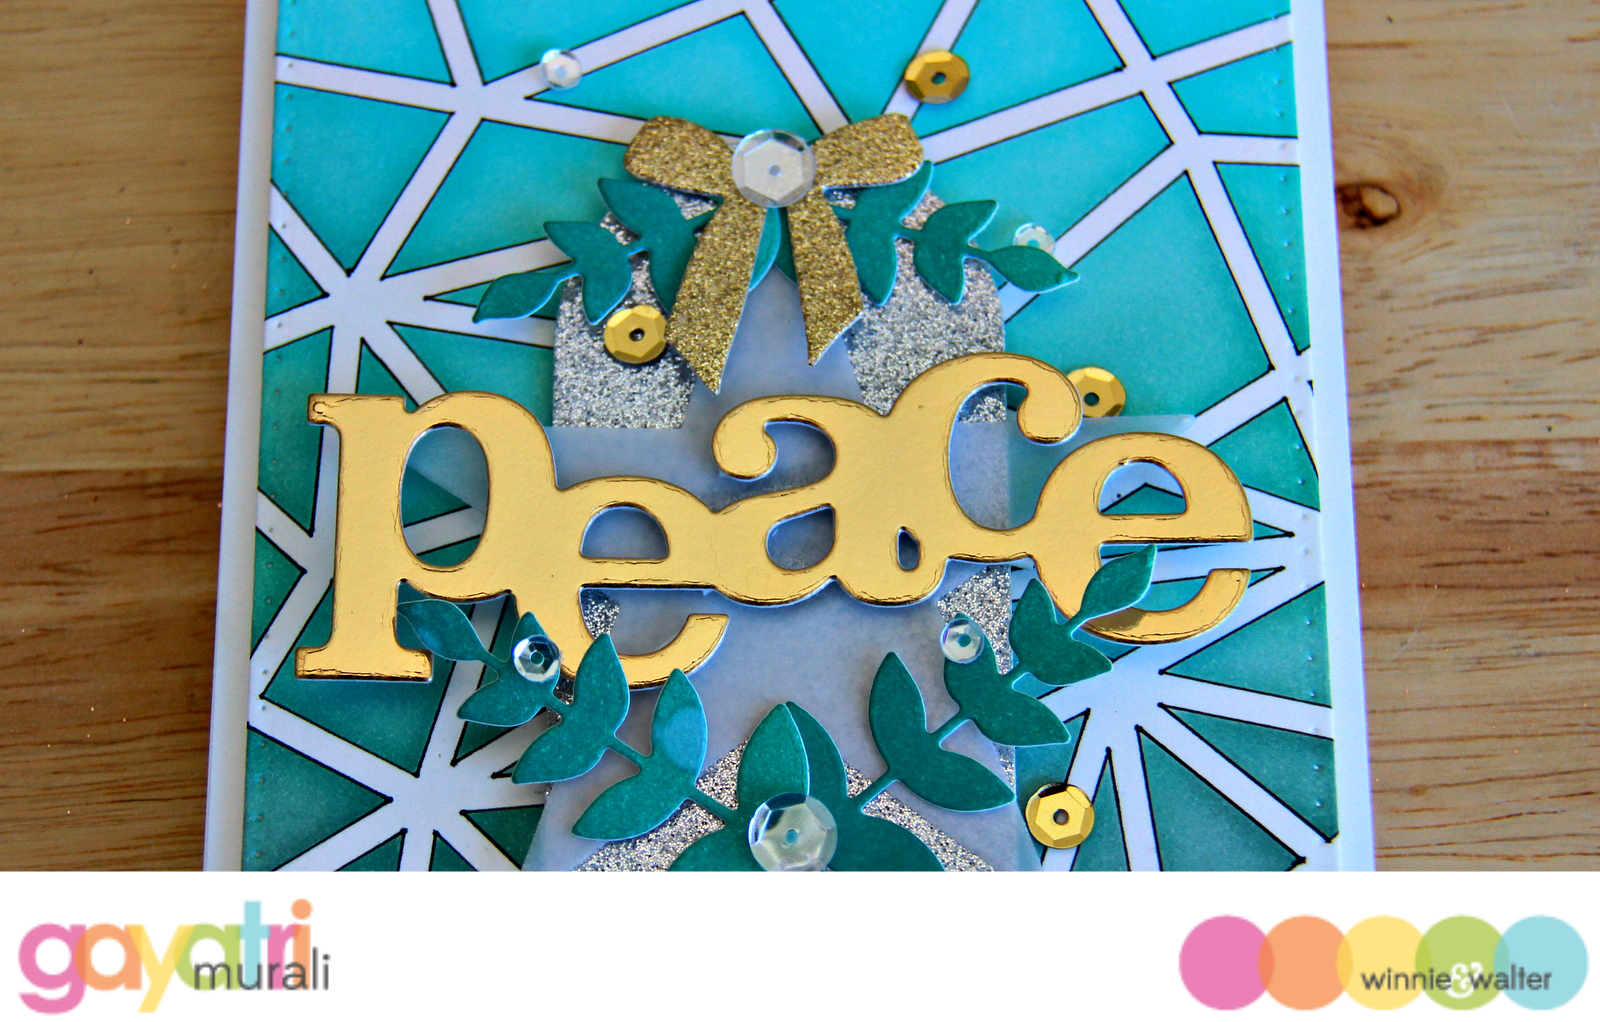
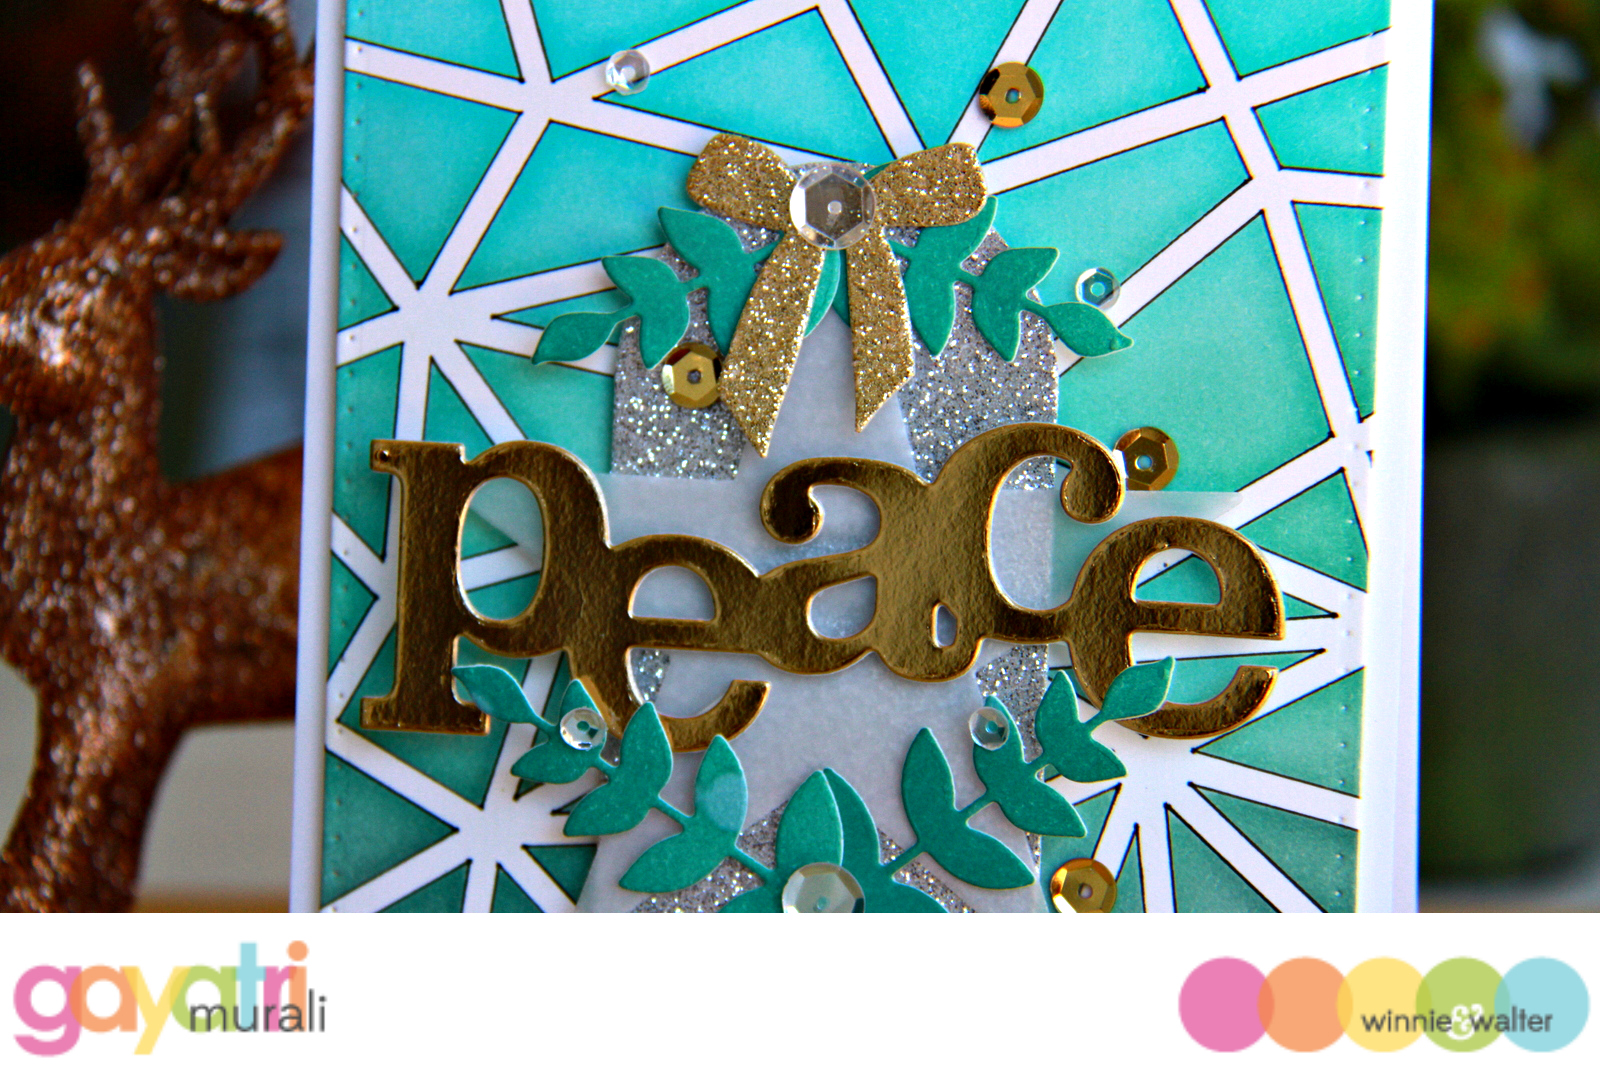
The focal point is few layers of die cuts. Started with die cutting the tag from Essentials: Noelle Cutaways using silver glitter card stock. Then the vellum solid star from True Multifaceted Star Cutaways is layered over the tag with a gold mirror In a Word: Peace Cutaway on top. Then I added two sets of leaves from In Bloom: Paulina’s Greenery Cutaways on top and bottom of the word die and with a gold glitter bow. Finally embellished with Sparkly Clear and Gold sequins from Pretty Pink Posh.

Here are some closeups

  Gayatri-1220151 Gayatri-1220152

It is a non traditional in colours and patterns but still has the traditional elements like the word die cut, leaves, star, bow. Love the mix. Hope you do too.

Thanks for stopping by today!

w&wDT_gayatrimurali_blog-sig


w&w-supplies