Showing posts with label the party confetti cutaways. Show all posts

Thursday, February 1, 2018

w&w 4th Birthday Bash | Comeback Challenge with Taheerah


Hi everyone, it's Taheerah! I hope you've been enjoying all the fun challenges today in honour of Winnie & Walter's 4th birthday! Can you believe w&w are only 4 years old?! They've been such a huge part of my stamping life that it feels like they've been around forever, lol!

I couldn't let the occasion pass without getting in on the fun with a challenge of my own!

The crafting world is so chock full of amazing creations from so many talented designers! Our own Talent are a perfect example of that. Time after time they blow me away with all the amazing work they do! So this challenge is somewhat of a tribute to them, as well as 'allowing' myself to indulge in something I *never* let myself do - CASEing!

My challenge is to CASE one of the Talent's awesome creations from over the years and put your own spin on it to bring it up to date! Mimic the marvellous Mayuri! Show your love for the laudable Lydia, Laura, and Lea! Honour the hip Heathers! Celebrate the crafty Crystal! Glorify the gifted Gayatri! Give kudos to the kooky Kate and Kelly! Venerate the voguish Vanessa! Maybe even give a standing ovation to the sensational Shay, or trumpet the talented Taheerah! *wink*

Oh, and in case you're wondering why I've called this a 'Comeback Challenge', well, I see taking an example of someone's older work and putting a fresh spin on it to bring it up to date as the design kinda making a comeback! *wink*

For my project today, I decided to put my own spin on this amazing creation from Kelly:


Isn't this card sensational?! I was blown away by all those little banners with the die cut words and little festive touches strung up with twine like that!


There's a great dimensional component to it too! I love how all the pieces can still move around a bit as well!

You can find the original post of Kelly's mindblowing card here.

So here's my take on Kelly's awesome creation:


I have to say I really enjoyed putting my own spin on Kelly's amazing card! Can you see how much fun I had with this?!


I replaced almost all the word banners with balloons! The different sizes of balloons from the Big Balloon Cutaways and the Big Round Balloon Cutaways gave me plenty of options to play with! I die cut them from white cardstock then used inks to give them their colours and glitter. A couple were die cut from patterned paper too for added interest!


I didn't just stop at balloons though. I included one of the streamers from the Goldie Trim Cutaways, and from The Party Confetti Cutaways for some festive fun, and threw in the 'party' word from The Big, the Bold and Party Cutaways for my sentiment. That's right, this is a stamp-free card - can you believe it?!


I strung up all of my balloons, streamers, and little strips of patterned paper embellishments using some clear thread - and made sure to thread on some sequins too! I didn't actually have any real clear thread, so I cut a very thin strip of acetate and used that in its place! If I were making this card again I'd definitely use some clear thread, and tie little knots between some of the elements to help keep them in place a bit better - but the thin strip of acetate really worked in a pinch too!


I adhered a few of the balloons in place with dimensional glue gel so that the whole thing wouldn't fall apart, but a lot of the elements still have free range of movement. My particular thing I like doing is playing with the sequins and pushing them back and forth, like an abacus. *smile*


I made sure to include a scattering of sequins on my card front too, and some of my trademark splatter! The card is ready to hit the town - and did you notice the die cut balloons and streamers follow the Winnie & Walter logo colours and order? Well, it had to be done seeing as it's their birthday, right?!


I so love this card, and thoroughly enjoyed the process of making it! I truly hope Kelly loves my tribute to her amazing work - she is one of my all-time favourite designers and it was my pleasure to honour her work here!


>>>GIVEAWAY<<<

So now it's your turn! Create a card that CASEs the work of one of our awesome Talent! Link up your take on this challenge for a chance to win a $75.00 gift card (gift code) the the w&w shop. One random winner will be chosen. I can't wait to see all your creations!


For more information on how to enter to become our Guest Star for the next release CLICK HERE. Please remember you need to include GS in the Link Title to be considered for the Guest Star competition.

>>>LINK UP<<


Friday, January 22, 2016

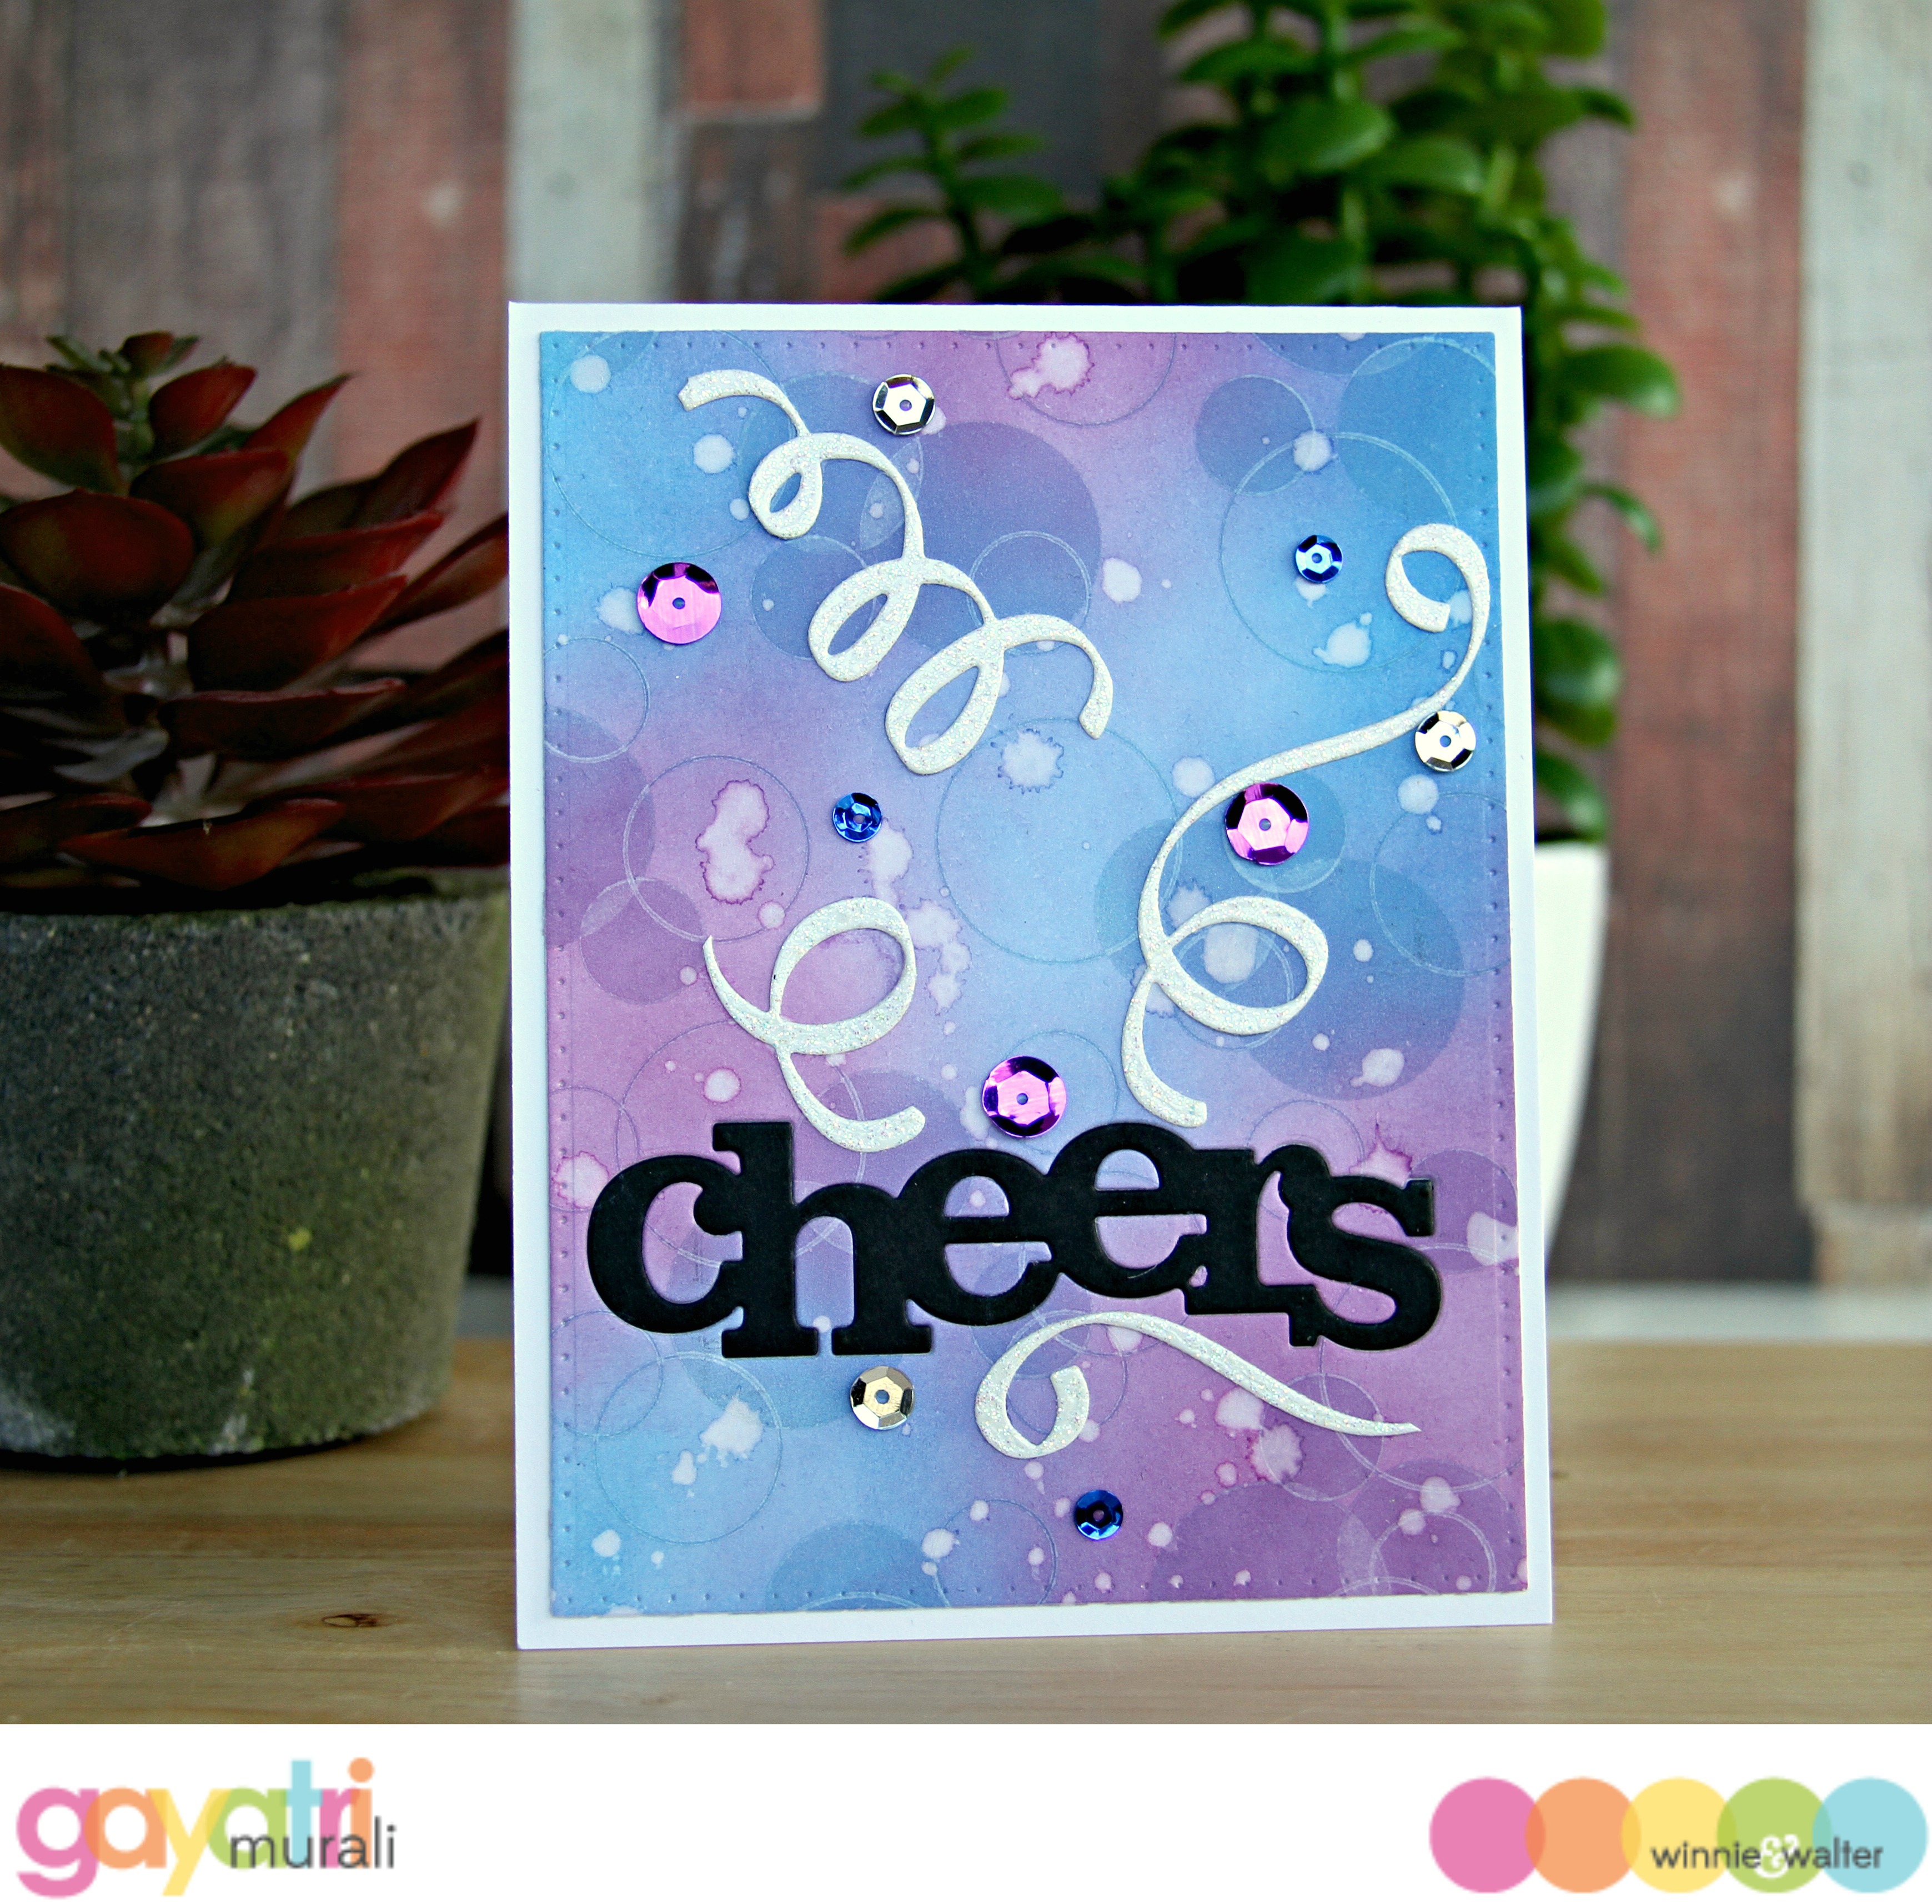
Party/Celebration | Cheers with Gayatri

Hello everybody! Welcome! This is Gayatri here today with you party card using couple of techniques.

gayatri_Cheers card #1 

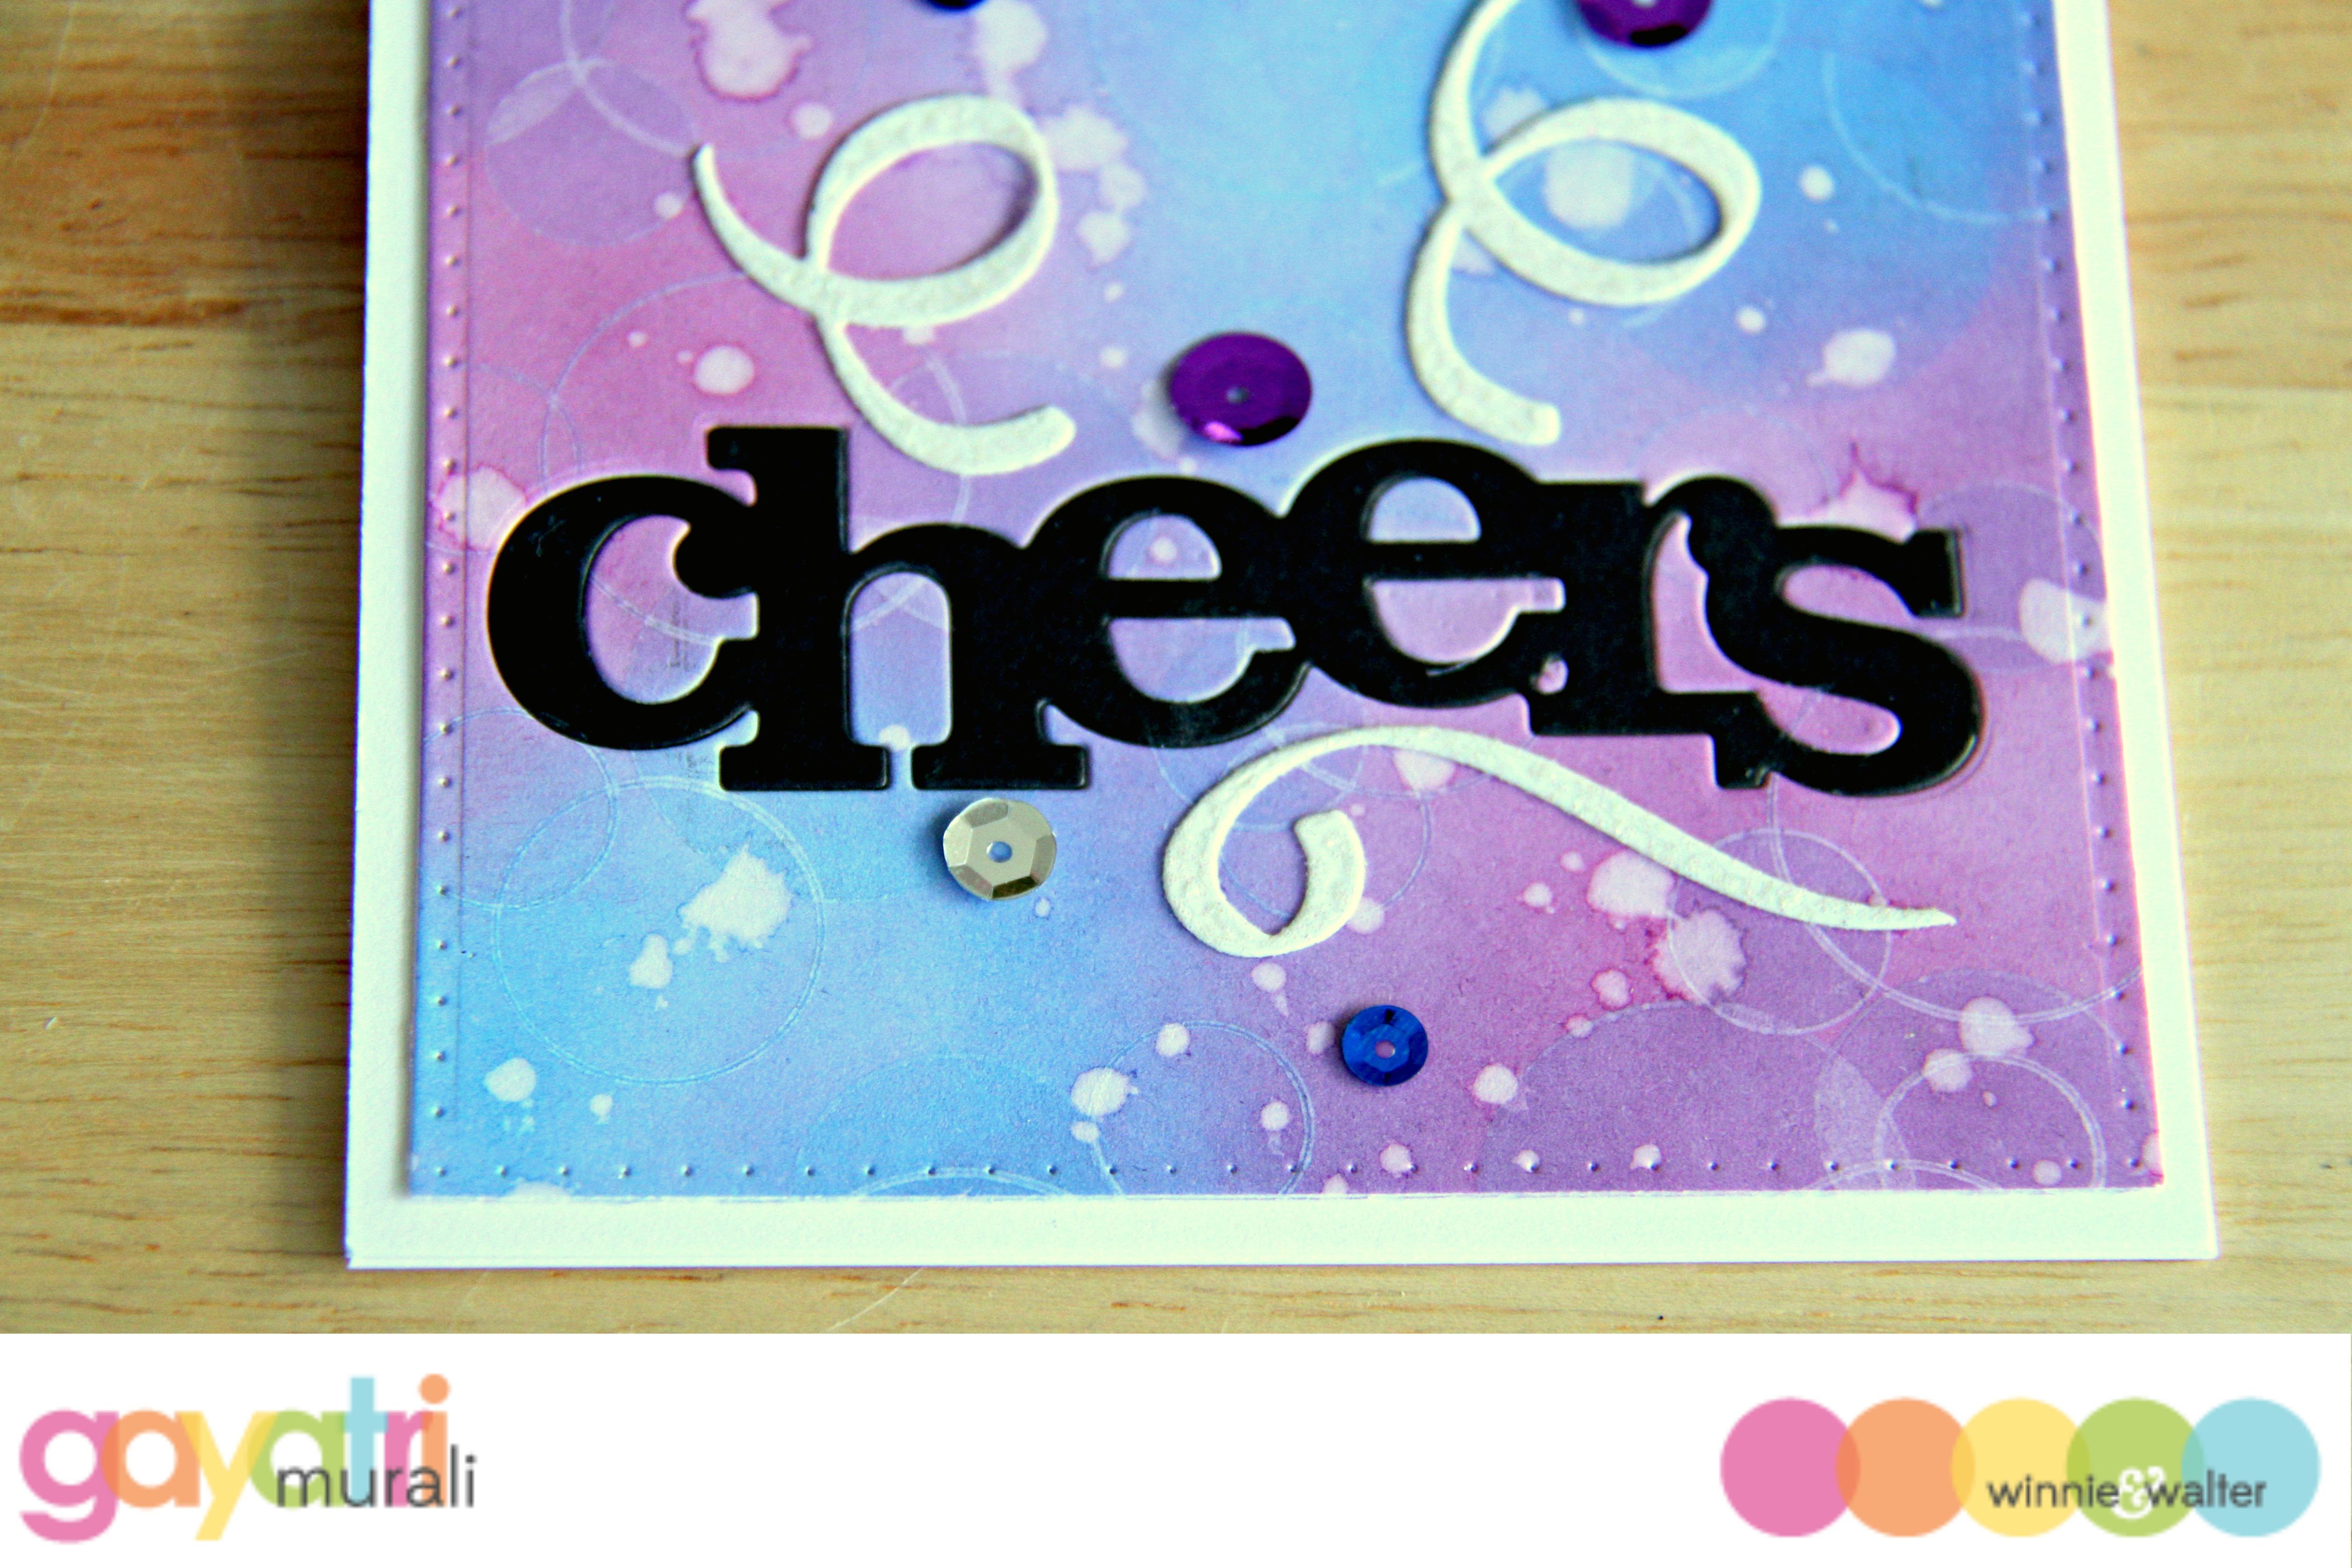
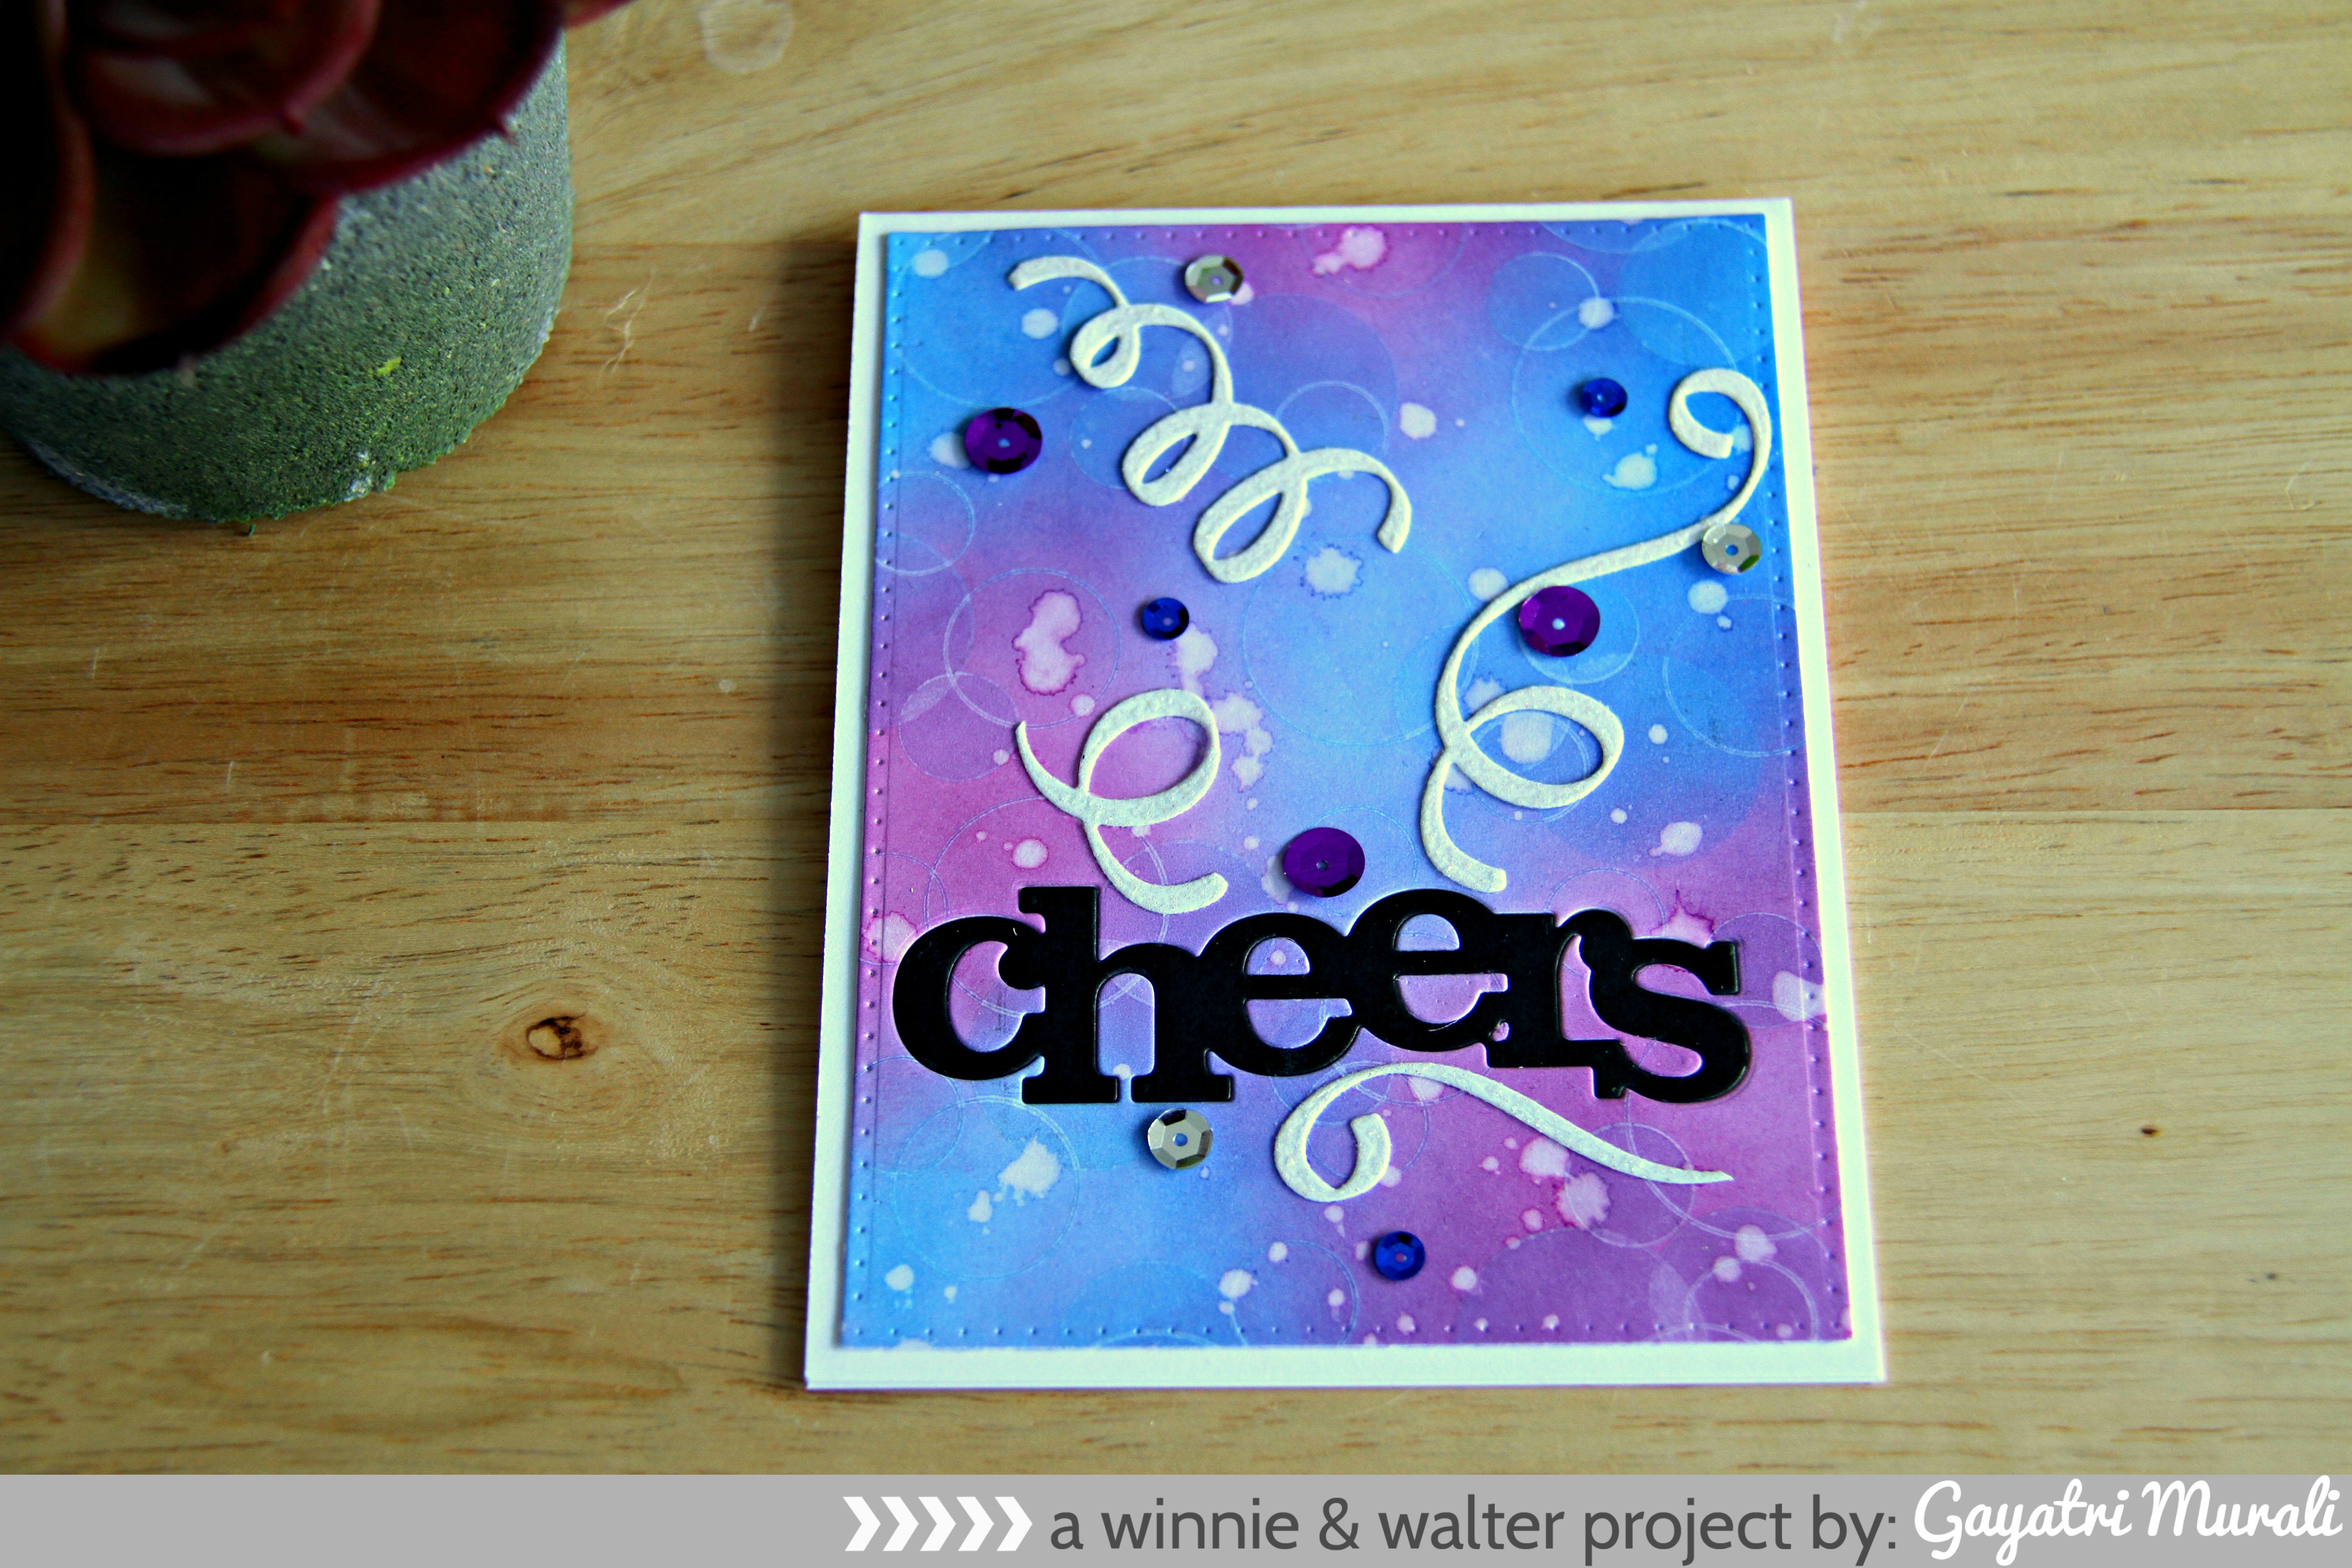
I created a bokeh background using inks and Scenery: Big Bang Confetti stamp set. I started with sponging Seedless Preserve and Mermaid Lagoon distress inks on white cardstock. I sponged layers and layers of colours until I was satisfied with the blend of colours. Then I used the solid and outline circles from Scenery: Big Bang Confetti stamp set to stamp layers of clusters of white bokeh using white pigment ink. The bokehs are subtle and beautiful. I also did spatter some clean water to add random texture. I then diecut a rectangle panel using the largest rectangle die from Essentials: Katharine Cutaways. Love the dot details on the edges of the panel.

gayatri_Cheers card closeup #1

The focal sentiment is die cut from the main panel using In a Word: Cheers Cutaway. I also die cut the sentiment from black cardstock. I inlaid the black die cut into the main panel and all the bits and pieces in place by adding adhesive sheet at the back of the panel. This panel is adhered on a white card base using craft foam for dimension. To add to the cheer, I added some confetti from The Party Confetti Cutaways die cut using white glitter cardstock. Finally embellished with sequins from Little Things by Lucy Abrams - Kaleidoscope and Star Shine collection.

gayatri_Cheers card flate #1

I love creating backgrounds on my card to make them unique and also to get more out of your products. Hope you like my card.

Thanks for stopping by today. Have a lovely day!


w&wDT_gayatrimurali_blog-sig

w&w-supplies

Monday, June 8, 2015

In Focus with Gayatri Murali No. 2 | Style #1

in-focus-banner-title_640px

Welcome back to In Focus feature. This is Gayatri.

in-focus-banner-title_640px

This month we are focusing on Winnie & Walter’s Creative Screenings aka stencils. There are so many different ways to use a stencil. You can use embossing paste, sponge ink, watercolour, spray inks to name a few. I am focusing on sponging ink technique. It is the simple yet gives a huge impact on your card.

Gayatri Style banner

In style #1, I am using the sponging ink technique and add a little something more to create your own background for your card. However, I am not using distress inks and blending. But I am using pigment inks. I love pigment inks for one good reason. Unlike dye ink, these inks sit on top of the cardstock and therefore the colours are bright and vibrant. I also like the subtle raised effect they give because of this property.

First, here is my finished card.

Stencil card

photo-tutorial_banner

Here are the photos of how I made my background for this card using Scenery: Classic Diagonal Creative Screenings from Winnie & Walter.

Stencil tutorial

brief_banner

I have used the Classic Diagonal Creative Screenings horizontally by just rotating the stencil. I sponged two hues of blue pigment inks alternatively. This added to some visual interest instead of a single colour. Once I sponged the inks, I left them to dry for couple of minutes. Of course you can use the heat gun to dry the inks. Then I placed the stencil back on the card front but this time I slightly offset the stencil above the sponged area. I used a black fine tip pen to draw the lines both on top and bottom of each stripes. The black lines added contrast and offsetting added more visual interest to the background of the card.

For the focal element, I stamped three gift boxes and coloured them with copic markers. This gift box image is from The Party stamp set from Winnie & Walter. Here I brought in a third colour – yellow which beautifully contrasts the blues and black.

slide #5

I cut those gift boxes out, then die cut a vellum circle. To tie in all the colours together, I needed a bit more black elements. I die cut a few confetti from the The Party Confetti Cutaway using black glitter paper. I then layered and glued the gift boxes using foam adhesives on the vellum circle, adhered the vellum circle to the card front at the top left slightly offset. Trimmed the excess of the circle. I then stamped the sentiment also from The Party stamp set in black ink on the bottom right to balance the elements on the card. Finally scattered and adhered the confetti. I also added some Onyx sequins from Pretty Pink Posh. Here are some more pictures of the card.

Stencil card angled
Stencil card flat

So hope you try out this simple sponging technique using Winnie & Walter’s Creative Screenings. Give a bit of interest by adding a few different hues of the same colour or just different colours or by drawing around the stencil. Link up you projects to the linky. One of the entries will be highlighted in social media.

Thanks for stopping by!

w&wDT_gayatrimurali_blog-sig

>>>LINK UP<<<<


w&w-supplies

Saturday, April 11, 2015

April Leading Lady Lydia Evans | Take Two

Our April Leading Lady, Lydia Evans is back for her second performance!  If you missed her smashing debut you must see it...CLICK HERE.  Lydia shows her stellar technique with a bevy of celebratory projects today!

Lydia-Evans_apr2015

Wow, where did that week go? But I'm not complaining as that means I am back here on the Winnie & Walter blog sharing some more ideas with you lovely W&W fans! So today my theme is Distress Ink Techniques...(but looking back at the cards I guess it could also be 'The Party Stamp Set' or 'Touches of Gold' but the tags at the end don't fit with these so I'll stick with 'Distress Ink Techniques ;) ). We will jump in with the brightest card first and then work our way to the calmest project.... a little order .... and as I've warned you hopefully the first card won't shock you to much if it's early when you read this.

DSC04829

So for this bright and bold card , that fits in perfectly with this months theme 'Fiesta' don't you think?!?, I have used Picked Raspberry Distress Ink to create an ombre effect background. To do this cut your card layer to size (I have used the large dotted card layer from Essentials: Katharine Cutaways ), add ink using a blending tool but only add the colour from one edge and work inwards so the ink gets lighter. When creating this effect I press hard with my blending tool on the darkest edge and use lighter and lighter pressure when moving across.

DSC04827

For the subway art-ish sentiment I added two of the large sentiments from The Party to my acrylic block and then added in some smaller words from The Big, The Bold And Party above, below and in the gaps in between these two sentiments. To create a bit of dimension with the sentiment I cut 'party' using some Gold Add A Little Dazzle Metal from The Big, The Bold and Party Cutaways, I then attached this too a piece of acetate and added this to my card so that it would bubble outwards. A couple of gold ink slashes and some streamers cut using the same metal with The Party Confetti Cutaways finished this card off perfectly.

DSC04831

My next card is more chilled but still has a fiesta feel....

DSC04822

I firstly created the watercolour background before adding the gorgeous hanging lanterns from The Party in gold. To do this background I started with a piece of watercolour card, I added some Distress Ink in Peacock Feathers, Picked Raspberry and Mustard Seed to my craft mat and spritzed with some water and then placed the piece of watercolour card onto the watered down Distress Ink, and lifted off and left it to dry.

DSC04820

Once the piece was dry I set to work on the lanterns... I stamped two of the large pieces first into place (the middle lantern) and heat embossed these with gold sparkle embossing powder, I then added the small one to the top and bottom and heat embossed in gold again. I then masked this lantern off and stamped the two either side, stamping the larger pieces first, heat embossing and then the small ones. To finish the lanterns I stamped and heat embossed the small tassel onto the bottom of each one. For the sentiment I cut 'party' using some gold craft metal from The Big, The Bold and Party Cutaways and added 'let's' from The Big, The Bold And Party in gold ink.   So this card doesn't have a Distress Ink background, I have used Distress Ink this time as a watercolour paint to add colour to the images with a paintbrush.

DSC04814

To start I took a piece of watercolour card and heat embossed in white the flower pom-pom shape from The Party and the small leaves from The Big, The Bold and Extras. I used Picked Raspberry and Spiced Marmalade for the flowers, Mowed Lawn and Crushed Olive for the leaves and the background is Peacock Feathers.

DSC04812

Once the piece was dry I added some splashes of gold spray and left to dry again. The sentiment, the 'wishes' is cut from gold craft metal from The Big, The Bold and Party Cutaways and the extra sentiment words are from The Big, The Bold And Party stamped in gold ink.

So these tags are like a little added extra today.....

DSC04832

I made a second piece of background that I used in the hanging lanterns card, but instead of it being a background I thought I could use it as a focal point instead. I took this piece when it was dry and cut from it In A Word: Cheers Cutaway, In A Word: Love Cutaway and In A Word: Happy Cutaway. I thought these watercoloured die-cut words would pop more if added to a clean white piece so I simply cut three of the large tags and hole re-enforcers using Essentials: Katharine Cutaways from white card and added the words with foam adhesive.... I really like how they overhang the tag giving a bit more interest to these simple tags.

DSC04835

Before you guys run off I would love to know what you think of my cards, your comments mean the world to me. Also as Julie and Shay are so generous they have given me a $30 gift card to the Winnie & Walter store over on my blog, so if you hope over there and leave me some love I will choose a random winner from all the comments left on my Leading Lady posts through April.

w&w_30giftcard

See you next week!
Hugs Lydia xxx  


w&w supplies used: