Showing posts with label sentimental: endearments. Show all posts

Sunday, June 17, 2018

Happy Father's Day with Jessica


 Hi everyone! Happy Father’s Day! It’s Jessica here and I have two Superman themed cards to share with you today. I love the geometric stamps and dies from Winnie & Walter, and I thought I could stretch my supplies and transform the diamond shapes into Superman’s logo. (Any superhero fans out there?!)


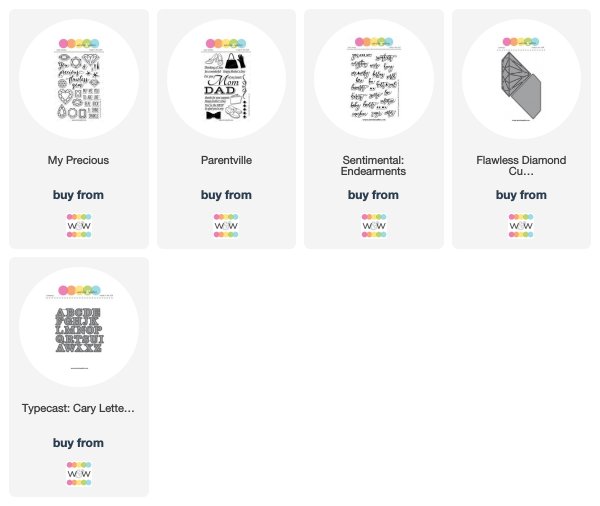
For my first card I used the Flawless Diamond Cutaway as the focal point. I die cut the detailed frame with Neenah Solar White cardstock and colored it with red Copic markers. I also die cut it from gold foil and gold glitter cardstock so I could paper-piece them for some extra texture.


I used the Typecast: Cary Letters Cutaways to build most of the sentiment, but the “S” is actually part of the In a Word: Hugs Cutaway. It’s larger than the alphabet dies so it stands out a bit more and is emphasized as part of the Superman logo. It’s just another way to stretch your word dies.


I also stamped “Happy Father’s Day” and “DAD” from the Parentville stamp set with VersaFine Onyx Black ink to complete my sentiment.


Finally, I spritzed on white and gold paint droplets and that completes the card.


For my second card, I went with a more CAS design. I die cut a small rectangular watercolor panel and blended Blueprint Sketch and Chipped Sapphire ink. I spritzed on water droplets to create the bleached effect and splattered on gold acrylic paint as well.


This time I stamped the diamond image from My Precious set with red ink and watercolored the entire image with yellow ZIG markers. I die cut the “S” letter from Typecast: Cary Letters Cutaways, added a coat of glossy accent and our smaller Superman logo is done!


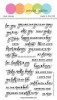
I white heat embossed the sentiment from the Sentimental: Endearments set. 


I hope you enjoyed these two masculine cards and feel a little inspired to stretch your supplies and use them in other creative ways. Have a nice weekend and I’ll see you soon. :)


w&w-supplies

Saturday, April 14, 2018

April Leading Lady Deepti Aggarwal | Take Two

Our April Leading Lady Deepti Aggarwal is back for her sensational second performance!  If you missed her smashing debut you must see it...CLICK HERE.   Today's amazing array of cards take on one single stamp set!

Ladies and gentlemen, Deepti...

Deept_Aggarwal_april2018

Hello Everyone!!! I'm so excited to be back here with my second performance... Before I move to my post, I want to Thank each one of you for leaving so much love for me here at w&w blog and at my blog...I'm really overwhelmed with the way you have poured your love..馃槝..Thank you so much.. For my take two, I have decided to focus on Winter Wishes with Evelin T Designs stamp set and stretched it further to challenge myself. I've made not one or two but four non - Holiday cards using this Winter Wishes stamp set 馃榿. It is so much of fun to stretch your stamp and use it all year round. So, Let's get started..


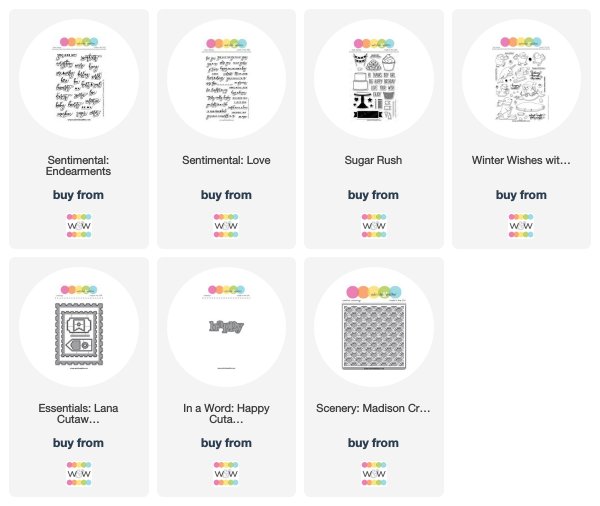
To make this card, I took A2 size white card stock and stencilled the background with  Scenery: Madison Creative Screenings using distress ink. Then I stamped and water coloured this cutie Walrus from Winter Wishes with Evelin T Designs and added some details  on its cap with sharpie pen. Further, I added glossy accent on the lights for some dimension. Once satisfied, I fussy cut it and  adhered it to the stencilled card panel with foam tape. Added the black strip of heat embossed sentiment from Sentimental: Love. Completed it by adding blue and clear sequins. Here is the close up..
 

For my second card, I did lots of masking. It was really fun to make this one... To start with , I took white card  panel, first I stamped my focal image and then masked it and stamped rest of the images around it by masking them further. Once satisfied, I die cut out the rectangle panel using Essentials: Lana Cutaways and water coloured it at some places.


Then, I adhered the masked panel on white note card and  added die cut out rectangle panel too with foam tape to give it some dimension. Meanwhile, I stamped this happy Narwhal from same stamp set  i.e. Winter Wishes with Evelin T Designs and coloured it. Added some glossy accent on its horn & belly for some interest. Adhered it to the stamped focal image with foam tape. Added the heat embossed sentiment from Sentimental: Endearments. Finally added some blue sequins to complete it.


I made my third card clean and simple.I always find it difficult to make CAS cards..But w&w bold cutaways are a great rescue..馃榿..For this card, I distress inked the background strip by masking rest of the card panel and splattered it with some water. Then I die cut out the happy word using In a Word: Happy Cutaway and distress inked it too.


Meanwhile, I stamped and coloured my focal image from Winter Wishes with Evelin T Designs and fussy cut it. Adhered the Happy word on the card panel and replaced the letter "a" with my focal image using foam tape. Added the birthday sentiment from  Sugar Rush stamp set and some sequins to complete it. Here is my final card for today. I really fell in love with this one, it came out so beautifully. I got the idea while doing my household chores..Is that happen with you too...?? I'm sure .A big yes...馃槈


To make this card, I took watercolour paper and created this galaxy background using gansai tambi watercolours, splattered it white gesso and glued it to white note card.Then I stamped and water coloured this bear from Winter Wishes with Evelin T Designs and partially fussy cut it. Adhered it on the card panel with foam tape. I've stamped some snow balls from same stamp set and fussy cut those to use it as a thinking bubble. Then I cut out a big bubble using a pair of scissors and stamped the part of bear image and coloured. Added the sentiment from Sentimental: Endearments and completed it by adding some sequins.


Here is the pic of all these cards together.


I hope you liked what I've created and inspired you to take out your holiday stamps and do some magic..And before you leave...don't forget to leave some love on my blog post here for a chance to win $30 Gift certificate from Winnie & Walter store. Thank you so much for stopping by!!

Hugsxx
Deepti Aggarwal


w&w-supplies

Friday, March 30, 2018

March Documentarian Fl贸ra M贸nika Farkas | Take Two

It is time for the second and final project post by our very first Documentarian, Fl贸ra M贸nika Farkas.  
Don't miss out on her introduction HERE or her (impossibly) adorably layered layout HERE.  

It has been such an honor to have Fl贸ra kick off this feature and she has done such an exceptional job showing her range and depth of skill with her two dynamic and eye-catching layouts.  I hope you have been as inspired by Fl贸ra as I have! Perhaps you (and I) will try some of her techniques on your memory keeping projects or even on other crafting projects.   
Today's layout is not only gorgeous, but very cleverly executed!  

Once again, Fl贸ra....


Hi dear Ladies! I am back with the second post as Winnie & Walter March Documentarian. If you missed my first post you can check it here. Again, I made a 12x12 scrapbook page, but for this layout I used tons of flowers. If you know me, not a surprise I love the make different wreaths on my layouts, just like this one.


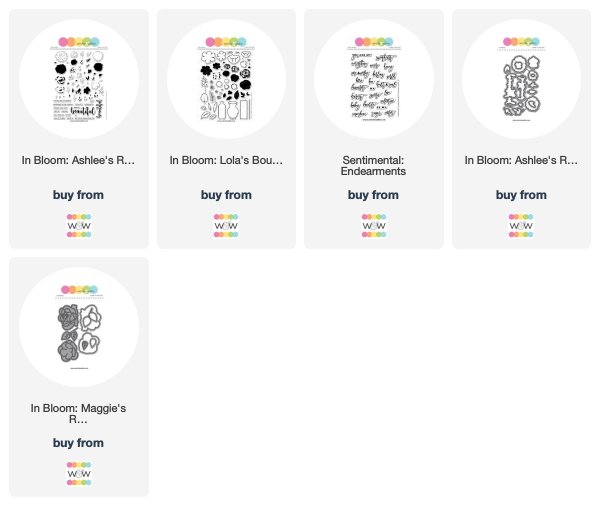
First, I grabbed a regular smooth white cardstock and draw a huge circle in the middle. Then, I stamped many many gourgeous flowers, leaves and branches with green, pink, orange and blue inks. I loved to play with In Bloom: Ashlee's Rosie Posies with Lydia Evans and In Bloom: Lola's Bouquet with Joni Andaya Stamp Sets. This took few hours to finish it, but I enjoyed so much the process. Once the stamping was done I cut out the circle and backed the layout with a same white cardstock.


I choose a pink thread and machine stitched around the circle. It gives extra texture but also fix the two papers together. After this I pull out my black ink and stampend pretty and menaningful sentiments from Sentimental: Endearments Stamp Set around the circle.


Next, I cut out gorgeous flowers and leaves with In Bloom: Maggie's Roses Cutaways. What a gorgeous product! To be honest I didn't have matching papers, so I covered white papers with the same inks I used for the wreath and I got customized cardstocks.


In the end I stamped my title using In Bloom: Ashlee's Rosie Posies with Lydia Evans Stamp Set and Die Cut. I highlighted with foam tape. Something was still missing so I stamped tiny black dots around the wreath.

It was so fun and big honor to be the Winnie & Walter March Documentarian. Thanks for the guest designing opportunity! I hope you find inspirational my projects and you got new ideas how to use your Winnie & Walter Stamps and Cutaways on future scrapbook layouts. 

Fl贸ra

w&w-supplies

Monday, March 6, 2017

w&w 3rd Birthday Bash | Special Guest Star Emily Leiphart Take Two

birthdaybashspecialgueststar-emily

Today marks the last day of our 3rd Birthday Bash (all good things must come to an end, right?).  What a bash it has been--The Talent have been amazing with their challenge inspiration, all of you commenting and contributing your awesome challenge projects have also been incredible not to mention our sensational special guest stars!  A huge thank you to everyone for making our 3rd Birthday Bash such a blast.   Remember you still have thru tonight (CST) to upload your challenge submissions and/or enter our The GIGANTIC Giveaways...more details HERE.

I feel truly honored to have Emily Leiphart back for a second post as our last 3rd Birthday Bash special guest star.  If you did not see her first post you really must (!)...CLICK HERE.  

Now I turn you over to Emily....


I'm back on the Winnie & Walter blog for my second post as a Special Guest Star for their 3rd Birthday Bash celebrations! I'm so in love with the Typecast: Cary Letters Cutaways and I wanted to use them in a very different way from Friday's video post. 


Today's card features the Typecast: Cary Letters Cutaways front and centre as the star. I used the stripes from Scenery: Stripes and three different ombre inks to create a background behind the die cut letters.


The scripted honey word is from Sentimental: Endearments and we love you is from Sentimental: Love. I left out the negative pieces from the letters since I wanted to stamp a word in the o and having completely open letters shows off the ombre stripes.


Don't forget, you have until 11:55 p.m. CST tonight to enter the birthday challenges to win a $75 gift certificate, a chance to be a special guest star and the grand prize giveaway!

Thanks so much to Winnie & Walter for having me as a 3rd Birthday Bash Special Guest Star! I always have so much fun creating with these amazing products!!


w&w-supplies

Saturday, February 18, 2017

February Leading Lady Rebecca Luminarias | Take Three

Rebecca_Luminarias_february2017
Our February Leading Lady, Rebecca Luminarias, is back for her triumphant third performance!  If you missed her smashing debut you must see it...CLICK HERE or her stunningly sensational second performance CLICK HERE.   Today she shows how a little planning can produce quick, easy and beautiful results!

Without further ado, Rebecca....

Hi, friends!  I have to say that Winnie & Walter maybe have the best fan following in the paper crafting business.  You guys are awesome!  Thank you again for all the love and kind words you have left for me.  I love being able to create but when I hear that I've inspired you or that you get where I'm coming from, that, in turn, inspires me.  Your comments are truly appreciated and taken to heart.


I actually had a different project in mind for this week than the one I'm sharing here today, but life got a little out of control last week and, as my deadline for submitting this post was approaching, I realized there was no way I'd be able to complete it on time AND be thorough in my photos and written content.  The good news is, you'll still get to see it as my finale next week!

So without my planned project, I was facing a nerve-wracking dilemma.  What can I come up with in 24 hours to share this week?!  Remember, I'm not a super-fantastic-amazing-mindblowing stamper...but I do really love to make cards and I do have other awesome Winnie & Walter products at my fingertips--like Cutaways!  And after a somewhat panicky brainstorming session, I had a few ideas for some quick and simple cards.


The first one I made was the simplest, and it inspired the two that followed.  I have acquired a W&W product collection that would make most people drool and I set out to use as many different sets as I could, while still keeping the feel of each canvas clean and easy.  A thank you card is always useful, I thought, eyeing the bold brushed style of the From the Bottom of My Heart stamp set (January/February 2017 Release free with qualifying $25.00 purchase until Friday, February 17, 2017 at 11:59 p.m. CST and will be released for purchase later this year).  So I started by die cutting some leaf stems with the Framed with Evelin T Designs Cutaways in different papers.  All the papers seen here are from Pinkfresh Studio's gorgeous Indigo Hills line.


I clustered 3 of them together and added a tiny glitter heart at the bottom.  There's always a careful laying-out process to all of my projects, and this card trio was no different.  I was about to stamp RIGHT ON THE CARD, which is always an anxiety-ridden task because what if I mess up?!  It's right there on the card!  So planning for these kinds of things is a must, and honestly, while each of these cards maybe took 10 minutes to put together, the concept and layout of each one probably took over an hour!  (So when I say quick and easy, I really mean: these are quick and easy after the whole design and layout finally came together :)


I carefully stamped "thanks" on the card, emitting a huge sigh of relief when I lifted the stamp and found a complete image, sans smears and weird discoloration.  Then I stitched on a strip of lace with some gold thread, adhered the leaf cuts, and added a few sequins.  See?  Quick, easy, simple...after all of the mind-changing and anxious hemming and hawing over the actual design of the card!  But surely we've all been there, right?!


My second card was a a bit less agonizing as I was using a much smaller stamp this time and it isn't one of the main focal points.  I wanted to be sure I got to use the In a Word: Precious Script die at least once during my LL tenure because it's gorgeous.  I had the idea to cut the word out of floral paper and pair it with the phrase "You are."  "You are my" is one of the sentiments from the Sentimental: Endearments set so I masked off the my.  It worked, yay!


I decided to take the small flag die from the Essentials: Lana Cutaways and create a little bunting (who can resist buntings?!) to accompany my statement.  A little bit of lace underneath, because precious and lace go together like milk and cookies.  When I adhered the flags for the bunting, I didn't glue down the entire piece, leaving the bottoms raised and even curling them up a bit with my fingers for some extra dimension.


Just for a little interest, I stitched a few doily scraps along the bottom edge of the card.  It adds another kind of texture without making the card too busy.


I had a different idea for my last card, but when that wasn't really working so well, I scrapped the original idea and decided to use a few less elements, which actually made me like the card a lot better when it was all done.  I was going to do another bunting-type card, but with a different die.  In my mind I pictured a drapey sort of look with scalloped lace, a banner-type stamp, and this other bunting, however, the scale of the card was much too small to achieve this and it ended up just looking way too chaotic.  I got rid of the DIY bunting and just went with the lace and the stamp, which is from the New Release set of Scenery: Stripes 2 and I curved it when I placed it on the acrylic block to make it look like a party banner.  I like the simplified look much better.


Again here, though, I had to stamp directly onto the card--TWICE!--and let out a huge sigh of release when it worked again!  This time, I used the new 'sweet' cutaway from The Big, the Bold, and Baby and paired it with 'heart' stamped in pink.  I stitched pale pink tulle to the bottom edge this time, added another doily remnant and glitter heart.  (*Those hearts are pieces I've cut over and over again because they're the perfect finishing touch item to almost everything.  The last time I needed one, I went ahead and cut 20 just to have at the ready!)


While my original bunting idea was unsuccessful, I still felt as though this card needed a little something more so I tested out a glitter bow (another item I cut and assemble in bulk) and it was perfect!  It's such a cute card for a baby or little girl, don't you think?


Well, hopefully the cards don't look too thrown together in haste (because, remember, the concepts took me quite awhile :).  I'm actually pretty pleased with them and feel they are definitely MY signature style.  I'm really looking forward to sharing my LL finale with you next week, though.  I hope it's fun for everyone!  Until then, I've got the Winnie & Walter Giveaway going on my blog this week and next!  I know you don't want to miss your chance at a $30 gift certificate to the shop so pop around over there for all the details!  Then I'll see you right back here next week!


w&w-supplies