Showing posts with label creative screenings. Show all posts

Monday, August 5, 2019

2019 Mega Sponsor Fall Blog Hop

Happy Monday!

Today is the big day! We are excited to be part of this exciting event. We have partnered with 14 other stamp and papercraft companies to do a special blog hop and will be giving away 15 prizes to 15 lucky winners!

Blog hop begins today, August 5th 12 noon EST and ends Monday, August 19 12 midnight EST
Winners will be announced: Monday, August 26th at 12 noon EST

Here's how you enter:

1) Follow this blog and each participating sponsor in the hop
2) Comment at each blog stop

2019 Mega Sponsor Blog Hop

  1. Winnie and Walter <====YOU ARE HERE


Bonus Prize Sponsors:

      Ellen Hutson
      Divinity Designs
      Lawn Fawn
      Avery Elle

>>>PROJECT<<<


I have a couple of cards for you today.  

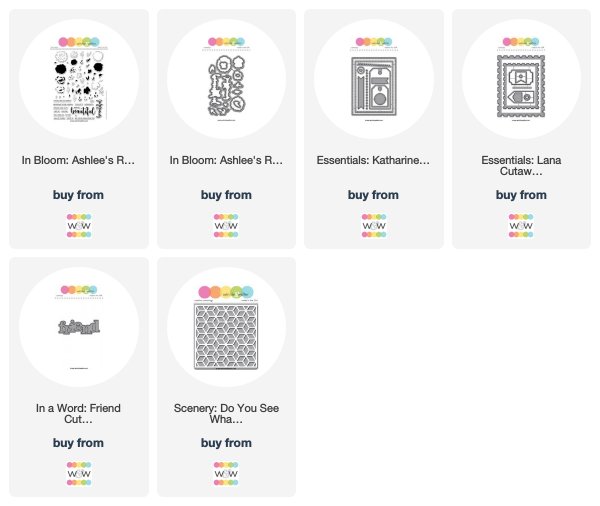
I am not sure if you are like me, but I need simple.  Having my handy ready made backgrounds are even more important now.  I made a huge batch of panels with various stencils (just use your favorites) and experimented with pastes, paints and color bursts.   When I need to make a card I then can go to my container full of them and use them as needed.  In fact because of having my backgrounds already done I was able to create these cards in the w&w storage unit.

For these cards I found a panel that I had used Ken Oliver color bursts watercolor powders on and then overlaid with Nuvo metallic pastes using the Scenery: The Leaf Effect Creative Screenings.  I cut the panel into 2 parts and then adhered them to larger panels of white cardstock before adhering them to a yellow and orange card base.  I stamped the sentiment from Wish Big with Evelin T Designs on each and that's all that was needed for some gender neutral autumnal color-inspired cards.  


Anyone can get out their stencils and various coloring mediums and just have fun like I did!

Hope you had an incredible time hopping!  You've come to the end of the blog hop, but there are bonus prize sponsors to visit and of course if you started here go to DeNami Design right now to start the hop!

Happy hopping,
Shay.

Saturday, February 2, 2019

February Leading Lady Rosali | Take One

Happy February!  I am so excited for this special month as it's our birthday month so we have lots of challenges.  Speaking of challenges and special we have an incredible February Leading Lady to introduce you to today: Rosali!  

I have been awed by Rosali's projects ever since she began entering our challenges.  I love how thoughtfully and beautifully designed each of her cards are and I can't wait to see what she has in store for us this month and in honor of our birthday month we're doing something a bit different this year and including a challenge to you on each of Rosali's posts this month.  See the end of this post for more details and to link up!

Please give Rosali a big round of applause to welcome her as she steps onto the stage for her first performance as our February Leading Lady! 

Hello everyone!

It's Rosali and I am super excited to be joining Winnie & Walter as their Leading Lady this month!! Eep!! Shay is one of the most generous and kind shop owners in the industry with lots of amazing products and I am honored that she asked me to guest design!!


For those of you who don’t know me yet - I’m a 30-something crafter, I live in Northern Germany with my hubby and you might know me under my social media nickname ilovestamping. Because I just loooove stamping, hah! 😃 My little addiction with cardmaking started about 4 years ago and shortly after I joined Instagram and met so, so many wonderful crafters there. I also started my own blog last year! I love to connect with people from all over the world through this amazing hobby.

I am gonna have a blog post for you guys each Saturday during February and I thought I would focus on a technique that I use super often on my cards: masking! It’s a very versatile technique that helps you get the most out of your supplies! I am gonna concentrate on a specific way to use it every week. I am also gonna share Copic guides and a few tips on coloring alongside the masking techniques. Today's post makes a start in which I will show you two examples on how to:

USE MASKING WITH STENCILS

So let’s ‘dive’ right in, shall we? This is my first card:

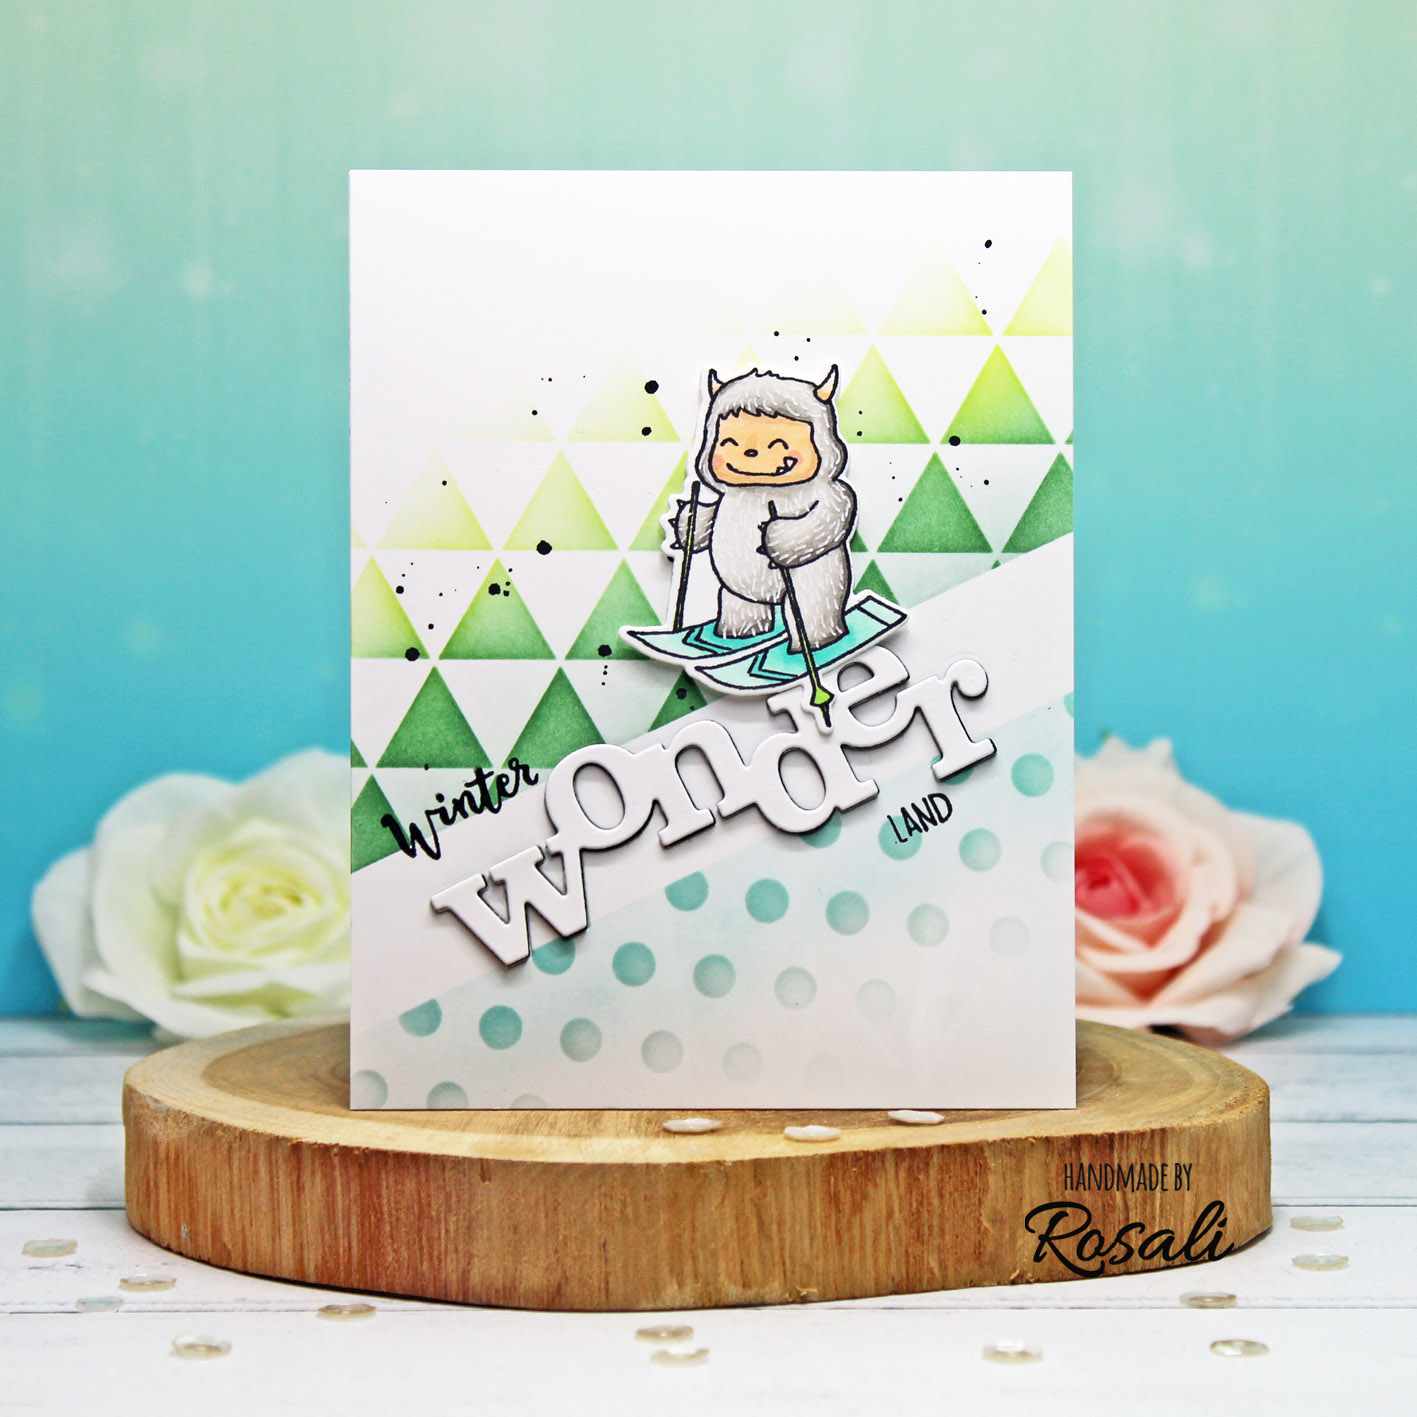
winnie and walter masking backgrounds with stencils 1

Here is how I used masking to create the background on this first card with the help of two graphic stencils - Polka Creative Screenings and Triangled Creative Screenings:
  1. I took a strip of Post-It Tape and put it across my cardstock panel at an angle to mask off the area for my sentiment. You can also use a strip of masking paper or a piece of painter's tape!
  2. First, I used light colored ink pads and a blending tool to add a minty base color above the tape and a light blue base color below the tape. This helped to define the borders of the masked area.
  3. After that I placed the Triangled stencil above my mask and inkblended three shades of green ink over it. I also added black watercolor splatters because I always love the artsy feel that it gives. 😊
  4. For the bottom part I took the Polka stencil and inkblended light grey ink over it.
Removing the tape after you're finished is always an exciting moment! I was happy with the outcome and went on to design the rest of my card. I die cut the Wonder Cutaway once from white cardstock and once from black fun foam and glued both together for dimension. I adhered them onto the background.

In addition, I stamped "winter" and "land" from one of the sentiment stamps from Yetitide Greetings to create my "winter wonderland" sentiment. To mask off the parts of the sentiment stamp that I didn't need I used a piece of washi tape when inking up the stamp! Just remember to remove the washi before stamping on your project (ask me how I know lol) ...

winnie and walter masking backgrounds with stencils 1 detail

The skiing yeti from Yetitide Greetings was the perfect critter for my card. I colored him with Copics (see coloring guide below) and adhered him using foam tape. If you use your imagination it kind of looks as if the white masked strip could be a snowy hill and the green triangle pattern could be trees!

For my second card, I followed a similar idea:

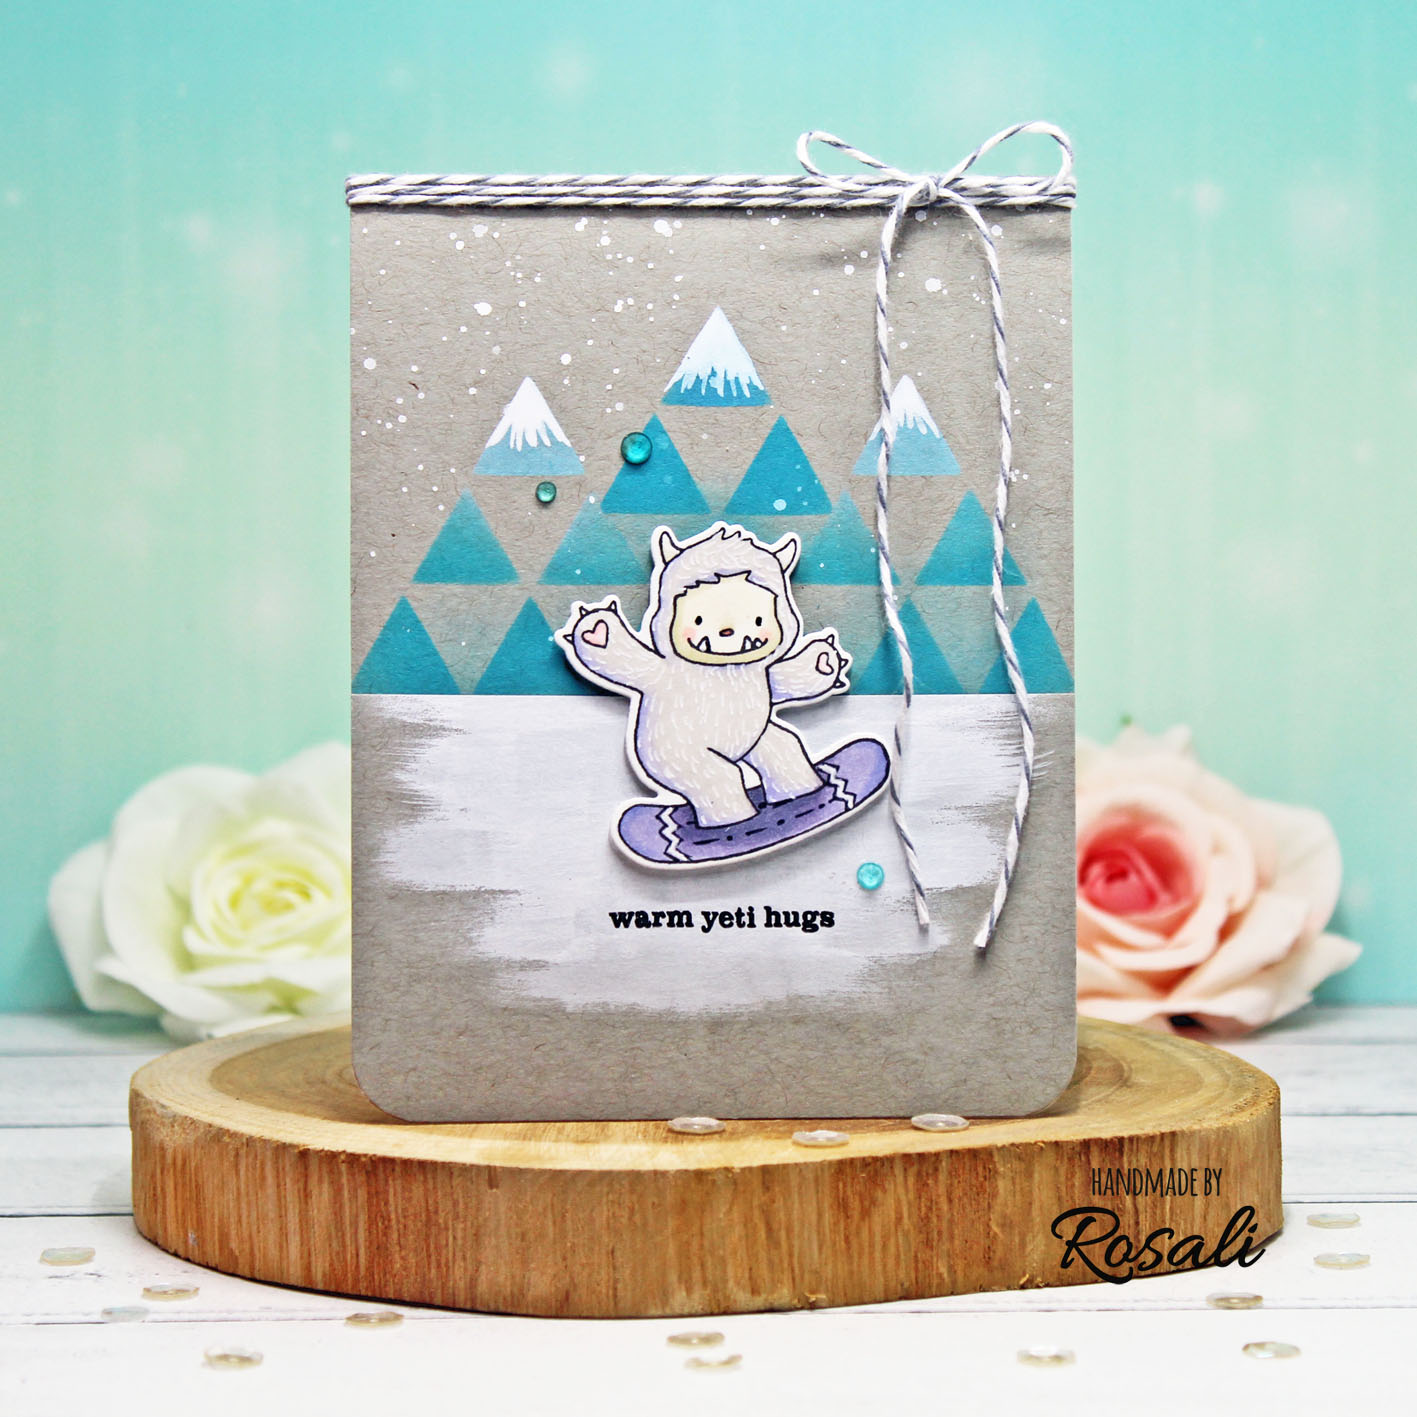
I wanted to use the Triangled stencil to represent mountains on my background. To get that look, I used Post-It Tape once more - this time putting it onto the stencil instead of the cardstock. I masked off a bigger triangle on the Triangled stencil to use as a mountain and took light blue and teal Distress Oxides for inkblending over the stencil.  Using this method, I added three mountains onto my grey background panel.

winnie and walter masking backgrounds with stencils 2
Then I took Copic Opaque White paint to
  1. give my mountains snowy tips,
  2. add small splatters as snowflakes and
  3. paint on a snowy ground (with a damp / rather thirsty flat brush - to get the painted look that I wanted)
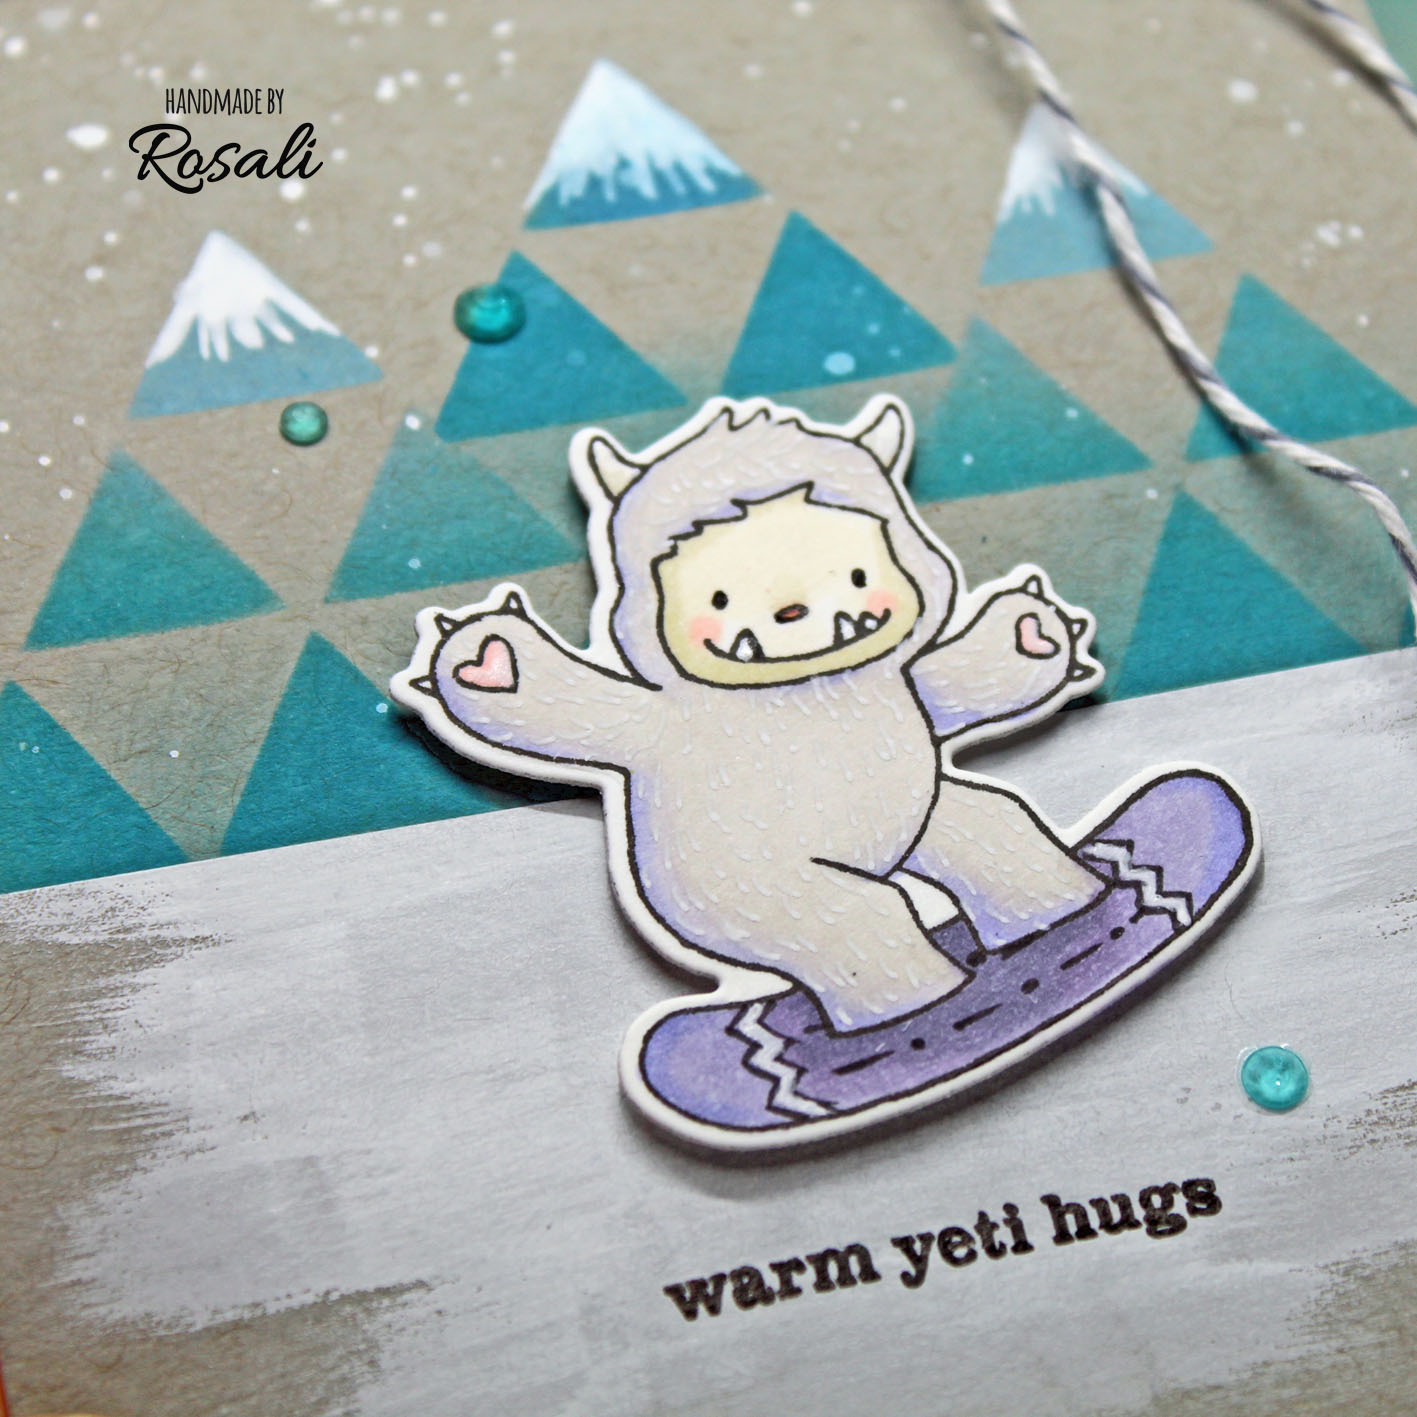
The snowboarding yeti and a small "warm yeti hugs" sentiment from Yetitide Greetings made my winter scene complete. Instead of plain grey I added a tint of lilac to my yeti this time. I really like the teal and lilac together in front of the grey card front!

CARD CLOSE-UP:

winnie and walter masking backgrounds with stencils 2 detail

COPIC GUIDE & COLORING TIPS:

Card 1
Yeti’s face: E51, E21, R20
Yeti’s fur: 0, W1, W3, W4, W5
Skis & ski poles: G000, G00, BG13 & YG03, YG13
Card 2
Yeti’s face: YR30, E81, R20
Yeti’s fur: W1, BV02, V20, V22
Snowboard: V22, V25, V28
TIP 1: For an easy fur look, add small flicks over your Copic coloring with a white gel pen!
TIP 2: Add patterns to the skis and snowboard with a Memento Marker for some extra interest.

I hope I have given you some inspiration today! Thanks for reading all the way down. :-) And don't forget to hop over to my blog and leave a comment over there as well. Winnie & Walter has generously sponsored a 30 $ gift certificate for one of you to win!

See you next week! ♥
Rosali


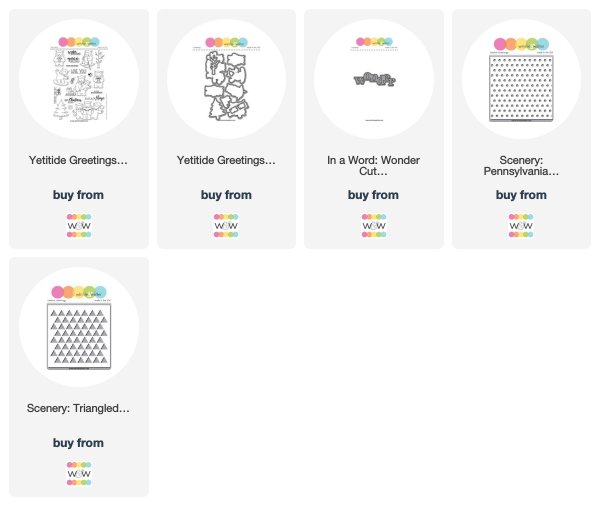
USED SUPPLIES:

Winnie & Walter stamps, dies and stencils:
Yetitide Greetings with Evelin T Designs Stamp Set
Yetitide Greetings with Evelin T Designs Cutaways
In a Word: Wonder Cutaway
Scenery: Pennsylvania Polka Creative Screenings
Scenery: Triangled Creative Screenings


CHALLENGE:

Now that you've seen Rosali do it, "Use Masking with Stencils" to create your own project and link up here by Friday, March 15, 2019, 11:55 p.m. CST to be entered to win $50.00 credit to the w&w shop!  One (1) lucky randomly chosen winner will be picked from each of Rosali's Leading Lady posts this month.


Saturday, January 12, 2019

January Leading Lady Greta Hess | Take Two

Our January Leading Lady Greta Hess is back for her sensational second performance!  If you missed her smashing debut you must see it...CLICK HERE.   Greta is-oh-so clever with her coloring on her awesome cards today!

Ladies and gentlemen, Greta...

Thanks for all the positive comments on my initial Leading Lady post.  I'm so appreciative of your support.  Now it's time for Take 2.
This week I wanted to show you some ways to add color without the traditional art of coloring, since that's not one of my talents.  I often use solid images, but I'm not restricted to them.  Here are some cards with open images & techniques anyone can do.

First up is a card using the adorable snowman from Snowy Holiday with Evelin T Designs. 


Using a couple solid circles from Scenery: Dotty, I stamped 3 times, overlapping the circles, with Distress Inks weathered wood & faded jeans on a watercolor panel.  Then I spritzed to make the ink run.  I used my heat tool before repeating the process & adding splatters.  When it was completely dry, I stamped the snowman in Delicata Sapphire Blue several times using a stamp positioner.  Then I stamped in Versafine Clair Morning Mist.  The gray ink didn't really change the blue, but just made the image a bit crisper.


I added Shimmer Pico Embellisher to parts of  the snowman for clear sparkly dimension.  The sentiment is from The Big, the Bold & the Happy & I added a few clear sequins. Next is a fun Valentine's Day card using a die from Essentials: Tilda Cutaways that makes an opening for a gift card.


I began by white embossing Mini Scenery: Bed of Roses on Bristol paper so I could color with my Zig Clean Color Real Brush Markers.  They are great for a messy watercolor technique that doesn't require staying in the lines or adding shadows--perfect for me!  I used 3 purple markers & a blue gray, mixing with a little water.  After it dried I cut out the gc holder & then spritzed with shimmer spray.


The white embossed sentiment strip made with words from The Big, the Bold & the Happy was mounted with foam tape.  The background is done with white dye ink & Scenery: Pennsylvania Polka Creative Screenings.  I didn't want the actual gift card to detract, so I covered the back of it with a scrap of Bristol paper colored with the blue gray Zig & dry embossed with little dots. My last card is another example of messy watercoloring.  This time I stamped a beautiful leaf image from In Bloom: Renee's Leaves across the top of a white panel in Distress Inks pine needles & evergreen bough. 


Then I "stamped" the ink pads on a flat palette, added water & picked up the color with a small brush to paint the leaves--again not staying in the lines.  When it was dry, I stamped in a darker blue green dye ink for more definition & then in Delicata Silvery Shimmer purposely not lining up the stamp.  The sentiment from In a Word: Thanks was stamped in dark gray ink to match the mat.  I left off embellishments, but did add some silver splatters. Hope I've given you some inspiration, even if you do traditional coloring.  Remember to leave a comment on my first post to be in the running for a $30 Winnie & Walter gift card.


Check the Take 2 post on my blog to see how you can get another entry into the drawing.  I'll be back next Saturday for more fun with wonderful Winnie & Walter products!


w&w-supplies

Tuesday, October 16, 2018

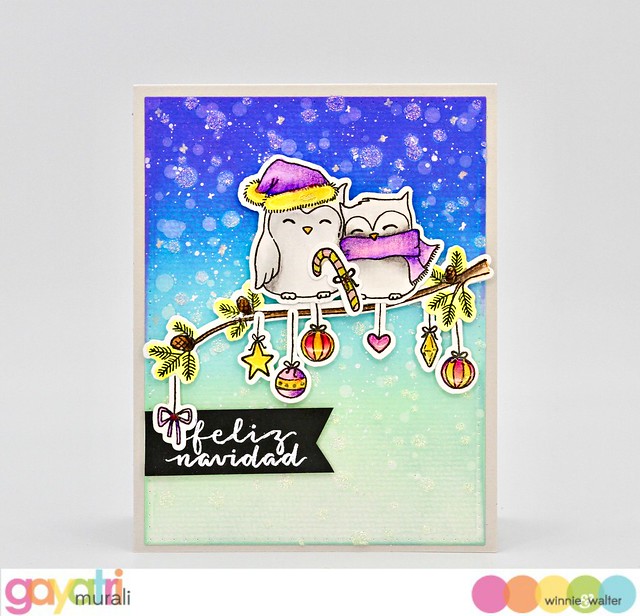
Feliz Navidad with Gayatri

Hello everyone,

Gayatri with you sharing my first card with you for the month of October. This is a Christmas card using Happy Owlidays with Evelin T Designs stamp set and coordinating cutaways.

gayatri_W&W OCT card #1

I started with stamping all the images from the stamp set on watercolour paper and colouring them all with Zig Clean Colour Zig pens. Then I used Prisma colour pencils to add shading to the watercolour areas.

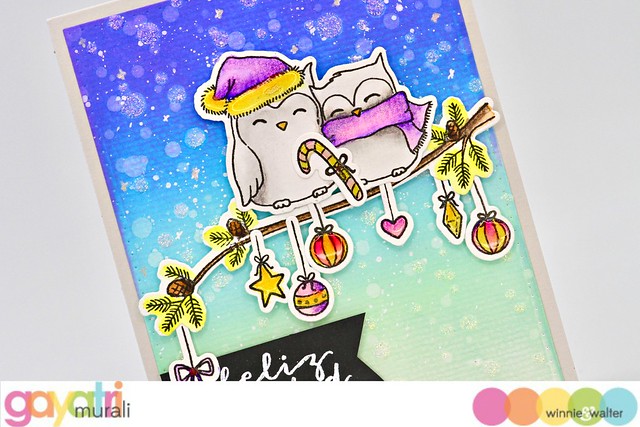
gayatri_W&W OCT card #1 closeup

For the background, I die cut a watercolour panel using the largest rectangle die from Essentials: Katharine Cutaways. Then sponged Wilted Violet, Blueprint Sketch, Mermaid Lagoon, Tumbled Glass and Cracked Pistachio distress oxide inks. To this background, I used the Scenery: The Big Bang Circles creative screening, to add snow. I used this stencil twice with white pigment ink for subtle snow on the background and with Nuvo Moonstone  as the third layer for some sparkle and texture to the snow. Then I also spattered some Copic opaque white all over the panel. I left this panel to dry while I worked on the sentiment.

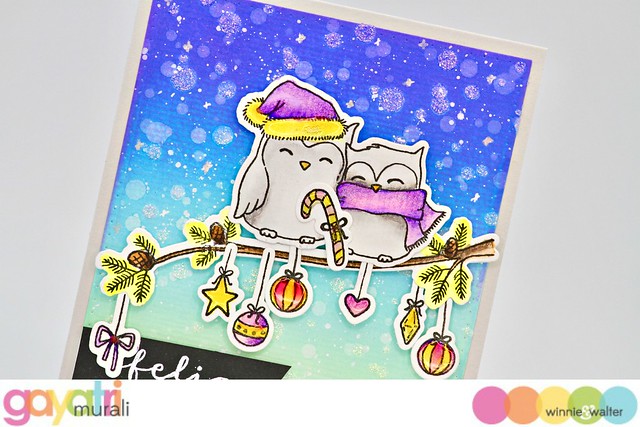
gayatri_W&W OCT card #1 closeup1

The sentiment from the stamp set is white heat embossed on a strip of black cardstock, trimmed and adhered to the bottom left of the panel. The using foam adhesive and glue, I adhered the branch, owls and decorative ornaments as shown in the photos. This panel is now adhered to the light grey card base. Then I brushed the ornaments, scarf and hat with clear shimmer and Nuvo crystal glaze. That is all! The card is finished. 

All the w&w supplies used to make this card are listed below. Hope you are inspired by my Christmas card today. If you make a card inspired by my card, please share and tag on social media. Have a wonderful day!

My blog signature

w&w-supplies

Saturday, September 29, 2018

September Leading Lady Maryam Shalaby | Take Five (Video)

As September ends we sadly must bid au revoir to our stellar September Leading Lady Maryam Shalaby .   The last few weeks with Maryam have been a revelation of delightful techniques and startling skill.  Maryam has showcased her stunning talent and astounding creativity week after week.  I feel so honored Maryam shared her talents with us this month and made this month something special.

If you missed her smashing debut you must see it...CLICK HERE or ethereal and enchanting cards from her sensational second performance CLICK HERE or incredible inky masterpieces from her triumphant third performance CLICK HERE or her fantastic fourth performance sure to warm your heart CLICK HERE!  Today's projects are full of beautify and skill!

Lucky for us all we have her final command performance today.  


Hello everyone . I really can't believe it is the end of September and I am sadly posting my last post as being leading lady for winnie and walter blog . I enjoyed being with you every week for this whole month , which encouraged me to create these projects . Thank you Shay for this great opportunity to show how much I love winnie and walter products. And thank you all who read my post and left me a kind comments.


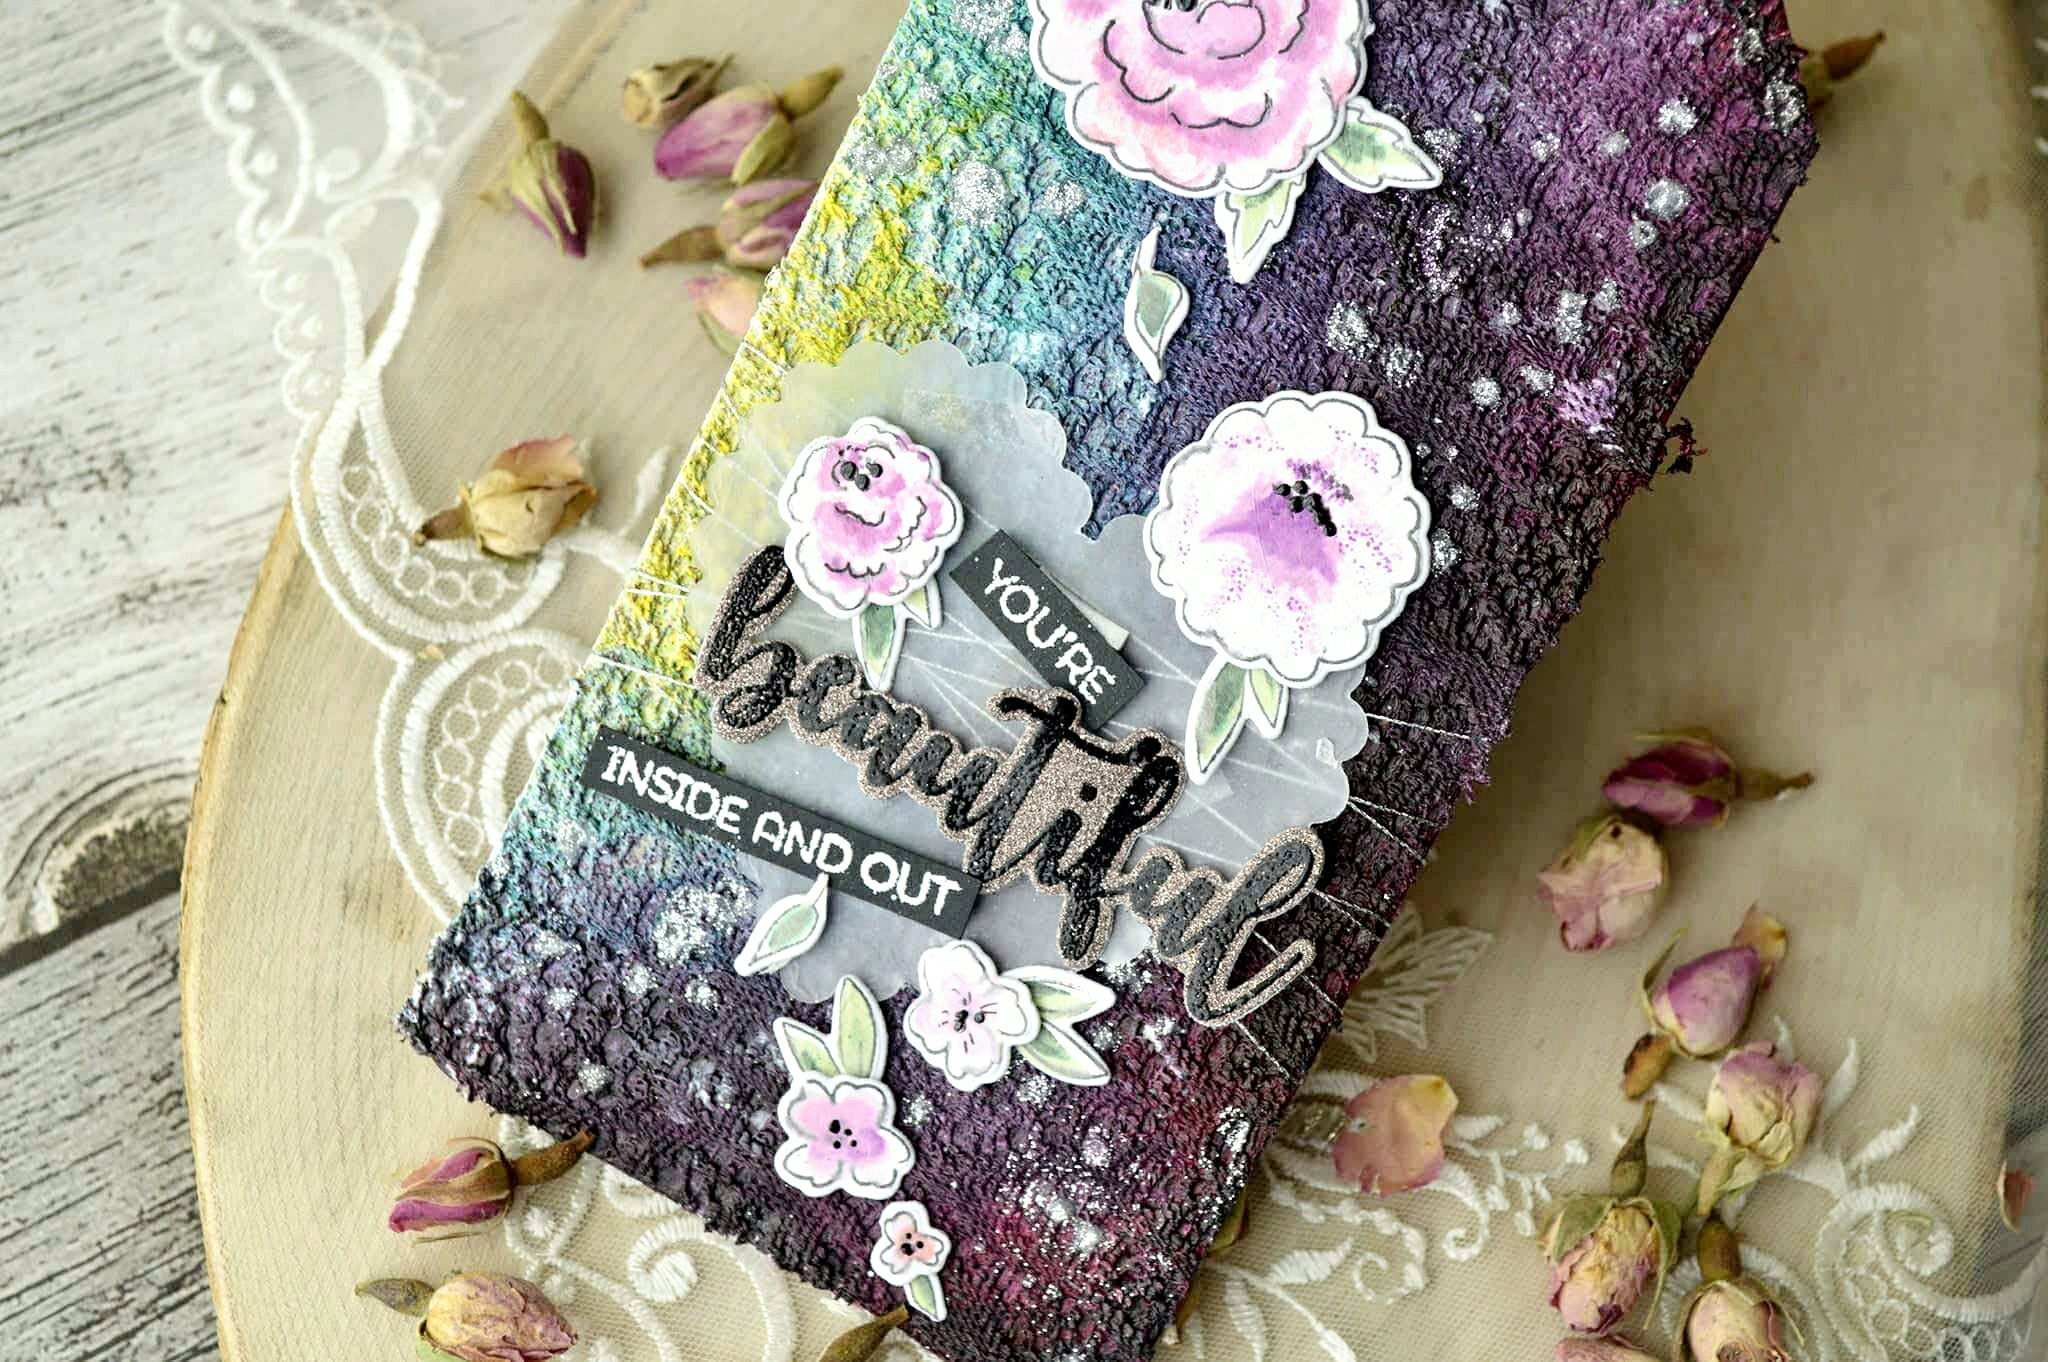
In today post I would like to share with you two simple mixed media creation i made using some winnie and walter product .I was and still amazed by how we can mix colors and some of the materials we had to get an amazing creation . Where is the magic and how these professional mixed media maker are able to mix these unrelated things to have these wow projects . As I am still in the learning stage so I made what I can call it a " CAS mixed media creation " so simple and clean project using some handy materials. For first one , I clear C A S mixed media tag , and it turned out
so pretty .
 

Here is some tips how I made this tag ..

* I used a heavy kraft tag to be able to hold the fabric above.

** I coated the kraft with double layer of white gesso, then I glued the fabric ( it was from old table runner ) . Then I added extra generous amounts of the gesso over the fabric.


*** I used a spray colors ( pink, purple, turquoise and yellow) over the fabric and I spray over them to get blended, then I used the brush because its easier to blend for a specific areas.

**** I used w& w creative screening Scenery: Big Bang Circle Creative Screening with silver glitter embossing past to add these effect over the background.

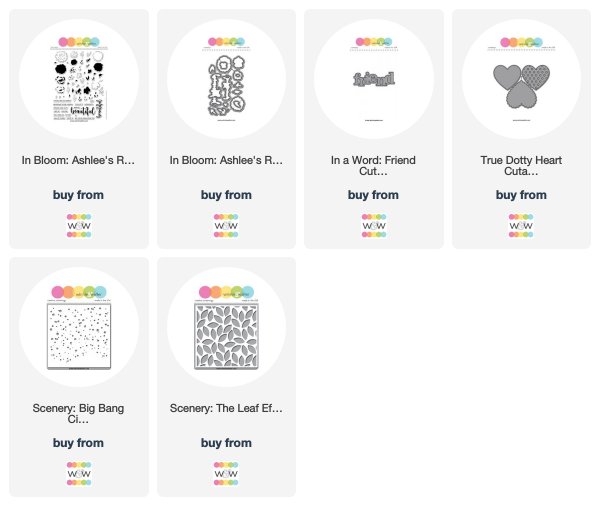
*****I die cut this heart from vellum using w&w True Dotty Heart Cutaways , and I stamped the flowers and leaves with some layering ink using w&w In Bloom Ashlee's Rosie Posies with Lydia Evans stamp set and w& w In Bloom: Ashlee's Rosie Posies with Lydia Evans Cutaways . I tried to arrange the flower like a cascade of falling flowers and leaves .


*****I like this sentiment from the same stamp set and there matching die cut . So I added to the tag. I didn't want to add more embellishments or dimensions so I left simple and clean like this . Here is the link for my youtube video https://m.youtube.com/watch?feature=youtu.be&v=uGjMW1qDJ2c or you can watch it here:


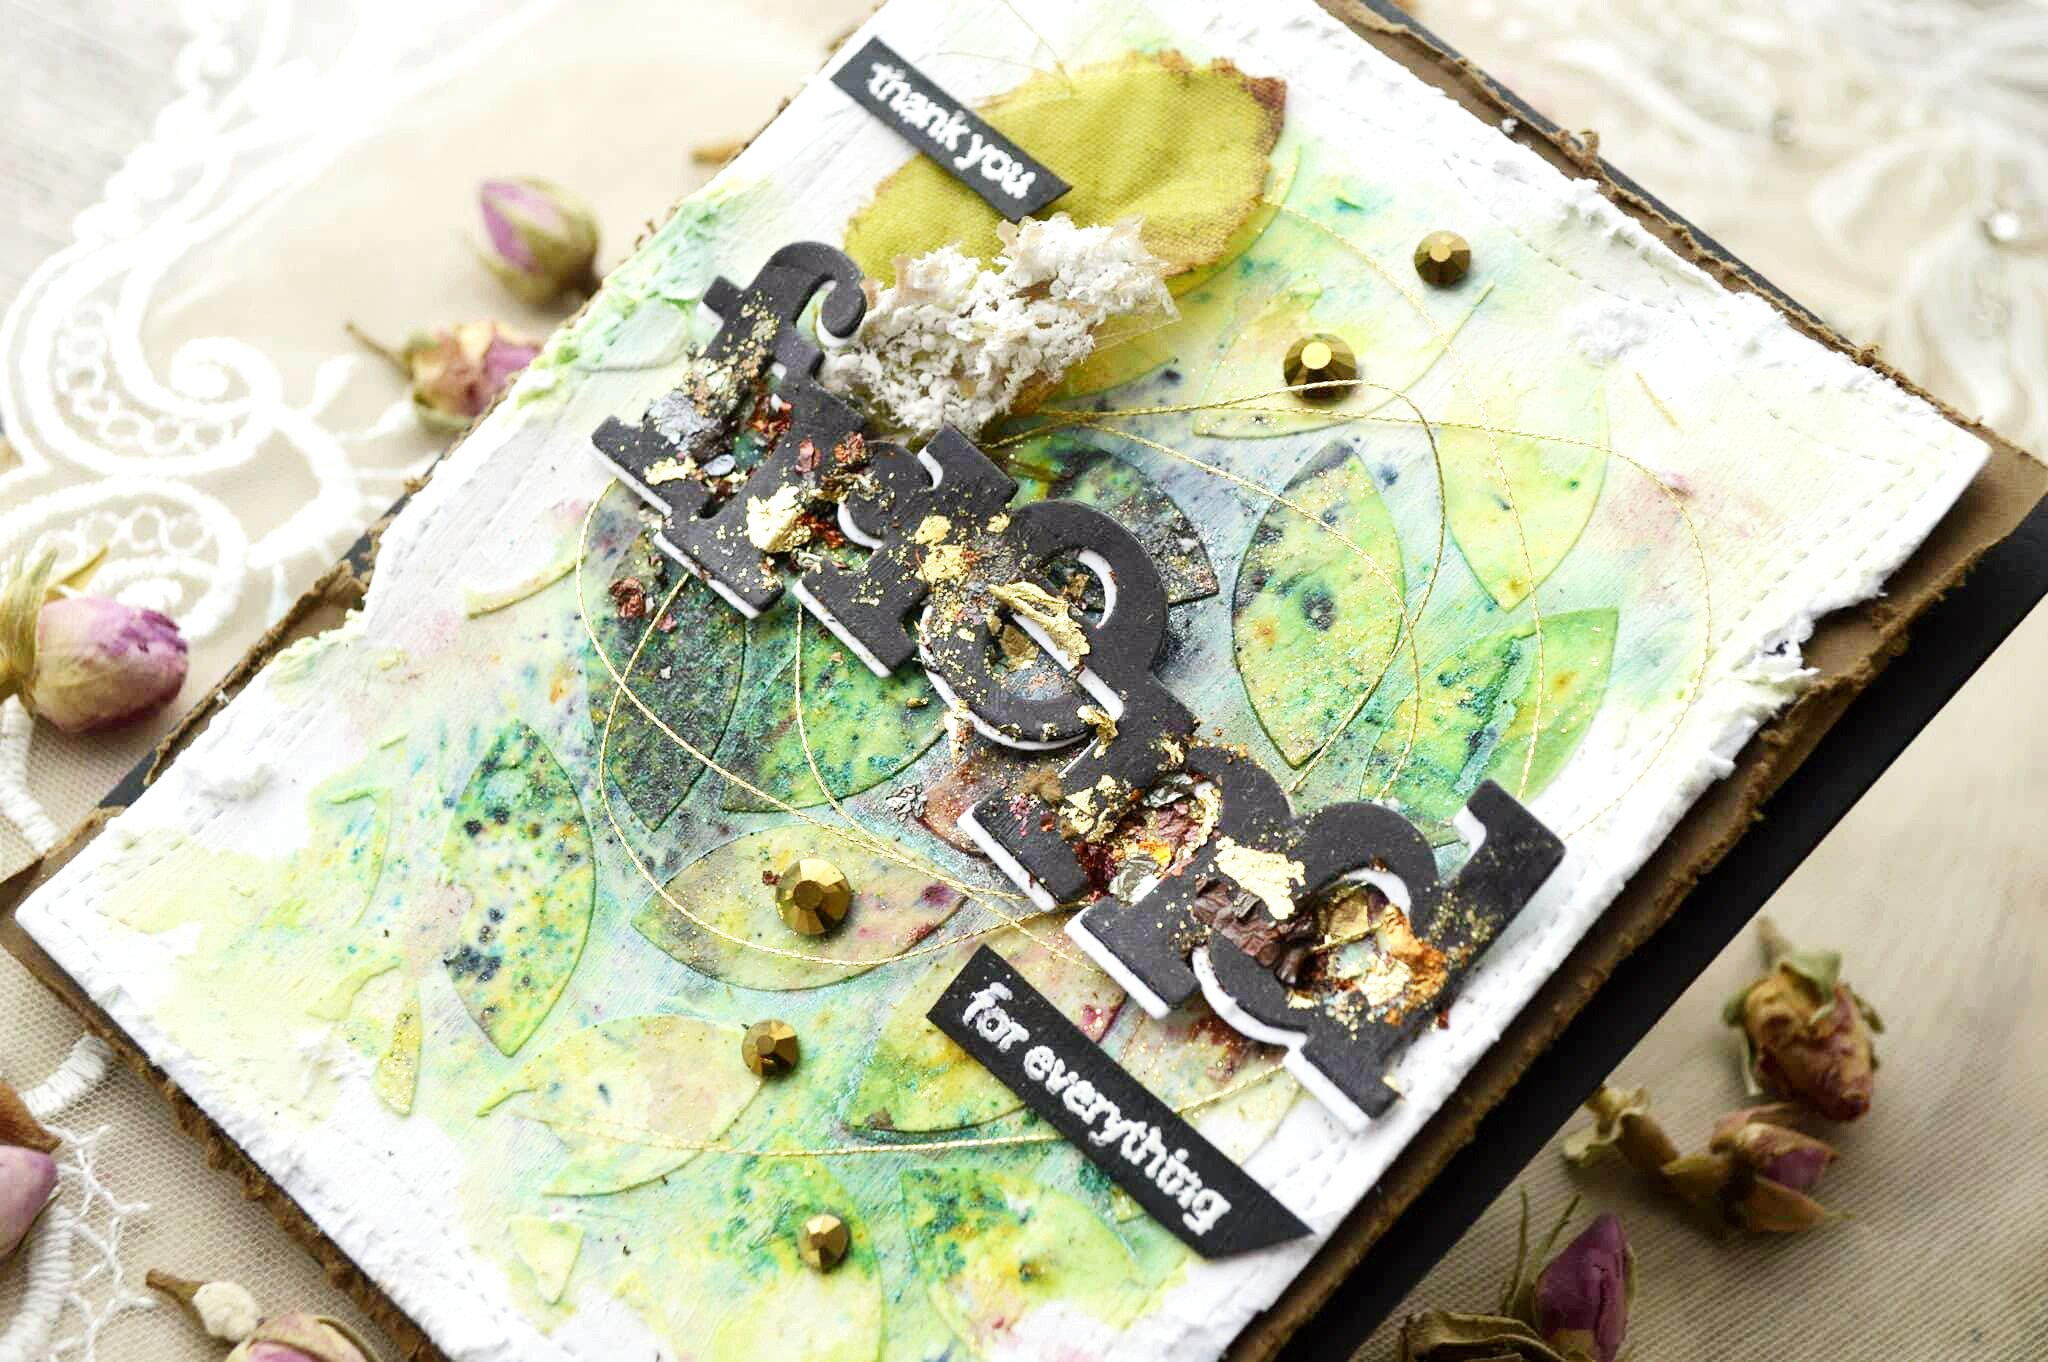
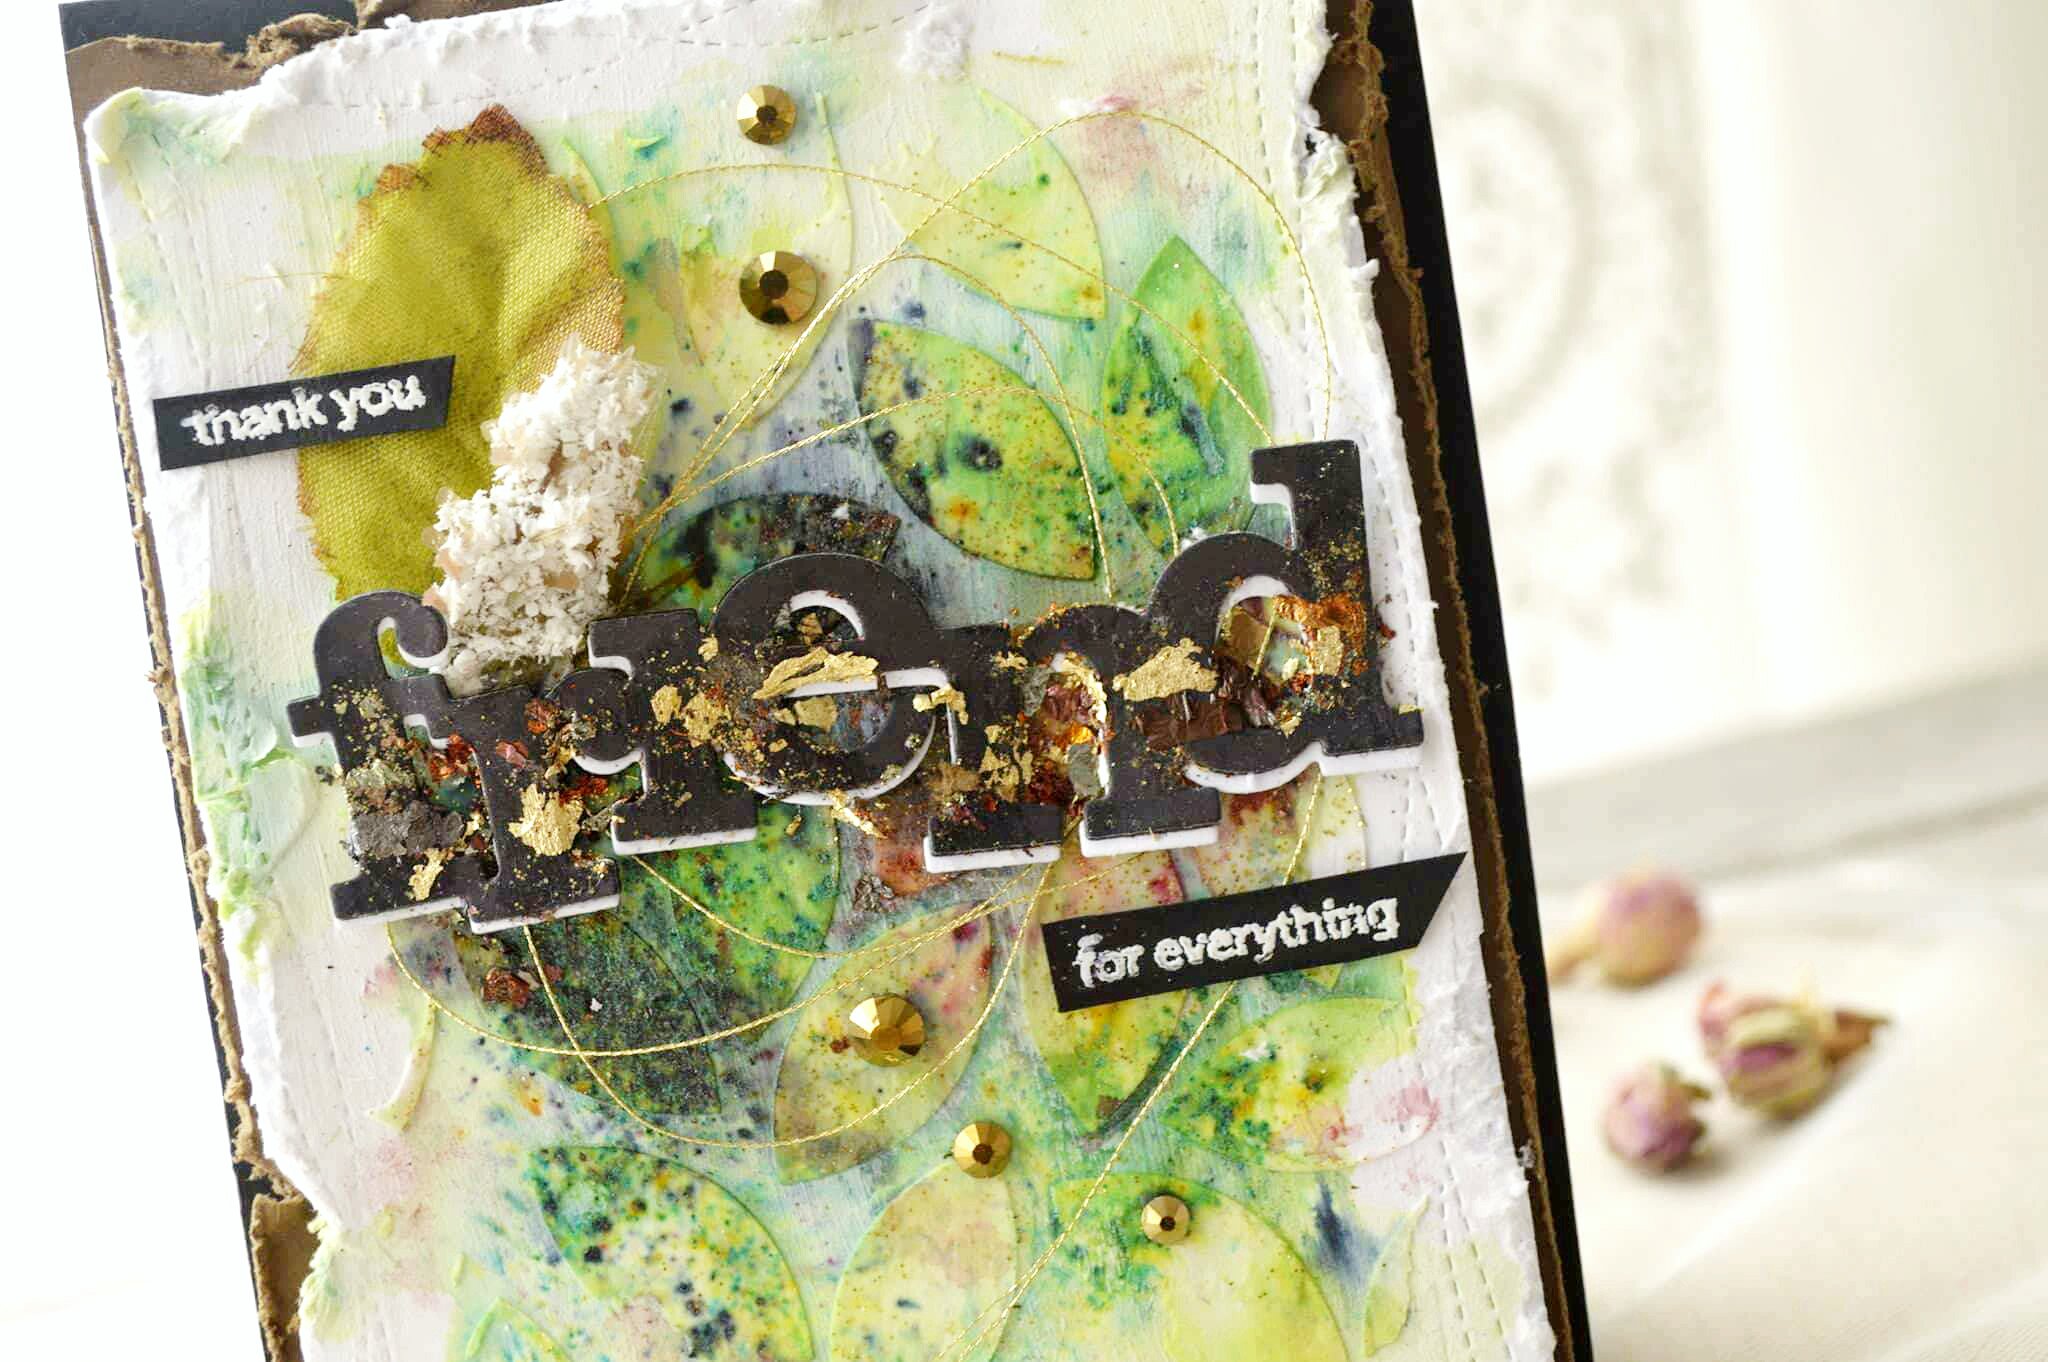
For my second project. It's kind of CAS mixed media card. In this card I used mainly the stencil to create this back ground .after mixing some colors and adding few materials it turned out to this gorgeous card.


* I used a heavy water color paper and I double coated it with gesso .

** I used white texture embossing past over the w & w creative screening Scenery: The Leaf Effect Creative Screening and I emboss the background particularly. Then used a thin film of gold glitter embossing past in some area.


*** I used some of lindy's gang magical powder green, blue, brown red, and black Over this leafy background.

**** some extra tips I learned for applying the pigmented powder , we should spray the paper with a little water before adding the powder . When we used any colored powder , we should use a clean dry brushes and use a separate brush with every color to avoid contamination of the colors.


***** I die cut the w&w In a Word: Friend Cutaway with black card stock and I mounted it over the same die cut using white card stock.

****** I placed a gold thread in the back and added a leave from the flower that I used to photograph my cards . Then I used gliding flacks in the middle of friend die cut.

   
******* I added some metallic copper gems .then I distress the edges and I placed it over a copper distressed paper then I mounted them all over a back heavy card stock. I finished my project today. I hope you like them and get inspired to try some of mixed media techniques.


If you kindly leave me a comment telling me if you like mixed media art and from your opinion what is the magic in the mixed media ( For me the creative mind of the crafter and the gesso having that secret) . And If you like to win a 30 $ gift card provide by the sweetest shay to winnie and walter store please leave a comment in any of the five winnie and Walter leading lady post on my blog , I will choose a winner on the early October on my blog . At the end thanks a lot Shay it was a pleasure to be a leading lady for this month, thanks all who encouraged me to create these project and left a sweet words . See you again in the coming winnie and walter challenges as I like to participate in to them , I hope you will join us there.

Have a good crafting time,
My best wishes Maryam.

w&w-supplies

Friday, April 20, 2018

April Documentarian Jen Gallacher | Take One

It is time for the first project post by our April Documentarian, Jen Gallacher. Don't miss out on her introduction from last Friday==> CLICK HERE.  I am so thrilled with the gorgeous layout she created and I have already learned so much!

Ladies and gentleman, Jen....


Have you tried using stamps on your scrapbooking layouts? Stamping for scrapbooking is an easy way to fully customize your scrapbooking layouts. I was super excited to use several die and stamp sets from Winnie and Walter to create this beautiful layout. Keep reading for some instructions on how I created this layout. Be sure to pin your favorite images for inspiration later!

How to Add Stamps to a Scrapbooking Layout:

Step 1: Use a stencil, a foam applicator, and yellow stamping to create a diagonal pattern on white cardstock.


Step 2: Using a variety of yellows and greens, stamp and die cut flowers, leaves, and a title for the layout.


Step 3: Use the stamp rectangle shape dies to die cut two different sizes of photo frames from green cardstock. This will require the use of a manual die cut machine.


Step 4: Using the manual die cut machine, cut a variety of shapes from purple patterned paper and black patterned paper.


Here's a look at the finished layout. You can see I added some additional embellishments, and journaling to make this page really pop. But most of my items are die cut, stenciled or stamped items from Winnie and Walter. What's so amazing about these types of projects is that I can continue to use these items for future projects. Now that's stretching your supplies.


w&w-supplies

Wednesday, February 28, 2018

w&w 4th Birthday Bash | Special Guest Star Cheiron Brandon

cheironbrandon

We end our month-long with a bang!  Today's special guest star is Cheiron Brandon who has a magical way with ink and color to create cards full of joy!  Cheiron is also such a wonderful and enthusiastic person. Please give her a warm w&w welcome!

Hello crafty friends. I am beyond thrilled to join the Winnie & Walter party this month. Congrats to you Shay and the entire Winnie & Walter team on your fourth year, and here’s to many, many more years of celebrating! To me it’s not a party without fun, festive colors.

Winnie&walter5 
So today, I have 4 cards to share with you in honor of each year of Winnie & Walter in my favorite festive color scheme…rainbow. I’ve used all my favorite bright colors of Distress Oxides to create each of these cards (Picked Raspberry, Squeezed Lemonade, Carved Pumpkin, Twisted Citron, Peacock Feathers and Wilted Violet).
 Winnie&walter1

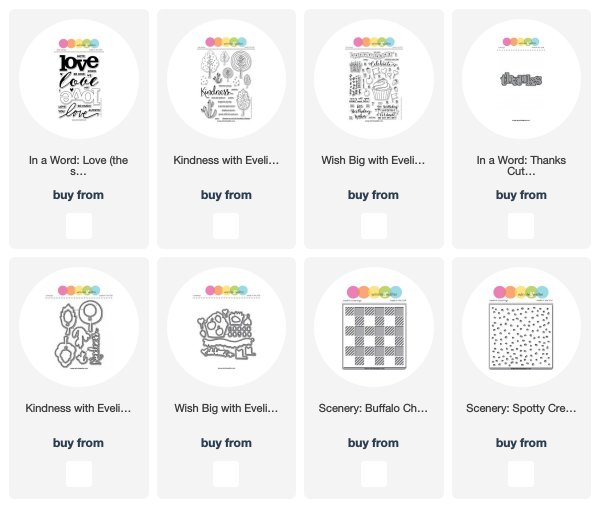
My first card features the Wish Big with Evelin T Designs stamp set. I created an ink blended background with all of my favorite Distress Oxide colors with a very subtle plaid…to do this I placed the stencil over the inked background, and spritzed it with some Tuskineko Shimmer Spray in Sparkle. Then I rotated the stencil in the opposite direction and and sprayed again to create the plaid pattern. I topped it off with a cupcake full of rainbow frosting and a little heart topper.
 Winnie&walter3

The second card features one of my all-time favorite patterns, buffalo plaid. Why not change up the traditional color palette of this pattern and make it into a rainbow? I created a rainbow panel by blending my Distress Oxides and then spritzed it with water. I added Black Soot Distress Paint thorough the Scenery: Buffalo Check Creative Screenings with a foam blending tool. To finish the card, I added a rainbow inked thanks over a vellum circle with a few sparkly gems.
 Winnie&walter4

For the third card, it’s all about LOVE. This one was super easy to create with my Stamp Platform and the In a Word: Love (the stamp set), by stamping the first love, moving the paper an inch and stamping the love in the next color. I added the sentiment strip in black, popped up my panel on the card with foam tape and added a coordinating heart sticker to the center of each ‘love’.
 Winnie&walter2

My final card uses one of my first and favorite sets that I purchased from Winnie & Walter, Kindness with Evelin T Designs. Why not combine it with a stenciled polka dot background and rainbow colored tree water colored in with Distress Oxides? I cut the word kindness three times, then layered them together and topped it with Nuvo Crystal Glaze to give it some shine and added a tiny heart.

I hope you enjoyed these rainbow creations. Thank you again to Shay for letting me join the party, I sure had fun creating with your stamps!


w&w-supplies