Showing posts with label in a word: hugs cutaway. Show all posts

Thursday, April 26, 2018

Hugs with Gayatri

Hey Y'all! Gayatri here. This is my last project for the month of April. Hope you have been enjoying my projects this month.This is a clean and simple card.
gayatri_Hugs Card1

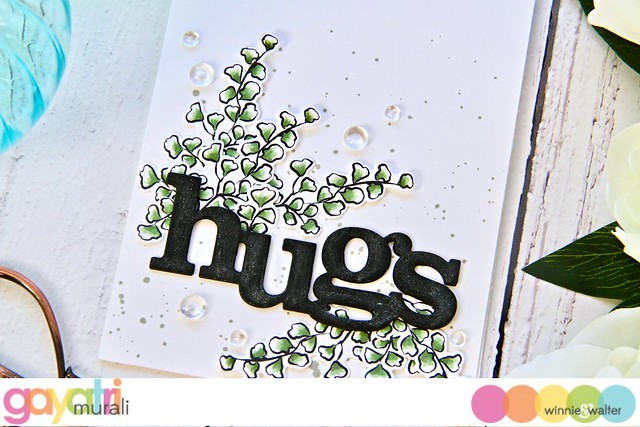
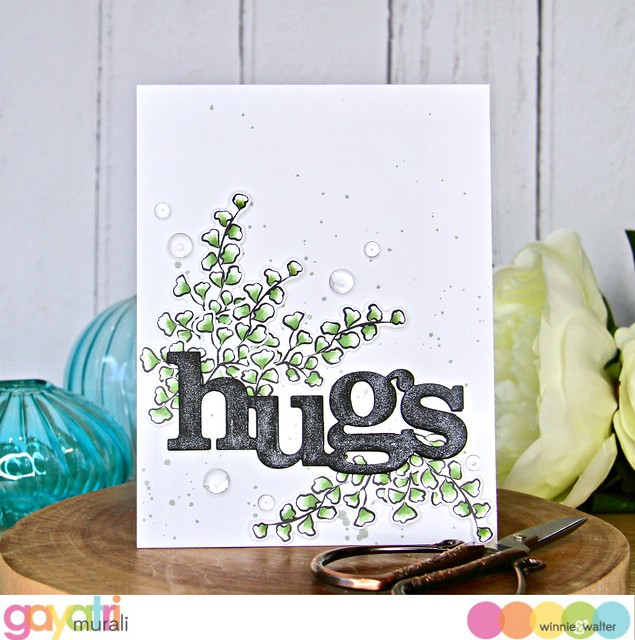
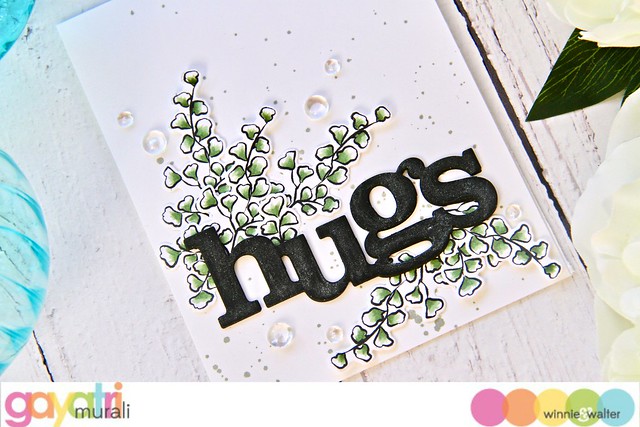
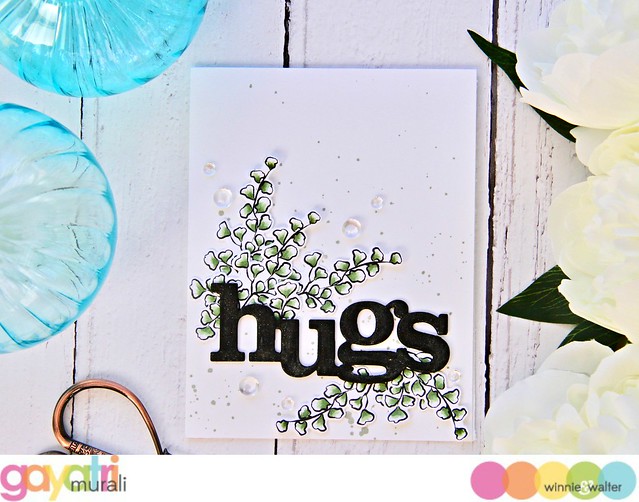
I stamped this foliage image from In Bloom: Addie's Garden stamp set five times using copic safe black ink and coloured the images using copic markers in muted green. Then used the coordinating cutaway to die cut them all out.
Sentiment is In a Word: Hugs Cutaway die cut three times using black cardstock. Then stacked and glued and brushed with Wink of Stella clear shimmer pen.

To assemble the card, I spattered some Iced Spruce and Forest Moss distress ink on the card front. Then adhered the sentiment die cut on the bottom centre of the card front. Then tucked the foliage on the top left of the sentiment and bottom right of the sentiment as shown. Finally embellished with clear droplets.

Here are some closeups of the card.
gayatri_Hugs card closeup gayatri_Hugs Card closeup1

Hope you are inspired by the simplicity of this card. All the supplies used to make this card are listed below. 
gayatri_Hugs Card flat1

Thank you so much for stopping by. Have a lovely day!

My blog signature

w&w-supplies

Wednesday, August 17, 2016

Rerun No. 13 | Hugs On Your Day with Kelly

Hi Folks! Just a reminder that there's still a lot of time left in the Rerun Challenge using In Bloom: Lola's Bouquet with Joni Andaya (until the end of this month).


This card was so easy to make. Before stamping I lined up my ink pads from darkest to lightest. Then starting from the bottom, I stamped a row of solid flowers in my second darkest ink, with the outline and center stamped in my darkest ink. For the next row on top, I stamped the solid flowers in my third darkest ink, with the outline and center stamped in my second darkest ink. As I stamped up the card I kept using my lighter inks. For the sentiment I chose a contrasting blue to make it a fun, happy card. Keeping with the happy theme, yellow polka dots are on the inside.

I sure hope you get a chance to play with Lola's Bouquet this month and join our challenge!

Thanks for looking!
-Kelly


w&wDT_kellygriglione_blog-sig


w&w-supplies


Friday, August 12, 2016

Tone on Tone Stamping with Gayatri

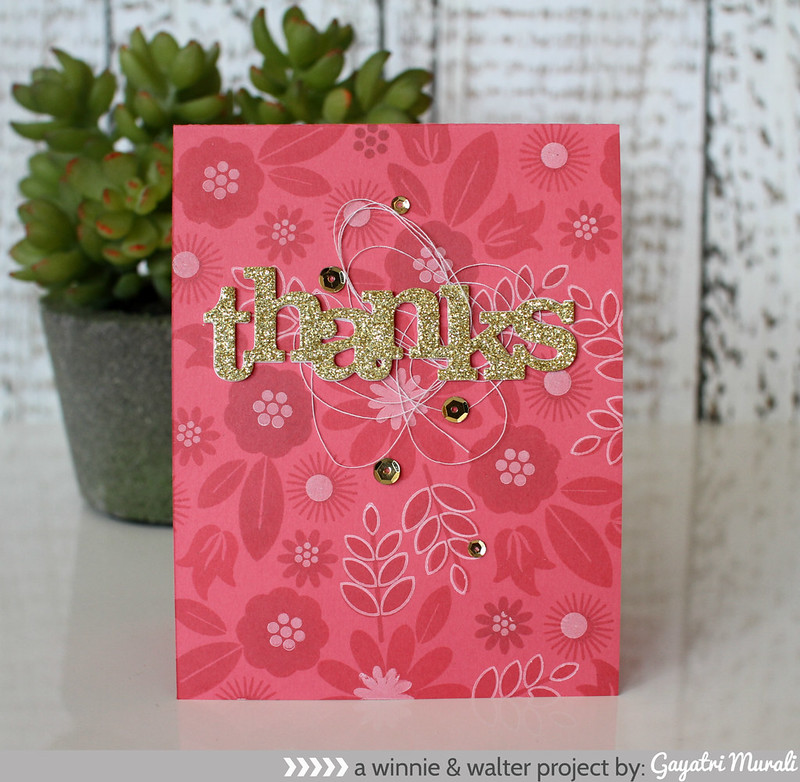
Hey everyone! Welcome back. I am so glad to be back showcasing Winnie & Walter products. I have three cards for you today using tone on tone stamping technique. All three cards follow the same technique just different colours, different stamping layout and sentiment. So I will share all the three cards first and then explain how I made it.

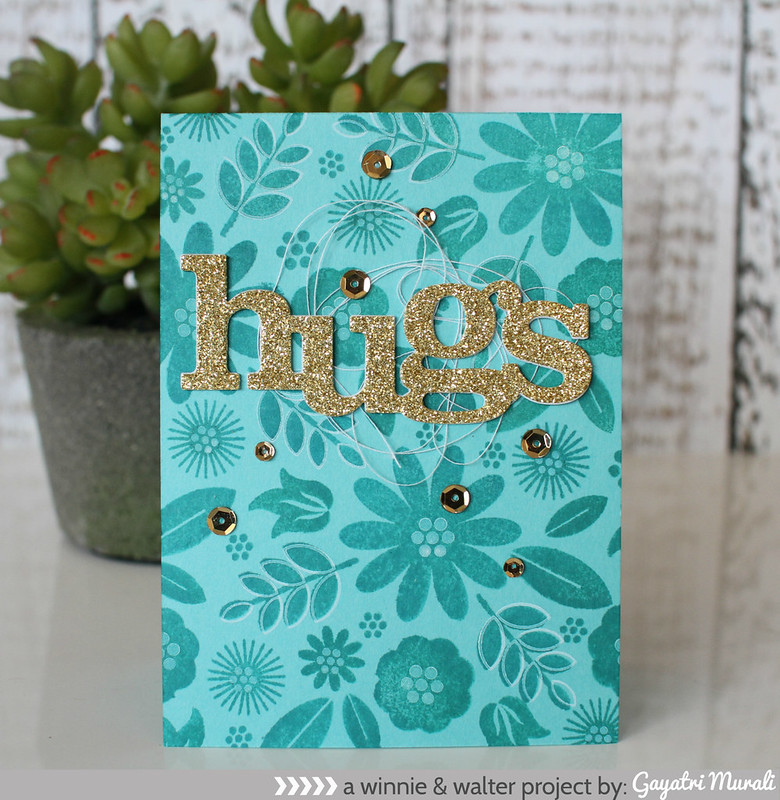
Hugs

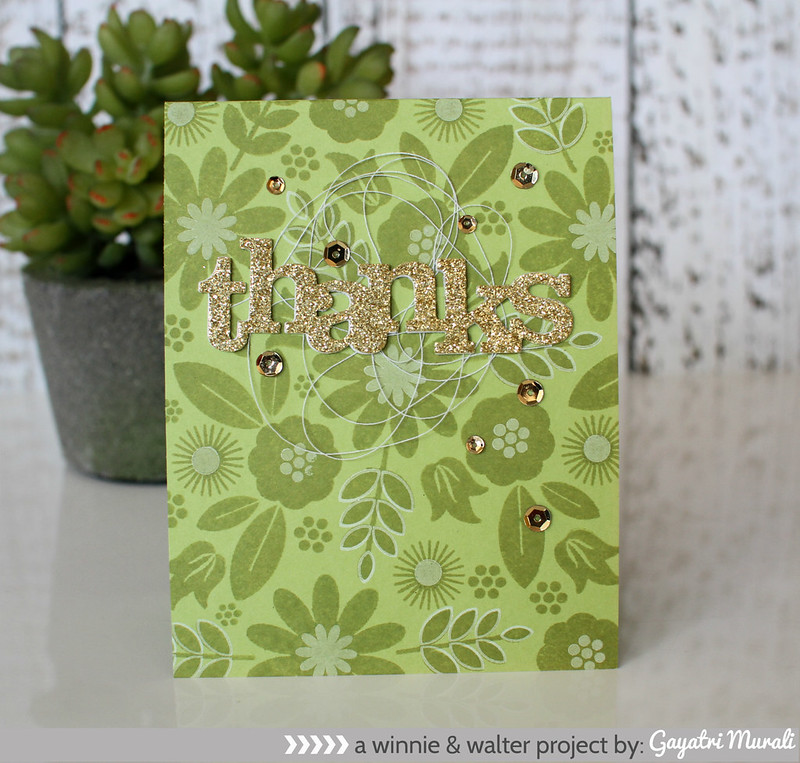
Thanks card!

Thanks red card

I picked three bright coloured cardstocks - red, green and blue. I made card base out of the three coloured cardstocks. Then I picked In Bloom: Eva's Favourite Flowers stamp set to stamp on the card fronts. I picked this stamp set because of the solid floral images in the set. Also the set also have outline images and layers for the florals as well. The outline and layer images will work well to add accents to the tone on tone stamping. So here is how I made these cards.

1. I picked the ink colours which were a bit darker shade to the coloured card base. I chose Lipstick Red, Jelly Bean and High Dive SSS inks. As you can see my High Dive ink is a bit dry and so it is blotchy on my blue card. You can overcome this by either choosing a good juicy ink or using MISTI to double stamp the image for even coverage. I chose to share the card to show these things happens to all of us.

2. After stamping the blue card front one stamp at a time with acrylic blocks and not getting good results, I switched to my MISTI. I clustered the images and stamped the green and red card front. Some of them were double stamped to get even coverage. Love the tone on tone stamping. Subtle and beautiful. I let them all dry.

3. Then I die cut the sentiments for the cards. I have used In a Word: Hugs and Thanks cutaways. I die cut them in gold glitter cardstock and a few using white cardstock to stack and glue them with the gold glitter die cut on top for added dimension.

4. I went back the card front to stamp the details on the flowers and leaves using white pigment ink. The white pigment ink is vibrant when stamped on top of the dye ink when dry. Otherwise the colour of the dye ink seeps through the white pigment ink making them a lighter shade of the dye ink. Love the white layering details on the card front.

5. I added some bunched up thread behind the die cut sentiment and adhered on the top centre of the card front.

6. Finally embellished with gold 6mm and 4mm sequins from Pretty Pink Posh.

This technique is simple and easy to mass produce. All you need is solid and detailed layering stamps on the set. So if you are starting you Christmas cards, this is one technique you can use. These are also almost one layer cards. No bulk and easy to mail. If you like to step it up, die cut the card front using one of the rectangle dies from Essentials cutaway and adhere on a card base using craft foam for dimension.

Here are the Winnie & Walter's products I used on my cards:

1. In Bloom: Eva's Favourite Flowers
2. In a Word: Hugs
3. In a Word: Thanks

Hope you like my cards today. Thanks for stopping by today.

My blog signature

w&w-supplies

Wednesday, May 25, 2016

Please Ask Me For Hugs with Keren

 
How are you all? It's Keren with you today with a card to encourage any friend going through a tough time!

So, have Winnie and Walter secretly brought out a new set of word Cutaways? 
Nope. I've just got my scissors out, and snipped individual letters out from different In A Word: Cutaways to create a fun sentiment! 
So which ones? Which dies can you spy? 
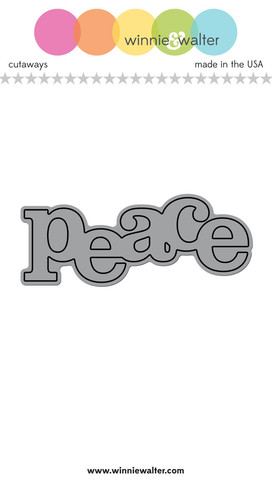
Well, the obvious one is the In A Word: Hugs and then Peace, I've used Home, Merry, Kisses and
Love.
w_w_inaword-peace_cutaways-web-prv_large
My first thought was to just snip the 's' off a 'hugs' and add an 'e' to make 'huge hugs' but then had someone in mind when I made this phrase. I've used soft pastels as it's supposed to be a calming card and for the background I've used the Cover Model: The Leaf Effect Cutaway.
cover_model_the_leaf_effect_cutaway_large
I hope you'll give your In A Word Cutaways a second glance and see what fun words you can create using them!
See you soon! xx


w&wDT_kerenbaker_blog-sig

w&w-supplies

Wednesday, April 20, 2016

Speedy Man Makes with Keren

keren_IMG_5005 (1)

Hi! Hope you're all having a great day.
I'm here with some sub-10 minute man-cards!
Ever need to whip up some simple greetings in super quick time. I hadn't much time so these were definitely created quickly out of necessity!
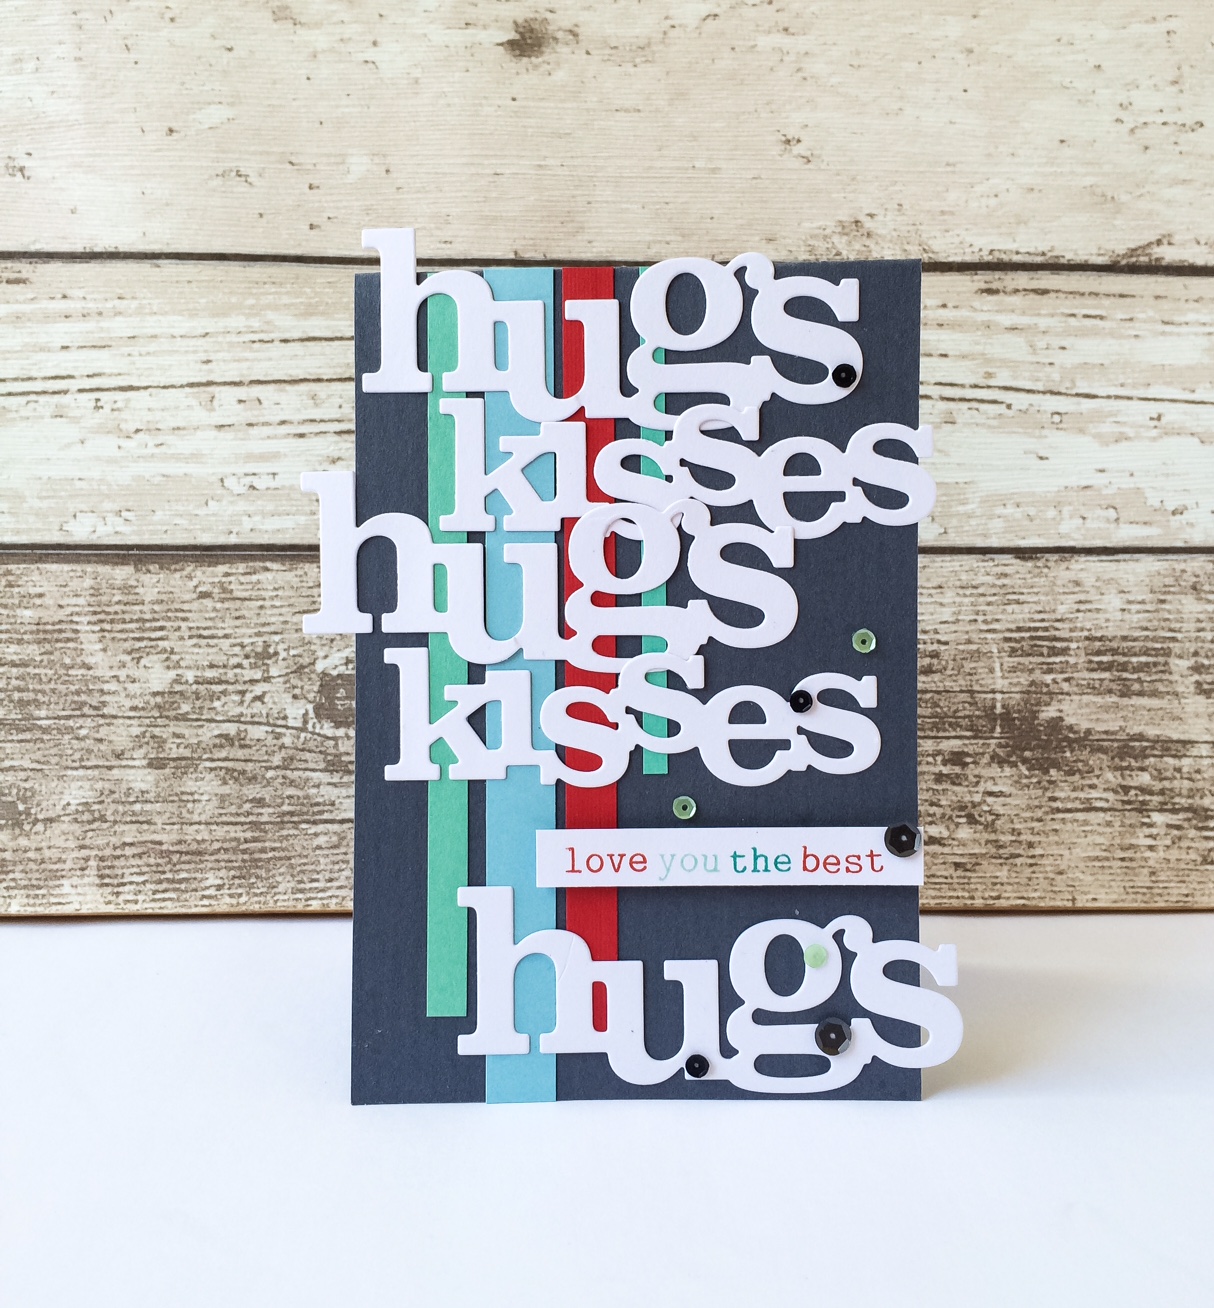
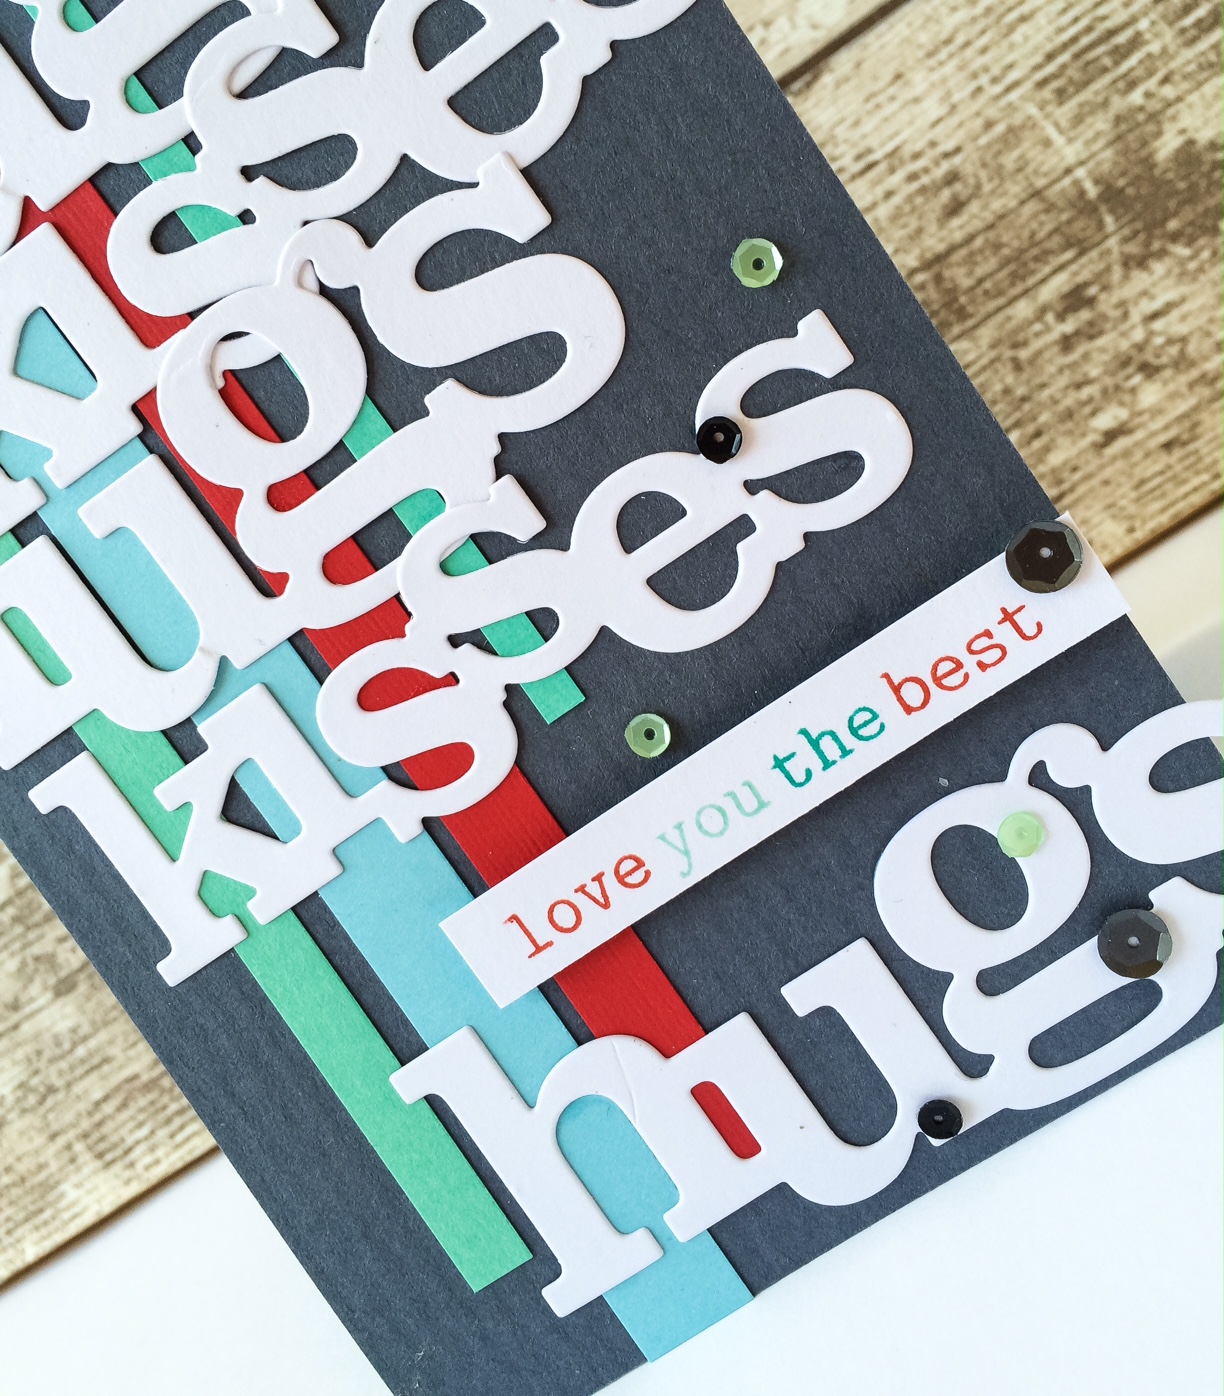
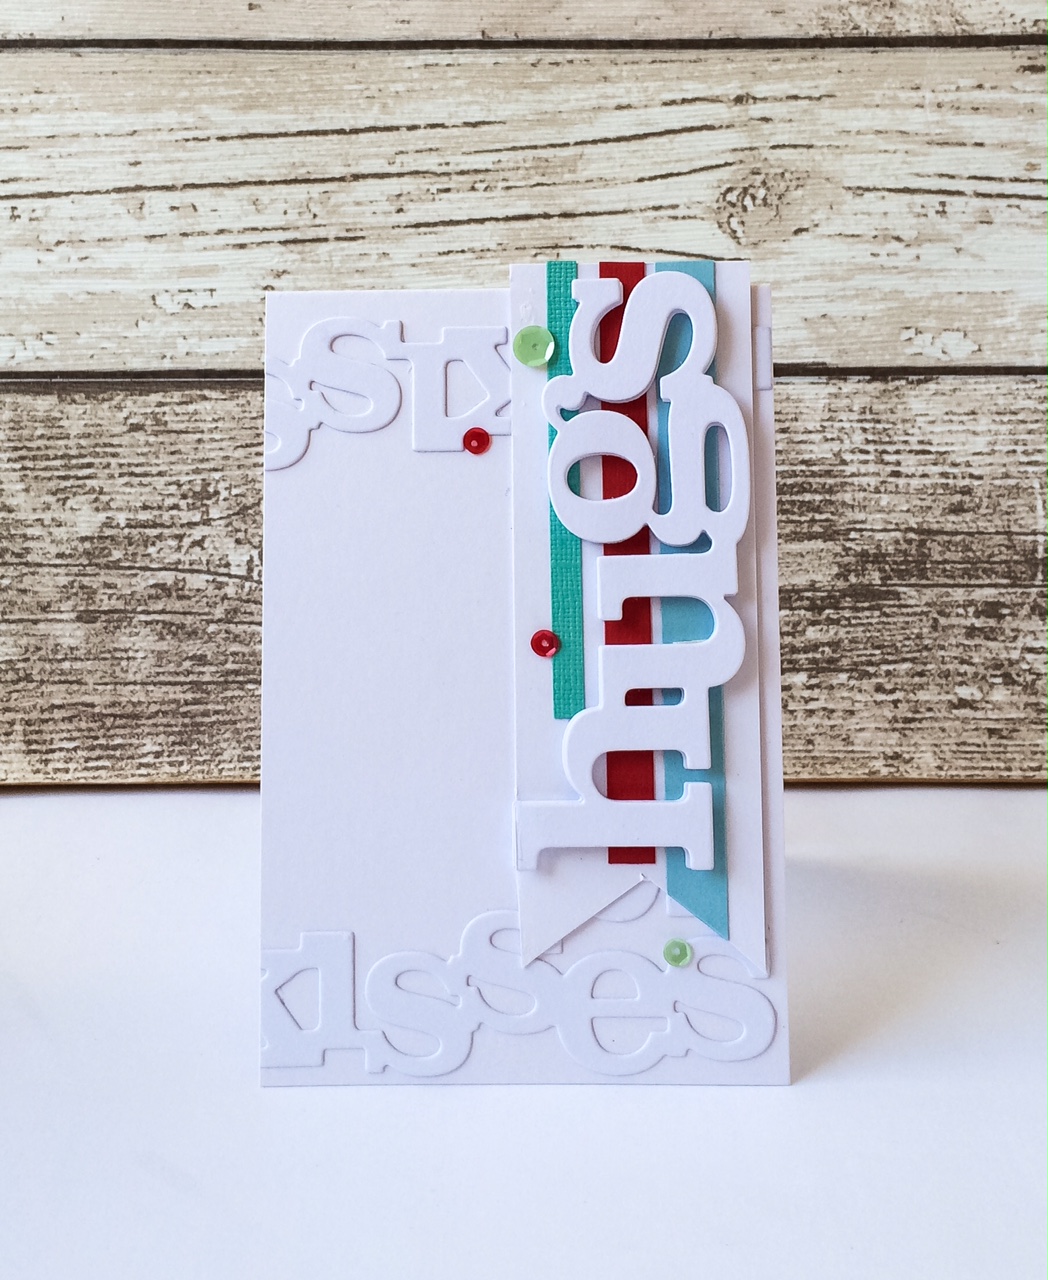
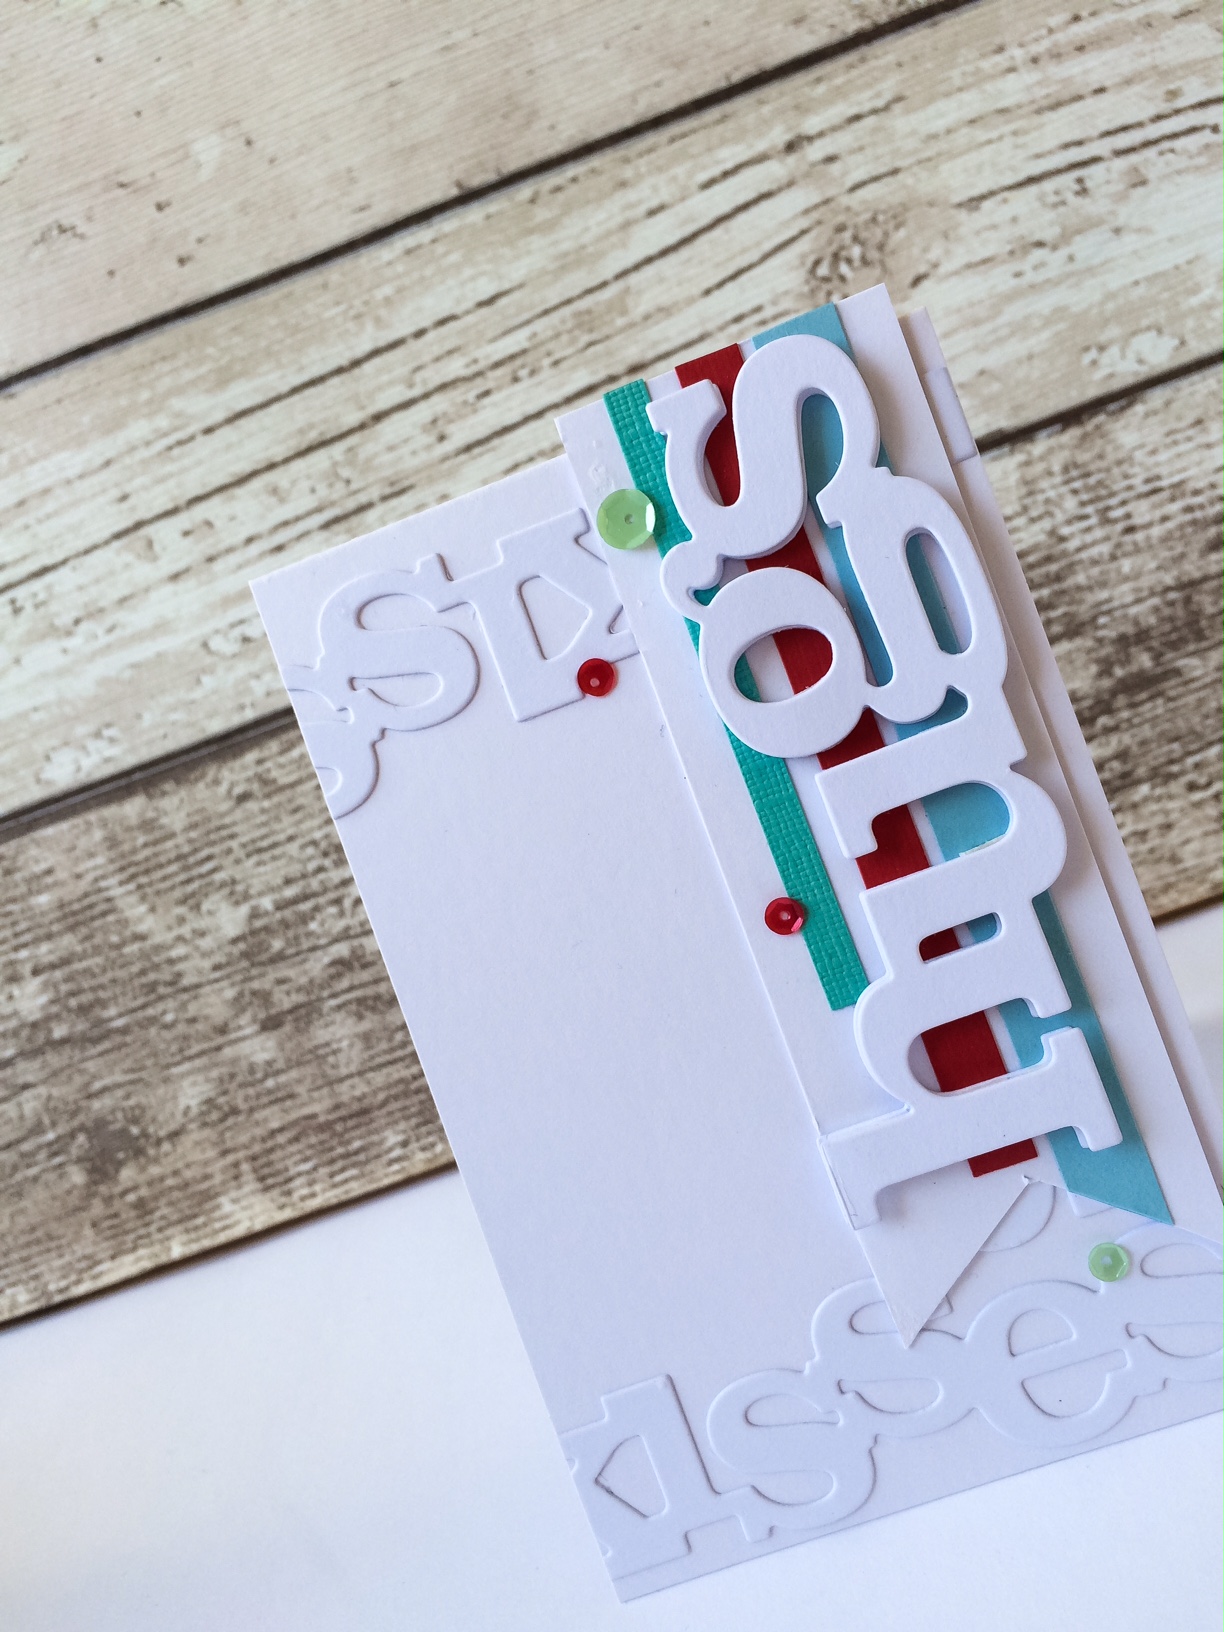
I love the Cutaways- the bright and bold font you get with the Hugs and Kisses dies.
 w_w_inaword-hugs_cutaway_webprv_largew_w_iaw-kisses_web_large
keren_IMG_5006

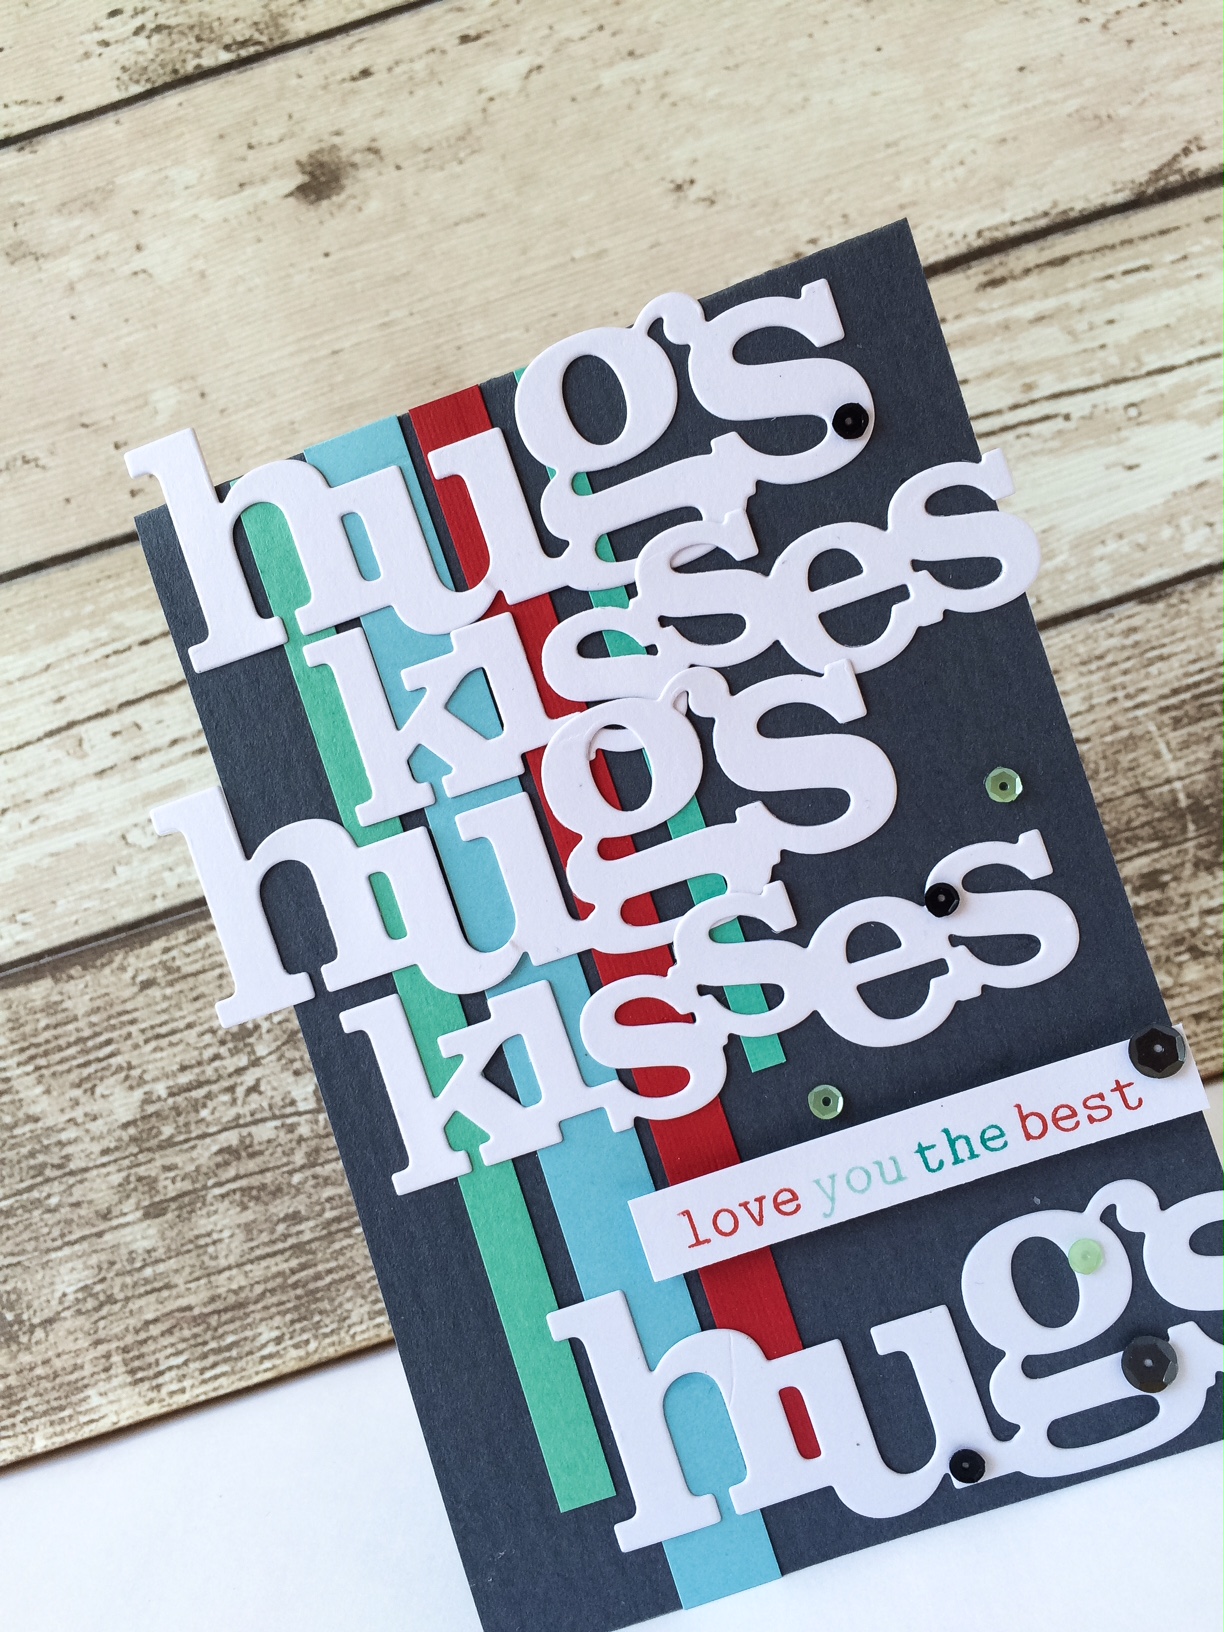
To make a simple card suitable for a man (or a woman too!), I've used a lovely softer neutral grey plus a few bold stripes of leftover cardstock.
It seemed to be missing something, so I added a few 'manly' sequins in grey, black and green. To create the sentiment I've combined some of the words from The Big, The Bold & You
keren_IMG_5007
The second simple card was using more leftovers and a raised sentiment and a few more sequins.
keren_IMG_5008
Hope this inspires you to create some speedy makes, I'll see you soon! x
keren_IMG_5009


w&wDT_kerenbaker_blog-sig

w&w-supplies

Friday, April 8, 2016

Hugs with Keren

IMG_4765
I'm delighted to be with you today, and thought that I'd mix up a few sets to show you a simple clustered card.
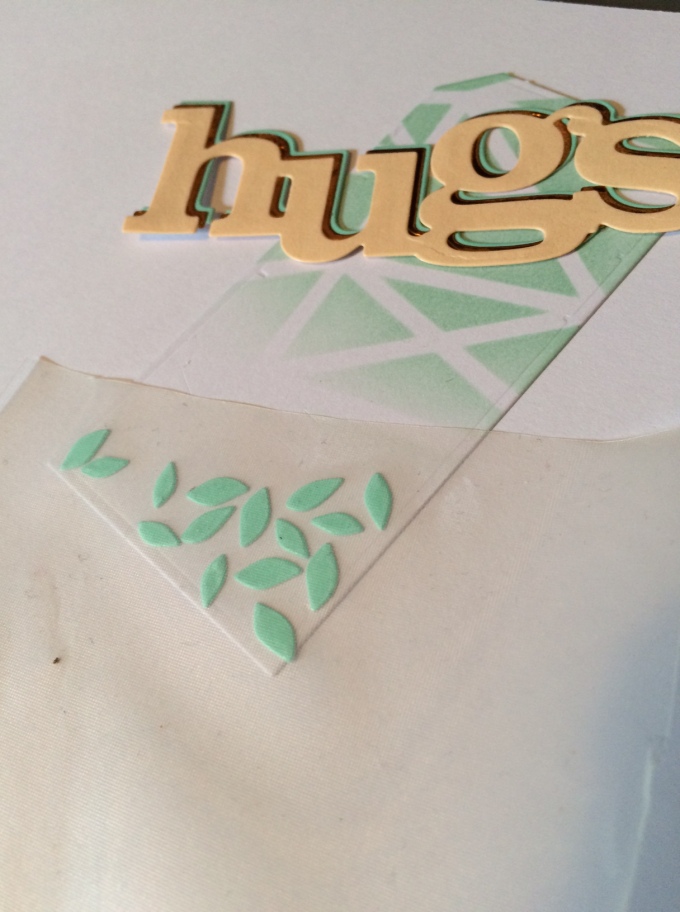
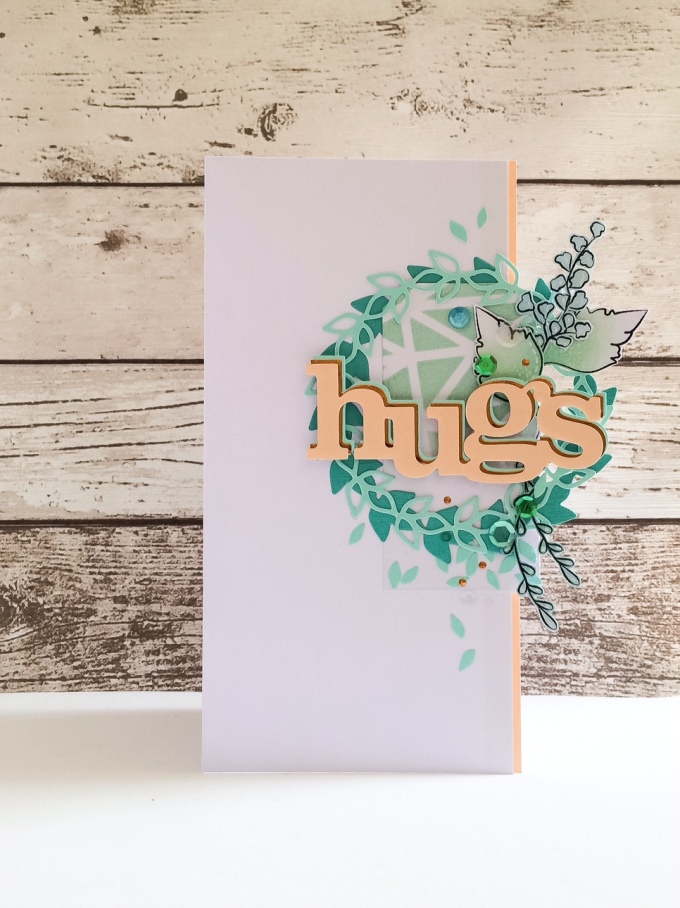
I started out by triple die cutting In a Word: Hugs Cutaway and adding a mint coloured ink over the Scenery: Multifaceted Creative Screenings onto a tag cut from the Essentials: Katharine Cutaways 
You can see the little tiny green leaves- they are the negatives from the In Bloom: Paulina's Greenery Cutaways die. As they're so tiny, I arranged them where I wanted them and then added a sticky film over the top that I used when I'm transferring images from my digital die cutting machine.
Just flip the film over, add some glue and press down carefully and remove the film. A really easy way to transfer little pieces and not have to glue them one by one!
IMG_4748
In the next picture you can see some of the other products I've used; In Bloom: Paulina's Greenery Cutaways for the circular wreath layer and then added some greenery courtesy of the beautiful In Bloom: Anna's Flora stamp sets.
IMG_4777
I simply sponged Distress Inks onto the leaves in different shades and arranged the leaves under the sentiment. Sometimes you need matching embellishments and I needed some matching the bronze metallic layer so dug out the little dotted die from Essentials: Katharine Cutaways. By passing these through the die cutting machine with some adhesive backed metallic paper, it created little raised sequin-like embellishments that were easy to position and helped with the movement on the card.
IMG_4749
This close-up shows the layering and also the sequins which are the special Winnie & Walter sequin mix from Little Things which were the perfect finishing touch. Taking elements off the edge of the card makes the project just that little bit different.
IMG_4763
Hope you enjoyed this project-I'll be back soon with more creations! 
xx

w&wDT_kerenbaker_blog-sig


w&w-supplies