Showing posts with label the big the bold. Show all posts

Monday, December 24, 2018

New Additions at Christmas with Kelly

Editor's note: A merry Christmas Eve!  Today is a special post by Kelly that is a wonderful, heartfelt idea to add a special and meaningful touch to a gift (and if you are a procrastinator it can be done for this Christmas or if you are a planner it can be done for future Christmases).  Have a very blessed holiday full of love, friendship and laughter!


Hi Folks! Kelly here to share a different kind of project with you today! For the last 7-8 years, our family has always managed to have a new addition at Christmas. This year the streak continues with no less than FOUR new babies, all born within a month of each other! Such happy times : ) My tradition has been to present each new baby with a Christmas book at Christmas. Instead of writing a message to them on the inside, I make a dedication panel.

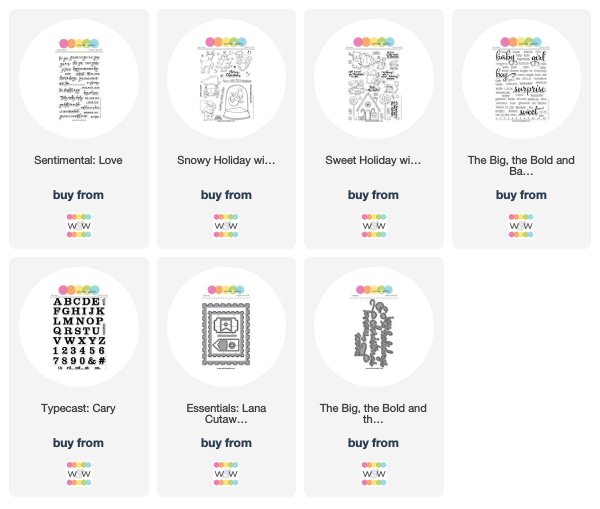
I love the letters from the Typeset: Cary set since they're nice and thick. You can overlap them if you have a longer word, but they're big enough to bring a lot of color to your project. 

I really enjoy mixing fonts for a custom look to your project. In addition to the thick serif letters from Typecast: Cary, I've used the thin typewriter font from The Big, the Bold and Baby for the word "first," the script font from The Big, the Bold and Merry for "Christmas," a sans-serif font from Sweet Holiday with Evelin T Designs for "believe in the magic," and an all-caps sans-serif font from Sentimental: Love for "we love you." All different, but they all work together. Using the gold foil paper for "christmas" also gives a nice shine to everything.


The adorable reindeer from Evelin T's new Snowy Holiday set is watercolored to match the style of the book illustrations. Finally, the postage-stamp panel is from Essentials: Lana Cutaways. Love the pin hole details along the margins. 


I know our cousins enjoy reading to their kids and they seem to really enjoy receiving the personalized books. Reading to my kids was so much more special around the holiday. Getting cozy by the fire, under a blanket, with a bunch of pillows and an assortment of Christmas books was a magical way to spent the nights in December. 

Sure hope you enjoyed seeing another way to use our supplies!

Thanks for stopping by!
Kelly


w&w-supplies

Thursday, August 23, 2018

Brutus Monroe + Winnie & Walter Collaboration Week | Day 4

Hello Folks! I'm super excited to share the projects I made in collaboration with Brutus Monroe!
 
The first project uses the most adorable snow globe stamp of Chicago that's actually on sale for only $4 right now!! Not from Chicago? You still may be in luck ... there are 7 other American cities available. As soon as I saw this I clicked on the order button because I thought it would be perfect for stamping on my envelopes. And it is! Unlike stamps for your cards, which you may only use a handful of times, a stamp like this for your envelope is fair game to be used all the time, just like a return address stamp. So you definitely get your money's worth. 
I made a mask for the globe and inked some of Catherine Pooler's Green Tea Ink through the Winnie & Walter Multifaceted Creative Screening to make the geometric ground. It gives me the impression of stylized roads on a map. On the top of the envelope I sponged a little of Catherine Pooler's Mint to Be through Scenery: Bang Bang Circle Creative Screening. 
I just wrote the return address around the curve of the globe. I used to collect stamps as a kid (because they were paper, after all ... I'm telling you, I've had a thing for paper all my life!) Unfortunately, most of the stamps are completely worthless, so I'm going to start adding some to my envelopes I think. Honestly, I've got thousands of them.
Now, let's find something to fill all those adorable envelopes I'm going to have on hand! 
Did you know that Ken Oliver partnered with Brutus Monroe to release a set of Color Burst watercolor medium? I was so excited to see this! Two years ago at Creativeation I was fortunate to spend some time with Ken watching him demonstrate the Color Burst. It's truly amazing! In case you haven't heard of Color Burst before, it's a powder that contains concentrated amounts of color. Water releases the color, so if you tap some flecks of powder on your watercolor paper, and then spritz them with water, the color LITERALLY BURSTS across your paper. You have to see this for yourself. It's really amazing. Anyway, I never got around to playing with these two years ago, so I was very excited for the opportunity during this Winnie & Walter and Brutus Monroe collaboration. 
Let's take a look!
This was the first watercolor panel I played around with. I made the entire surface damp and then sprinkled several bits of Jack O Lantern powder all over. I sprayed it again with water several times until the color spread pretty evenly and I was left with a mostly solid orange piece of paper. Not terribly exciting. So I sprayed it again with water and added the Marsala to get some deep spots of color. It's so neat how you can just keep adding water and color until you're satisfied. 
Then I used the Brutus Monroe Mixed Media Stencil - Peacock to spray some purple ink on the light areas and some gold ink on the dark areas. Getting better! 
With these colors, a Halloween card was just begging to be made, so I got out the Winnie & Walter Moonlight set and stamped some bats flying around, as well as the pumpkin witch and sentiment. Boy did it feel good to not have any rules and just play around with the colors!
I started this card out with the Marsala because I feel in love with its deep hue. To spice it up I added some Cabbage powder and sprayed it with water to get the "burst." It's interesting that this green color has so many other colors mixed in ... you can see bits of red, aqua, and yellow along with the green. That's perfectly OK for this exercise, I was just a little surprised. In the end it turned out looking (to me, very loosely) like leaves on a tree, with the purple sunset in the background. 
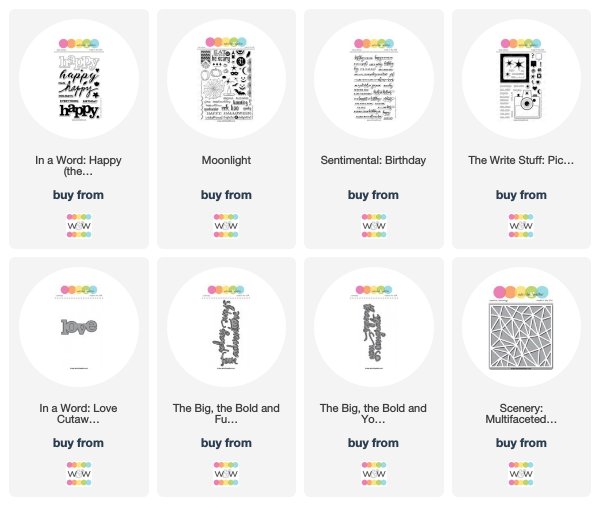
Once the background is done, I go shopping in my binder of extra die cuts from prior projects that I didn't throw away, BECAUSE I MIGHT NEED IT SOMEDAY. Well, someday has come, and I'm enjoying shopping through all the available bits and pieces. I found a "love" die cut from In a Word: Love Coordinating Cutaways that happened to be covered with burlap! Ooooh, that texture!! And with all that texture, a metallic gold "you" from The Big The Bold and You Cutaways is the perfect counterpoint to adhere on top. 
 
After all of that imagining seeing a tree in the last card, I thought why not try and make a tree! I made a green and blue background and dried the card. Then another layer of green for the leafy area, and then dry the card. Finally, one last layer of Jack O Lantern to make a trunk. 
 Not bad! Not sure if you saw, but this month we are highlighting stamps in the The Write Stuff: Picture Perfect set for the Rerun feature (there's still a week left to participate!) This camera is really one of my favorites! I cut the middle of the camera body out to make it easier to see what patterned paper would be nice to add there, and settled on this starburst feature. The "adventure" sentiment is from The Big, the Bold and Fun Cutaways.
Oh my, this is totally one of my favorites, perhaps all year! I swear I needed sunglasses while working on it : ) The intensity and brightness of these colors is just amazing. This watercolor panel started out wet and I just added powder, re-wet it, added powder, re-wet it, etc. 
 The "happy" die cut sentiment is from In a Word Happy Cutaways. I threaded a gold embossed "happy birthday" from Sentimental: Birthday through the cursive font of the die cut. I love staring at these inked creations to see if you can find something that stands out. To me, I see pansies with those tiny yellow centers on the card.
 My final card is a take on the classic rainbow melting crayons art work. I sprayed the top portion of the card with water and sprinkled a few bits of powder on that area in rainbow order. A couple more sprays of water to get the color really nice and moveable, and then I tilted the watercolor panel up so the color would drip down. 
A "congrats" from The Big The Bold and You Cutaways is all I needed to finish the card. Oh WAIT, we haven't talked about the bottle cap sequins!!! These were a fun discovery! There's a whole section of these at Brutus Monroe. They have crimped ridges on the ends, but are nice and flat so you can adhere them to your cards. 
What a fun time this was, playing around with the Color Burst! I'm kicking myself for not doing this two years ago after I got home from Creativation. It seemed like a big deal to figure out how to use them. But nope, not much to figure out. All you do is sprinkle the powder, and spray with water! 

Thanks so much for stopping by! Let me know if you end up playing with the Color Bursts!
- Kelly


Note: Don't forget to enter to win a $25.00 Brutus Monroe gift card HERE and check out the Brutus Monroe blog for more extraordinary inspiration!
w&wDT_kellygriglione_blog-sig


w&w-supplies

Thursday, February 1, 2018

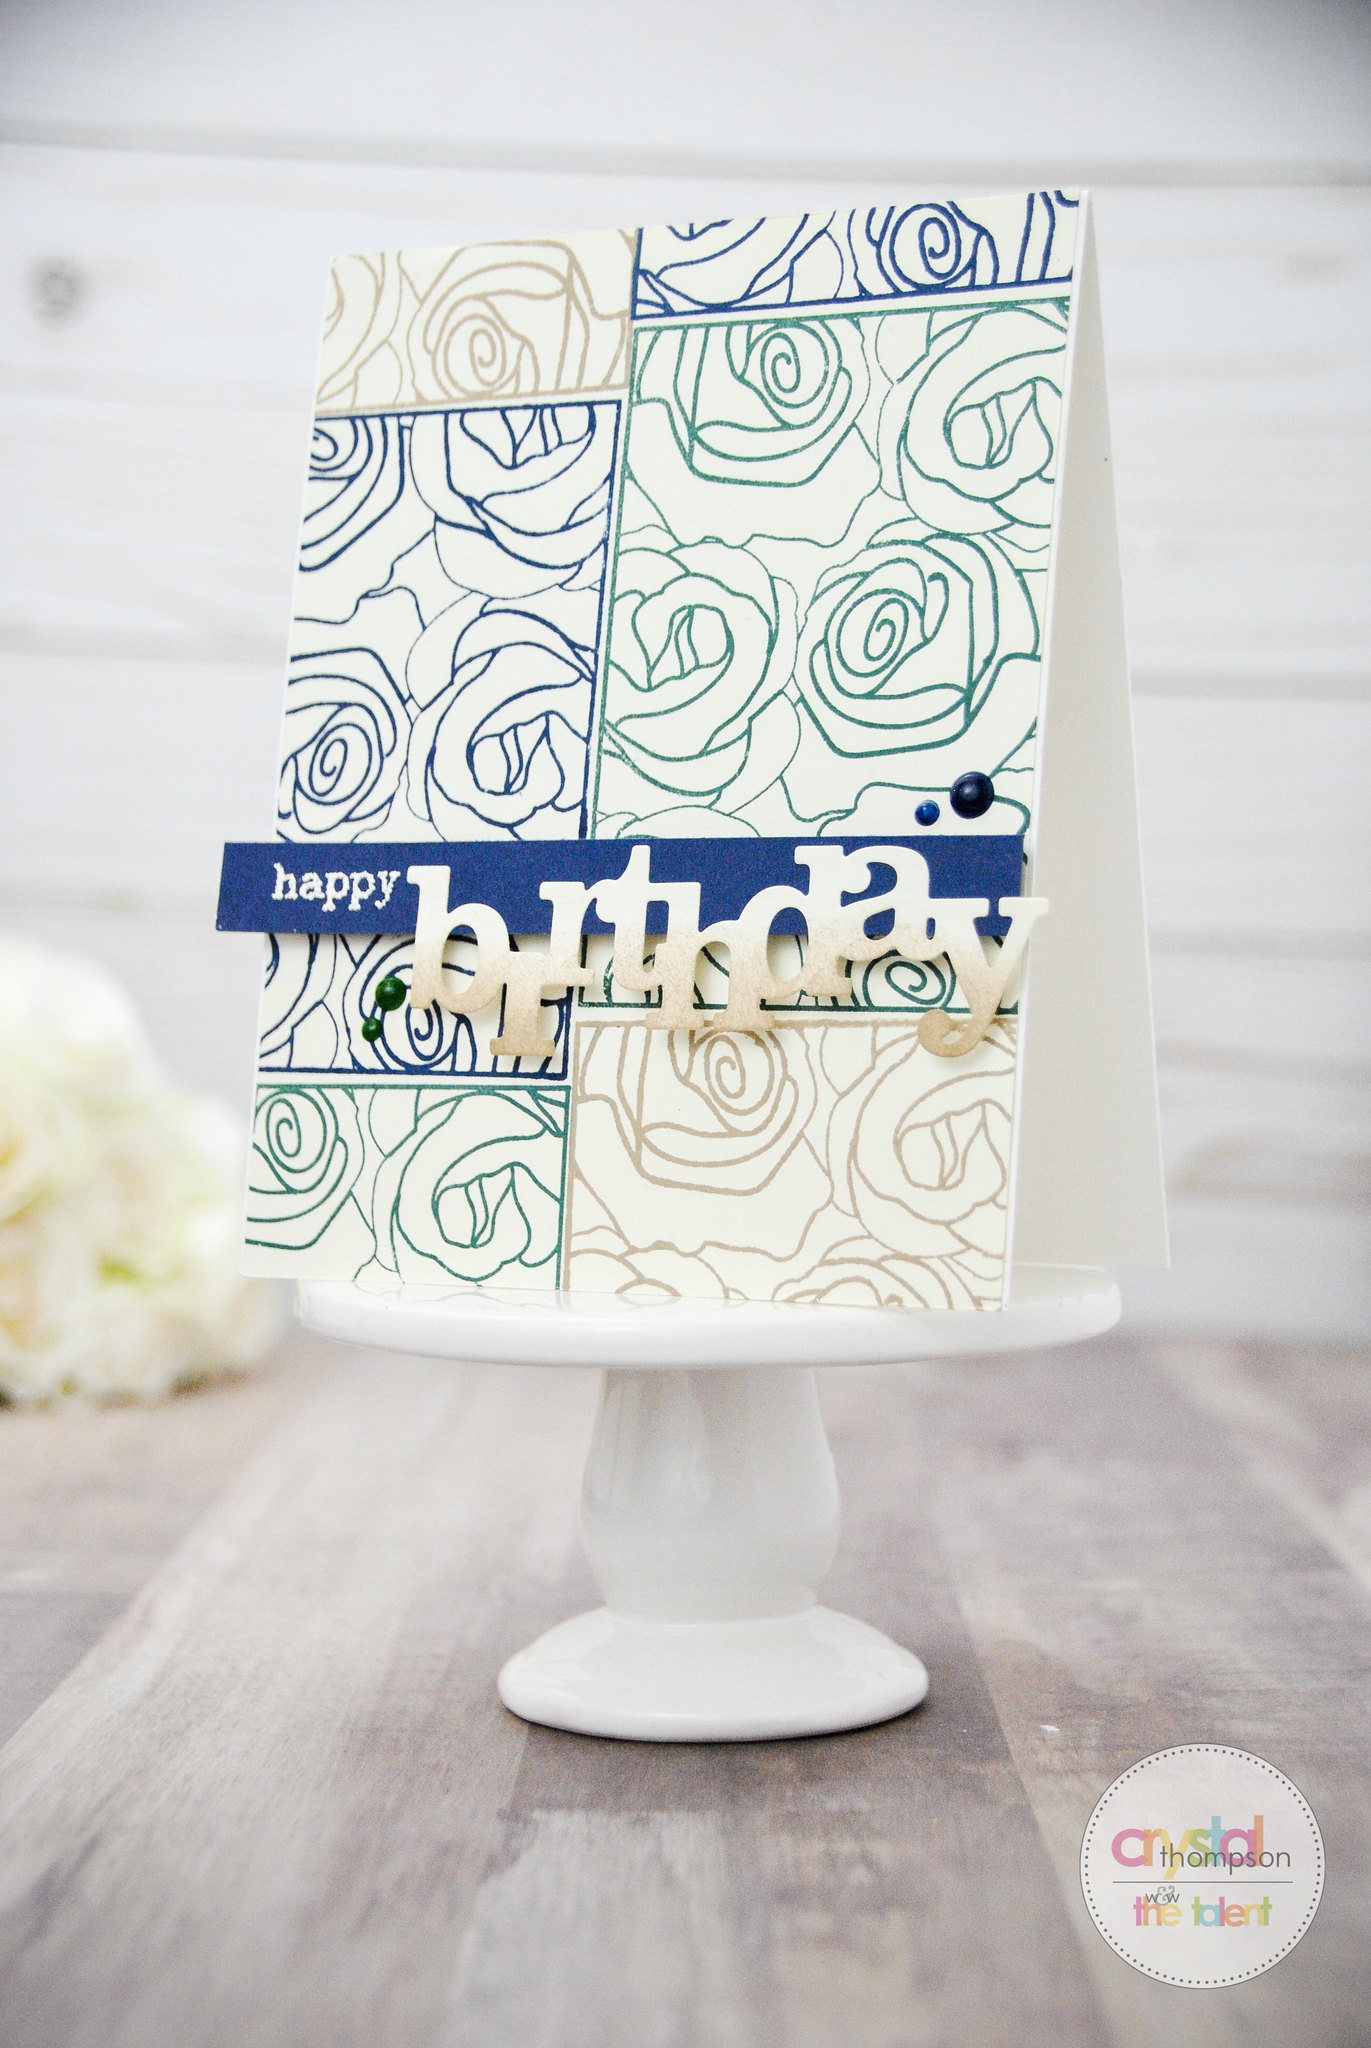
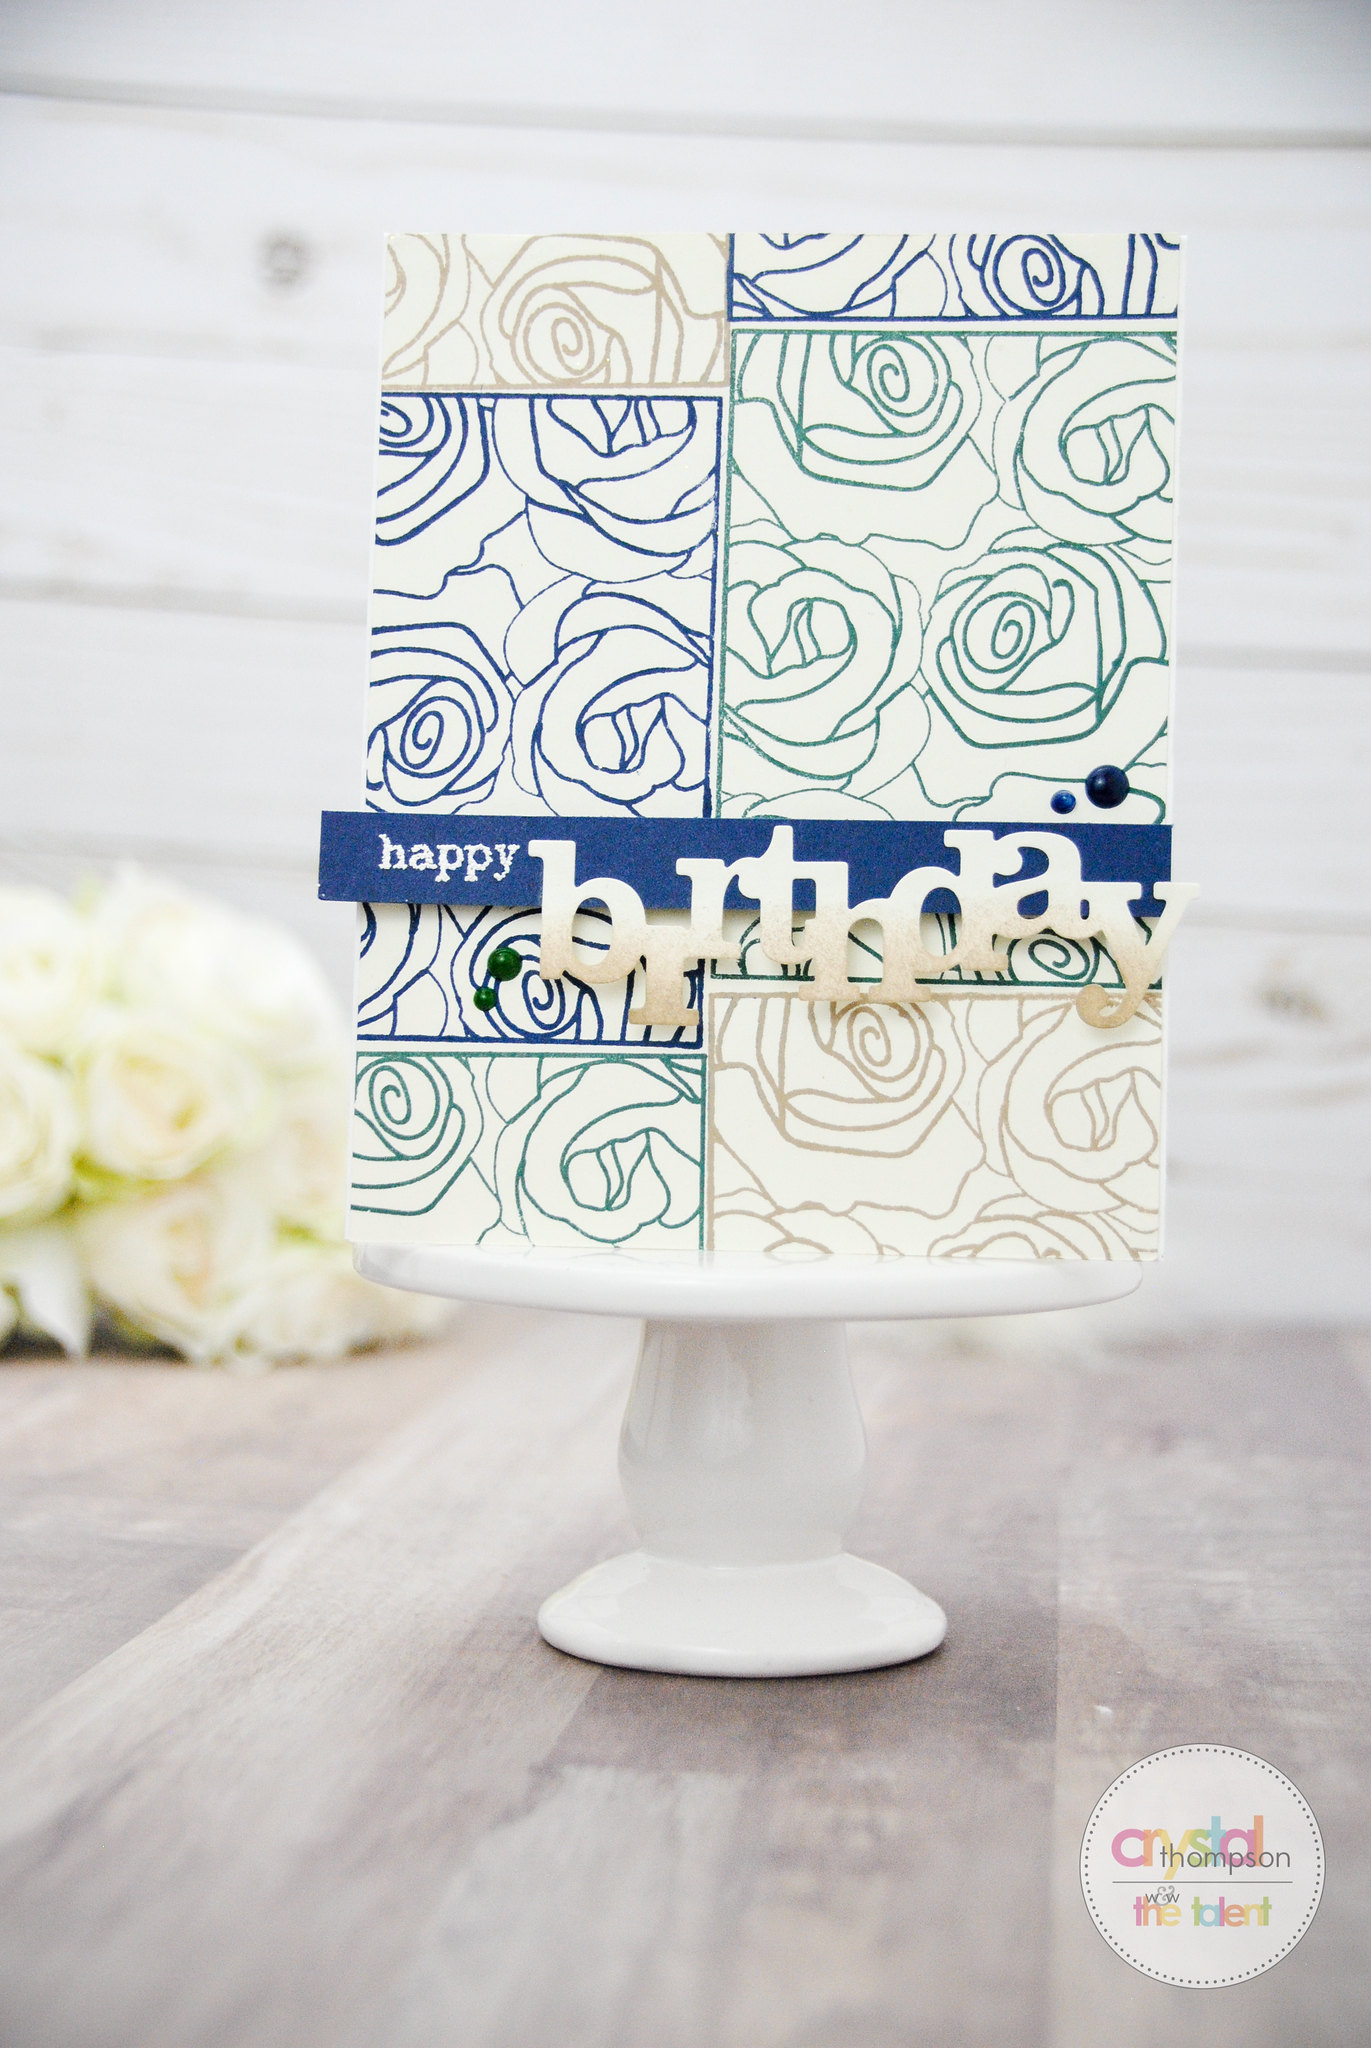
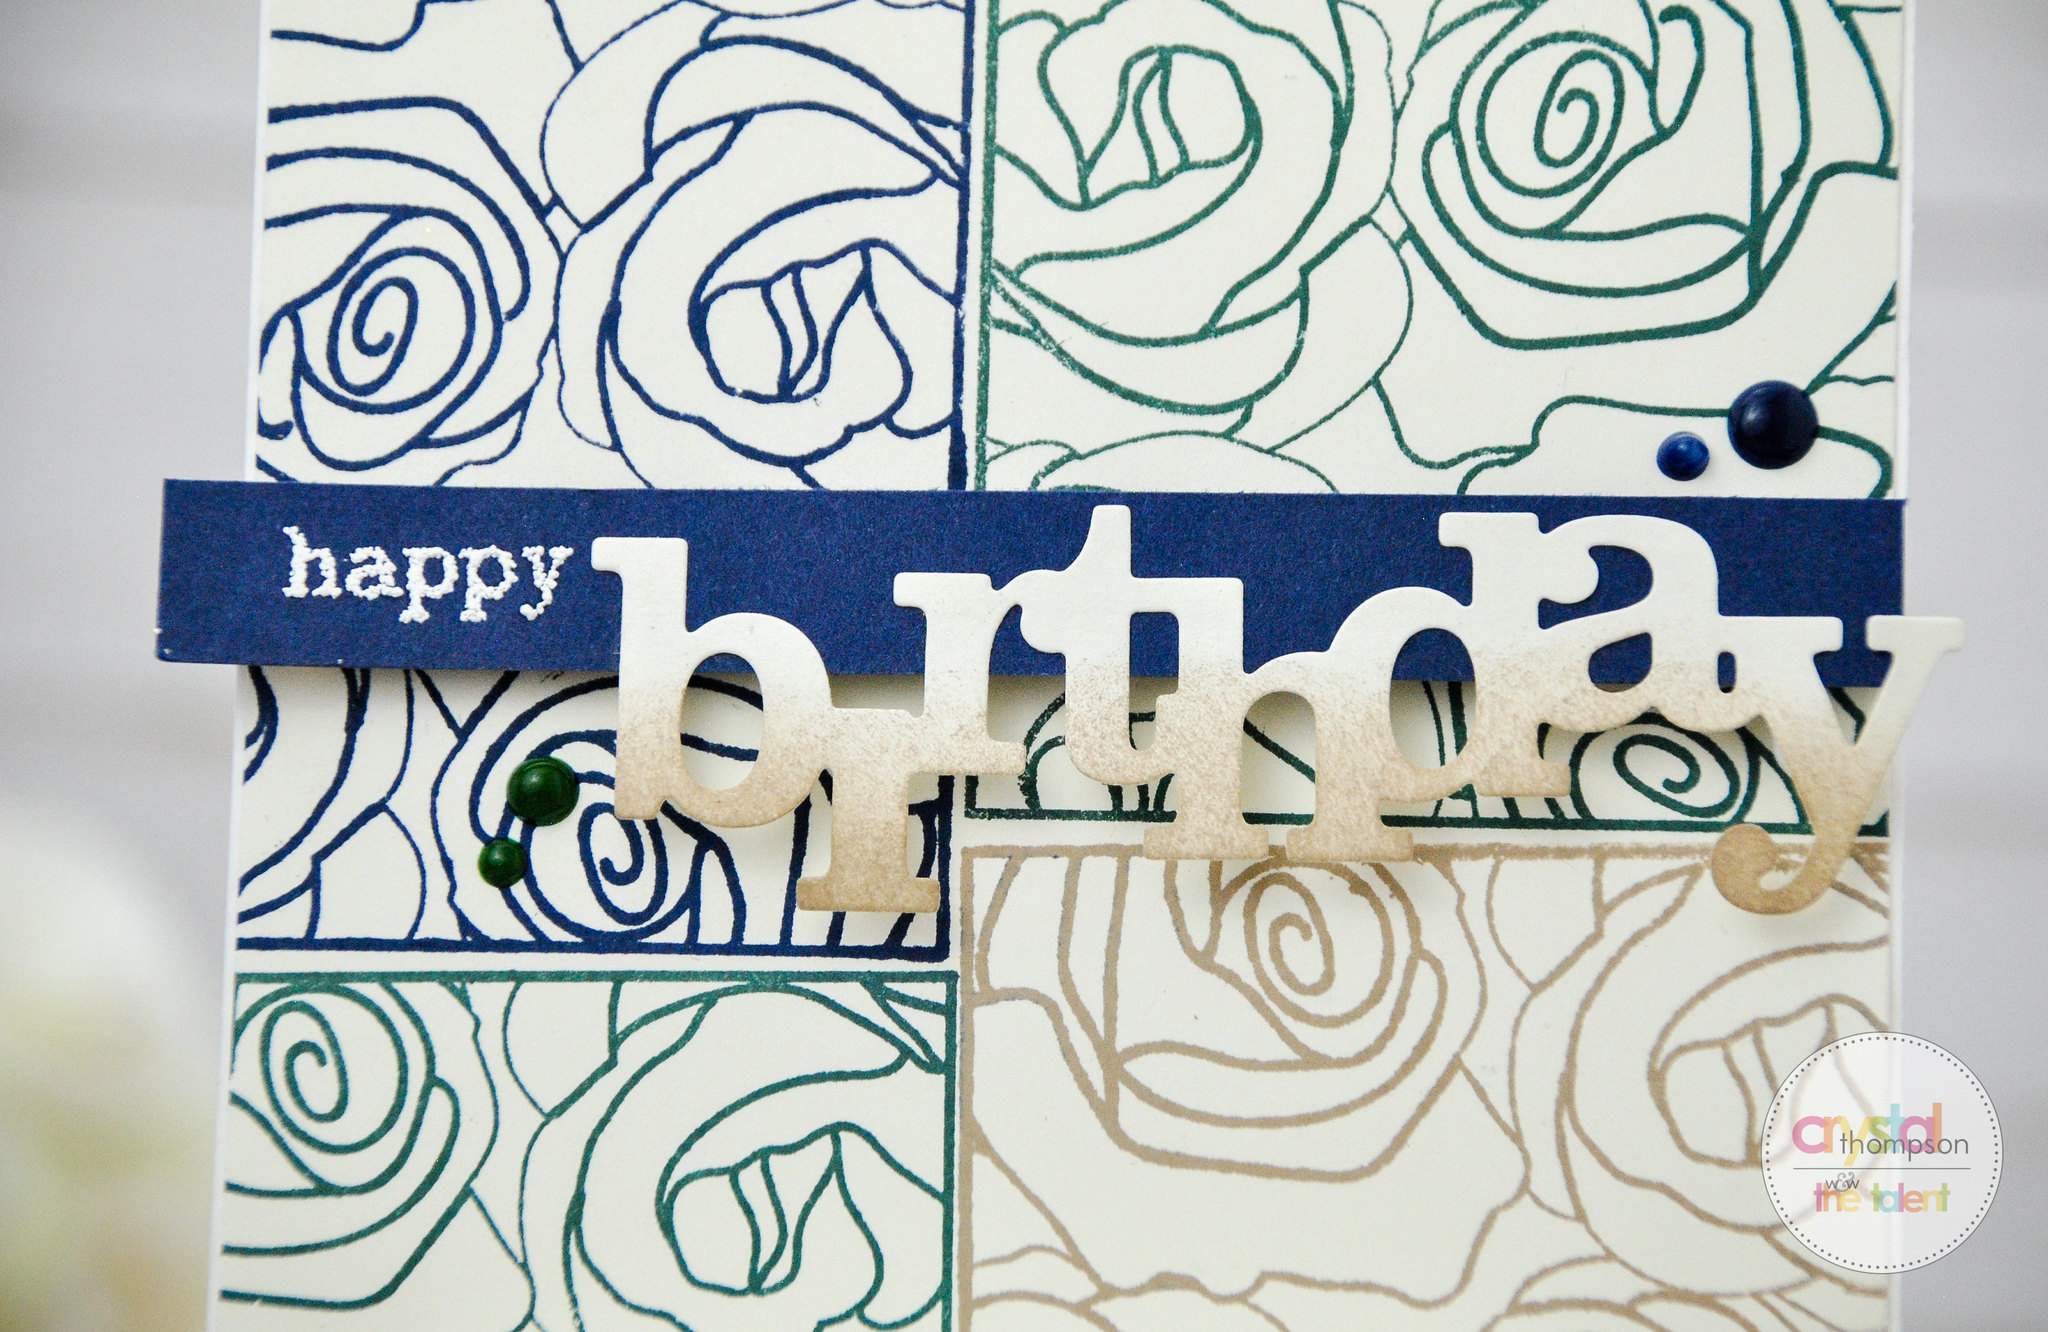
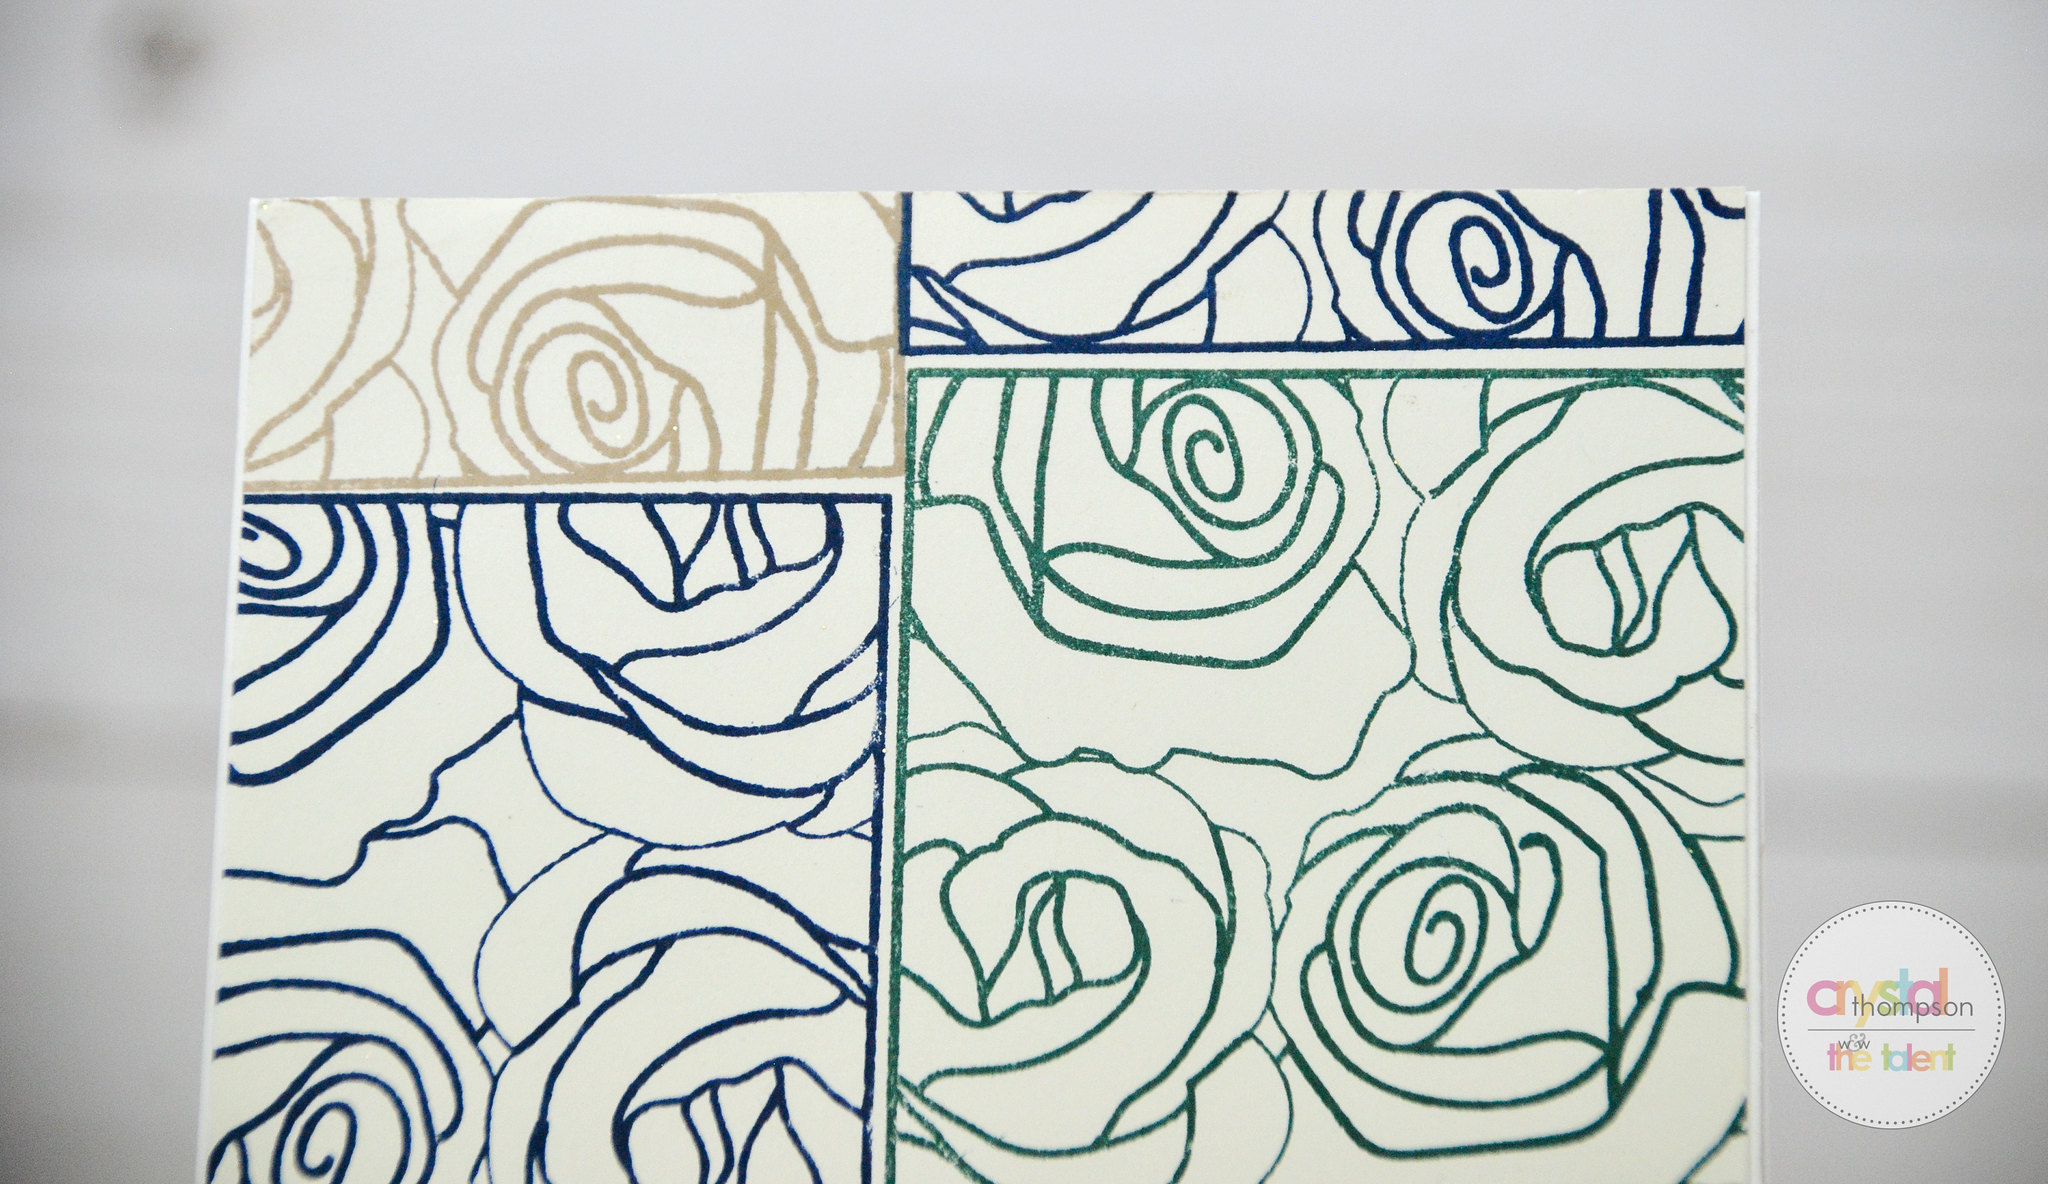
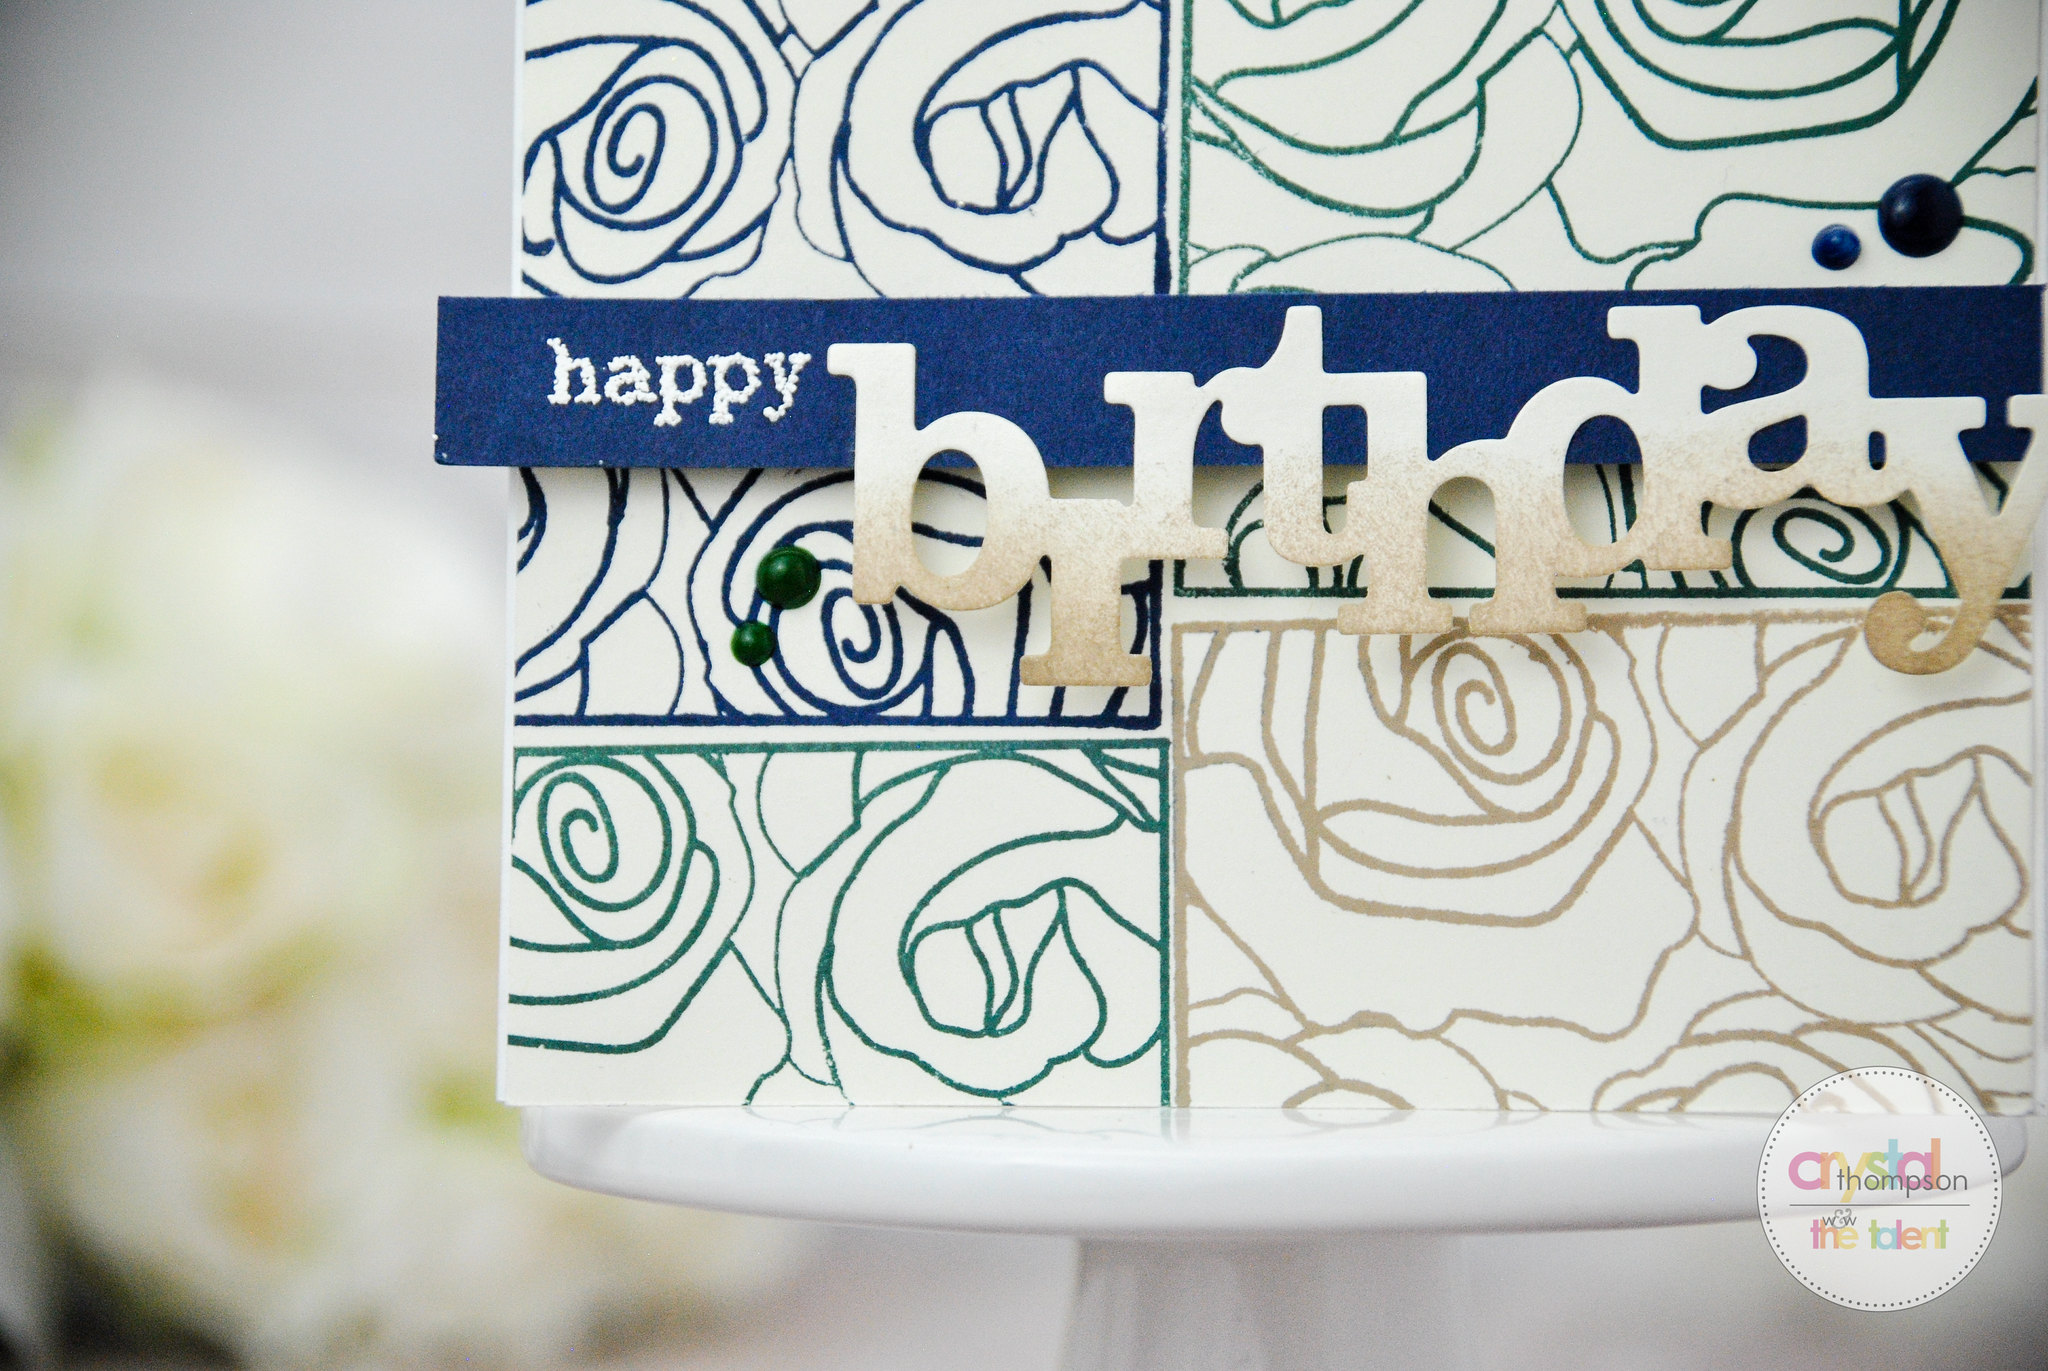
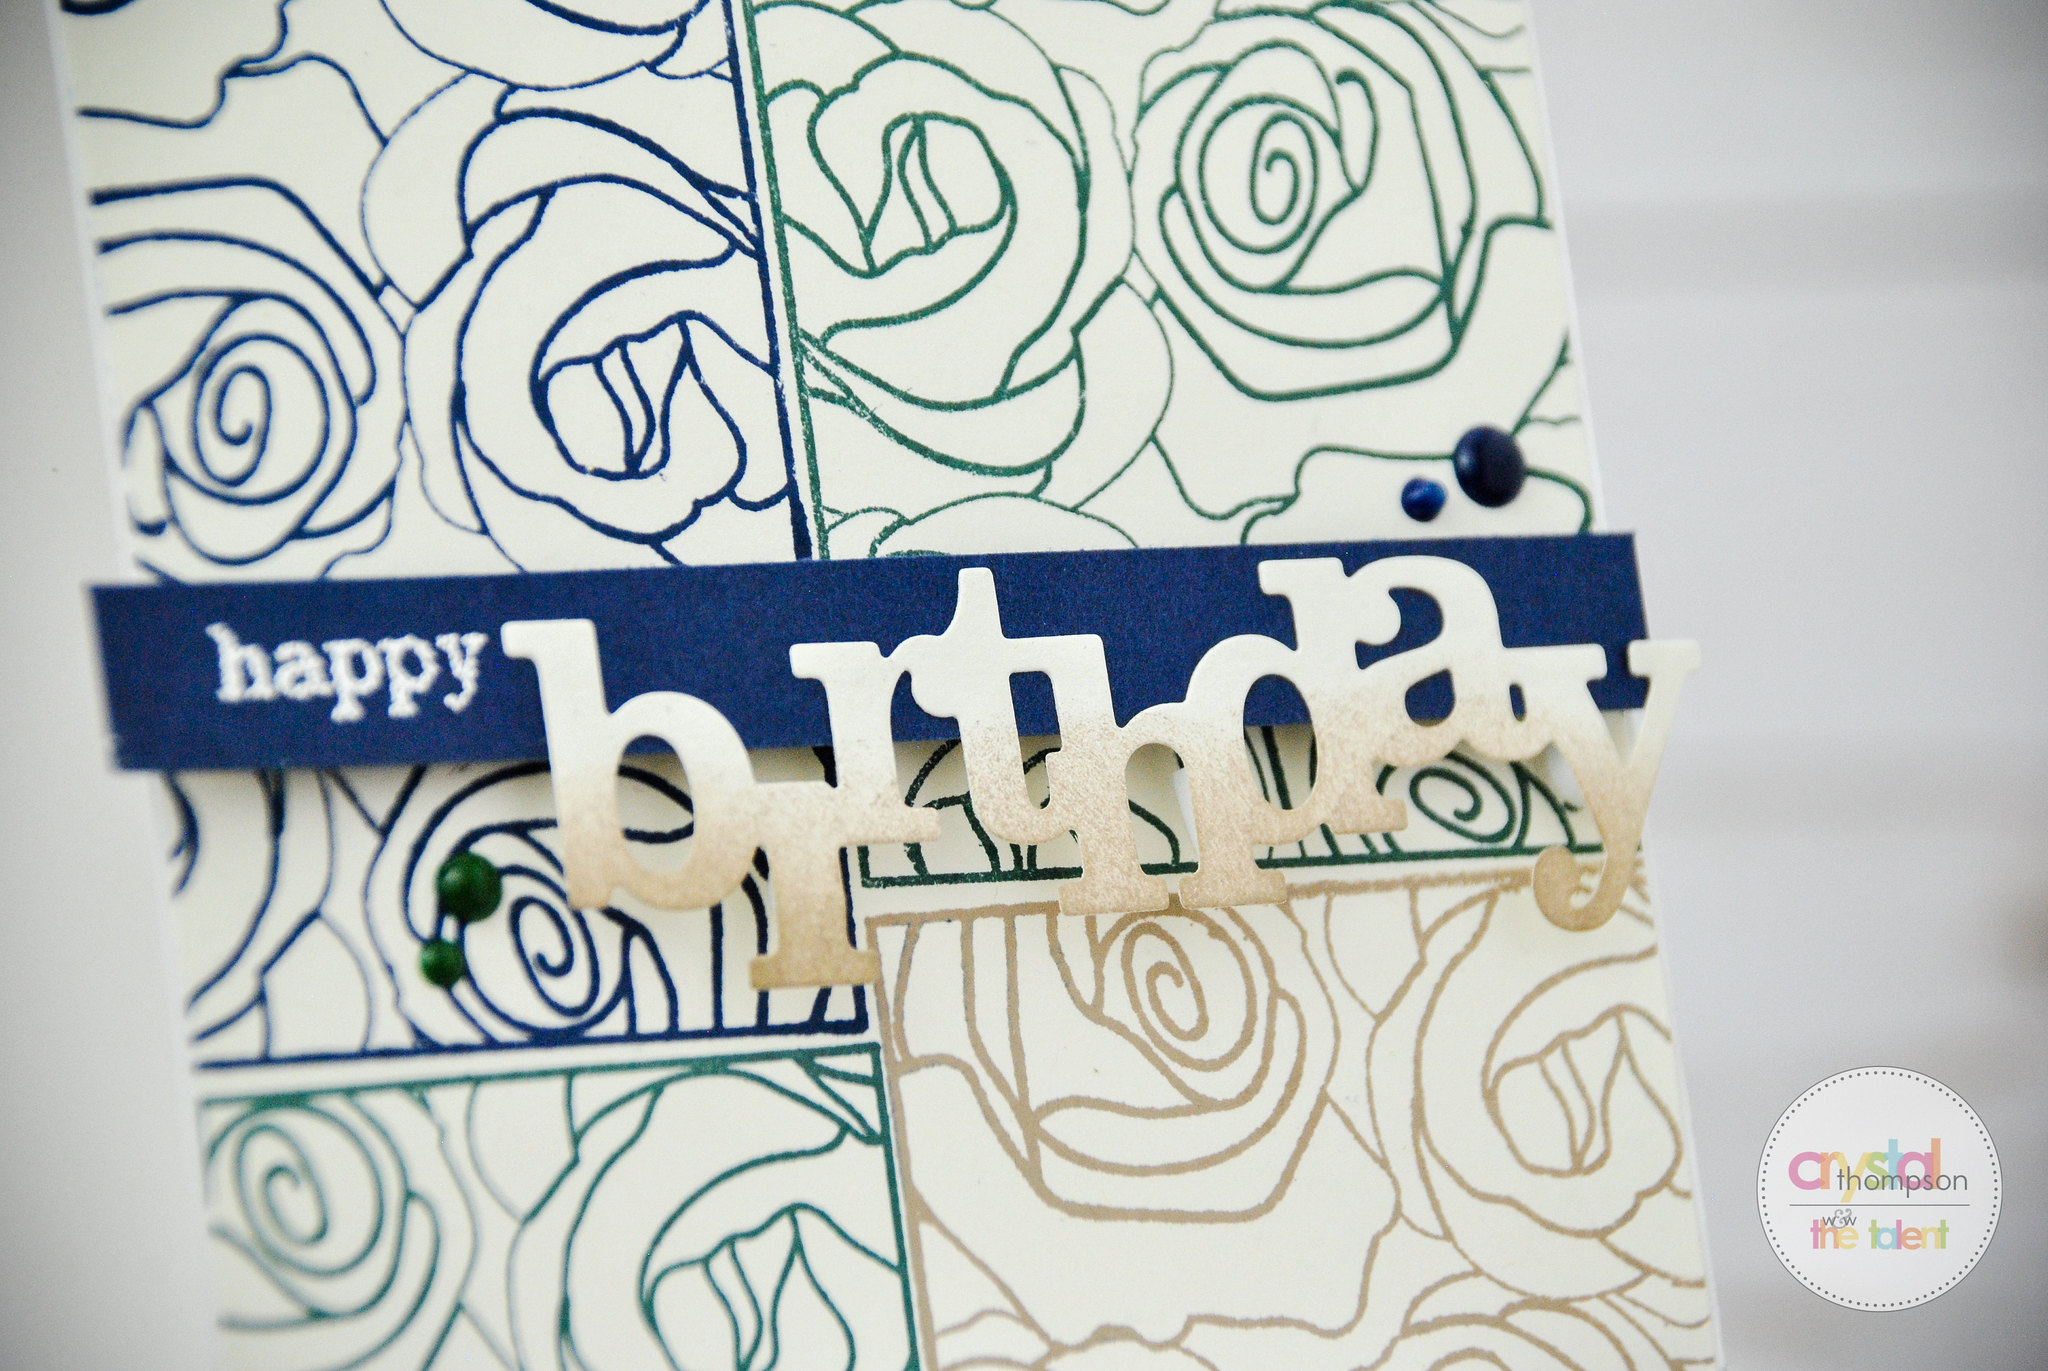
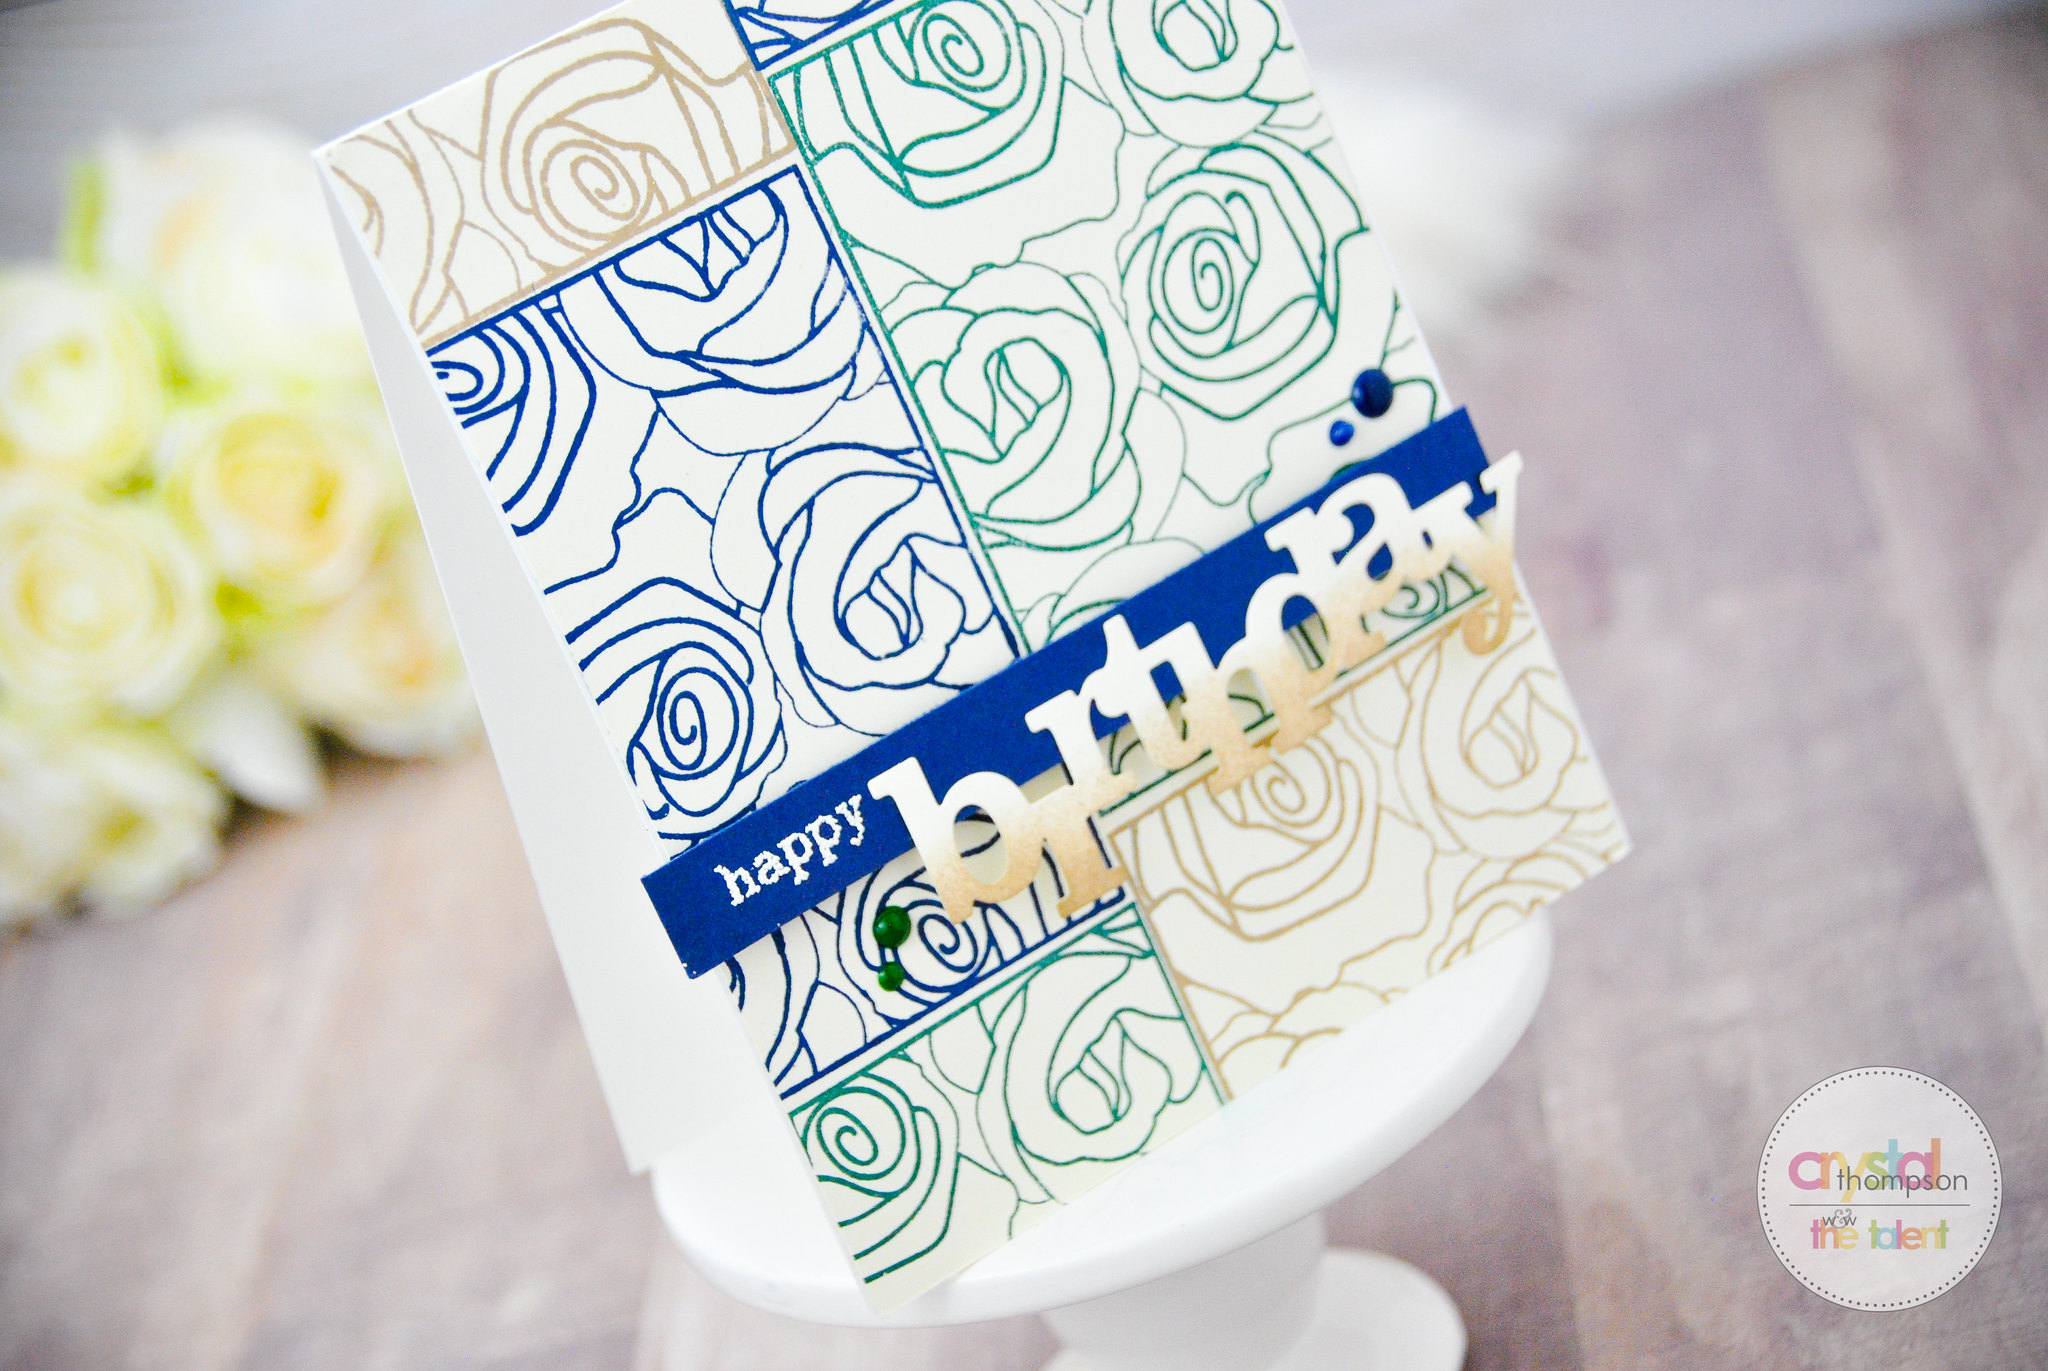
w&w 4th Birthday Bash | Repetitive Stamping Challenge with Crystal

challengeb

Crystal provided us with this awesome video to introduce her challenge and card:


You can see more of her inspirational repetitive stamped card here:

crystal_untitled-36 crystal_untitled-37 crystal_untitled-38 crystal_untitled-39 crystal_untitled-40 crystal_untitled-41 crystal_untitled-42

We can't wait to see how your take on repetitive stamping in your project!

>>>GIVEAWAY<<<

Link up your take on this challenge for a chance to win a $75.00 gift card (gift code) to the w&w shop.  One random winner will be chosen.

For more information on how to enter to become our Guest Star for the next release CLICK HERE.  Please remember you need to include GS in the Link Title to be considered for the Guest Star competition.


Saturday, September 30, 2017

September Leading Lady Hussena Calcuttawala | Take Four

As we come to the end of September, we also close out with the final fabulous performance of our September Leading Lady, Hussena Calcuttawala!  I am sure I am not alone in being dazzled by Hussena's beautiful and layered projects this month.  Such loveliness, bursting with happy color has graced the w&w blog week after week.  I feel so blessed to have had Hussena as our leading lady this month.

If you missed her smashing debut you must see it...CLICK HERE or her sensational second performance which included a duet of beautiful, bright, happy celebratory cards CLICK HERE or her triumphant third performance full of delightful projects beyond the card CLICK HERE.   

Lucky for us all we have her final command performance today.  

hussena_calcuttawala_sep2017
Hello everyone,
Today is my final post as a Leading Lady this month on the Winnie and Walter blog. I am really honoured to have been given this opportunity and I had so much fun working with their old and new releases to create cards and other projects. Today, I have two cards to share and I've gone floral all the way :D


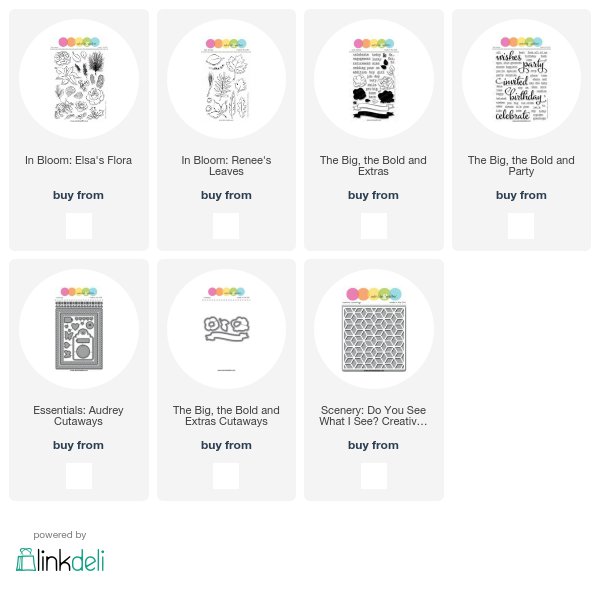
For my first card, I have used the flower from the In Bloom : Elsa's Flora set. I lightly coloured it using Peacock Feathers Distress ink and did my shading using Prismacolor pencils.


The leaves, berries and the entire foliage is also from the In Bloom: Elsa's Flora stamp set. I wanted to go with a monochromatic look by highlighting only the colour of the flowers against the grey background so I coloured my leaves and other foliage in grey. 


I also added a pop of colour here and there by adding the stamped and fussy-cut berries. If you see closely, I have also done some light yellow stenciling using the Scenery: Do You See What I See? Creative Screening.  The sentiment banner is from the The Big, the Bold and the Extras stamp and die set. I finished off the card by adding few black paint splatters and silver sequins.


Moving on to my second and last project.


This card has a riot of things going on. Haha :) It's a rather full design and I tried to do something different. I love the way the colours pop against the black background!

I have used the flowers and leaves from the In Bloom: Anna's Flora and In Bloom: Renee's Leaves. I stamped the images on watercolour cardstock using Versafine Onyx Black ink and did loose watercolouring using various shades of Distress inks. I fussy-cut the images and have popped some using foam-dots while others are stuck directly on the card  panel.


For the sentiment, I have heat embossed the word 'thankful' from the Happiest of Holidays with Evelin T Designs stamp set and the 'for your friendship'  is also from the same set. The butterflies have been die-cut using the Essentials: Audrey Cutaways die set and watercoloured. The sequins are from Pretty Pink Posh.


I added some white paint splatters to make the look more bold and dramatic :)


So with that, we come to an end to this post. I had a wonderful time sharing my projects and hope you liked them too. I would love to hear what you think of today's cards :)

Thank you so much for dropping by! I hope you will stop by my blog and leave a comment there too as I will be giving away a $30 gift card to one lucky winner.


Have a nice day everyone!


w&w-supplies

Saturday, September 16, 2017

September Leading Lady Hussena Calcuttawala | Take Two

Our September Leading Lady, Hussena Calcuttawala is back for her sensational second performance!  If you missed her smashing debut you must see it...CLICK HERE.   Today's duet of cards are a celebration of bright, vibrant happy color!

Ladies and gentlemen, Hussena....

hussena_calcuttawala_sep2017


Hello everyone!

I am back for my second post at the w & w blog. Today I will be sharing cards I made using products from the new August release.


Again, I am starting out with a floral card first :


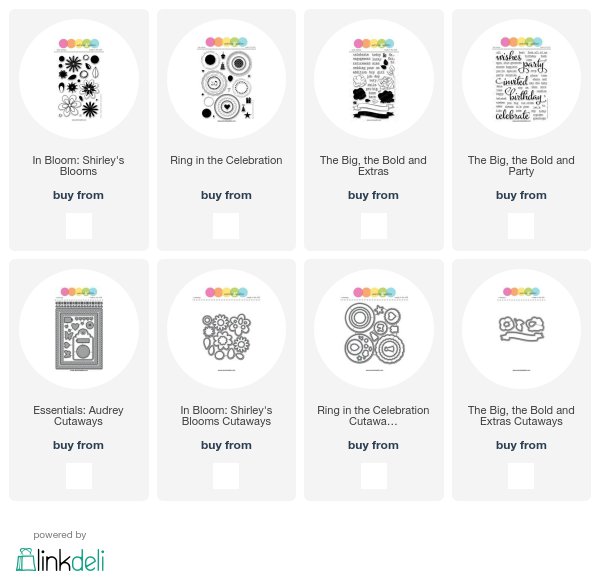
To make this card, I stamped and die-cut some flowers and leaves from the In Bloom: Shirley's Blooms stamp and die set. For the flowers, I have used two different colored dye inks for contrast between the inner and the outer petal. I also did some pencil shading using Prismas on the centres of the flowers.

I stamped the polka dot circles using stamps from the Ring in the Celebration set. I then die-cut the buds using the dies from In Bloom: Shirley's Blooms Cutaways.


To die-cut the frame, I first stamped the scalloped circle with Versafine Onyx Black ink and then die-cut it out using the coordinating dies from the Ring in the Celebration Cutaways.


I also die-cut a card panel using the largest rectangle scalloped frame die from the Essentials: Audrey Cutaways set. My background was created by randomly stamping the black rings from the Shirley's Blooms set. I also colored in these rings using Prismacolor pencils.  Finally I popped the flowers and leaves on foam dots. The sentiment is from an older set - The Big, the Bold and You.


For my second card I have created a fun shaker :)


I decided to work with some soft colours. I started by stamping my card panel with three tiny images from the Ring in the Celebration set. I used different shades of dye inks to stamp them.


The little cake in the centre of the card was stamped and die cut using the coordinating die from the same set. I also added two more stamped and die-cut circle frames, one with a sentiment around it and one a decorative frame. Both were popped on foam dots. The ribbon banner and the sentiment is again from a old set - The Big, the Bold and Extras. I finished off the card by adding a little bit of Clear Stickles to the stars, the cake and the centre of the gift bows.


I love how this came together really quick - the set is perfect for making birthday cards and pretty tags which I shall be sharing in my next post. The Ring in the Celebration set is really very versatile and I'm definitely going to be reaching for it soon.


I hope you liked my cards and are inspired to create your own. I would love to hear what you think of them. Don't forget to comment on my blog post for a chance to win the $30 gift certificate to the Winnie & Walter store. Winner will be announced on my blog, at the end of the month.

Have a great day ahead!

w&w-supplies