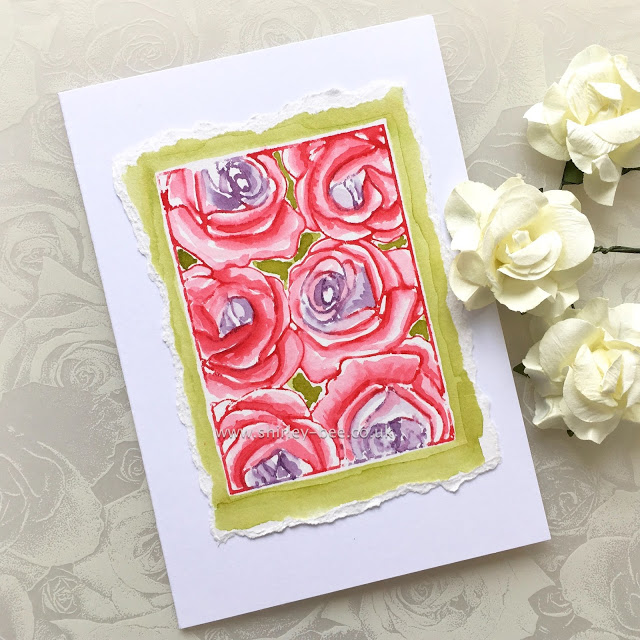
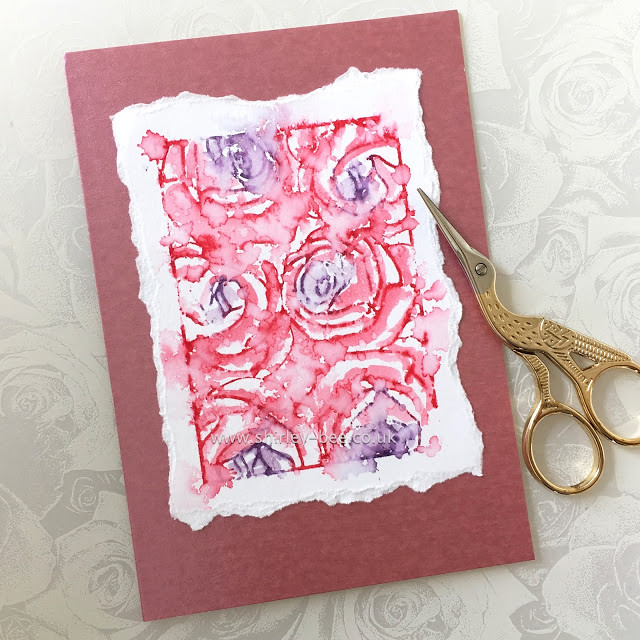
Our April Leading Lady, Shirley Bampton aka shirley-bee is back for her fantastic fourth performance! If you missed her smashing debut you must see it...CLICK HERE or her sensational second performance stretching the use of your stamps CLICK HERE or her triumphant third performance that is sure to impress you CLICK HERE. You are in for a treat today as Shirley takes you on a little colorful adventure.
And now we present Shirley....
Hello, peeps! I'm having such a good time being Leading Lady at Winnie & Walter, and I really appreciate the comments you've been leaving me, both on my blog and the Winnie & Walter blog.
So, here I am for Take Four. I'm fascinated by the Mini Scenery: Bed of Roses stamp, and I wanted to try different ways of colouring it. I suppose the most obvious way is to colour the actual flowers neatly inside the lines but I rarely colour neatly (on purpose - I much prefer to slosh colour around). Here are the results of my little play session.
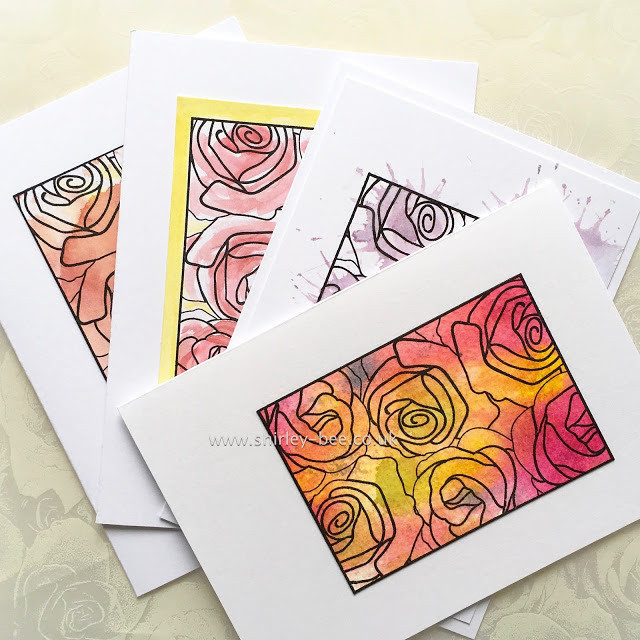
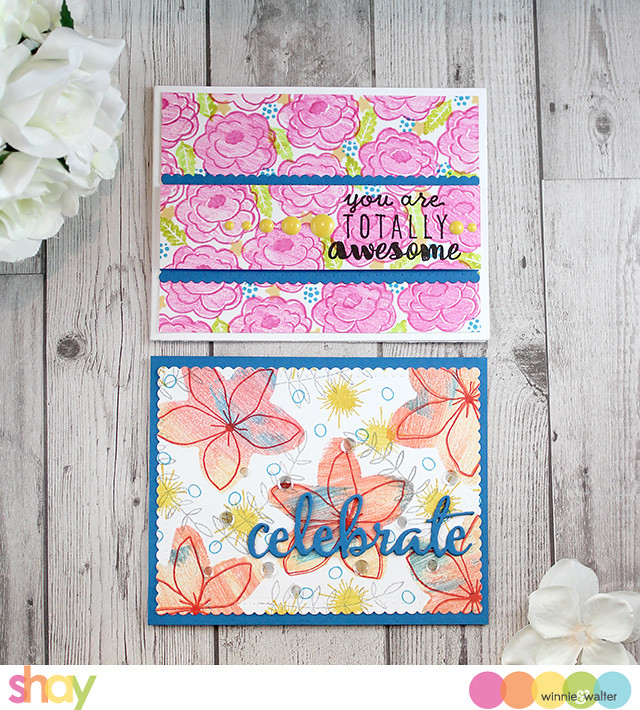
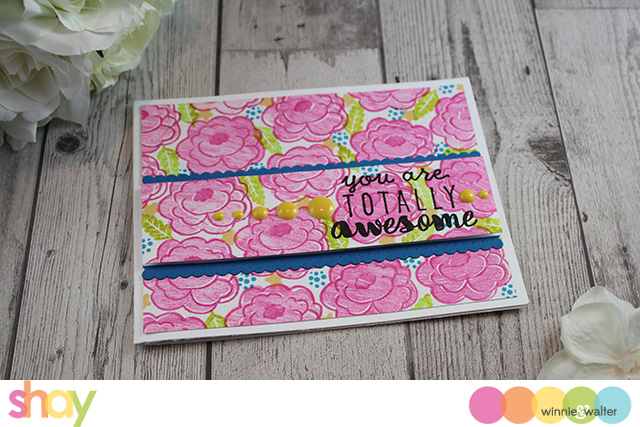
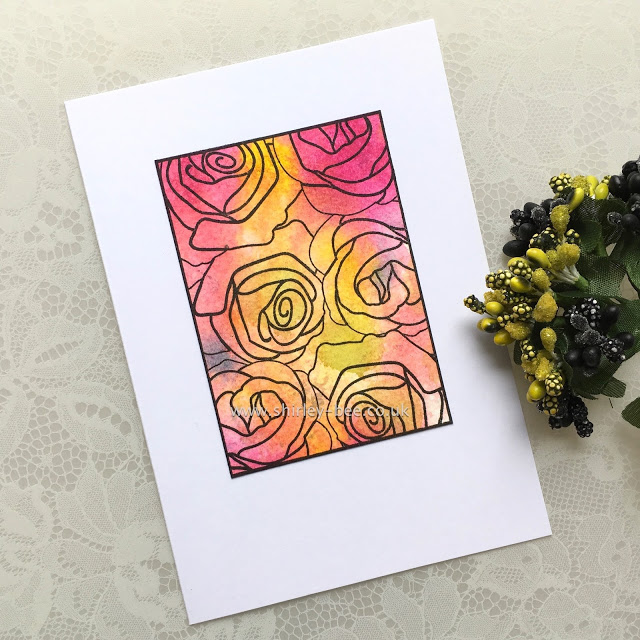
For my first card I raided my stash and found this piece of mixed media paper that had been coloured with various Distress Inks. I just stamped in Versafine Onyx Black onto the panel, not really worrying about how the image lined up with the colours. And to be honest, I don't think it matters, do you? I trimmed the panel, ran a black marker pen around the edges and mounted it onto white card.
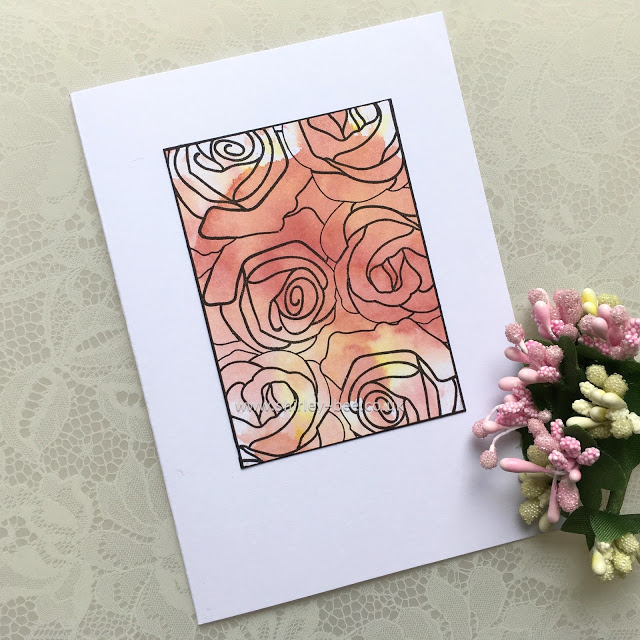
Another raid of my stash produced a panel that had been smooshed with Distress Inks. Again, I just stamped over it in Versafine Onyx Black, trimmed the panel and ran a black marker pen around the edges before mounting it onto white card.
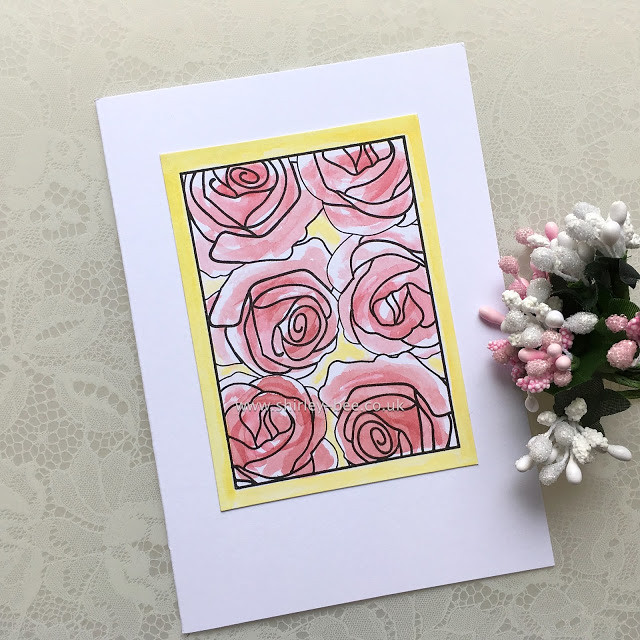
I think we'll call this next technique 'speed painting'! I stamped the image onto white card, diluted some Worn Lipstick Distress Ink onto an acrylic block, loaded up my paintbrush and sloshed the colour on very quickly, without trying to fill all the white space. I reloaded the brush and went over some of the areas again to get a deeper colour. The background and border is Crushed Olive, although it looks quite yellow here. I use a No. 4 round brush for all my Distress sloshing.
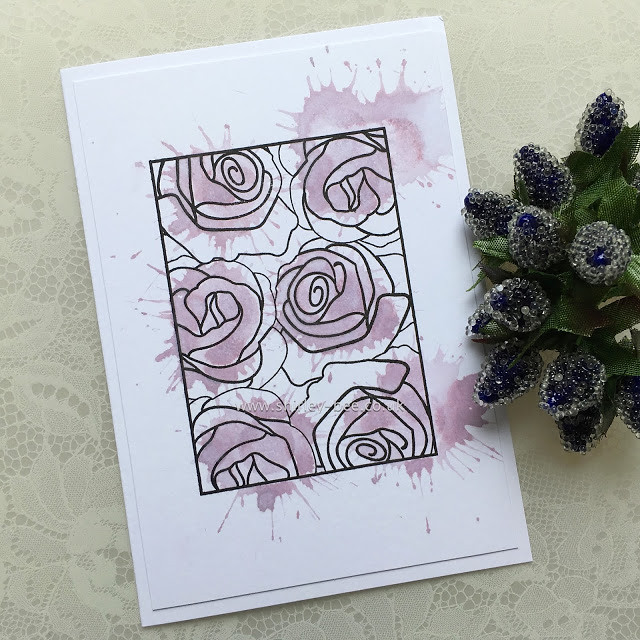
So, what happens when you splat Distress Stain onto the roses? This! I wanted the splats to extend beyond the image frame, so some of the flowers got double splats.
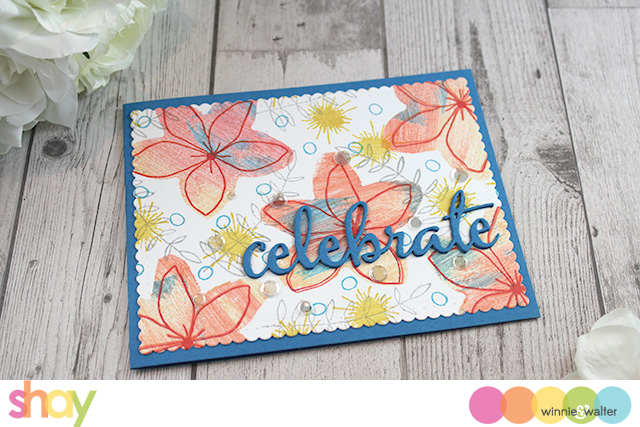
At that point, I thought I'd finished playing, but then I decided to ink the image with Distress Stains, stamp onto mixed media paper and pull the colour in with a wet paintbrush. Distress Stains are juicier and more intense than Distress Ink, so there's more colour to work with than if you inked the image with a Distress inkpad. I used a clean paintbrush and water, then if I needed extra colour I just lifted it from the residue on the stamp.
For my final card, I inked the stamp with Distress Stains exactly as I had on the previous card, stamped it onto mixed media paper, then spritzed water in stages until I got the effect I wanted: artsy (hopefully!).
Well, I hope you've enjoyed my little experiments, and seen how to get more mileage out of one stamp. Maybe I've inspired you to try different ways of adding colour to your stamped images.
Shay has generously donated a $30 gift card for me to give away on my blog. To be in with a chance of winning, just leave a comment on my blog (comments on the Winnie & Walter blog won't be included in the draw). To increase your chances of winning, make sure you've also left comments on my previous Leading Lady posts on my blog: Take One here, Take Two here, and Take Three here.
I'll see you next Saturday for my final post.


