Showing posts with label sentimental: love. Show all posts

Monday, August 12, 2019

August/September Color Combo with Heather (Challenge)

Good morning! Heather here stopping by this morning to share a new Color Combo Challenge with you! Last month we stretched the challenge for two months, since I had a big family vacation planned for the summer. Well...surprise! We are going to do the same thing this month, since I am going to be traveling to Italy with a friend in September for two weeks, and that will give me extra time off to enjoy that trip!


Here is my color inspiration for this month - I was so very inspired not only by the lovely color combo in this photo...but even the pretty background design in the inspiration photo:


I started off by recreating the background using some Gouache Paints - a medium I've been loving more and more lately! I chose some colors from the color combo, and just used a brush to swipe on the colors, mixing a little here and there along the way.


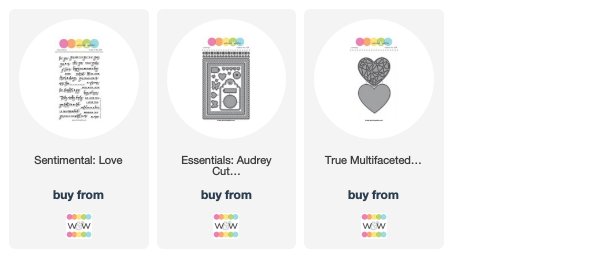
Once that dried, I die cut the detail heart from True Multifaceted Heart Cutaways from white cardstock, tied some twine onto it, and then adhered it onto my background, tucking the top of the twine behind the front of that panel. I also tied a bow on the top of it, using that to hide the adhesive behind the bow.


Finished off by stamping my sentiment from Sentimental: Love on the top, and added a white scallop rectangle from Essentials: Audrey Cutaways layered behind it before mounting on a coordinating blue cardbase.


Now - I have a few favorites from the last Color Challenge to feature! 

First up - look at this GORGEOUS card by Aswini - such a lovely card, and perfect capture of the color combo as well! 


Next up, I love this little cutie from Becca! This image is one of my favs, and the fun layers make perfect use of the color combo as well!


And finally, this card by Nananas - love the soft textures with the color combo perfectly incorporated!


<<<RANDOM WINNER>>>


No. 10 | Ashwini
Ashwini's card is just gorgeously done with a lovely arrangement and design.

Ashwini, please email us at info {at} winniewalter {dot} com with the subject "June/July Color Combo Challenge Winner" to claim your prize.

>>>CHALLENGE<<<

New challenge will post on the second Monday of each Month, and will end on the Friday before the next challenge begins to allow time to pick a winner and some favorite entries to feature.

Now it's your turn to play along!
  1. Create a new project using the August/September Color Combo. 
  2. Use at least one (1) winnie & walter product.  This can include Cutaways (dies), Creative Screenings (stencils/masks), printable/digital items, cut files and/or stamp sets.  Remember we offer freebies in our shop.  Our freebies can be used to create your project(s) for this challenge.
  3. Link up your project below using the InLinkz Link-up by 11:55 p.m. CST on Friday, October 4, 2019.  
  4. Enter as many times as you want before the deadline.
  5. This August/SeptemberCombo Challenge may be combined with other challenges found here on the w&w blog or elsewhere. 
One randomly selected entry will receive a $25 gift certificate to Winnie and Walter. YAY!!! I can't wait to see your entries! 


Thanks for stopping by - have a wonderful day!



You are invited to the Inlinkz link party!
Click here to enter


w&wDT_heatherhoffman_blog-sig 2


w&w-supplies

Wednesday, January 16, 2019

Love Mail with Kelly


Hi Folks! As fun as the holidays were this year, now that everything is packed away it's time to start turning attention to all things pink and red for Valentine's Day! In this post I'm sharing a fun and inexpensive Valentine's Day craft. These are the mini valentine mailboxes we made for friends/neighbors/teachers/office-staff last year. They are inspired by the craft project I led for Jackson's fourth grade class at the school Valentine's Day party. (also inspired by the pile of left over mailboxes I was going to need to return to Target!!)


 The mini tin mailboxes come from the Target dollar spot; aren't they the cutest?! The glass candlesticks you can pick-up anywhere for pretty cheap (especially at garage sales!) These are just from the dollar store. I spray painted them with whatever paint I had left over in the garage, making sure to check the label that it was fine to spray on glass. After hot gluing the mailbox onto the spray-painted stand I was ready for the fun part ... decorating them!


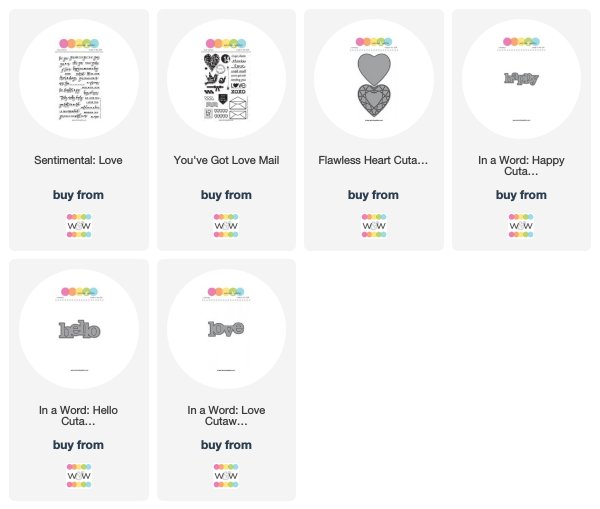
 For mass-produced projects like this I like to stick with the same basic template. Each mailbox has the sentiment on the left side, a collage of a heart and other elements on the front lid, and a cluster of tiny hearts on the right side. This particular mailbox uses the happy die from In a Word: Happy Cutaway, and the embossed sentiment from Sentimental: Love. The heart is from the Flawless Heart Cutaways, and then the postmark, envelope and 14 are from an oldie but goodie, You've Got Love Mail.


A similar mailbox here, except we have a "hello" instead of a "happy" greeting (from In a Word: Hello). And a birdie decided to land on this one, direct from the dollar store ... a package of 3 for $1.


Knowing the general layout is the same makes assembling the one-of-a-kind mailboxes that much easier. You just need to plan ahead a little. For example, I die cut several different large words at a time (one red piece of cardstock is enough to cut Love, Hugs, and Hello in the same pass through the die cutter, along with several small hearts) and I stamp several key phrases with versamark on a piece of black cardstock, emboss them all at once, and then cut them into strips with my trimmer. Starting off with a nice pile of words and phrases to choose from makes it really fun to try new combinations along the way.


 You've really got to love those In a Word dies ... this mailbox is "sending hugs" with the help of, you guessed it, In a Word: Hugs.

Now it's confession time as someone with a stamping blog: I did not stamp super cute Valentine's Day greetings to go inside of each mailbox.  


But, while I was in the dollar spot at Target I found these ADORABLE Valentine's Day band-aids that came 20 to a pack for only $1. Score!!!


Just add a "stuck on you" pun, and you've got yourself a sweet little valentine that's easy to mass-produce. Bonus: you don't even have to add adhesive to the band aid!!! : ) Just peel off the strips. Extra bonus: they work just as well for boys as they do for girls, which is sometimes hard to find.


 I used an envelope punch board to make custom-sized envelopes out of patterned paper for each valentine, addressed them and stamped a heart on each one. Don't they look cute after cupid has made his little deliveries?!


Here the all are, waiting to be left on doorstops across town.

Being as detail-oriented as I am, I matched up each mailbox with how I thought the colors would go in their homes ; )


Packed up for delivery. I was a little sad to see them all go.


Since I made these a little ahead of time I was able to hand-deliver some to my out-of-town friends  when I met them for lunch dates and such.


Finally, here are the mailboxes the kids designed during their fourth grade school Valentine's Day party (stop by to see these adorable kids in action). I mostly gave them glitter-foam stickers and adhesive gems to work with since they only had a few minutes in their station to assemble the mailboxes. But, I started them off with several of the patterned paper hearts on the front. It was pretty incredible, and very fulfilling, to see them so proud of their masterpieces which they can display for years.

Thanks so much for stopping by!
-Kelly


w&w-supplies

Monday, December 24, 2018

New Additions at Christmas with Kelly

Editor's note: A merry Christmas Eve!  Today is a special post by Kelly that is a wonderful, heartfelt idea to add a special and meaningful touch to a gift (and if you are a procrastinator it can be done for this Christmas or if you are a planner it can be done for future Christmases).  Have a very blessed holiday full of love, friendship and laughter!


Hi Folks! Kelly here to share a different kind of project with you today! For the last 7-8 years, our family has always managed to have a new addition at Christmas. This year the streak continues with no less than FOUR new babies, all born within a month of each other! Such happy times : ) My tradition has been to present each new baby with a Christmas book at Christmas. Instead of writing a message to them on the inside, I make a dedication panel.
I love the letters from the Typeset: Cary set since they're nice and thick. You can overlap them if you have a longer word, but they're big enough to bring a lot of color to your project. 

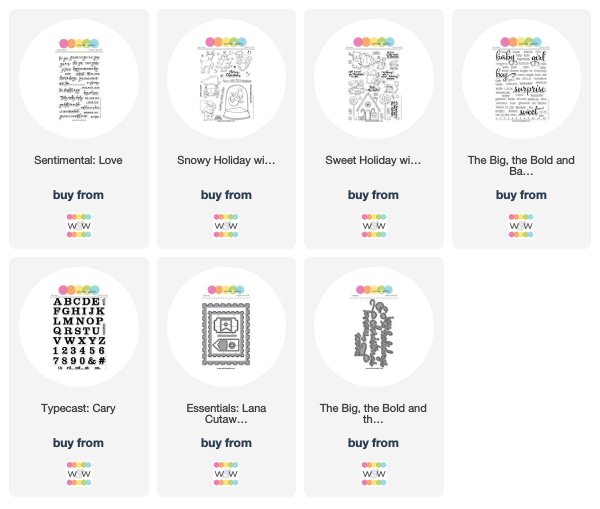
I really enjoy mixing fonts for a custom look to your project. In addition to the thick serif letters from Typecast: Cary, I've used the thin typewriter font from The Big, the Bold and Baby for the word "first," the script font from The Big, the Bold and Merry for "Christmas," a sans-serif font from Sweet Holiday with Evelin T Designs for "believe in the magic," and an all-caps sans-serif font from Sentimental: Love for "we love you." All different, but they all work together. Using the gold foil paper for "christmas" also gives a nice shine to everything.


The adorable reindeer from Evelin T's new Snowy Holiday set is watercolored to match the style of the book illustrations. Finally, the postage-stamp panel is from Essentials: Lana Cutaways. Love the pin hole details along the margins. 


I know our cousins enjoy reading to their kids and they seem to really enjoy receiving the personalized books. Reading to my kids was so much more special around the holiday. Getting cozy by the fire, under a blanket, with a bunch of pillows and an assortment of Christmas books was a magical way to spent the nights in December. 

Sure hope you enjoyed seeing another way to use our supplies!

Thanks for stopping by!
Kelly


w&w-supplies

Saturday, April 28, 2018

April Leading Lady Deepti Aggarwal | Take Four

As April comes to an end we must sadly bid adieu to our amazing April Leading Lady Deepti Aggarwal.   The last few weeks with Deepti have been bursting with color, creativity, skill and artistry.  Week after week I have been delighted with the depth and scope of Deepti's talent showcased so spectacularly in her incredible cards.  I feel so very fortunate Deepti shared her talents with us this month and made this month something special.

If you missed her smashing debut you must see it...CLICK HERE or her sensational second performance with an amazing array of cards featuring a single stamp set CLICK HERE or her triumphant third performance with a terrific trio of cleverly colorful cards CLICK HERE!

Lucky for us all we have her final command performance today.  


Deept_Aggarwal_april2018

Hello Everyone...I'm back  and can't believe this is my last post as Leading Lady...Looks like April flies away so fast for me. But I really enjoyed each and every minute of creating with my awesome winnie and walter goodies.Thank you so much Shay, for this wonderful opportunity!!  For my final performance, I've decided to go with my love for "Critters".. If given a choice, then anytime, I'll chose critter over a floral...yes.. That's me..😉 If you'll  see my craft stash or my Instagram feed, 80% of them will be critters...😁 I think enough of talking..Let's see my first card..


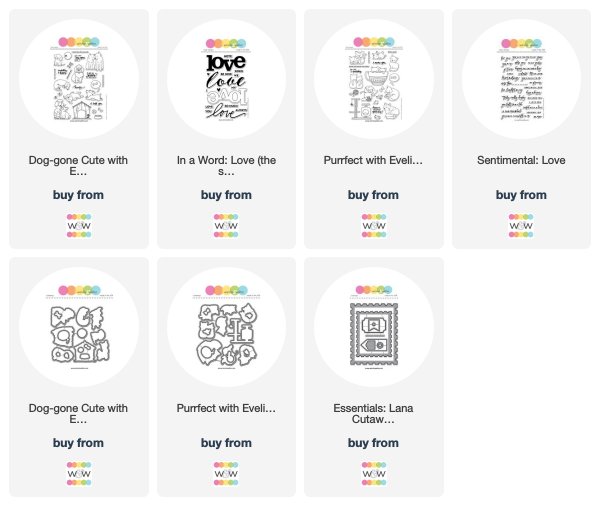
To make this card, I took white card stock and die cut the rectangles randomly using Essentials: Lana Cutaways. Then, I took another white card stock and distress inked the background and splattered it with water to add some interest. Meanwhile I stamped  and water coloured these cute critters from  Dog-gone Cute with Evelin T Designs and die cut with Dog-gone Cute with Evelin T Designs Cutaways. After that I stamped the sentiment from same stamp set and adhered  this panel to inked card stock with foam tape to give it some dimension. Then I glued all the critters using foam tape and mounted this panel on white note card to complete it. Here is the close up.


For my second project, I created this night scene using faber castell gelatos where I masked the moon. Once satisfied, I splattered it with white gesso and doodled some stars  and die cut it panel using Essentials: Lana Cutaways. Meanwhile, I stamped and water coloured this cute couple from Dog-gone Cute with Evelin T Designs  and  die cut it with Dog-gone Cute with Evelin T Designs Cutaways. Adhered this to the background with foam tape for some dimension. 


After that I stamped the sentiment from In a Word: Love (the stamp set) and Sentimental: Love. Added some red heart embellishments to finish it.


For my final card, I went off the page..I really wanted to try this technique and I'm glad, finally I did..To make this, I took water colour card stock and partially die cut this cute kitties using Purrfect with Evelin T Designs Cutaways. Then I stamped it with coordinating stamps from Purrfect with Evelin T Designs stamp set and water coloured it. Coloured the base with green and then stamped the sentiment from same stamp set.


After that I adhered this on white note card to complete it.. Here is the close up..


Here is the pic of all these cards together.. I really enjoyed playing with these cute critters..I hope I've given you some inspiration to take out your cute critters stamp and play with it.


Thank you so much for stopping by!! If you'd like a chance to win a $30 gift certificate to Winnie & walter , leave a comment on all of Leading Lady posts on my blog by 30th April. I will randomly draw a winner from all of the comments and announce the winner on my blog on 4th May. Have a wonderful weekend!!


Hugsxx Deepti Aggarwal


w&w-supplies

Saturday, April 14, 2018

April Leading Lady Deepti Aggarwal | Take Two

Our April Leading Lady Deepti Aggarwal is back for her sensational second performance!  If you missed her smashing debut you must see it...CLICK HERE.   Today's amazing array of cards take on one single stamp set!

Ladies and gentlemen, Deepti...

Deept_Aggarwal_april2018

Hello Everyone!!! I'm so excited to be back here with my second performance... Before I move to my post, I want to Thank each one of you for leaving so much love for me here at w&w blog and at my blog...I'm really overwhelmed with the way you have poured your love..😘..Thank you so much.. For my take two, I have decided to focus on Winter Wishes with Evelin T Designs stamp set and stretched it further to challenge myself. I've made not one or two but four non - Holiday cards using this Winter Wishes stamp set 😁. It is so much of fun to stretch your stamp and use it all year round. So, Let's get started..


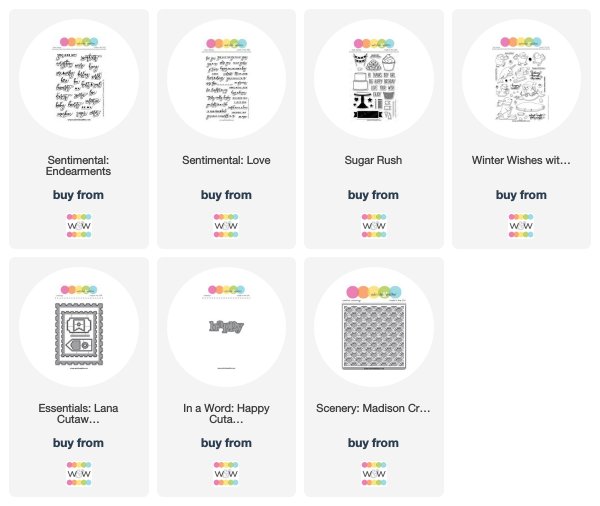
To make this card, I took A2 size white card stock and stencilled the background with  Scenery: Madison Creative Screenings using distress ink. Then I stamped and water coloured this cutie Walrus from Winter Wishes with Evelin T Designs and added some details  on its cap with sharpie pen. Further, I added glossy accent on the lights for some dimension. Once satisfied, I fussy cut it and  adhered it to the stencilled card panel with foam tape. Added the black strip of heat embossed sentiment from Sentimental: Love. Completed it by adding blue and clear sequins. Here is the close up..
 

For my second card, I did lots of masking. It was really fun to make this one... To start with , I took white card  panel, first I stamped my focal image and then masked it and stamped rest of the images around it by masking them further. Once satisfied, I die cut out the rectangle panel using Essentials: Lana Cutaways and water coloured it at some places.


Then, I adhered the masked panel on white note card and  added die cut out rectangle panel too with foam tape to give it some dimension. Meanwhile, I stamped this happy Narwhal from same stamp set  i.e. Winter Wishes with Evelin T Designs and coloured it. Added some glossy accent on its horn & belly for some interest. Adhered it to the stamped focal image with foam tape. Added the heat embossed sentiment from Sentimental: Endearments. Finally added some blue sequins to complete it.


I made my third card clean and simple.I always find it difficult to make CAS cards..But w&w bold cutaways are a great rescue..😁..For this card, I distress inked the background strip by masking rest of the card panel and splattered it with some water. Then I die cut out the happy word using In a Word: Happy Cutaway and distress inked it too.


Meanwhile, I stamped and coloured my focal image from Winter Wishes with Evelin T Designs and fussy cut it. Adhered the Happy word on the card panel and replaced the letter "a" with my focal image using foam tape. Added the birthday sentiment from  Sugar Rush stamp set and some sequins to complete it. Here is my final card for today. I really fell in love with this one, it came out so beautifully. I got the idea while doing my household chores..Is that happen with you too...?? I'm sure .A big yes...😉


To make this card, I took watercolour paper and created this galaxy background using gansai tambi watercolours, splattered it white gesso and glued it to white note card.Then I stamped and water coloured this bear from Winter Wishes with Evelin T Designs and partially fussy cut it. Adhered it on the card panel with foam tape. I've stamped some snow balls from same stamp set and fussy cut those to use it as a thinking bubble. Then I cut out a big bubble using a pair of scissors and stamped the part of bear image and coloured. Added the sentiment from Sentimental: Endearments and completed it by adding some sequins.


Here is the pic of all these cards together.


I hope you liked what I've created and inspired you to take out your holiday stamps and do some magic..And before you leave...don't forget to leave some love on my blog post here for a chance to win $30 Gift certificate from Winnie & Walter store. Thank you so much for stopping by!!

Hugsxx
Deepti Aggarwal


w&w-supplies