As February wains we sadly must bid adieu to our our February Leading Lady Rosali. The last few weeks with Rosali has been a tour de force of astounding design and impeccable technique. Rosali has exhibited her tremendous talent and crazy creativity week after week. I feel so fortunate Rosali shared her talents with us this month and made this month something special.
In honor of our birthday month we're doing something a bit different this year and including a challenge to you on each of Rosali's posts this month. See the end of this post for more details and to link up!
If you missed her smashing debut you must see it...CLICK HERE or to be wowed by the tremendous trio of cards from her sensational second performance CLICK HERE or her triumphant third performance where outdid herself today with her ability to create a gorgeous scene CLICK HERE! Today's post will unmask some new ways of using your stamps!
In honor of our birthday month we're doing something a bit different this year and including a challenge to you on each of Rosali's posts this month. See the end of this post for more details and to link up!
Lucky for us all we have her final command performance today.
Hi there and happy Saturday!
How are you today? February has flown by so far and I am excited to bring you my last post as Winnie & Walter's Leading Lady and show you another masking technique! It's kind of a bitter sweet moment as I had so much fun creating with their products but I feel very lucky to have gotten this opportunity!! :-)

So far, I have been telling you something about "masking backgrounds with stencils & with dies", and about "building a scene with masking". Today I am gonna focus on:
ALTERING STAMP IMAGES WITH MASKING
I always like to come up with ways to use my supplies in a way they weren't necessarily intended for and make the most out of them that way! This goes especially for Christmas stamps ... I don't know about you but mine don't get used enough because I have a lot of them and they are all so cute! Therefore, I am gonna show you two ways of altering stamp images so you can use them the whole year round! I will try to explain everything as clearly as possibly - but if there are any questions left just leave me a comment under my post, okay?
LET'S TAKE A CLOSER LOOK AT THE FIRST CARD:
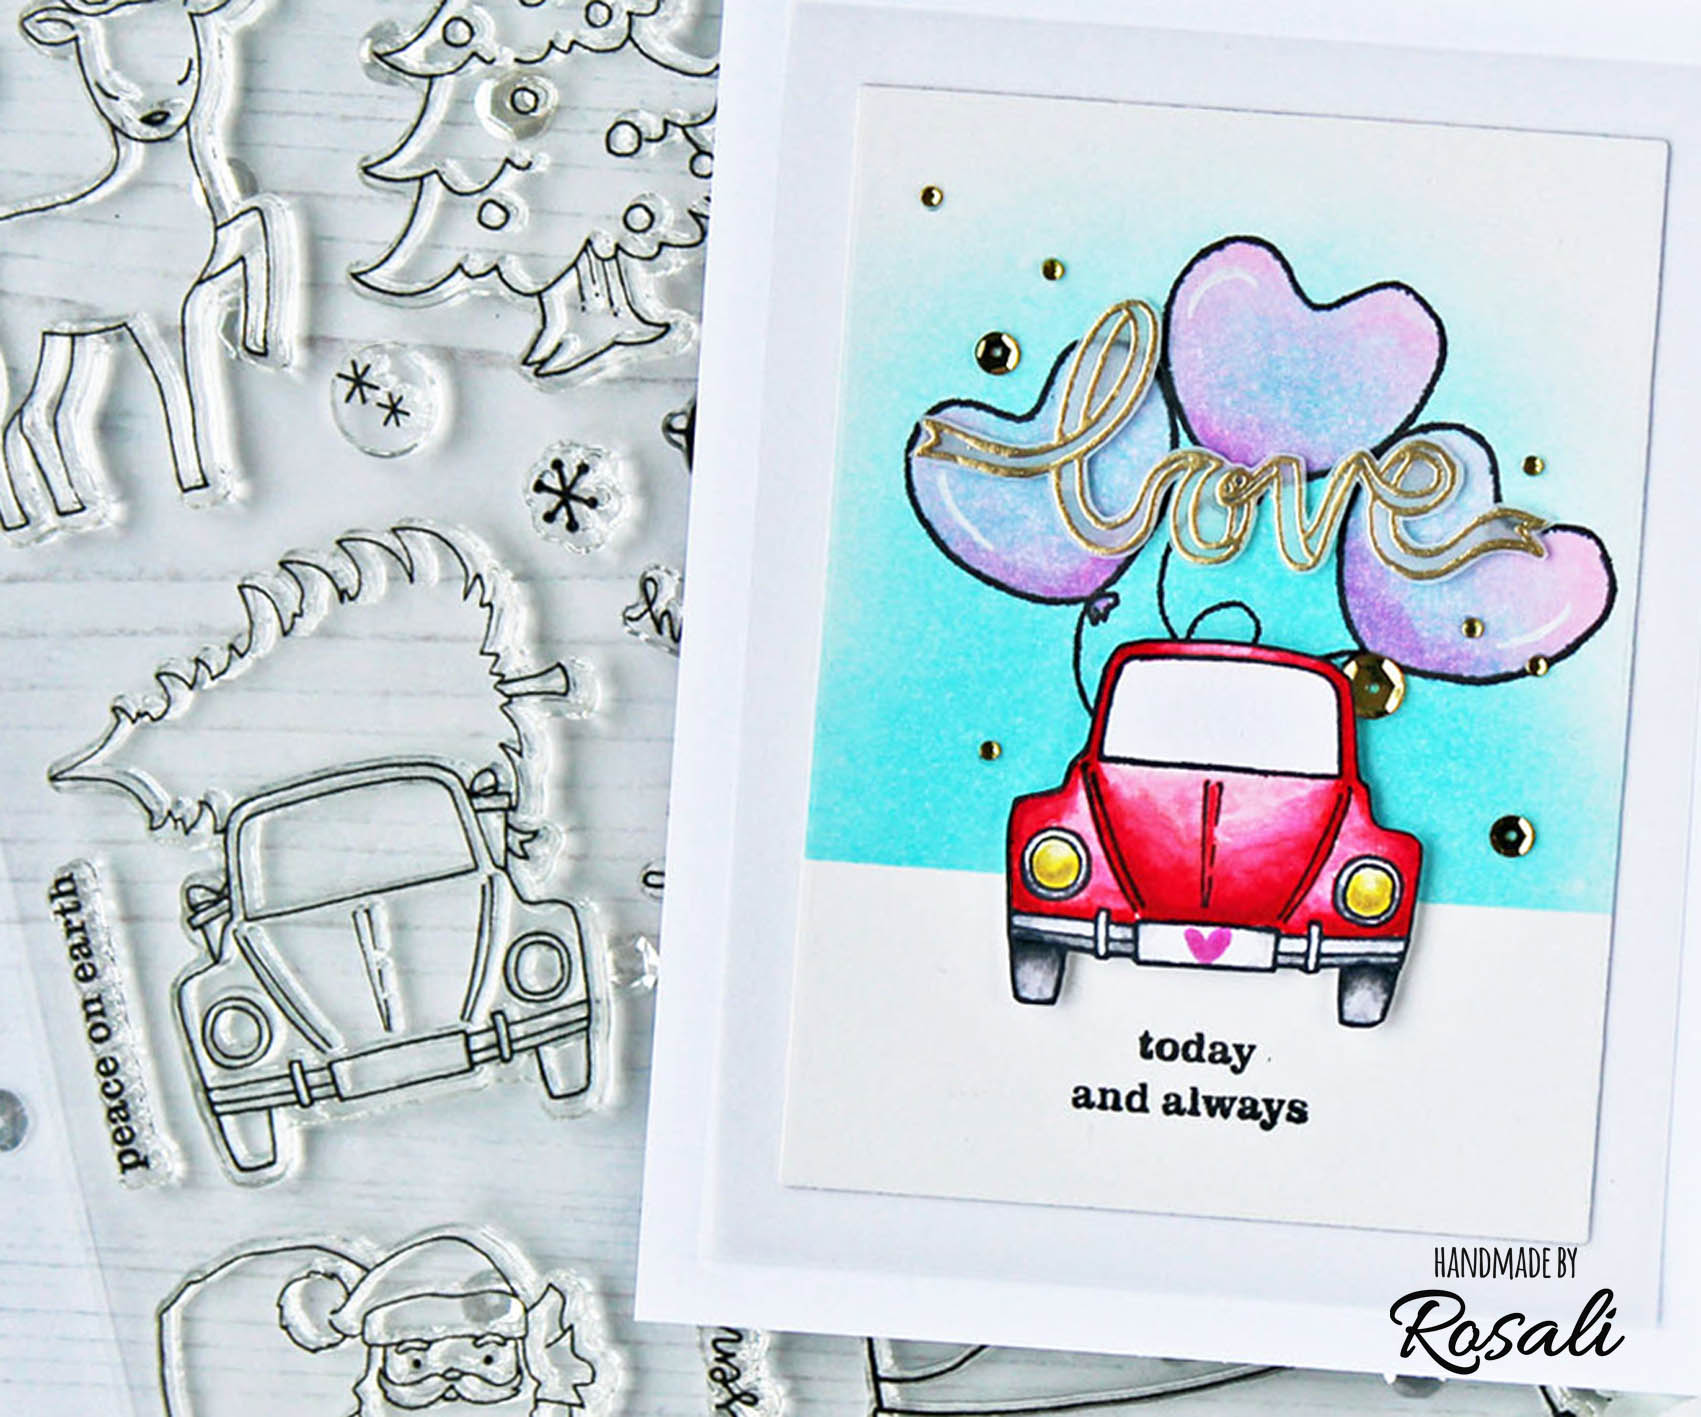
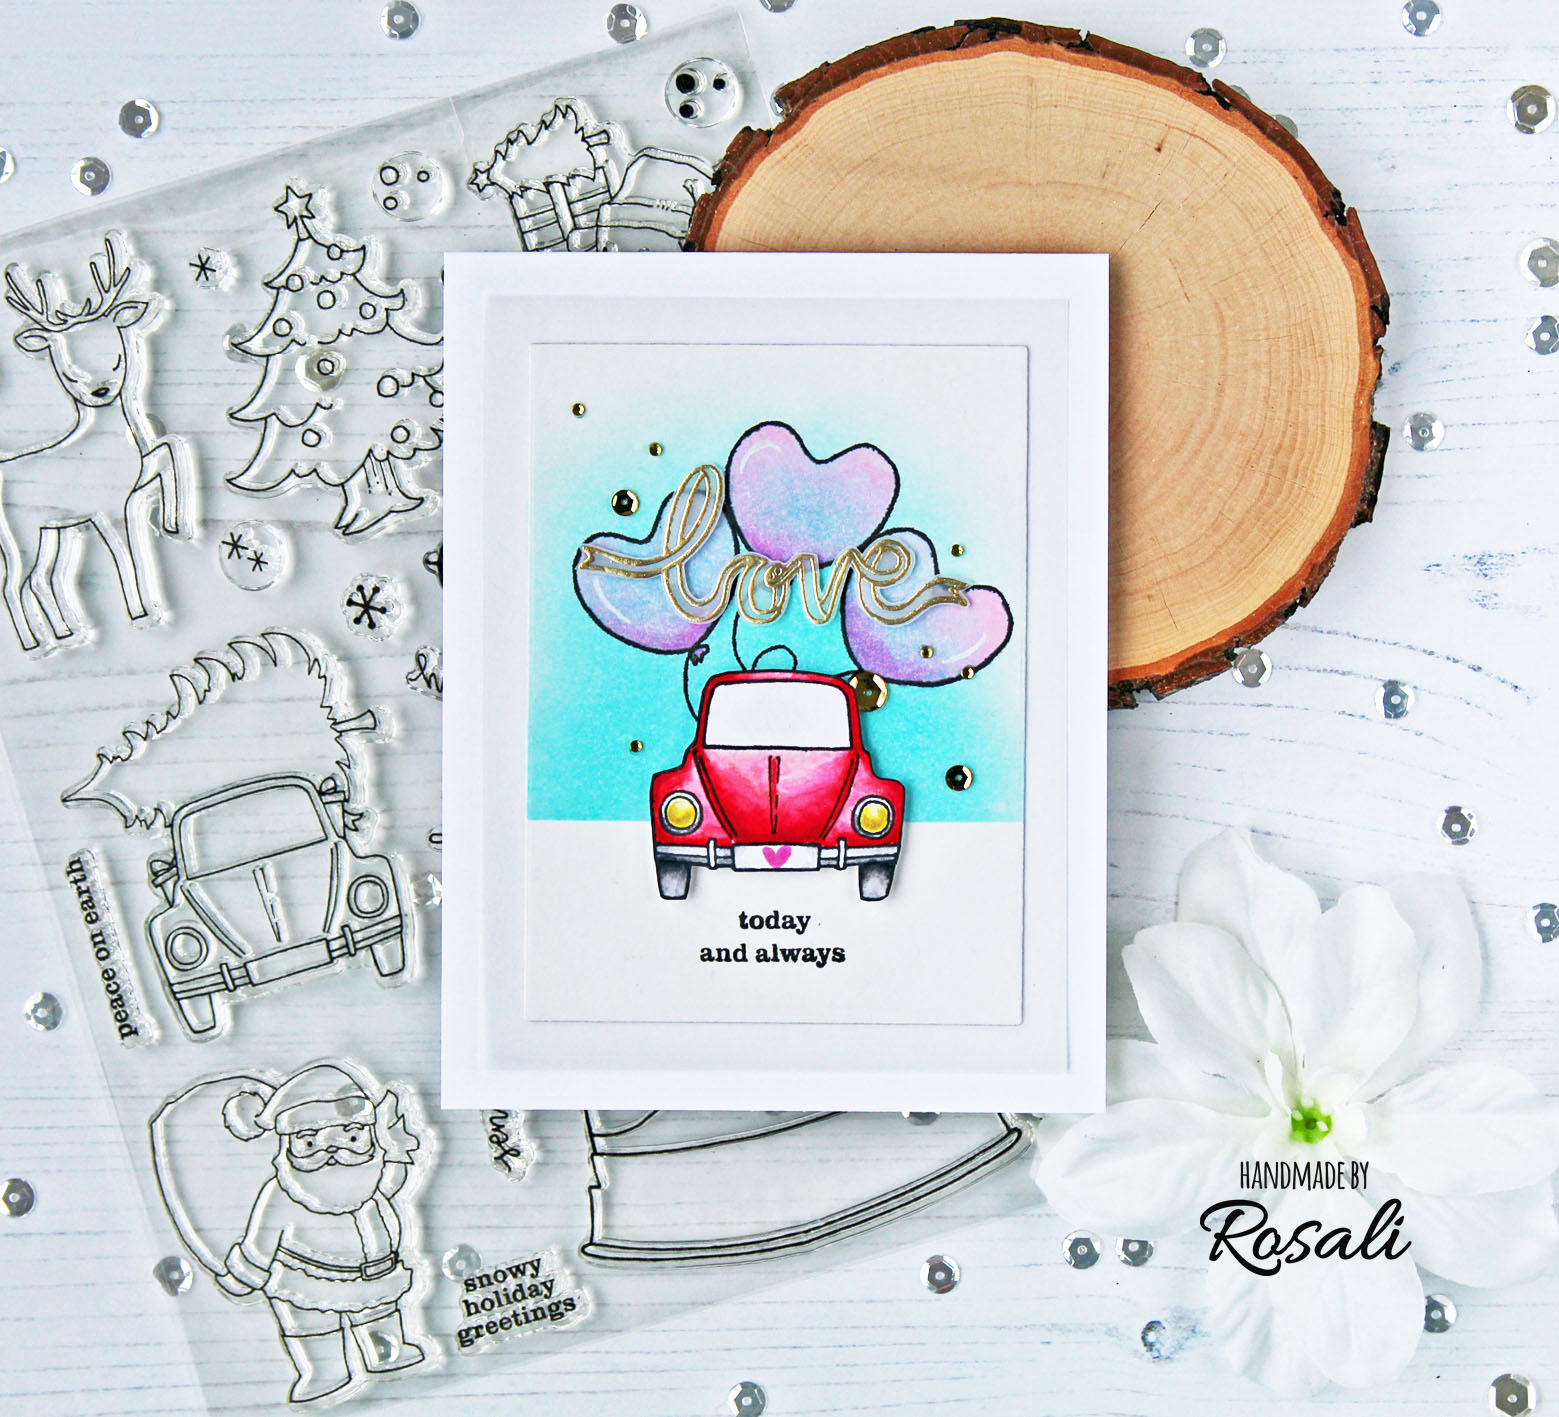
The cute Volkswagen Beetle stamp from "Snowy Holiday with Evelin T Designs" originally has a tree and Christmas presents on top of it. Here's two ways to get rid of those so you end up with just the car:
- Use washi or painter's tape to mask off the tree and presents when inking up your stamp. You can also use your finger to wipe off ink if you have any left where you don't want it.
- I cheated a little bit and did it the lazy way: I stamped and watercolored the car image and then simple cut the tree and presents off with my scissors.
I still did some masking on the background: I used a strip of Post-It tape over my background panel and blended an aqua-colored ink sky over it. It's the quickest way to create a background for a simple scene!
Since balloons are often translucent I just stamped those on top of the ink and colored them in with Copics. I took sentiments stamps from "So Tweet with Evelin T Designs" and heat embossed "love" in gold on Vellum. I also added a bit of gold to the headlights and gold rhinestones and sequins. I am happy with how the non-traditional wedding car(d) turned out! :-D
SECOND CARD: ALTERED YETI IMAGE
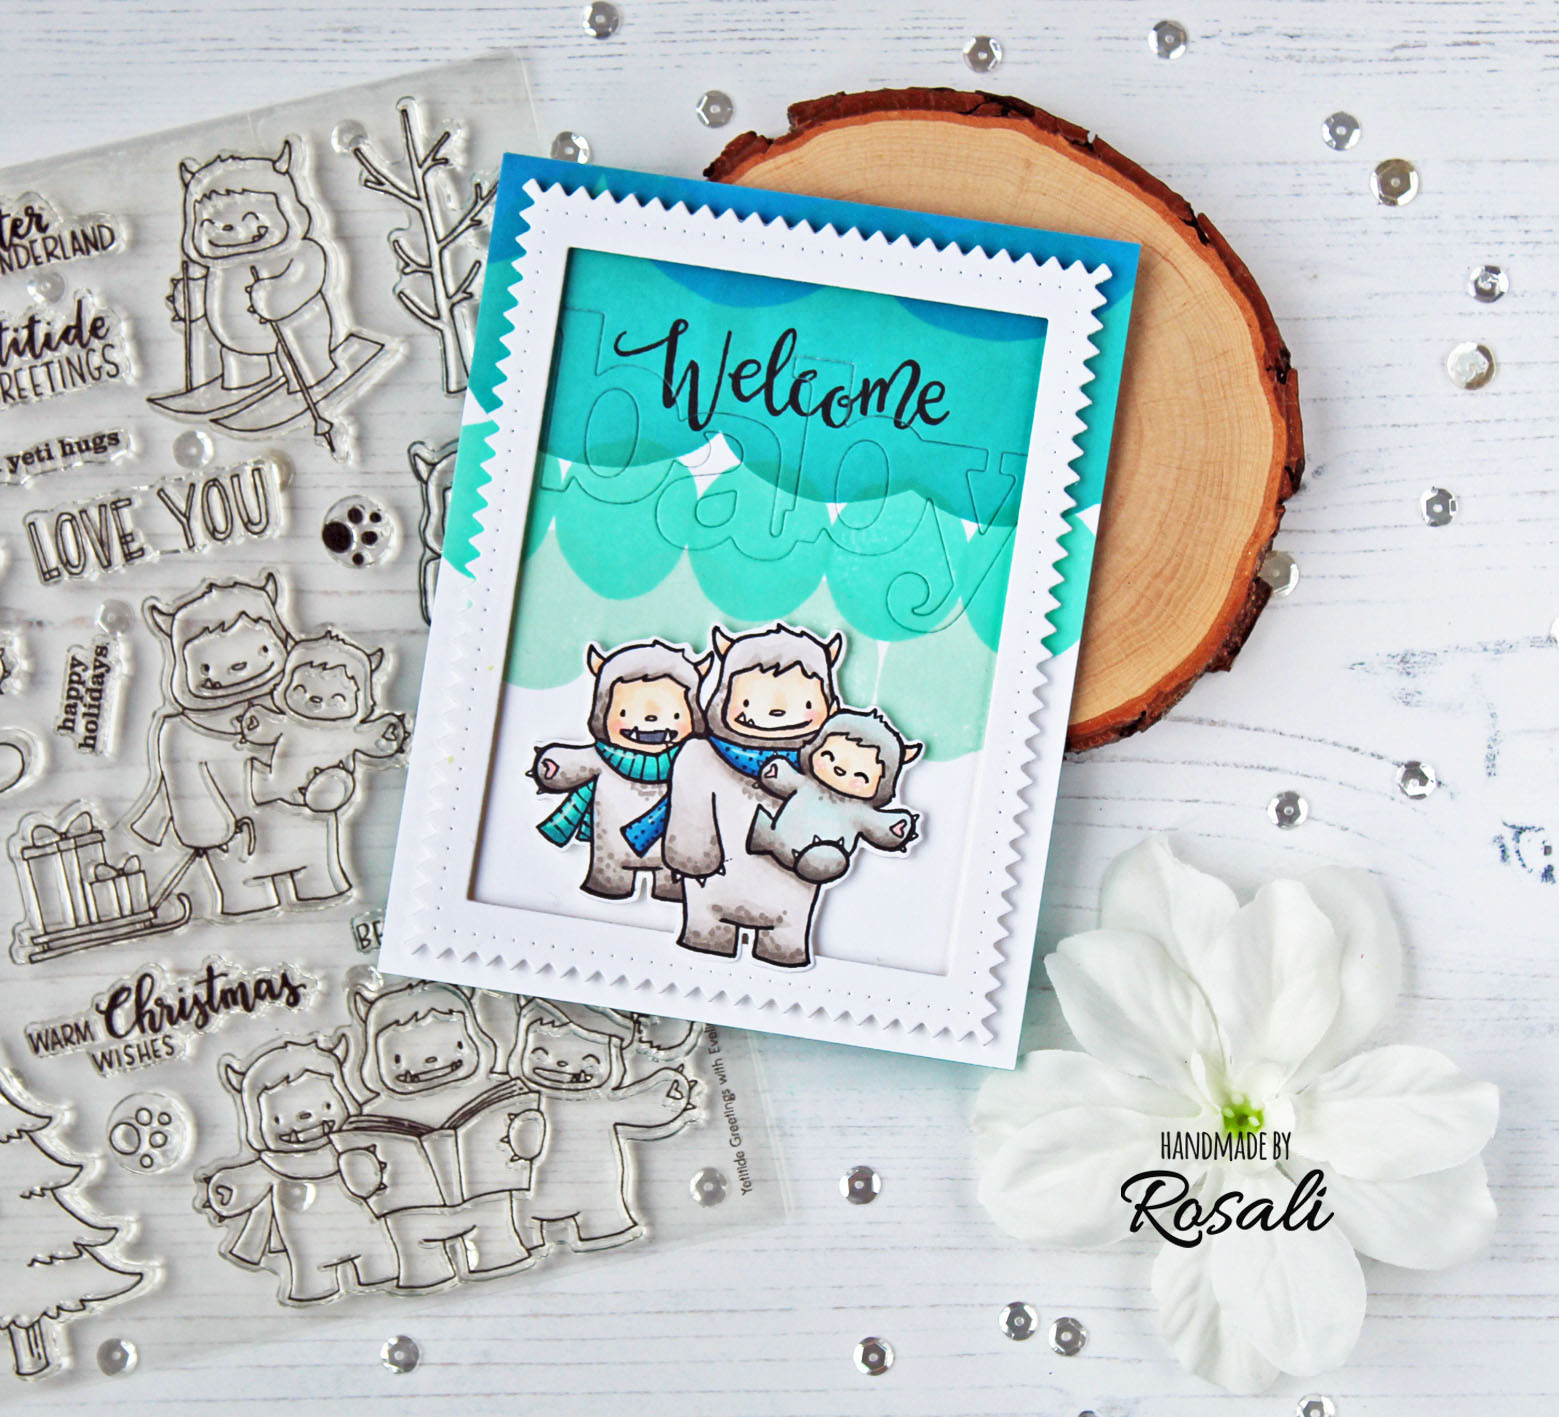
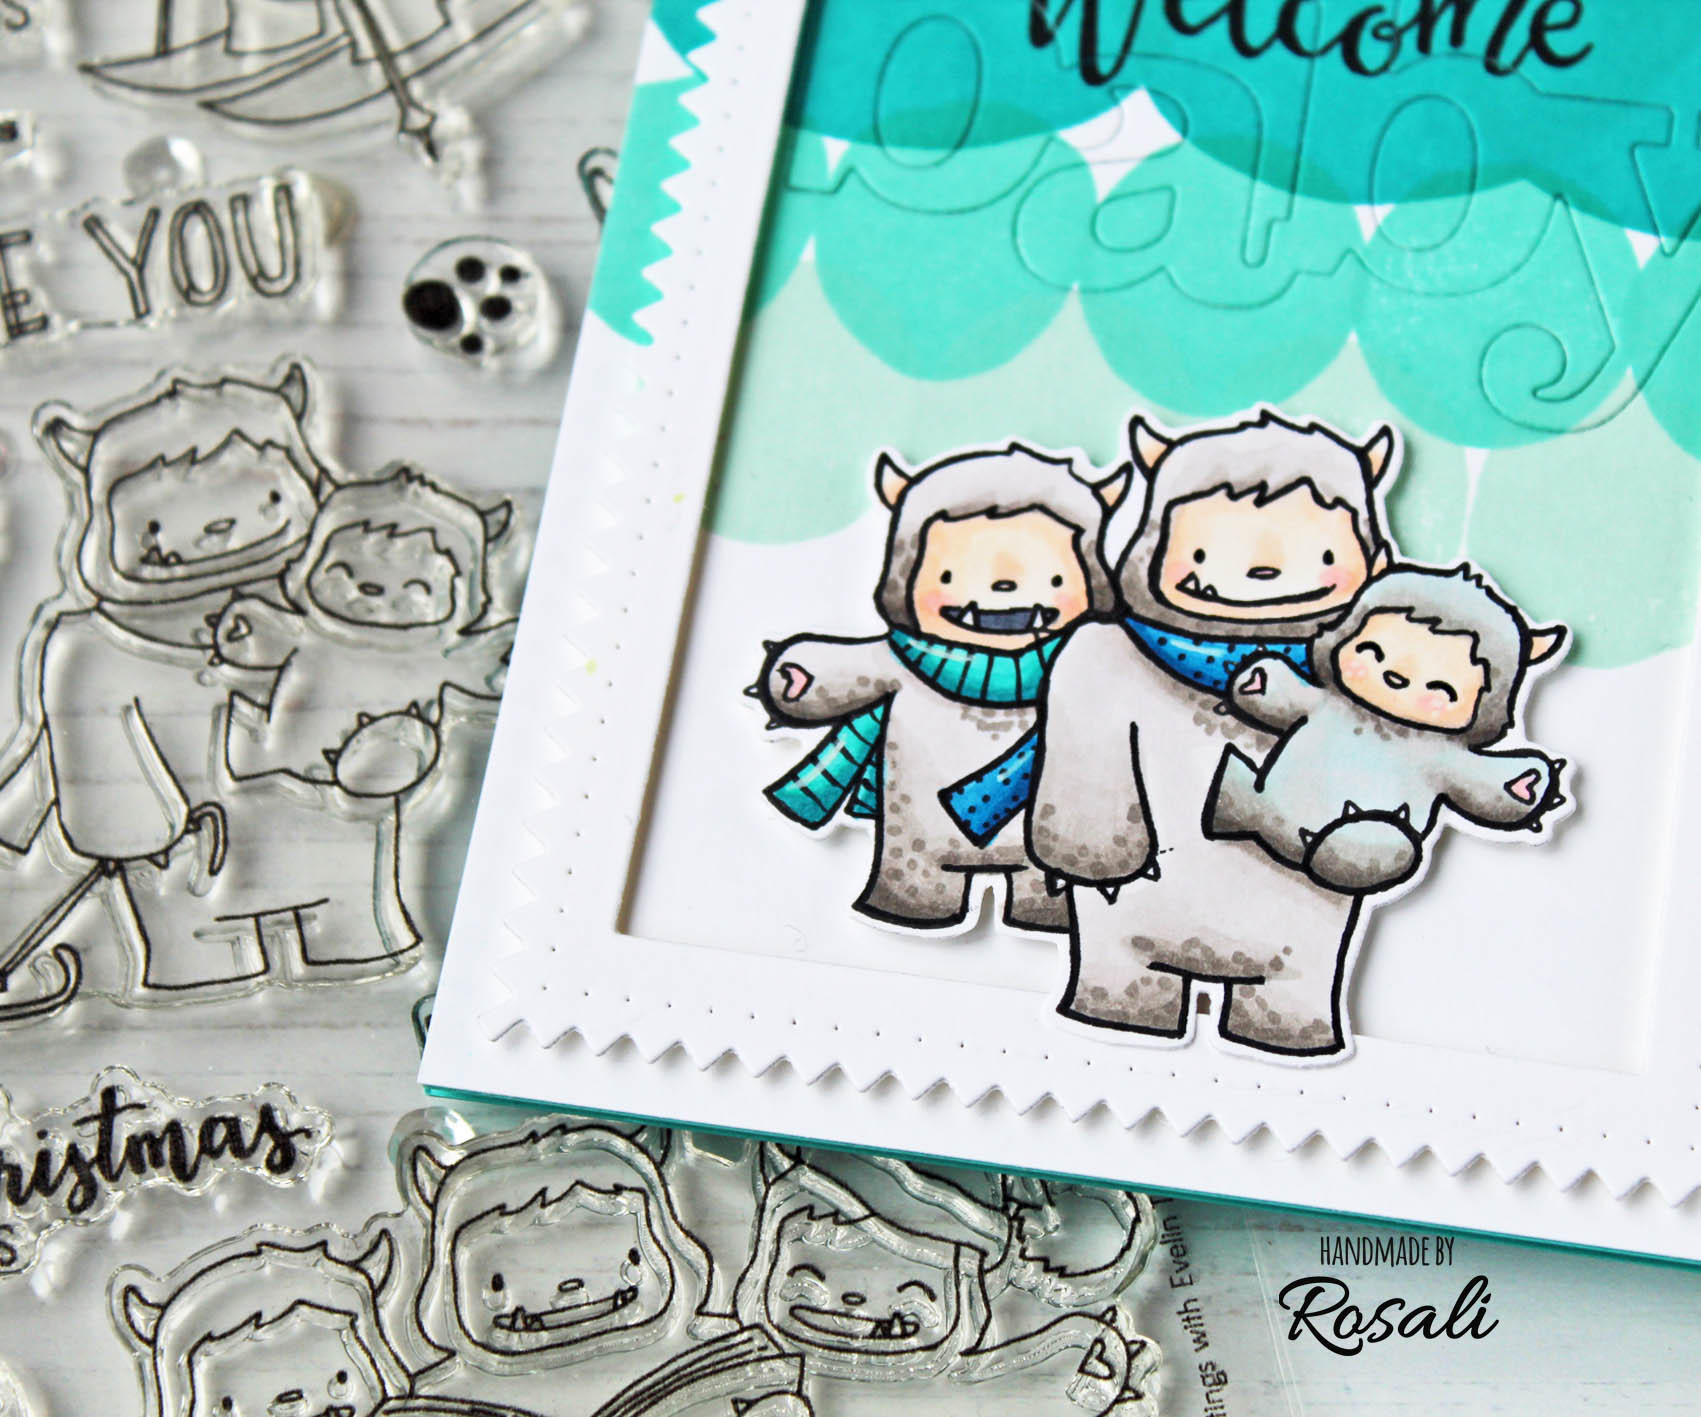
I had this idea in my head of a yeti family on a baby card! So I took the "Yetitide Greetings with Evelin T Designs" stamp set and combined two stamps into one.
HERE'S A MASKING HOW-TO:
1. Take the first stamp (yeti with baby yeti and sleigh) and use washi or painter's tape to mask off the sleigh and the piece of rope in the yeti's hand before inking it up. You can also use your finger to wipe off ink.
2. Stamp this yeti and baby yeti after you removed the washi tape. Stamp it again on a piece of masking paper, fussy cut it and put it over your stamped image.
3. Now take the second stamp (caroling yetis) and place the stamp over your masked image so that the left caroling yeti fits and the music book won't show. Remove the mask when finished. Tadaaa!
I adhered my yeti family using foam tape. I created a frame out of the biggest rectangles from "Tilda Cutaways". For the background I repeatedly stamped circles from the "Scenery: Dotty" stamp set in my favorite shades of mint and blue. Then I used the "Baby Cutaway" and cut it right into my background and adhered the panel flat onto a teal cardbase. The "Welcome" sentiment stamp from "So Tweet with Evelin T Designs" made my baby card complete!
COPIC GUIDE & COLORING TIPS:
Card 1
Balloons: RV02, RV04
TIP 1: I used watercolors to color the red car. To get enough shading it's best to add at least two layers of watercolor. Let the first layer dry completely, then add more pigment with a second layer.
TIP 2: After fussy cutting the beetle I went around the cutting borders with a black marker to get a finished look. I learned this from Kristina Werner when I started cardmaking and it makes a big difference! :-)
Card 2
Yeti’s faces: YR30, E51, E21, R20
Yeti’s fur: W1, W3, W4, W5 & B00
Scarfs: BG15, BG09 & B14, B06, B37
Yeti’s fur: W1, W3, W4, W5 & B00
Scarfs: BG15, BG09 & B14, B06, B37
TIP 3: For some texture and additional shading, add tiny dots with the tip of your marker like I did on the fur of all three yetis.
I'd like to thank all of my lovely readers for leaving comments and reading my long posts! :-D I hope to have inspired you a little bit. And a huge THANK YOU again to Shay for having me on the blog this month, it has been a crafty dream come true!! ♥
For today's challenge, any type of masking and altering a stamp image will be fine! I am totally aware that my second example with the yetis might be a little complicated so that not everyone feels like it. ;-)
And don't forget to leave comments on my blog for your chance to win a gift certificate sponsored by Winnie & Walter. I am gonna pick a winner after Sunday 24th!

Thank you for stopping by!! ♥
Rosali
USED SUPPLIES:
Winnie & Walter stamps, dies and stencils:
Essentials: Tilda Cutaways
Snowy Holiday with Evelin T Designs Stamp Set
Snowy Holiday with Evelin T Designs Cutaways
LS Exclusives: So Tweet with Evelin T Designs Stamp Set
Yetitide Greetings with Evelin T Designs Stamp Set
Yetitide Greetings with Evelin T Designs Cutaways
Scenery: Dotty Stamp Set
In a Word: Baby Cutaway
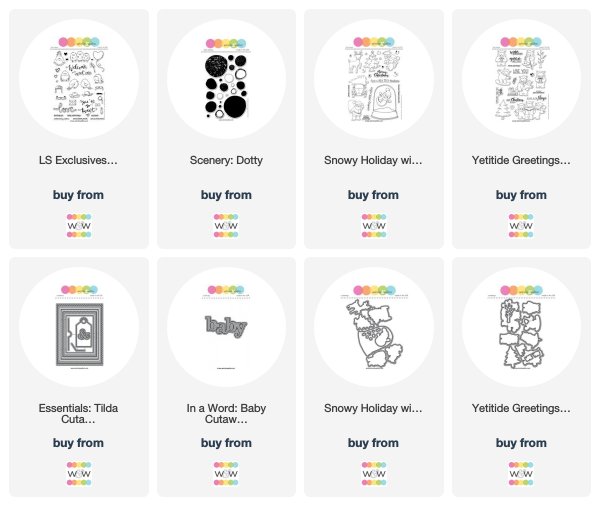
Snowy Holiday with Evelin T Designs Stamp Set
Snowy Holiday with Evelin T Designs Cutaways
LS Exclusives: So Tweet with Evelin T Designs Stamp Set
Yetitide Greetings with Evelin T Designs Stamp Set
Yetitide Greetings with Evelin T Designs Cutaways
Scenery: Dotty Stamp Set
In a Word: Baby Cutaway

CHALLENGE:
Now that you've seen Rosali do it, "Altering Stamped Images with Masking" to create your own project and link up here by Friday, March 15, 2019, 11:59 p.m. CST to be entered to win $50.00 credit to the w&w shop! One (1) lucky randomly chosen winner will be picked from each of Rosali's Leading Lady posts this month.

Awesome examples of altering stamps with masking! I have to look at my stamp sets and see what ideas I can come up with! Love the car with the balloons, and the cute Yeti family!
ReplyDeleteAnother stunning post with fabulous tips on masking. Rosali's cards are soooo adorable.
ReplyDeleteI LOVE that challenges have been included with the Leading Lady posts this month. Hope to see that more often since the LL posts are often technique based. Stretching and learning new skills is a fun and valuable part of challenges, IMHO. These masking challenges certainly have inspired me to get out of my box and try new techniques!
<3 J
jwoolbright at gmail dot com
HerPeacefulGarden.blogspot.com
I masked off part of a sentiment stamp on my second entry (#7)....I am not sure that counts for this challenge, since it is text and not an image. I will understand if you need to disqualify it. Thanks!!
Delete<3 J
jwoolbright at gmail dot com
HerPeacefulGarden.blogspot.com
Another fab pair of cards that wonderfully illustrate this technique of altering stamped images with masking. The palettes on these cards are lovely. Thanks for the inspiration.
ReplyDeleteThank have learnt so much over the four weeks from yourself. You teach extremely well. Thank you for sharing all your advice & inspiration, hope to see more of your work.
ReplyDeleteWOW! Great job on all four weeks! I love the yeti card this week! Thank you for your hard work!
ReplyDeleteJust love all the time and effort on these!!! LOVELY!
ReplyDeleteOh WOW, Rosali!! So smart of you! Adorable car(d)s : ) Such great ideas to change the stamps!
ReplyDeleteFabulous cards. What a fun challenge. Hugz
ReplyDeleteCute cards and I like your masking technique.
ReplyDeleteCute cards and fabulous ideas for stretching stamps, Rosali. Love masking. x
ReplyDeleteSo creative! Both your cards are adorable!
ReplyDeleteClever and fun cards!
ReplyDeleteToo cute!!!
ReplyDeleteWOW - such creative masking and fabulous cards!
ReplyDeleteI ADORE your precious yeti family!
ANOTHER masking technique for me to try ... I haven't done much masking but I feel the need to get inky and stretch my stamps => Thank you for sharing :)
Fun technique and perfectly executed. Such a great way to stretch your supplies!
ReplyDeleteawesome challenge:)
ReplyDeleteSuch clever and inspiring use of masking to alter images, Rosali ... that little car is so fun ... and the yeti family's adorable! Anita :)
ReplyDeleteWonderful cards, so creative! Love the balloons with the VW!!! Thanks for the great ideas and inspiration.
ReplyDeleteCar with love balloons wow nice idea and love spreading in air. I also try to spread love with my kids to give them kids toys and they very happy and play with them a lot.
ReplyDeletePlay Doh extra was made. This was the very famous Play-Doh Fun Factory. The Fun Factory was essentially a gadget that you pushed the play doh through to make a wide range of various shapes like stars, circles and squares. You could cleave up these shapes and serve them as food to the youngster's dolls. In any case, the Fun Factory wasn't the finish of the Play-Doh adornments.
ReplyDeleteDiscover the stories behind Rosali's success, from her dedication to her craft to her unwavering commitment to making a difference. Through her perseverance and unwavering determination, she stands as an exemplary figure, inspiring others to pursue their dreams and create a lasting impact.
ReplyDeletereckless driving lawyer lexington va
Love the spotlight on Rosali! She’s truly inspiring. For more amazing stories and insights, check out our UK Blog for the latest updates and tips!
ReplyDeleteThis comment has been removed by the author.
ReplyDeleteRosalie, February's Leading Lady, is a shining example of strength and grace who encourages others to shine. In the same way that Rosalie is unique, people may stand out by employing CV making services to create resumes that highlight their special skills and credentials, which will provide them an advantage in competitive job markets.
ReplyDeleteCongratulations to February’s Leading Lady, Rosali! Such an inspiring feature — love seeing talented women being highlighted. If you’re a UK-based business looking to grow your visibility, check out UK Business Directory — a great platform to list your company and reach more customers across the UK.
ReplyDeleteThis post delivers real value. Your points are clear, relevant, and very well explained. luxury villas in india
ReplyDelete