

Hi Folks! As fun as the holidays were this year, now that everything is packed away it's time to start turning attention to all things pink and red for Valentine's Day! In this post I'm sharing a fun and inexpensive Valentine's Day craft. These are the mini valentine mailboxes we made for friends/neighbors/teachers/office-staff last year. They are inspired by the craft project I led for Jackson's fourth grade class at the school Valentine's Day party. (also inspired by the pile of left over mailboxes I was going to need to return to Target!!)

The mini tin mailboxes come from the Target dollar spot; aren't they the cutest?! The glass candlesticks you can pick-up anywhere for pretty cheap (especially at garage sales!) These are just from the dollar store. I spray painted them with whatever paint I had left over in the garage, making sure to check the label that it was fine to spray on glass. After hot gluing the mailbox onto the spray-painted stand I was ready for the fun part ... decorating them!

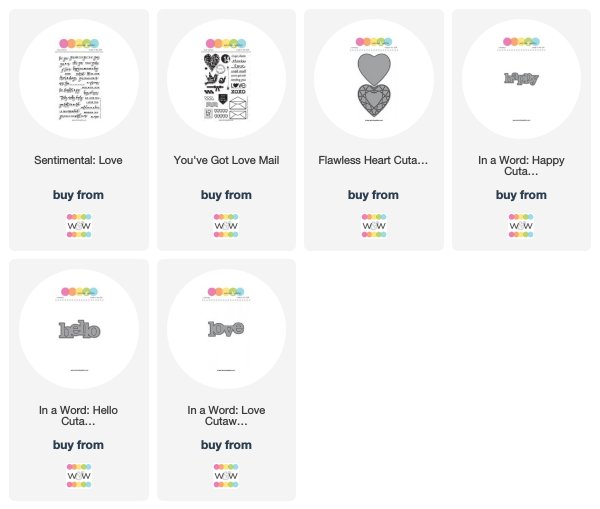
For mass-produced projects like this I like to stick with the same basic template. Each mailbox has the sentiment on the left side, a collage of a heart and other elements on the front lid, and a cluster of tiny hearts on the right side. This particular mailbox uses the happy die from In a Word: Happy Cutaway, and the embossed sentiment from Sentimental: Love. The heart is from the Flawless Heart Cutaways, and then the postmark, envelope and 14 are from an oldie but goodie, You've Got Love Mail.

A similar mailbox here, except we have a "hello" instead of a "happy" greeting (from In a Word: Hello). And a birdie decided to land on this one, direct from the dollar store ... a package of 3 for $1.

Knowing the general layout is the same makes assembling the one-of-a-kind mailboxes that much easier. You just need to plan ahead a little. For example, I die cut several different large words at a time (one red piece of cardstock is enough to cut Love, Hugs, and Hello in the same pass through the die cutter, along with several small hearts) and I stamp several key phrases with versamark on a piece of black cardstock, emboss them all at once, and then cut them into strips with my trimmer. Starting off with a nice pile of words and phrases to choose from makes it really fun to try new combinations along the way.

You've really got to love those In a Word dies ... this mailbox is "sending hugs" with the help of, you guessed it, In a Word: Hugs.
Now it's confession time as someone with a stamping blog: I did not stamp super cute Valentine's Day greetings to go inside of each mailbox.

But, while I was in the dollar spot at Target I found these ADORABLE Valentine's Day band-aids that came 20 to a pack for only $1. Score!!!

Just add a "stuck on you" pun, and you've got yourself a sweet little valentine that's easy to mass-produce. Bonus: you don't even have to add adhesive to the band aid!!! : ) Just peel off the strips. Extra bonus: they work just as well for boys as they do for girls, which is sometimes hard to find.

I used an envelope punch board to make custom-sized envelopes out of patterned paper for each valentine, addressed them and stamped a heart on each one. Don't they look cute after cupid has made his little deliveries?!

Here the all are, waiting to be left on doorstops across town.

Being as detail-oriented as I am, I matched up each mailbox with how I thought the colors would go in their homes ; )

Packed up for delivery. I was a little sad to see them all go.

Since I made these a little ahead of time I was able to hand-deliver some to my out-of-town friends when I met them for lunch dates and such.

Finally, here are the mailboxes the kids designed during their fourth grade school Valentine's Day party (stop by to see these adorable kids in action). I mostly gave them glitter-foam stickers and adhesive gems to work with since they only had a few minutes in their station to assemble the mailboxes. But, I started them off with several of the patterned paper hearts on the front. It was pretty incredible, and very fulfilling, to see them so proud of their masterpieces which they can display for years.
Thanks so much for stopping by!
-Kelly

This is all so awesome
ReplyDeleteKelly, this is a wonderful project to do with kids! (Adults, too!) My kids are grown, but I have grandkids who would love this. Plus, I’m going to be moving close to my grandkids and this is a project that their school might like to do.
ReplyDeleteI also love to decorate for each season and holiday. This will look perfect in my entryway!
I hope you don’t mind if I steal your idea.
You've made all the room-moms look bad, Kelly!! In all the years I was a room mom, I never made anything so cute!!! You are the best...
ReplyDelete=]
These mailboxes are so adorable! I love how you created them. :)
ReplyDeleteSo you've completely blown me away this time, Kelly! You're beyond creative & clever--so fun!
ReplyDeleteWhat a fabulous idea and it turned out soooooooo cute!!! I am agreeing with I Card Everyone...you make the other moms look bad. Hahahaha!!! Thanks for this great craft idea that takes papercrafting outside the box and onTO the box! Lovely.
ReplyDelete<3 J
jwoolbright at gmail dot com
HerPeacefulGarden.blogspot.com
Awesome. What a delightful gift. Thank you for the great instructions.
ReplyDeletecheapsmmpanel
ReplyDeletesmm panelone
I’m really impressed with your article such great & useful knowledge you mentioned here
Albert Roy here; nice to meet you. I'm a student at college. I've discovered the perfect online dissertation writing service today for my position. Another thing I've noticed is the caliber of your writing. I enjoy reading what you write. you talk about A Love Mail with Kelly. Additionally, I kept reading your post. We appreciate you sharing with us.
ReplyDeleteLook online, in bookstores, or in libraries for collections of writing prompts spacebar clicker
ReplyDeleteKelly, you've truly impressed me this time! Your creativity and cleverness are remarkable and make everything so enjoyable! SMM Service Provider
ReplyDeleteThis blog post is truly inspiring! The content is so well-researched and presented in a way that's easy to understand. I appreciate the effort that went into creating this valuable resource. Keep up the fantastic work! Middlesex County Reckless Driving Lawyer
ReplyDeleteThis blog entry is incredibly motivating! The information is given in an understandable manner and has been thoroughly studied. I appreciate the work that was put into producing this important resource.
ReplyDeletetruck accident lawyer virginia
criminal law firm washington dc
This blog post is really inspiring! The data has been carefully examined and presented in an intelligible manner. I value the effort that went into creating this valuable resource.
ReplyDeletemutual consent divorce maryland
virginia personal injury statute of limitations
What sets Phrazle apart is how it encourages deliberate thinking. Quick guesses can help gather information, but thoughtful analysis is what leads to success.
ReplyDeleteI really enjoyed this read. It was very well put together. coding implementation services
ReplyDelete