Our November Leading Lady Jill Vickers is back for her triumphant third performance! If you missed her smashing debut you must see it...CLICK HERE or her sensational second performance sure to ensnare your focus CLICK HERE. Today's tremendous plethora of cards will have you reaching for dies!
Without further ado, Jill...
So happy to be back for another week on the Winnie & Walter blog - I am having so much fun creating all these projects.

This week I chose to focus on one of my favourite techniques - creating backgrounds using die cuts. Winnie & Water dies are some of my absolute favourites and I am highlighting a few of them today.
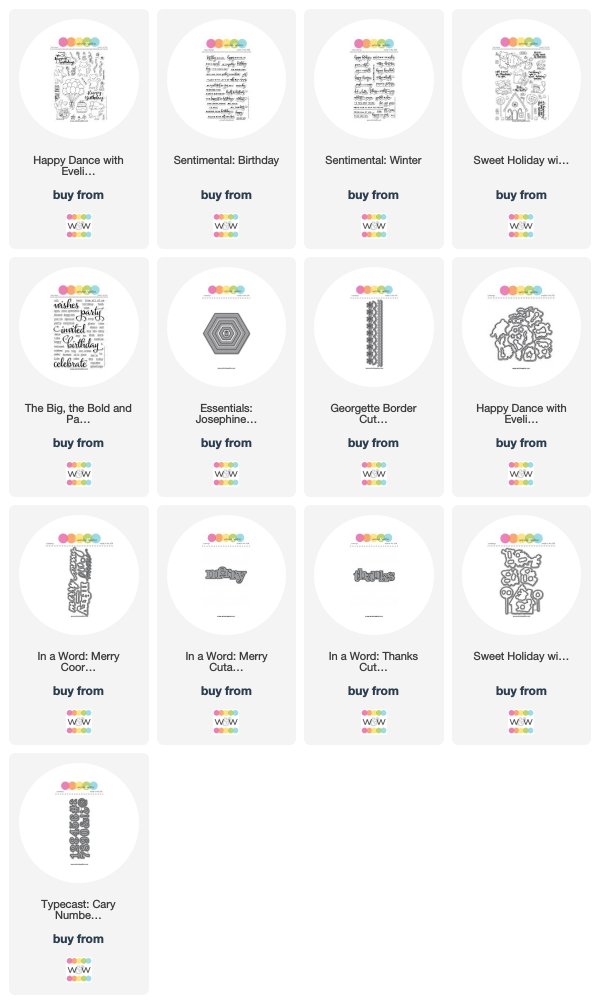
First up is using tone-on-tone die cuts to create a background - this is a time consuming technique but it is one of my favourites since I just love the effect on the finished card. For these cards, I used the Typecast: Cary Numbers Cutaways to create my background. I die cut all the numbers five times and then adhered them randomly onto the same colour card base. I wanted the background of the card to be the focus so I kept the rest of it very simple with some Copic coloured images from Happy Dance with Evelin T Designs and a greeting from Sentimental Birthday.
I made two versions of the card - one in white and one in blue. I am not very good with using non-neutral coloured card bases so this technique is a great way to force myself to do it :)
My next two projects focused on using border dies to create the background using the Georgette Border Cutaways. For the first card, I die cut the flower-shaped border repeatedly across the card panel. I then backed the panel with Be Creative tape and added some glitter to it through the die cuts (I was going for a sparkly snowflake look - that unfortunately does not show up well in the picture). I, once again, kept the rest of the card simple with a cute Copic coloured image from Sweet Holiday with Evelin T and a greeting from Sentimental Winter.
For the second card, I die cut the flower shaped border only three times on the panel, and I finished the edge with the scallop die. I again backed the die cut part of the panel with Be Creative tape but, this time, I added red glitter to the die cut openings. I mounted the panel on a light grey card base and added a red glitter In A Word: Merry Cutaway die cut combined with a light grey stamped sentiment from In A Word Merry. The finishing touch was some sparkly gems added to the centres of the red
flowers.
My final projects are all about adding Copic colouring to the die cuts to create interesting backgrounds - for these projects, I used one of the hexagon frame dies from the Essentials Josephine Cutaways.
For the first card, I cut the smallest hexagon frame multiple times from 6 different colours of cardstock. I then added to some shading using corresponding Copic colours to the outside edge of each hexagon frame. I adhered the frames to the card base in rainbow order (these die cuts piece together - almost like inlaid die cutting). I then die cut the small hexagons (many times!) from white glitter cardstock to inlay in the centre of each of the hexagons. I trimmed the panel, adhered it to a card base and added a simple white embossed greeting from The Big, the bold and the party with foam tape.
For the second card, I repeated the process but instead of adding the white glitter paper, I also added shading to the centres of the hexagons and popped them up with foam squares. I finished off the card with a glittery In A Word Thanks die cut.
Finally, I wanted to quickly share a card front that I made to show another idea on how to colour the hexagons. For this one, I used a light grey panel and cut the hexagons from the same paper. I coloured some of them with different shades of grey Copics - and adhered them to make an ombre pattern. I ran out of time on the rest of the card but wanteed to share what I had done.
Shay has kindly offered up a $30 Winnie & Walter gift card for me to give to one lucky commenter on my blog, My Life in Paper For your chance to win, leave a comment on this post and/or any of my leading lady posts and I will randomly pick a winner from all the comments left by November 30th.
Thanks so much for stopping by!
Jill


This might be my favorite of your posts--love every single card!
ReplyDeleteAwesome set of cards! Love your colouring!!!
ReplyDeleteFabulous cards from Jill!
ReplyDeleteGreat card designs and love the colors.
ReplyDeleteLove all your wonderful inspiration!
ReplyDeleteWow Jill! You are a rock star! Congratulations on this awesome gig. Your cards are wonderful. Wonderful designs, colors and techniques. Xx
ReplyDeleteThese are gorgeous! Love them all especially what you did with the border dies! x
ReplyDeleteI have already picked up lots of advice from your other two posts but this one post even more so. I am in awe of the fabulous talent you have, all these cards are amazing, in style, colours & layout. Thank you for being a lady with W&W.
ReplyDeletethese are gorgeous cards!
ReplyDeleteLove the wonderful cards. The bear and rabbit with the tree are adorable.
ReplyDeleteJill's creativity just has no bounds!!! Wow!! Fabulous work.
ReplyDelete<3 J
jwoolbright at gmail dot com
HerPeacefulGarden.blogspot.com