
It's an exciting day as I get to introduce you to our November Leading Lady Jill Vickers! I first met the lovely Jill a few years ago where we bonded over our shared love of stamping (of course) and imagine how delighted I was to see her awesome submissions to our challenges. Her cards are bright, happy and full of brilliant ideas and techniques.
I am really excited to see what Jill will be creating this month as she takes us on an adventure of her own design on Saturdays in November on the w&w blog.
Please give Jill a big round of applause to welcome her as she steps onto the stage for her first performance as our November Leading Lady!

I am absolutely thrilled to be joining Winnie & Walter as their November Leading Lady - I am still in complete disbelief that Shay asked me to do this. I have been a huge fan of Winnie & Walter products ever since the beginning but I am an ever bigger fan of Shay and her generosity. Winnie & Walter has sponsored so many different challenges in blogland, along with all the all the challenges on the Winnie & Walter blog - her kindness is inspirational to us all. I am truly honoured to be part of her blog this month.
We just turned the page on the calendar - November already! I can't believe how quickly this year has flown by and it is now time to get ready for the end of year holidays. Of course, this includes making lots of holiday cards :) One of my favourite things about holiday cards is that I can apply copious amount of glitter to my projects - all in the spirit of the season :) My Leading Lady debut is going to be about some different ways to apply glitter to holiday cards.
My first project features glitter applied with Stickles. This seems to be the only time of year that my Stickles make it out from my craft drawer but I don't know why since they are so much fun. They are absolutely perfect for adding little touches of colourful glitter - like I did on this walrus card:

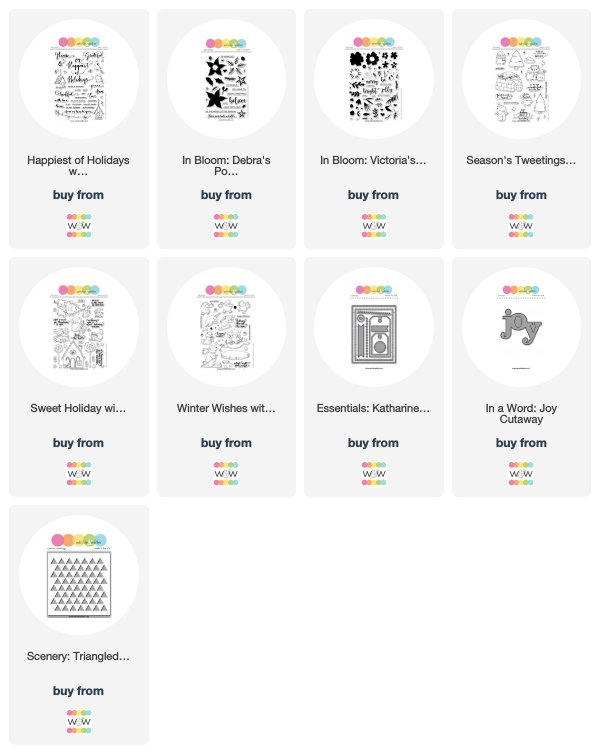
Isn't this walrus the cutest? I stamped him from the Winter Wishes with Evelin T stamp set and then masked him and stamped the iceberg as well. More masking before inking the background with a few different colours of Distress Inks (Tumbled Glass, Faded Jeans, and, of course, Salty Ocean). I coloured the image with Copics, added some white gel pen detail - and then I added four different colours of Stickles to the lights and some Crystal Stickles to the white parts of the Santa hat. I created a card front by first cutting the panel with the largest rectangle from the Essentials: Katharine Cutaways, and then cutting the aperture with another die. This card front was added to the card with foam tape, along with a white embossed greeting from the In Bloom: Debra's Poinsettia with Lydia Evans stamp set. Here is a close up of some of the Stickles:

My next projects are all about adding glitter to the background. I die cut the card front panel using the largest rectangle from the Essentials: Katharine Cutaways, and I also die cut an aperture using a basic circle die. I then added some transparent embossing paste to the card front through the Scenery: Triangled Creative Screening. After removing the stencil, while the paste was still wet, I sprinkled some Distress Glitter over it and set it aside to dry. While the paste was drying, I stamped and cut out a lot of different floral images from the In Bloom: Debra's Poinsettia with Lydia Evans and the In Bloom: Victoria's Very Merry Flowers with Lydia Evans stamp sets. I also stamped the greeting from the same stamp set directly onto the card base. Once the paste was dry, I assembled all the components with a lot of foam tape :)

I actually made two (almost) identical cards - one with the transparent embossing paste and Distress Glitter, and the second one with Cosmic Shimmer Texture Paste in Platinum. Here they are side by side:


My last cards feature inlaid die cut glitter card stock. I started off by creating my own ombre glitter cardstock: I coloured a piece of plain white card stock with several different red Copics - blending between the different shades. I then covered the coloured card stock with a large piece of Be Creative tape (this tape is relatively transparent), removed the protective sheet from the adhesive and applied micro fine glitter over the card stock. I pressed the glitter in really well, and burnished it with my teflon bone folder. The key to this is using a transparent glitter - I used Glitter Ritz Warm Highlight glitter.
I die cut the ombre glitter card using the In A Word: Joy cutaway - and die cut the card panel using the same die so I could inlay the ombre die cut into the card front. I stamped and Copic coloued a couple of images on the card front as well - the bird from Sweet Holiday with Evelin T and the bird house from Happiest of Holidays with Evelin T. I also added a white heat embossed "Season's Tweetings" (from Season's Tweetings with Evelin T)onto a foam mounted piece of brown card stock.

I decided that I wanted to include a glittery candy cane stripe in my design so I stamped the stripe from Scenery: Holiday Trimmings with dark red ink onto the card base. I then covered it with a piece of Be Creative tape and a layer of glitter - just like I did with the ombre card stock. I love how this looks on the finished card.
While I had my supplies out, I created an (almost) identical card - but using store bought red glitter card stock instead of custom ombre glitter card:

Finally, I used the cutout from the ombre glitter card stock and inlaid a die cut from gold glitter card stock. I kept the rest of the card very simple.

Shay has kindly offered up a $30 Winnie & Walter gift card for me to give to one lucky commenter on my blog, My Life in Paper For your chance to win, leave a comment on this post and/or any of my leading lady posts and I will randomly pick a winner from all the comments left by November 30th.
Thanks so much for stopping by!
Jill

Awesome cards! I especially love that gorgeous wreath and the textured background!
ReplyDeleteCongrats on being the November Leading Lady, Jill! I love glitter & use it all year, so this post is perfect for me!
ReplyDeleteYour creation are amazing!! I love the beautiful colors, texture and details!!
ReplyDeleteCongrats on being the November Leading Lady, Jill!!!
ReplyDeleteI'm totally in love for your awesome set of Xmas cards!!!
Fabulous cards! I especially love that cute walrus.
ReplyDeleteCongratulations, Jill. Love your beautiful cards.
ReplyDeleteCute and pretty glittery projects.
ReplyDeleteWonderful cards and I loved the different ways to add glitter to cards :)
ReplyDeleteVery pleased to meet you Jill on your debut leading last post in november, wow, I can totally understand why you've been chosen, fantastic cards & tackling the glitter element too. You use glitter in such delicate, subtle ways on these cards, answers lots of my to glitter or not questions. Looking forward to next saturday now.Thanks.
ReplyDeleteAbsolutely gorgeous cards.Loved seeing the range of work Jill has showcased here using W&W products.Really amazing work♥️
ReplyDeleteCongratulations on being chosen as the November Leading Lady!! I love glitter and am inspired by your fab techniques on these lovely cards. I esp love the stenciled background glitter! So pretty.
ReplyDelete<3 J
jwoolbright at gmail dot com
HerPeacefulGarden.blogspot.com
Congratulations Jill..What a wonderful first oerfperform...Love each and every card you have made...love the glitter background so much in your second card .
ReplyDelete. Can't wait to see what you create next week .Hugsxx
Beautifully done. Love the ombré glittered twofer, especially the candy cane stripe piece. It completes that design perfectly.
ReplyDeleteCongrats! You’ve debuted with some beautifully sparkled cards!
ReplyDeleteSuch a helpful post! Thank you for taking the time to share your thoughts. Coursework Writing Support UK
ReplyDelete