Saturday, January 12, 2019

January Leading Lady Greta Hess | Take Two

Our January Leading Lady Greta Hess is back for her sensational second performance!  If you missed her smashing debut you must see it...CLICK HERE.   Greta is-oh-so clever with her coloring on her awesome cards today!

Ladies and gentlemen, Greta...

Thanks for all the positive comments on my initial Leading Lady post.  I'm so appreciative of your support.  Now it's time for Take 2.
This week I wanted to show you some ways to add color without the traditional art of coloring, since that's not one of my talents.  I often use solid images, but I'm not restricted to them.  Here are some cards with open images & techniques anyone can do.

First up is a card using the adorable snowman from Snowy Holiday with Evelin T Designs


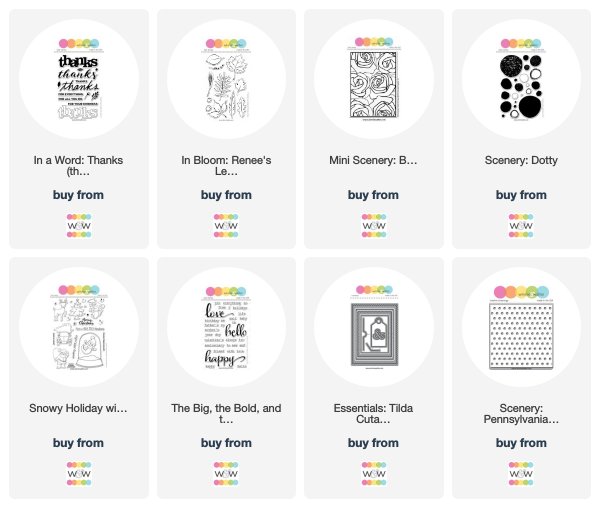
Using a couple solid circles from Scenery: Dotty, I stamped 3 times, overlapping the circles, with Distress Inks weathered wood & faded jeans on a watercolor panel.  Then I spritzed to make the ink run.  I used my heat tool before repeating the process & adding splatters.  When it was completely dry, I stamped the snowman in Delicata Sapphire Blue several times using a stamp positioner.  Then I stamped in Versafine Clair Morning Mist.  The gray ink didn't really change the blue, but just made the image a bit crisper.


I added Shimmer Pico Embellisher to parts of  the snowman for clear sparkly dimension.  The sentiment is from The Big, the Bold & the Happy & I added a few clear sequins. Next is a fun Valentine's Day card using a die from Essentials: Tilda Cutaways that makes an opening for a gift card.


I began by white embossing Mini Scenery: Bed of Roses on Bristol paper so I could color with my Zig Clean Color Real Brush Markers.  They are great for a messy watercolor technique that doesn't require staying in the lines or adding shadows--perfect for me!  I used 3 purple markers & a blue gray, mixing with a little water.  After it dried I cut out the gc holder & then spritzed with shimmer spray.


The white embossed sentiment strip made with words from The Big, the Bold & the Happy was mounted with foam tape.  The background is done with white dye ink & Scenery: Pennsylvania Polka Creative Screenings.  I didn't want the actual gift card to detract, so I covered the back of it with a scrap of Bristol paper colored with the blue gray Zig & dry embossed with little dots. My last card is another example of messy watercoloring.  This time I stamped a beautiful leaf image from In Bloom: Renee's Leaves across the top of a white panel in Distress Inks pine needles & evergreen bough. 


Then I "stamped" the ink pads on a flat palette, added water & picked up the color with a small brush to paint the leaves--again not staying in the lines.  When it was dry, I stamped in a darker blue green dye ink for more definition & then in Delicata Silvery Shimmer purposely not lining up the stamp.  The sentiment from In a Word: Thanks was stamped in dark gray ink to match the mat.  I left off embellishments, but did add some silver splatters. Hope I've given you some inspiration, even if you do traditional coloring.  Remember to leave a comment on my first post to be in the running for a $30 Winnie & Walter gift card.


Check the Take 2 post on my blog to see how you can get another entry into the drawing.  I'll be back next Saturday for more fun with wonderful Winnie & Walter products!


w&w-supplies

Friday, January 11, 2019

Rerun No. 38 | Happy Dance with Evelin T Designs (Challenge + Giveaway + Sale!) + Winners of Rerun No. 37

w&w_rerun_logo
Hello lovelies!  Welcome to our monthly Rerun post!  First, we are going to announce winners from last month's Rerun No. 37 | Stampet: Penguin.

We had such lovely entries and luckily I used the random generator to pick out a winner:


No. 9 | ionabunny

Thank you for all your kind comments as well!  The winner of the Stampet: Penguin stamp set is:


No. 29 | Quillish

Congrats everyone!   Please email us at info {at} winniewalter {dot} com.  Quillish, I will additionally need your mailing address.

Now on to this month's Rerun!

Each Rerun will provide plenty of inspiration focusing upon a featured product, a month-long sale on the featured product and a challenge (with a prize!) and giveaway.  You will not want to miss out!


For our thirty-eighth Rerun we are concentrating on Happy Dance with Evelin T Designs stamp set. This set is full of joy, celebration and the signature adorable illustrations of Evelin T!

Now on to the cards!

Shay 

Happy New Year!  Time to get your happy on!


This is one happy, cheerful card and pretty easy and simple to make.  I stamped the elephant (a favorite of mine) and balloons on white cardstock in Memento ink.  I then colored them in with Copics.  I cut out the images using the coordinating cutaways.  I also cut out the smaller decorative rectangle with Essentials: Tilda Cutaways from white cardstock.  I stamped the sentiment in black ink and arranged the elephant and balloons on the little panel using dimensional foam adhesive.  I attached everything to an A2 card I had covered with some patterned paper and voila!  Done.

I imagine you could mass produce these for cute party invites too. :-)


That's it from me...wait until you see what Gayatri and  Heather did with Happy Dance with Evelin T Designs ...so amazing!

>>>THE TALENT<<<


CLICK HERE to see more from Gayatri.

 CLICK HERE to see more from Heather.

>>>CHALLENGE<<<

Now it's your turn to play along with Rerun!
  1. Create a new project using Happy Dance with Evelin T Designs stamp set.  An alternative to using Happy Dance with Evelin T Designs stamp set is to create a new project using one of the projects featured in this post (or any Rerun post throughout November by The Talent) as your inspiration.  Make sure you use at least one (1) w&w product (this can include a freebie found in the w&w shop) in your project.  If you choose the alternative to using Happy Dance with Evelin T Designs stamp set, please include in your post or project description which project inspired you and how.
  2. Link up your project here by 11:55 p.m. CST on March 6, 2019.  
  3. Enter as many times as you want before the deadline.
  4. This Rerun Challenge may be combined with other challenges found here on the w&w blog or elsewhere.
One project will be randomly chosen to win $25.00 credit to the w&w shop!  The winner will be announced on the w&w blog in March. 


>>>GIVEAWAY<<<

Please comment on this post (make sure to include your email address in your comment--if you have to add your email address to your comment please do so by replying to your original comment) by 11:59 p.m. CST on March 6, 2019 for a chance to win your very own Happy Dance with Evelin T Designs stamp set!

Saturday, January 5, 2019

January Leading Lady Greta Hess | Take One

Happy New Year!  It's an exciting day as I get to introduce you to our January Leading Lady Greta Hess!  Greta has been catching my month after month with her fabulous and cleverly designed cards she's submitted to our challenges and I can't wait to see what she will do this month.

I am really excited to see what Greta will be creating this month as she takes us on an adventure of her own design on Saturdays in January on the w&w blog.

Please give Greta a big round of applause to welcome her as she steps onto the stage for her first performance as our January Leading Lady! 


I'm so excited to be Winnie & Walter's Leading Lady for January 2019!  This is a huge honor I truly never expected.  Thank you so much, Shay! Each Saturday this month I get to take over the Winnie and Walter Blog.  Hope you'll check it out & leave a comment.  Hopefully you'll find some inspiration in my projects AND you have a chance to win a $30 gift certificate to the Winnie and Walter store!


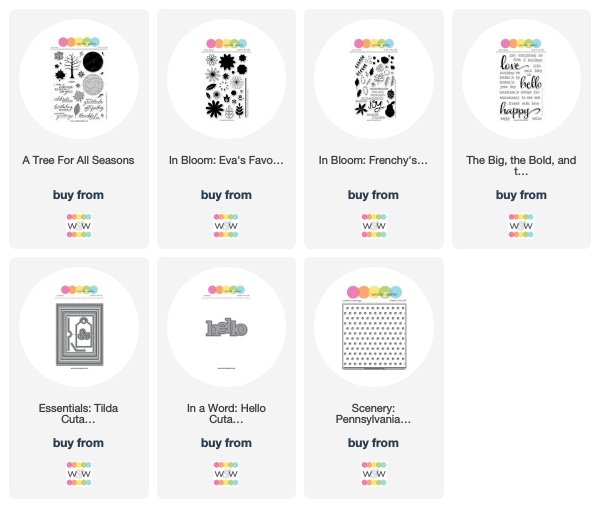
I'll do a random drawing of all the comments left on my blog's Winnie & Walter Leading Lady posts. My love of Winnie & Walter products began a couple years ago when a friend sent me In a Word: Hello Cutaway.  I thought it only fitting to begin with a post focusing on this wonderfully versatile die. For my first card I randomly stamped a solid leaf image from A Tree for All Seasons in 2 green inks.  Then I stamped the matching lined image in brown ink purposely not lining it up exactly.


The panel was die cut with a rectangle from Essentials: Tilda Cutaways.  I love the fun edge plus the pierced border.  The word was die cut from the panel being careful to save the little bits which were glued in place after the panel was attached to a brown card front.


I stamped the little word from The Big, the Bold & the Happy in brown ink, trimmed it into a strip, matted it with brown cardstock & attached it with foam tape.  I didn't add any embellishments so this card could go to a guy or a gal. Next up is a birthday card that lets the hello die be the star of the show, thanks to the new Scenery: Pennsylvania Polka Creative Screenings.  I used 6 Distress Oxide inks, moving the stencil before going to each new color.  Doesn't it give a fun confetti look?


I stacked the die 3 high before attaching it to a white textured panel.  The little sentiment words from The Big, the Bold & the Happy were white embossed on black cardstock & trimmed into strips.  I love the look of adding them right on top of the large die cut word.  Black & white twine was tied into a bow before adding the panel to a black card front. I have one more card for you and this one is floral and feminine--a favorite for me & hopefully you like it, too.  I stamped a wreath using flowers from In Bloom: Eva's Favorite Flowers along with leaves and dots from In Bloom: Frenchy's Festive Florals with Angelica Suarez in pastel inks.


The hello die was cut from the center of the panel, stacked 3 high, brushed with shimmer & glued in place.  The larger, blocky font of this die is perfect for the hidden die cut technique as it doesn't totally disappear.


I darkened the photo so you can get an idea of the shimmer on the hello die cut.  Some little white dots are added for embellishment and the panel is attached to a dark gray card front. Now you can see why I love the In a Word: Hello Cutaway and hopefully you've gotten some inspiration for your own crafting.  I'll be back with another Winnie & Walter post next Saturday.


w&w-supplies

Monday, December 24, 2018

New Additions at Christmas with Kelly

Editor's note: A merry Christmas Eve!  Today is a special post by Kelly that is a wonderful, heartfelt idea to add a special and meaningful touch to a gift (and if you are a procrastinator it can be done for this Christmas or if you are a planner it can be done for future Christmases).  Have a very blessed holiday full of love, friendship and laughter!


Hi Folks! Kelly here to share a different kind of project with you today! For the last 7-8 years, our family has always managed to have a new addition at Christmas. This year the streak continues with no less than FOUR new babies, all born within a month of each other! Such happy times : ) My tradition has been to present each new baby with a Christmas book at Christmas. Instead of writing a message to them on the inside, I make a dedication panel.

I love the letters from the Typeset: Cary set since they're nice and thick. You can overlap them if you have a longer word, but they're big enough to bring a lot of color to your project. 

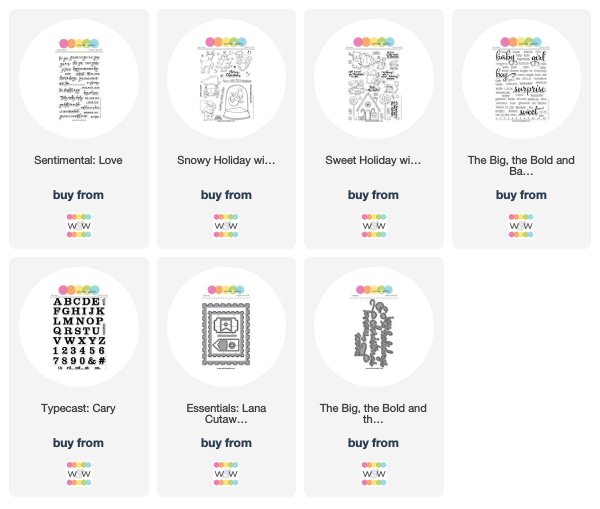
I really enjoy mixing fonts for a custom look to your project. In addition to the thick serif letters from Typecast: Cary, I've used the thin typewriter font from The Big, the Bold and Baby for the word "first," the script font from The Big, the Bold and Merry for "Christmas," a sans-serif font from Sweet Holiday with Evelin T Designs for "believe in the magic," and an all-caps sans-serif font from Sentimental: Love for "we love you." All different, but they all work together. Using the gold foil paper for "christmas" also gives a nice shine to everything.


The adorable reindeer from Evelin T's new Snowy Holiday set is watercolored to match the style of the book illustrations. Finally, the postage-stamp panel is from Essentials: Lana Cutaways. Love the pin hole details along the margins. 


I know our cousins enjoy reading to their kids and they seem to really enjoy receiving the personalized books. Reading to my kids was so much more special around the holiday. Getting cozy by the fire, under a blanket, with a bunch of pillows and an assortment of Christmas books was a magical way to spent the nights in December. 

Sure hope you enjoyed seeing another way to use our supplies!

Thanks for stopping by!
Kelly


w&w-supplies

Friday, December 21, 2018

November 2018 Release with Trina

For another treat we have an incredible post from Trina Pham our November Leading Lady highlighting the November 2018 Release.  Enjoy!

Hello everyone!  I am so delighted to be back here on the Winnie & Walter blog to share some more creations using the fabulous new products from the November release!

HEARTFELT THANKS

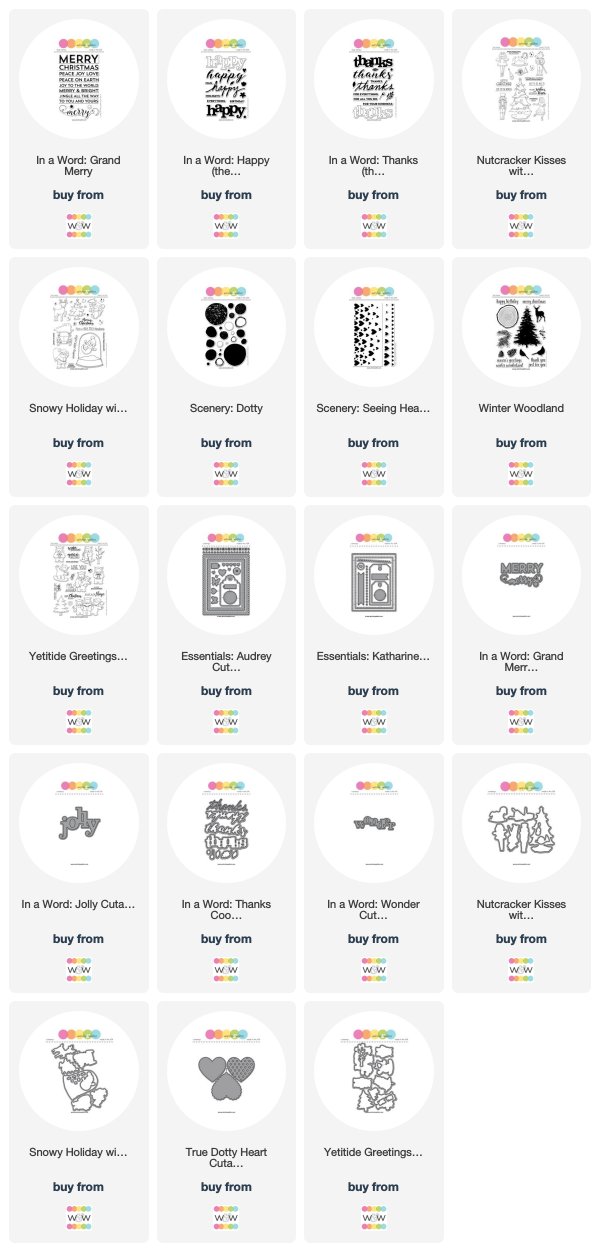
I wanted to start off by thanking Shay for having me join in the release, so I created a CAS thank you card using In a Word: Thanks (the stamp set).


Stamped the outline thanks with Copic friendly black ink on an A2 size X-press It piece of cardstock and coloured in with red Copic markers.


The hearts from Scenery: Seeing Hearts were heat embossed with clear embossing powder.  Abandoned Coral and Candied Apple distress inks were then blended over top for an ombré look.  Wiped off excess ink with a tissue.  Heartfelt from Sentimental: Thanks  was white heat embossed on a black strip.  This set was free with qualifying orders during the Black Friday/Cyber Monday sale, and will be available to purchase in the future. For added dimension, Crystal Glaze was added as the finishing touch.


Since there is coordinating In a Word: Thanks Coordinating Cutaways, I created a second CAS thank you card using it.


Thanks was die cut twice; one from black and the other from pearlescent white cardstock.  They were offset for a shadow effect which helps to make it stand out.  Once again, the sentiment from Sentimental: Thanks was white heat embossed on a black strip.


Next a reverse heart mask was die cut from masking paper using True Dotty Heart Cutaways.  Placed the mask off the edge of a regular white A2 panel,  then blended Picked Raspberry, Wilted Violet and Salty Ocean distress inks.  For some sparkle, spritz with a DIY shimmer spray of Perfect Pearls and water.  Removed the mask and added a few clear sparkly sequins to finish.


JOLLY SANTA

When I saw In a Word: Jolly, I thought of Santa!  I know, it's a  bit of  a stretch. 😂


Instead of having Santa replace the "o", I thought it would be fun to have him stepping out of the Jolly die cut.  Started by stamping Santa from Snowy Holiday with Evelin T Designs with Copic friendly black ink.  Coloured him with Copics, then die cut out with the matching cutaway.  


A scallop panel was then die cut from Bristol paper using Essentials: Audrey Cutaways.  Jolly was die cut from that and popped up with foam adhesive over some silver glitter paper on a white card base.  Holidays from In a Word: Happy (the stamp set) was white heat embossed on black.  Some silver splatters finished off the card.


BOKEH WONDER

In keeping with the magic and wonder of the season, I thought a Bokeh background would be suitable.  Rooted in photography, bokeh is the blurred or out-of-focus areas of an image.  I've done this background before using circle stencils and white pigment ink, but I thought I would try achieving the effect with the VersaMark resist/ghosting technique.  Not sure I succeeded, but it was easy and fun to do.


Paper that does not absorb ink easily is best for this technique.  Glossy cardstock works, but I had some coated cardstock given to me from my friend Christine and that was what I used.  I started by randomly stamped the images from Scenery: Dotty in several sizes with VersaMark ink.  Allowed it to dry before applying distress inks (di) in rainbow colours with a mini blending tool.  The VersaMark ink resisted the colours, leaving varied light areas.  I may have gotten a little carried away with the amount of images I stamped. 😂  Excess ink was wiped off with a tissue.


Season's from Winter Woodland was heat embossed with white embossing powder on a vellum strip.  In a Word: Wonder was die cut from white glitter paper and adhered to the vellum.  Instead of die cutting a shadow piece, a grey Copic marker was used to add the shadow on the vellum from the backside.  Stamped, Copic coloured and die cut the ballerina from Nutcracker Kisses with Evelin T Designs to finish.


The background was not only easy, but effective, so I created two more cards.  I used the sentiments from In a Word: Grand Merry.  On this first card I tied it without the vellum.


I think it looks better with vellum.  So on this final card, I added the vellum back.  I also changed up the design, and took the smaller rectangle from Essentials: Katharine Cutaways and die cut from the panel then matted it to white cardstock leaving a 1/8" white border.  Stamped, Copic coloured and die cut the yetis from Yetitide Greetings with Evelin T Designs to finish.  


This post was longer than I had intended, but good news is you've reached the end!  Thank you for taking the time to visit, especially during this busy time of year and with Christmas only four days away!  Wishing you all a safe and joyous holiday season!


w&w-supplies