Showing posts with label memory keeping. Show all posts

Wednesday, August 15, 2018

Family Recipes with Kelly


Hi Folks! Kelly here with a few more pages from our final Family Recipe Scrapbook. For those who haven't seen my prior posts throughout the years, for each of my husband's 8 cousins, our family has gathered their favorite recipes to present the bride-to-be at her wedding shower. I've made the recipes, along with photos, into a scrapbook. Our intention is to show the new couple that they're surrounded by loving family who are always around if they need help (especially on what to cook for dinner!)


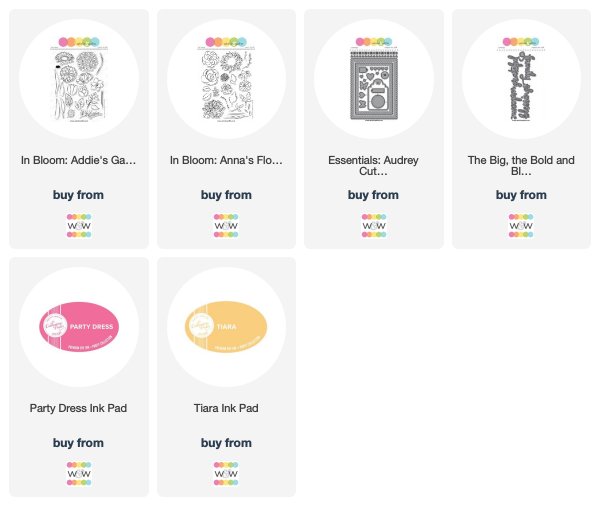
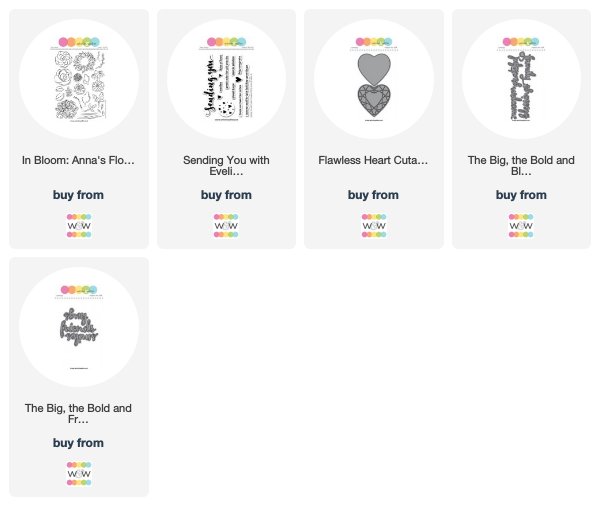
This page uses the gorgeous sunflower from In Bloom: Anna's Flora to make a little collection of flowers in the lower right corner. The "family" from The Big, the Bold and Blessings Cutaways is cut from gold foil, again to compliment all the yellows and golds. The secondary sentiments "smiles," "lots of love," and "giant hugs" are all from Sending You with Evelin T Designs.

I have to admit, it had been awhile since I'd done much scrapbooking and I was surprised at how much I missed it. I was also surprised at how much I had to think about how to us a canvas that wasn't 4 1/4" x 5 1/2"! Layering the words and flowers over the photos helped. I chose the sunflowers because they pull in the gorgeous yellow sweater, golden light, and yellow grasses from the photos. 


The sunflowers were really fun to watercolor. A few different yellows and browns for the petals, and then a shaded center. I inked the dots in an orange/brown and then before stamping them in the center I inked the edges of the dots in a darker brown. 


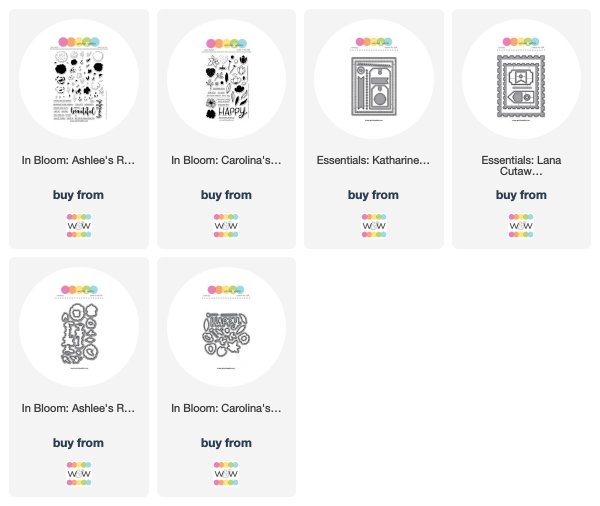
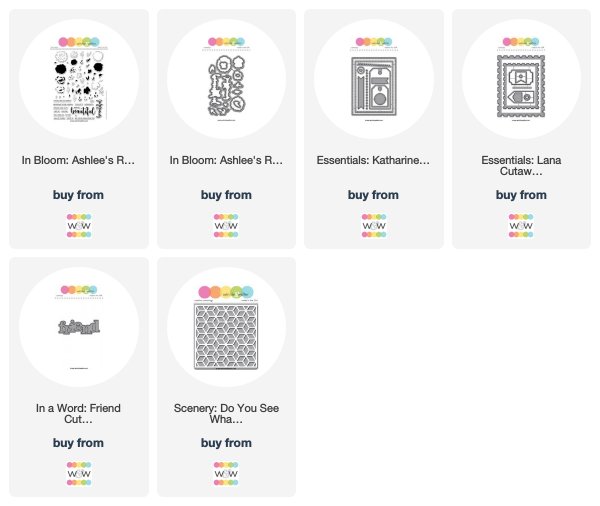
 This page is a simple one and relies just on and angled "hugs" from The Big, the Bold and Friends Cutaways being cut from the heart in Flawless Heart Cutaway


Even though it's simple, there's still a little something to it with the gold sparkle cardstock. Again, the hearts are layered over the photos.


I have to admit, even though these take a ridiculous amount of time, I will miss not working on a recipe scrapbook anymore. I guess that just means that I need to get back to scrapbooking my own family! : ) Hopefully before they all graduate!!

Thanks for looking!
Kelly


w&wDT_kellygriglione_blog-sig


w&w-supplies

Wednesday, June 20, 2018

Blessings with Kelly

Hello! For every cousin who gets married in our family we make a family recipe scrapbook. Each family member submits their favorite recipe and a picture of themselves, and then I put them all together into an album for the bride-to-be. This tradition is coming to an end this year, as the last cousin is getting married in October. Although it's a lot of work, I'm kind of sad this will be the final scrapbook.


One of my favorite pages so far is this page with a bouquet of flowers from two different Winnie & Walter sets, In Bloom: Anna's Flora and In Bloom: Addie's Garden


To color the flowers I misted the cardstock with water to get it slightly damp. Then I smooshed ink onto my acrylic block, misted that with water, and smooshed the block onto the cardstock. If there were any areas that didn't get a lot of coverage I just repeated these steps. A few water droplets add some more spots to the paper. Then I stamped each flower onto a section of the cardstock and cut them out by hand.  

 
Arranging them is probably just like arranging real flowers ... the big, bold flowers in the lower center, working your way to the smaller, lighter flowers in the outer edges of the bouquet. I would probably have a hard time stamping the flowers directly to paper arranged in a bouquet like this. It's much easier for me to cut them out and physically move them around the paper until I'm happy with everything. 


Here's the entire page. I was really happy Aunt Kay's shirt and the wall she's standing in front of are yellow to blend in with my background! As a card-maker, I'm not used to taking into account the fixed design elements in the photo as well. I'm also kind of dying to make the Pay Day Bars recipe she shared!

 
Not wanting to waste any good, smooshed-ink cardstock, I cut a few butterflies from my favorite Essentials set, Essentials: Audrey Cutaways and added them to the bouquet to fill in the spaces. To add some details to the butterflies I tied a strand of gold thread around the middle, knotted it where the butterfly's head would be, and left some length on the ends for the antenna.


To finish it all off, I added the "blessings" sentiment from The Big, the Bold and Blessings Cutaways. I made it a curved sentiment by slightly bending the paper in between each letter. It's amazing how much better the arrangement looks by having the sentiment curved and mirroring the general shape of the bouquet. 

I have many more family recipe scrapbook pages to share with you over the next several months. Hope you enjoyed seeing this one!
-Kelly


w&wDT_kellygriglione_blog-sig


w&w-supplies

Friday, May 25, 2018

May Documentarian Lilith Eeckels | Take Two (Video)

Our May Documentarian, Lilith Eeckels is back for her final performance. 

Don't miss out on her introduction HERE or her first utterly charming layout HERE.  

It has been such a privilege to have Lilith as our Documentarian this month.  Lilith's whimsical use of  pattern, color and design is so enchanting!  I hope you will try some of her techniques on your memory keeping projects or even on other crafting projects.   

Today's projects are so full of wonder, joy and brightness!  

Once again, Lilith....


Hello everyone.

Today I'll be sharing my last project (projects) for Winnie and Walter. For my double project I decided to create a layout and as I had some leftovers I created a quick card too.


I do this a lot. I LOVE making layouts but I also enjoy creating cards but as I don't have much time I usually don't get out all my supplies just for a card so usually once I have finished a layout I just create a card at the same time.


For my projects I went through my patterned paper stash and picked out some fun vibrant patterns that go together. I cut out different sized balloons and then started playing with the design on my layout.


I drew some string by hand and also added a couple of bows that are on the die set to the balloons. For the embellishments I used some old stickers and chipboard elements.

The card was really simple and I used the same ideas as in the layout.

You can see how the two came together in the video. Some of the creative process is missing due to a problem with uploading the videos. I lost some of the videos. I hope it gives you an ideas of how the layout and card were made.


Thank you so much for having me as May 2018 Documentarian Winnie and Walter. I loved creating with your products and will create many more.

Lilith

w&w-supplies

Friday, May 18, 2018

May Documentarian Lilith Eeckels | Take One

It is time for the first project post by our May Documentarian, Lilith EeckelsDon't miss out on her introduction from last Friday==> CLICK HERE.  She has such an incredible layout for you today full of whimsy, heart and creativity!

Ladies and gentleman, Lilith....


Hello there everyone. I am thrilled to be the May Documentarian here at Winnie & Walter.
I got the chance to worked with them a couple of years ago and I loved it. I had so much fun creating with the stamps and die they sent me.

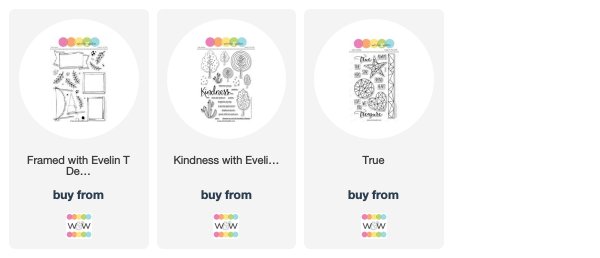
Today I will be sharing my first project which is a layout. I used The Framed With Evelin T design stamp set and paired it with the Kindness set. I had filmed the whole process but something went wrong when I uploaded my files and I lost them all.  So I'll explain how I created the layout.

I started by stamping the frames and then I added the tree, cactus and leaf shapes. For colour I used alcohol markers and blended different shades together. I choose three tones: pink, grey and green and used black for the stamped images. 

To give the frames some depth and have the impression they pop off the page I added some shadow using a light grey alcohol marker. 


I also added the shadow to the photo to tie all the elements together. 

For my title I picked sentiments and words from the True stamp set. I added a touch of pink with stickers from sticker supply and chose some that would fit in with the layout. 


My layouts are a reflection of me, my feelings and things I would like to say to my loved ones. They aren't always about events or places. Scrapbooking helps me express myself which is sometimes a little difficult as my husband and children only speak French but my mother tongues are Dutch and English. I miss expressing myself in these languages and crafting has helped me get my words and feelings out on paper. 

A big thank you to Winner&Walter and I'll be back next week with another project. 

Lilith


w&w-supplies

Friday, April 27, 2018

April Documentarian Jen Gallacher | Take Two

It is time for the second and final project post by our April Documentarian, Jen Gallacher.  

Don't miss out on her introduction HERE or her first gorgeously layered layout HERE.  

It has been such a privilege to have Jen as our Documentarian this month.  Her keen use of color, patterns, layering and exceptional skill at balancing her layouts are so inspiring!.  I hope you will try some of her techniques on your memory keeping projects or even on other crafting projects.   

Today's layout is not only beautiful, but so very artfully executed!  

Once again, Jen....


Stamping on a layout is a great way to add dimension and customized designs to a scrapbooking page. In this layout, I'll share some tips and tricks for using a stamp set to create a beautiful layout that features a wreath and diagonal design. Keep reading for some tips and to shop the beautiful stamps and dies from Winnie and Walter. Want to get your hands on some of these amazing products? Be sure to leave a comment on this blog post HERE for your chance to win a $30 Gift Certificate. All entries are due by April 30th, 2018 to qualify for the drawing. 

How to Stamp on a Layout:

* Use stamping inks in the same color but in different tones. For the strawberries, I stamped a lighter red for the middle of the berry and then used a cherry red to stamp the seeds in the berries.THIS layered stamp set makes quick work of the details for this page.

* Use the corresponding die set to quickly cut out all of your stamped images.


* Layout out the shape of your wreath first. Then I go back and adhere each piece with glue dots or strong adhesive.


* Stamp your title and journaling in bright colors. I used green and yellow for the title and then stamped the journaling with bright, red ink.


* Create your own patterned paper. Repeatedly stamp an image onto cardstock to create a polka dot, stripe or random pattern. This way you can ensure you get the exact pattern you want to coordinate with the rest of your embellishments like the berries on this page.

Here's another look at this layout. Be sure to pin your favorite images for inspiration later!


w&w-supplies 

Friday, April 20, 2018

April Documentarian Jen Gallacher | Take One

It is time for the first project post by our April Documentarian, Jen GallacherDon't miss out on her introduction from last Friday==> CLICK HERE.  I am so thrilled with the gorgeous layout she created and I have already learned so much!

Ladies and gentleman, Jen....


Have you tried using stamps on your scrapbooking layouts? Stamping for scrapbooking is an easy way to fully customize your scrapbooking layouts. I was super excited to use several die and stamp sets from Winnie and Walter to create this beautiful layout. Keep reading for some instructions on how I created this layout. Be sure to pin your favorite images for inspiration later!

How to Add Stamps to a Scrapbooking Layout:

Step 1: Use a stencil, a foam applicator, and yellow stamping to create a diagonal pattern on white cardstock.


Step 2: Using a variety of yellows and greens, stamp and die cut flowers, leaves, and a title for the layout.


Step 3: Use the stamp rectangle shape dies to die cut two different sizes of photo frames from green cardstock. This will require the use of a manual die cut machine.


Step 4: Using the manual die cut machine, cut a variety of shapes from purple patterned paper and black patterned paper.


Here's a look at the finished layout. You can see I added some additional embellishments, and journaling to make this page really pop. But most of my items are die cut, stenciled or stamped items from Winnie and Walter. What's so amazing about these types of projects is that I can continue to use these items for future projects. Now that's stretching your supplies.


w&w-supplies