Welcome to our first ever Tour of the Stars (aka blog hop) to celebrate the August Release. We are introducing three (3) brand new 6x8 inch "Texas" sized stamp sets and their coordinating digital elements to you this weekend and should you like to purchase them they are ready to buy right now in the shop.
As a bonus from now through September 12 when you buy an August Release stamp set you receive its coordinating digital elements (including cut files) FREE (no action necessary...the files will automatically be emailed to you).
Join us (Julie and Shay), Guest Star/Winner of Playdate No. 2 Challenge Jenny Martin, August Leading Lady Heather Hoffman, September Leading Lady Lyndal Higgins and our out-of-this-world creative team The Talent and take a tour of the STARS! You will find amazing inspiration and giveaways at every stop.
Here at the w&w blog we, Julie and Shay, are sharing our projects along with hosting The Big Giveaway!
Now get comfy-cozy, pour yourself a cuppa your favorite beverage and relax the night or weekend away.
>>>THE GOOD STUFF<<<
Julie
Hello w&w family! Or should I say Howdy Y'all!!! :) So glad to be back on the blog sharing some fun projects using the new "Texas" size sets. One thing that Shay and I like to do is try to give you as much stamp goodness as we can in each set, and larger sets mean more stamp goodness! Gotta love that!!!
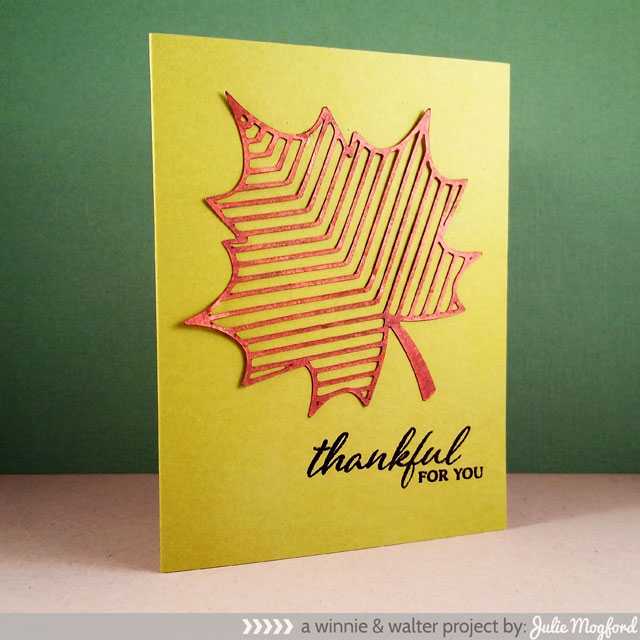
For my first project, I cut the "chevron maple leaf" from the A Tree for All Seasons Digital Elements set, on my Silhouette Cameo in a large size so it would take center stage on the card front. I actually cut this leaf using some white cardstock, but then inked it with my dark brown ColorBox chalk ink and then topped it off with what little bit of bronze ColorBox pigment ink I had left. Inking was easy - just put the die cut on some scrap paper and added the ink direct to paper, tapping, not wiping. The delicate cut out held up very well! I added tiny dots of Tombow Mono Multi adhesive so that it would stick, but letting some areas lift up slightly. The sentiment is stamped in Versamark and embossed with Midnight Bronze Obsidian. This card was super fast and I love the results!
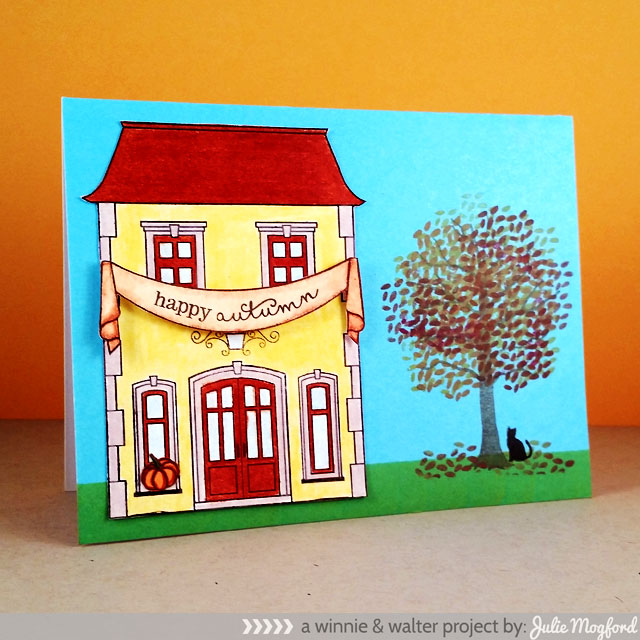
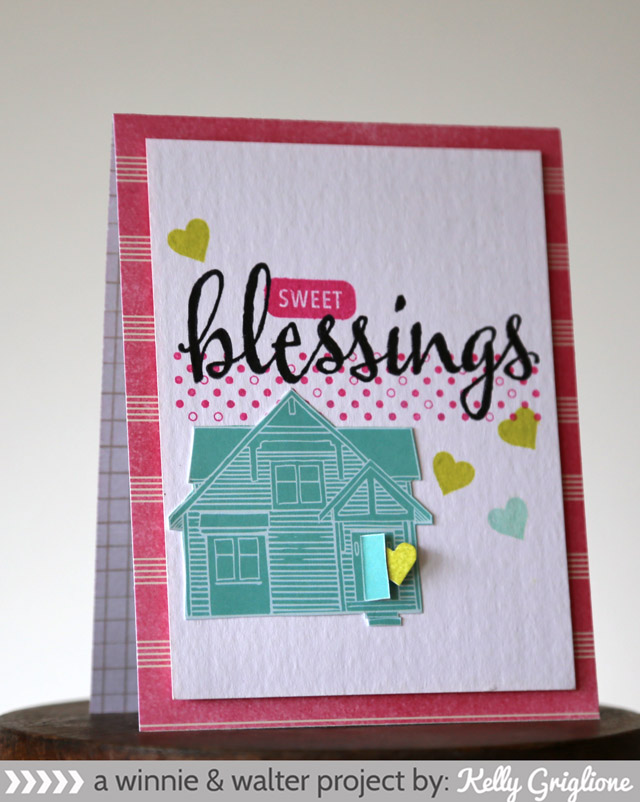
The next card uses all three of our new stamp sets. The house, banner and cat are from This Awesome House - and awesome it is. So many little extras to change the house up. I cut the stairs off of mine and added the porch light (peeking out from under the banner). The house and banner are colored with my beloved prisma color pencils and a gamsol treatment. "Color" me happy! The banner is stamped with a sentiment found in the Moonlight set and I added one of the little pumpkins to the window sill. Would look cute near the door or near the tree too. The sentiments like the one on the banner are created straight but are easy to curve to match the banner's shape. LOVE THAT! Double duty! The tree is from A Tree for All Seasons and you will find a leaf cluster on the set too. I inked it up in different chalk ink shades of yellow, orange, and red, overlapping the stamping to get some depth of the foliage. I masked the stamp and added some leaves to the ground under the tree. And finally, adding the cute little cat.
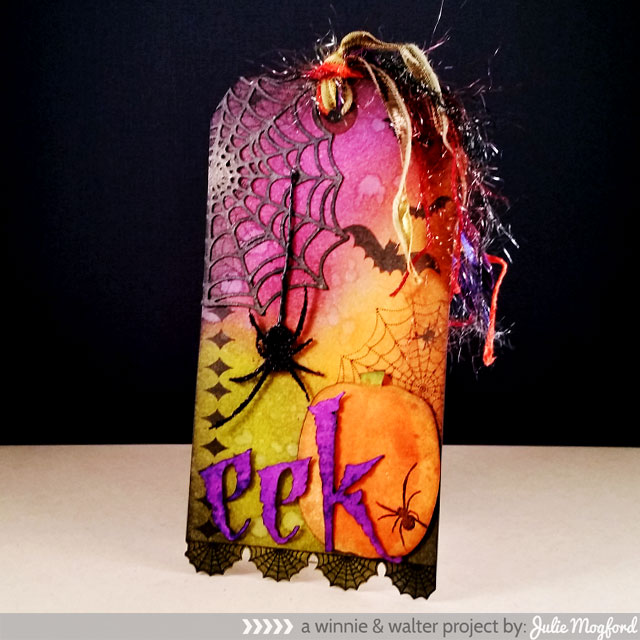
Some of you may have seen a sneak of this tag on instagram this weekend! I love how the colors look together this one is really making me ready for Halloween. I have been enjoying creating hybrid projects and love the results!
First the tag is inked and sprinkled with water (wrinkle free distress) and stamped with a few goodies from Moonlight. The web border is on the bottom and fussy cut for some added detail. The large web stamp is used twice behind the die cut version, and once behind the pumpkin, and spiders and bats are added for more creepy crawly fun. The triple diamond makes a good border too and gives that space some interest. The Moonlight Digital Elements of the web, pumpkin spider and eek are all sprayed with dylusions and glimmer mists. This card has a subtle shimmer to it that is so pretty in real life. The web is glued to the tag the same as with the leaf above - dots of Tombow Mono Multi adhesive, but the other elements are added with foam tape. The large spider is dangling from black hemp cord covered in glossy accents so it will glisten and the spider is covered in fine onyx vintage glass glitter which gives the spider a subtle sparkle, and makes him look fuzzy too. The tag is topped with fabulous fibers from my stash. Now, take a look at Shay's awesome projects for this release. You are going to love them! And we hope you have fun on the Tour of the Stars - the inspiration is incredible! Stellar, in fact!
Shay
Are you enjoying yourself as much as we are? You can tell that Julie loved playing with these stamps and digital elements, right? Her projects are awesome.
These are some really fun stamp sets to play with together (and obviously on their own!). When designing them Julie and I thought about how they could work with each other or separately. We really are excited to show you just a few ideas (really only a few and we will be sharing more in the coming month) on how to use these stamps and you will see many more wonders during your Tour of the Stars. With that said, we know that once these babies reach their forever homes we will be seeing possibilites that Julie and I could never have dreamed of...that is one of the great joys for us as designers!
Enough talk! Let's get to my projects. :-)
Card No. 1
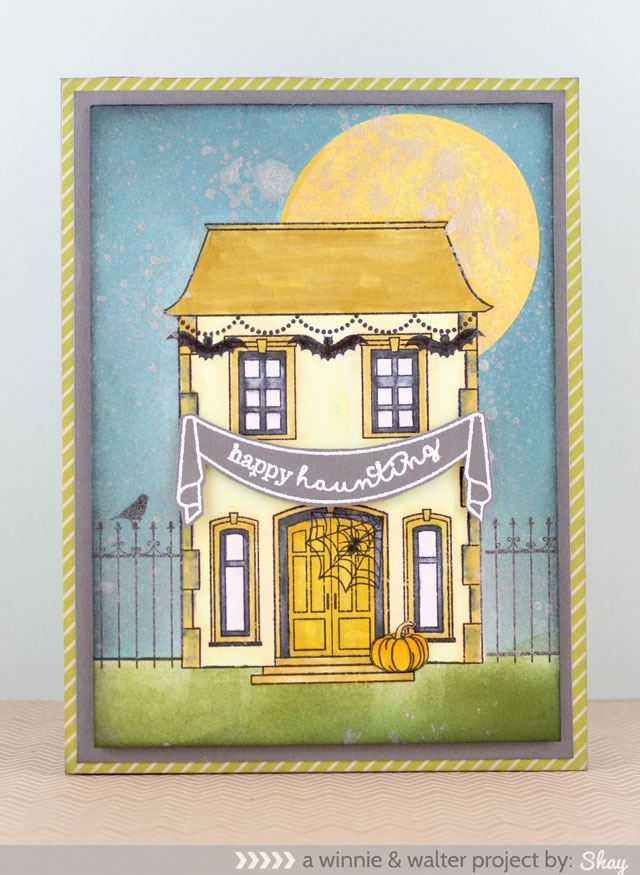
First up I have a card that uses all three of the August Release stamp sets: A Tree for All Seasons, Moonlight and This Awesome House.
I see this house being decorated and customized in so many ways and we certainly wanted to be able to decorate it for fall and Halloween so in Moonlight you will find some stamps sized for that like the dotted scallop, little bats, stars, moon, little pumpkins and more.
For this card I stamped the house, fence and bird (from A Tree for all Seasons). Masked the house off and stamped the moon (the large circle from A Tree for all Seasons) in butter bar Hero Arts Mid-Tone Shadow Ink. I masked off the moon too and blended in the sky using tumbled glass, stormy sky and broken china and peeled paint Distress Ink for the grass. I inked the edges of the panel with black soot Distress Ink. I sprayed the areas with Mister Huey's Color Mist in calico shine. I stamped the pumpkin on the steps and then stamped it again on a piece of cardstock and colored it in with Copics and fussy cut it out and placed it over the stamped pumpkin on the steps. I used Copics to color in the house (0, C1, C3, C7, BG10, E00, Y000, Y00, Y12, Y15, Y25). I went for a distressed look so I swiped the colorless blender over some areas (yes, the less than perfect coloring is on purpose. lol). I love that Halloween encourages imperfection! I stamped the banner from This Awesome House and sentiment from Moonlight bending it to fit the curve of the banner in Versamark and heat embosses in white embossing powder on grey cardstock. The banner fits right on the house...it's like it was planned! lol I finished it off by attaching the panel to grey cardstock and then to Amy Tangerine/American Crafts patterned paper and a grey card base.

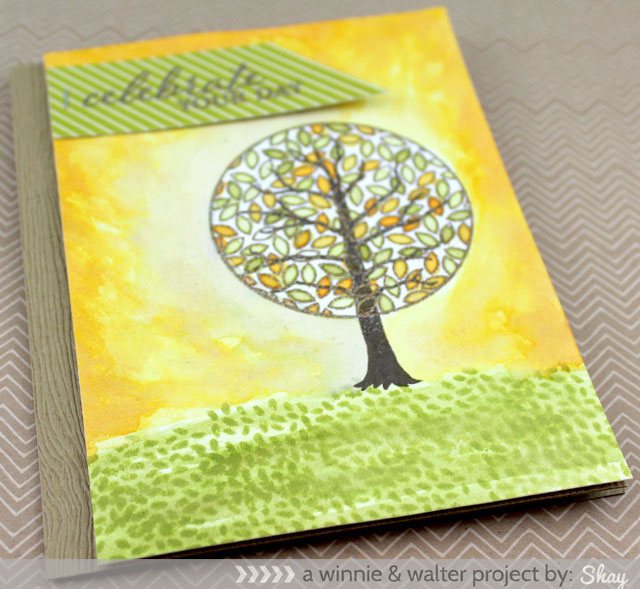
Card No. 2
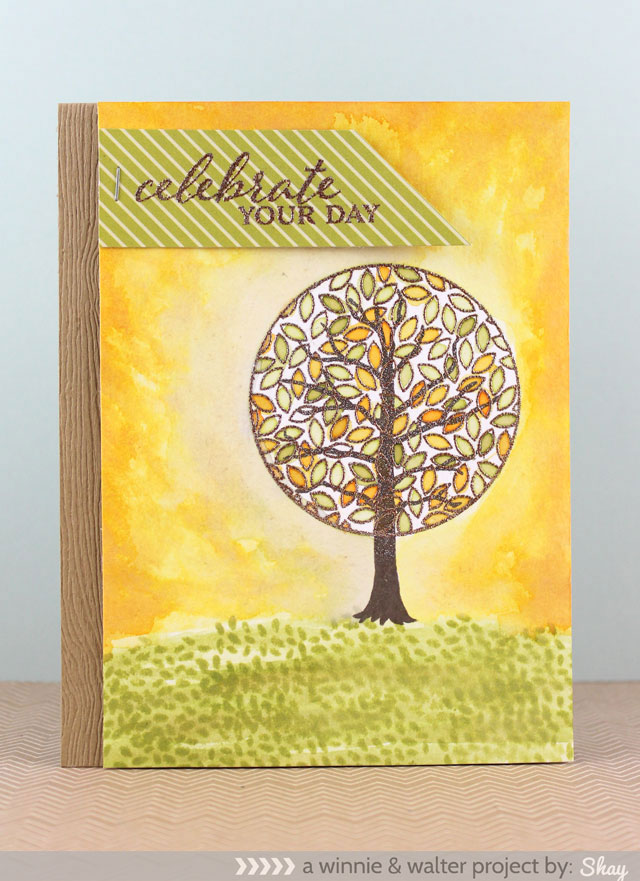
This card is all from A Tree for All Seasons. I wanted to use the tree and the round leaf canopy. I stamped the tree in cup o' joe Hero Arts Mid-Tone Shadow Inks then stamped the canopy in Versamark and heat embossed with bronze embossing powder on a piece of Tim Holtz Distress Ink watercolor paper. I used Distress Ink in shabby shutters, peeled paint, wild honey and spiced marmalade with water and painted in the leaves. I then used Distress Inks to paint in the grass and stamped the cluster of leaves over it and then painted in the sky. On a piece of Amy Tangerine/American Crafts I embossed the sentiment which I adhered with the Tiny Attacher. I attached the panel to a wood embossed cardstock with foam dimensional adhesive. I think you could safely give this card to a guy. What do you think?
Card No. 3
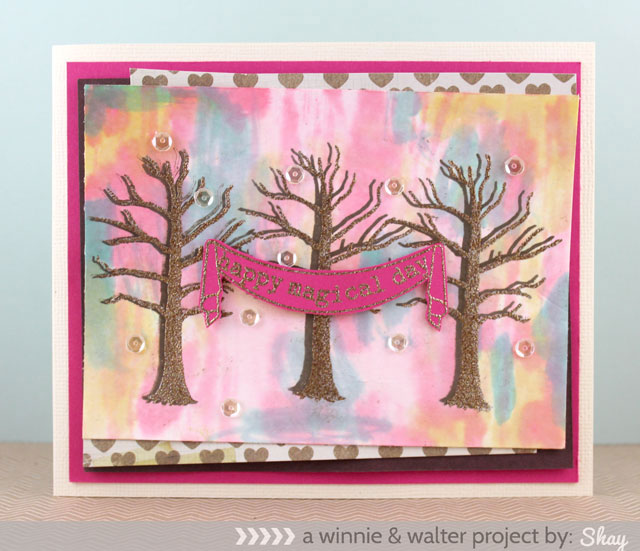
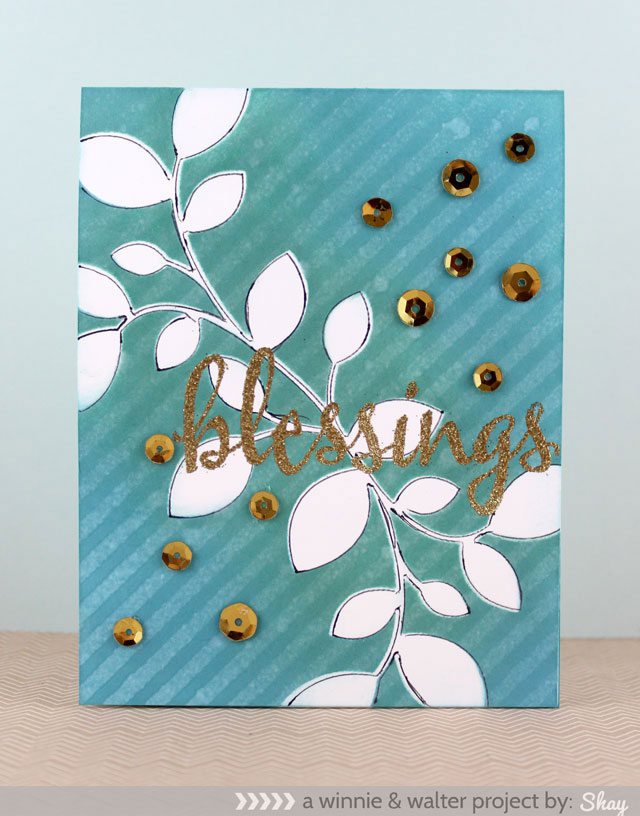
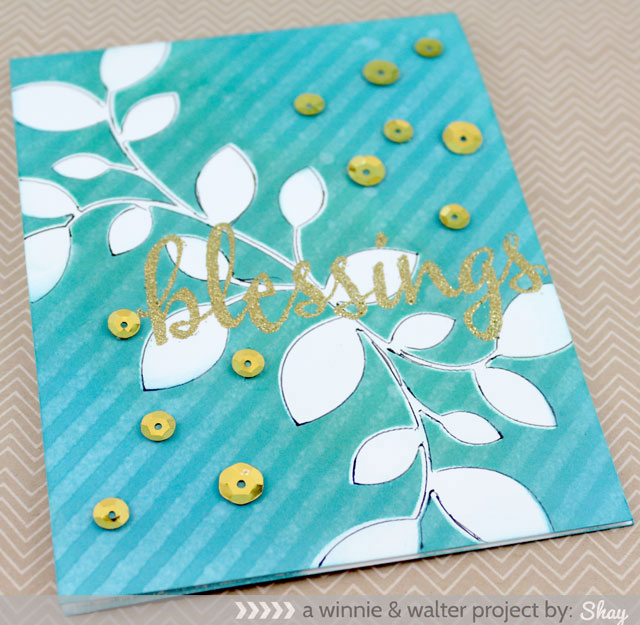
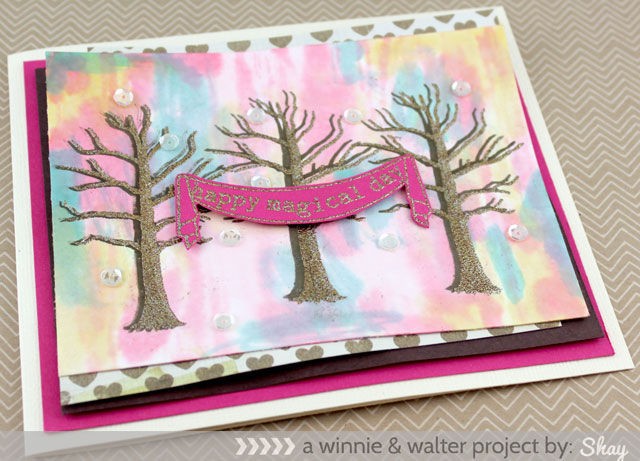
I wanted a bit more color in my last card and I went in a sort of unorthodox direction. I embossed the tree from A Tree for All Seasons three times in bronze. I then painted a wild background in fun colors. To tone down the brightness I sprayed it with with water and used a paper towel to soak up the excess pigment. To make the trees stand out more I stamped the trees a bit to the left of the original embossed tree in cup o'joe. I heat embossed the sentiment which is a mix from Moonlight and The Big, the Bold, and the Happy onto the banner from This Awesome House. I added some layers behind the colorful panel including some patterned paper from 6x6 Styleboard paper pad from Maggie Holmes/Crate Paper which was inspired by the Share the Love Week featuring Simon Says Stamp sketch challenge (still time to play along!). Last are some shimmery sequins. This is definitely a one of a kind card. lol
Thank you so much for spending time with us! I know you will fall in love with the projects you will see along the way. :-) Make sure to show some love (and you will be entered to win prizes too).
>>>TOUR OF THE STARS<<<
Here are previews of just a fraction of the wonders you will find on your way. Remember to comment at every stop for a chance to win! This is also the order of the Tour of the Stars should you get lost.


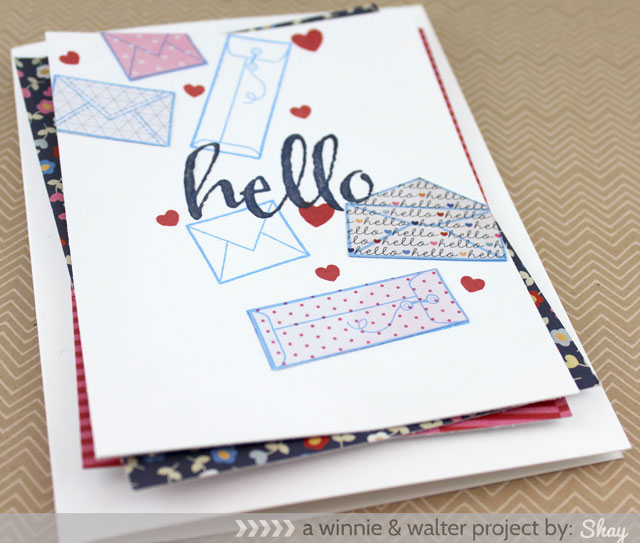
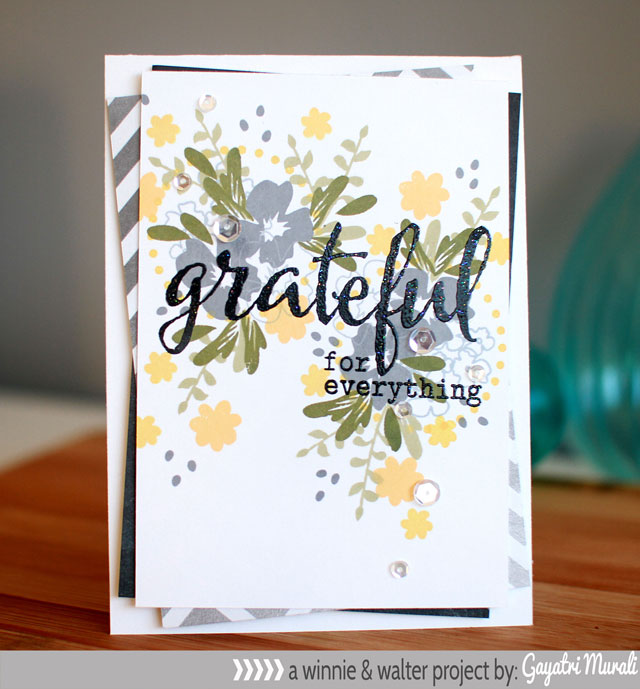
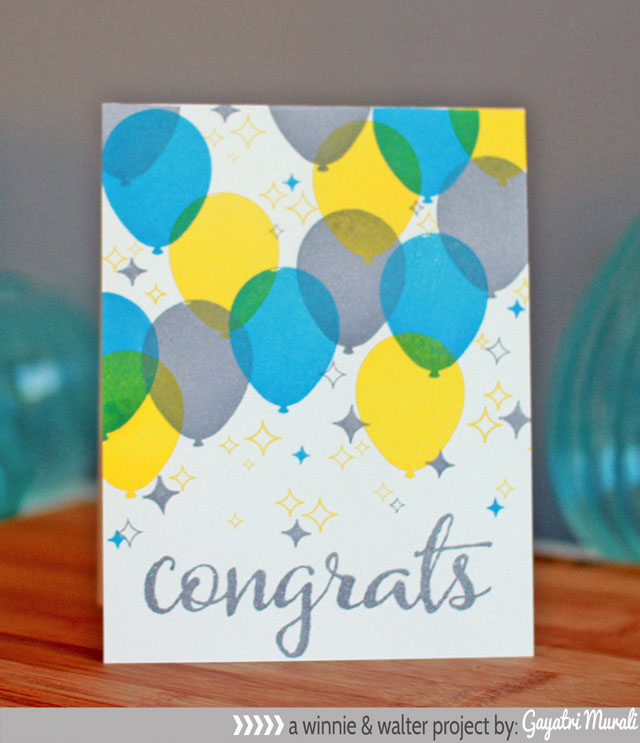
 To see more from Gayatri CLICK HERE.
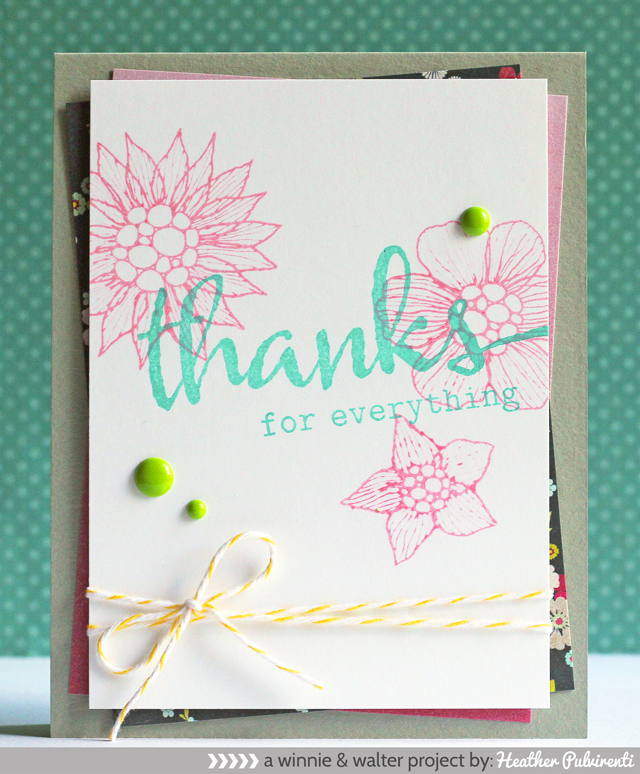
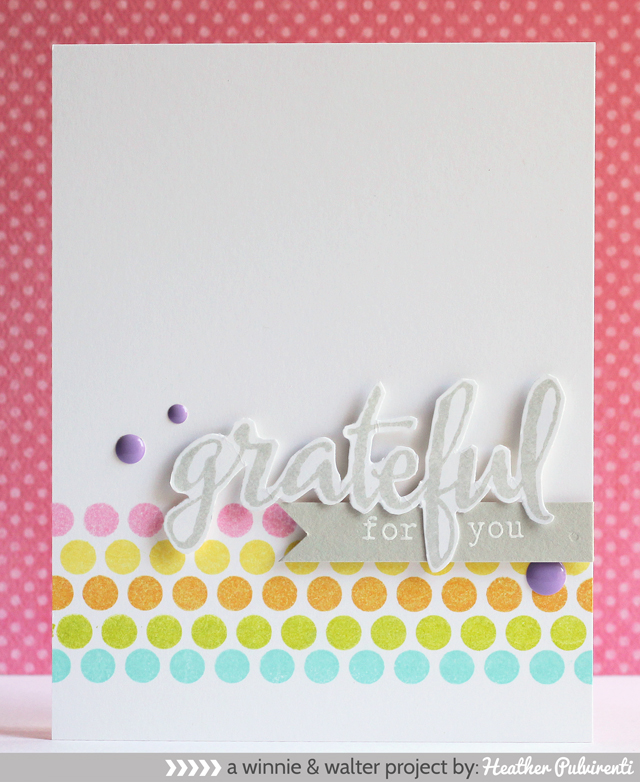
 To see more from Heather P CLICK HERE.
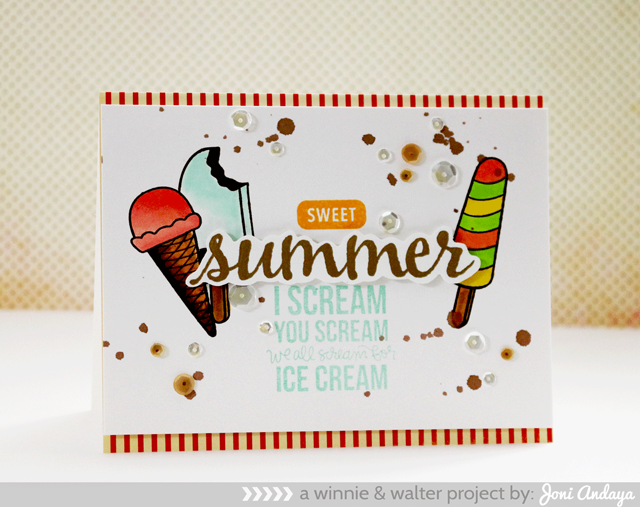
 To see more from Joni CLICK HERE.
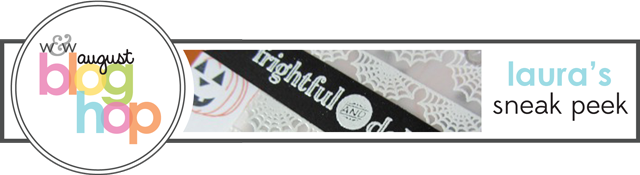
To see more from Laura CLICK HERE.
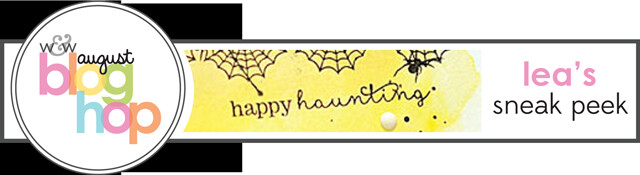 To see more from Lea CLICK HERE.
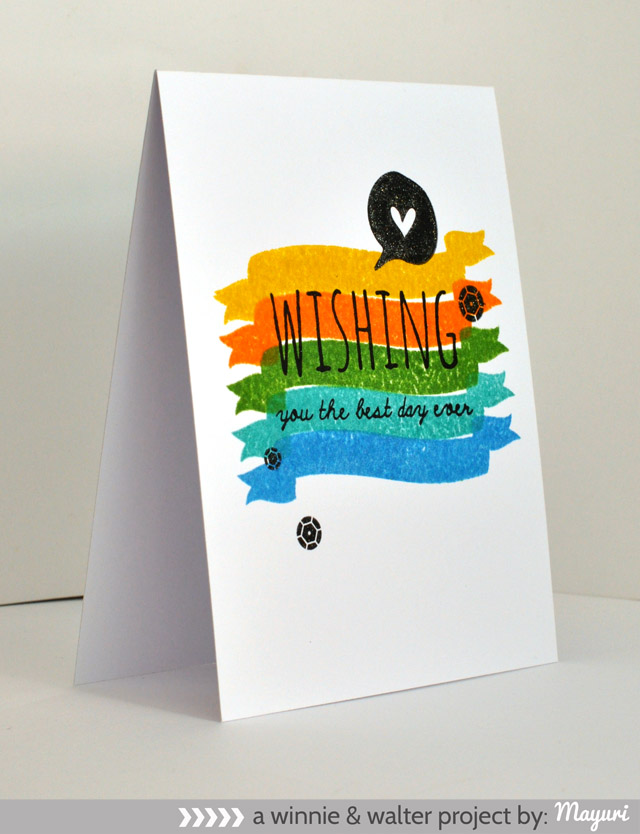
 To see more from Mayuri CLICK HERE.
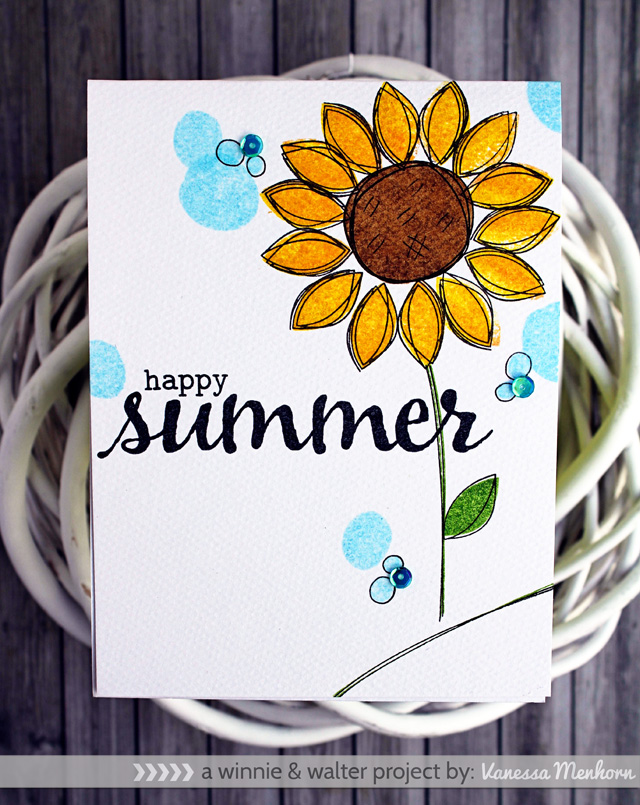
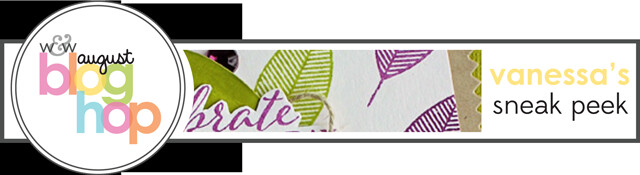 To see more from Vanessa CLICK HERE.
Your next stop is Jenny Martin's blog.
>>>THE BIG GIVEAWAY<<<
Here on the w&w blog we are giving away all three (3) stamp sets + coordinating design elements to one randomly chosen winner!
You don't have just one chance to win, but a lucky 7! You can do as many or as few entries as you want. Remember that if you take advantage of all 7 chances to win, you will have commented on this blog post 7 times. Each chance = a separate comment.
Ways to enter:
- Comment on this blog post.
- Follow us on this blog to the right through Blogger, by email or through Feedly or Bloglovin. Leave a comment that you follow us. (If you already follow our blog, let us know! And thank you.)
- Like us on Facebook. Leave a comment that you like us on Facebook...we like you right back! (If you already like us on Facebook, let us know! And thank you.) As a little bonus for liking us on Facebook we have some fan freebies...just check under the "like our page" tab.
- Follow us on Instagram. Leave a comment that you follow us. (If you already follow us on Instagram, let us know! And thank you.)
- Follow us on Pinterest. Leave a comment that you follow us. (If you already follow us on Pinterest, let us know! And thank you.)
- Follow us on Twitter. Leave a comment that you follow us. (If you already follow us on Twitter, let us know! And thank you.)
- Share about Winnie & Walter's August Release on Twitter, Facebook, your blog or Instagram. (#winniewalter) Leave a comment that you shared and thank you!
All winners from our August Release Tour of the Stars will be announced the week of September 1, 2014.