Hi everyone, and happy World Card Making
Day!
The Winnie & Walter Talent are
setting some creative challenges for you guys throughout the day to celebrate
this amazing day, and yes, there will be the chance to win some wonderful
prizes so why not take part?!
My challenge for you is Background
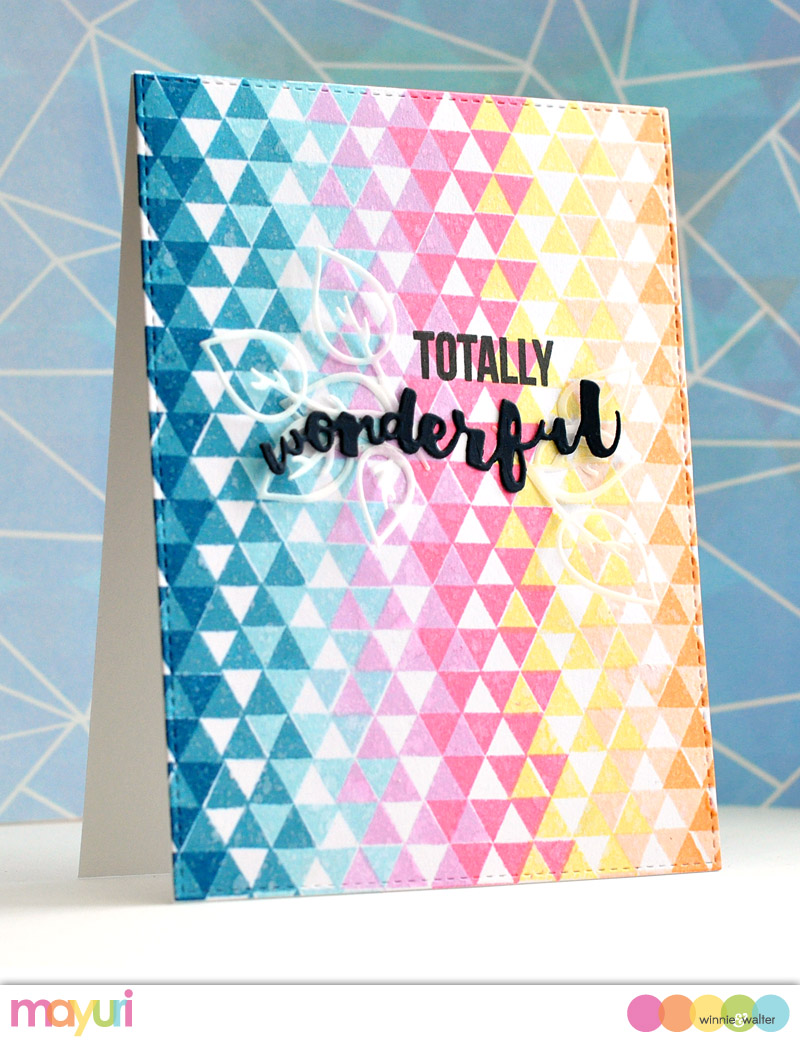
Building / Pattern Making - this is such a versatile challenge and means you
can use any product, from stamps to dies. And what’s more, the background
doesn’t always have to fill the whole page - its just a focal element for your
project. Here’s some cards I made using the latest release:
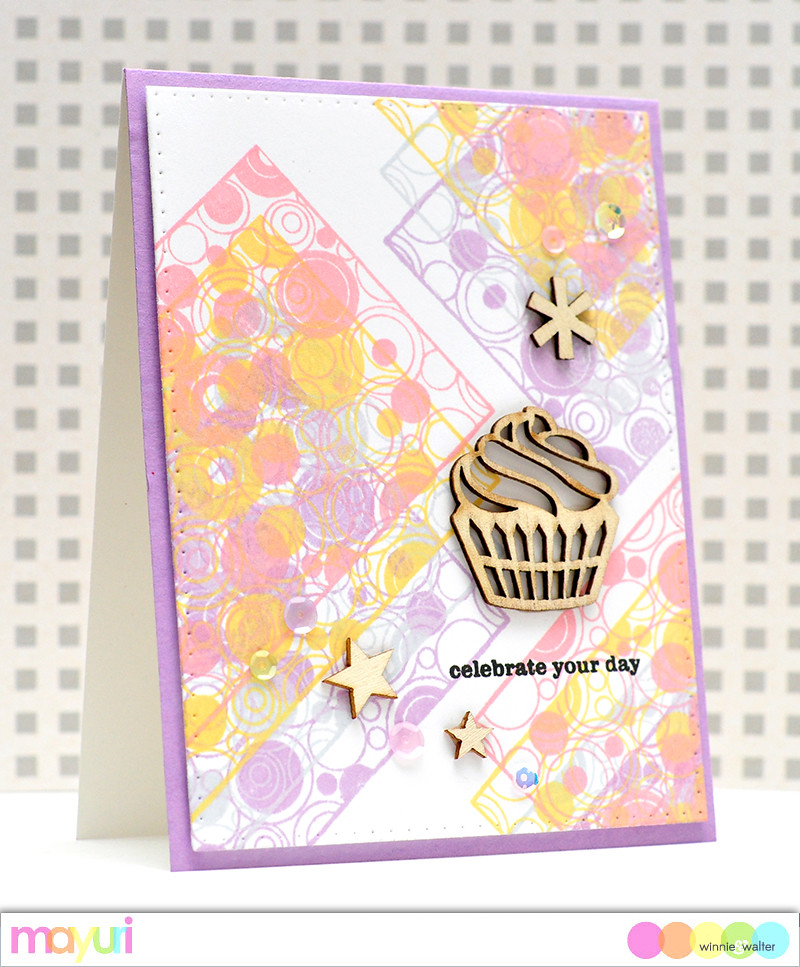
Background pattern using small background
stamps
For this card, I used the Mini Scenery: Round and Round image, lined it up at an angle on my MISTI and
stamped. Between each impression, I moved my panel of white cardstock up or
down and changed the colour of the ink - this gives a sense of depth! I then
trimmed the panel down, mounted to a card base and adhered some wood veneer
shapes. The sentiment comes from Wish Big with Evelin T Designs.
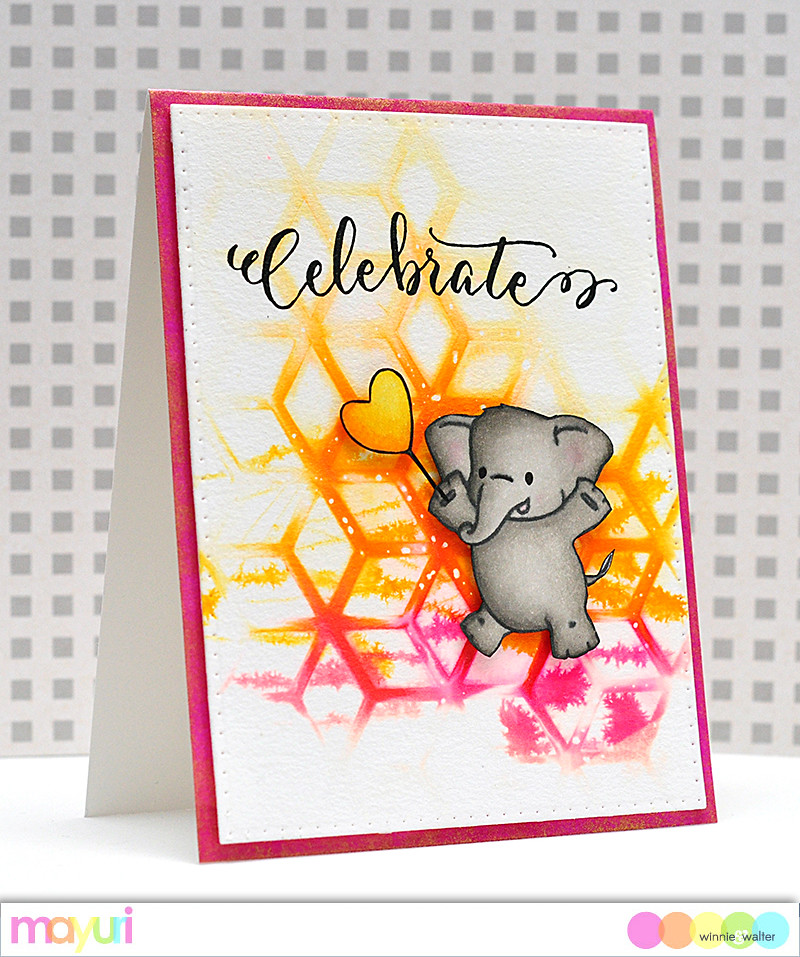
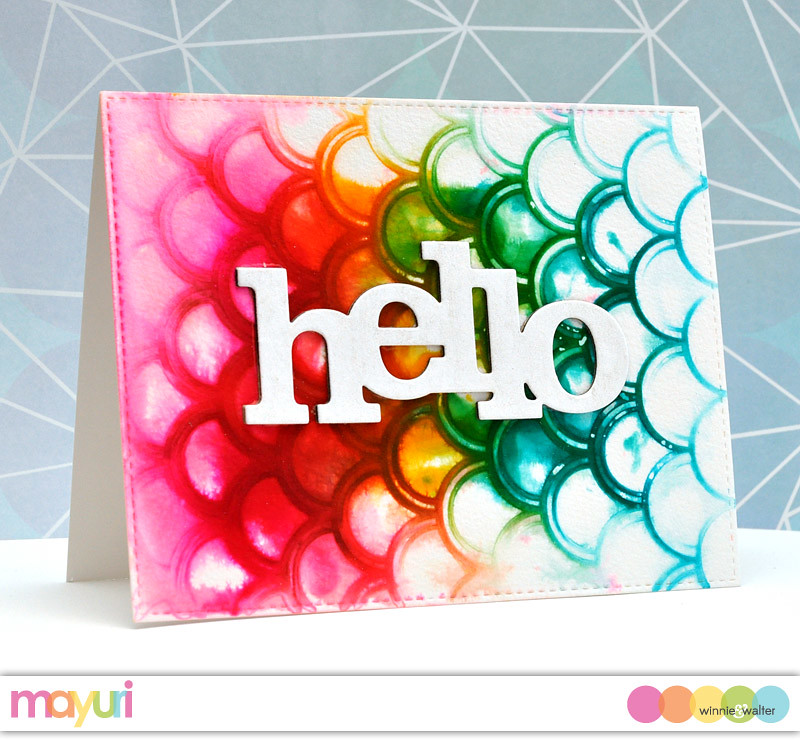
Inky stencilled background
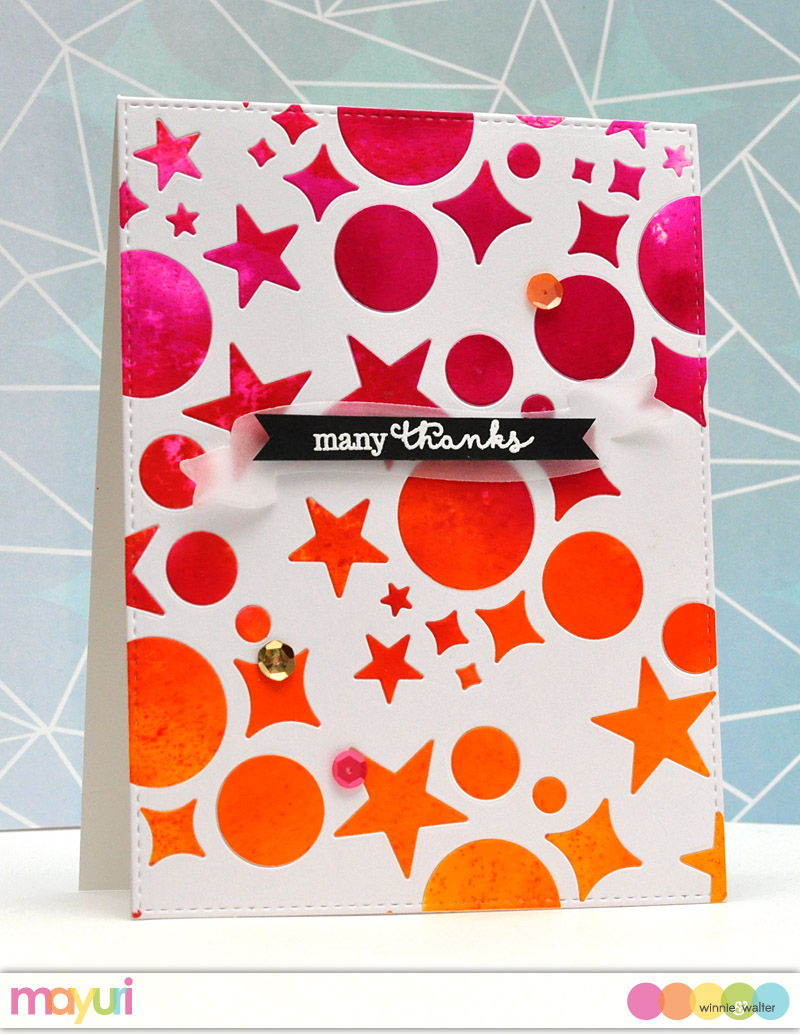
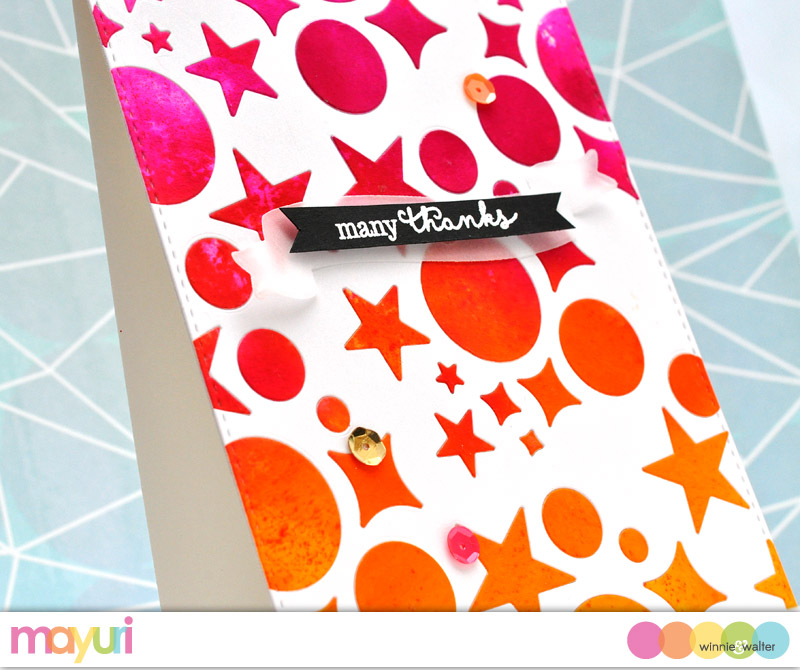
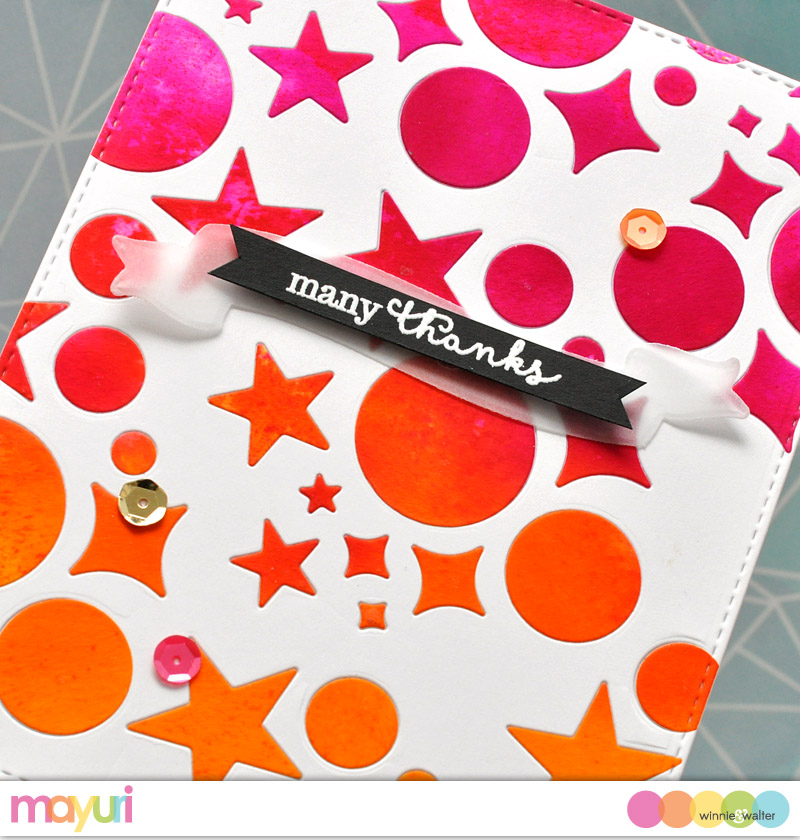
I created the background for this card
using Dylusions Ink Sprays and the Scenery: Do
You See What I See? stencil. I began by adding ink droplets onto a
block of acetate, spritzing a panel of watercolour cardstock liberally with
water, laying down the stencil on top of the damp cardstock and then quickly
turning the inked up acetate block upside down and face down. The idea is that
the ink filters through the stencil and onto the cardstock, leaving you with a
sort of ethereal background when you lift the stencil away and heat set. The
results are different every time! To finish, I trimmed the panel down, stamped
a sentiment from Wish Big with
Evelin T Designs and foam mounted to a card base. The little
elephant from Happy Dance
with Evelin T Designs was coloured with Copics, fussy cut and foam
mounted to the card front.
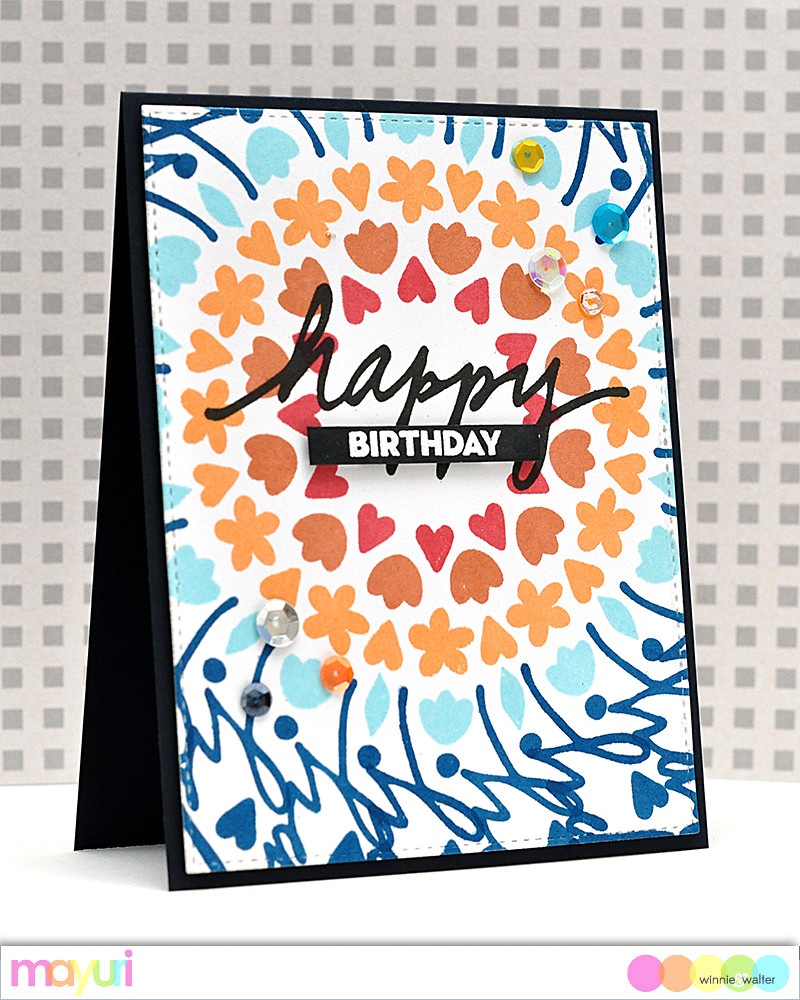
Repeat stamping
The background for this was relatively
easy as I used images from one stamp set and repeatedly stamped then around a
circle. I began by marking up a panel of white cardstock with guidelines for
where I would need to stamp at equal distances, started with the smallest
images from In a Word:
Happy (the stamp set) in the centre and ended with one of the large
sentiments around the outside. I stamped the same sentiment in the centre with
black dye ink and added a supporting sentiment that had been heat embossed in
white on a strip of black cardstock.
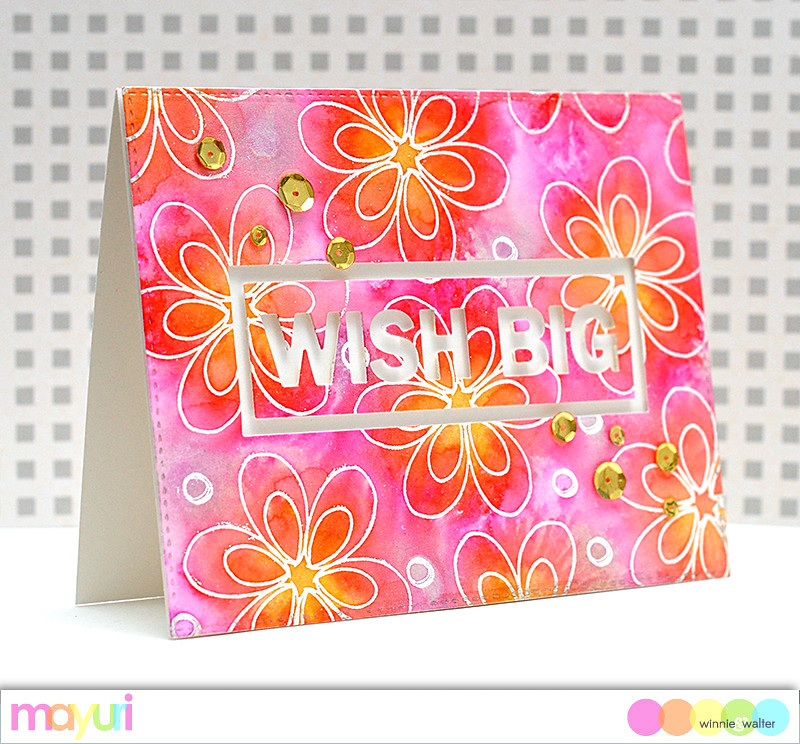
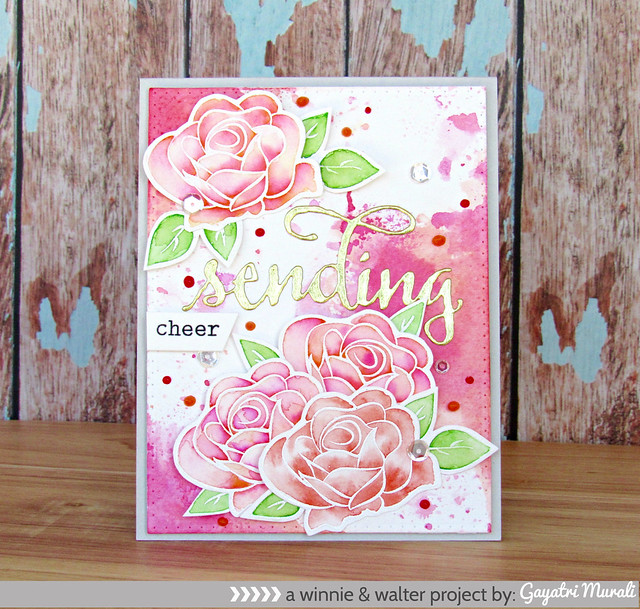
Emboss resist background
I think this background could be the most
fun to create, as again, its fairly easy to create. I repeatedly stamped the
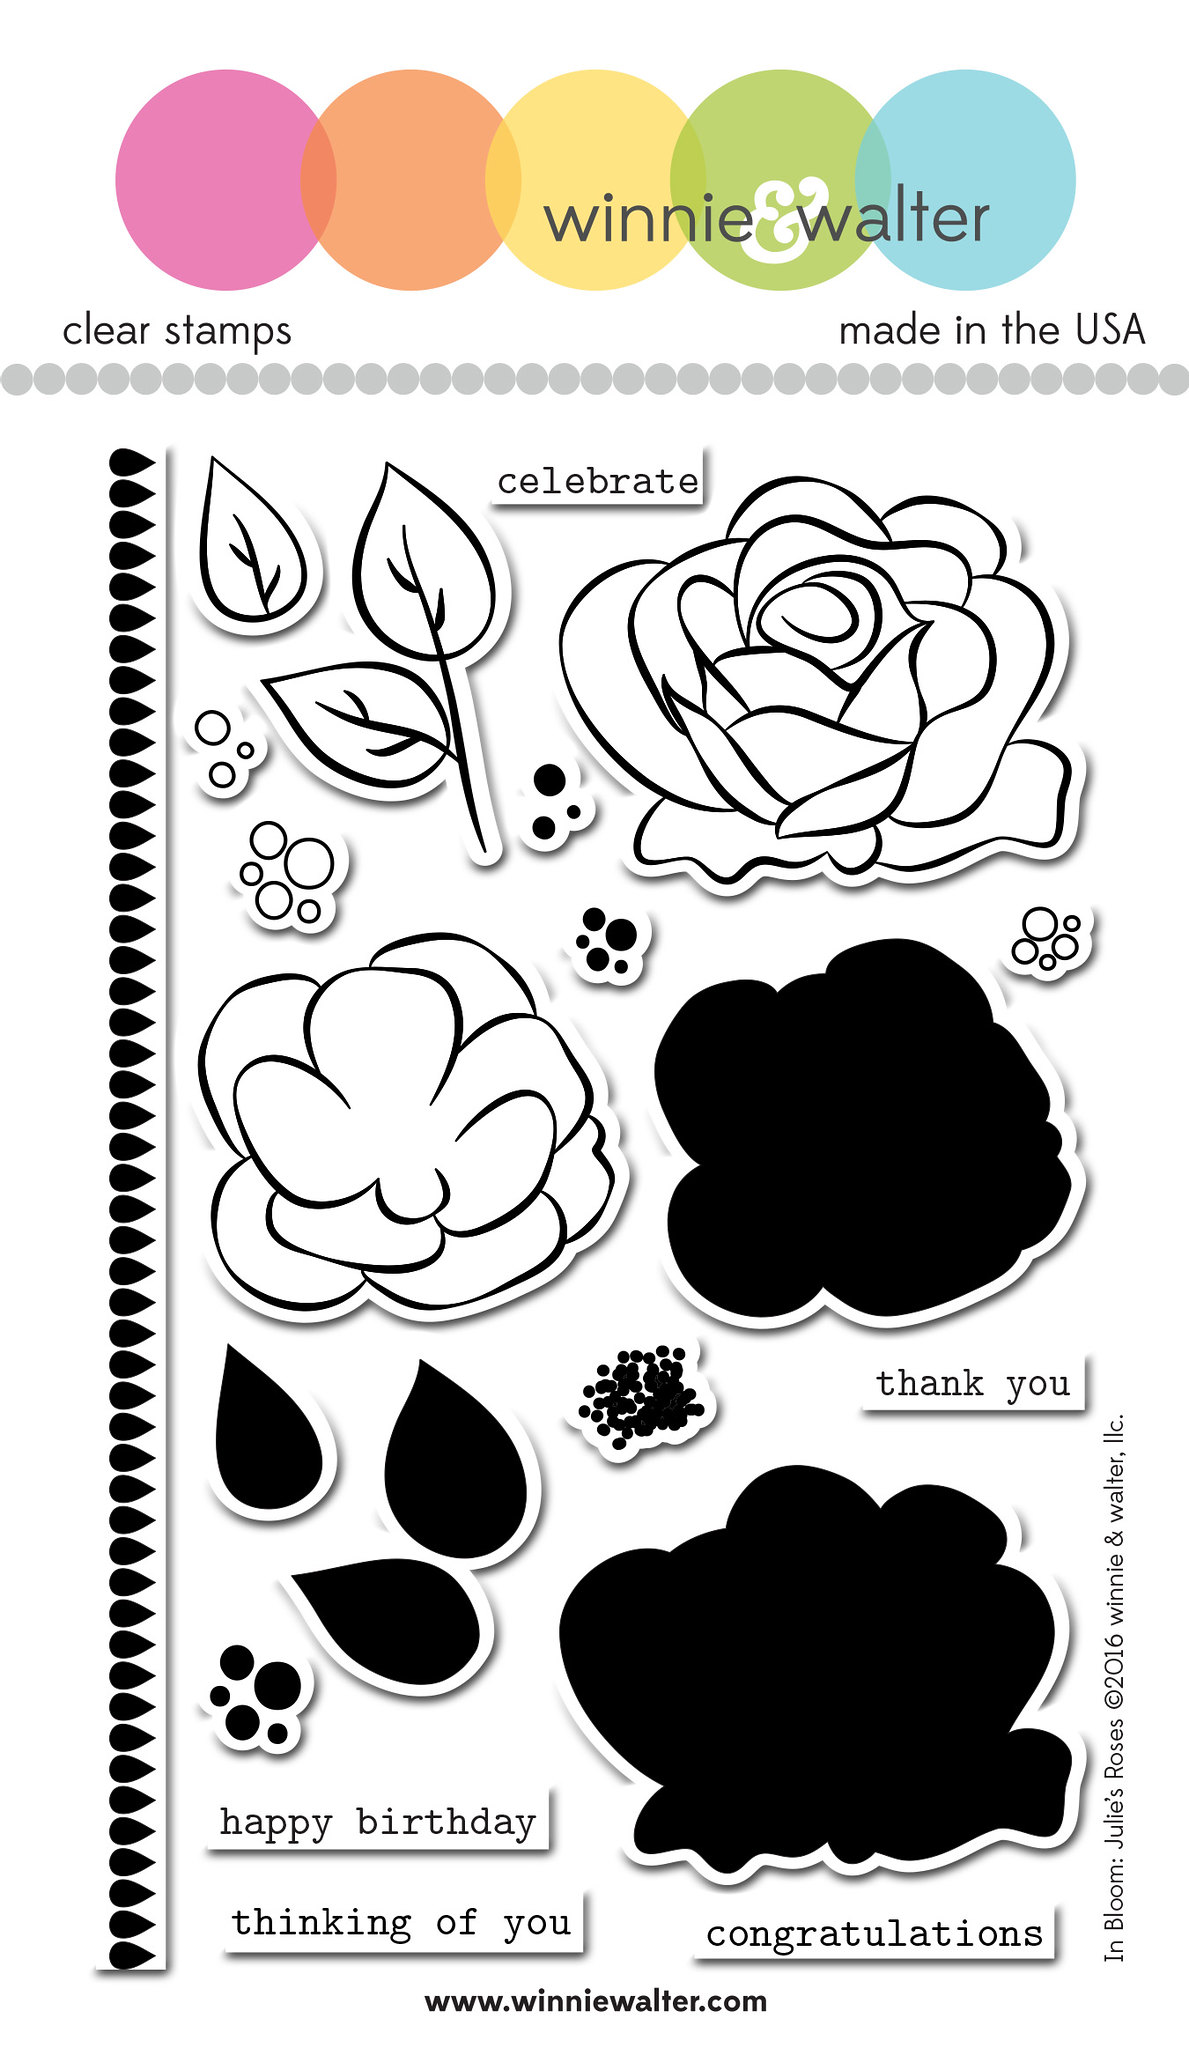
outline flower from In Bloom:Shirley's Blooms with Versamark onto a panel of white cardstock,
sprinkled with white embossing powder and heat set. I then just scribbled various
ZIG Clean Color Real Brush Pens all over the embossed areas and liberally
spritzed with water to get the colours moving and mixing. I heat set again and
for a bit of shine, I sponged some Delicate Golden Glitz with an ink dauber in
the centre of the flowers. I trimmed the panel down and used one of the dies
from In a Word:
Birthday Tiles Cutaways to die-cut a sentiment from the centre.
Everything was then foam mounted to a card base and embellished with gold
sequins.
I hope you’ll play along with this
challenge and link up your projects below! Look forward to seeing all your
ideas for Background Building / Pattern Making ;-)
Mayuri
Prize: One randomly chosen project that is linked up will win $50.00 gift credit to the w&w shop.
>>>LINK UP<<


