Hello
there lovelies! It’s Shay here. This is a particularly difficult post to
write as change is never easy.
If
you missed Julie’s blog post on Sunday please CLICK HERE.
Julie, co-founder + co-owner and all-round awesome designer, is stepping
down from being an owner of w&w at the end of this year. It has been such an amazing journey from just talking into the wee hours of what we could do to running a company that produces collections that include stamps, dies and stencils. I feel fortunate that Julie was beside me as we found the courage together to reach for, fulfill and even surpass our dreams. I will always treasure all that I have experienced with and learned from Julie and her tremendous talent, attention to detail, patience, sweetness and friendship.
Although I am mightily sad to not have Julie as my business partner, as her friend I am so grateful she is going to take some time to just concentrate on Julie.
Although I am mightily sad to not have Julie as my business partner, as her friend I am so grateful she is going to take some time to just concentrate on Julie.
Julie,
like many women, don’t put themselves at the top of their list of
priorities. Even airlines have to remind
those with children that the air mask should go on the adult’s face first and
then the child’s face next because if you don’t take care of yourself first how
can you take care of anyone else? Julie
is a wife, daughter, sister, aunt, human mother to Walter, friend and teacher
besides having been an owner, worker and designer here at w&w. She put in long hours after her day job,
sacrificing much and it is time for her to slow down and make herself the focus
and design and craft just for fun and herself.
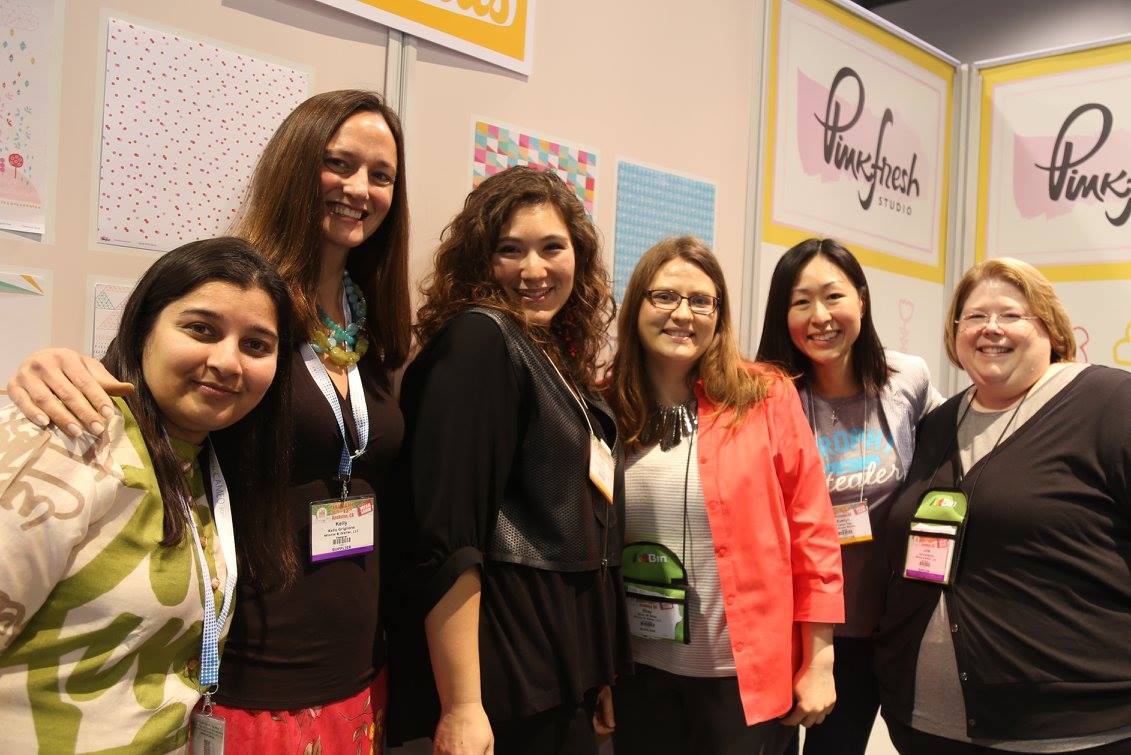
I really love this picture of Julie (far right) and I at our first CHA back in January of this year at the Pinkfresh Studio booth with Kinnari Zavari (of Pinkfresh Studio), Kelly Griglione (one of the w&w Talent), Julie Fei-Fan Balzer and Evelin Tee (the lovely designer we worked with to create Happiest of Holidays with Evelin T Designs and Merry & Bright with Evelin T Designs).
Of course Julie would love to hear from you! Julie has a blog you can follow her at: starlight windsong; a facebook page: Julie Mogford Designs; along with an Instagram account: @juliemogford. You will want to follow her as she isn’t done crafting and designing.
What
does this mean for w&w? Julie +
Walter will always be a part of the w&w family. If and when she feels she wants to join in,
she will do so as she feels best fits into her life (and I wouldn’t have it any
other way). The running of w&w will
be carried on by me. It will be quite an
adjustment to take it all on myself especially in the designing arena. My mind is brimming with ideas, I just need
to learn the ins and outs of how to make them a reality!
You
should know that what w&w is what it is not only from Julie’s and my
efforts, but also due to the support of Julie’s husband, Davis, and also that
of my parents and sister. In the future
my family will be even more instrumental as their enormous help enables me to
do all I do. Family is everything and
that is something Julie and I have always agreed upon wholeheartedly.
Joni Andaya, one of our original
members of the Talent, will be stepping down.
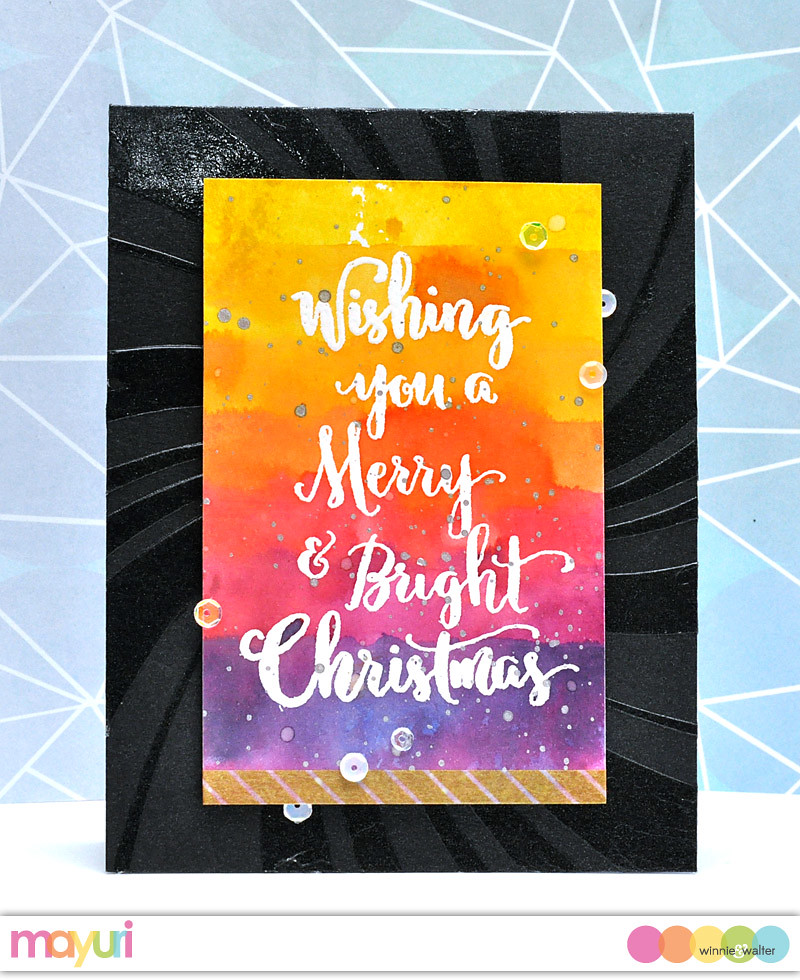
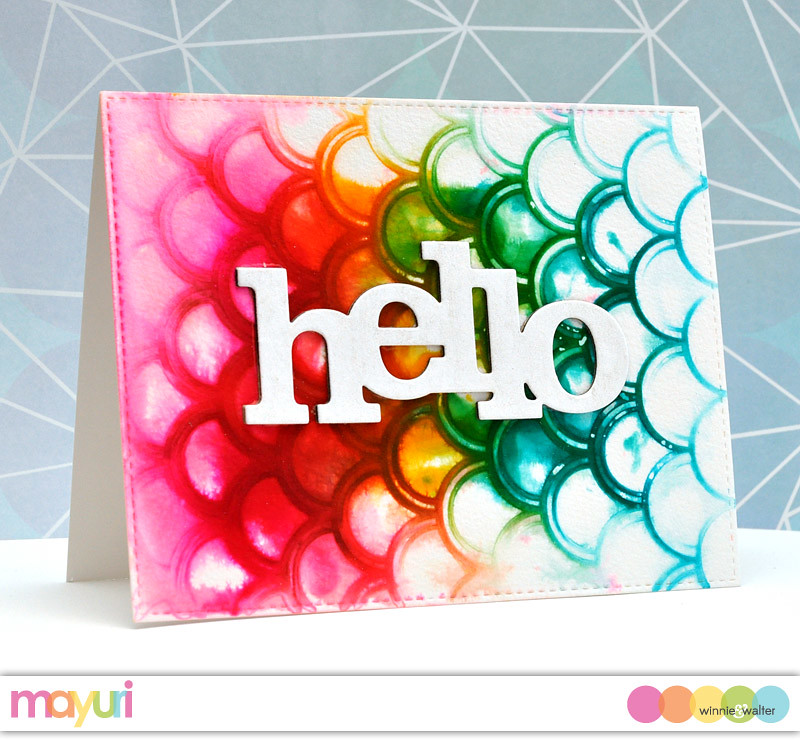
Just see this lovely card by Joni from our very first release:

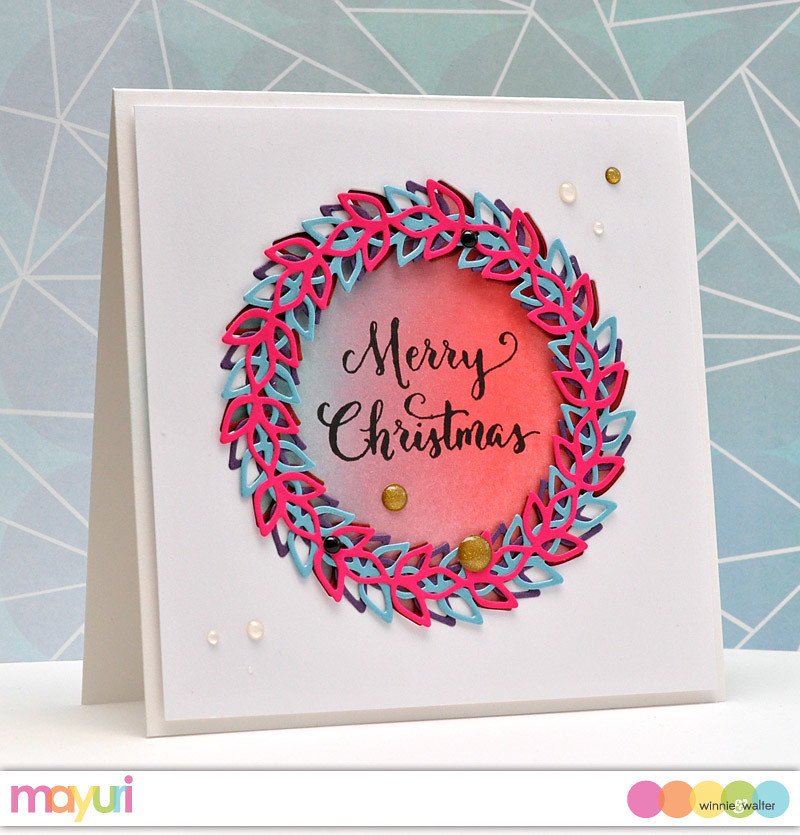
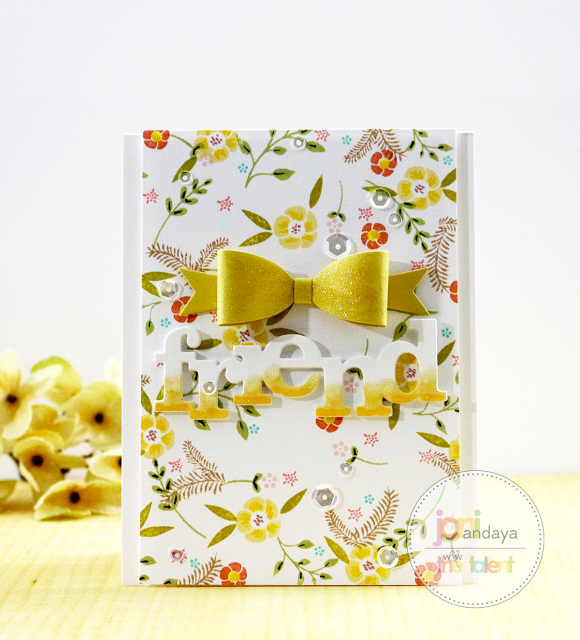
And then this stunning card by Joni from our most current release:
Joni has been an incredible designer, wonderful member of our w&w
creative family and an inspiration to us all. She was the first product designer we collaborated with to design a stamp set, In Bloom: Lola's Bouquet with Joni Andaya. Her creative and heart-stoppingly (a made up word that had to be used) gorgeous contributions will
be missed but she will remain part of the w&w family as a free agent so we hope
to see her here from time to time. We
love you, Joni, and thank you for taking a chance on us and being an integral
part of w&w's success!
Now,
for some cheerier news! Introducing The
Talent of 2016:
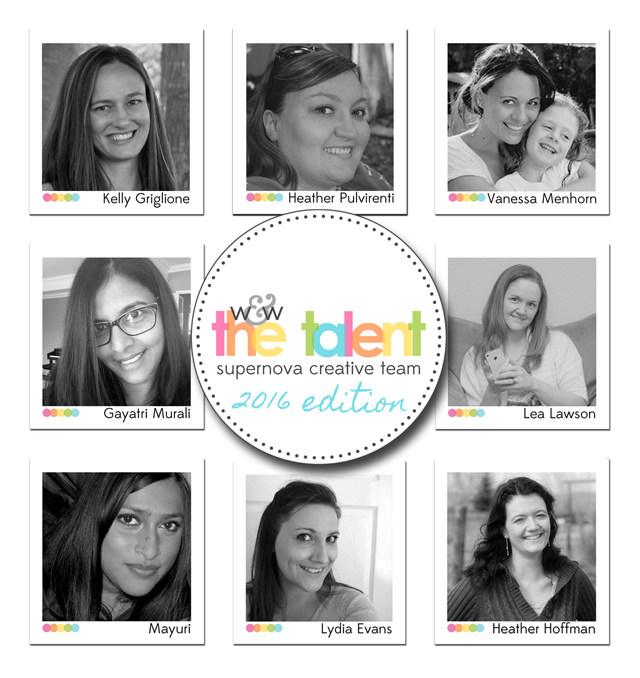
Gayatri,
Heather P., Kelly, Lea, Mayuri and Vanessa are all staying on as part of the
Talent. I feel very blessed as these sensational ladies make w&w wonderful and brighten my days by being themselves and with the beauty of their
projects!
I
have invited Heather Hoffman and Lydia Evans to become part of the Talent in
2016 and happily they have both said yes!
I am very excited as I adore these ladies and their work so much. I know they will be amazing additions to the
Talent. Please give them a very warm
w&w welcome!
Winnie & Walter’s
birthday month is January, but in light of all these changes (plus going to CHA
next week to check out all the new goodness--hope to see you there.) we are going to have our month long birthday celebration in
February…let’s call it a belated birthday bash.
We will have month long challenges, plenty of giveaways, lots of
inspiration and a “small” release to help celebrate.
I
hope you will stick around and see where w&w will go…it’s going to be quite
an adventure!
I
wish you and your family a very blessed 2016 full of laughter, love, excellent
health, relaxation and the joys of crafting.
Happy crafting,
Shay + Winnie