Saturday, March 31, 2018

March Leading Lady Lisa Lahiff | Take Five

As March comes to an end we sadly must bid au revoir to our marvelous March Leading Lady Lisa Lahiff.   The last five weeks with Lisa have been full of cleverness, incredible inspiration, amazing projects and range of ideas and techniques.  Lisa has showcased her playfulness, keen skills, adeptness with different materials and creativity week after week.  I feel so very blessed Lisa shared her talents with us this month and made this month something special.

If you missed her smashing debut you must see it...CLICK HERE or her sensational second performance with a bevy of amazing cards go beyond paper CLICK HERE or her triumphant third performance with a trio of card showcasing background CLICK HERE or her fantastic fourth performance that is full of an awesome collection of cards center upon paper CLICK HERE!  

Lucky for us all we have her final command performance today.  

Lisa_Lahiff_march2018

Do you remember that song that others might have sang to you as a child? Make new friends, but keep the old, one is silver and the other is gold.  I have to admit that I sing it to my children occasionally, and it always makes us smile.  It's a wonderful reminder to us that while new things are fun and exciting, older things should not be tossed aside as they may still be reliable, trusted and cherished.  I feel this can be applied to crafting as well.  There are always so many wonderful new products that we can't wait to get our hands on (and for good reason to!), but we shouldn't forget about those oldies but goodies, and it's fun to mix the two.  So for my final post as Leading Lady I'm going to share a few ways I mixed so many great new products with some of my older stained and loved Winnie and Walter goodies.

My first project is also a case(ing) of one of my older projects.  I love the look of inlaid die cutting, and the Mini Scenery: Bed of Roses Stamp Set is the perfect to set to die cut sentiments into...


For this new version of the card I decided to also use a spotlight technique, and colored in the outer parts of the die cut word with bright colors and I kept the sentiment (from the In a Word: Cuddles Cutaway)  monotone with grey.


I think this helps the sentiment stand out a little more, and it also draws the eye in.  I also used the Essentials: Lana Cutaway to frame the panel.  And here's a look at the project I had case(d) this card from just so you can compare the two.


My second project(s) are mini in size, but pack a cute punch...


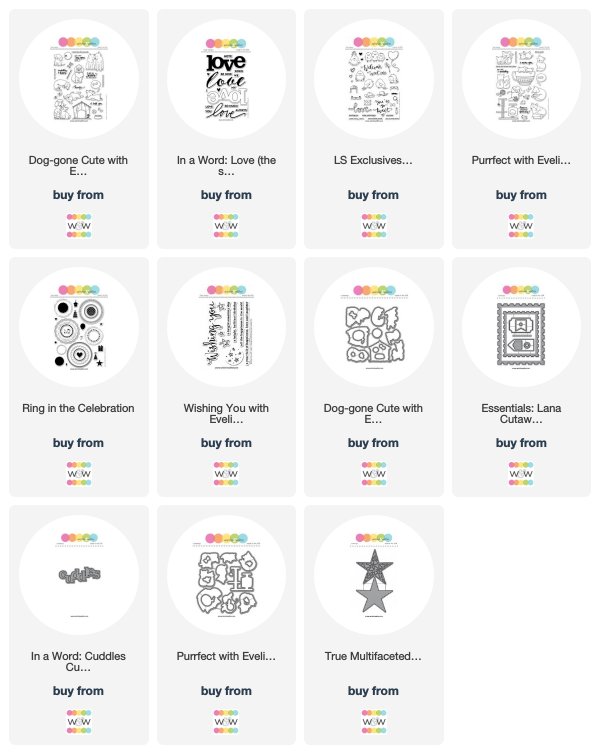
Every day I send notes in my kids' lunch bags.  Sometimes they are just to send a smile, to build them up if I know they've hit a rough patch, or to let them know I'm thinking of them.  These mini cards are the perfect size to do just that!  For these cards I've mixed the older Ring in the Celebration Stamp Set with the newer Dog-gone Cute with Evelin T Designs Stamp and Cutaways and the Purrfect with Evelin T Designs Stamp and Cutaways.


To color these fur babies in I used my Zig Clean Color Real Brush Markers, and I was so excited on how the fur turned out.  I normally have a hard time achieving a fur look on my animals, but the thin brush tip on these markers made it super easy.  The rest of the cards were colored with Distress Ink, and a few enamel dots on each finished them off.

This next project shows off another super cute kitty from the Purrfect with Evelin T Designs Stamp and Cutaways in a fun way...


I've used the older True Multifaceted Star Cutaway as a play toy for this cute kitty.  And I finished the card off with a sentiment and stars from the Wishing You with Evelin T Designs Set.


For my final project I've taken it off the page and I wanted to share a sweet wooden tag/ornament that is sure to please the recipient or to brighten any spot in your own home...


In one of my earlier posts this month I showed coloring on wood veneer, not I'm showing stamping and coloring onto a wood slice!  Colored pencils are the key to these adorable tags.  I actually created some of these a few weeks ago using the LS Exclusives: So Tweet with Evelin T Designs Stamp Set and added them onto gift bags.  It was like giving a gift on a gift!  For the above example I used a sentiment from the In a Word: Love Stamp Set and regular Dye Ink.


And there you have it!  My final project as a leading lady for the month of March.  I can not thank Shay enough for having me, and letting me share some of my projects with all of you.  And thank you to all who have come to visit, check my projects out, and have left such kind words for me.  Make sure you head to my blog for one last chance to win a $30 gc to the Winnie and Walter Store.
And as my title to this post indicated I hope I've made some new friends and delighted some old friends along the way.  

Happy Crafting!
Lisa


w&w-supplies

Friday, March 30, 2018

March Documentarian Flóra Mónika Farkas | Take Two

It is time for the second and final project post by our very first Documentarian, Flóra Mónika Farkas.  

Don't miss out on her introduction HERE or her (impossibly) adorably layered layout HERE.  

It has been such an honor to have Flóra kick off this feature and she has done such an exceptional job showing her range and depth of skill with her two dynamic and eye-catching layouts.  I hope you have been as inspired by Flóra as I have! Perhaps you (and I) will try some of her techniques on your memory keeping projects or even on other crafting projects.   

Today's layout is not only gorgeous, but very cleverly executed!  

Once again, Flóra....


Hi dear Ladies! I am back with the second post as Winnie & Walter March Documentarian. If you missed my first post you can check it here. Again, I made a 12x12 scrapbook page, but for this layout I used tons of flowers. If you know me, not a surprise I love the make different wreaths on my layouts, just like this one.


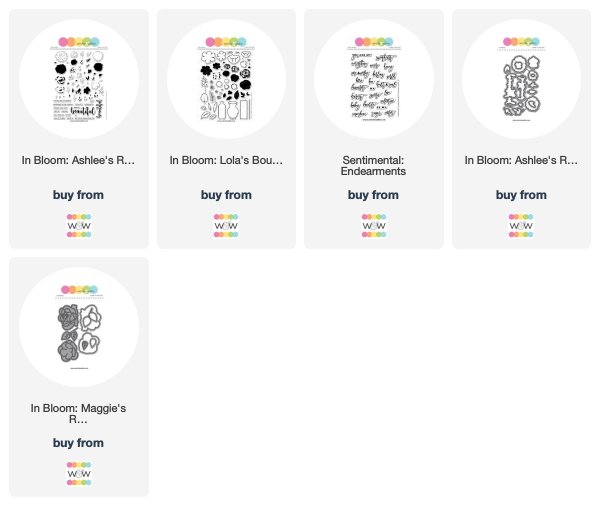
First, I grabbed a regular smooth white cardstock and draw a huge circle in the middle. Then, I stamped many many gourgeous flowers, leaves and branches with green, pink, orange and blue inks. I loved to play with In Bloom: Ashlee's Rosie Posies with Lydia Evans and In Bloom: Lola's Bouquet with Joni Andaya Stamp Sets. This took few hours to finish it, but I enjoyed so much the process. Once the stamping was done I cut out the circle and backed the layout with a same white cardstock.


I choose a pink thread and machine stitched around the circle. It gives extra texture but also fix the two papers together. After this I pull out my black ink and stampend pretty and menaningful sentiments from Sentimental: Endearments Stamp Set around the circle.


Next, I cut out gorgeous flowers and leaves with In Bloom: Maggie's Roses Cutaways. What a gorgeous product! To be honest I didn't have matching papers, so I covered white papers with the same inks I used for the wreath and I got customized cardstocks.


In the end I stamped my title using In Bloom: Ashlee's Rosie Posies with Lydia Evans Stamp Set and Die Cut. I highlighted with foam tape. Something was still missing so I stamped tiny black dots around the wreath.

It was so fun and big honor to be the Winnie & Walter March Documentarian. Thanks for the guest designing opportunity! I hope you find inspirational my projects and you got new ideas how to use your Winnie & Walter Stamps and Cutaways on future scrapbook layouts. 

Flóra

w&w-supplies

Monday, March 26, 2018

Have a Meowy Good Day with Gayatri

I have had so much fun playing with Winnie & Walter’s February release products and sharing them with you. I have you have enjoyed all my projects as much as I did. This is my last one for the month. Hope you like this one too.
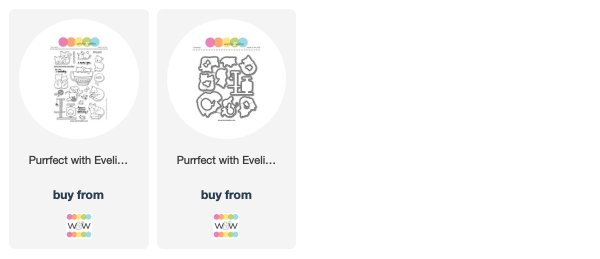
This card uses Winnie & Walter’s Purrfect with Evelin T Designs stamp set and coordinating cutaways.


Here is how I made this card:
  1. I stamped the cat images from Purrfect stamp set and coloured them using copic markers. Similarly I also stamped the accessory images and copic coloured them.
  2. The coloured images are die cut using the coordinating cutaway.
  3. On the card front, I masked a large part of the top and a small part of the bottom to give me a rectangle area to sponge inks. I used distress inks to sponge. The colours I used are Mustard Seed, Mermaid Lagoon, Blueprint Sketch and Chipped Sapphire. I also spattered clear water to add texture.
  4. I stamped the sentiment from Purfect stamp set using black ink to the top right of the sponged area.
  5. I then arranged and glued the cat die cuts on the bottom of the sponged area and the accessory die cuts around the cats and sentiment.
  6. To embellish I added blue sequins and silver stickles in the centre of them. I picked up the idea of adding silver stickles to the centre of the sequins from Stephanie Klauck.
Here are some closeups of the card.

I just love these cats together. So so adorable. Hope you like my project. All the w&w supplies used to make this card are listed below.


Thanks so much for stopping today. Will see you with more projects soon.

My blog signature


w&w-supplies

Saturday, March 24, 2018

March Leading Lady Lisa Lahiff | Take Four

Our March Leading Lady Lisa Lahiff is back for her fantastic fourth performance!  If you missed her smashing debut you must see it...CLICK HERE or her sensational second performance with a bevy of amazing cards go beyond paper CLICK HERE or her triumphant third performance with a trio of card showcasing background CLICK HERE!  I got to say today is another awesome collection of cards that calls to my paper-loving heart and I am sure it will to yours as well!

We now present Lisa....


Lisa_Lahiff_march2018

Hello!  It is Lisa here again with my 4th post this month, and this week I'm focusing on something we all love... Paper.  I'm titling this weeks theme: For the Love of Paper, and I'm going to show some fun ways to use up your paper especially patterned paper.  Let's get started.

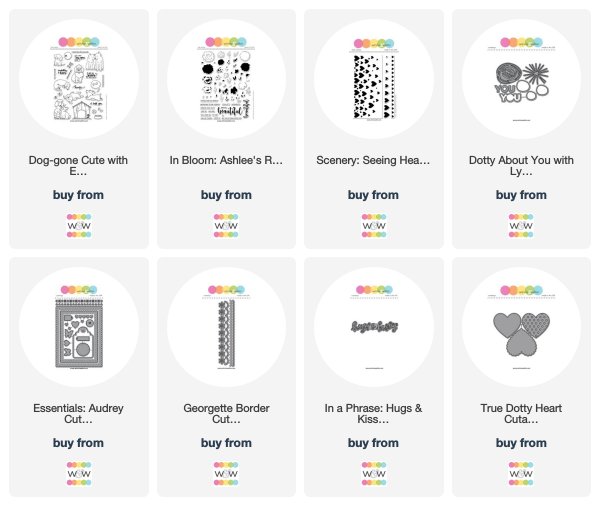
For my first project I'm using a scrap from a previous project last week (think rainbow heart) along with lots of diecutting the word You from the Dotty About You with Lydia Evans Cutaways...


I love the clean and simple look of this card and how just the one you is pops with color.  Now I know that the patterned paper I used on the "you" doesn't exactly match the rainbow heart scrap, but somehow it works.  By grounding the diecut panel with a thin border of navy blue cardstock, I find the colors quite complimentary.  Of course a few flat back gems didn't hurt as a final touch, hehehe!


This next project was actually something I've wanted to try for years, and just never think to try it.  I once saw a beautiful card in a magazine created by Miriam Prantner that showed heat embossing an image onto patterned paper with clear embossing powder.  Once it had set the paper was then covered with ink, and thanks to the resisting properties of embossing the patterned paper only peeks through the clear embossed images.  This technique was perfect to use with the Scenery: Seeing Hearts Stamp Set...


Tip: Once the ink is applied buff the embossed areas with a microfiber cloth to help the pattern underneath show through.  I finished this card off with a few more strips of patterned paper, using a border die from the Georgette Border Cutaways on the pink strip.  I also used the In A Phrase: Hugs & Kisses with Angelica Suarez Cutaways for a sentiment and hearts from the Essentials: Audrey Cutaways as embellishments.


My third card includes the technique Paper Piecing.  This was one of the first technique I really played with when I first started card making, and while I don't use it as often anymore I still love the look of it on my projects. (I might have to add it back to my arsenal soon)


I was inspired by the tennis ball image in the Dog-gone Cute with Evelin T Designs set, so I decided to re-create a larger tennis ball as my cardbase.  I then stamped the St. Bernard onto a brownish patterned paper and a white.  I cut out the parts I wanted to be white and adhered them to the brown image before fussy cutting the whole thing.  I did the same thing with the bowl and tennis ball, but with different colored paper.  Since I felt the image looked a little flat I added some shading with my Spectrum Noir Markers.


Finally, for my fourth card I decided to use lots of scrap patterned paper that I keep in a bag.  I really try to keep as many scraps as I can for future use, but sometimes my scrap pile can become a bit overwhelming in itself.  This project is a great scrap buster, and it looks so bright and cheerful with all of the different colors.


The Dotty About You with Lydia Evans Cutaways has some great funky circle cuts in various sizes so I used them all to create my own patterned frame.  I then adhered a few coordinating flat circle sequins for extra shine.  For the center of the card I chose a sentiment from the In Bloom: Ashlee's Rosie Posie with Lydia Evans Stamp Set.  The script on the word beautiful, is so pretty and well beautiful!  I also like that you can mix and match your sentiment from this set with the various options provided.


And there you have it Winnie & Walter fans, a slew of fun ways to use Patterned Paper.  From diecutting, to embossing, and paper piecing we've covered just a few techniques that paper lovers everywhere can rejoice while creating.  I hope I've given you some inspiration to dust off an old love, or try something new either way I encourage you to get your craft on!  And don't forget to stop by my blog for more inspiration and for a chance to win a $30 gc to the Winnie & Walter Store!

Happy Crafting!
Lisa


w&w-supplies

Friday, March 23, 2018

March Documentarian Flóra Mónika Farkas | Take One

It is time for the first project post by our very first Documentarian, Flóra Mónika FarkasDon't miss out on her introduction last Friday==> CLICK HERE.  If you are anything like me you may have to stop from squealing when you see her delightful layout today!

Ladies and gentleman, Flóra....


Hi Ladies! I am so excited to share my recent layout on the Winnie & Walter blog. I was sooo happy when I got this sweet invitation from Shay and even more when my parcel arrived filled with amazing stamps and dies. I saw already many beautiful cards made with Winnie & Walter products and I couldn't wait to use them on my scrapbook layouts. 

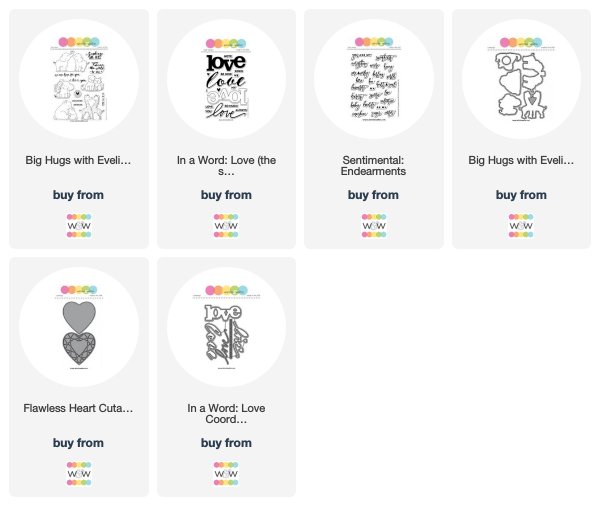
So, for today's layout  I used the Big Hugs with Evelin T Designs Stamp and Cutaway and the new 
In a Word: Love Stamp and coordinating Cutaway. This page is all about love of siblings. The cute animals reminds me of my childhood and how I admired my big brother. 


First, I stamped the cute critters from Big Hugs with Evelin T Designs Stamp on watercolor paper with permanent black ink and colored them with watercolor. After they completely dried, I cut them out with my die cut machine. I placed them on a pink squared scrapbook paper and arranged them in a grid layout. I created four clusters. Here is the first one with the a cute monkey and elephant. Behind them I placed a lovely heart gem using the Flawless Heart Cutaway


For the second section I placed the dog and cat pair along another love title using In a Word: Love Stamp and coordinating Cutaway. I really love the tiny heart stamps and matching dies. It's so awesome that I could create the same color titles and embellishments with stamps and inks.


Third cluster was made with this giraffe couple and the solid love title. Here I used another shades of pink. For all the love titles I cut out an extra layer just to make them more massive and adhered with foam tape to create dimension. 


Around the critters I added phrases and sentiments with black ink. I love how they pop out. They are from Big Hugs with Evelin T Designs StampIn a Word: Love Stamp and Sentimental: Endearments Stamps. The pretty hand written style are simply stunning and they coordinates perfectly with the capital letters. I completed my layout with some stickers and hand stitched some of the pink squares.


I hope you like my 12x12 page and inspires you to use your Winnie & Walter Stamps and Cutaways on scrapbook layouts and in mini albums. Stay tuned because I will be back with a floral scrapbook page soon.

Thanks for stopping by today!
Flóra


w&w-supplies

Wednesday, March 21, 2018

Dotty About You with Lydia Evans Stamp Set and Cutaways with Kelly


Hi Folks! Kelly here from Notable Nest with a trio of cards featuring the newly released Dotty About You with Lydia Evans and the related Dotty About You with Lydia Evans Cutaways. I didn't get a chance to play with this set during release week, so I've been anxious to spend some time with it in my craft room. My intention was to only make one card, but I ended up with several ideas on how to use this versatile set that I'd like to share:
 
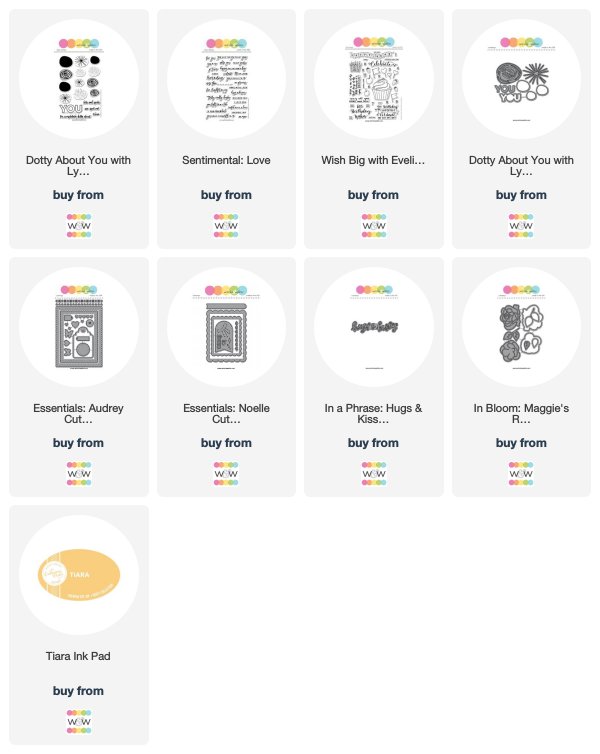
1) Use the scribble cutaway for a flower.  I love the large size of this scribble/flower, especially since it's large enough to stand on its own on the front of the card. So much easier to only cut one flower instead of 3 or 5. I used my all-time favorite panel die Essentials: Audrey Cutaways for the panel and the butterfly, and my all-time favorite sentiment set Sentimental: Love. The leaf is from In Bloom: Maggie's Roses Cutaways
 
I sponged some Catherine Pooler Tiara ink on the panel, then added all the elements. The sentiment is curved to match the flower, and I bent the wings of the butterfly up after gluing him down the middle of his body. 

 
 Although the leaf is from a completely different set, these outlined cutaways still go well together.


2) Make a modern bouquet.  In keeping with the flower idea, I stamped three spots on the Essentials: Noelle Cutaways panel. The scribbles are stamped in darker colors over the spots (although I'd like to try out the dots and explosions sometime soon.) This set also gives you the option to stamp three different sizes of spots/scribbles/dots, but I just went the easy way and stamped the same size. You definitely don't need to stress about where to stamp these spots, given the loose style they're designed in. They can overlap, be right next to each other, or be separate. It's hard to mess this one up!


The gold "hugs" is from In a Phrase: Hugs & Kisses with Angelica Suarez Cutaway and the embossed sentiment is a left-over from my first card (again from Sentimental: Love.) I've recently neglected putting patterned paper inside my cards ahead of time, so I made sure to get these ready to go. 


 3) Make a spotty background. This one turned out to be my favorite of the set. I got several of my Catherine Pooler Ink Pads out and just started stamping out from the center. 

When I was done I was stumped for a while on what to put on the front of the card. Quite honestly, I probably spent more time trying different things out for the front than I did to stamp the entire background! I settled on gold embossing the sentiment (from Wish Big with Evelin T Designs) onto vellum so you can still see some of the background stamping. The gold heart ended up being perfect in the middle ... not too large, not too busy, not too distracting, just right. 


This picture just makes me happy with all the bright colors, cheery patterns, gold embossing, and dotted inside.  Although I was thinking of using this card for a birthday, you could easily make this into a wedding card, and even use the wedding colors. 


Given that I only used the same colors, and same scribble stamp/cutaway, for these three cards, there sure are a million other possibilities on how to use this set. I can see getting lots of use out of this!

Thanks so much for stopping by!
- Kelly


w&wDT_kellygriglione_blog-sig


w&w-supplies