Showing posts with label happy dance with evelin t designs. Show all posts

Sunday, February 17, 2019

w&w 5th Birthday Bash | 3+ Stamp Set Challenge with Kelly


Hi Folks!

Wow, FIVE YEARS. Half a decade. I'm very happy to be celebrating Winnie & Walter's big milestone birthday today! My challenge is a fairly simple one, but one that hopefully may get you looking at your supplies in a new way.

Make a project using stamps from three or more different sets.


This card uses the two elephants from Big Hugs with Evelin T Designs, an elephant from Welcome to the Family with Evelin T Designs, and a bunch of balloons from Happy Dance with Evelin T Designs. It wasn't until I came up with this challenge that I noticed how well the elephants from the two different sets go together as parents with a new baby.  I love that it allowed me to represent an entire family on this card. The parent elephants are colored blue and pink, so that they could make a purple baby : )


I masked off the strings of the balloons, sprayed adhesive on the balloons, and sprinkled chunky glitter on top. Glitter makes me happy any day, and I think it's especially sweet on a baby card.  


I hope you get a chance to play along in one or more of the month-long challenges in honor of this event. If you pick this challenge, I'll be anxiously waiting to see what you come up with!

Thanks, and a big happy birthday to Winnie and Walter!
Kelly


>>>GIVEAWAY<<<


Link up your take on this challenge for a chance to win a $75.00 gift card (gift code) to the w&w shop.  One random winner will be chosen.

Inlinkz Link Party

Wednesday, January 23, 2019

Rerun No. 38 | Happy Dance with Evelin T Designs by Crystal (Video)

Happy Wednesday loverlies!

There is still lots of time to participate in our latest Rerun challenge featuring Happy Dance with Evelin T  Designs!  

To help inspire you Crystal has an adorable card and video for you today!


What a darling card, right?

Remember you still have time to play along with the challenge and/or enter to win this stamp set.  All the details can be found HERE!

Have an incredible day!

Shay.

w&w-supplies

Friday, January 11, 2019

Rerun No. 38 | Happy Dance with Evelin T Designs (Challenge + Giveaway + Sale!) + Winners of Rerun No. 37

w&w_rerun_logo
Hello lovelies!  Welcome to our monthly Rerun post!  First, we are going to announce winners from last month's Rerun No. 37 | Stampet: Penguin.
We had such lovely entries and luckily I used the random generator to pick out a winner:


No. 9 | ionabunny

Thank you for all your kind comments as well!  The winner of the Stampet: Penguin stamp set is:


No. 29 | Quillish

Congrats everyone!   Please email us at info {at} winniewalter {dot} com.  Quillish, I will additionally need your mailing address.

Now on to this month's Rerun!

Each Rerun will provide plenty of inspiration focusing upon a featured product, a month-long sale on the featured product and a challenge (with a prize!) and giveaway.  You will not want to miss out!


For our thirty-eighth Rerun we are concentrating on Happy Dance with Evelin T Designs stamp set. This set is full of joy, celebration and the signature adorable illustrations of Evelin T!

Now on to the cards!

Shay 

Happy New Year!  Time to get your happy on!


This is one happy, cheerful card and pretty easy and simple to make.  I stamped the elephant (a favorite of mine) and balloons on white cardstock in Memento ink.  I then colored them in with Copics.  I cut out the images using the coordinating cutaways.  I also cut out the smaller decorative rectangle with Essentials: Tilda Cutaways from white cardstock.  I stamped the sentiment in black ink and arranged the elephant and balloons on the little panel using dimensional foam adhesive.  I attached everything to an A2 card I had covered with some patterned paper and voila!  Done.

I imagine you could mass produce these for cute party invites too. :-)


That's it from me...wait until you see what Gayatri and  Heather did with Happy Dance with Evelin T Designs ...so amazing!

>>>THE TALENT<<<


CLICK HERE to see more from Gayatri.

 CLICK HERE to see more from Heather.

>>>CHALLENGE<<<

Now it's your turn to play along with Rerun!
  1. Create a new project using Happy Dance with Evelin T Designs stamp set.  An alternative to using Happy Dance with Evelin T Designs stamp set is to create a new project using one of the projects featured in this post (or any Rerun post throughout November by The Talent) as your inspiration.  Make sure you use at least one (1) w&w product (this can include a freebie found in the w&w shop) in your project.  If you choose the alternative to using Happy Dance with Evelin T Designs stamp set, please include in your post or project description which project inspired you and how.
  2. Link up your project here by 11:55 p.m. CST on March 6, 2019.  
  3. Enter as many times as you want before the deadline.
  4. This Rerun Challenge may be combined with other challenges found here on the w&w blog or elsewhere.
One project will be randomly chosen to win $25.00 credit to the w&w shop!  The winner will be announced on the w&w blog in March. 


>>>GIVEAWAY<<<

Please comment on this post (make sure to include your email address in your comment--if you have to add your email address to your comment please do so by replying to your original comment) by 11:59 p.m. CST on March 6, 2019 for a chance to win your very own Happy Dance with Evelin T Designs stamp set!

Saturday, November 17, 2018

November Leading Lady Jill Vickers | Take Three

Our November Leading Lady Jill Vickers is back for her triumphant third performance!  If you missed her smashing debut you must see it...CLICK HERE or her sensational second performance sure to ensnare your focus CLICK HERE.   Today's tremendous plethora of cards will have you reaching for dies!

Without further ado, Jill...

So happy to be back for another week on the Winnie & Walter blog - I am having so much fun creating all these projects. 

This week I chose to focus on one of my favourite techniques - creating backgrounds using die cuts. Winnie & Water dies are some of my absolute favourites and I am highlighting a few of them today.

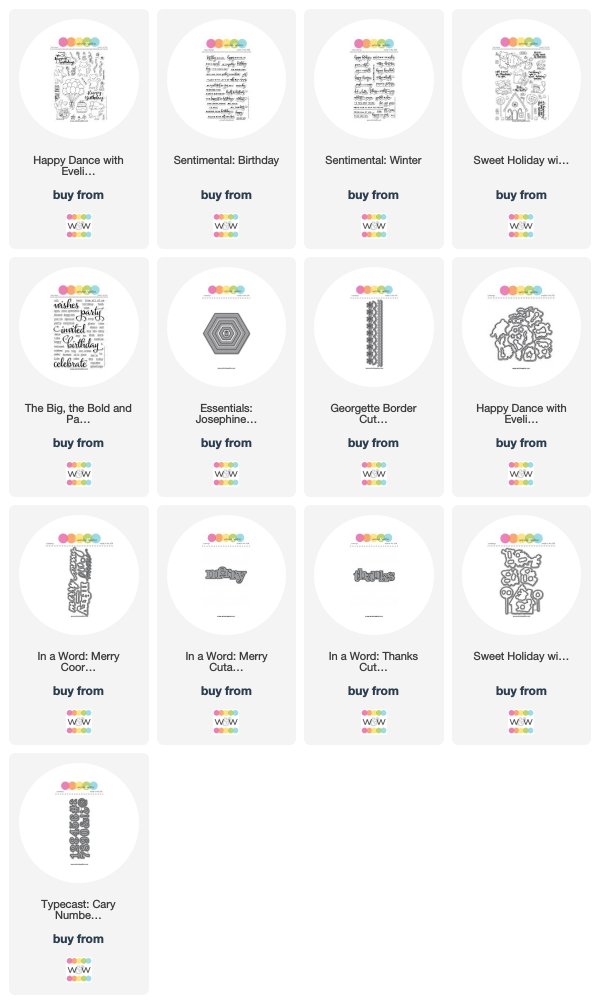
First up is using tone-on-tone die cuts to create a background - this is a time consuming technique but it is one of my favourites since I just love the effect on the finished card. For these cards, I used the Typecast: Cary Numbers Cutaways to create my background. I die cut all the numbers five times and then adhered them randomly onto the same colour card base. I wanted the background  of the card to be the focus so I kept the rest of it very simple with some Copic coloured images from Happy Dance with Evelin T Designs and a greeting from Sentimental Birthday.


I made two versions of the card - one in white and one in blue. I am not very good with using non-neutral coloured card bases so this technique is a great way to force myself to do it :) 

My next two projects focused on using border dies to create the background using the Georgette Border Cutaways. For the first card, I die cut the flower-shaped border repeatedly across the card panel. I then backed the panel with Be Creative tape and added some glitter to it through the die cuts (I was going for a sparkly snowflake look - that unfortunately does not show up well in the picture). I, once again, kept the rest of the card simple with a cute Copic coloured image from Sweet Holiday with Evelin T and a greeting from Sentimental Winter


For the second card, I die cut the flower shaped border only three times on the panel, and I finished the edge with the scallop die. I again backed the die cut part of the panel with Be Creative tape but, this time, I added red glitter to the die cut openings. I mounted the panel on a light grey card base and added a red glitter In A Word: Merry Cutaway die cut combined with a light grey stamped sentiment from In A Word Merry. The finishing touch was some sparkly gems added to the centres of the red 
flowers.


My final projects are all about adding Copic colouring to the die cuts to create interesting backgrounds - for these projects, I used one of the hexagon frame dies from the Essentials Josephine Cutaways.  


For the first card, I cut the smallest hexagon frame multiple times from 6 different colours of cardstock. I then added to some shading using corresponding Copic colours to the outside edge of each hexagon frame. I adhered the frames to the card base in rainbow order (these die cuts piece together - almost like inlaid die cutting). I then die cut the small hexagons (many times!) from white glitter cardstock to inlay in the centre of each of the hexagons. I trimmed the panel, adhered it to a card base and added a simple white embossed greeting from The Big, the bold and the party with foam tape.


For the second card, I repeated the process but instead of adding the white glitter paper, I also added shading to the centres of the hexagons and popped them up with foam squares. I finished off the card with a glittery In A Word Thanks die cut.


Finally, I wanted to quickly share a card front that I made to show another idea on how to colour the hexagons. For this one, I used a light grey panel and cut the hexagons from the same paper. I coloured some of them with different shades of grey Copics - and adhered them to make an ombre pattern. I ran out of time on the rest of the card but wanteed to share what I had done.


Shay has kindly offered up a $30 Winnie & Walter gift card for me to give to one lucky commenter on my blog, My Life in Paper For your chance to win, leave a comment on this post and/or any of my leading lady posts and I will randomly pick a winner from all the comments left by November 30th.

Thanks so much for stopping by! 

Jill

w&w-supplies

Saturday, November 10, 2018

November Leading Lady Jill Vickers | Take Two

Our November Leading Lady Jill Vickers is back for her sensational second performance!  If you missed her smashing debut you must see it...CLICK HERE.   Jill has ensnared my focus with today's superb cards!

Ladies and gentlemen, Jill...

I am so happy to be joining Winnie & Walter for another week as their November Leading Lady. This week's cards are all about the magic number three, and a few ways it can be used in card design.


My first card is all about the visual triangle which is created when you place three elements (forming a triangle) around the focal point. On my card, I placed three critters around the sentiment:


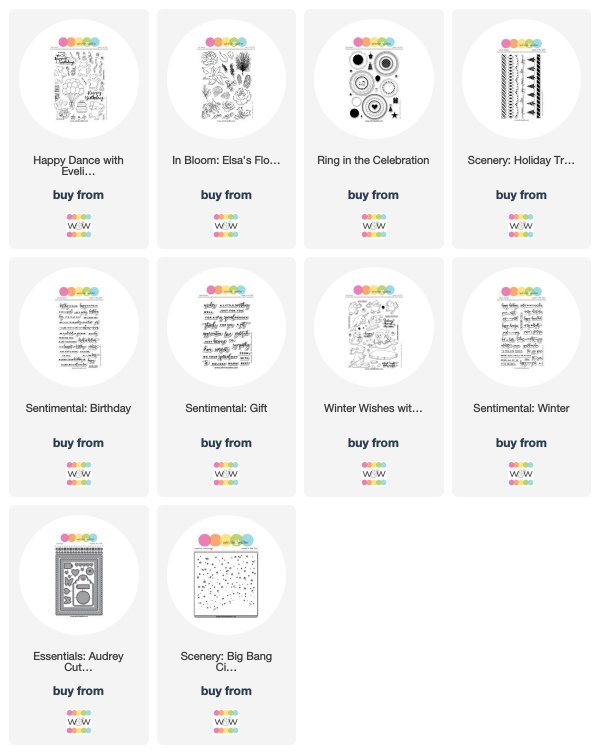
I started out by Copic colouring and fussy cutting the three critters from the Happy Dance with Evelin T stamp set. I then die cut three circles in the card panel and stamped the three different circular sentiments from Ring in the Celebration around the openings. I sponged three different colours of Distress Inks behind the openings (Twisted Citron, Abandoned Coral, and Mustard Seed - bright, happy colours!) before popping the card front on with foam tape. The critters were also added with foam tape as well as the sentiment from Sentimental Birthday which was white embossed on black. A few sparkling sequins and a little strip of glitter to finish of the card.


My second card focuses on the rule of thirds - this is a key design principle in composition that you can read more about here


I kept the focus of the design by keeping all the elements in the lower third of the card. I added 3 (yes 3!) thin strips of silver glitter card stock across the bottom of the card. I Copic coloured a poinsettia from the In Bloom: Elsa's Flora set and popped it up with some foam tape onto the panels at the bottom left corner according to the rule of thirds.I added the sentiment from Sentimental Winter to the panel and a few drops of gold Stickles to the centre of the flower to complete the CAS design.

My last project was very much inspired by a recent Jennifer McGuire video where she created ornaments on cards; I CASEd that idea but I created a card with three tags instead. The idea is that I can send someone this card and then they can remove the tags to use them. To continue the "three" theme, I decided to add three tags.  According to some design principles, including three similar or repeated elements is more pleasing to the eye then using two or four - I will let you be the judge of whether it works on this card :)


I created the card base by stamping the greeting from Scenery:Holiday Trimmings in Versamark and embossing it with sparkly red powder. I then applied glitter paste through a stencil very similar to the Big Bang Circle Creative Screening for even more sparkle.

Now for the tags: I started out by die cutting 6 (3 fronts and 3 backs)  tags from the Essentials: Audrery Cutaways, and then stamping some critters from Winter Wishes with Evelin T onto three of them. I coloured the images and the background with Copics - I also added some glitter paste through the same stencil that I had used on the card base. On the other three tags, I stamped the greeting and "to" and "from" from the Sentimental Gift set; I then adhered these to the coloured tags. I threaded some baker's twine through the tags and knotted the loop at the end and secured the twine on the inside of the card with some washi tape. 

Here is the backside of the tags:


Here is how the tags are secured to the inside of the card - with removable silver sparkle washi tape so the recipient can remove the tags and use them on gifts.


Shay has kindly offered up a $30 Winnie & Walter gift card for me to give to one lucky commenter on my blog, My Life in Paper For your chance to win, leave a comment on this post and/or any of my leading lady posts and I will randomly pick a winner from all the comments left by November 30th.

Thanks so much for stopping by! 

Jill


w&w-supplies

Saturday, October 27, 2018

October Leading Lady Trina Pham | Take Four

As October comes to an end we sadly must bid adieu to our outstanding October Leading Lady Trina Pham.  The last few weeks with Trina has showcased incredible innovation, terrific techniques and acute skill.  Trina has exhibited her tremendous talent and startling creativity week after week.  I feel so blessed Trina shared her talents with us this month and made this month something special.

If you missed her smashing debut you must see it...CLICK HERE or her sensational second performance which colored me impressed CLICK HERE or her triumphant third performance with adorably brilliant cards and techniques CLICK HERE
!  Today's projects are full of beautify and skill!

Lucky for us all we have her final command performance today.  


Happy Saturday everyone!  Time sure does fly when you're having fun, doesn't it?  Today is my final post as the October Leading Lady for Winnie & Walter (W&W)!  I want to thank Shay again for entrusting me to take over their blog every Saturday this month.   It has been an honour and I've enjoyed every minute of it!

So last week I ended with an interactive spinner card.  Interactive cards are very popular right now, even though they've been around for a very long time.  Die versions may be available and make it easier, but essentially all of them can be created without one.  I have two samples to share.


BIRTHDAY SURPRISE

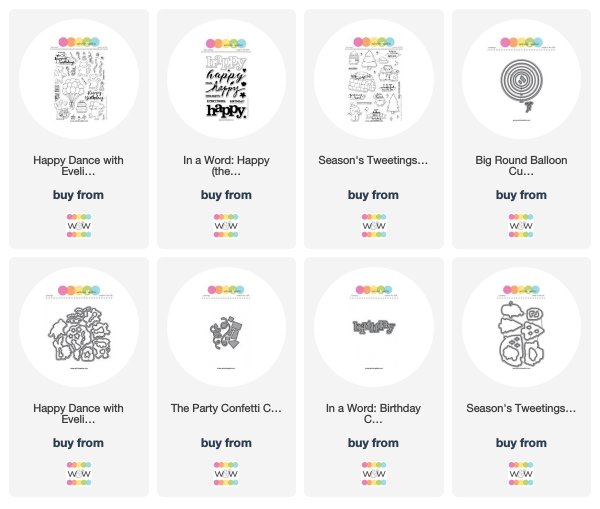
You knew one of my cards had to be a birthday.  A scallop rectangle panel was die cut from Whisper White cardstock with Essentials: Audrey Cutaways.  Happy from In a Word: Happy stamp set was stamped in black.  In a Word: Birthday cutaway was die cut from X-press It cardstock and ombre coloured with a mini blending tool and Black Soot distress ink.  A couple of streamers from The Party Confetti cutaways were die cut form silver foil paper and added as embellishment.


I wanted to keep the front super CAS and monochromatic because the par-tay starts on the inside!

Yup, my first card is an inside pop up box card.  After watching the videos, I figured out the scoring and cutting.  For this particular box, I wanted a 1-1/4" box that is 3/4" high.  So I multiplied 1-1/4" by 4 because a box has 4 sides.  Then I added a 1/4" for the tab to attach the box ends together.  Added 3/4" to 1-1/4" for the height and my starting cardstock piece is 5-1//4" x 2".  Scored the short side at 3/4" and every 1-1/4" on the long side.  Used scissors to cut out some sections to get this.


Fold along the scored lines and assemble the box.  Add strong adhesive to the triangles and adhere the box on a diagonal with the crease of the card base.


A couple of 1/2" x 1-3/4" strips scored at 1/4" on both ends were added inside the box.  These were where acetate strips adhered to, which in turn how the balloons and hats were added to pop out of the box.  The balloons from Big Round Balloons cutaways were die cut from white cardstock and coloured with distress inks and a mini blending tool.  The hats from Happy Dance with Evelin T Designs were stamped with black Copic friendly ink on scrap of X-press It cardstock, coloured with Copics then die cut out with the coordinating dies.  Silver foil streamers and confetti was added to finish.


CHRISTMAS WHEEL

I may be dating myself, but the popular reveal wheel is what I knew as a viewfinder card.


Started by stamping the images from Season's Tweetings by Evelin T Designs with black Copic friendly ink, coloured with Copics and die cut out with the matching dies.  From a stitched white panel, partial die cut a circle opening.  Instead of trimming a straight edge across, I used my scissors and cut a slope.  Adhered the images around the window to create the scene.


For the wheel, I wanted a white border so a reverse circle mask was die cut from masking paper and adhered onto Bristol paper.   Added various distress inks with a mini blending tool then die cut out with a scallop circle die.  Die cut another scallop circle but this time from copy paper.  Fold the copy paper in half then into quarters to find the centre.  Align both scallop circles and pierce the centre with a piercing tool.


On the back of the scene panel, position the scallop circle then pierce through the scallop circle and the panel.  Use the hole as a guide to cut a semi circle on the side edge.  Secure the wheel to the panel with a brad.  Pop the panel onto a white cards base by adding mounting tape around the edge of the wheel.  White heat embossed the sentiment from Sweet Holiday with Evelin T Designs on black cardstock and popped it up with mounting tape over the brad to hide it.  Added snow over all images with a white gel pen to finish.   Here are more views of the different sky colours with turns of the wheel.


GIVEAWAY

Thanks to Shay's generosity, I have a $30 W&W gift card to give away to one lucky commenter over on my blog Phamtastic Design.  For your chance to win, leave a comment on any of my Leading Lady posts by October 31 and I will randomly pick a winner from all comments left across my posts.


That concludes my time here at W&W.  I want to thank all of you who stuck with me and left such kind comments.  I was not feeling very well this week, and reading your comments brightened my day!  Have a wonderful weekend!


w&w-supplies