

I am so thrilled today to introduce you to one incredibly warm, funny, vivacious, gifted and generous lady as our special guest star: Karolyn Loncon! With her bright and ready smile, Karolyn immediately makes everyone feel at ease and like a friend. Seriously, you could not meet a nicer or sweeter person and it is no wonder she leads such a full life as a wife, mother, grandmother and friend to many along with being on the design team of such superb companies as Avery Elle and My Favorite Things.
I know you will adore her and her projects as much as I do!
Please give Karolyn a big warm w&w welcome!
Well hello!!
I’m so thrilled and honored to be joining you all today to
share a few projects that I created using some of my most favorite Winnie
& Walter stamps and dies!
I’m so grateful to Shay for having me in today – she’s one of the
sweetest human beings in our industry, and to have the chance to play with some
of the newest Winnie & Walter products was such a blessing. Thank you, Shay, for making me feel so
special and appreciated! Okay, let’s get
to my projects, shall we?
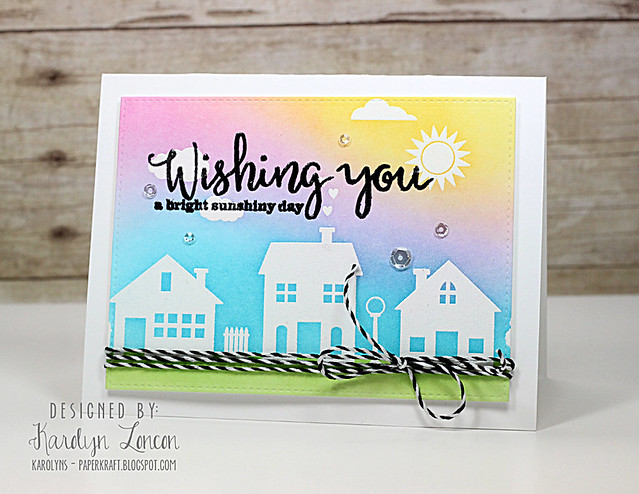
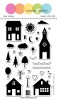
My first project was so stinkin’ fun to create! I was totally drawn to the solid images of
the Our Town Stamp Set. This stamp set is so versatile! I saw the “holiday” possibilities, but I also
saw the “everyday” aspect of this stamp set, too. That’s what I decided to focus on with this
project. I stamped the houses, fence,
lamp post, tree, hearts, clouds and sunshine onto an image panel using
VersaMark Ink, and then I heat embossed the images using White Detail Embossing
Powder. I blended some Distress Inks to
create a bright and sunshiny background, and die cut the image panel with a
stitched rectangle die. I stamped the
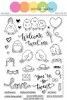
sentiments from the Wishing You with Evelin T Designs Stamp Set using Onyx
Black VersaFine Pigment Ink, and then heat embossed them with Clear Detail
Embossing Powder. I wrapped some black
and white twine around the bottom of the image panel and tied it into a bow for
my road! I added my most fave Sparkling
Clear Sequins with some Multi Medium Matte liquid adhesive, and then adhered
the image panel to an A2 white card base with foam tape. I’d like to think that this would brighten
anyone’s day if it showed up in their mailbox.
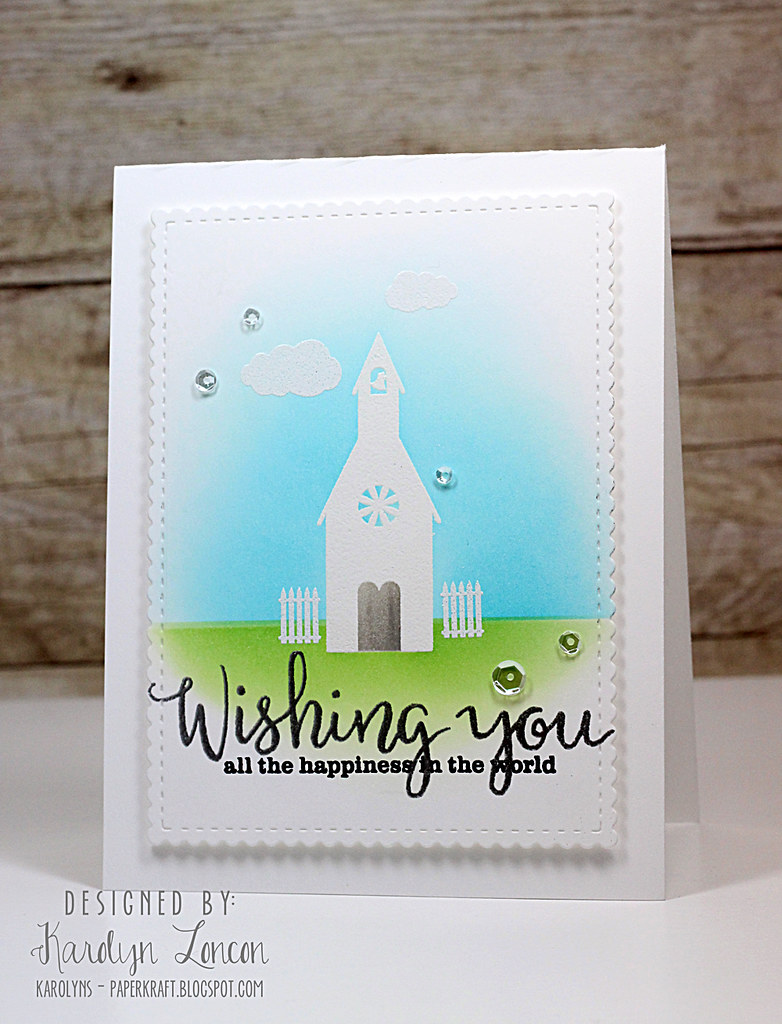
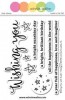
My next project again features the Our Town Stamp Set. I thought that darling little church would make a perfect wedding card! I stamped the church, fence, and clouds onto a white image panel with VersaMark Ink, and heat embossed them with White Detail Embossing Powder. I masked off the horizon and lightly applied some Distress Inks for the grass and then the sky. I also added a bit of gray distress ink in the space for the door – I thought it looked like an old church door after I did that. Next, I stamped the sentiment, again from the Wishing You with Evelin T Designs Stamp Set, using VersaMark Ink, and heat embossed them with Silver Detail (“Wishing you”) and Black Detail (“all the happiness in the world”) Embossing Powders. I die cut the image panel using a scalloped and stitched rectangle die, and adhered the image panel to a white A2 card base with foam tape. Sparkling Clear Sequins added the perfect finishing touch. The Our Town Stamp Set and the Wishing You with Evelin T Designs Stamp Set are both EXTREMELY versatile sets, and I will most definitely be using them often!
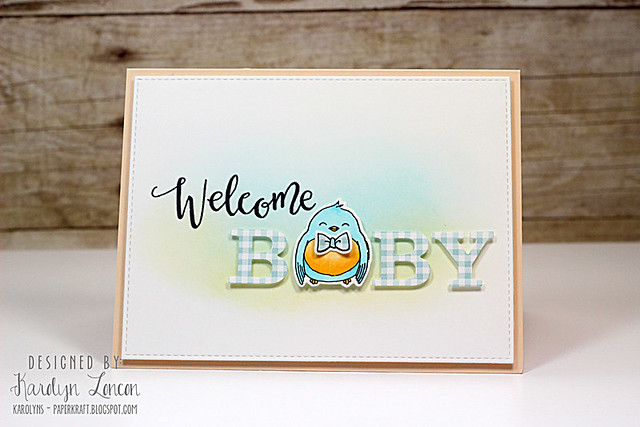
Oh my goodness, the LS Exclusives: So Tweet with Evelin T Designs Stamp Set just melted my
heart when I saw it. I had the great
opportunity to meet the illustrator of this stamp set, Evelin Tee, at CHA a
couple of years ago. She would come by
the Avery Elle booth and do our make and takes, and I instantly fell in love
with her sweet nature and kind demeanor.
We looked forward to her and her friend, Anna, visiting the booth every
day to do our latest make and takes. So
when I found out that she was illustrating for Winnie
& Walter, it didn’t surprise me one little bit that her
illustrations would steal my heart! They
are soooo stinkin’ cute! I thought that
chubby little birdie would be perfect for a baby card, and it paired perfectly
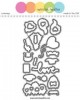
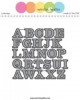
with the Typecast: Cary Letters Cutaways! I
die cut the letters from some blue gingham
patterned paper and paper-pieced the bow tie using the same paper. I stamped the birdie and colored him with Copic
Markers and die cut him and the bow tie using the coordinating LS Exclusives: So Tweet with Evelin T Designs Cutaways. I did a bit of light ink blending with some
Distress Inks to create that soft background.
I stamped the “Welcome” (after doing a tiny bit of stamp surgery)
sentiment from the LS Exclusives: So Tweet with Evelin T Designs Stamp Set onto the image
panel using some black ink, and die cut the image panel using a stitched rectangle
die. I adhered the letter and bird (to replace the A) die cuts using
some foam tape. I adhered the image
panel to a light peach card base. Isn’t
that birdie the cutest thing you’ve ever seen?!
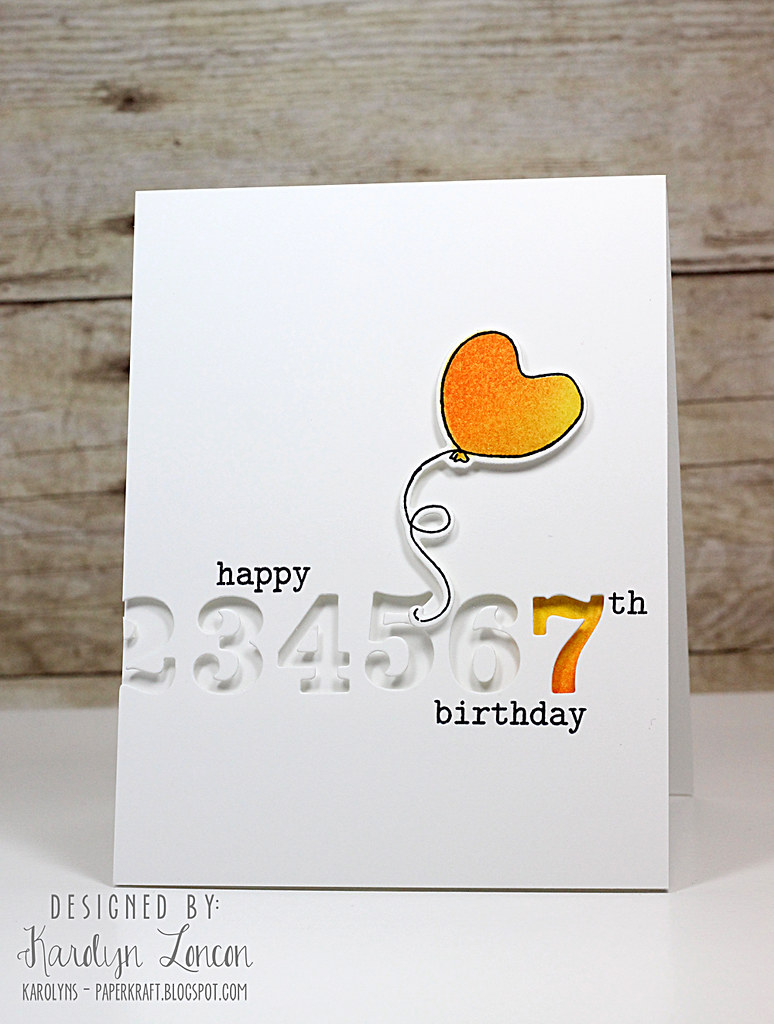
My last project was created with my sweet grandson, Brecken,
in mind. He’s turning 7 in May, so I
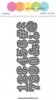
wanted to put a personalized card together for him. The Typecast: Cary Numbers Cutaways
made this task a breeze!! I positioned
the number dies a bit off center so that the “2” cut off at the left edge of an
A2 white panel. I cobbled together the
“happy”, “th” and “birthday” from a couple of awesomely versatile stamp sets –
“happy” and “birthday” came from The Big, The Bold & The Happy Stamp Set,
and the “th” came from The Big, The Bold and You Stamp Set
(again, after doing more stamp surgery to the word “the”)! One of the things that I LOVE about Winnie
& Walter’s stamps is that many of the sets use the same font for
sentiments, so mixing and matching is awesomely easy!!! Hello!! Versatility in stamps makes me so
incredibly happy!! I masked off and
blended some Distress Inks onto the card base so that the “7” would stand out
among all of those white letters. Then I
adhered the image panel to the card base with foam tape (I also adhered the
number bits inside the number negatives).
As a last detail, I stamped the heart shaped balloon from the LS Exclusives: So Tweet with Evelin T Designs Stamp Set, created a mask
for the balloon, and blended the same distress inks that I used for the “7”
onto the balloon. I die cut the balloon
using the coordinating LS Exclusives: So Tweet with Evelin T Designs Cutaways. I adhered it with more foam tape. Easy, peasy!! I’m pretty sure Brecken is going
to love this “just for him” birthday card made by Gramma!
So, there you have it!
I have had a blast creating for Shay and Winnie
& Walter! Their stamps and
dies make designing a real pleasure! I
look forward to pulling out my Winnie & Walter stamps and dies
on a regular basis! Thank you, Shay, for
inviting me to share with your readers – you are one in a million, my friend,
and I’m ever so grateful for this wonderful opportunity. I hope you all enjoyed my projects
today. Feel free to visit me at my blog,
Paper Therapy, any time! I love having visitors and making new
friends! So come on by whenever you have
a chance!


Oh my...that's a bunch of gorgeous cards!!! Love the last one especially. Such a simple yet effective design.
ReplyDeleteCharming cards and
ReplyDeleteall are so pretty!
Carla from Utah
Such great cards Karolyn, I especially love the birthday card using the number dies, that is the second one I saw today (similarly done.) I love this!
ReplyDeleteYou did an amazing job on all your cards �� !
ReplyDeleteAdorable cards, all of them!
ReplyDeleteOH I LOVE Karolyn!! These cards are just too cute! I especially love the number card. So clever!!
ReplyDeleteAlways so fun to see the card designs you come up with your. Your creativity is wonderful!
ReplyDeleteLove your cards, Karolyn. I was so excited to see what you did with the Our Town set. I have looked at the set half a dozen times, but just didn't want the constraints of solid images. I have never thought to do emboss resist. That opens up a whole new realm of ideas.
ReplyDeleteOh what terrific cards! So creative & beautiful!
ReplyDeleteI'm a huge fan of Karolyn and her work! Lovely cards~
ReplyDeleteHi Karolyn, I just happened upon your designs. They are wonderful. Love!! the birthday card.
ReplyDeleteSuper fun creation!
ReplyDeletewow! what superb creations :) totally love them !!
ReplyDeleteGreat cards! So bright and chirpy, going to pop along and discover your blog now!
ReplyDelete