Hello! So glad to be with you today for a post combining stencils and SVGs!
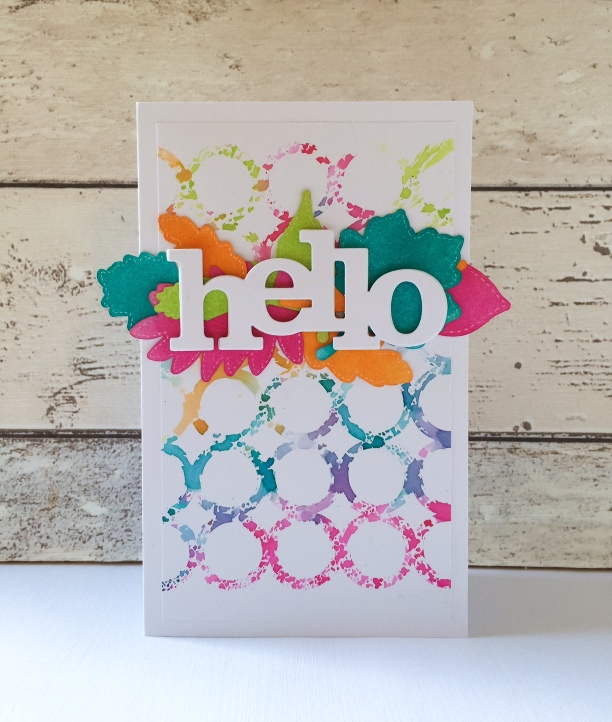
First off- the stencilled background. This is a popular technique and really simple to do. Grab a stencil; I used Pattern of The Rings

Choose some water soluble inks. Distress Inks work so well with this technique. I've used a really punchy combination, but you could go subtle if you'd rather.
Pat the ink pads over the stencil. You might want something like a craft mat underneath as it gets a little messy!

Don't worry about overlapping ink colours. It's worth starting with the lighter colours and moving to the darker colours after to avoid staining your ink pads. Once you've placed ink where you want it, give it a good spray with water.
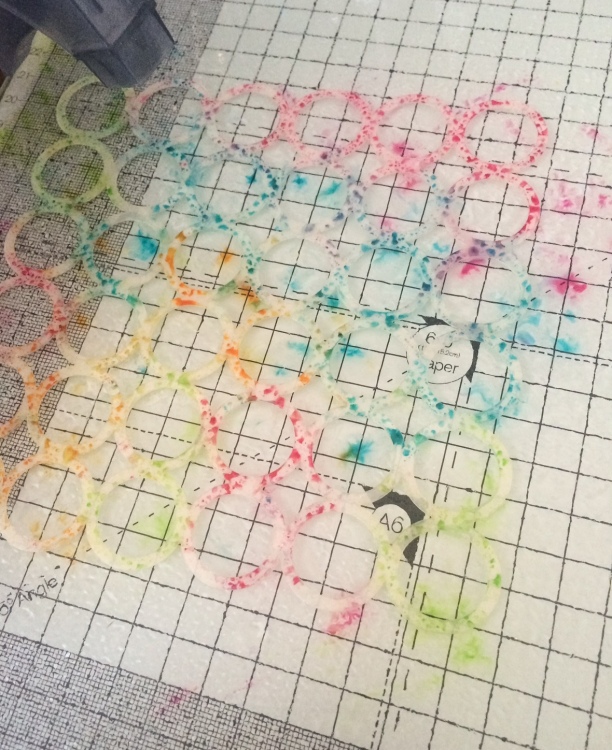
The more water you use, the more the colour will run. Once it's as wet as you want, lift the stencil up carefully and place ink down onto the card. You can simply add the cardstock on top of the stencil, but you can't then dab over it with a tissue to remove any excess ink, like I did here to keep the pattern as 'clean' as possible.
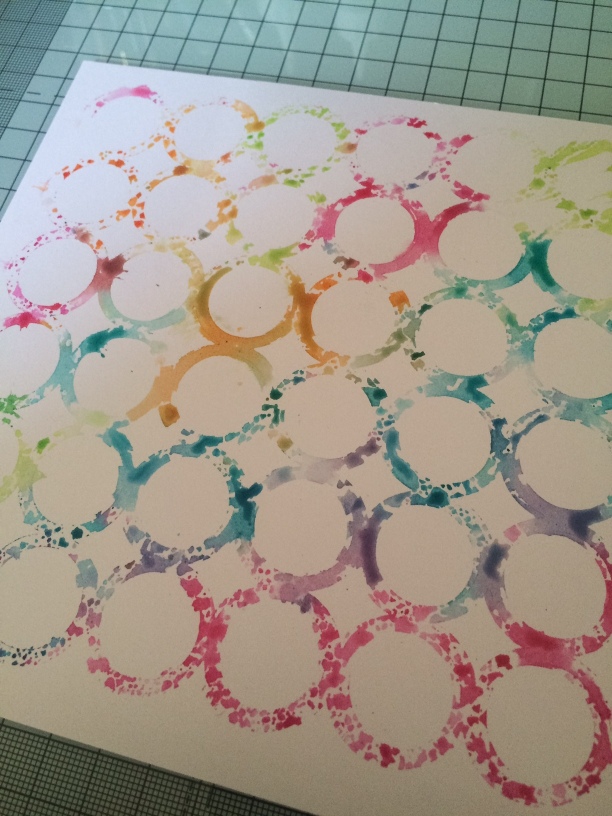
You're left with a lovely pattern. If you work quickly, you can remove more ink before it dries or even spray more water to allow colours to develop. Then, just use as a background for your project.
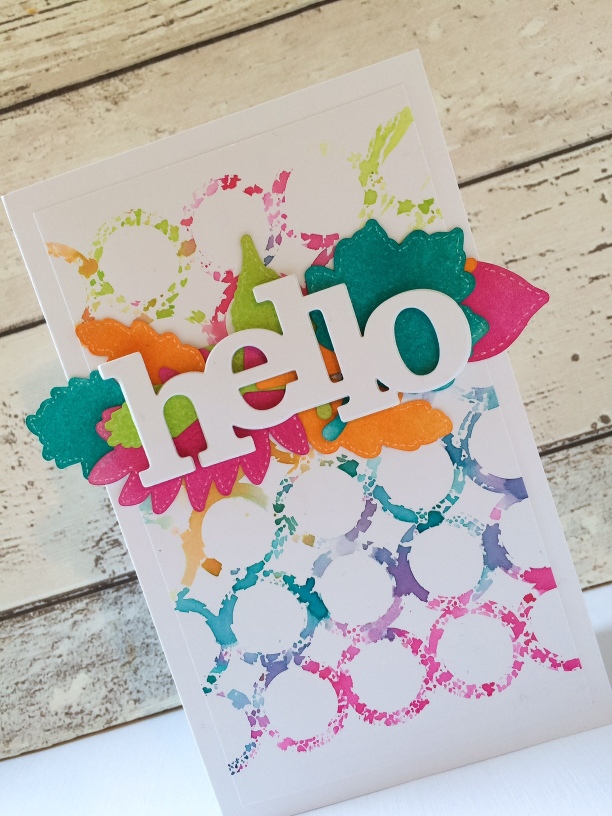
You can see from the picture, that there's actually no stamping!
I've used the cut files from Winnie & Walter to create the leaves.
Download the files and arrange them to be cut out from your computer.

I created some fun patterns after this arrangement that I'll use for a future project. The files are easy to use and really cost effective. Check them out here
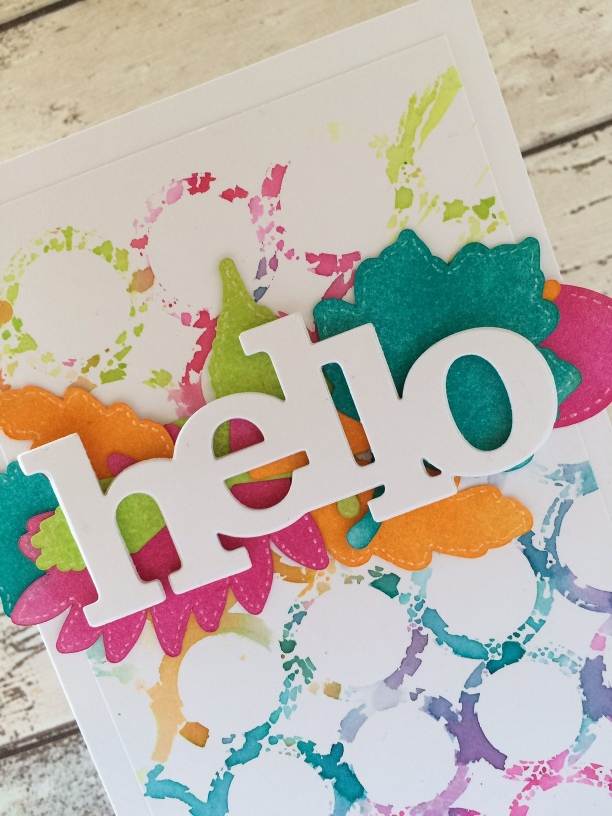
Once they were all cut out with my Silhouette Cameo, I added more distress ink matching the colours I'd used for the stencilled part and finished off my card with a In A Word: Hello Cutaway
It doesn't need to be so 'in your face'. This is a perfect technique for using subtler gentler colours. See this card that I created using the same stencil but just 3 colours.
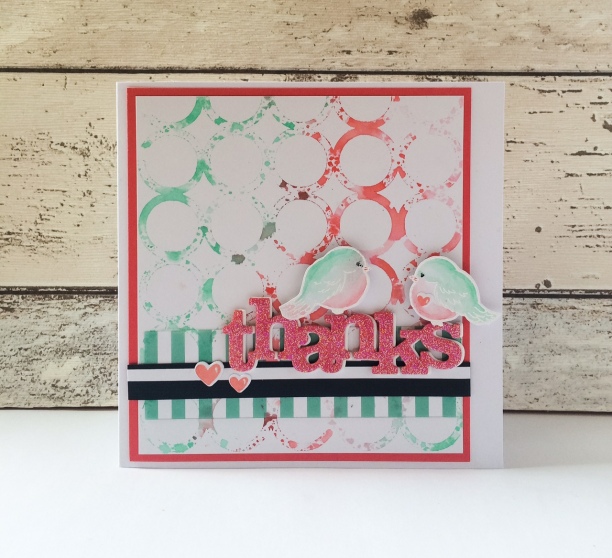
I've used the In A word: Thanks Cutaway along with the LS Exclusives: So Tweet with Evelin T Designs stamp set.
Truth be told, I didn't like the colour combo so much which is why I tried the brighter set which I ended up loving far more!

Thanks for bearing with my lengthy post and I do hope you'll have a nosey at the Creative Screeenings (Stencils) & the Cut File collections.
See you soon
xx


Being a pastel & bird gal, the 2nd card speaks, or should I say chirps, to me. That color combo is gorgeous. On the other hand, I love the Autumn vibe I get from the 1st card. So it is safe to say, Keren has boggled my brain with her innovative and magnificent style, AGAIN!
ReplyDeleteKeren this is such a fun idea!!! Can't wait to get that stencil out again!!! LOve your cards, and your inventive designs!
ReplyDelete=]
Love this!!!
ReplyDeleteLove the stamping with stencil technique. It gives extra texture on the background. And those leaves are beautiful.
ReplyDeleteThese are both very pretty!
ReplyDeleteLike this, and the first card, wauw!!
ReplyDeleteAbsolutely LOVE both cards! Stamping with stencils is fun and unpredictable, which makes me love this technique even more.
ReplyDeleteGorgeous cards!
ReplyDelete