Pages

Monday, December 24, 2018

New Additions at Christmas with Kelly

Editor's note: A merry Christmas Eve!  Today is a special post by Kelly that is a wonderful, heartfelt idea to add a special and meaningful touch to a gift (and if you are a procrastinator it can be done for this Christmas or if you are a planner it can be done for future Christmases).  Have a very blessed holiday full of love, friendship and laughter!


Hi Folks! Kelly here to share a different kind of project with you today! For the last 7-8 years, our family has always managed to have a new addition at Christmas. This year the streak continues with no less than FOUR new babies, all born within a month of each other! Such happy times : ) My tradition has been to present each new baby with a Christmas book at Christmas. Instead of writing a message to them on the inside, I make a dedication panel.

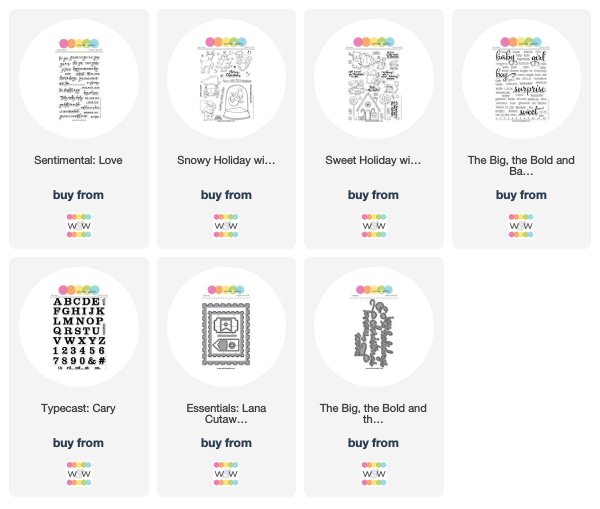
I love the letters from the Typeset: Cary set since they're nice and thick. You can overlap them if you have a longer word, but they're big enough to bring a lot of color to your project. 

I really enjoy mixing fonts for a custom look to your project. In addition to the thick serif letters from Typecast: Cary, I've used the thin typewriter font from The Big, the Bold and Baby for the word "first," the script font from The Big, the Bold and Merry for "Christmas," a sans-serif font from Sweet Holiday with Evelin T Designs for "believe in the magic," and an all-caps sans-serif font from Sentimental: Love for "we love you." All different, but they all work together. Using the gold foil paper for "christmas" also gives a nice shine to everything.


The adorable reindeer from Evelin T's new Snowy Holiday set is watercolored to match the style of the book illustrations. Finally, the postage-stamp panel is from Essentials: Lana Cutaways. Love the pin hole details along the margins. 


I know our cousins enjoy reading to their kids and they seem to really enjoy receiving the personalized books. Reading to my kids was so much more special around the holiday. Getting cozy by the fire, under a blanket, with a bunch of pillows and an assortment of Christmas books was a magical way to spent the nights in December. 

Sure hope you enjoyed seeing another way to use our supplies!

Thanks for stopping by!
Kelly


w&w-supplies

Friday, December 21, 2018

November 2018 Release with Trina

For another treat we have an incredible post from Trina Pham our November Leading Lady highlighting the November 2018 Release.  Enjoy!

Hello everyone!  I am so delighted to be back here on the Winnie & Walter blog to share some more creations using the fabulous new products from the November release!

HEARTFELT THANKS

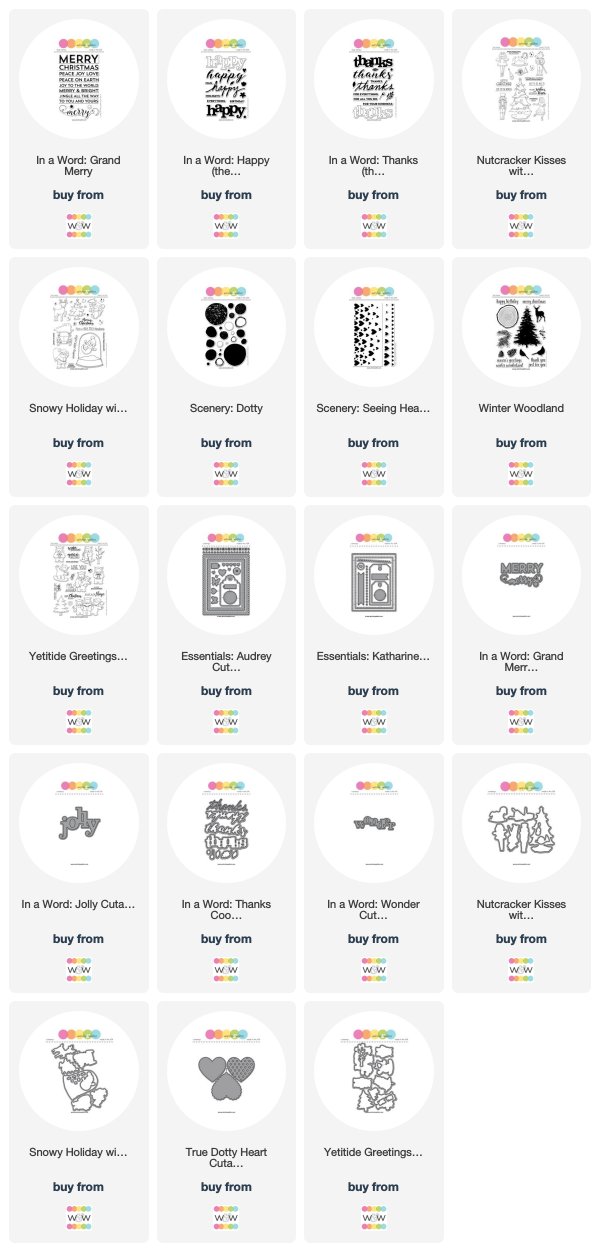
I wanted to start off by thanking Shay for having me join in the release, so I created a CAS thank you card using In a Word: Thanks (the stamp set).


Stamped the outline thanks with Copic friendly black ink on an A2 size X-press It piece of cardstock and coloured in with red Copic markers.


The hearts from Scenery: Seeing Hearts were heat embossed with clear embossing powder.  Abandoned Coral and Candied Apple distress inks were then blended over top for an ombré look.  Wiped off excess ink with a tissue.  Heartfelt from Sentimental: Thanks  was white heat embossed on a black strip.  This set was free with qualifying orders during the Black Friday/Cyber Monday sale, and will be available to purchase in the future. For added dimension, Crystal Glaze was added as the finishing touch.


Since there is coordinating In a Word: Thanks Coordinating Cutaways, I created a second CAS thank you card using it.


Thanks was die cut twice; one from black and the other from pearlescent white cardstock.  They were offset for a shadow effect which helps to make it stand out.  Once again, the sentiment from Sentimental: Thanks was white heat embossed on a black strip.


Next a reverse heart mask was die cut from masking paper using True Dotty Heart Cutaways.  Placed the mask off the edge of a regular white A2 panel,  then blended Picked Raspberry, Wilted Violet and Salty Ocean distress inks.  For some sparkle, spritz with a DIY shimmer spray of Perfect Pearls and water.  Removed the mask and added a few clear sparkly sequins to finish.


JOLLY SANTA

When I saw In a Word: Jolly, I thought of Santa!  I know, it's a  bit of  a stretch. 😂


Instead of having Santa replace the "o", I thought it would be fun to have him stepping out of the Jolly die cut.  Started by stamping Santa from Snowy Holiday with Evelin T Designs with Copic friendly black ink.  Coloured him with Copics, then die cut out with the matching cutaway.  


A scallop panel was then die cut from Bristol paper using Essentials: Audrey Cutaways.  Jolly was die cut from that and popped up with foam adhesive over some silver glitter paper on a white card base.  Holidays from In a Word: Happy (the stamp set) was white heat embossed on black.  Some silver splatters finished off the card.


BOKEH WONDER

In keeping with the magic and wonder of the season, I thought a Bokeh background would be suitable.  Rooted in photography, bokeh is the blurred or out-of-focus areas of an image.  I've done this background before using circle stencils and white pigment ink, but I thought I would try achieving the effect with the VersaMark resist/ghosting technique.  Not sure I succeeded, but it was easy and fun to do.


Paper that does not absorb ink easily is best for this technique.  Glossy cardstock works, but I had some coated cardstock given to me from my friend Christine and that was what I used.  I started by randomly stamped the images from Scenery: Dotty in several sizes with VersaMark ink.  Allowed it to dry before applying distress inks (di) in rainbow colours with a mini blending tool.  The VersaMark ink resisted the colours, leaving varied light areas.  I may have gotten a little carried away with the amount of images I stamped. 😂  Excess ink was wiped off with a tissue.


Season's from Winter Woodland was heat embossed with white embossing powder on a vellum strip.  In a Word: Wonder was die cut from white glitter paper and adhered to the vellum.  Instead of die cutting a shadow piece, a grey Copic marker was used to add the shadow on the vellum from the backside.  Stamped, Copic coloured and die cut the ballerina from Nutcracker Kisses with Evelin T Designs to finish.


The background was not only easy, but effective, so I created two more cards.  I used the sentiments from In a Word: Grand Merry.  On this first card I tied it without the vellum.


I think it looks better with vellum.  So on this final card, I added the vellum back.  I also changed up the design, and took the smaller rectangle from Essentials: Katharine Cutaways and die cut from the panel then matted it to white cardstock leaving a 1/8" white border.  Stamped, Copic coloured and die cut the yetis from Yetitide Greetings with Evelin T Designs to finish.  


This post was longer than I had intended, but good news is you've reached the end!  Thank you for taking the time to visit, especially during this busy time of year and with Christmas only four days away!  Wishing you all a safe and joyous holiday season!


w&w-supplies

Monday, December 17, 2018

Winners of the November 2018 Release Giveaway!

We are ready to announce the winners of the November 2018 Release giveaways and to tell everyone how much we treasure each of your comments.  It humbles us mightily.  We may need food, water, sleep and shelter to live, but it is you that is one of the things that makes the living rewarding! :-)


Winner of In a Word: Thanks (the stamp set) In a Word: Holiday Cutaway + In a Word: Jolly Cutaway + In a Word: Wonder Cutaway +  In a Word: Thanks Coordinating Cutaways + Scenery: Pennsylvania Polka Creative Screenings (Premiere Day No. 1)


Winner of You Are a Blessing (was the free with purchase stamp set) + In a Word: Grand Merry stamp set + Cover Model: The Peppermint Zone Cutaway + In a Word: Grand Merry Cutaways (Premiere Day No. 2)


Winner of Snowy Holiday with Evelin T Designs + Scenery: Dotty stamp set + Essentials: Tilda Cutaways + Snowy Holiday with Evelin T Designs Cutaways + (Premiere Day No. 3)


Winner of Nutcracker Kisses with Evelin T Designs + Yetitide Greetings with Evelin T Designs Nutcracker Kisses with Evelin T Designs Cutaways + Yetitide Greetings with Evelin T Designs Cutaways (Premiere Day No. 4)


The Big Giveaway (all 6 stamp sets + You Are a Blessing, our November 2018 Release free with $25.00 qualifying purchase stamp set):


All November 2018 Release Winners please contact info {at} winniewalter {dot} com by Friday, December 21, 2018 12:00 p.m. with which winner you are in the subject (for example Premiere Day No. 2 Winner) along with your name and mailing address.  If we don't hear from a winner by Friday, December 21st at 12:00 p.m. we will pick another winner for that giveaway (and we really, really hate to do that!!).

Thank you for all your kind comments during our November 2018 Release!  

Friday, December 14, 2018

Rerun No. 37 | Stampets: Penguin (Challenge + Giveaway + Sale!) + Winners of Rerun No. 36

w&w_rerun_logo
Hello lovelies!  Welcome to our monthly Rerun post!  First, we are going to announce winners from last month's Rerun No. 36 | In Bloom: Frenchy's Festive Florals with Angelica Suarez.

We had such lovely entries and as a special holiday surprise I am gifting everyone who participated in Rerun No. 36 with a gift certificate--a big thank you to you all!
So treebug, Janis, snazzyjj, laury55, Maryam, Novel ideas, Greta and Deepti you all win!

Thank you for all your kind comments as well!  The winner of the In Bloom: Frenchy's Festive Florals with Angelica Suarez stamp set is:


No. 3 | Anila Dk

Congrats everyone!   Please email us at info {at} winniewalter {dot} com.  Anila, I will additionally need your mailing address.

Now on to this month's Rerun!

Each Rerun will provide plenty of inspiration focusing upon a featured product, a month-long sale on the featured product and a challenge (with a prize!) and giveaway.  You will not want to miss out!


For our thirty-seventh Rerun we are concentrating on Stampets: Penguin. This set has a cute and round little penguin with some gloves, earmuff and scarf to customize your penguin as you like along with some other sweet images and sentiments.  There is quite a bit in this little set!

Now on to the cards!

Shay 

Happy December!  How about some sweet penguin cards and projects?

I created a sweet and easy card with this stamp set by stamping the penguin in black Versafine and coloring it in with colored pencils and then cutting out the little guy.  I cut out a mound of snow from white cardstock and went a little crazy with a new Wink of Stella pen so I covered up an entirely too shimmery hill of snow with some white acrylic paint until there were only hints of shimmer (not something you can see in the pictures lol).  Using a smaller decorative rectangle from Essentials: Tilda Cutaways I cut a rectangle from white cardstock and stamped the sentiment and adhered the snow bank and penguin to the panel.  I attached the penguin panel to a patterned paper panel cut using the larger plain rectangle from Essentials: Tilda Cutaways and another panel cut from patterned paper using the large decorative rectangle from Essentials: Tilda Cutaways.  I attached all the panels to a white A2 card base.


That's it from me...wait until you see what Crystal, Gayatri, Heather and Kelly did with Stampets: Penguin ...so amazing!

>>>THE TALENT<<<


CLICK HERE to see more from Gayatri.


 CLICK HERE to see more from Heather.


 CLICK HERE to see more from Kelly.

>>>CHALLENGE<<<

Now it's your turn to play along with Rerun!
  1. Create a new project using Stampets: Penguin).  An alternative to using Stampets: Penguin is to create a new project using one of the projects featured in this post (or any Rerun post throughout November by The Talent) as your inspiration.  Make sure you use at least one (1) w&w product (this can include a freebie found in the w&w shop) in your project.  If you choose the alternative to using Stampets: Penguin, please include in your post or project description which project inspired you and how.
  2. Link up your project here by 11:55 p.m. CST on January 10, 2019.  
  3. Enter as many times as you want before the deadline.
  4. This Rerun Challenge may be combined with other challenges found here on the w&w blog or elsewhere.
One project will be randomly chosen to win $25.00 credit to the w&w shop!  The winner will be announced on the w&w blog in January. 


>>>GIVEAWAY<<<

Please comment on this post (make sure to include your email address in your comment--if you have to add your email address to your comment please do so by replying to your original comment) by 11:59 p.m. CST on January 10, 2019 for a chance to win your very own Stampets: Penguin stamp set!

Wednesday, December 12, 2018

November 2018 Release | Merry with Keren

Hello everyone! 
I'm delighted to bring a project using some of the gorgeous new release! I wasn't able to join in with the official release, so I'm just bringing up the rear!!! 
I absolutely love the ballet 'The Nutcracker' so this was an easy pick for the theme of my card! 


I used the following sets; 
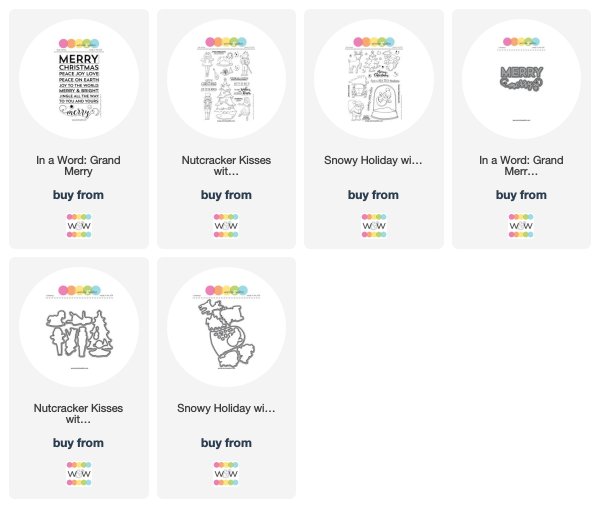
In A Word: Grand Merry for the 'merry' at the bottom and Nutcracker Kisses for the beautiful dancing Sugar Plum fairy! 


You can see on the photo above that I've used the dome die that goes with the matching stamp set 
Snowy Holiday With Evelin T Designs. Once I'd die cut it from acetate I cut the bottom section from cardstock and adhered together. I added Snow Blizzard Nuvo drops to make it look like the snow was falling in the dome too! 


All that was left was to colour the stamps in, die cut them, add to the scene with a little white cardstock for snow and then put on a base card with some pink cardstock stripes! 
This would make an all year round card if you take the merry and tree out; there are lots of little ballerina loving girls who'd love a card with a dancer on, and the dome could have so many different images in. 
I hope you love the new products just as much as I do! Do check out the release on the blog- as you'll be able to see all the sets created with so beautifully by the team! 
Keren x

w&w-supplies

Tuesday, December 11, 2018

Celebrate with Keren

Autumn may be waning, but this card by Keren is just too gorgeous for any time of the year!

Hello! How are you all?

It's changing outside- the summer has drawn in and Autumn or Fall is upon us. I adore the
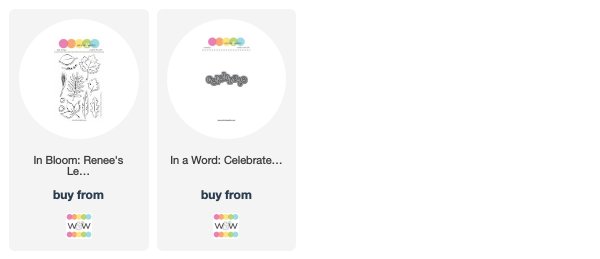
 In Bloom:Renee's Leaves


It is one of my all time favourites! I decided to pair it with an easy colouring technique using pigment
 powders.


The Infusions contain both pigment and a walnut stain that rather perfectly echoes the decaying
leaves. You just need to spray water over it until you've the desired amount of colour. The longer
the powder sits in the water, the more the walnut colour comes through- so if you want a brighter
colour, simply dry off or blot off quickly.


Now you just need to trim out, and begin to  compile the card. For the sentiment I used another
Winnie and Walter product. I love the In A Word: Celebrate Cutaway


I sandwiched some turquoise thread in between two die cuts. Then simply arrange the leaves and
add a few sequins to add interest.

I hope you enjoyed seeing one of the older sets again- it's well worth looking back to seeing what
wonderful sets you might not have seen in a while!


See you soon,
Keren x


w&w-supplies